Home>Furniture>Outdoor Furniture>How To Level Ground For Patio Stones
Outdoor Furniture
How To Level Ground For Patio Stones
Modified: March 7, 2024
Learn how to level the ground for your patio stones and create a perfect outdoor furniture setup. Ensure a stable and beautiful foundation with these simple steps.
(Many of the links in this article redirect to a specific reviewed product. Your purchase of these products through affiliate links helps to generate commission for Storables.com, at no extra cost. Learn more)
Introduction
Creating a beautiful outdoor space is a dream for many homeowners. A patio, with its versatility and ability to transform an ordinary backyard into an inviting gathering area, is a popular choice. However, before you can enjoy your new patio, it is crucial to ensure that the ground is properly leveled for the patio stones to be installed.
Leveling the ground for patio stones not only enhances the aesthetics but also provides stability and prevents tripping hazards. It may seem like a daunting task, but with the right guidance and techniques, you can easily achieve a level surface for your patio.
In this article, we will guide you through the process of leveling the ground for patio stones, from assessing the area to the final installation. So, let’s dive in and learn how to create the perfect foundation for your outdoor oasis.
Key Takeaways:
- Leveling the ground for patio stones is essential for creating a stable and visually appealing outdoor space. By following the step-by-step process, you can achieve a solid foundation for your patio, ensuring a long-lasting and beautiful result.
- After leveling the ground and installing the patio stones, adding finishing touches such as edging, landscaping, furniture, and functional elements can transform your patio into a cozy and inviting outdoor oasis. Regular maintenance will help preserve its beauty for years to come.
Read more: How To Make A Stone Patio
Assessing the Patio Area
Before you start leveling the ground for your patio stones, it’s important to assess the area to determine the scope of the project. Start by measuring the dimensions of the patio. This will give you an idea of how much material you will need and will help you plan your project effectively.
Next, evaluate the current condition of the ground. Look for any uneven areas, slopes, or dips that may need to be addressed. Keep in mind that the goal is to create a level surface to ensure stability and prevent pooling of water.
Additionally, consider the drainage in the area. It’s important to ensure that the patio is slightly sloped away from your home to prevent water from seeping into the foundation. Take note of any existing drainage systems and plan accordingly.
Lastly, assess the type of soil in the area. Certain soil types, such as clay or sandy soil, may require additional preparation or amendments to achieve the desired level of stability. Understanding the soil composition will help you determine the necessary steps to prepare the ground properly.
By thoroughly assessing the patio area, you can identify any potential challenges and plan accordingly. This will ensure that your patio project progresses smoothly and results in a level and stable surface for your patio stones.
Clearing the Area
Once you have assessed the patio area, the next step is to clear the area of any obstacles or debris. This will provide a clean and even surface to work with.
Start by removing any existing vegetation, such as grass or weeds, using a shovel or a garden hoe. Ensure that you remove the roots as well to prevent regrowth. If the area is larger, you may consider using a sod cutter or a rented excavator to expedite the process.
Next, remove any rocks, stones, or other debris from the area. These can cause unevenness in the ground and affect the stability of your patio. Take your time to thoroughly clear the area to ensure a smooth surface for the next steps.
If there are any tree roots or large obstructions in the area, you may need to consider removing them or adjusting the patio design to work around them. This will ensure a solid foundation for your patio stones.
Once the area is clear of vegetation and debris, take a moment to inspect the ground for any low spots or high spots. Level out any noticeable discrepancies to ensure a more even foundation. This initial clearing and leveling will lay the groundwork for the next steps in the leveling process.
By clearing the area and removing any obstacles, you are creating a clean and even surface to work with. This will contribute to the overall stability and longevity of your patio.
Marking the Boundaries
With the area cleared, it’s time to mark the boundaries of your patio. This step is crucial to ensure that the patio is properly aligned and fits within the desired space.
Start by measuring and marking the dimensions of the patio using stakes and string. Use a tape measure to accurately measure the length and width of the patio, and drive stakes into the ground at each corner of the patio area.
Next, tie string tightly between the stakes to create a clear boundary line for your patio. This will provide a visual guide and help ensure that the patio is square and aligned correctly.
Take the time to check the diagonal measurements of the patio. The two diagonals should be equal in length, confirming that the patio is square. Adjust the stakes and string as needed to achieve the correct dimensions and squareness.
Additionally, consider any existing structures or features that may affect the placement of your patio, such as trees, shrubs, or utilities. Ensure that there is sufficient space around these elements and make any necessary adjustments to your patio design.
Marking the boundaries of the patio will serve as a reference point throughout the leveling process. It will also help you visualize the final layout and ensure that the patio fits perfectly within the designated space.
With the boundaries marked, you’re now ready to move on to the next step in leveling the ground for your patio stones.
Determining the Desired Level
Before you start leveling the ground for your patio stones, it’s important to determine the desired level of your patio. This will depend on several factors, including your personal preference and the function of the patio.
If you’re planning to use your patio for dining or entertaining, you may want it to be level with your existing indoor floor or with a walkway leading to the patio. This creates a seamless transition and makes it easier to move furniture and navigate the space.
Alternatively, if your patio is purely for aesthetic purposes or if you prefer a slightly elevated or sunken patio, you can adjust the level accordingly. Keep in mind that any significant changes in elevation may require additional steps, such as retaining walls or steps, to ensure accessibility and safety.
Consider the slope of your yard and any existing landscape features. You’ll want to ensure that the patio level is consistent with the natural contours of your yard or any neighboring structures.
It’s also essential to account for proper drainage. The patio should be angled slightly away from your home to prevent water from pooling or seeping into your foundation. The recommended slope is 1/8 inch per foot, or about 1 inch over an 8-foot span.
To determine the desired level, use a level and a string line or a long board to establish a reference line. This will help you ensure that the ground is level and consistently sloped in the right direction.
Take your time to consider these factors and determine the desired level for your patio. This will guide you in achieving the perfect foundation for your patio stones and create a functional and visually appealing outdoor space.
Read more: How To Grout Patio Stones
Removing Excess Soil
Once you have determined the desired level for your patio, it’s time to remove any excess soil to create a flat and even surface.
Start by using a shovel or a spade to remove the top layer of soil. This layer may contain organic matter, rocks, or debris that can affect the stability of your patio. By removing this layer, you create a clean and stable foundation for your patio stones.
As you dig, periodically check the level of the ground using a long board or a string line. This will help you ensure that you’re removing the right amount of soil to achieve the desired level. Adjust as necessary to maintain a consistent level across the entire patio area.
If you encounter areas with excessive soil or bumps, use the shovel to redistribute the soil to other areas that may need additional fill. This will help to even out the surface and ensure a smooth and level patio base.
Keep in mind that removing excess soil may result in a lower level than your desired patio elevation. In such cases, you will need to add a layer of compacted gravel or sand to raise the patio to the desired height. We will discuss this step in more detail in the following sections.
By removing excess soil and creating a flat and even surface, you set the stage for the next steps of the leveling process. This preparation will help ensure the stability and longevity of your patio installation.
Compact the Ground
After removing excess soil and achieving a level surface, the next step in leveling the ground for your patio stones is to compact the ground. This is a crucial step to ensure the stability and longevity of your patio.
Start by using a plate compactor or a hand tamper to compact the ground. Begin at one corner of the patio and work your way across the entire area, applying firm and even pressure as you go. The goal is to eliminate any air pockets and create a solid base for your patio stones.
Make multiple passes over the entire area, overlapping each pass slightly to ensure thorough compaction. Take extra care to compact the edges and corners of the patio to prevent settling or shifting over time.
As you compact, periodically check the level of the ground to ensure that it remains even and aligned with your desired level. Adjust as necessary to maintain a consistent surface.
If you notice any low spots or uneven areas during the compacting process, add additional soil or gravel as needed and compact again until the surface is uniform and level.
Proper compaction is essential as it increases the load-bearing capacity of the ground, reduces the risk of settling, and prevents the formation of sinkholes or uneven spots over time.
By taking the time to thoroughly compact the ground, you are ensuring a solid and stable foundation for your patio stones. This step is crucial for the overall success of your patio project.
Before laying patio stones, use a string level to mark the desired height and slope. Then, remove any debris and use a hand tamper to compact the soil. Finally, add a layer of sand and use a screed to level it before laying the stones.
Adding a Layer of Sand
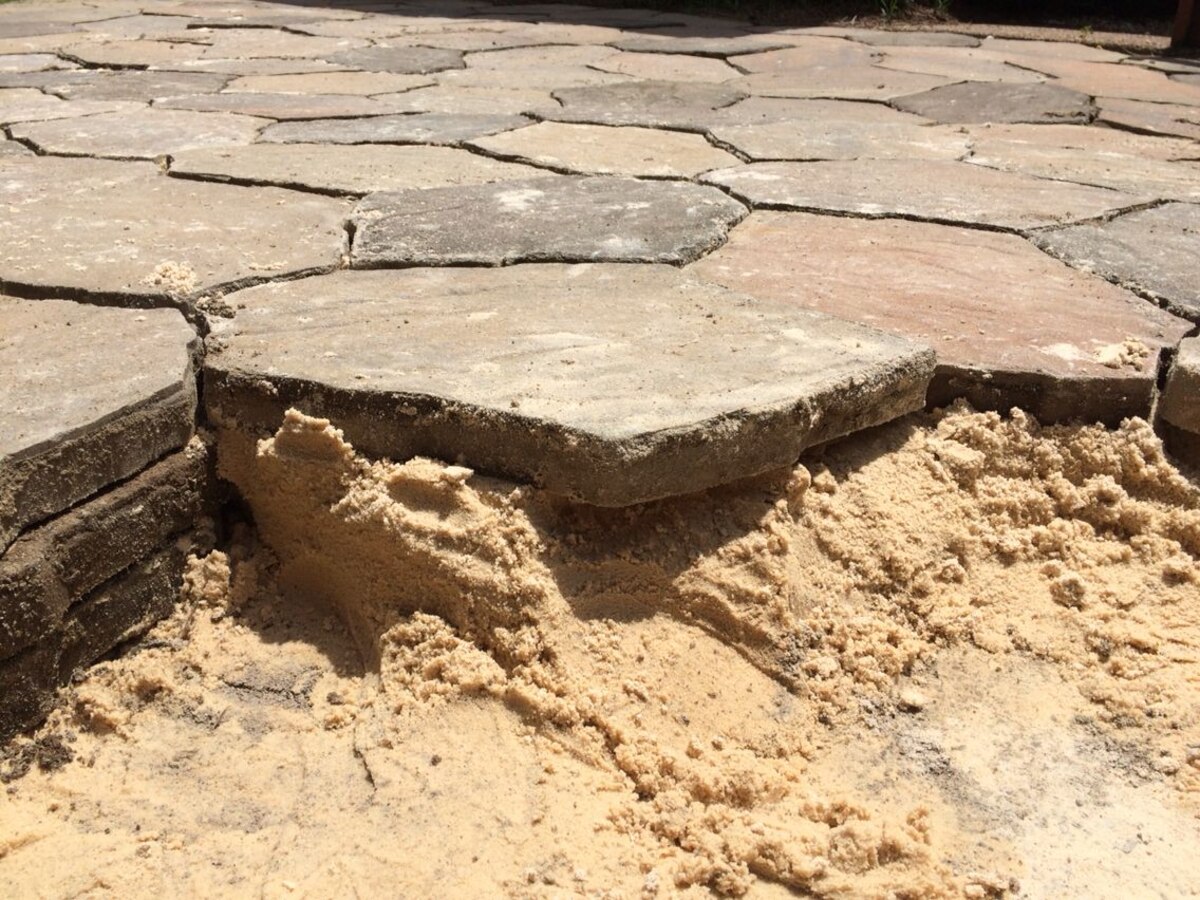
Once the ground is properly compacted, the next step in leveling the ground for your patio stones is to add a layer of sand. This layer will provide a cushioning effect, help with drainage, and allow for fine adjustments in the level of the patio.
Start by spreading a layer of bedding sand evenly over the compacted ground. Use a rake or a shovel to distribute the sand, ensuring a consistent thickness throughout the patio area. The recommended thickness for the sand layer is typically around 1 inch.
Avoid using regular sandbox or construction sand, as they may contain fine particles that can wash away easily. Opt for a coarse-grained sand specifically designed for paving, such as sharp or angular sand.
Once the sand is spread, use a long board or a screed to level the surface. Slide the board back and forth in a sawing motion to create an even layer of sand. This will help fill in any small gaps or depressions and ensure a smooth and level surface for your patio stones.
During this process, it’s important to periodically check the level of the sand using a straight edge or a level. This will ensure that the sand layer is consistent and aligned with your desired level for the patio.
If you encounter any low spots or uneven areas, add additional sand and level again until the surface is uniform. Conversely, if the sand layer is too thick in certain areas, remove excess sand to achieve the desired level.
Adding a layer of sand not only helps with leveling but also provides a stable base for your patio stones. It allows for easier adjustments and ensures a more secure installation.
Once the sand layer is leveled and adjusted, you’re ready to move on to the next step—tamping the sand.
Tamping the Sand
After adding the layer of sand to your patio area, the next step in leveling the ground for your patio stones is to tamp the sand. Tamping compacts the sand and creates a firm surface for the patio stones to be laid upon.
Start by using a hand tamper or a rented plate compactor specifically designed for sand. Begin at one corner of the patio and work your way across the entire area, applying firm and even pressure as you go. The goal is to achieve a compacted sand layer that will provide stability and prevent settling.
Make multiple passes over the entire area, overlapping each pass slightly to ensure thorough compaction. Focus on the edges and corners of the patio, as these areas are more prone to settling over time.
As you tamp, periodically check the level of the sand using a straight edge or a level. This will help you ensure that the surface remains level and aligned with your desired patio elevation.
If you notice any low spots or uneven areas during the tamping process, add additional sand and tamp again until the surface is uniform and level. Pay close attention to achieving a consistent thickness of the compacted sand layer across the entire patio area.
Properly tamping the sand layer is critical for the stability and performance of your patio. It ensures a solid and level surface, minimizing the risk of the patio stones shifting or sinking over time.
By taking the time to thoroughly tamp the sand, you are creating a solid and reliable base for your patio stones. This step is essential for the long-term success of your patio project.
Read more: How Much Is A Stone Patio
Checking the Level
After tamping the sand layer, it’s crucial to take the time to check the level of the patio to ensure that it meets your desired specifications. This step helps to guarantee the proper alignment and appearance of the patio stones.
Start by placing a long board or a straight edge across the surface of the patio. Carefully move it back and forth, checking for any dips or uneven spots. Adjust and re-tamp the sand as necessary to achieve a level surface.
Additionally, use a level to check the individual patio stones as you install them. Place the level on top of each stone and adjust as needed to ensure that it is level both horizontally and vertically. This will ensure a smooth and even surface for walking or placing furniture on your patio.
Pay particular attention to the edges and corners of the patio, as they tend to be more prone to unevenness. Use a level and additional sand if required to make precise adjustments and achieve a consistent level throughout the patio.
Regularly checking the level during the installation process will save you time and effort in the long run. It will help you identify and address any issues early on, resulting in a finished patio that not only looks great but also provides a stable and level surface.
Remember to periodically check the level throughout the installation process and make any necessary adjustments to ensure a consistent and level surface for your patio stones.
By carefully checking the level, you will ensure the quality and longevity of your patio installation, providing you with a functional and visually appealing outdoor space.
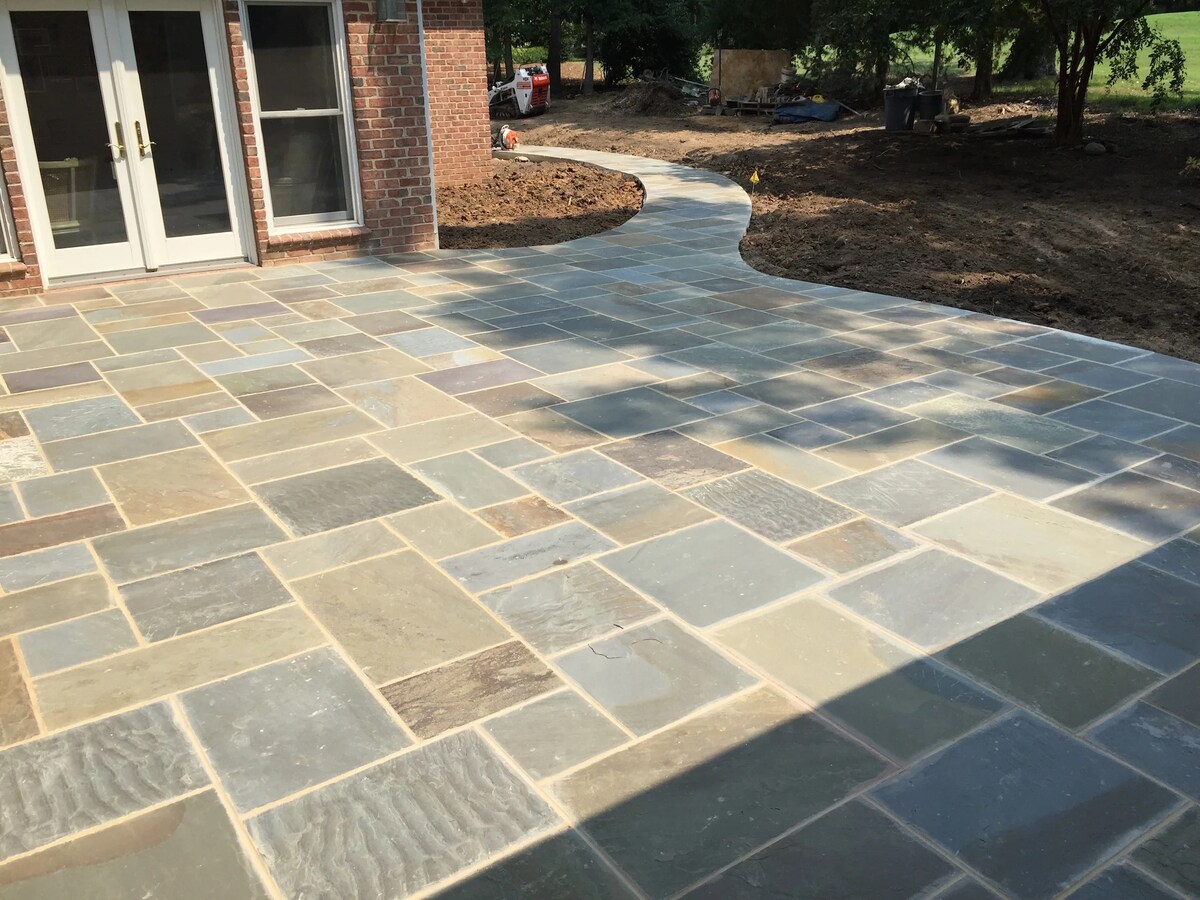
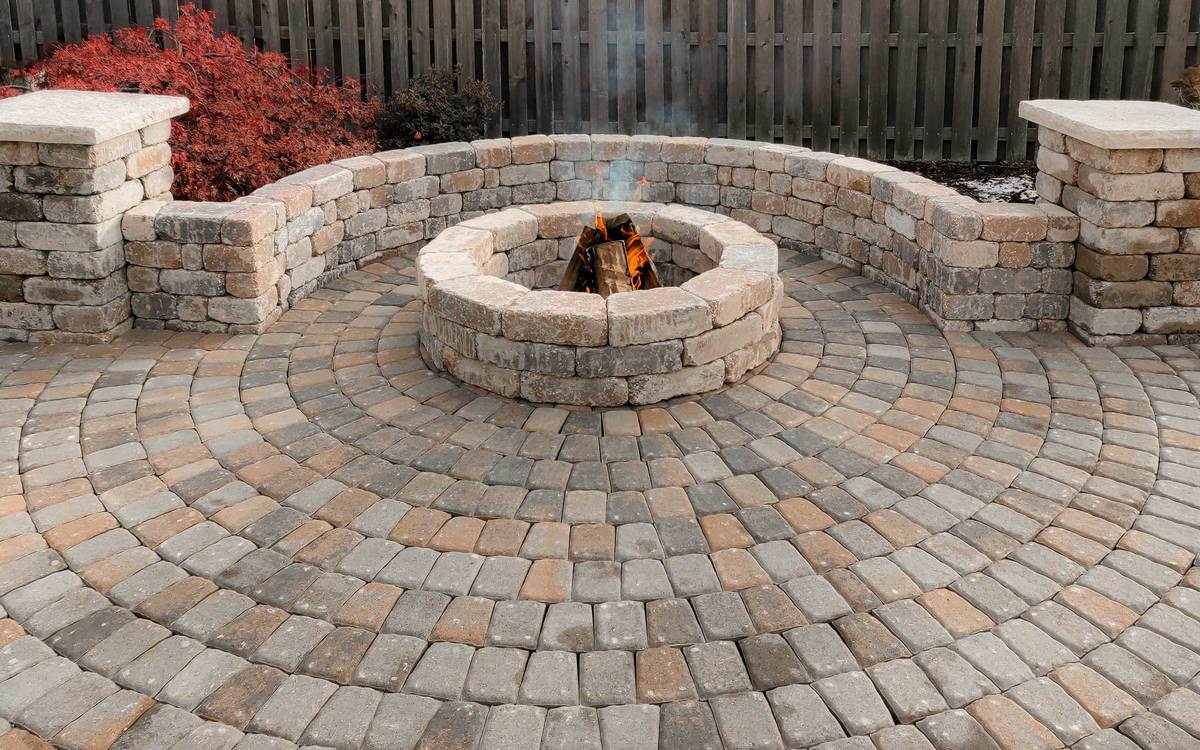
Installing the Patio Stones
With the ground leveled and prepared, it’s time to begin the exciting process of installing the patio stones. This step brings your outdoor space to life and sets the stage for your enjoyment and relaxation.
Start by placing the first patio stone in one corner of the patio area. Gently press it into the sand, ensuring that it sits level with the surrounding area. Use a rubber mallet or a block of wood to tap the stone into place if needed.
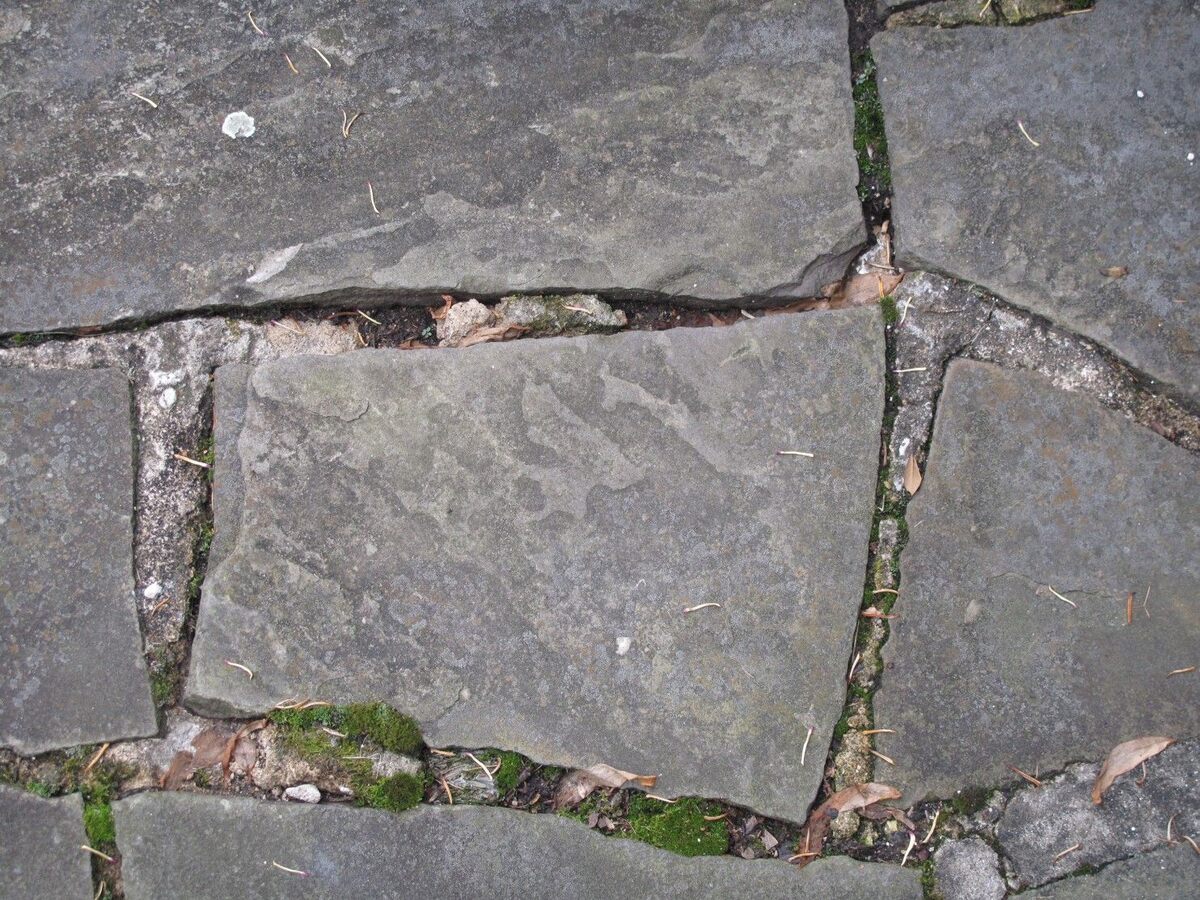
Continue placing the remaining patio stones, leaving a small gap of about 1/4 to 1/2 inch between each stone for jointing material. This gap allows for expansion and contraction of the stones with temperature changes.
As you install each stone, use a level to check for both horizontal and vertical alignment. Adjust as necessary to ensure that each stone is level and properly aligned with adjacent stones.
If you’re working with irregularly shaped stones, take the time to carefully fit them together like a puzzle. This will create a visually appealing and cohesive pattern. Use a wet saw or a chisel to cut and shape stones as needed.
For larger patio stones, it may be helpful to have a second person assist with the installation. This will ensure that the stones are properly positioned and aligned.
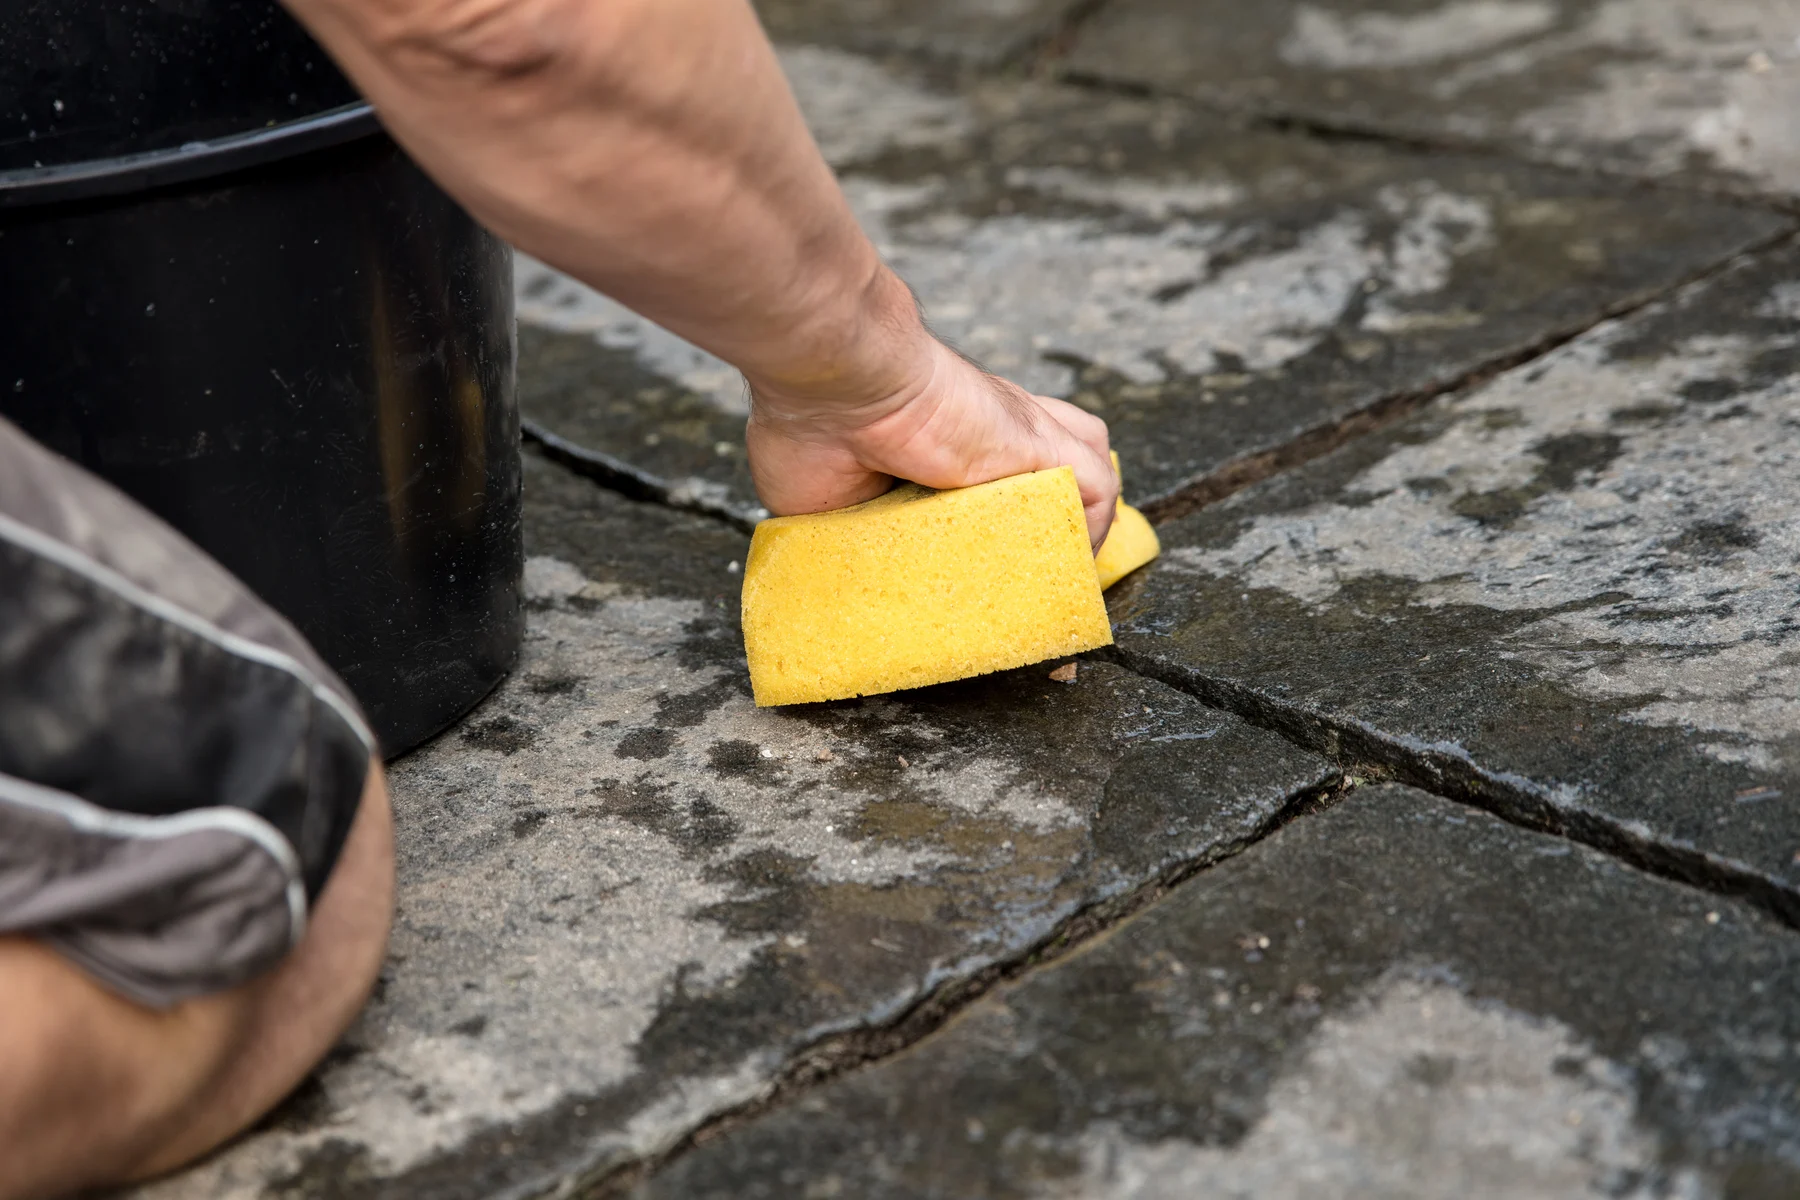
Once all the patio stones are installed, fill the gaps between the stones with jointing material, such as polymeric sand or stone dust. Brush the jointing material into the gaps, ensuring that it fills the spaces completely. Use a broom or a brush to sweep away any excess material.
Finally, use a plate compactor or simply walk across the patio to settle the stones and jointing material into place. This will create a stable and cohesive surface.
Installing the patio stones requires precision and attention to detail. Taking the time to properly align and level each stone will result in a visually stunning patio that adds beauty and functionality to your outdoor space.
By following these steps, you can confidently install your patio stones and enjoy the fruits of your labor.
Finishing Touches
After the patio stones are installed, it’s time to add the finishing touches to complete your outdoor oasis. These final touches will enhance the functionality and aesthetics of your patio, making it a welcoming and enjoyable space for relaxation and entertainment.
One important aspect to consider is the edging of your patio. Edging helps to define the boundaries of the patio and provides a neat and finished look. You can use materials such as pavers, bricks, or metal edging to create a clean and polished border around the patio area.
In addition to edging, you may want to incorporate landscaping elements to enhance the overall ambiance of your patio. This can include planting flower beds, adding potted plants, or installing decorative lighting fixtures. These elements will add color, texture, and a touch of nature to your outdoor space.
Consider adding outdoor furniture, such as a dining set, lounge chairs, or a cozy seating area. Choose furniture that is comfortable, durable, and suitable for your outdoor environment. Adding cushions, pillows, and outdoor rugs can further enhance the comfort and style of your patio.
Don’t forget about shade options as well. You can install a pergola, umbrella, or retractable awning to provide relief from the sun and create a comfortable outdoor environment even during hot summer days.
Lastly, consider adding functional elements such as a fire pit, a grill, or a kitchenette. These additions will allow you to extend the use of your patio beyond just lounging and dining, making it an ideal space for entertaining and creating lasting memories with family and friends.
By focusing on these finishing touches, you can transform your patio into a true outdoor oasis. Personalize it with your style and preferences, and create a space that reflects your unique taste and lifestyle.
Remember to regularly maintain and clean your patio to ensure its longevity. Sweep away debris, remove stains, and apply sealant as needed to preserve the beauty and functionality of your patio.
Congratulations on completing your patio project! Now, sit back, relax, and enjoy the fruits of your labor in your newly transformed outdoor space.
Conclusion
Leveling the ground for patio stones is a crucial step in creating a beautiful and functional outdoor space. By following the steps outlined in this article, you can ensure a solid foundation for your patio, resulting in a stable and long-lasting surface for your patio stones.
From assessing the patio area to removing excess soil, marking the boundaries to determining the desired level, and compacting the ground to adding a layer of sand, each step plays a vital role in achieving a level surface for your patio. Tamping the sand and checking the level further refine the patio’s foundation, ensuring a secure and level installation.
Once the ground is prepared, the installation of the patio stones brings your outdoor space to life. Taking the time to align and level each stone ensures a visually stunning patio that adds both beauty and functionality to your yard.
Don’t forget the finishing touches! Edging, landscaping, furniture, and functional elements all contribute to creating a cozy and inviting outdoor oasis where you can relax, entertain, and make lasting memories.
Regular maintenance and cleaning of your patio will help preserve its beauty and functionality for years to come.>
Whether you’re enjoying a meal with loved ones or simply basking in the serenity of your own backyard, a well-leveled patio provides an inviting space to unwind and connect with nature.
So, roll up your sleeves, gather your tools, and embark on the journey of leveling the ground for your patio stones. With careful planning and attention to detail, you’ll soon have a perfectly level foundation for your dream outdoor space.
Now, go ahead and create a patio that will be the envy of the neighborhood! Enjoy the process and the rewards of your hard work as you savor the beauty and comfort of your leveled patio.
Frequently Asked Questions about How To Level Ground For Patio Stones
Was this page helpful?
At Storables.com, we guarantee accurate and reliable information. Our content, validated by Expert Board Contributors, is crafted following stringent Editorial Policies. We're committed to providing you with well-researched, expert-backed insights for all your informational needs.


0 thoughts on “How To Level Ground For Patio Stones”