Home>Furniture>Outdoor Furniture>How To Level For A Patio

Outdoor Furniture
How To Level For A Patio
Modified: March 7, 2024
Learn how to level your patio for the perfect outdoor furniture setup. Step-by-step guide and expert tips to ensure a sturdy and even surface.
(Many of the links in this article redirect to a specific reviewed product. Your purchase of these products through affiliate links helps to generate commission for Storables.com, at no extra cost. Learn more)
Introduction
Welcome to the world of outdoor living where you can relax, entertain, and enjoy the beauty of nature right in your own backyard. One essential component of creating the perfect outdoor space is a well-designed patio. A patio not only provides a space for outdoor activities but also adds value to your property. However, before you start building your dream patio, it is crucial to ensure that the foundation is properly leveled.
Leveling a patio is essential to ensure optimal functionality and longevity. It ensures that the patio is stable, prevents water pooling, and allows for proper drainage. In this article, we will guide you through the steps of leveling for a patio, from planning and preparation to the finishing touches.
Whether you are a DIY enthusiast or working with a professional, having a comprehensive understanding of the leveling process will enable you to make informed decisions and ensure a successful outcome for your outdoor space.
So, let’s dive in and learn how to level for a patio, creating a functional and inviting space that you can enjoy for years to come.
Key Takeaways:
- Properly leveling a patio is crucial for stability, drainage, and longevity. It involves planning, assessing the area, gathering materials, leveling the surface, and ensuring proper drainage to create a functional outdoor space.
- After leveling your patio, add finishing touches like seating, landscaping, and amenities to create an inviting outdoor oasis. Regular maintenance and care will ensure your patio remains a beautiful and enjoyable space for years to come.
Read more: How To Level A Concrete Patio
Planning and Preparation
Before you start leveling for your patio, it is important to spend some time in the planning and preparation phase. This step is crucial to ensure that you have a clear vision of what you want to achieve and to gather the necessary materials and tools.
Here are some key considerations for planning and preparing your patio leveling project:
- Determine the size and shape: Measure the area where you want to build the patio and decide on the shape and dimensions. Consider the purpose of your patio and what activities you plan to do on it. This will help you determine the appropriate size and shape for your outdoor space.
- Check local building codes: Before starting any construction, it is essential to check your local building codes and regulations. These codes may specify requirements for patio construction, including the depth and base materials needed for proper leveling.
- Choose the patio material: Select the type of material you want to use for your patio. Popular options include concrete, pavers, bricks, or natural stone. Each material comes with its own leveling requirements, so make sure to research and determine the best option for your project.
- Plan for proper drainage: Consider the slope of your yard and plan for proper drainage to prevent water pooling on your patio. This is crucial to ensure the longevity of your patio and prevent damage caused by water accumulation.
- Make a list of materials and tools: Once you have a clear plan for your patio, make a list of all the materials and tools you will need. This may include leveling compounds, gravel, sand, a compactor, a level, and various hand tools. Having everything prepared beforehand will make the construction process smoother.
By taking the time to thoroughly plan and prepare for your patio leveling project, you will ensure a successful and well-executed outcome. This upfront investment will save you time, money, and headaches down the road.
Assessing the Area for the Patio
Before you begin leveling for your patio, it’s crucial to assess the area where the patio will be located. This step will help you identify any potential challenges or issues that need to be addressed before construction begins.
Here are the steps to assess the area for your patio:
- Clear the area: Start by clearing the area of any existing vegetation, debris, or obstructions. This will give you a clear space to work with and allow you to properly evaluate the site.
- Check for slopes and slopes: Use a level and a long straight edge (such as a piece of lumber) to determine if there are any significant slopes or dips in the area. Ideally, your patio should be relatively level, with a slight slope for proper drainage.
- Consider the existing terrain: Take note of any natural features or elements in the area, such as trees, rocks, or roots. These may affect the construction process or the layout of your patio. It’s important to work around these elements or make necessary adjustments to ensure a level surface.
- Identify potential drainage issues: Look for signs of poor drainage, such as standing water or water runoff from nearby areas. Adequate drainage is essential to prevent moisture issues that can weaken the patio’s foundation. If necessary, consider incorporating drainage solutions like French drains or surface drains.
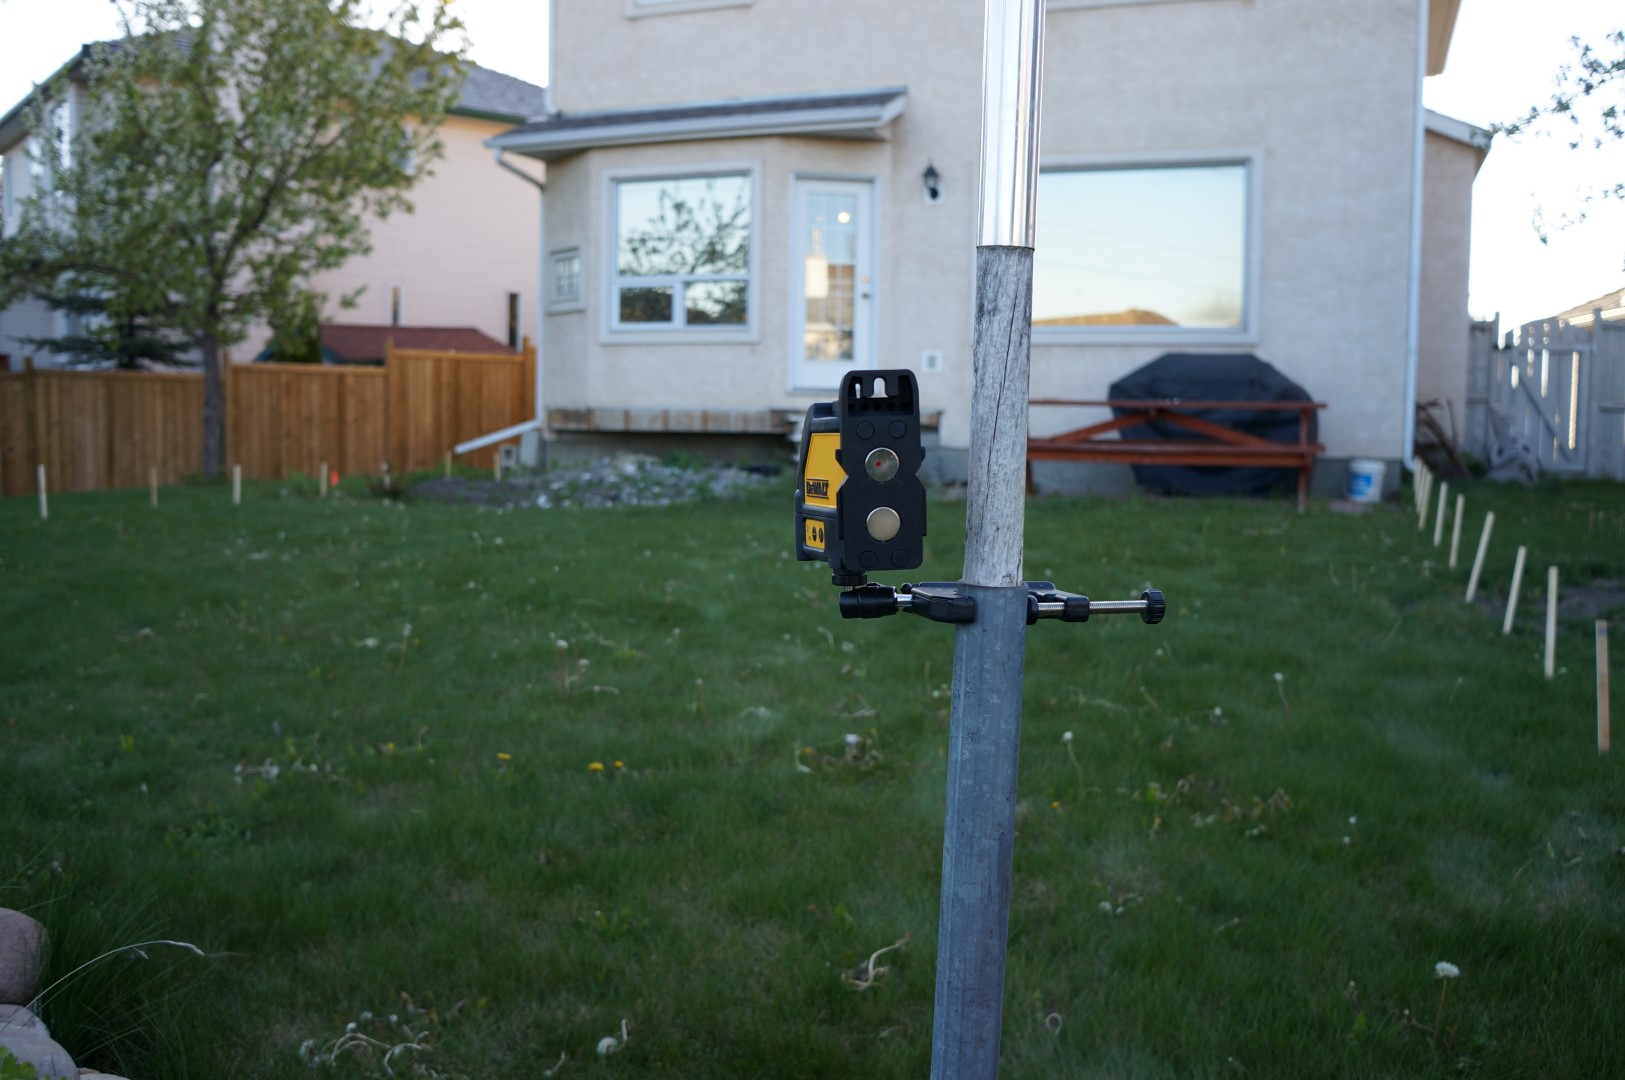
- Mark the boundaries: Use stakes and string to mark the boundaries of your patio area. This will give you a visual reference and help you determine the exact dimensions of the patio.
By thoroughly assessing the area for your patio, you can address any potential obstacles and make necessary adjustments to ensure a level and stable foundation. Taking the time to complete this step will contribute to the overall success and longevity of your patio.
Gathering Materials and Tools
Once you have assessed the area for your patio and have a clear plan in place, it’s time to gather the necessary materials and tools for the leveling process. Having all the required items on hand will make the construction process smoother and more efficient.
Here is a list of materials and tools you will likely need for leveling your patio:
- Leveling compound: Depending on the type of patio material you’re using, you may need a leveling compound to create a smooth and level surface. Choose a leveling compound that is suitable for the specific material and follow the manufacturer’s instructions for proper application.
- Gravel: A layer of gravel is often used as a base material to provide stability and aid in proper drainage. Determine the amount of gravel needed based on the size and depth of your patio area.
- Sand: Sand is another key ingredient for leveling a patio, particularly for projects using pavers or bricks. It helps create a flat and even surface and allows for minor adjustments during the installation process.
- Compactor: A compactor is essential for compacting the base materials, such as gravel and sand. It helps to create a solid foundation and minimizes future settling of the patio surface. Rent or purchase a compactor appropriate for your project size.
- Hand tools: Various hand tools will come in handy during the leveling and construction process. These may include a shovel, rake, trowel, straight edge, hammer, and measuring tape.
- Protective gear: Don’t forget to prioritize your safety. Gather the necessary protective gear, including gloves, safety glasses, and a dust mask, to protect yourself during the construction process.
Before starting the leveling process, ensure that you have all the necessary materials and tools readily available. This will save you time and allow you to work efficiently, resulting in a successfully leveled and well-constructed patio.
Clearing the Site
Now that you have gathered all the necessary materials and tools, it’s time to clear the site where your patio will be constructed. This step involves removing any existing vegetation, debris, or obstacles to create a clean and open space for the leveling process.
Here are the steps to clear the site for your patio:
- Remove vegetation: Start by clearing any grass, weeds, or plants in the area where your patio will be located. Use a shovel or a garden hoe to dig out the vegetation, making sure to remove the roots to prevent regrowth.
- Get rid of existing debris: Clear out any rocks, stones, or other debris that may be present on the site. This will ensure a smooth and even surface for the base materials of your patio.
- Address any obstructions: Take note of any obstacles that could hinder the construction process, such as large tree roots or rocks. If necessary, remove or relocate these obstructions to create a clear space for the patio.
- Check for underground utilities: Before you begin digging, it’s crucial to check for any underground utilities, such as gas lines or electrical cables. Contact your local utility companies to have them mark the location of these services to avoid any accidents or disruptions.
- Level the surface: Use a rake or a shovel to level the surface of the cleared area. This will help remove any bumps or unevenness, providing a solid base for your patio construction.
By clearing the site properly, you create the foundation for a well-leveled and properly constructed patio. This step ensures that the leveling process will be effective and sets the stage for the remaining steps in building your dream outdoor space.
Before starting to level for a patio, make sure to properly measure and mark the area. Use a string level to check for any slopes and adjust the ground as needed. Compact the soil and add a layer of sand for a smooth and level base.
Read more: How To Level Out A Concrete Patio
Setting Up the Level
Setting up the level is a crucial step in the patio leveling process. The level is used to determine the evenness and slope of the patio surface, ensuring that it is both aesthetically pleasing and functional. It is important to properly set up the level to achieve accurate results.
Here are the steps to set up the level for your patio:
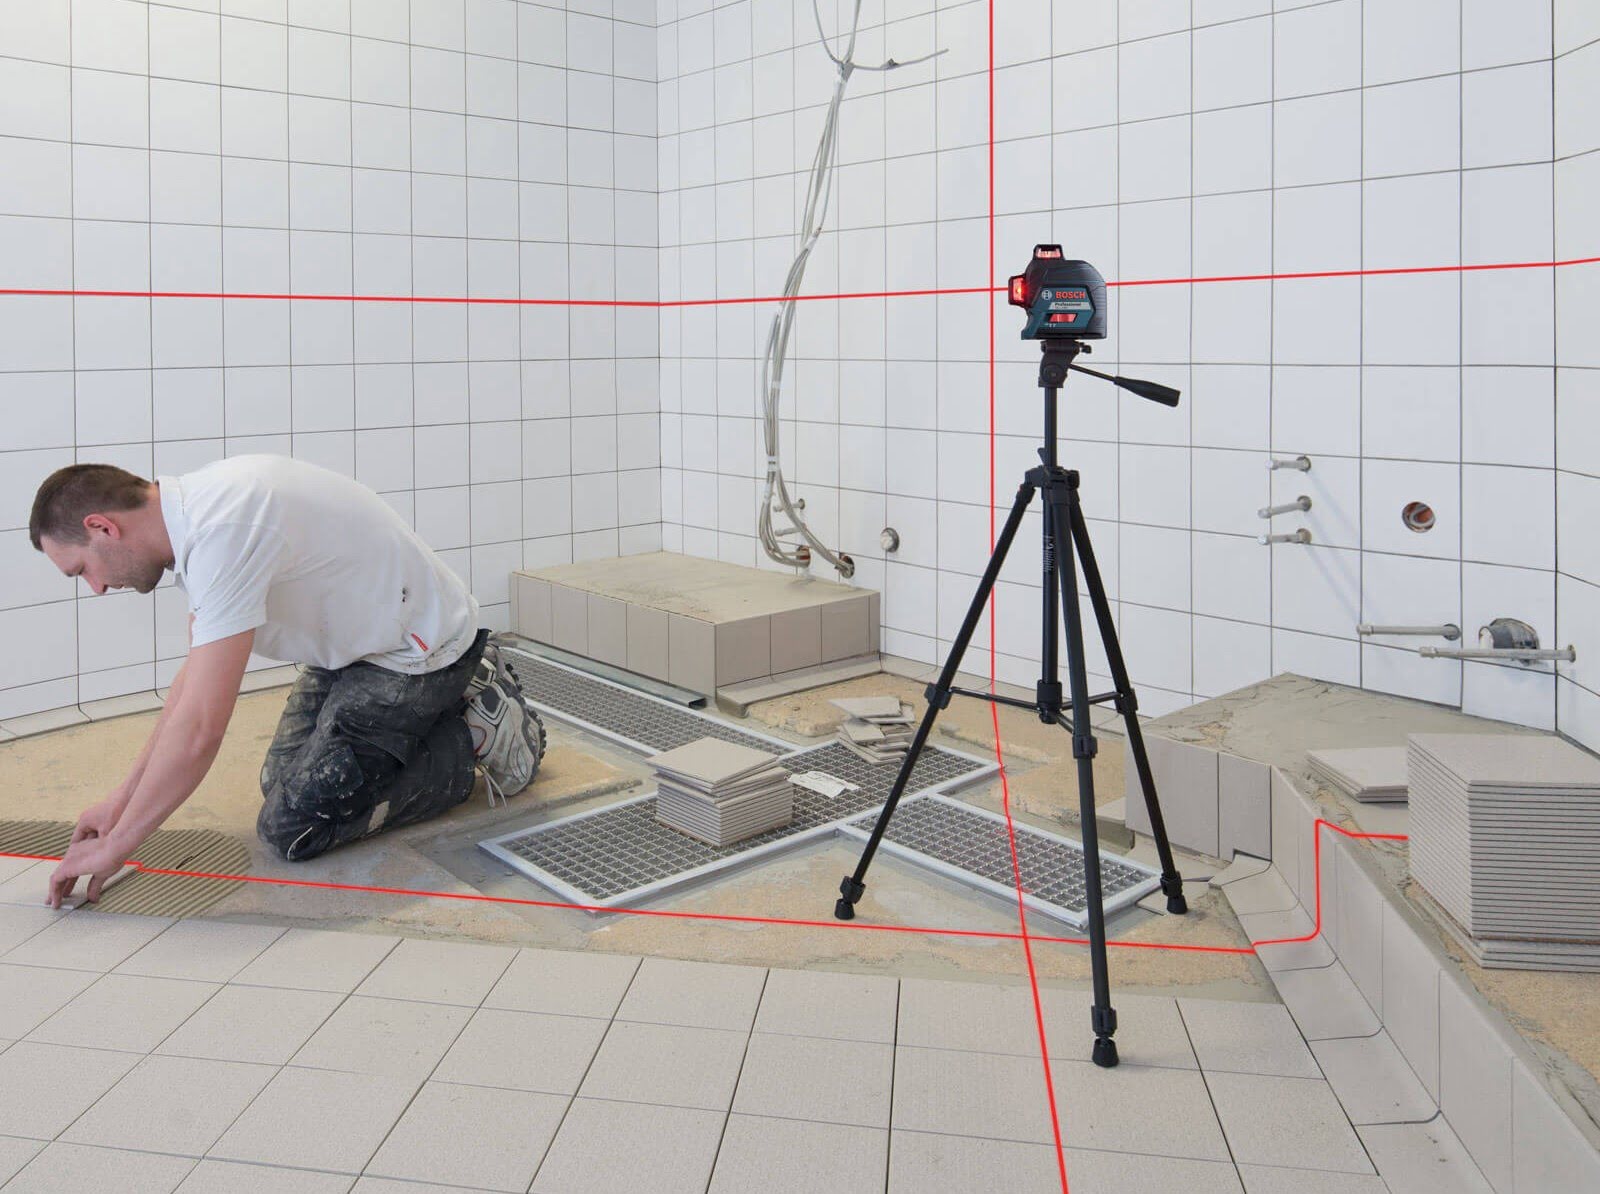
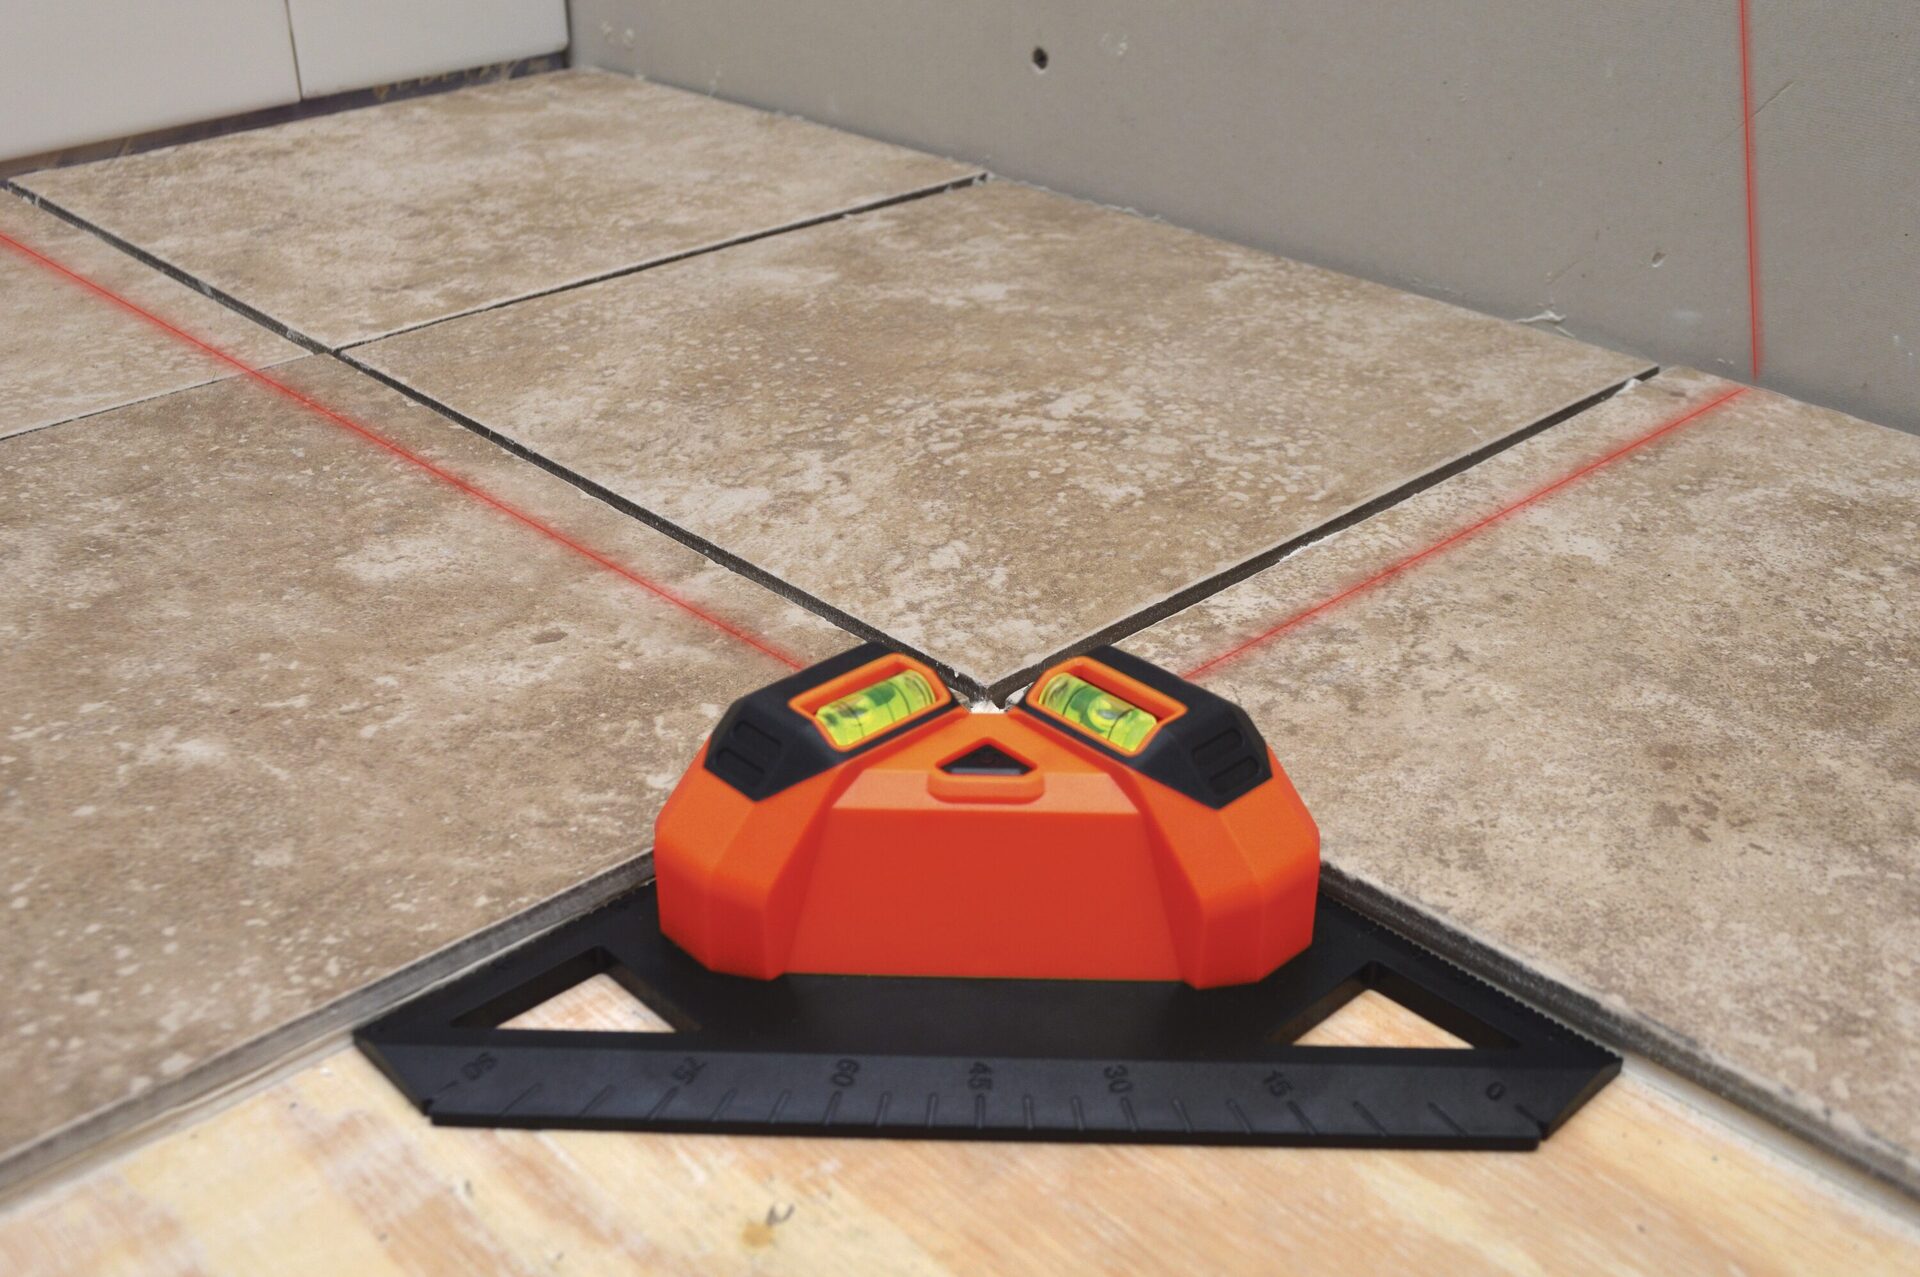
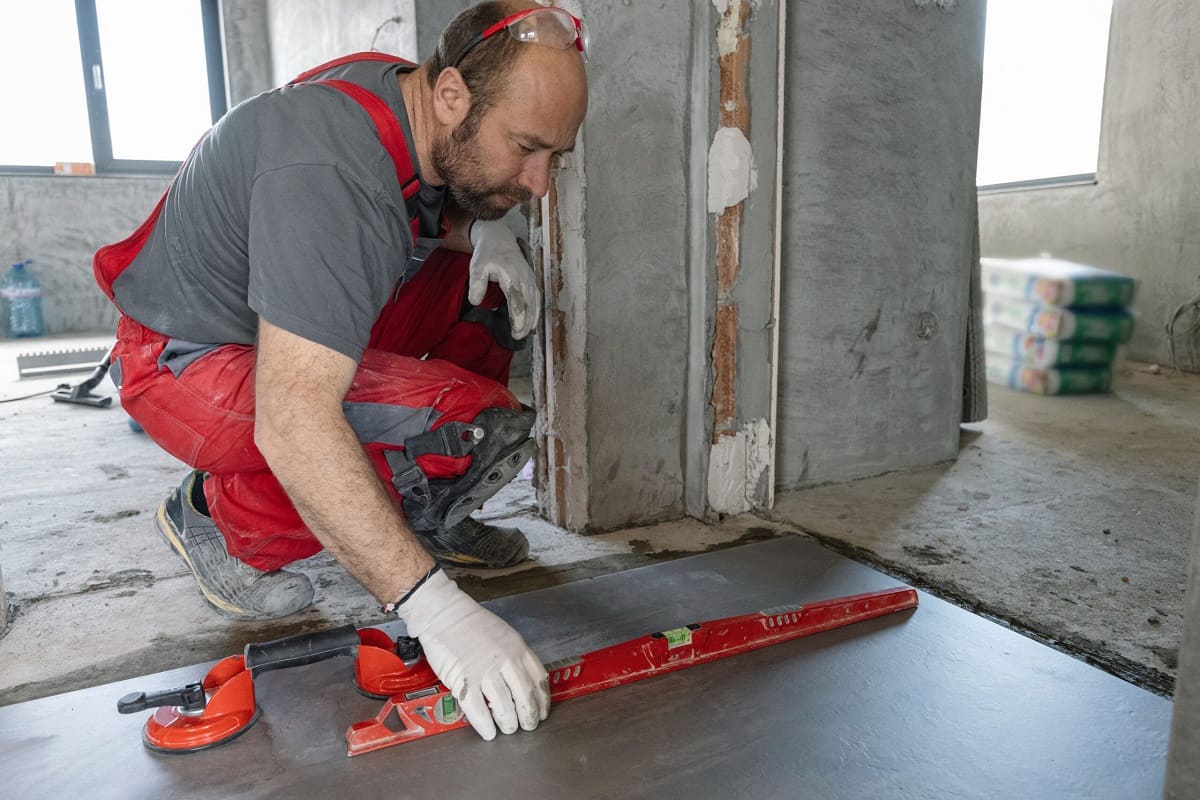
- Select the right type of level: Depending on the size and complexity of your patio project, you can choose between a traditional bubble level, a laser level, or a digital level. Consider the accuracy and ease of use of each type to determine which one is best suited for your needs.
- Prepare the level surface: Before placing the level, make sure that the surface is clean and free from any debris or obstructions. This will ensure accurate readings and prevent interference with the leveling process.
- Position the level: Place the level on the surface of the patio in a location that allows you to easily read the bubble or digital display. For larger areas, it may be necessary to use additional levels at different points to ensure consistency across the entire patio surface.
- Check for levelness: Once the level is positioned, check if the bubble is centered or if the digital reading indicates a level surface. Adjust the patio base materials, such as gravel or sand, as needed to achieve a level surface. This may involve adding or removing material to achieve the desired result.
- Confirm the slope: After confirming the levelness, check for the desired slope for proper water drainage. Most patios have a slight slope of 1/8 to 1/4 inch per foot, ensuring that water flows away from the structure and prevents pooling.
- Double-check the level readings: Take multiple readings across the patio surface to ensure consistency and accuracy. This will help you identify any areas that may need further adjustment or leveling before proceeding with the construction process.
By properly setting up the level, you can ensure that your patio surface is even, visually appealing, and functional. Taking the time to achieve accurate level readings will contribute to the overall success and longevity of your patio.
Leveling the Patio Area
Now that you have completed the setup of your level, it’s time to start the actual leveling process for your patio. This step involves adjusting the base materials, such as gravel or sand, to create a flat and even surface. Proper leveling is crucial to ensure the stability and longevity of your patio.
Here are the steps to level the patio area:
- Add or remove base material: If the level readings indicate an uneven surface, you may need to add or remove base material to achieve the desired levelness. This can be done by adding additional gravel or sand to low spots or removing excess material from high spots.
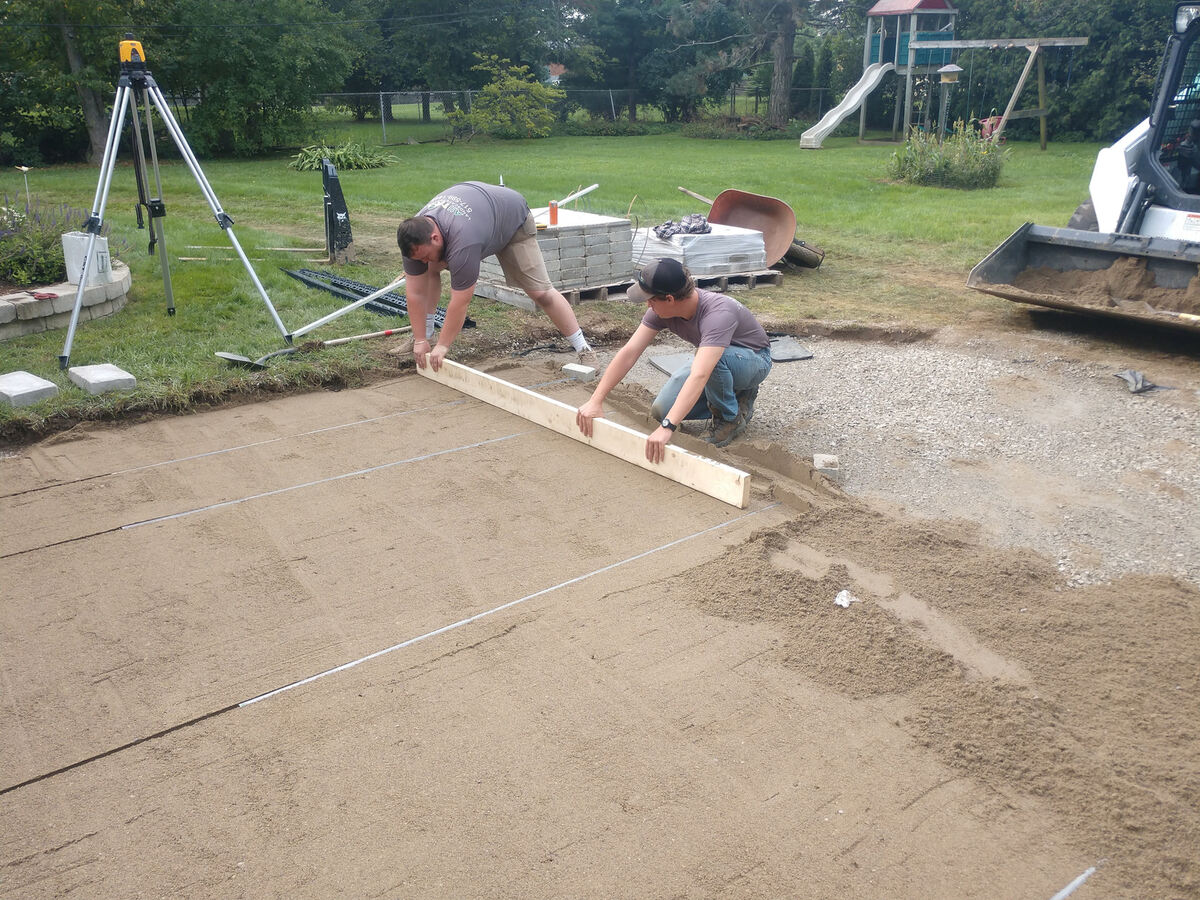
- Tamp down the base material: Use a compactor or a hand tamper to compact the base material after making adjustments. This helps to create a solid and stable foundation for your patio. Compact the material in layers, working from edge to edge, to ensure an even distribution of weight.
- Check the level constantly: Throughout the leveling process, continue checking the level readings at various points to ensure consistency. Make additional adjustments as needed to achieve a level surface across the entire patio area.
- Rake and smooth the surface: Once the base material is properly leveled and compacted, use a rake to smooth the surface. Remove any debris or large stones that may have been uncovered during the leveling process.
- Double-check the slope: After achieving a level surface, recheck the slope of the patio to ensure proper drainage. Use a straightedge or a level to confirm that the patio has a slight slope of 1/8 to 1/4 inch per foot.
- Compact the surface: Lastly, run the compactor over the leveled surface one final time to ensure maximum compaction and stability. This will help minimize future settling and ensure the longevity of your patio.
By meticulously leveling the patio area, you are creating a solid foundation for your outdoor space. Paying attention to detail and continuously checking the level will result in a professionally leveled patio surface that is ready for the next steps of construction.
Checking for Proper Drainage
Proper drainage is a critical aspect of any patio construction project. It helps to prevent water pooling and potential damage to your patio. After leveling the patio area, it is important to check for proper drainage to ensure that water flows away from the structure and into designated drainage systems.
Here are the steps to check for proper drainage:
- Observe water flow: Using a hose or buckets of water, simulate rainfall by pouring water onto the surface of your patio. Observe how the water flows and the speed at which it drains.
- Check for standing water: After letting the water flow for a few minutes, check for any areas where standing water accumulates. These spots may indicate low points in the patio that require further leveling or adjustments.
- Assess slope and runoff: Examine the slope and direction of water runoff. Ideally, the water should flow away from your home or any structures and towards designated drainage areas or your yard. Ensure that water is not pooling or collecting in areas that could cause damage.
- Make necessary adjustments: If you identify any areas with poor drainage, make the necessary adjustments to correct the slope or raise the surface level. Adding additional base material or compacting the existing base can help rectify any drainage issues.
- Consider drainage solutions: If your patio still experiences drainage problems, consider incorporating additional drainage solutions, such as French drains or surface drains. These features can redirect water away from your patio, preventing water damage and promoting a healthy outdoor environment.
- Monitor during heavy rainfall: After completing the patio construction, it is important to monitor its performance during heavy rainfall. This will allow you to assess the effectiveness of the drainage system and make any necessary adjustments or improvements.
By thoroughly checking for proper drainage, you can ensure that your patio is protected from potential water damage and remains functional for years to come. Proper drainage not only enhances the longevity of your patio but also contributes to a safer and more enjoyable outdoor space.
Finishing Touches and Next Steps
With the leveling and drainage aspects of your patio construction complete, it’s time to add the finishing touches and move on to the next steps. These final steps will help bring your patio project to completion and make it ready for use and enjoyment.
Here are some finishing touches and next steps to consider:
- Apply a surface topping: Depending on the type of patio material you have chosen, you may want to apply a surface topping. For example, if you have a concrete patio, you can choose to stamp or stain the surface to enhance its appearance. If you have chosen pavers, applying a joint sand will help secure them in place and give a finished look.
- Add seating and amenities: Bring in outdoor furniture, such as tables, chairs, and lounge seating, to create a comfortable and inviting space. Consider adding amenities like a fire pit, outdoor kitchen, or lighting to enhance the functionality and ambiance of your patio.
- Landscaping and greenery: Surround your patio area with landscaping elements, such as plants, flowers, shrubs, or even a garden. This will add beauty and create a seamless integration between your patio and the surrounding environment.
- Create designated areas: Divide your patio into distinct areas for different activities. Consider creating zones for dining, lounging, and entertaining. This will maximize the functionality of your outdoor space and provide options for various outdoor activities.
- Maintain and care for your patio: Regular maintenance is essential to keep your patio in top condition. Clean the surface regularly, remove debris, and address any issues promptly. Depending on the patio material, you may need to reseal or reapply protective coatings periodically to ensure longevity.
- Enjoy your outdoor oasis: Finally, sit back, relax, and enjoy the fruits of your labor. Your leveled and well-constructed patio is now ready to be enjoyed with family and friends. Whether it’s hosting backyard barbecues, enjoying quiet evenings outdoors, or simply basking in the beauty of nature, your outdoor oasis awaits!
Completing these finishing touches and next steps will transform your leveled patio into a beautiful and functional outdoor living space. Take pride in your work and create lasting memories in your well-designed and inviting outdoor oasis.
Read more: How To Level Ground For Patio Stones
Conclusion
Congratulations on successfully leveling your patio! By following the steps outlined in this article, you have laid the foundation for a beautiful and functional outdoor space. A leveled patio not only enhances the aesthetics of your backyard but also ensures stability, proper drainage, and durability.
Throughout the process, you learned the importance of planning and preparation, assessing the site, gathering the necessary materials and tools, clearing the area, setting up the level, leveling the patio area, and ensuring proper drainage. Each step plays a crucial role in achieving a well-constructed patio that can be enjoyed for years to come.
As you continue to enjoy your leveled patio, remember to take pride in your work and maintain it regularly. Keep an eye out for any signs of settling or drainage issues and address them promptly to maintain the structural integrity of your patio. Additionally, consider adding personal touches, such as outdoor furniture, landscaping, and amenities, to make your patio truly your own.
Whether you use your patio for hosting gatherings, enjoying quiet moments with a book, or simply immersing yourself in the beauty of nature, know that you have created a special space that can be cherished by you and your loved ones.
So, go ahead and embrace outdoor living at its finest. Relax, unwind, and create lasting memories in your perfectly leveled patio. Cheers to many enjoyable years ahead!
Frequently Asked Questions about How To Level For A Patio
Was this page helpful?
At Storables.com, we guarantee accurate and reliable information. Our content, validated by Expert Board Contributors, is crafted following stringent Editorial Policies. We're committed to providing you with well-researched, expert-backed insights for all your informational needs.







0 thoughts on “How To Level For A Patio”