Home>Garden Essentials>How To Infill Exterior Basement Walls Window Opening

Garden Essentials
How To Infill Exterior Basement Walls Window Opening
Modified: March 7, 2024
Learn how to infill exterior basement walls and create a garden window opening. Transform your space with our step-by-step guide.
(Many of the links in this article redirect to a specific reviewed product. Your purchase of these products through affiliate links helps to generate commission for Storables.com, at no extra cost. Learn more)
Introduction
Welcome to the world of gardening! Whether you’re a seasoned enthusiast or just starting out, there’s no denying the joy and satisfaction that comes from tending to a garden. From cultivating beautiful flowers to growing your own delicious fruits and vegetables, the possibilities are endless.
But before you get your hands dirty, it’s important to have a solid understanding of the basics. This comprehensive guide will walk you through everything you need to know about gardening, from choosing the right plants for your space to maintaining a healthy and thriving garden.
So grab your shovel and let’s dive in!
Before you begin, it’s essential to assess your garden’s location and characteristics. Is it full sun, partial shade, or full shade? Understanding the amount of sunlight your garden receives will help you choose plants that thrive in those conditions.
Next, consider the type of soil you have. Is it sandy, loamy, or clay-based? Different plants have different soil preferences, so knowing your soil type will help you select the right plants and make any necessary amendments to improve its quality.
Once you have a clear understanding of your garden’s conditions, you can start planning what you want to grow. Are you interested in growing flowers for their beauty? Or perhaps you want to grow your own herbs and vegetables for a fresh and sustainable food source?
When selecting plants, it’s important to also consider their mature size and growth habits. Will they fit in your garden space? Will they require support structures, like trellises or stakes? Taking these factors into account will help you avoid overcrowding and ensure that your garden remains well organized and visually appealing.
Now that you have your plants selected, it’s time to get them in the ground. Prepare the soil by removing any existing weeds or grass and loosening it with a garden fork or tiller. This will create a hospitable environment for your plants’ roots to spread and establish.
Once your soil is prepped, gently remove the plant from its container, being careful not to disturb the roots. Dig a hole that is slightly larger than the root ball, place the plant in the hole, and backfill with soil. Be sure to water thoroughly after planting to settle the soil and provide the plant with much-needed hydration.
Don’t forget about the importance of ongoing care and maintenance. Regular watering, fertilizing, and pruning are all essential to keep your garden looking its best. Additionally, keeping an eye out for pests and diseases will allow you to address any issues promptly and prevent them from spreading.
Gardening is a rewarding and ever-evolving journey. With the knowledge and guidance provided in this comprehensive guide, you’ll be well-equipped to create and maintain a beautiful and thriving garden that you can enjoy for years to come.
So get out there and let your green thumb lead the way!
Key Takeaways:
- Before starting your garden, assess sunlight and soil type. Choose plants that thrive in your garden’s conditions and plan for ongoing care to keep your garden healthy and beautiful.
- When infilling exterior basement walls and installing a window, proper preparation, insulation, and sealing are crucial. Follow the steps to create a secure, well-insulated, and visually appealing window opening.
Read more: How To Open Basement Window
Step 1: Preparation
Before you start any gardening project, it’s important to take the time to properly prepare your garden space. This will ensure that your plants have the best possible environment to grow and thrive. Here are the key steps to follow:
- Clear the area: Begin by removing any existing vegetation, including weeds and grass. Use a garden rake or shovel to clear away debris and create a clean slate for your garden.
- Test the soil: It’s important to understand the composition and pH level of your soil. You can purchase a soil testing kit from a garden center or send a soil sample to a local agricultural extension service for analysis. The test results will help you determine if any amendments are needed to optimize the soil quality for plant growth.
- Amend the soil: Based on the soil test results, you may need to make adjustments to the soil composition. Common amendments include adding organic matter, such as compost or well-rotted manure, to improve soil structure and nutrient content. Follow the recommended application rates for the specific amendment you are using.
- Plan your garden layout: Take some time to visualize how you want your garden to look. Consider factors such as plant placement, spacing, and overall design. Keep in mind the mature size of the plants you intend to grow and ensure they have enough space to grow without overcrowding. This will help prevent competition for nutrients and sunlight and promote healthy plant growth.
- Install garden borders or edging: Define the boundaries of your garden by installing garden borders or edging. This will help keep the garden organized and prevent grass and weeds from encroaching on your planting area.
- Prepare irrigation system: Determine how you will provide water to your plants. Whether you choose traditional watering methods or install an irrigation system, ensure that your plants will receive adequate moisture for their needs.
By carefully preparing your garden space, you set the stage for a successful and thriving garden. Taking the time to clear the area, test and amend the soil, plan your layout, and install proper irrigation will go a long way in ensuring optimal conditions for your plants to flourish.
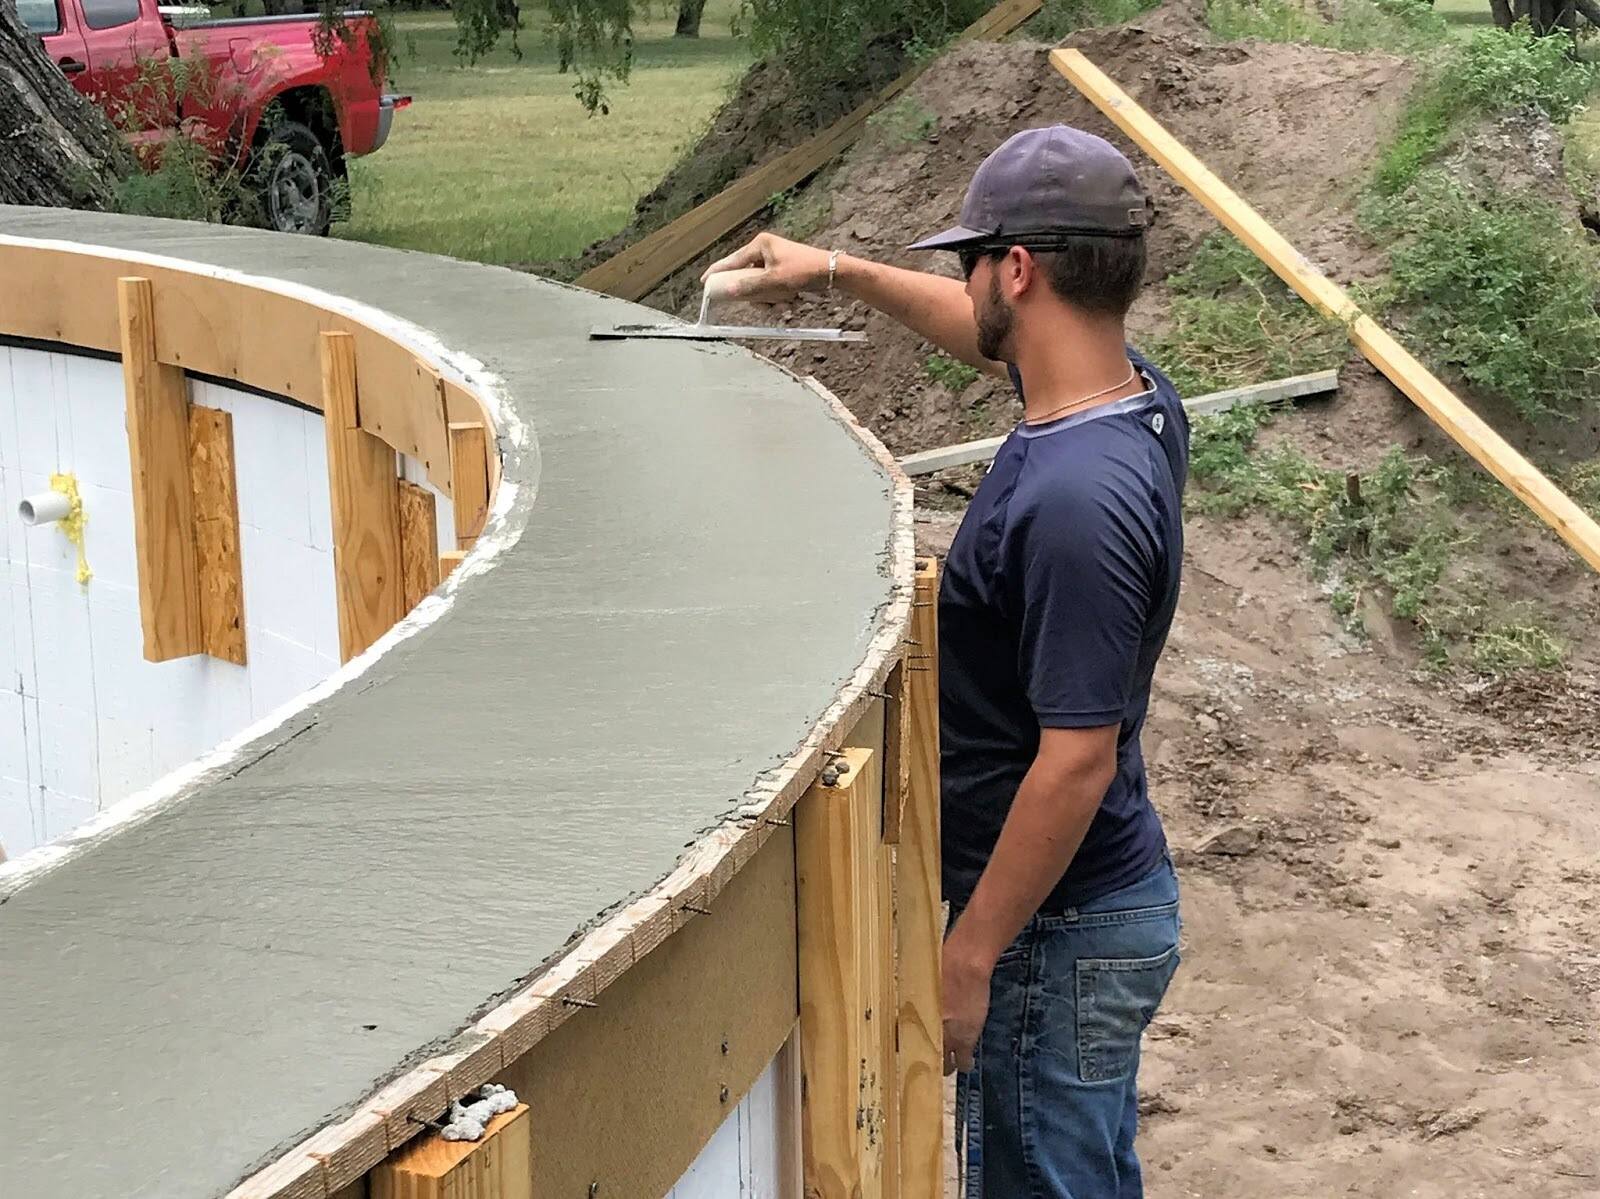
Step 2: Installing the Window Frame
Installing a window frame is an essential step when infilling exterior basement walls. It provides a secure structure for the window and ensures proper insulation and sealing. Follow these steps to install the window frame:
- Measure and mark: Start by measuring the dimensions of the window opening. Use a measuring tape to accurately determine the length and height of the opening. Mark these measurements on the exterior basement wall using a pencil or marker.
- Cut the opening: Using a circular saw or reciprocating saw, carefully cut along the marked lines to create the window opening. Take precautions to wear safety goggles and follow proper safety procedures.
- Prepare the window frame: Measure the dimensions of the window frame, considering the thickness of the surrounding wall. Cut the window frame to fit the opening using a saw or a window frame cutting tool.
- Secure the window frame: Position the window frame in the opening and ensure it is level and plumb. Use shims or wooden wedges to make any necessary adjustments to achieve a proper fit. Secure the frame in place by driving screws or nails through the window frame and into the surrounding wall.
- Check for stability: Once the window frame is secured, check its stability by giving it a gentle shake. If there is any movement, add additional screws or nails to reinforce the frame and improve stability.
Installing the window frame is a crucial part of the process as it provides the foundation for the rest of the infilling project. By following these steps and ensuring a secure and stable frame, you are setting the stage for a successful window installation and a well-insulated basement area.
Step 3: Insulating the Window Opening
Properly insulating the window opening is essential for maintaining energy efficiency and preventing drafts. Here’s how you can insulate the window opening:
- Choose the insulation material: There are several insulation options available, including fiberglass batts, spray foam insulation, and rigid foam insulation. Consider factors such as R-value, moisture resistance, and ease of installation when selecting the right material for your window opening.
- Measure and cut insulation: Take accurate measurements of the window opening and cut the insulation material to fit. Ensure a snug fit by trimming the insulation if necessary.
- Install the insulation: Place the insulation inside the window opening, ensuring that it fills the space completely and is in contact with the window frame. Use adhesive or tape to secure the insulation in place and to create a tight seal.
- Seal any gaps: Inspect the window opening for any gaps or air leaks. Use caulk or weatherstripping to seal these areas, preventing drafts and improving the overall insulation of the window.
Insulating the window opening is crucial for maintaining a comfortable and energy-efficient space. By choosing the right insulation material, properly measuring and cutting the insulation, and sealing any gaps, you can enhance the insulation properties of the window and ensure optimal energy efficiency.
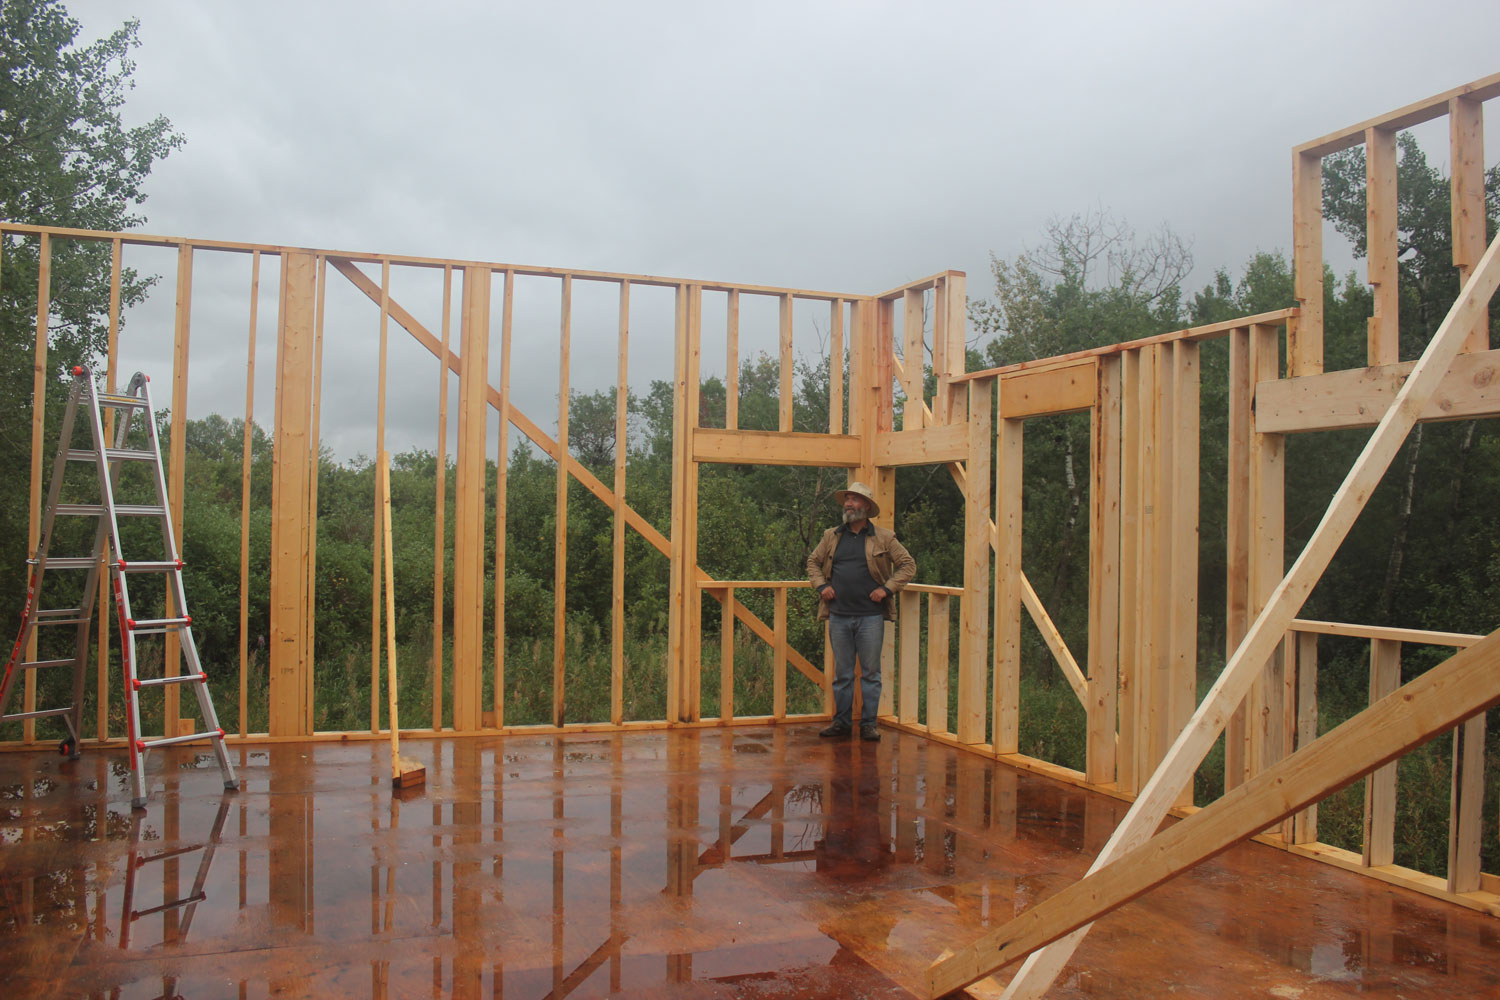
When infilling exterior basement walls around window openings, use pressure-treated lumber for framing and moisture-resistant insulation to prevent water damage and mold growth.
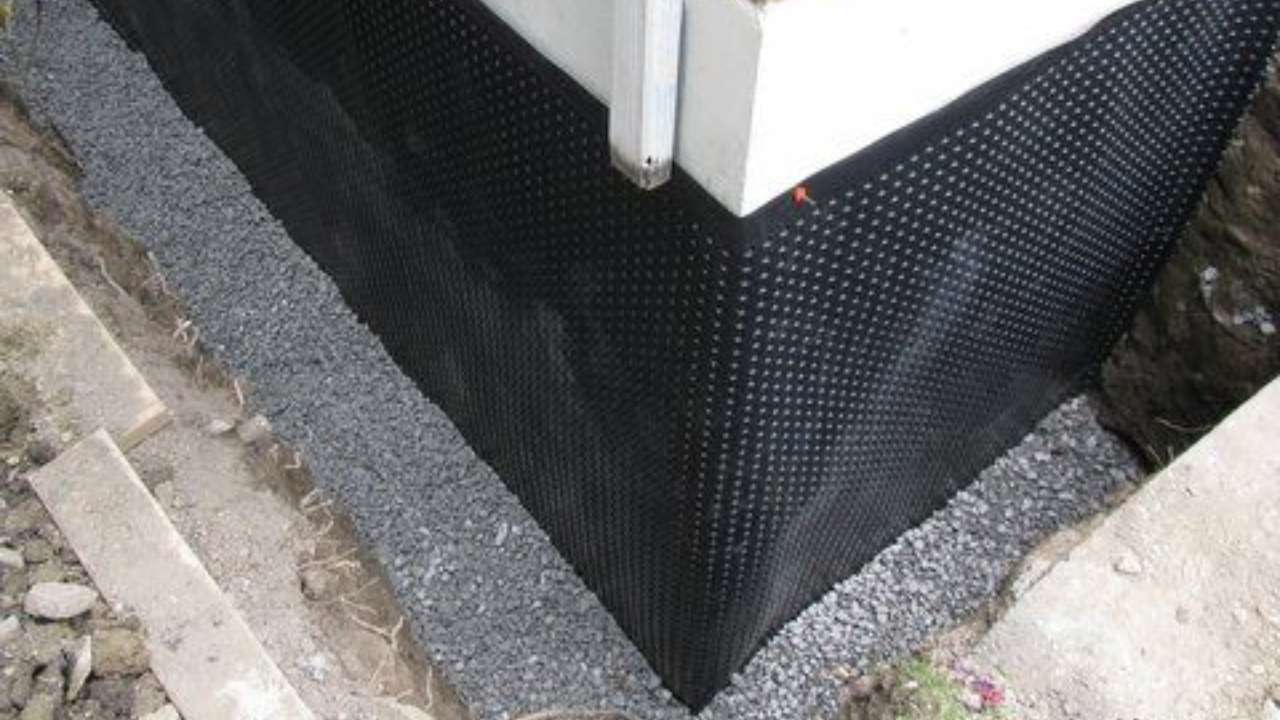
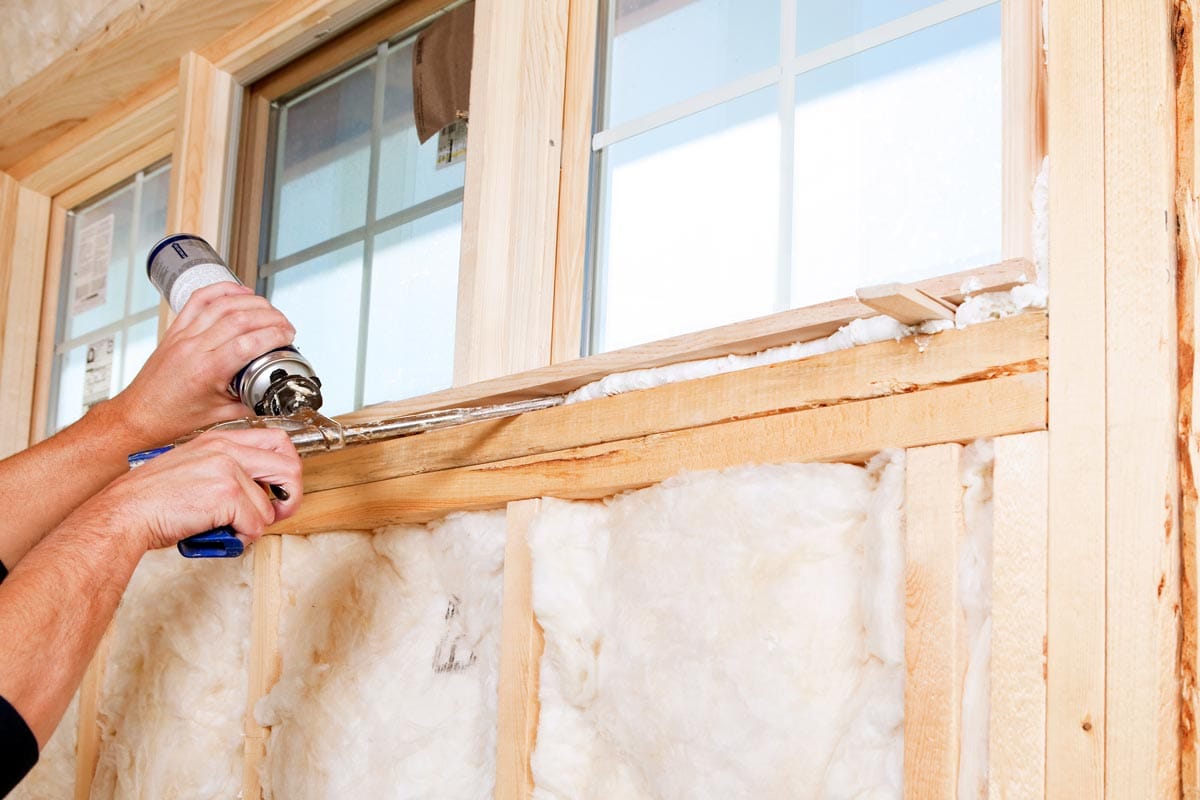
Step 4: Sealing the Window Opening
Sealing the window opening is an important step to prevent water leaks, drafts, and energy loss. Here’s how you can effectively seal the window opening:
- Apply a waterproofing membrane: Before sealing the window opening, it’s crucial to apply a waterproofing membrane to protect against moisture infiltration. Use a brush or roller to apply a layer of waterproofing membrane to the exterior surface of the window opening, following the manufacturer’s instructions.
- Install flashing: Flashing is used to direct water away from the window opening. Start by applying a layer of self-adhesive flashing tape along the bottom of the window opening, ensuring it extends beyond the sides of the window frame. Then, install metal flashing above the window frame, overlapping the bottom layer of flashing tape.
- Apply sealant: Use a high-quality exterior-grade sealant to seal any gaps between the window frame and the surrounding wall. Apply a generous bead of sealant along the perimeter of the window frame, ensuring a continuous seal. Smooth the sealant with a caulking tool or your finger for a clean finish.
- Insulate around the window frame: To further enhance energy efficiency and prevent drafts, fill any gaps between the window frame and the surrounding wall with insulation. Use expanding foam insulation or foam sealant to ensure a tight seal. Trim any excess foam once it has cured.
- Check for proper sealing: After the sealant has cured, inspect the window opening for any signs of gaps or air leaks. Seal any remaining gaps or cracks with additional sealant or foam insulation as needed.
Sealing the window opening is essential for maintaining the integrity of the window installation and preventing water damage and energy loss. By following these steps and ensuring a tight seal, you can create a watertight and energy-efficient window opening that will stand the test of time.
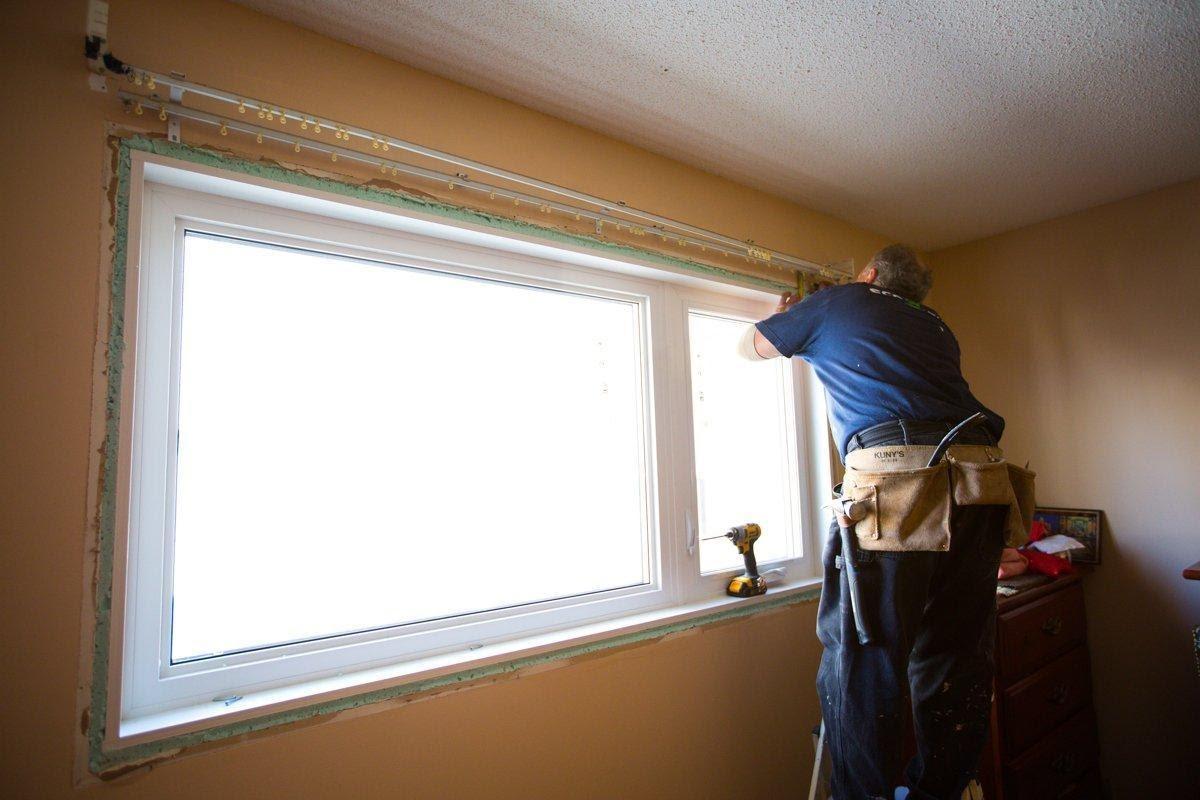
Step 5: Finishing Touches
With the window frame installed, the opening insulated, and the sealing complete, it’s time to add the finishing touches to your infilled exterior basement walls. These final steps will not only enhance the appearance of the window but also improve its functionality and longevity. Here’s what you need to do:
- Add trim and molding: Install trim and molding around the window frame to provide a polished and finished look. Choose a style that complements the overall design of your home and ensures a seamless transition between the window and the surrounding wall.
- Paint or stain: If desired, paint or stain the window frame and trim to match your home’s exterior. Use a high-quality, weather-resistant paint or stain to protect the wood and ensure long-lasting durability.
- Install window treatments: Install blinds, curtains, or other window treatments to add privacy and control the amount of light entering the room. Consider options that are suitable for high-moisture areas, such as a basement, and complement the overall aesthetic of your space.
- Clean and maintain: Once the finishing touches are complete, clean the window and surrounding area to remove any dirt or debris. Regularly inspect and maintain the window, ensuring that it remains in good condition and functioning properly.
Adding these final touches not only enhances the visual appeal of your infilled exterior basement walls but also adds a layer of protection and functionality to the window. By incorporating trim and molding, painting or staining, installing window treatments, and maintaining the window properly, you can create a finished and well-crafted window opening that will last for years to come.
Conclusion
Congratulations! You have successfully completed the process of infilling exterior basement walls and installing a window. By following the steps outlined in this guide, you have created a secure, well-insulated, and beautifully finished window opening.
Through proper preparation, installation of the window frame, insulation of the window opening, sealing, and adding the finishing touches, you have transformed your basement into a functional and inviting space. Your new window will not only bring in natural light but also enhance the overall aesthetic of your home.
Remember to regularly inspect and maintain your window to ensure its longevity and optimal performance. Regular cleaning, sealing any gaps or cracks, and checking for any signs of damage will help preserve the integrity of the window and protect it from wear and tear.
Additionally, continue to nurture your garden and enjoy the benefits of having greenery around your home. Take pride in your gardening endeavors and watch as your plants flourish and bring beauty to your outdoor space.
Thank you for joining us on this gardening and DIY journey. We hope that this comprehensive guide has provided you with the knowledge and confidence to execute the infilling of your exterior basement walls with ease. Happy gardening and enjoy your newfound window!
Frequently Asked Questions about How To Infill Exterior Basement Walls Window Opening
Was this page helpful?
At Storables.com, we guarantee accurate and reliable information. Our content, validated by Expert Board Contributors, is crafted following stringent Editorial Policies. We're committed to providing you with well-researched, expert-backed insights for all your informational needs.


0 thoughts on “How To Infill Exterior Basement Walls Window Opening”