Home>Garden Essentials>How To Infill Ground Void Along Basement Wall
Garden Essentials
How To Infill Ground Void Along Basement Wall
Modified: March 15, 2024
Learn how to infill ground void along your basement wall with our garden-focused guide. Discover step-by-step instructions and expert tips for a successful garden infilling project.
(Many of the links in this article redirect to a specific reviewed product. Your purchase of these products through affiliate links helps to generate commission for Storables.com, at no extra cost. Learn more)
Introduction
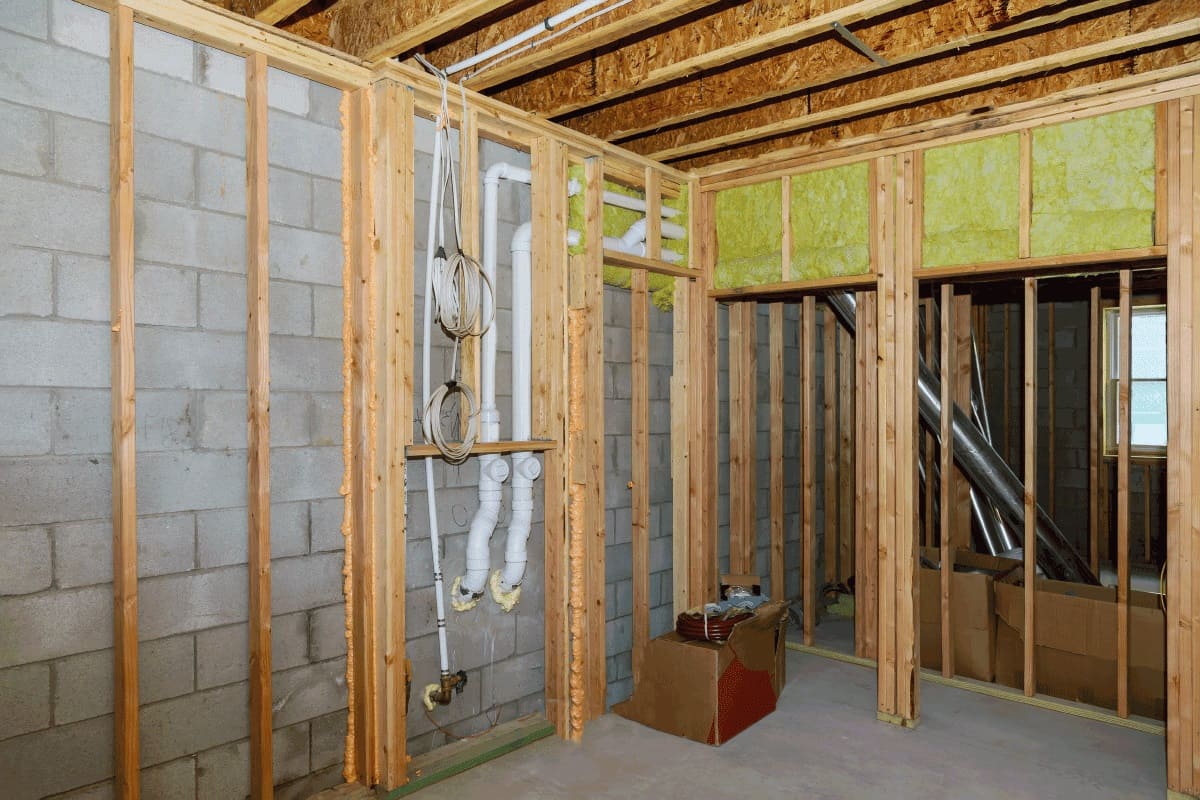
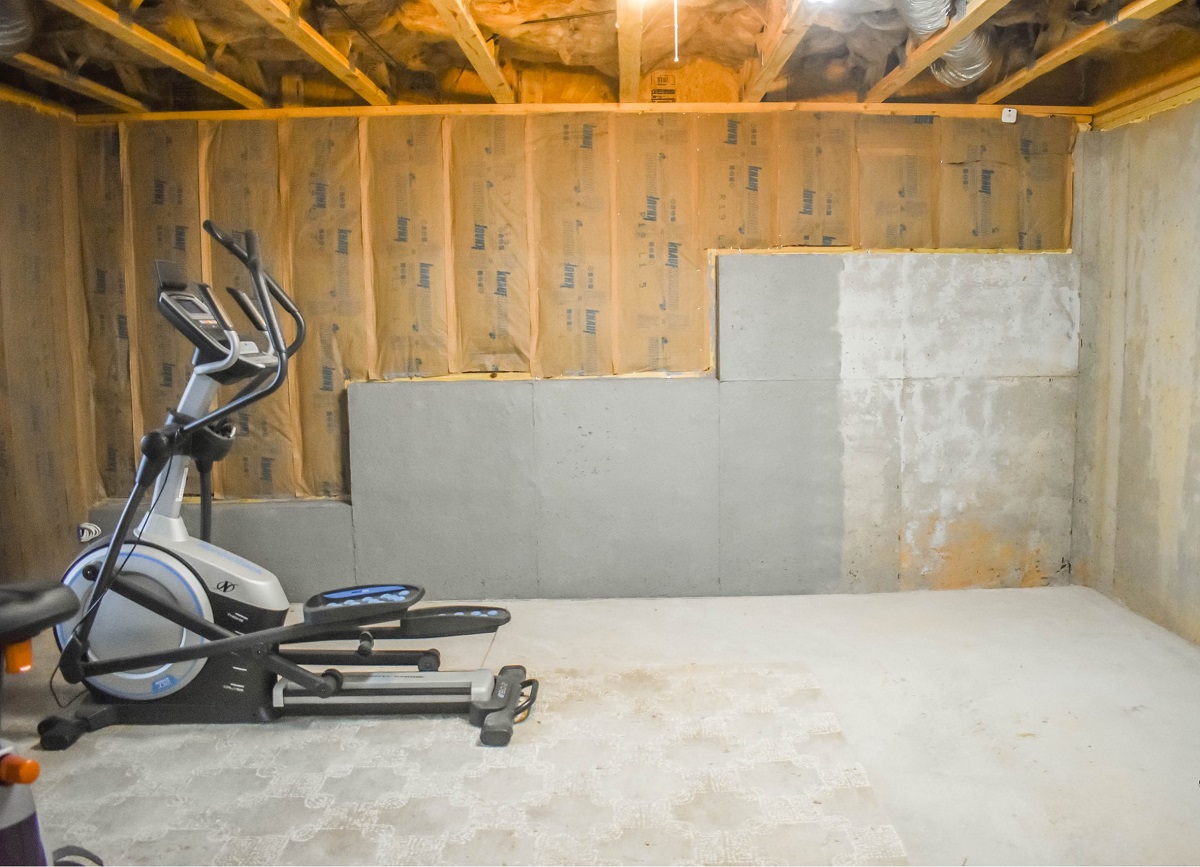
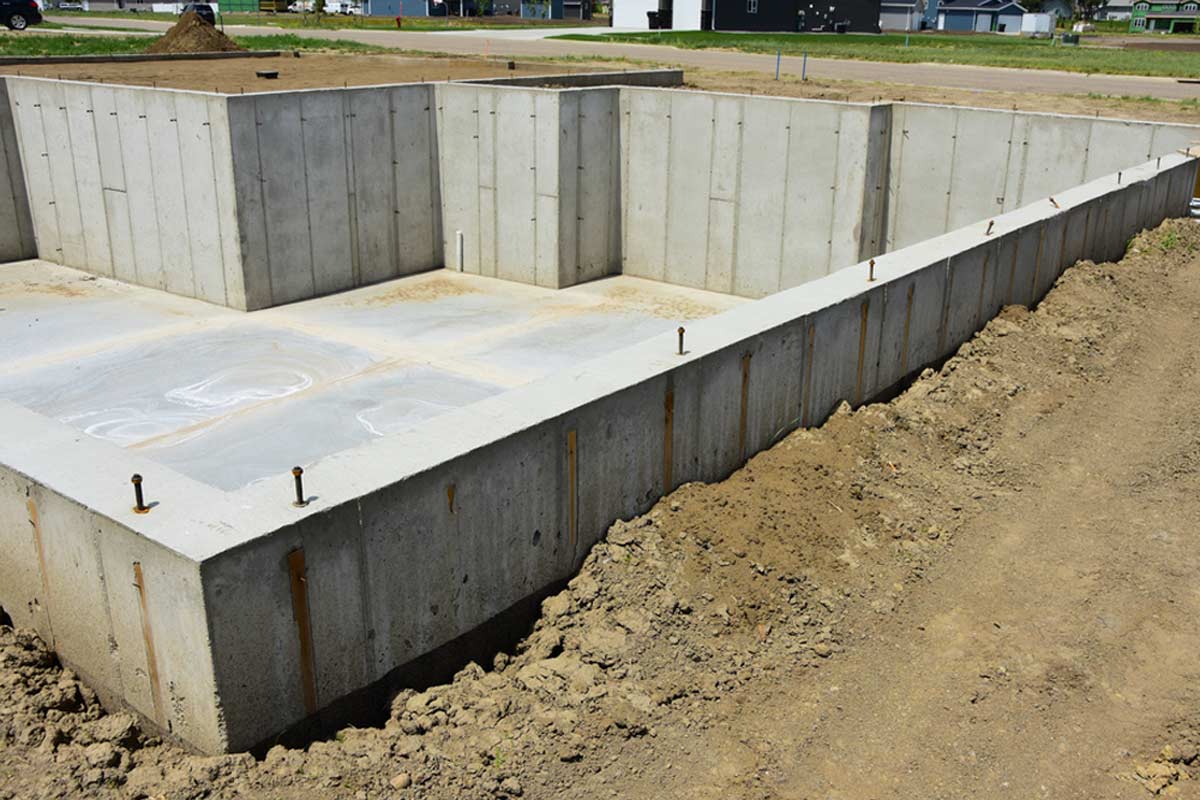
Welcome to our guide on how to infill ground void along a basement wall. If you have noticed any signs of a ground void, such as cracks in your basement walls, sinking floors, or uneven settling, it is crucial to address the issue promptly to prevent further damage to your property. Infilling the ground void can help stabilize the soil and provide structural support to your basement walls.
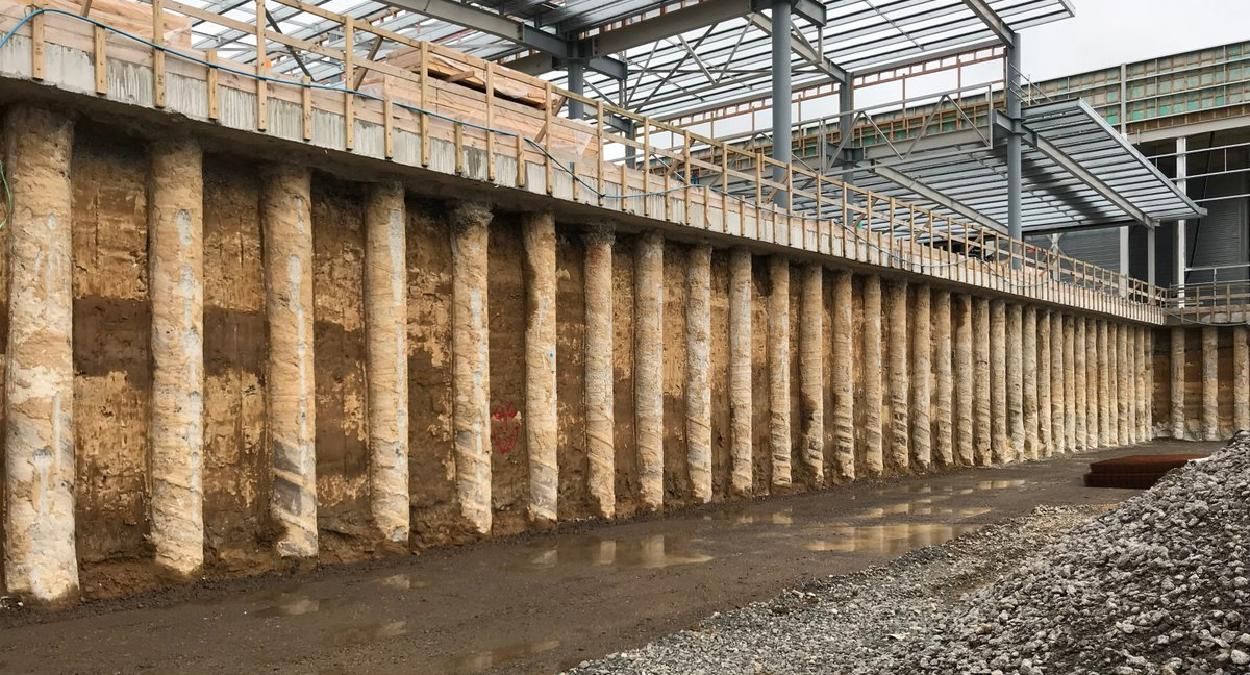
A ground void is a space or cavity that forms beneath the surface of the ground. It can occur due to various factors, including soil erosion, water drainage issues, or improper compaction during construction. These voids can lead to foundation instability and compromise the structural integrity of your basement walls.
By following the steps outlined in this guide, you will learn how to identify the ground void, prepare the necessary materials, and infill the void along your basement wall to prevent further damage and ensure the safety of your property.
Before we begin, it’s important to note that tackling a ground void infilling project requires some technical knowledge and experience. If you are unsure about undertaking this task yourself, it is recommended to consult with a professional contractor who specializes in foundation repair to ensure the best results.
Now, let’s get started with Step 1: Identifying the ground void.
Key Takeaways:
- Identifying a ground void is crucial for preventing basement wall damage. Look for cracks, use a level, or consult a professional for accurate detection.
- Infilling a ground void involves drilling, injecting infill material, and sealing holes. Regular monitoring ensures long-term stability and safety for your basement walls.
Read more: How To Repair Basement Walls
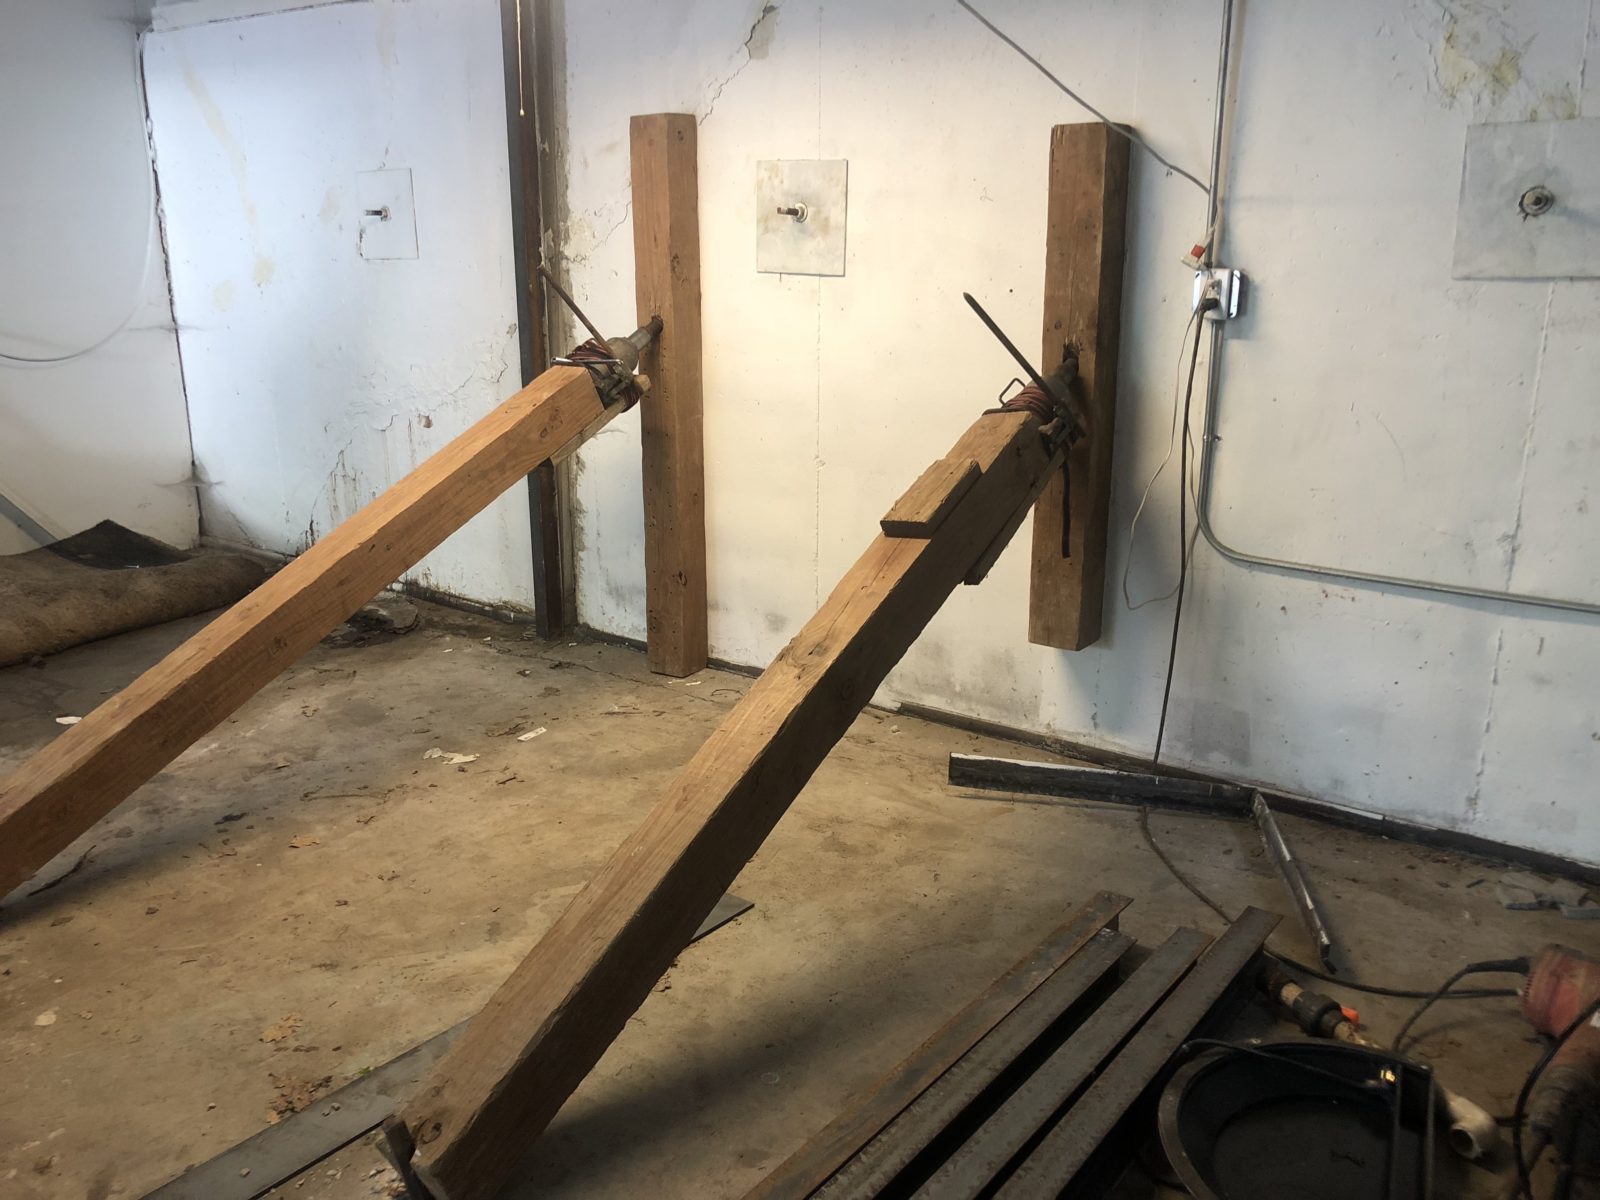
Step 1: Identifying the ground void
Before you can begin infilling the ground void along your basement wall, it’s crucial to accurately identify the location and extent of the void. Here are a few methods to help you in this process:
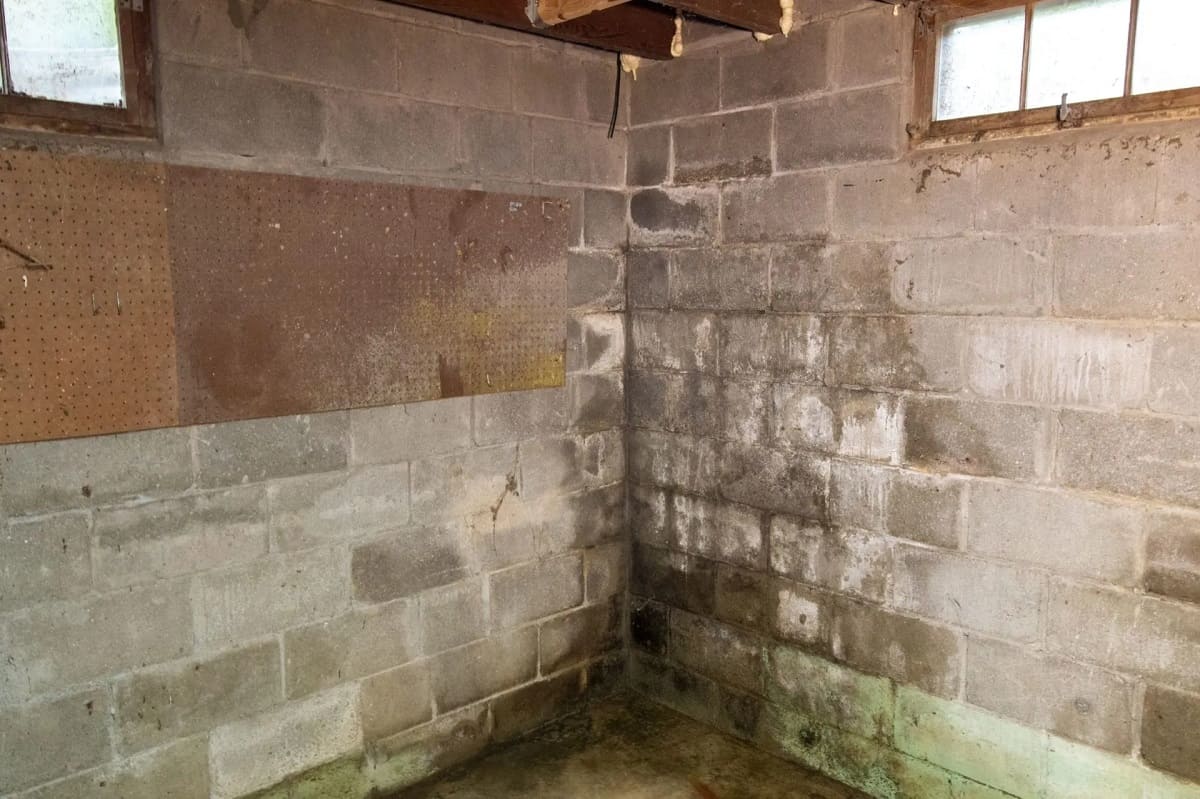
- Visual Inspection: Start by visually inspecting your basement for any visible signs of a ground void. Look for cracks in the walls, uneven floors, or gaps between the walls and the floor. These are common indicators of a ground void.
- Use a Level: Take a level and place it on various areas of your basement floor. If you notice significant sloping or unevenness, it may indicate the presence of a ground void.
- Ground Penetrating Radar (GPR): If you want a more precise analysis, consider using a ground penetrating radar. This tool uses radar waves to create images of the subsurface, helping to pinpoint the location and depth of the void.
- Hire a Professional: If you are unsure about identifying the ground void yourself, it is best to consult with a professional contractor or structural engineer. They have the expertise and specialized equipment to accurately assess the situation.
Once you have identified the ground void, you can proceed to Step 2: Preparing the necessary materials.
Step 2: Preparing the necessary materials
Before you can start infilling the ground void along your basement wall, it’s important to gather all the necessary materials and tools. Here’s a list of what you’ll need:
- Epoxy resin or polyurethane foam: These materials are commonly used for infilling ground voids. Depending on the size and severity of the void, you may choose either epoxy resin or polyurethane foam as the infill material.
- Injection ports: These small plastic tubes are used to inject the infill material into the ground void. They allow for precise and controlled injection.
- Drill and drill bits: A drill will be necessary to create holes along the basement wall for injecting the infill material. Make sure to choose the drill bit size based on the injection port diameter.
- Caulking gun: If you are using epoxy resin, a caulk gun will be needed for the injection process. Make sure it is compatible with the epoxy resin cartridge.
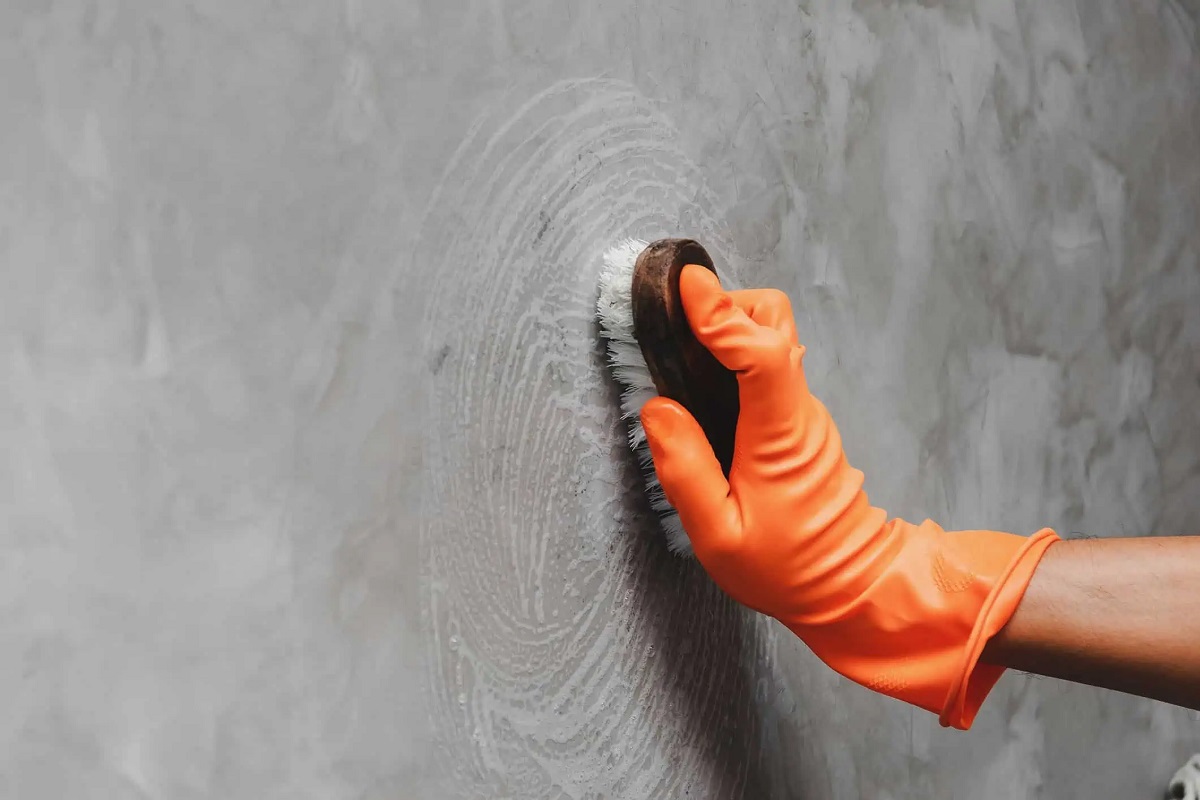
- Protective gear: Safety should always be a priority. Wear protective goggles, gloves, and a mask to protect yourself from any harmful fumes or debris.
- Cleaners and sealants: You will need appropriate cleaners and sealants to prepare the injection holes and seal them afterwards.
Once you have gathered all the necessary materials, ensure that you have a clear understanding of the infilling process. Familiarize yourself with the instructions provided by the manufacturer of the infill material to ensure proper handling and application.
With all the materials prepared, you can now move on to Step 3: Drilling holes along the basement wall.
Step 3: Drilling holes along the basement wall
Now that you have your materials ready, it’s time to start drilling holes along the basement wall. This step is crucial as it allows for the injection of the infill material into the ground void. Here’s how to proceed:
- Start by marking the location where you will drill the holes. It’s recommended to space the holes evenly along the affected area, typically around 12-18 inches apart.
- Put on your protective gear, including goggles and gloves, to ensure your safety while drilling.
- Choose a drill bit size that matches the diameter of the injection ports you will be using.
- Position the drill at a slight downward angle towards the ground void and begin drilling. Take caution not to drill too close to the edge of the basement wall to avoid any structural damage.
- Continue to drill holes along the wall, making sure to clean out any debris from each hole to allow for proper injection of the infill material.
- Once all the holes are drilled, take time to inspect them and ensure they are clear of any obstructions or blockages. Use a brush or vacuum to remove any remaining debris or dust from the holes.
With the holes drilled, you are now ready for Step 4: Injecting the infill material.
When infilling ground void along a basement wall, use a flowable fill or lean concrete to fill the void and provide support to the wall. Ensure proper compaction to prevent future settlement.
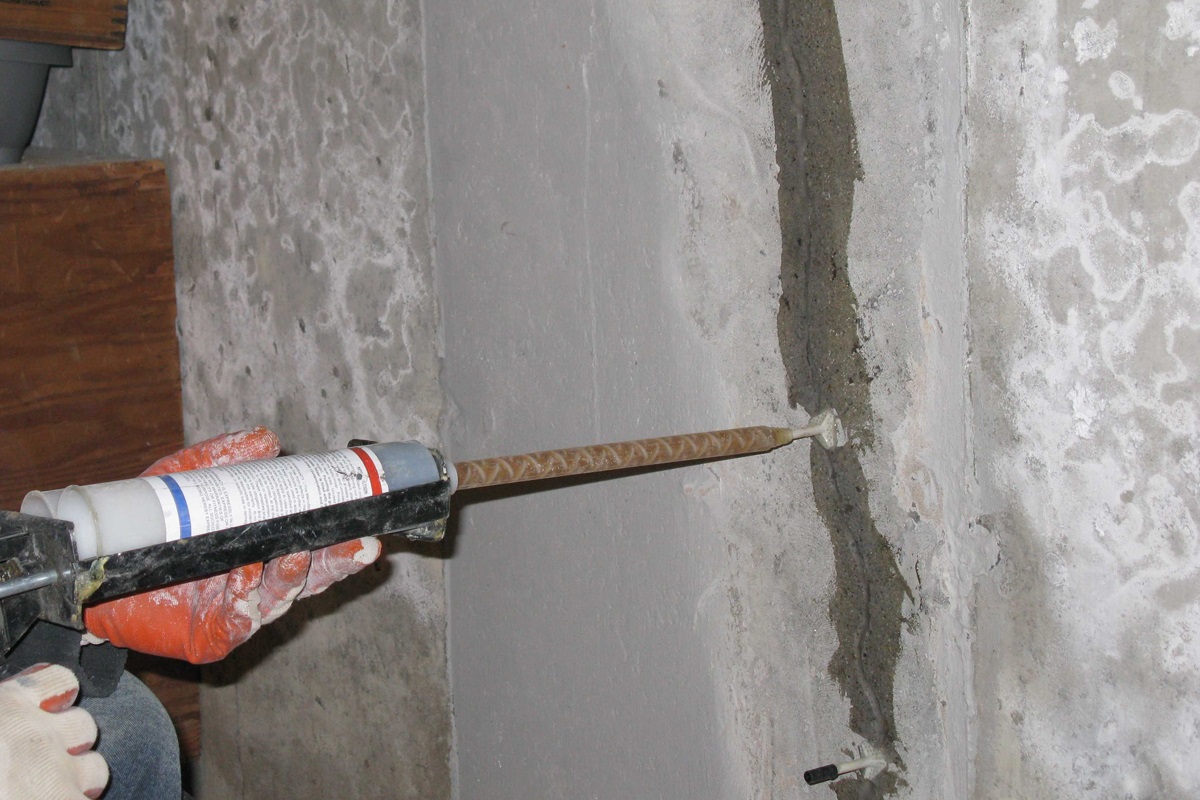
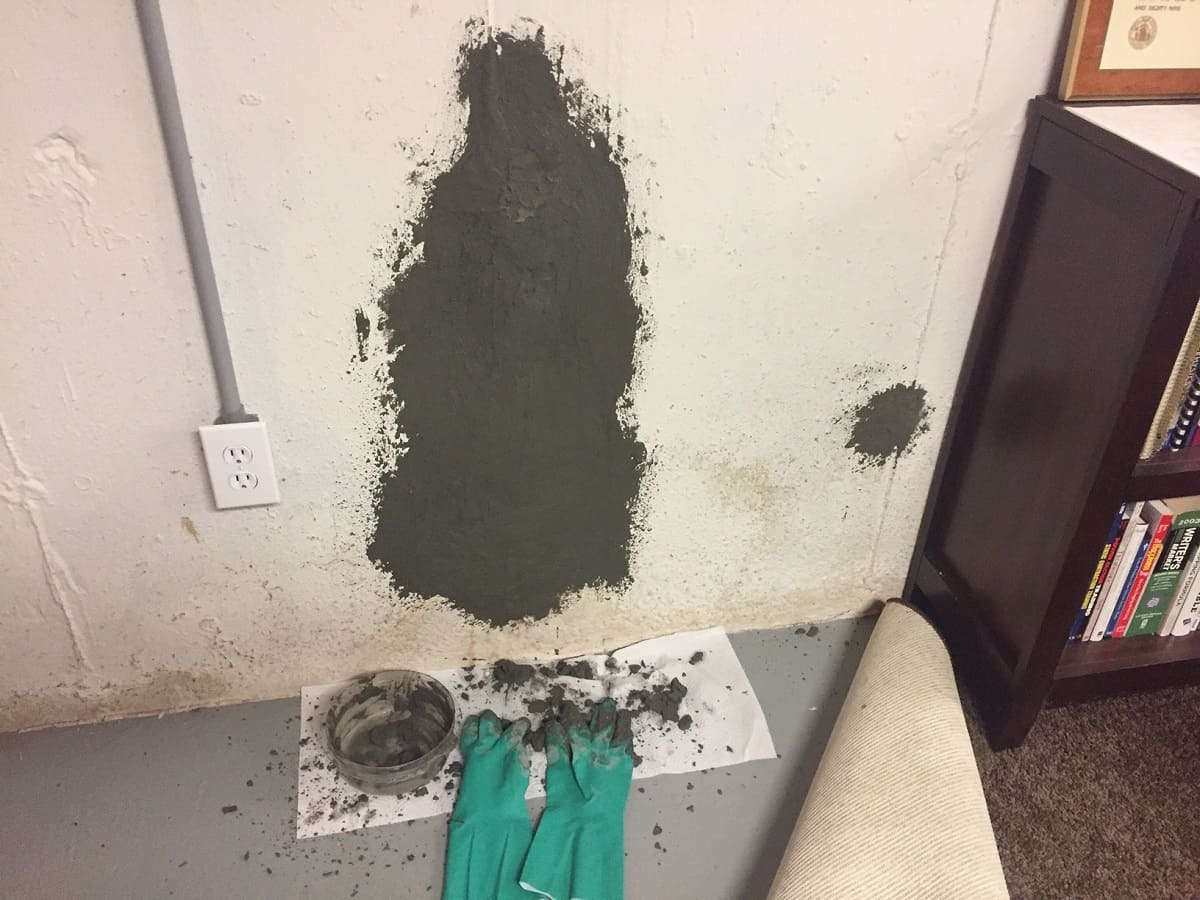
Step 4: Injecting the infill material
Now that the holes are drilled, it’s time to inject the infill material into the ground void along the basement wall. The infill material, such as epoxy resin or polyurethane foam, will help fill the void and stabilize the soil. Here’s how to proceed:
- Prepare the injection ports by inserting them into the drilled holes. Make sure they are secure and positioned correctly.
- If you are using epoxy resin, load the cartridge into the caulk gun and cut the nozzle to the desired size. Follow the manufacturer’s instructions on mixing the epoxy resin, if required.
- Start injecting the infill material into the ground void through each injection port. Apply steady and controlled pressure to ensure proper distribution of the material.
- If you are using polyurethane foam, follow the manufacturer’s instructions on preparing the foam for injection. Use a foam gun or applicator to inject the foam into the void.
- Continue injecting the infill material until it starts to come out of the adjacent holes or until you have filled the entire void.
- Once the void is filled, remove the injection ports carefully. Clean off any excess material that may have squeezed out of the holes.
Take note of the curing time provided by the manufacturer for the infill material. Allow sufficient time for the material to fully cure and harden before proceeding to the next step.
With the infill material injected, it’s time to move on to Step 5: Sealing the drilled holes.
Read more: How To Drylok Basement Walls
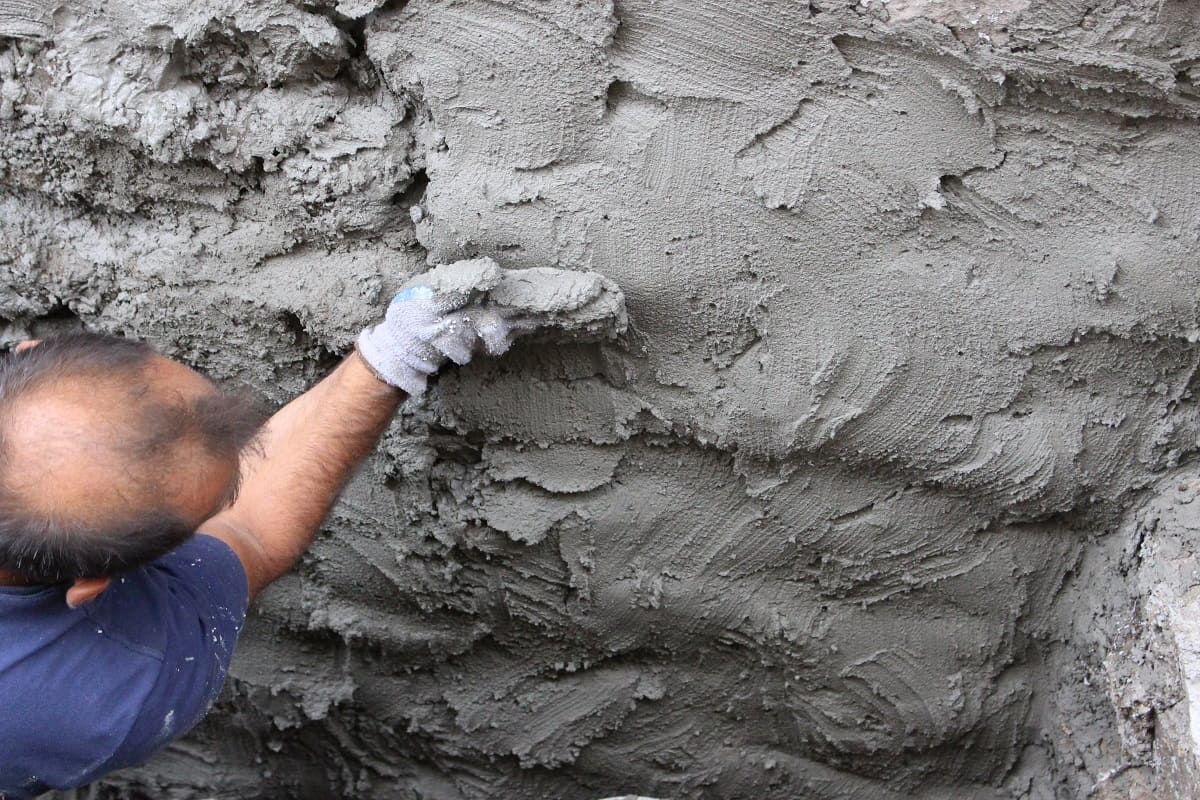
Step 5: Sealing the drilled holes
After injecting the infill material into the ground void, it’s important to seal the drilled holes to ensure a proper and finished appearance. Sealing the holes also helps to prevent any future moisture or air infiltration. Follow these steps to seal the drilled holes:
- Start by cleaning the area around the drilled holes using a brush or damp cloth. Remove any dust, debris, or excess infill material.
- Inspect each hole to ensure the surface is clean and dry before applying any sealant.
- Choose an appropriate sealant compatible with the infill material used. Common options include epoxy-based sealants or polyurethane sealants.
- Apply the sealant to each drilled hole, ensuring it completely covers the opening. Use a caulk gun or a putty knife to apply the sealant smoothly.
- Smooth out the sealant to create a flush and even finish with the surrounding wall surface. This will provide a seamless appearance.
- Allow the sealant to dry and cure as per the manufacturer’s instructions. This ensures the sealant forms a strong and durable bond.
- Inspect the sealed holes to ensure there are no gaps or cracks in the sealant. If necessary, apply another layer of sealant to reinforce the seal.
Once the sealant has fully dried and cured, you can move on to the final step: Step 6: Monitoring the infill process.
By sealing the drilled holes, you not only enhance the aesthetics of the basement wall but also protect against any potential water intrusion or air leakage.
Step 6: Monitoring the infill process
After infilling the ground void along the basement wall and sealing the drilled holes, it is crucial to monitor the infill process to ensure its effectiveness and detect any potential issues. Monitoring allows you to address any arising concerns promptly. Here are the steps to follow:
- Observe the basement walls and floor for any signs of further settling or movement. Keep an eye out for new cracks, shifts in the foundation, or changes in the overall structure.
- Monitor the stability of the basement walls by visually inspecting the repaired areas regularly. Look for any signs of cracking, bulging, or movement.
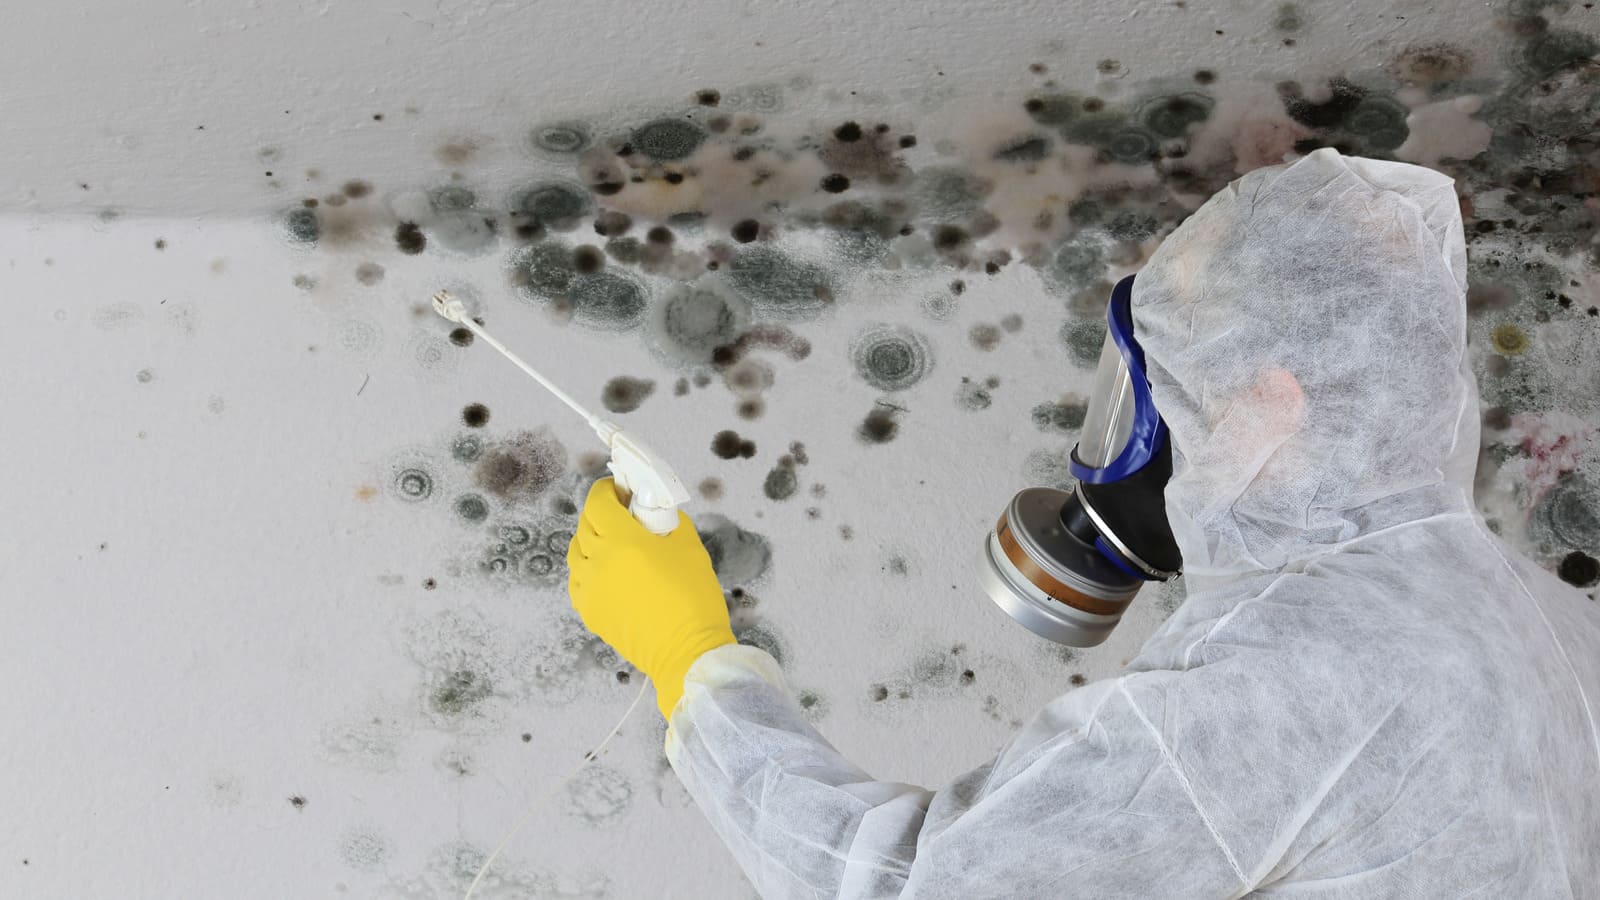
- Check for any moisture or water intrusion around the repaired areas. Excess moisture could indicate inadequate sealing or potential drainage problems.
- Consider scheduling periodic inspections by a professional contractor or structural engineer to assess the stability of the infilled ground void and ensure long-term integrity.
- Keep records of your monitoring observations, including dates, descriptions, and photographs if necessary. This documentation can be useful for future reference or if you need to consult with a professional regarding any concerns.
If you notice any potential issues or have concerns during the monitoring process, it is essential to seek professional assistance. A qualified contractor or structural engineer will be able to assess the situation, identify any underlying problems, and provide the necessary solutions to address them.
By actively monitoring the infill process, you can prevent potential issues from escalating and ensure the long-term stability and safety of your basement walls.
Congratulations! You have successfully learned how to infill a ground void along a basement wall. By following the steps outlined in this guide and paying attention to the monitoring process, you have taken an important step towards maintaining the structural integrity of your property.
Remember, if you are unsure about tackling this task yourself, it is always recommended to consult with a professional contractor or structural engineer, as foundation repair can be complex and require specialized expertise.
Wishing you the best of luck with your ground void infilling project!
Conclusion
Infilling a ground void along a basement wall is a crucial step in maintaining the structural integrity of your property. By following the steps outlined in this guide, you can effectively identify, prepare, infill, and monitor the ground void to prevent further damage and ensure the long-term stability of your basement walls.
Remember that identifying the ground void is the first step and can be done through visual inspections, the use of a level, or even employing ground-penetrating radar for a more precise analysis. Once the void is identified, gather the necessary materials and tools, including epoxy resin or polyurethane foam, injection ports, a drill, and protective gear.
Drilling holes along the basement wall allows for the injection of the infill material. Take care to position the drill at a slight angle and space the holes evenly along the affected area. Ensure the holes are clear of debris before proceeding to inject the infill material through the injection ports.
After injecting the infill material, it is important to seal the drilled holes with an appropriate sealant to prevent moisture or air infiltration. Choose a sealant compatible with the infill material used and apply it smoothly and evenly. Allow the sealant to dry and cure as per the manufacturer’s instructions.
Lastly, monitor the infill process by observing the basement walls and floor for any signs of settling or movement. Regular inspections will help identify any potential issues that may arise. It is advisable to keep records of monitoring observations and seek professional assistance if any concerns arise.
Remember, if you are unsure about infilling a ground void yourself, it is always recommended to consult with a professional contractor or structural engineer who can provide the necessary expertise and ensure the best outcomes for your property.
By following this guide and staying diligent with monitoring, you are taking proactive measures to protect your basement walls and maintain the stability of your property. Investing the time and effort now will save you from potential costly repairs in the future.
Good luck with your ground void infilling project!
Frequently Asked Questions about How To Infill Ground Void Along Basement Wall
Was this page helpful?
At Storables.com, we guarantee accurate and reliable information. Our content, validated by Expert Board Contributors, is crafted following stringent Editorial Policies. We're committed to providing you with well-researched, expert-backed insights for all your informational needs.

0 thoughts on “How To Infill Ground Void Along Basement Wall”