Home>Furniture>Outdoor Furniture>How To Install Veranda Decking
Outdoor Furniture
How To Install Veranda Decking
Modified: October 19, 2024
Learn how to install Veranda decking and create a stunning outdoor living space with our step-by-step guide. Get tips and tricks for assembling outdoor furniture and designing your dream patio.
(Many of the links in this article redirect to a specific reviewed product. Your purchase of these products through affiliate links helps to generate commission for Storables.com, at no extra cost. Learn more)
Introduction
Welcome to our comprehensive guide on how to install veranda decking. If you’re looking to enhance your outdoor space and create a beautiful, durable deck, then veranda decking is an excellent choice. Veranda decking offers the perfect combination of style, functionality, and low-maintenance, making it a popular option for homeowners.
Whether you’re a seasoned DIY enthusiast or a first-time deck builder, this guide will walk you through the step-by-step process of installing veranda decking. We’ll cover everything from preparing the deck area to adding the finishing touches, ensuring that you have all the information you need to successfully complete your project. So let’s get started!
Key Takeaways:
- Transform your outdoor space with veranda decking! Follow the step-by-step guide to create a durable and beautiful deck. Proper preparation and precise installation are key to enjoying your outdoor retreat.
- Add the finishing touches to personalize your veranda decking. From cleaning and protecting the deck to adding furniture and decor, create a welcoming space for relaxation and outdoor activities.
Read more: How To Install Composite Decking
Materials and Tools Needed
Before you begin installing your veranda decking, it’s important to gather all the necessary materials and tools. This will ensure a smooth and efficient installation process. Here’s a list of what you’ll need:
Materials:
- Veranda decking boards
- Pressure-treated or cedar joists
- Concrete footings
- Gravel or crushed stone
- Ledger board
- Galvanized nails or deck screws
- Composite deck screws
- Joist hangers
- Post anchors
- Post caps
- Post sleeves
- Post skirts
- Railing kit (if applicable)
- Stair treads (if applicable)
- Deck cleaner
- Deck stain or sealant
Tools:
- Tape measure
- Builder’s level
- Circular saw or miter saw
- Drill
- Impact driver
- Hammer
- Chalk line
- String line
- Speed square
- Adjustable wrench
- Shovel
- Garden rake
- Wheelbarrow
- Work gloves
- Safety glasses
- Dust mask
Make sure to gather all the required materials and tools before starting the installation process. This will save you time and stress, allowing you to focus on the task at hand.
Step 1: Prepare the Deck Area
Before you start installing your veranda decking, it’s crucial to prepare the deck area properly. This involves clearing the space and ensuring a solid foundation for your deck. Here’s how to do it:
- Clear the area: Remove any furniture, plants, or objects from the deck area. This will provide a clean working space and prevent any obstacles during the installation process.
- Mark and outline: Use a string line or chalk line to mark the outline of your deck. This will help you visualize the final dimensions and ensure accurate placement.
- Check for levelness: Use a builder’s level to ensure that the ground is level and even where the deck will be installed. If necessary, remove any uneven areas or add soil to level the ground.
- Clear vegetation and debris: Remove any weeds, grass, or vegetation within the marked area. Use a shovel or garden rake to clear the surface thoroughly.
- Excavate the site: Dig below the frost line to create footings for your deck posts. Consult your local building codes for the appropriate depth and spacing requirements. Use a shovel or post hole digger to dig the holes.
- Add gravel or crushed stone: Pour a layer of gravel or crushed stone into each footing hole. This will provide drainage and stability for the deck posts.
- Compact the footing holes: Use a tamper or a 2×4 board to compact the gravel or crushed stone in the footing holes. This will ensure a solid base for the deck posts.
- Install the concrete footings: Place the pre-mixed concrete into the footing holes, following the manufacturer’s instructions. Insert post anchors into the wet concrete, ensuring they are level and aligned.
- Allow the concrete to cure: Give the concrete sufficient time to cure and harden. This process typically takes 24 to 48 hours, but follow the guidelines provided by the concrete manufacturer.
By properly preparing the deck area, you’ll create a solid foundation for your veranda decking. This will ensure the long-term stability and longevity of your deck structure. Once the deck area is prepared, you’re ready to move on to the next step of the installation process.
Read more: How To Install Turf On Deck
Step 2: Lay the Foundation
With the deck area prepared, it’s time to lay the foundation for your veranda decking. This involves installing the joists, ledger board, and post anchors. Follow these steps to lay the foundation:
- Measure and cut the joists: Measure and cut the pressure-treated or cedar joists to the desired length. Ensure that the joists are level and aligned with the markings on the ledger board.
- Attach the joists: Use joist hangers to attach the joists to the ledger board. Space the hangers according to the manufacturer’s guidelines and secure them with galvanized nails or deck screws.
- Install the ledger board: Position the ledger board against the house, ensuring it is level and aligned with the markings on the deck. Attach the ledger board to the house using lag bolts or structural screws, making sure to penetrate into the wall studs.
- Secure the ledger board: Use lag bolts or structural screws to secure the ledger board to the house. Space the fasteners evenly along the length of the ledger board, ensuring they penetrate into the wall studs.
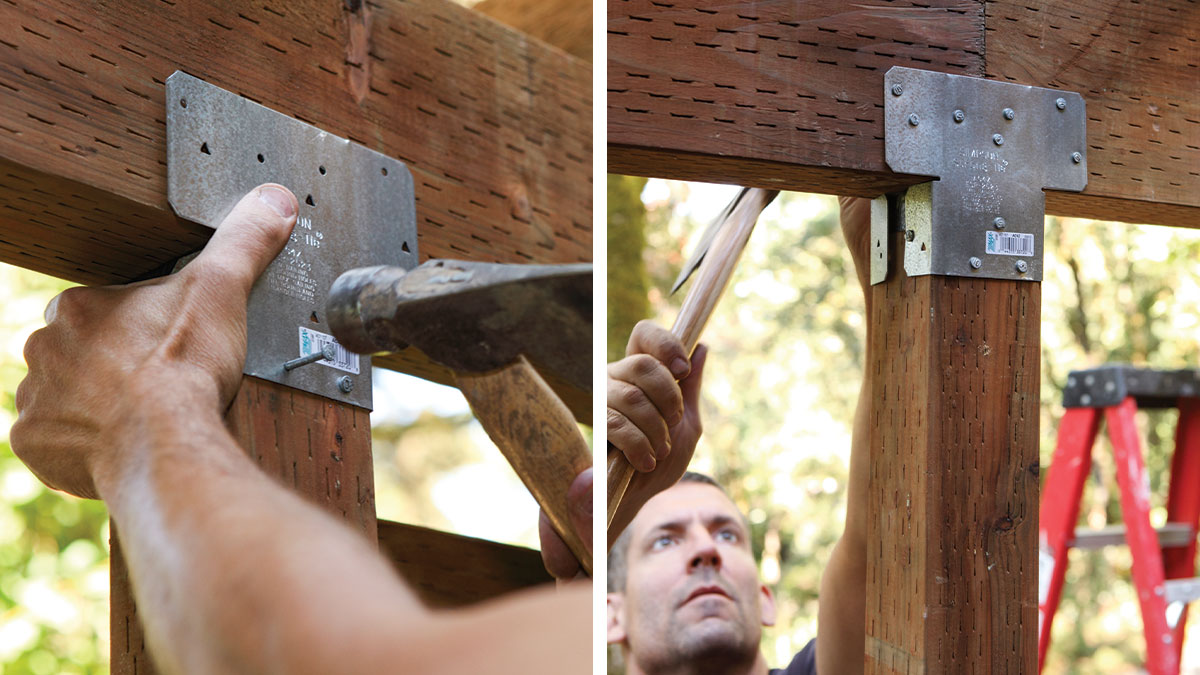
- Install the post anchors: Place the pre-assembled post anchors onto the concrete footings. Ensure that they are level and plumb. Use an adjustable wrench to secure the anchors to the footings.
- Attach the post sleeves: Slide the post sleeves over the post anchors. These sleeves will provide a decorative cover for the metal post anchors.
- Secure the post sleeves: Use screws or nails to secure the post sleeves to the post anchors. Make sure they are securely fastened and stable.
Laying the foundation is a critical step in the veranda decking installation process. It provides the structural support and stability for your deck. Take your time to ensure that the joists, ledger board, and post anchors are properly installed and securely fastened. Once the foundation is in place, you’re ready to move on to the next step of the installation process.
Step 3: Install the Joists
With the foundation in place, it’s time to install the joists for your veranda decking. Joists provide support and stability to the deck boards, ensuring a structurally sound and durable deck. Follow these steps to install the joists:
- Measure and cut the joists: Measure and cut the pressure-treated or cedar joists to the desired length. Make sure to account for any overhang and spacing requirements specified by the veranda decking manufacturer.
- Position the first joist: Place the first joist against the ledger board, ensuring that it is level and aligned with the markings. Use a speed square to check for squareness.
- Secure the first joist: Attach the first joist to the ledger board using joist hangers. Space the hangers according to the manufacturer’s guidelines and secure them with galvanized nails or deck screws.
- Install the intermediate joists: Continue installing the remaining joists, spacing them according to the veranda decking manufacturer’s instructions. Use joist hangers and galvanized nails or deck screws to secure the joists in place.
- Check for levelness: Use a builder’s level to ensure that all the joists are level and aligned. Make any necessary adjustments before proceeding.
- Add blocking: To enhance the stability of the deck, add blocking between the joists where necessary. Cut pieces of pressure-treated lumber to fit between the joists and secure them with galvanized nails or deck screws.
- Double-check the spacing: Verify that the spacing between the joists meets the specifications provided by the veranda decking manufacturer. Adjust the position of the joists if needed.
Installing the joists is a critical step in the veranda decking installation process. It provides the framework for your deck and ensures proper support for the deck boards. Take your time to measure, cut, and install the joists accurately, ensuring they are level and properly aligned. Once the joists are in place, you’re ready to move on to the next step of the installation process.
Step 4: Secure the Ledger Board
Securing the ledger board is an important step in the veranda decking installation process. The ledger board provides structural support for the deck and connects it to the house. Follow these steps to securely fasten the ledger board:
- Position the ledger board: Place the ledger board against the house, aligning it with the markings on the deck and ensuring it is level. Use a level and a speed square to ensure the ledger board is straight and plumb.
- Mark the location of the joist: Mark the location of each joist on the ledger board. This will help you determine where to attach the ledger board to provide maximum support.
- Pre-drill the ledger board: Use a drill to pre-drill holes in the ledger board at the marked locations. This will prevent the wood from splitting when you insert the lag bolts or structural screws.
- Attach the ledger board: With the pre-drilled holes, attach the ledger board to the house using lag bolts or structural screws. Make sure to penetrate the ledger board and into the wall studs for maximum stability.
- Tighten the lag bolts or screws: Use a socket wrench or drill to tighten the lag bolts or screws securely. Ensure that the ledger board is firmly held against the house.
- Add additional support: For longer ledger boards, add additional lag bolts or screws at regular intervals to provide extra support and distribute the weight of the deck evenly.
- Seal the ledger board: Apply a layer of silicone sealant to the top edge of the ledger board. This will help prevent water infiltration and extend the lifespan of your veranda decking.
By properly securing the ledger board, you ensure the stability and safety of your veranda decking. Take your time to align the ledger board correctly, pre-drill the holes, and tighten the lag bolts or screws securely. Remember to seal the ledger board to protect it from moisture. With the ledger board securely in place, you’re ready to move on to the next step of the installation process.
Before installing Veranda decking, make sure to properly prepare the surface by clearing any debris and ensuring it is level. This will help ensure a smooth and stable installation.
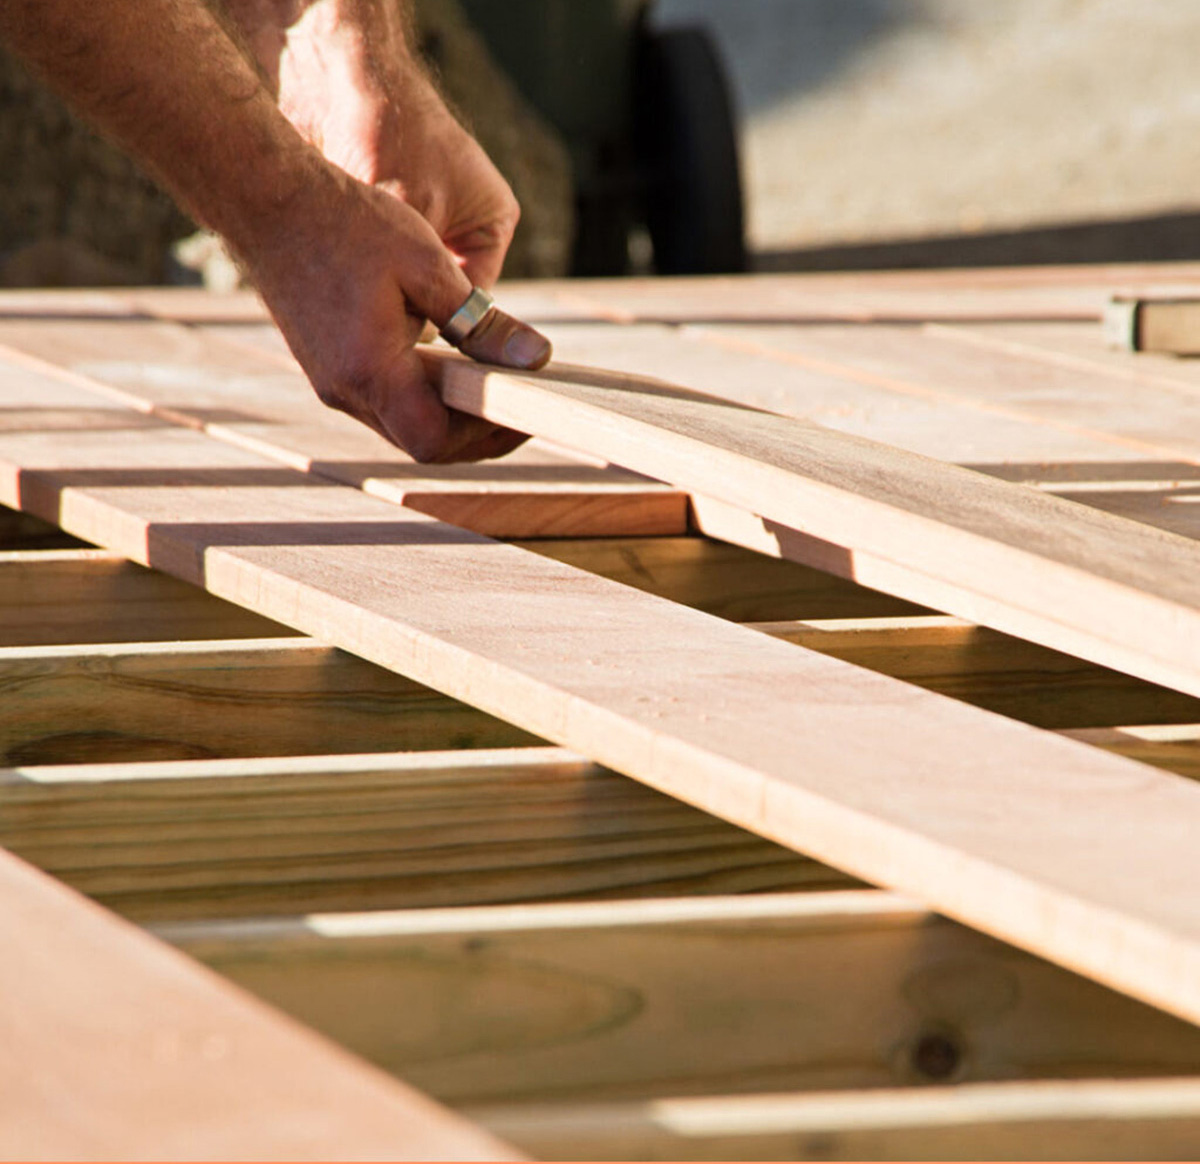
Step 5: Install the Deck Boards
Now that the foundation is set and the ledger board is securely attached, it’s time to install the deck boards for your veranda decking. This step will bring your deck to life and provide a beautiful, functional surface for relaxation and entertainment. Follow these steps to install the deck boards:
- Plan the layout: Before you begin installing the deck boards, plan out the layout and pattern you want to achieve. Take into account any existing features, such as posts or stairs, and determine the direction and spacing of the boards.
- Start from the house: Begin installing the deck boards from the side closest to the house. This will ensure a clean and seamless transition between the deck and the house.
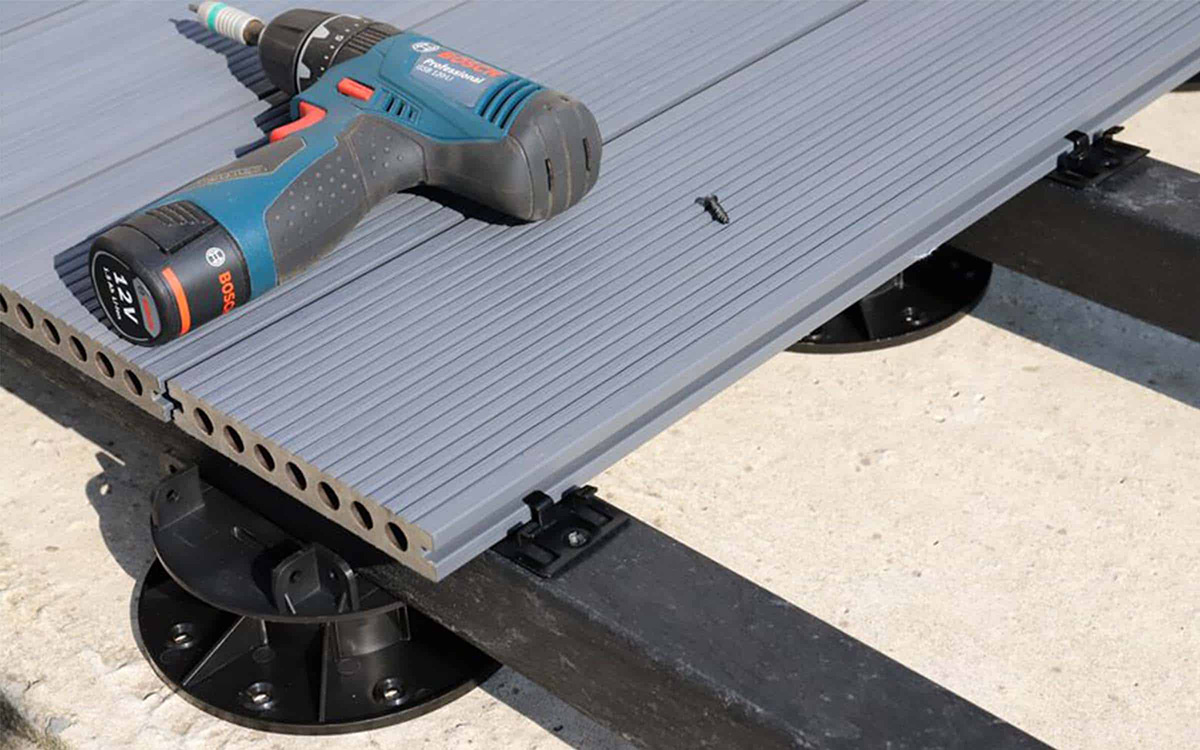
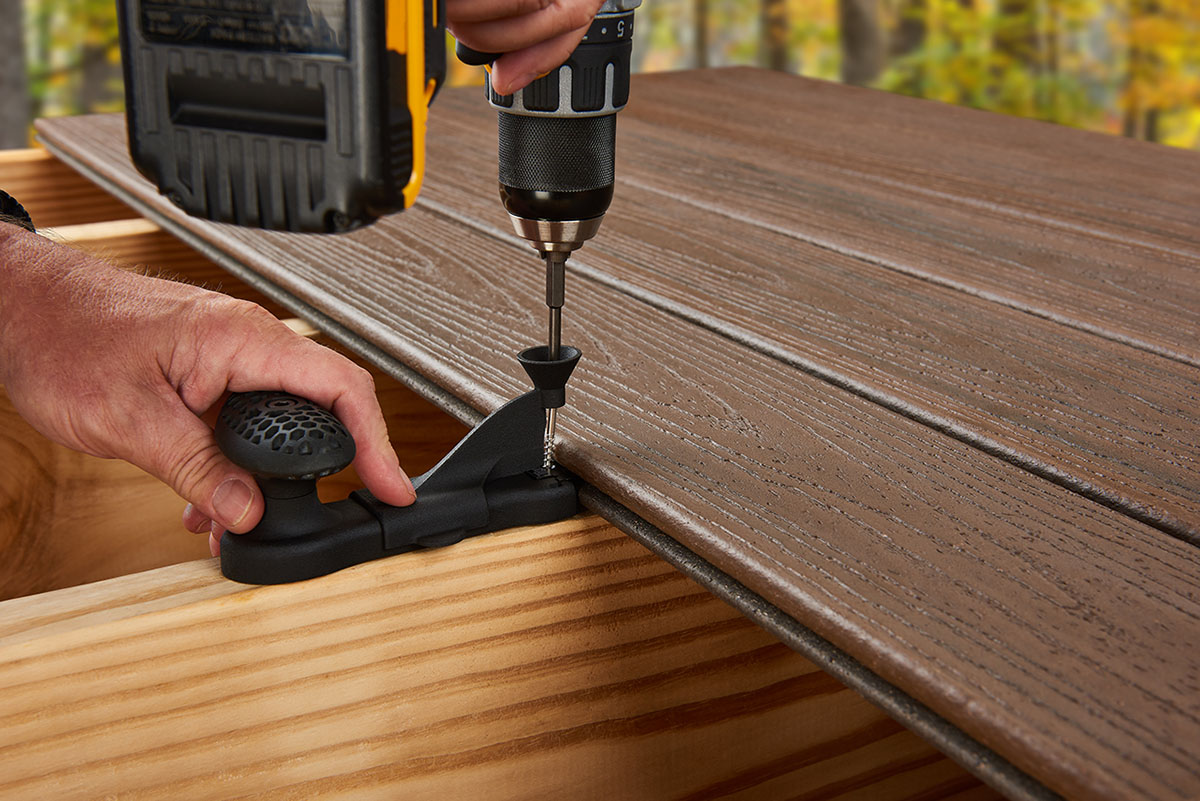
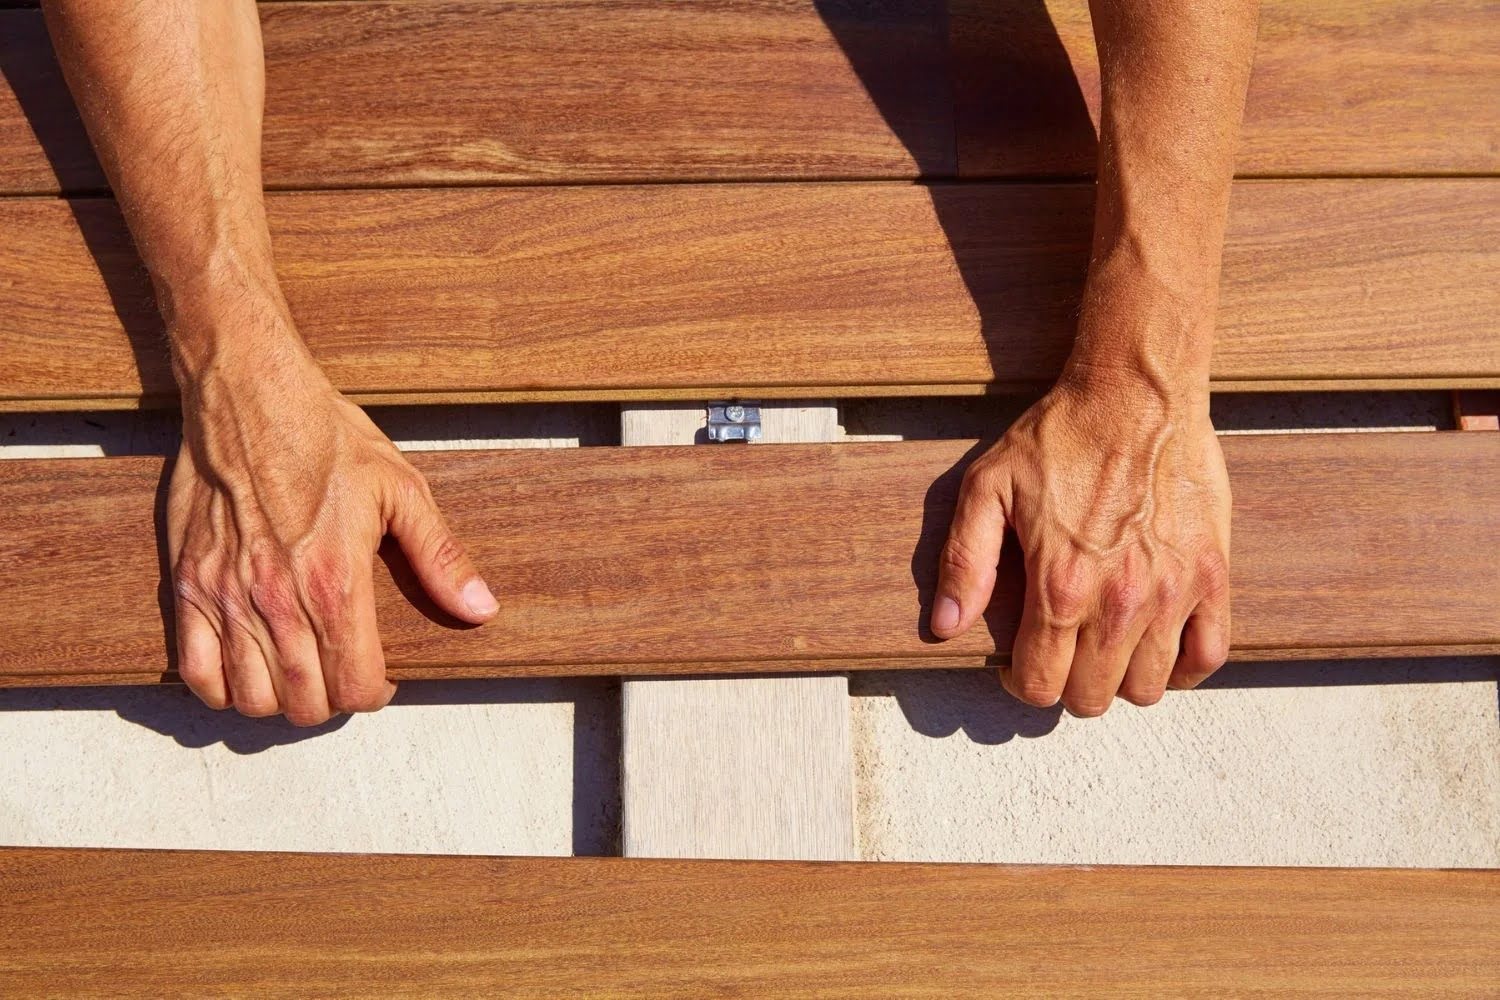
- Pre-drill the deck boards: To prevent splitting, pre-drill holes near the ends of the deck boards before attaching them. Use a drill with a bit slightly smaller than the diameter of the deck screws or hidden fasteners you’re using.
- Attach the deck boards: Use deck screws or hidden fasteners to secure the deck boards to the joists. Follow the manufacturer’s guidelines for spacing and placement.
- Ensure even spacing: Use spacers or a framing square to maintain consistent spacing between the deck boards. This will ensure proper drainage and prevent any warping or buckling.
- Cut the deck boards: Measure and cut the deck boards as needed to fit any angles, curves, or special features of your deck. Use a circular saw or miter saw for accurate cuts.
- Check for levelness: Use a level to ensure that the deck boards are level and align with each other. This will create a smooth and even surface for your veranda decking.
- Secure the final row: Install the final row of deck boards, making sure to leave a gap for expansion between the last board and any fixed structures, such as posts or railings.
- Trim the deck boards: Once all the deck boards are installed, trim any overhanging edges using a circular saw or jigsaw. This will give your deck a polished and finished appearance.
By carefully installing the deck boards, you’ll create a beautiful and functional surface for your veranda decking. Take your time to plan the layout, pre-drill the holes, and ensure even spacing. Remember to trim any overhanging edges for a professional finish. With the deck boards in place, you’re one step closer to enjoying your new veranda deck.
Read more: How To Install Plastic Decking
Step 6: Add Finishing Touches
With the deck boards installed and the main structure in place, it’s time to add the finishing touches to your veranda decking. These final steps will enhance the aesthetics and functionality of your deck, creating a space that you’ll love to spend time in. Follow these steps to complete your veranda decking:
- Clean the deck: Before adding any finishing touches, thoroughly clean the deck surface. Remove any debris, dirt, or construction residue using a deck cleaner and a scrub brush. Rinse the deck thoroughly and allow it to dry completely.
- Apply deck stain or sealant: Depending on your preference and the type of veranda decking you’ve chosen, apply a deck stain or sealant. This will provide protection against UV rays, water damage, and general wear and tear. Follow the manufacturer’s instructions for application.
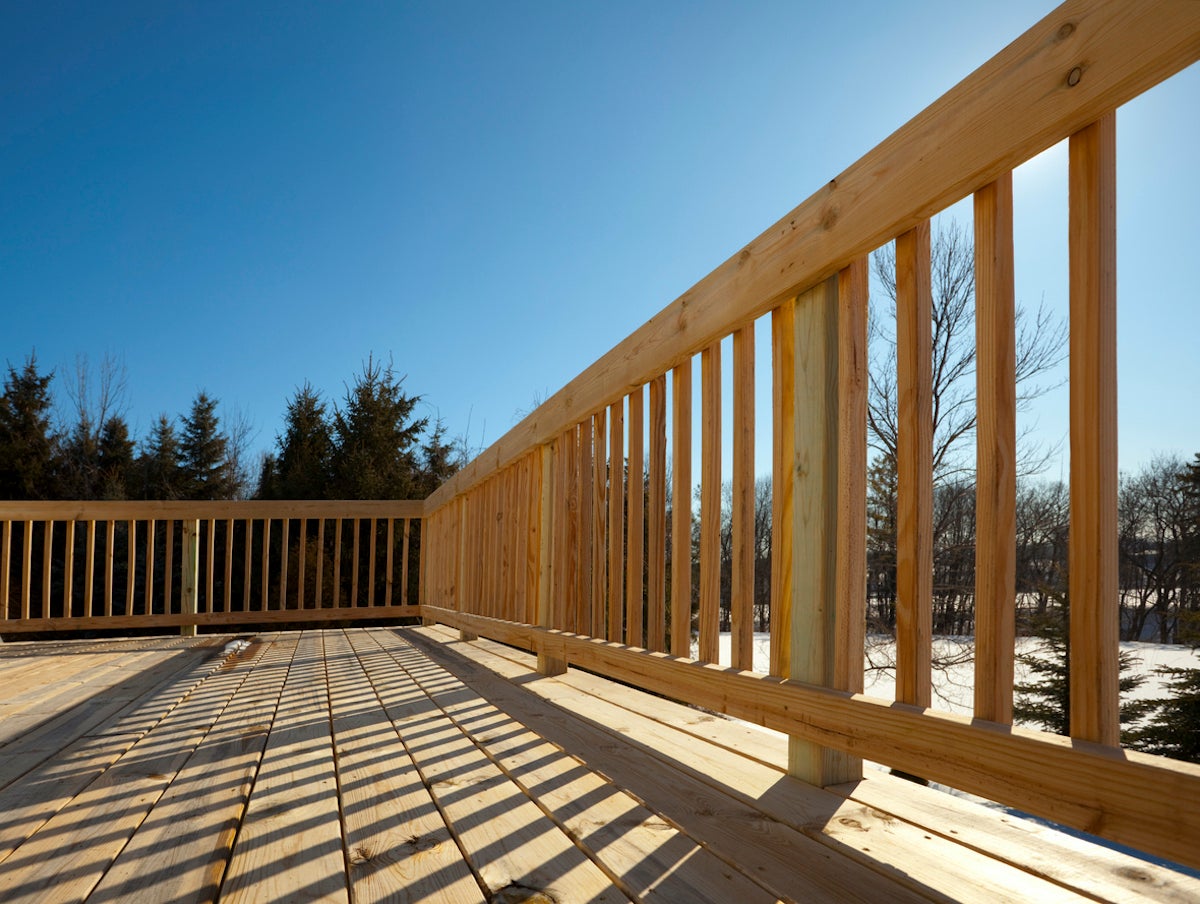
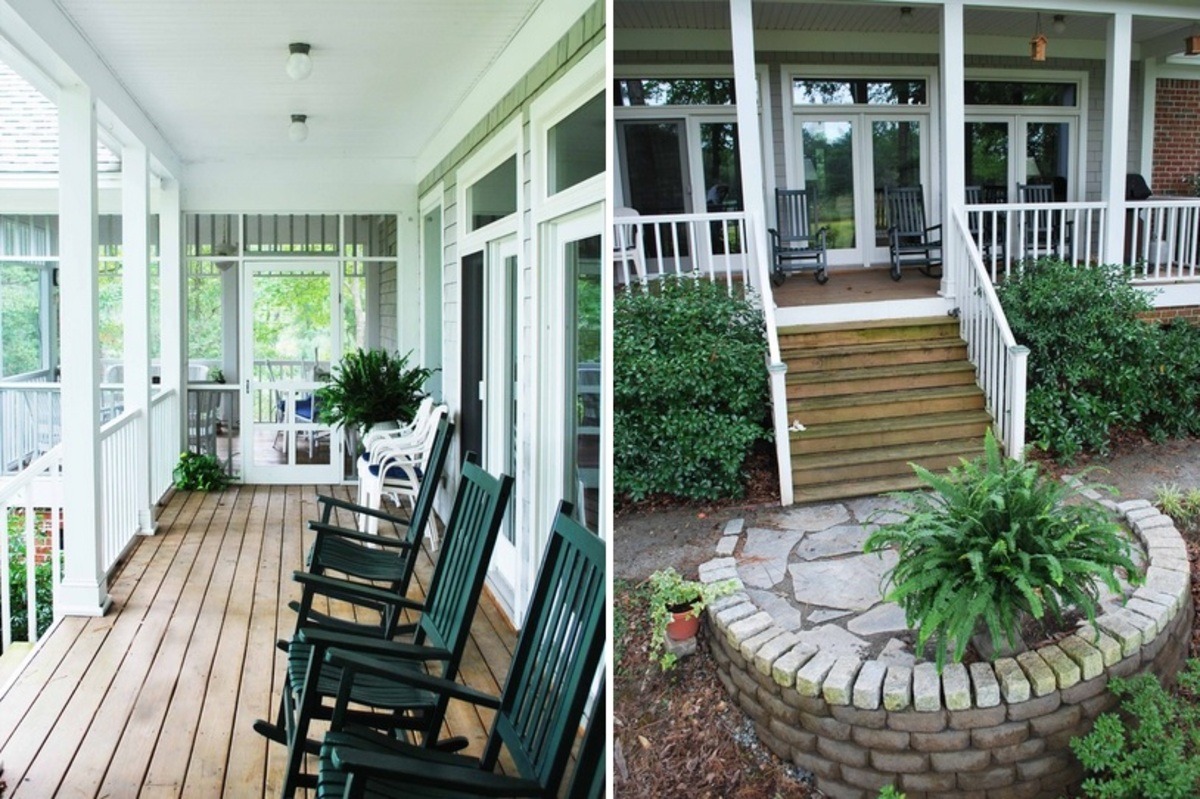
- Install railing: If your veranda decking requires a railing system, install it according to the manufacturer’s instructions. This will provide safety and define the boundaries of your deck. Make sure the railing is secure and meets local building codes.
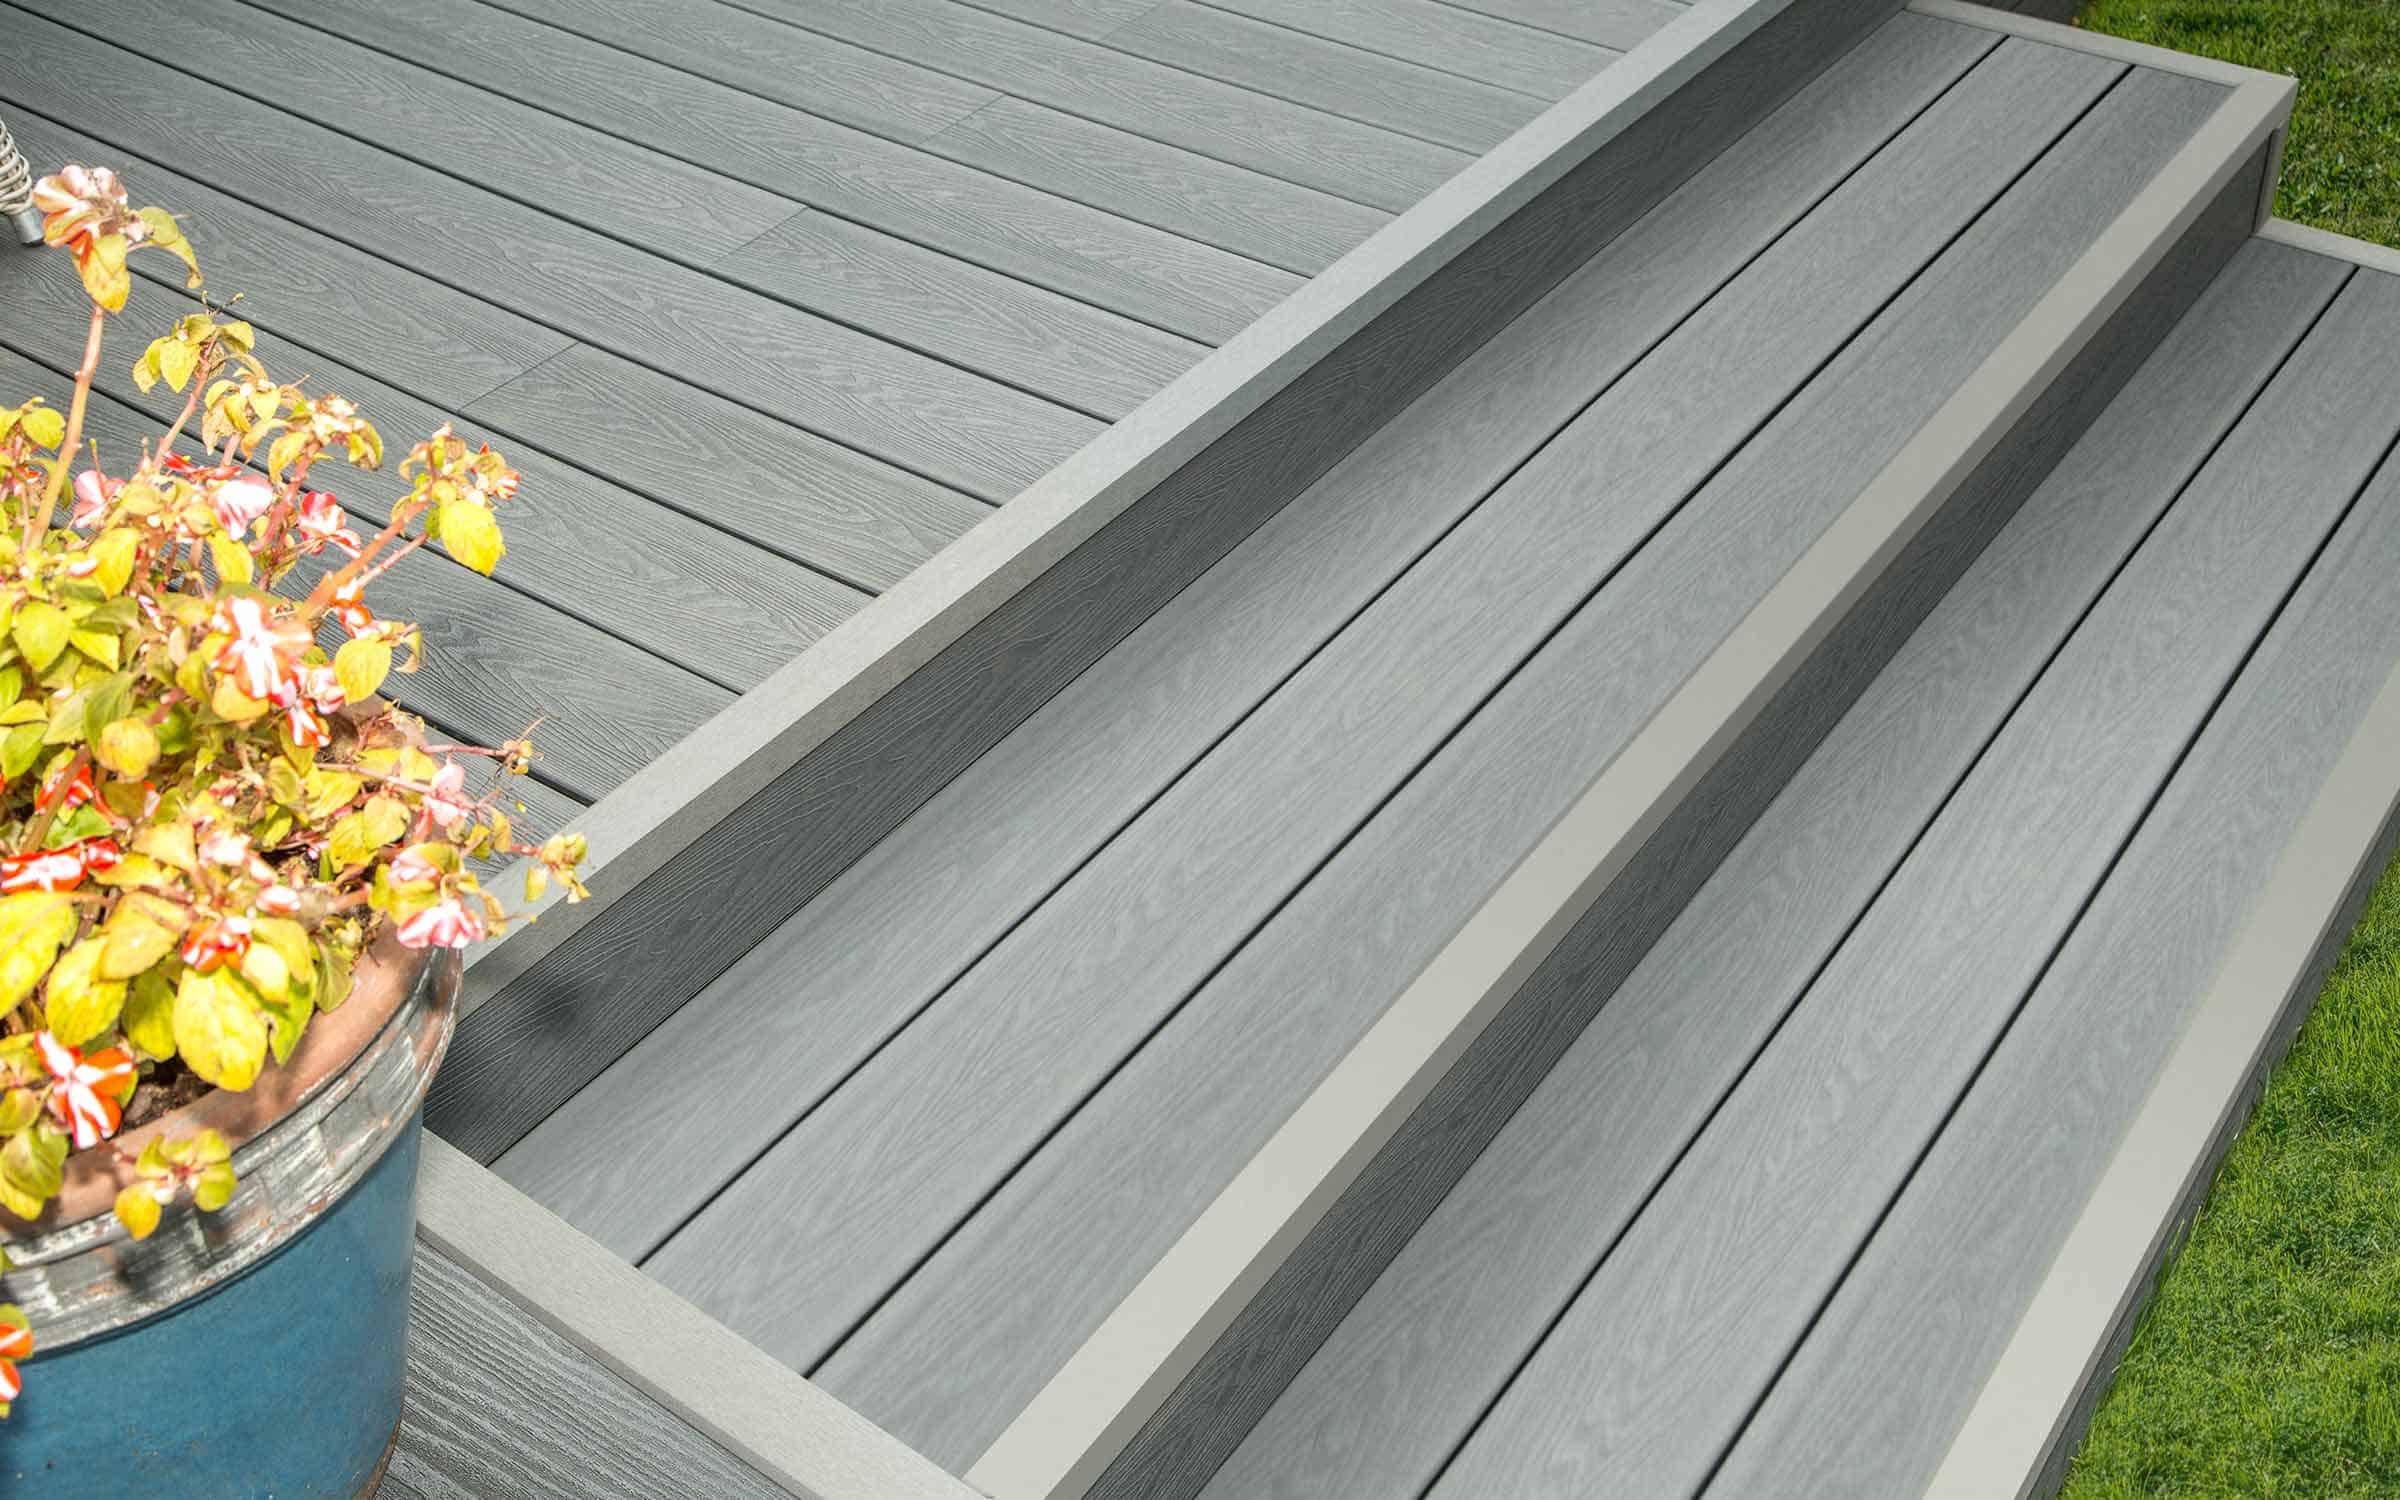
- Add stair treads: If your veranda decking includes stairs, install the stair treads. Use measurements and a level to ensure they are evenly spaced and securely fastened. Verify that the rise and run of each step meet local building codes.
- Install post caps and skirts: Enhance the visual appeal of your veranda decking by installing post caps and skirts. These decorative elements add a finished look to your deck posts and provide protection against moisture and insects.
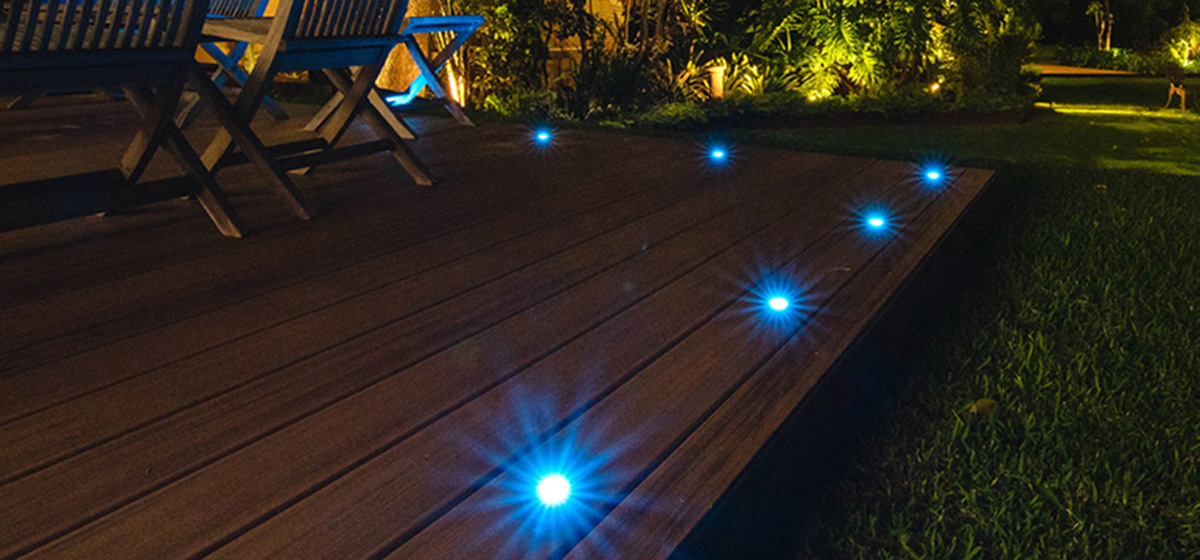
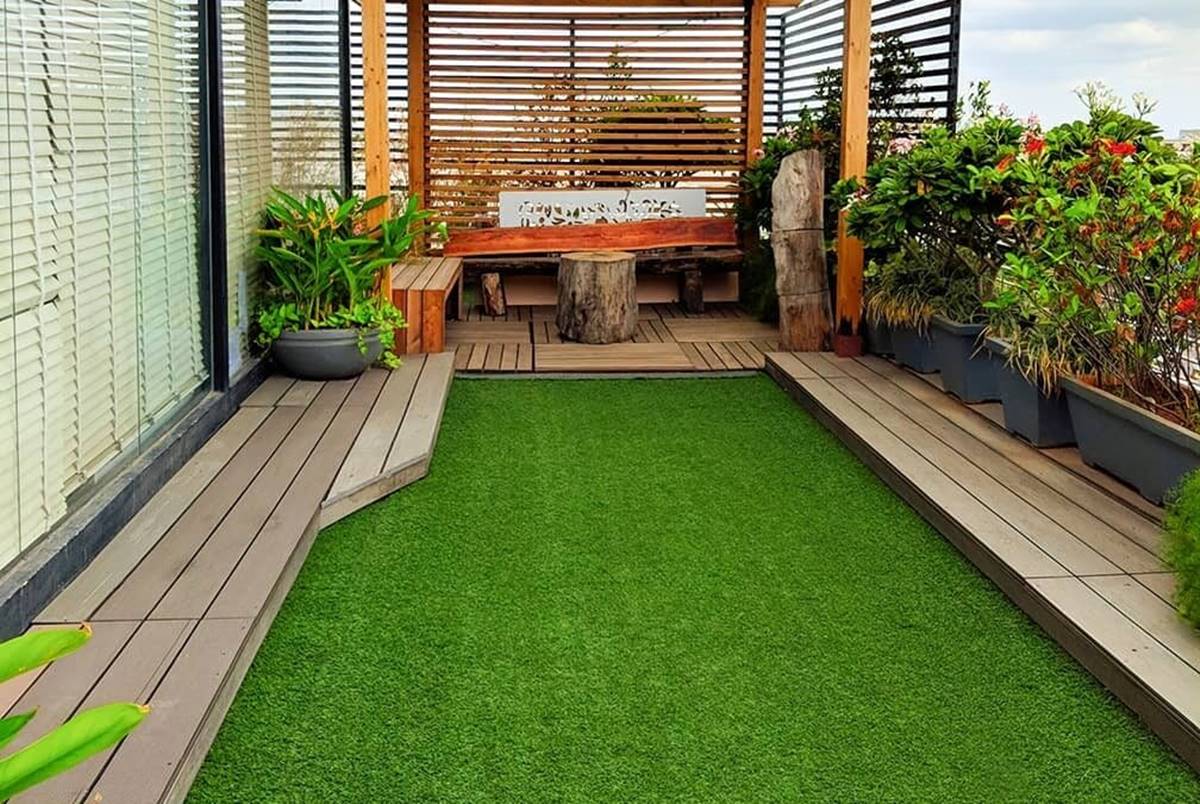
- Consider additional features: Depending on your preferences and budget, consider adding additional features to your veranda decking. This could include built-in seating, a pergola, lighting, or a fire pit. These features can elevate the functionality and enjoyment of your deck.
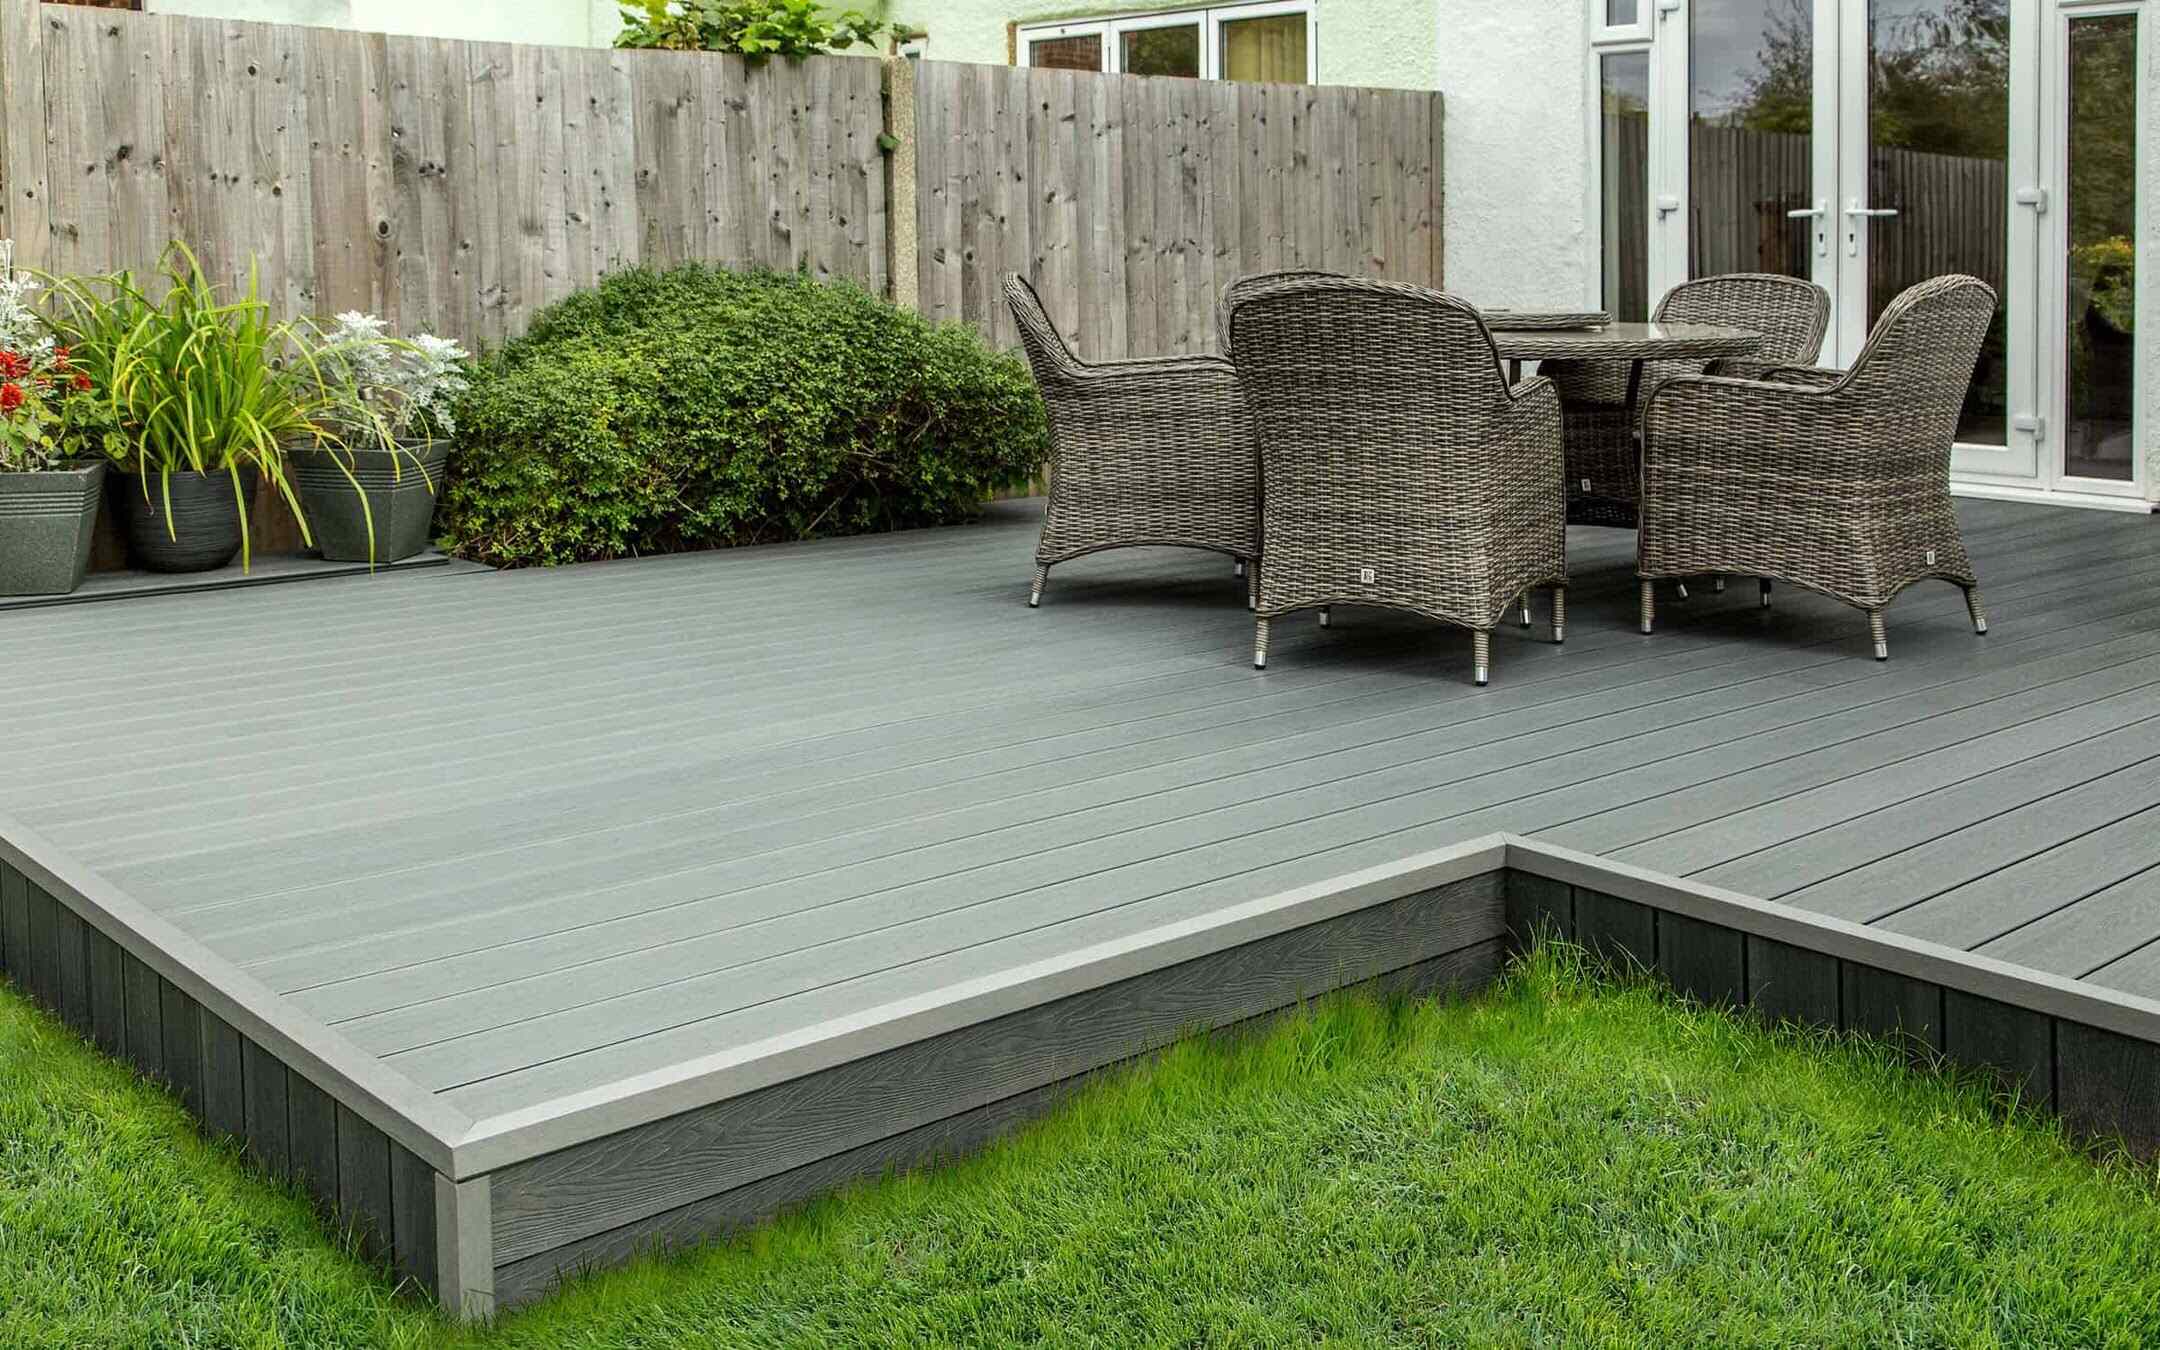
- Furnish and decorate: Finally, furnish and decorate your veranda decking to make it a welcoming and comfortable space. Add outdoor furniture, potted plants, and accessories that complement your personal style and create a relaxing atmosphere.
By adding these finishing touches, you’ll transform your basic veranda decking into a stunning outdoor retreat. Remember to clean and protect your deck, install any necessary railing or stair components, and personalize the space with furniture and decor. Enjoy the process of bringing your veranda decking to life and create a space that you’ll love to spend time in for years to come.
Conclusion
Congratulations! You have successfully completed the installation of your veranda decking. By following the step-by-step guide provided, you have transformed your outdoor space into a beautiful and functional deck that you can enjoy for years to come. The careful preparation, precise installation, and attention to detail will ensure the long-term durability and aesthetic appeal of your veranda decking.
Remember, the key to a successful installation is proper planning, using the right materials, and following the manufacturer’s instructions. By doing so, you have created a foundation that will withstand the elements and provide a safe and enjoyable space for gatherings, relaxation, and outdoor activities.
Now that your veranda decking is complete, take some time to maintain and care for it. Regularly clean the deck, remove any debris, and inspect for any signs of damage or wear. Depending on the type of veranda decking you have installed, periodic sealing or staining may be necessary to protect it from the elements and maintain its appearance.
Lastly, make this space your own by adding personal touches such as outdoor furniture, lighting, plants, and decor. Create an inviting and comfortable atmosphere that reflects your style and enhances your outdoor living experience.
We hope this comprehensive guide has provided you with the necessary knowledge and confidence to successfully install your veranda decking. Enjoy your new outdoor space and make lasting memories with family and friends!
Frequently Asked Questions about How To Install Veranda Decking
Was this page helpful?
At Storables.com, we guarantee accurate and reliable information. Our content, validated by Expert Board Contributors, is crafted following stringent Editorial Policies. We're committed to providing you with well-researched, expert-backed insights for all your informational needs.


0 thoughts on “How To Install Veranda Decking”