Home>Furniture>Outdoor Furniture>How To Lay A Stone Patio
Outdoor Furniture
How To Lay A Stone Patio
Modified: March 7, 2024
Learn how to lay a stunning stone patio with our step-by-step guide. Create a beautiful outdoor space for your outdoor furniture and enjoy the ultimate relaxation.
(Many of the links in this article redirect to a specific reviewed product. Your purchase of these products through affiliate links helps to generate commission for Storables.com, at no extra cost. Learn more)
Introduction
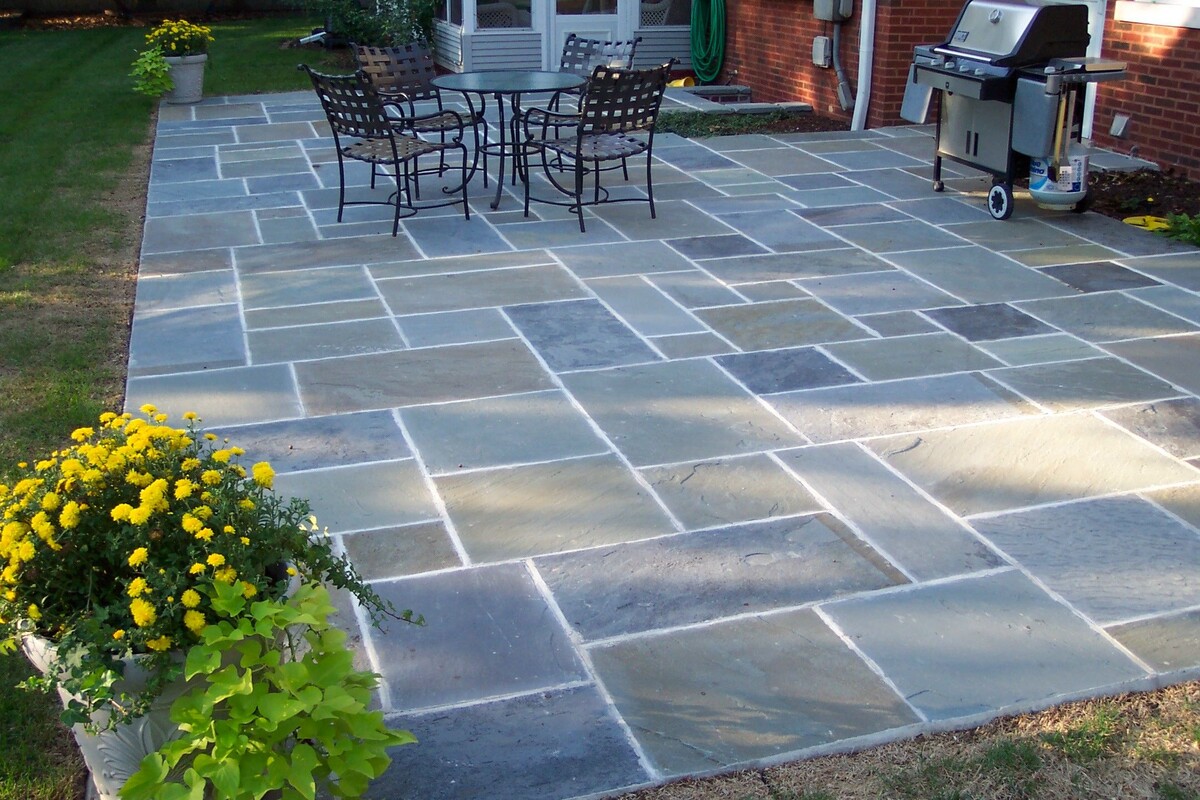
Welcome to our comprehensive guide on how to lay a stone patio! If you’re looking to create an inviting outdoor space where you can relax and entertain, a stone patio is a fantastic option. Not only does it add charm and character to your backyard, but it also provides a durable and low-maintenance surface for your outdoor furniture.
Creating a stone patio is a rewarding DIY project that allows you to unleash your creativity and customize the space to suit your personal style. Whether you’re a seasoned DIY enthusiast or a first-time patio builder, this step-by-step guide will walk you through the entire process, from planning to adding the finishing touches.
Before we dive into the nitty-gritty details, let’s take a moment to understand the benefits of a stone patio. Firstly, stone is a timeless and versatile material that complements any outdoor setting. With a wide variety of stone options available, including flagstone, limestone, and slate, you can choose the perfect stone to match your aesthetic preferences.
Secondly, stone patios offer unmatched durability and longevity. Once properly installed, they can withstand heavy foot traffic, extreme weather conditions, and even the test of time. The natural strength and resilience of stone make it an ideal choice for outdoor spaces that need to stand up to frequent use.
Lastly, stone patios require minimal maintenance compared to other types of outdoor surfaces. With regular cleaning and occasional resealing, your stone patio will look as good as new for years to come. Say goodbye to the hassle of staining or replacing wooden decks or the cracking and warping associated with concrete.
Now that we’ve covered the advantages of a stone patio, it’s time to roll up our sleeves and get started! In the next few sections, we’ll take you through each step of the process, providing detailed instructions and tips along the way.
From planning and excavation to setting the stones and finishing touches, you’ll learn everything you need to know to create a breathtaking stone patio that will become the centerpiece of your outdoor living space. So, let’s jump right in and begin our journey of building a beautiful and functional stone patio!
Key Takeaways:
- Planning is crucial for creating a beautiful stone patio. Consider design, location, materials, drainage, budget, permits, and accessories to ensure a successful and personalized outdoor space.
- Setting the stones and filling the joints are key steps in building a durable and visually appealing patio. Attention to detail and creativity will result in a stunning outdoor oasis.
Read more: How To Lay Down Patio Stones
Step 1: Planning
Before beginning any project, proper planning is essential. Planning your stone patio involves several key considerations to ensure a successful outcome. Let’s take a look at the important aspects to address during this initial stage:
1. Design and Layout: Consider the size and shape of your patio, keeping in mind the available space in your backyard. Determine if you want a square, rectangular, or curved patio, and envision how it will fit into your outdoor landscape. Sketching out a rough design on paper can help visualize the final result.
2. Location: Choose the ideal location for your stone patio. Factors to consider include sunlight exposure, proximity to the house, and any existing landscaping elements or structures. The location should provide a balance of shade and sun, as well as easy access from your home.
3. Materials: Research the different types of stones available and select the one that suits your style and budget. Consider factors such as color, texture, and durability. Flagstone, with its natural beauty and versatility, is a popular choice for stone patios.
4. Drainage: Ensure proper drainage for your patio to avoid water pooling or flooding. Evaluate the slope of your backyard and plan for sufficient drainage solutions, such as incorporating a slight slope in the patio’s design or adding a French drain system.
5. Budget: Determine your budget for the project, including the cost of materials, tools, and any professional assistance you may require. Keep in mind that while a DIY stone patio can save money on labor costs, it still requires careful budgeting for supplies and equipment.
6. Permits and Regulations: Check with local authorities or homeowner associations to determine if any permits or regulations are necessary for your patio construction. Ensure that you comply with any building codes or restrictions to avoid complications in the future.
7. Accessories and Features: Consider any additional features you may want to incorporate into your patio design, such as a fire pit, seating walls, or a pergola. Planning for these elements in advance will help ensure proper integration and a cohesive overall design.
By thoroughly planning your stone patio project, you will have a clear vision of what you want to achieve and can move forward with confidence. Take your time during this phase to gather inspiration, consult with experts if needed, and create a well-thought-out plan that aligns with your vision and goals.
Step 2: Clearing the Area
Once you have completed the planning stage, it’s time to roll up your sleeves and start preparing the area for your stone patio. Clearing the area is an important step that sets the foundation for the rest of the project. Here’s what you need to do:
1. Remove all vegetation: Start by removing any grass, weeds, or plants from the area where the patio will be located. Use a shovel or a sod cutter to cut through the turf and lift it away. Ensure that you remove the roots as well to prevent any future growth.
2. Clear debris: Remove any rocks, sticks, or other debris from the area. It is crucial to have a clean and level surface to work with when installing the stone patio.
3. Mark the boundaries: Use stakes and string to mark the boundaries of your patio. This will help you visualize the size and shape of the patio and ensure that you stay within the designated area during construction.
4. Consider drainage: Evaluate the natural slope of the terrain and plan for proper drainage. If necessary, you may need to make adjustments to the area by adding or removing soil to create a slight slope away from your house. This will prevent water from pooling on your patio.
5. Consider utility lines: Before digging, identify the location of any underground utility lines such as water pipes, electrical cables, or gas lines. Contact your local utility company to have them mark the lines or obtain a permit if necessary. This is crucial for the safety of your project.
6. Excavate: Using a shovel or a rented excavation machine, remove the top layer of soil from the marked area. Excavate to a depth of about 6 to 8 inches to allow space for the base material and the thickness of the stones.
7. Level the area: Use a rake and a tamper to level the excavated area. Ensure that the surface is smooth and even, with no high or low spots. This will provide a solid foundation for the base material.
Clearing the area is a critical step in preparing for your stone patio. By removing vegetation, debris, and ensuring proper drainage, you create a clean canvas to work with. Taking the time to level the area will prevent any future issues and ensure that your patio is strong and stable. Once the area is cleared and leveled, you’re ready to move on to the next step: marking the layout of your patio.
Step 3: Marking the Layout
With the area cleared and prepared, it’s time to mark the layout of your stone patio. Properly marking the layout will help you visualize the final design, ensure accurate placement of the stones, and make the installation process much smoother. Let’s dive into the steps:
1. Gather your materials: Before marking the layout, gather the necessary materials, including stakes, string, a measuring tape, and a can of marking paint. These tools will help you accurately define the boundaries of your patio.
2. Refer to your design: Use your sketch or plan from the planning stage as a guide. This will help you determine the size, shape, and orientation of your patio. Double-check your measurements and make any adjustments if needed.
3. Start with a reference point: Choose a reference point, such as a corner of your house or an existing structure, and measure the distance from that point to the edge of your patio. This will ensure that your patio is properly aligned and parallel to your house.
4. Mark the corners: Place stakes at each corner of your patio. Use a hammer or mallet to secure them into the ground. Make sure they are positioned at the correct distances according to your design.
5. Connect the corners: Attach string between the stakes, creating straight lines that define the perimeter of your patio. Ensure that the strings are taut and align with your desired dimensions. Use a level to check for accuracy.
6. Add intermediate stakes: Depending on the size and shape of your patio, you may need to add additional stakes between the corners. These intermediate stakes will help maintain the shape and proportions of the patio.
7. Double-check measurements: Measure and re-measure the dimensions of your patio to verify accuracy. Make adjustments as needed, ensuring that all sides are parallel and the angles are correct.
8. Spray paint the layout: Once you’re satisfied with the layout, use marking paint to trace the lines of the patio directly onto the ground. This will serve as a visual guide during the installation process.
By carefully marking the layout of your stone patio, you create a clear framework for the next steps. Taking the time to ensure accuracy and alignment will result in a beautifully laid patio, with precise edges and a professional-looking finish. With the layout complete, you’re ready to move on to the excavation phase!
Step 4: Excavating the Area
Excavating the area is a crucial step in preparing the foundation for your stone patio. By removing the necessary amount of soil, you create space to accommodate the base material and the thickness of the stones. Follow these steps to properly excavate the area:
1. Gather the necessary tools: Before you begin excavating, gather the tools you’ll need, including a shovel, a wheelbarrow, and a handheld or rented excavator. The type of equipment you’ll need will depend on the size and complexity of your patio project.
2. Start from the edges: Begin by excavating along the marked edges of your patio. Dig down to the desired depth, usually around 6 to 8 inches. Use a shovel to break up the soil and remove it from the area.
3. Work in small sections: Divide the patio area into smaller sections to make the excavation process more manageable. This will allow you to focus on one area at a time and ensure consistent depth throughout.
4. Remove any obstructions: As you excavate, keep an eye out for any rocks, roots, or other obstructions that may interfere with the patio’s foundation. Remove them to ensure a smooth and even base.
5. Check for proper slope: During excavation, make sure to create a slight slope away from your house or other structures. This will allow for proper drainage and prevent water from pooling on your patio. Use a level or a slope board to ensure accuracy.
6. Regularly check depth: Use a tape measure or a board with the desired depth marked on it to check the excavation depth regularly. Consistency in depth is essential for a level and stable patio surface.
7. Dispose of excess soil: As you excavate, transfer the excavated soil into a wheelbarrow or a designated disposal area. If the soil is in good condition, you can repurpose it elsewhere in your garden or donate it to a local community garden.
8. Inspect the excavation: Once the entire area is excavated, visually inspect the excavation site for any uneven areas or inconsistencies. Use a rake or a shovel to make any necessary adjustments and ensure a level surface.
Remember, proper excavation is the foundation of a successful stone patio. Take your time during this step, ensuring the correct depth, slope, and removal of obstructions. With the excavation complete, you’re ready to move on to the next phase: preparing the base for your patio.
Read more: How To Lay A Stepping Stone Patio
Step 5: Preparing the Base
Creating a solid and stable base is crucial for the longevity and durability of your stone patio. The base provides a firm foundation for the stones and helps prevent shifting and settling over time. Follow these steps to prepare the base for your patio:
1. Compact the soil: Before adding any base material, use a soil compactor or a hand tamper to compact the soil in the excavation area. This will create a stable base and minimize settling in the future.
2. Install landscape fabric: Lay down landscape fabric over the compacted soil. This will help prevent weeds from growing through the base material and ensure a cleaner and more low-maintenance patio.
3. Add the base material: Pour a layer of crushed stone or gravel over the landscape fabric. This base material acts as a stable and permeable layer, allowing for proper drainage and preventing the stones from sinking into the soil.
4. Spread and level the base material: Spread the base material evenly over the patio area. Use a rake or a shovel to distribute it, ensuring a consistent layer thickness of 2 to 4 inches. Take care to create a level surface as much as possible.
5. Compact the base material: Use a plate compactor or a hand tamper to compact the base material. This compaction process helps to create a solid and stable surface for the stones. Repeat this step multiple times, going over the entire patio area until the base material is firmly compacted.
6. Check for levelness: Use a level to check the levelness of the base material. Make any necessary adjustments by adding or removing base material as needed. A level base will ensure that your stones are laid evenly and prevent any tripping hazards.
7. Add a thin layer of sand: Once the base material is compacted and leveled, add a thin layer of sand over the top. This sand layer will help fill in any voids and create a smooth surface for laying the stones. Use a rake or a straight board to evenly distribute the sand.
8. Level and smooth the sand: Use a screed board or a straight 2×4 to level and smooth the sand layer. Drag the board across the surface in a back-and-forth motion, filling in any low spots and removing excess sand. This will provide a flat and even surface for your stone patio.
By properly preparing the base, you establish a solid foundation for your stone patio. The compacted soil, landscape fabric, base material, and sand layer work together to create a level and stable surface that will ensure the longevity and beauty of your patio. With the base prepared, you’re ready to move on to the exciting next step: installing the edging.
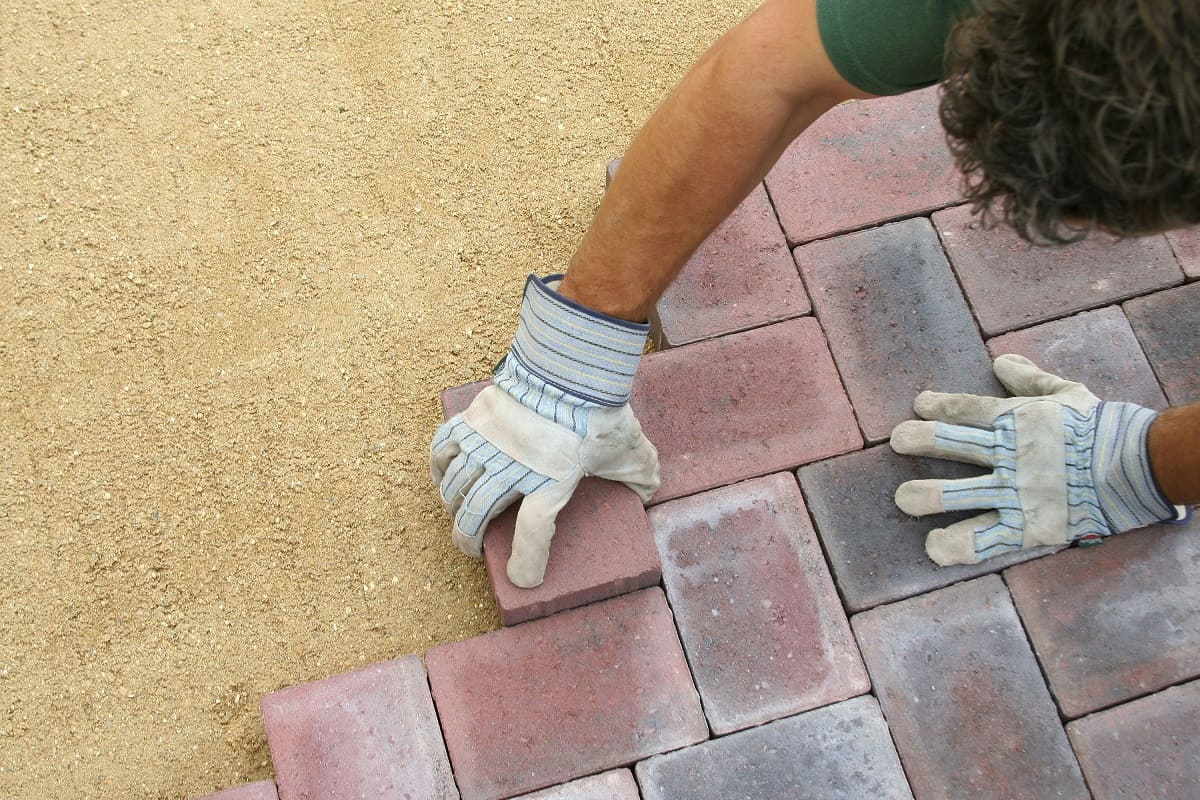
Before laying a stone patio, make sure to properly prepare the base by excavating the area, adding a layer of gravel, and compacting it to create a stable foundation for the stones.
Step 6: Installing Edging
Installing edging is an important step in defining the boundaries and securing the perimeter of your stone patio. Edging not only enhances the aesthetic appeal of your patio but also helps prevent the stones from shifting and spreading over time. Here’s how you can install edging for your patio:
1. Choose the right edging material: Select an edging material that complements the style and design of your patio. Common options include plastic or metal paver edging, brick or stone edging, or even coordinating natural stone as the edging itself.
2. Measure and cut: Measure the lengths of the patio edges where you’ll be installing the edging. Use a saw or a rotary tool with a masonry blade to cut the edging material to the appropriate lengths.
3. Prepare the ground: Clear any excess sand or debris from the edge of your patio. Dig a trench along the edge, slightly wider and deeper than the thickness of your chosen edging material.
4. Set the edging: Place the edging material into the trench, ensuring it sits flush with the top of the patio surface. Use a rubber mallet to gently tap it into place, making sure it is securely anchored in the ground.
5. Check for levelness: Use a level to verify that the edging is level along its entire length. Adjust the placement of the edging as necessary, using a rubber mallet to tap it into the desired position.
6. Connect the edging: If your patio has multiple sections, connect the ends of each piece of edging using the manufacturer’s recommended connectors or by overlapping the ends and securing them with landscape spikes or masonry adhesive.
7. Backfill: Fill the trench behind the edging with soil or gravel, compacting it gently with a tamper as you go. This will provide additional stability and support to the edging.
8. Trim excess: If there is any excess edging material sticking out above the patio surface, use a saw or a rotary tool to trim it to the desired height. Take care to smooth any rough or sharp edges.
9. Repeat for all edges: Repeat the above steps for each edge of your patio until all sides have been properly edged and secured.
Installing edging will give your stone patio a defined and finished look while also preventing the stones from shifting out of place over time. It adds a professional touch to your patio and helps maintain its structural integrity. With the edging in place, you’re ready to move on to the exciting next step: setting the stones!
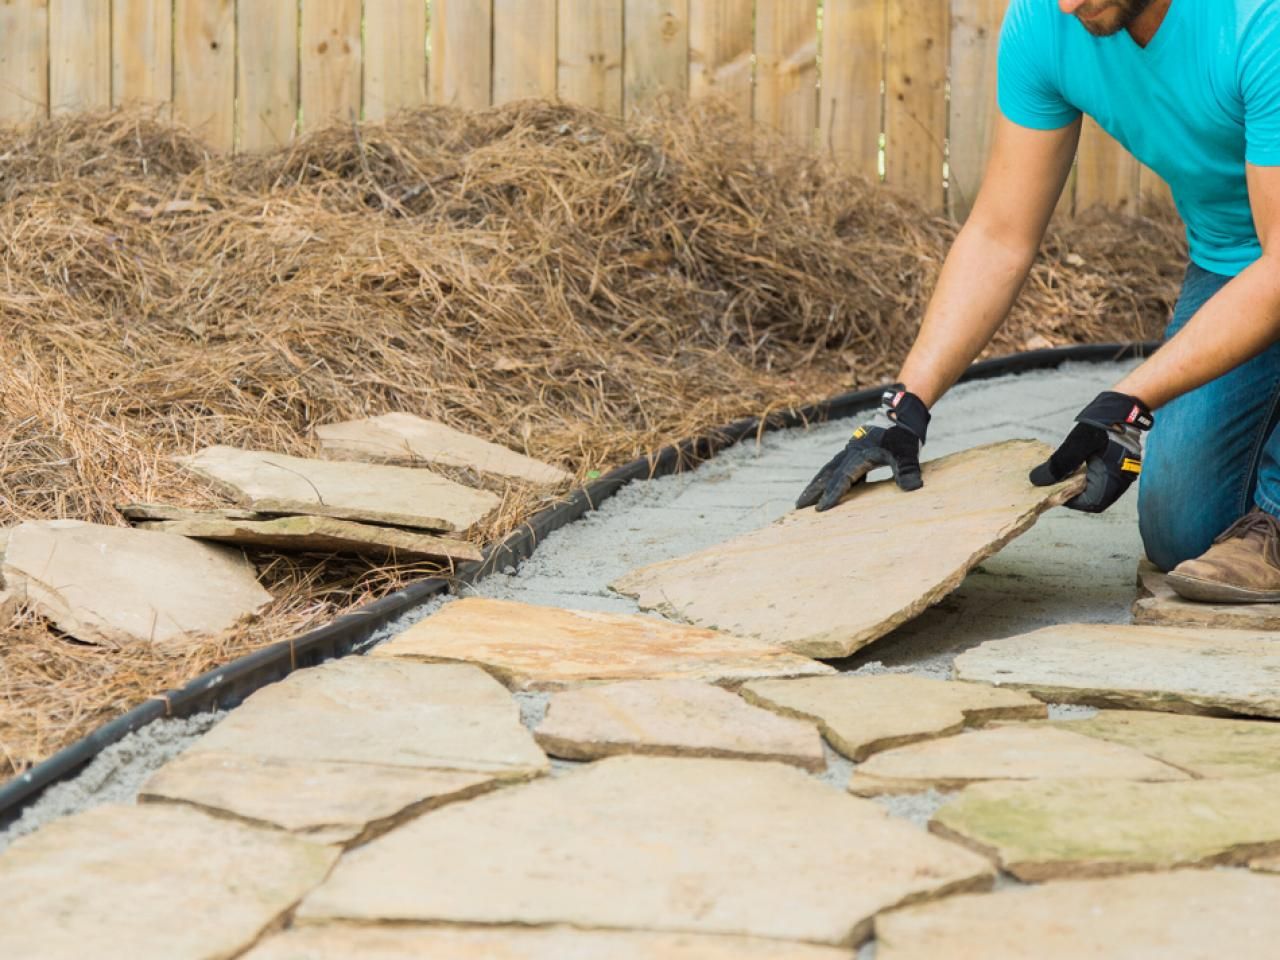
Step 7: Setting the Stones
Setting the stones is where your patio starts to take shape and come to life. This step involves carefully placing and arranging the stones according to your desired pattern and design. Follow these steps to properly set the stones for your patio:
1. Start with a dry lay: Before permanently setting the stones, do a dry lay by arranging them on the prepared base. This allows you to experiment with different layouts and patterns until you find the one that suits your vision.
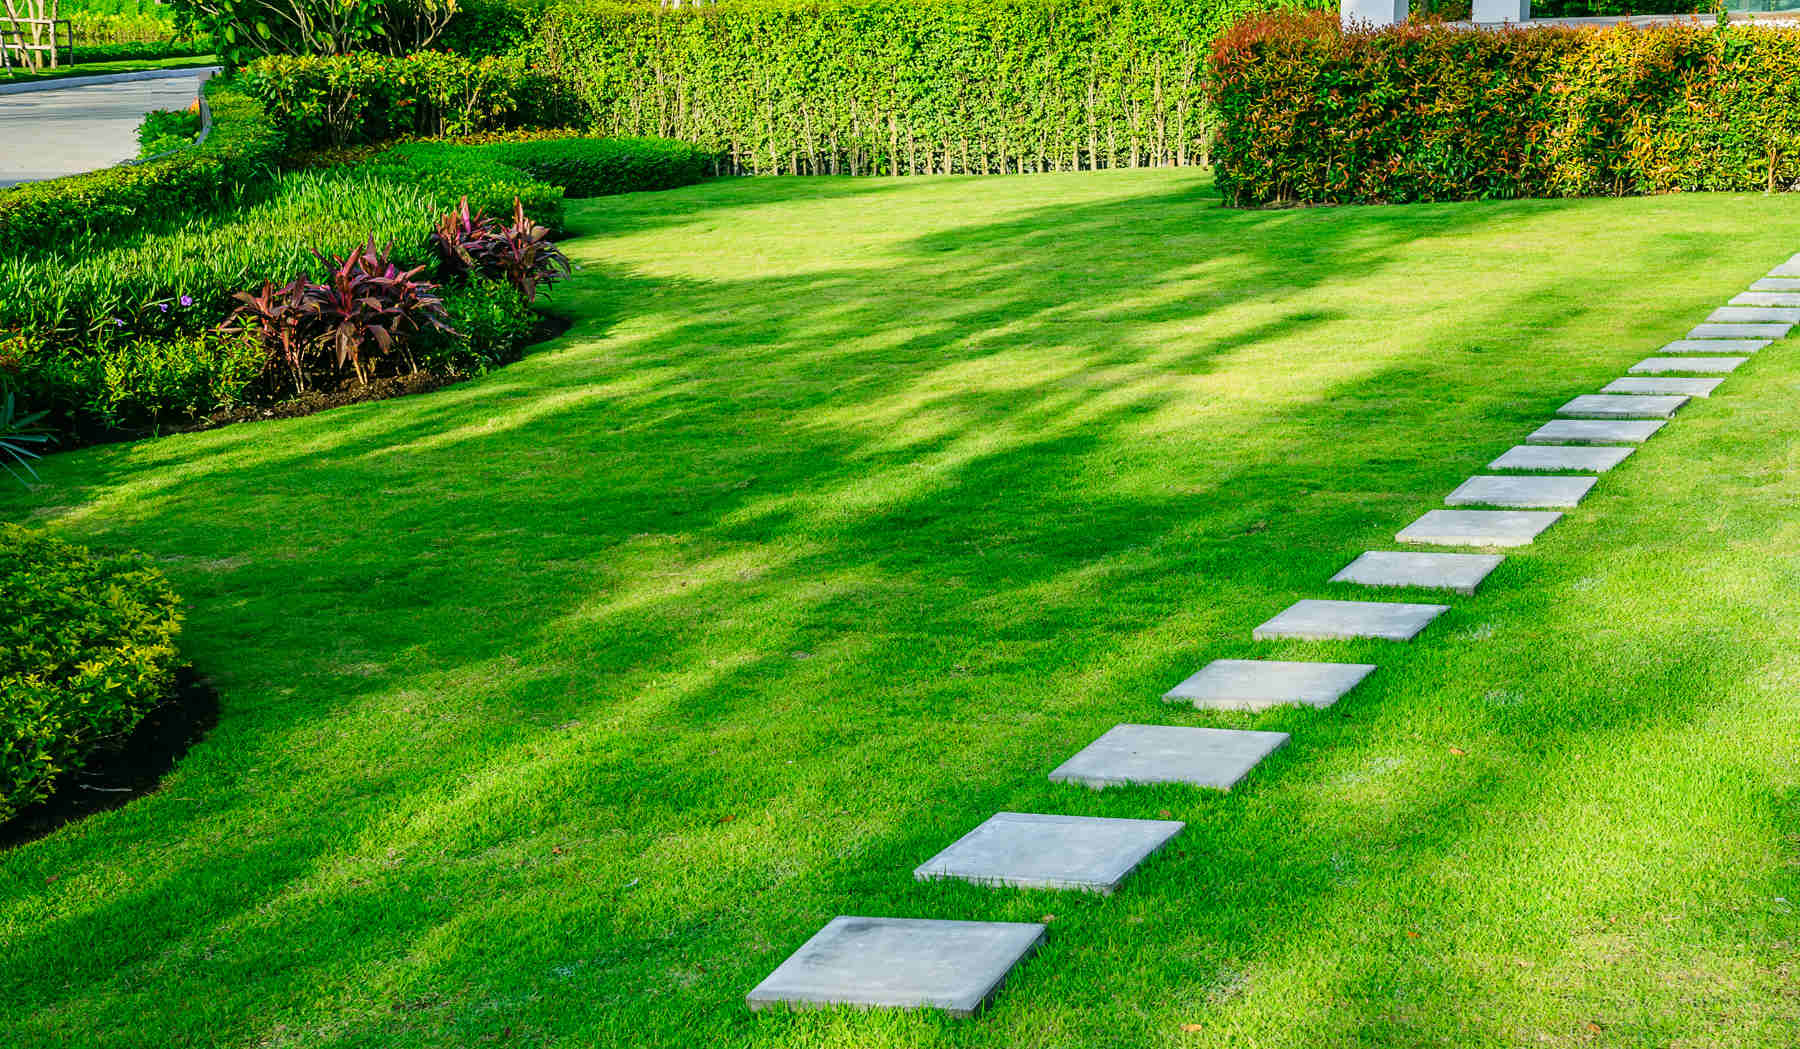
2. Consider spacing: Determine the spacing between the stones. This will depend on the type of stone and the desired look of your patio. Leave consistent gaps between the stones to allow for joint filler later on.
3. Begin at one corner: Start at one corner of your patio and work your way outward. Place the first stone in the desired position, ensuring it is level and flush with the surrounding stones.
4. Place subsequent stones: Continue placing the stones in the chosen pattern, aligning them closely and maintaining consistent spacing. Use a level to ensure each stone is level with the adjacent ones.
5. Split or cut stones if needed: If necessary, use a stone splitter or a circular saw with a diamond blade to cut or split stones to fit in irregular spaces or along the edges of the patio. Always follow manufacturer instructions and wear appropriate safety gear.
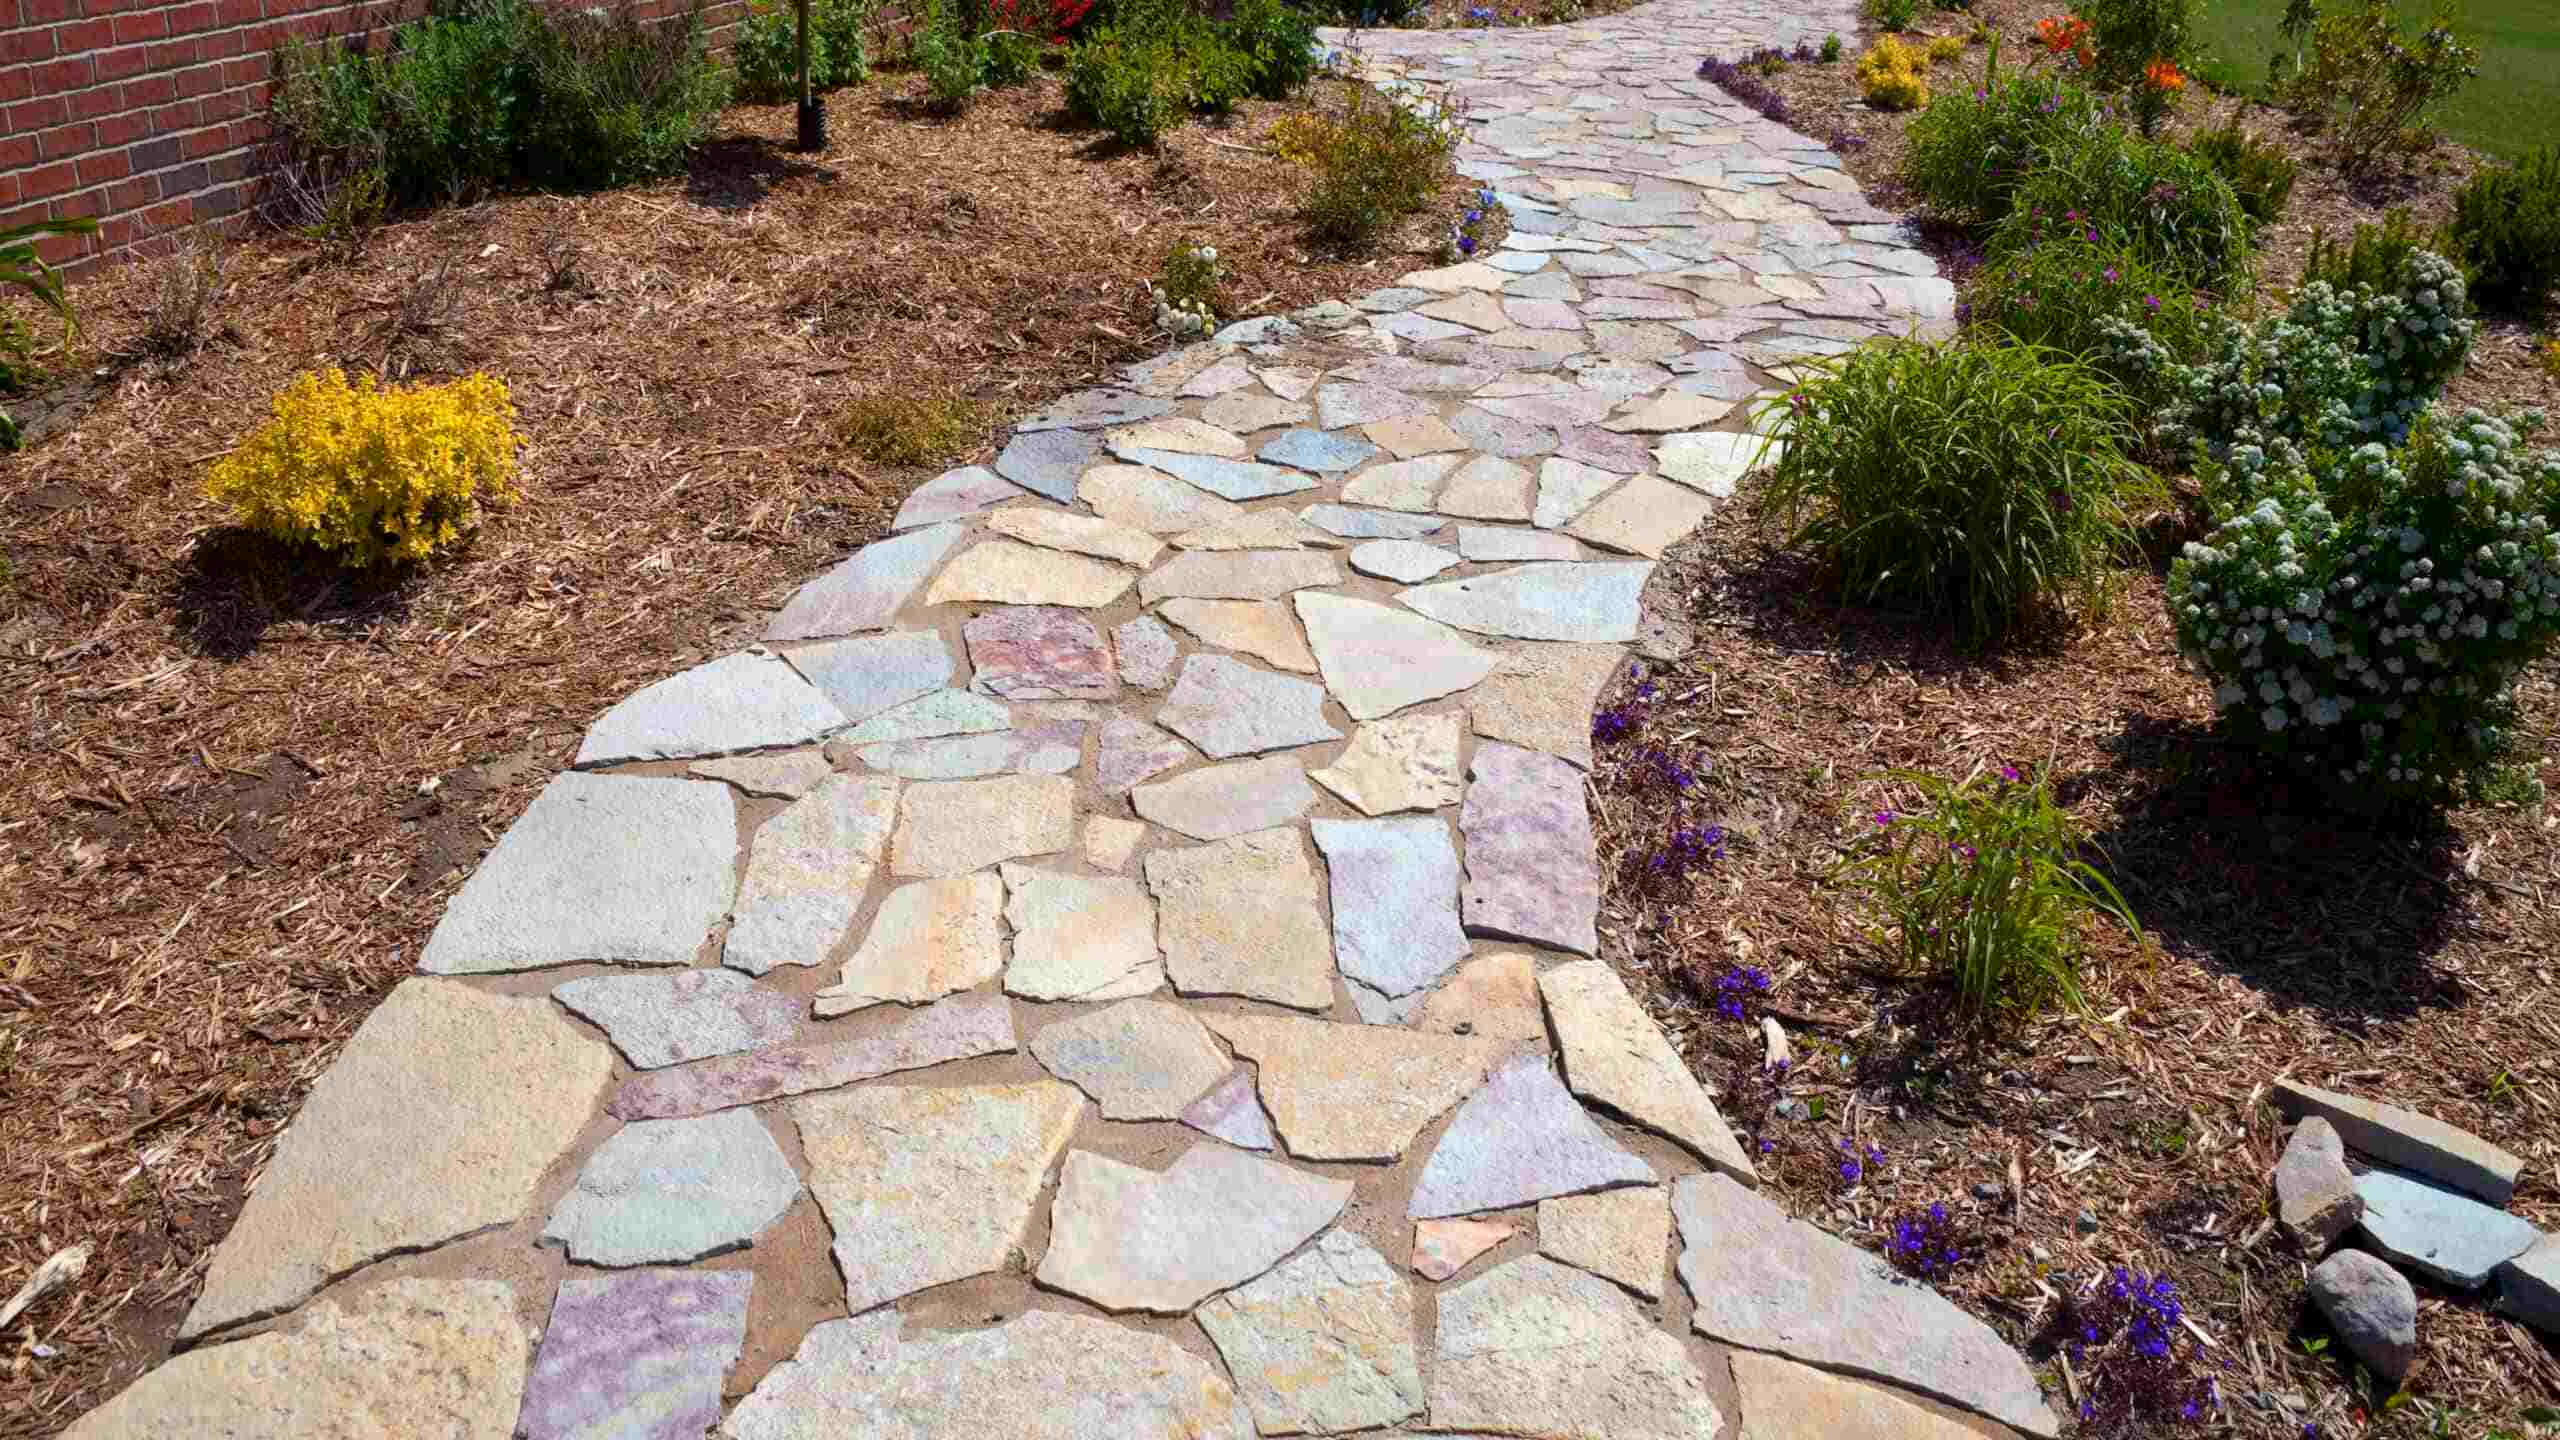
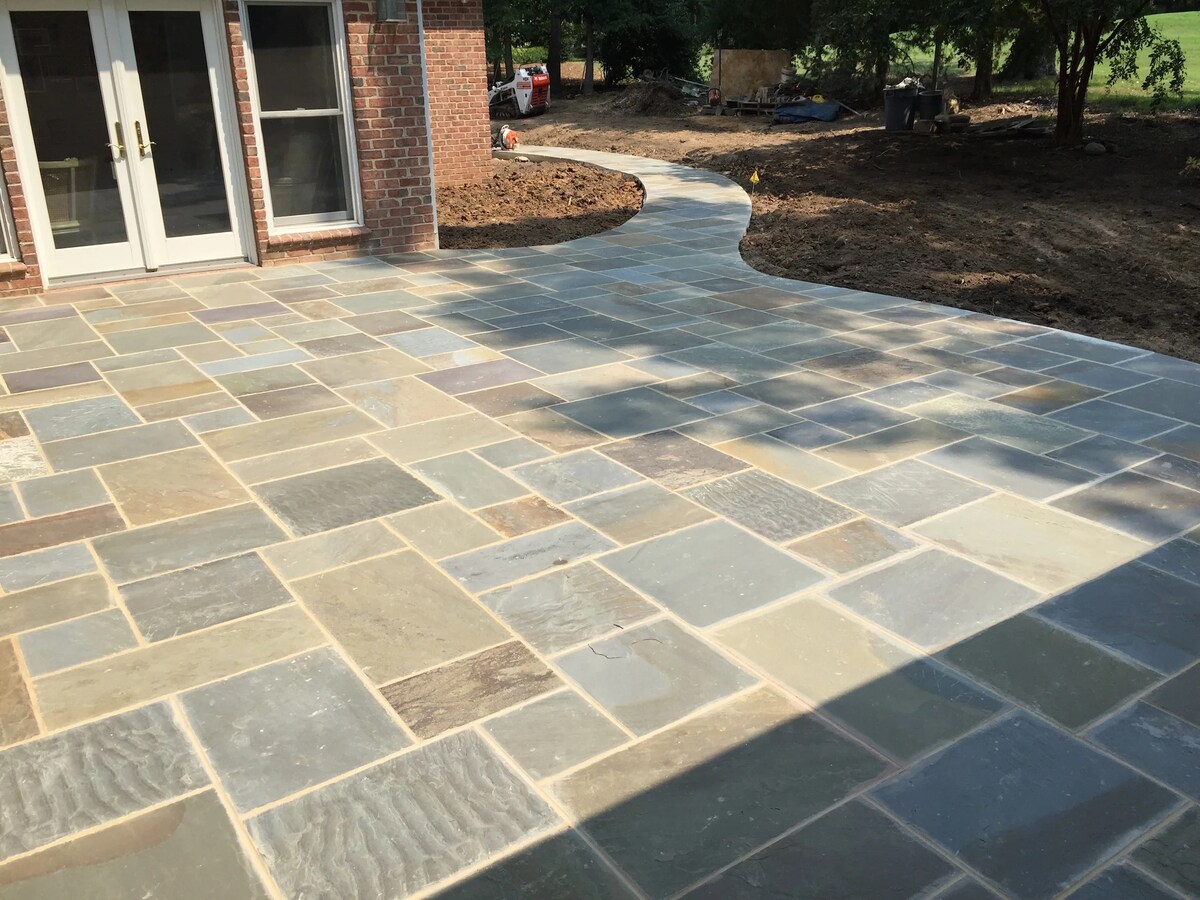
6. Vary the stone shapes and sizes: To create visual interest and a natural look, vary the shapes and sizes of the stones as you set them. This will add visual texture and make the patio more visually appealing.
7. Tap stones with a rubber mallet: As you place each stone, use a rubber mallet to gently tap it into place, ensuring a secure and stable fit. Take care not to chip or crack the stones while tapping them.
8. Check for levelness and alignment: Regularly use a level to check that the stones are level and align with neighboring stones. Make any necessary adjustments by tapping or adding/removing base material accordingly.
9. Work in small sections: Divide your patio into smaller sections and work on one section at a time. This will help you maintain focus and ensure consistent placement throughout the project.
10. Step back and assess: After placing a few stones, step back and assess the overall appearance. Make any necessary adjustments to the layout or spacing before continuing to lay more stones.
Setting the stones requires attention to detail and artistic vision. Take your time to ensure proper placement, levelness, and alignment. By following these steps, you’ll be well on your way to creating a stunning stone patio that enhances your outdoor living space.
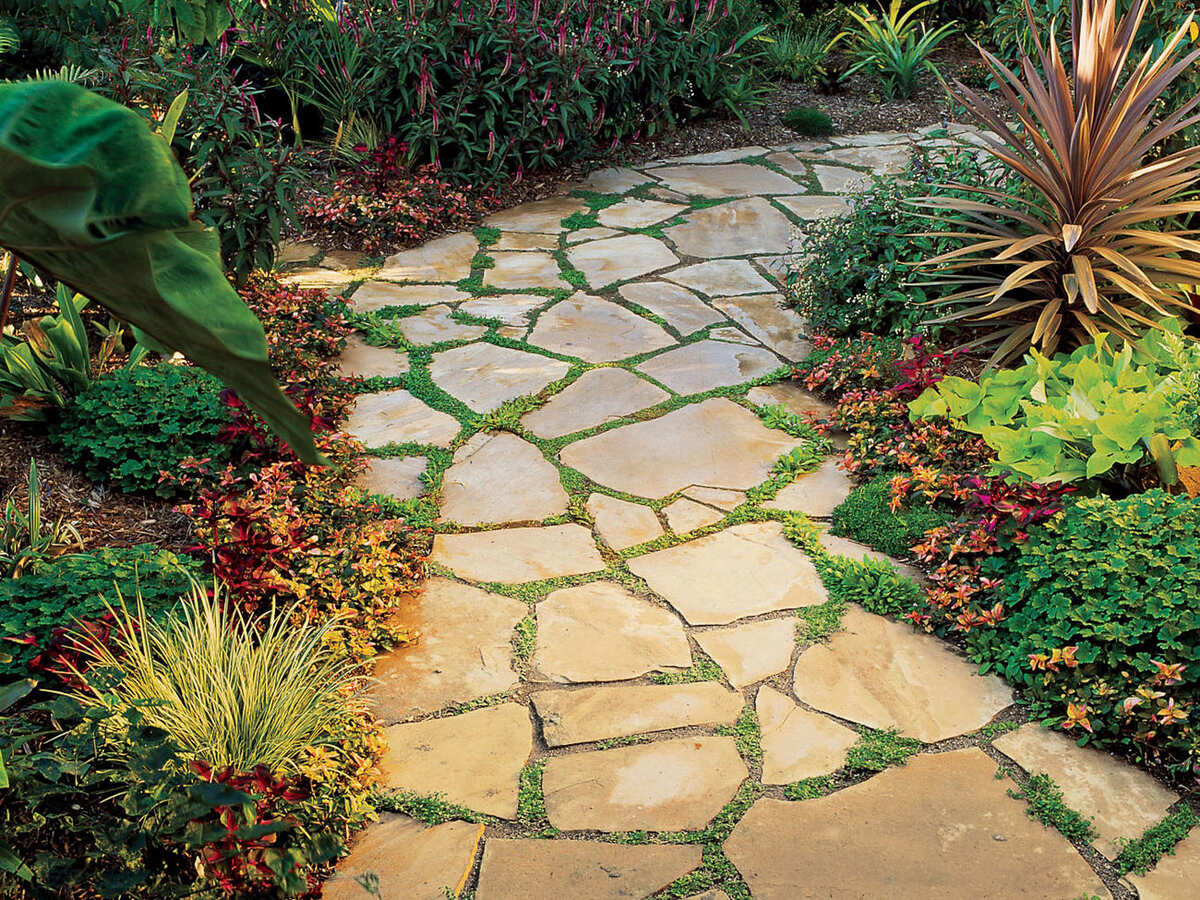
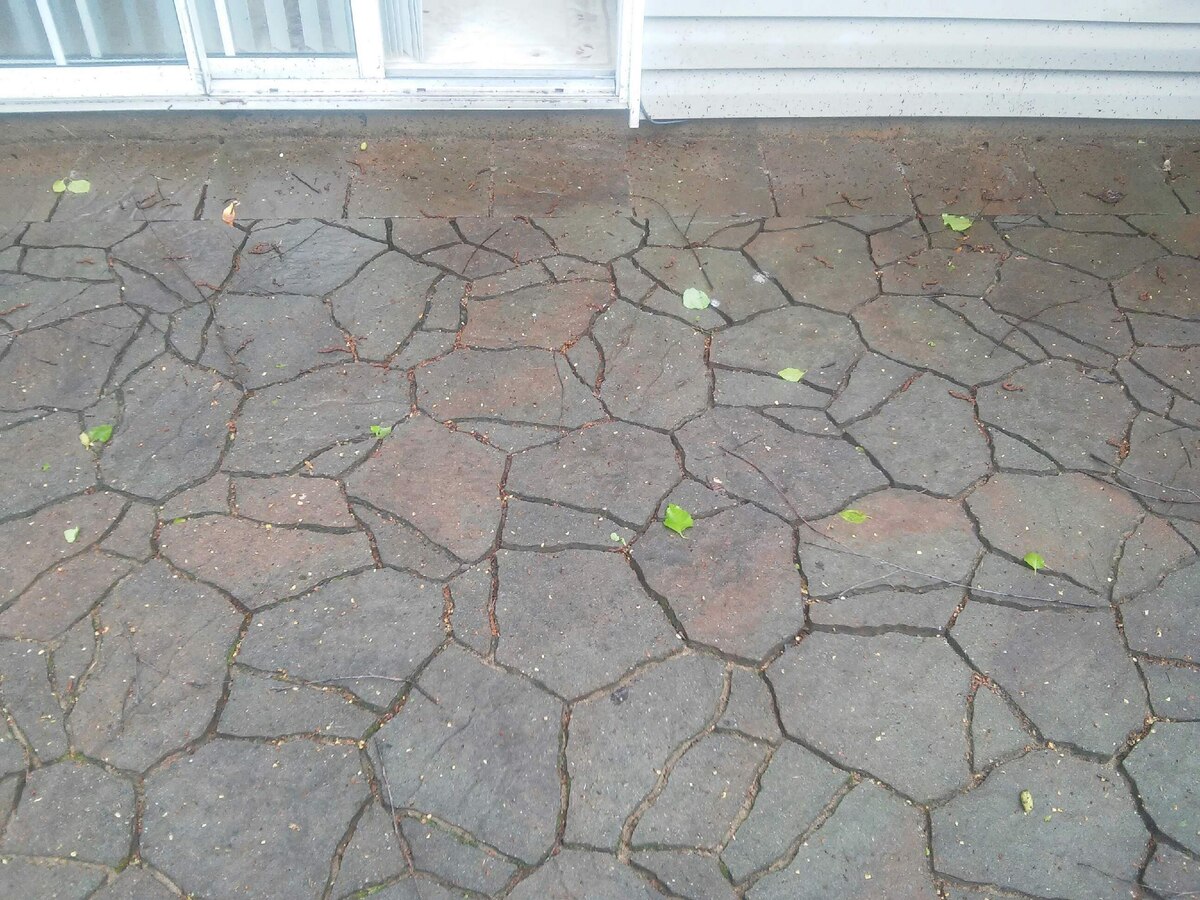
Step 8: Filling the Joints
Once the stones are set in place, it’s time to fill the joints between them. This step not only enhances the aesthetics of your patio but also helps stabilize the stones and prevents weed growth. Follow these steps to properly fill the joints of your stone patio:
1. Select the joint filler: Choose a suitable joint filler material for your specific stone patio. Common options include polymeric sand, crushed stone, or a mixture of sand and stone dust. Consider factors such as durability, color, and ease of installation.
2. Clean the surface: Before filling the joints, use a broom or a leaf blower to remove any debris, dust, or loose particles from the surface of the stones. A clean surface ensures proper adhesion of the joint filler.
3. Moisten the patio: Lightly mist the entire patio surface with water. This helps to activate the joint filler and improves its bonding and setting properties.
4. Fill the joints: Pour the joint filler material onto the patio surface, focusing on the gaps between the stones. Use a broom or a brush to sweep the filler material back and forth, ensuring it fills the joints completely.
5. Compact the filler: Use a tamper or a hand compactor to gently compact the joint filler into the gaps. This helps to ensure a tight and secure fit, eliminating any voids or air pockets.
6. Repeat the filling process: Continue to pour the joint filler and compact it into the gaps until all the joints are filled. Take your time and work in small sections to ensure even coverage.
7. Remove excess filler: Once all the joints are filled, use a broom or a brush to sweep away any excess joint filler from the surface of the stones. This will help create a clean and polished appearance.
8. Mist with water: Lightly mist the entire patio surface with water once again. This will activate the setting process of the joint filler and promote its proper curing.
9. Allow the filler to set: Follow the manufacturer’s instructions regarding the curing time for your chosen joint filler. Avoid walking or placing heavy objects on the patio during this time to allow the filler to fully set and harden.
Filling the joints not only adds stability to your stone patio but also enhances its overall appearance. The joint filler helps to prevent weed growth, minimize water penetration, and reduce the risk of stones shifting over time. Once the joints are filled and the filler has set, your patio will be one step closer to completion.
With the joints filled, you can move on to the final step: adding the finishing touches to your stone patio.
Read more: How To Lay Patio Stones On Grass
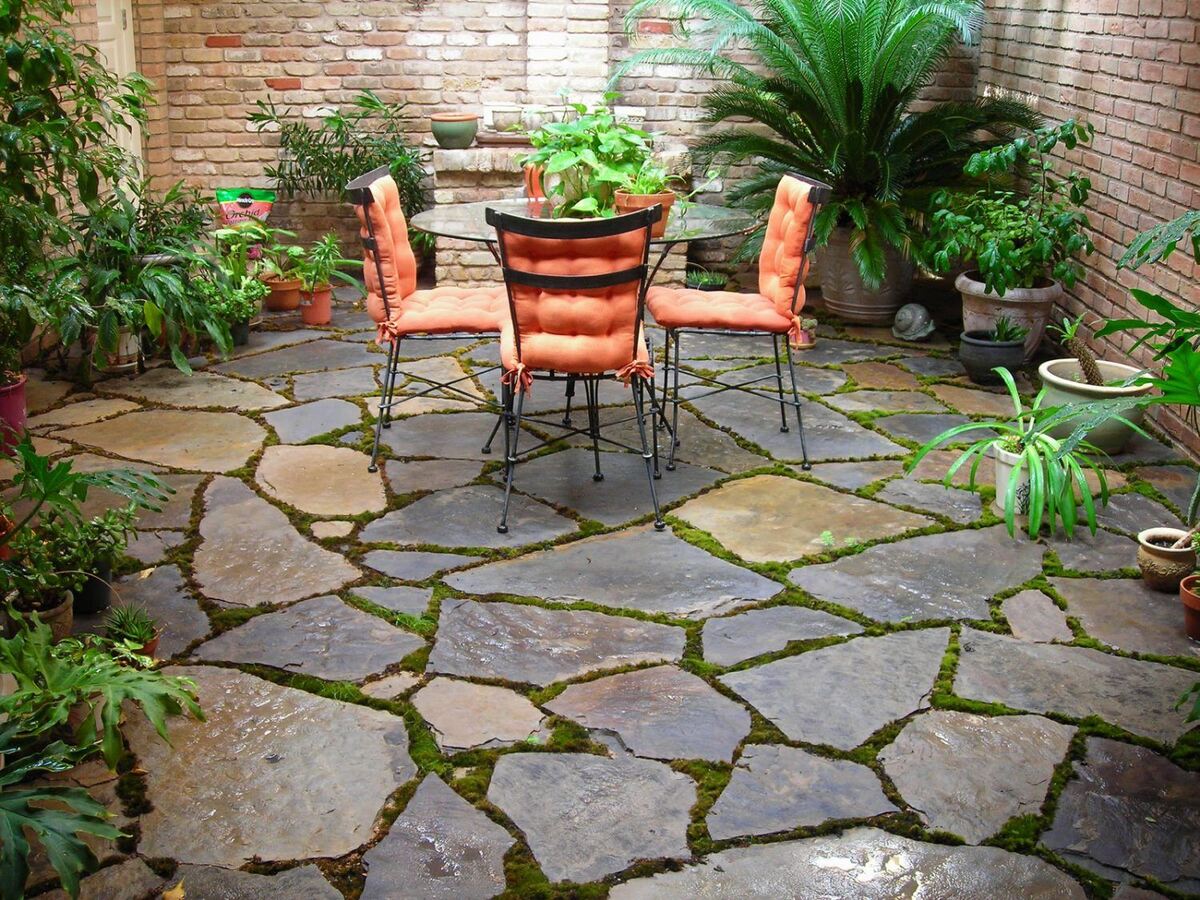
Step 9: Adding Finishing Touches
With your stone patio nearly complete, it’s time to add those final touches that will truly make it a captivating outdoor space. These finishing touches will add personalization, functionality, and beauty to your patio. Here are some ideas to consider:
1. Add landscaping elements: Incorporate plants, flowers, and shrubs around the edges of your patio to create a lush and vibrant atmosphere. Choose plants that complement the style of your patio and thrive in your climate.
2. Install outdoor lighting: Enhance the ambiance and usability of your patio by adding strategic outdoor lighting. Use lanterns, string lights, or spotlights to illuminate the patio and create a warm and inviting atmosphere for evening gatherings.
3. Integrate seating: Place outdoor furniture such as chairs, benches, or a dining set to provide comfortable seating options. Consider the layout and size of your patio to ensure adequate space for furniture without overcrowding the area.
4. Incorporate shade: Install a pergola, umbrella, or shade sail to provide relief from the sun’s rays during hot summer days. This will create a cool and comfortable space for relaxation and entertaining.
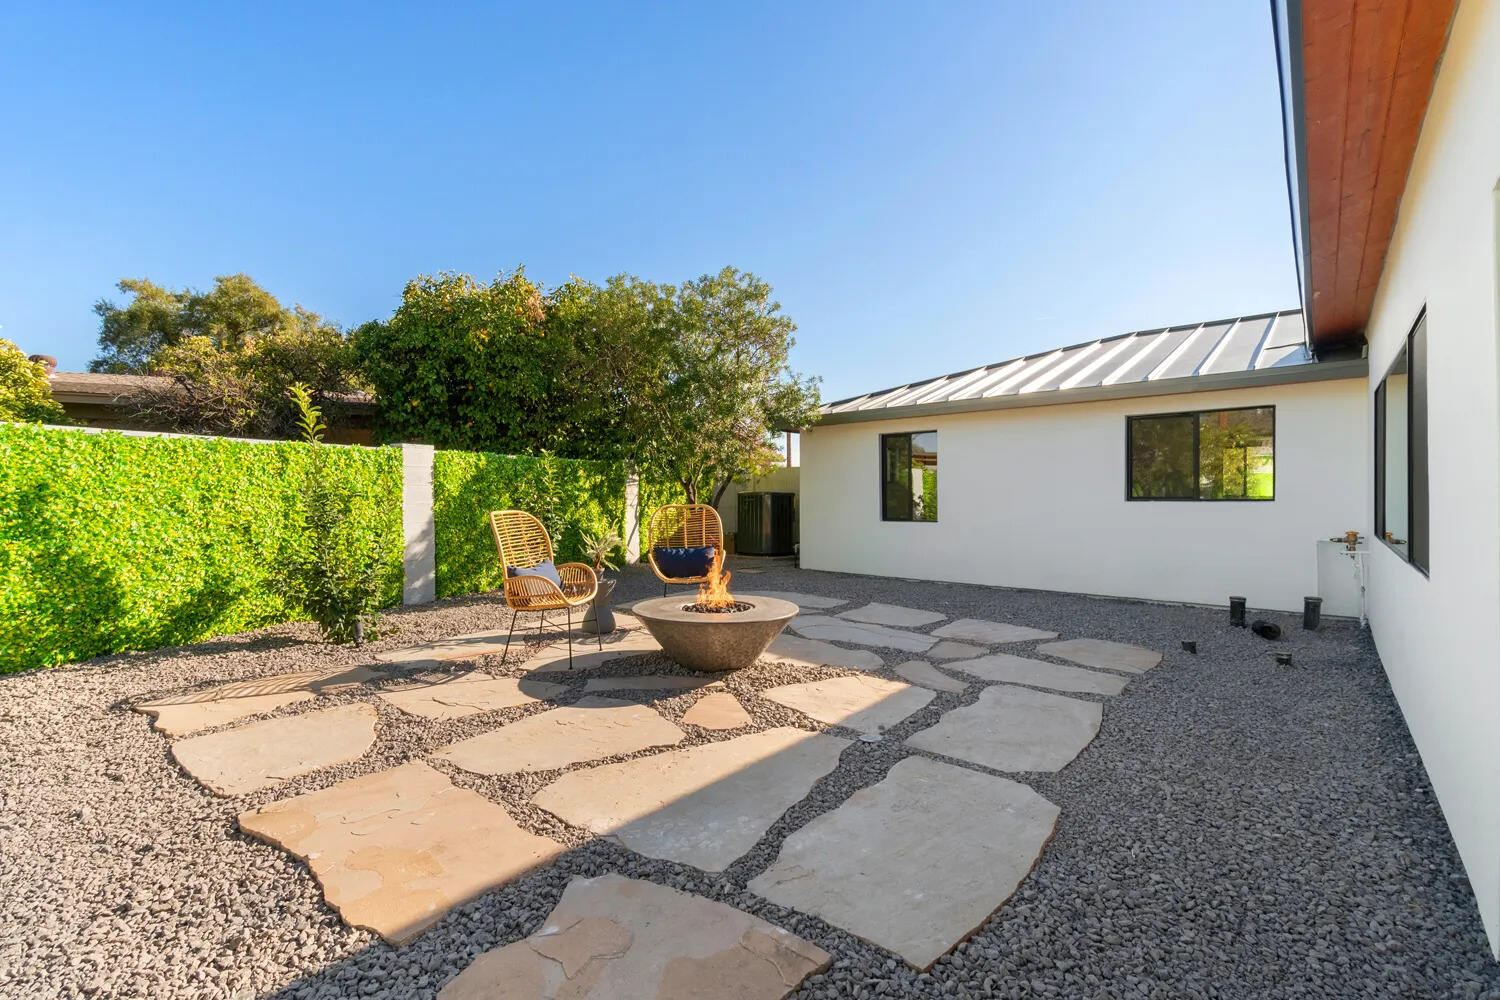
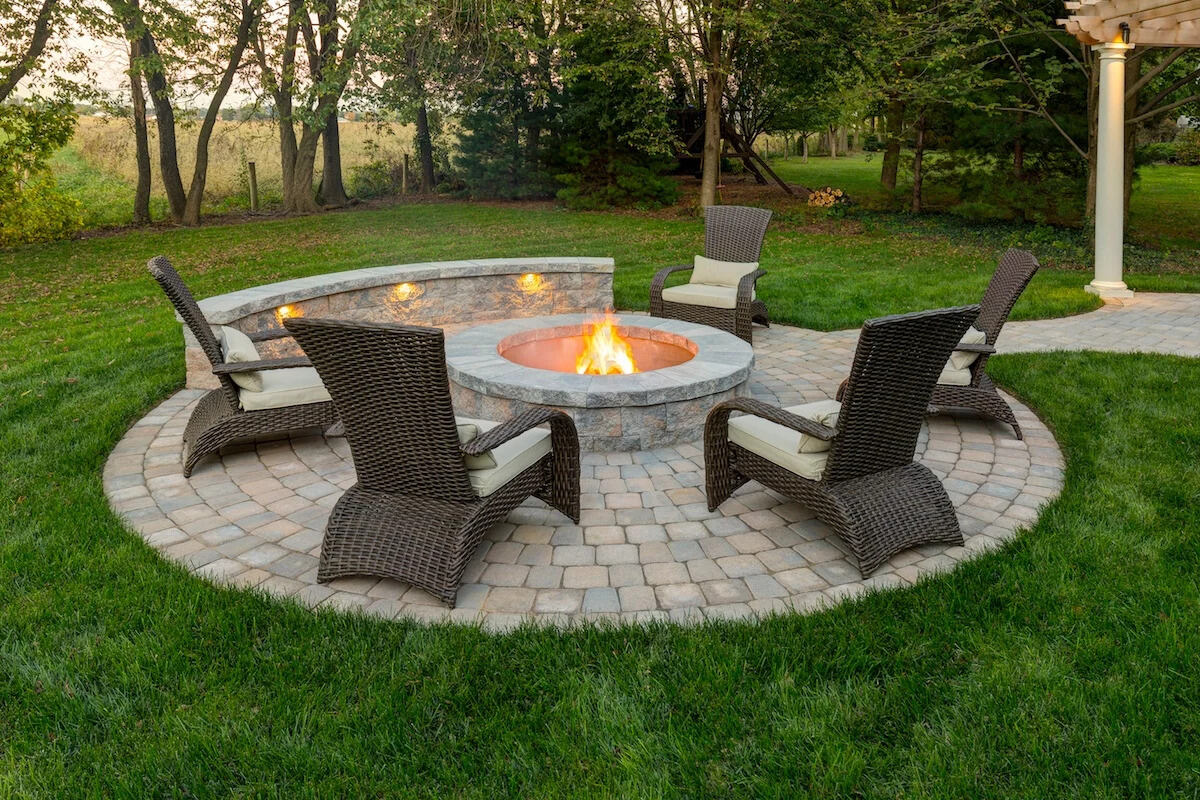
5. Add a fire feature: Install a fire pit or an outdoor fireplace to create a cozy ambiance and extend the usability of your patio into the cooler evenings. Gather around the fire with friends and family, enjoying the warmth and crackling flames.
6. Accessorize with outdoor decor: Add decorative elements such as outdoor rugs, throw pillows, lanterns, or artwork to infuse your patio with personality and charm. These accessories can complement your chosen style and create a welcoming atmosphere.
7. Consider privacy: If privacy is desired, install privacy screens, trellises, or plant tall hedges or trees around your patio. This will create a secluded and intimate space where you can relax undisturbed.
8. Arrange potted plants: Place potted plants strategically around your patio to add pops of color and texture. Choose plants that are suitable for outdoor conditions and match the overall aesthetic of your patio.
9. Add functional features: Consider including practical features such as an outdoor kitchen, built-in grill, or a bar area. These additions will make your patio a functional extension of your home, perfect for hosting gatherings and outdoor cooking.
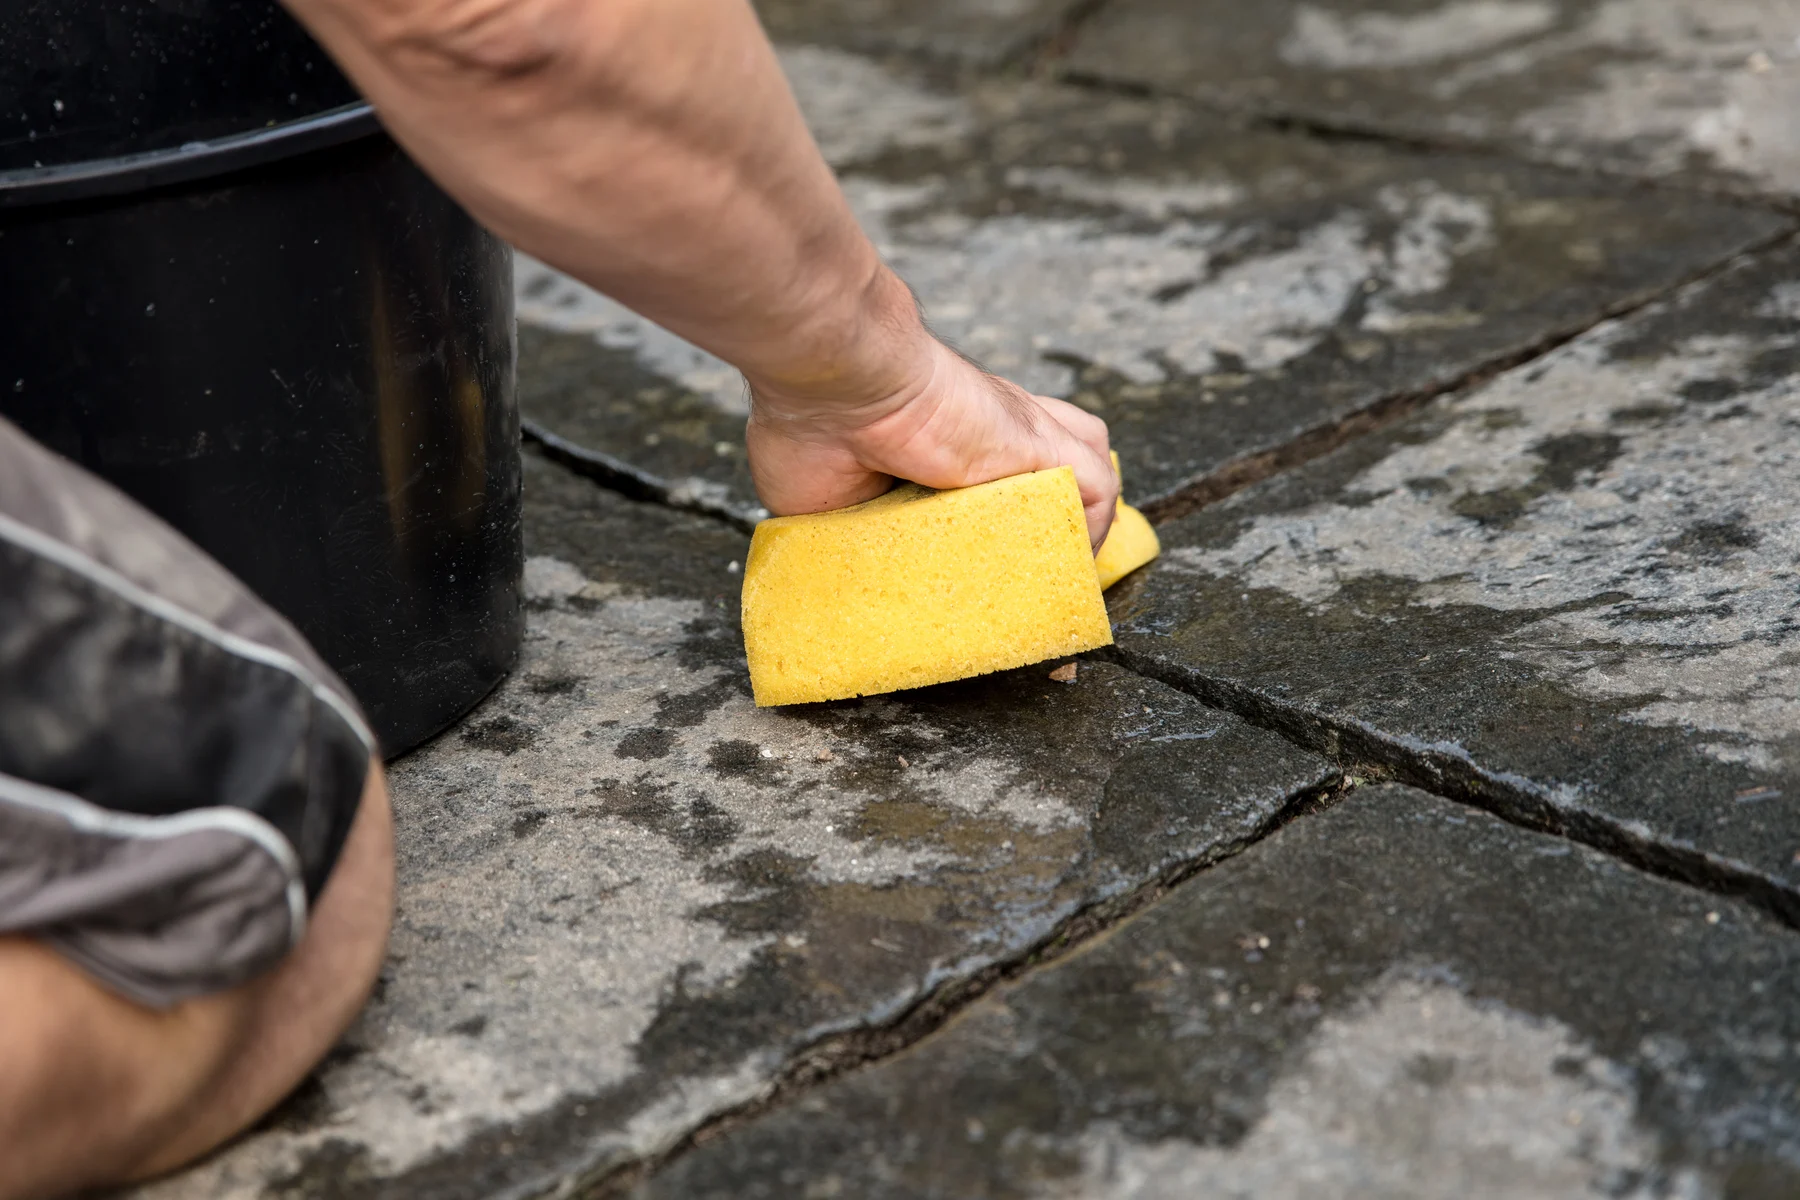
10. Regular maintenance: Maintain the beauty and longevity of your patio by regularly cleaning the stones, removing debris, and resealing the stones as needed. This will keep your patio looking fresh and well-maintained for years to come.
By adding these finishing touches, you’ll transform your stone patio into an inviting and functional outdoor oasis. Personalize it to reflect your style and preferences, and enjoy the beauty and relaxation it brings to your outdoor living space. With the finishing touches complete, take a moment to admire your hard work and enjoy the fruits of your labor.
Conclusion
Congratulations! You have successfully completed the journey of creating your very own stone patio. By following the step-by-step guide, you have transformed your outdoor space into a beautiful and functional area where you can relax, entertain, and make lasting memories. Let’s recap the key points covered in this guide:
1. Planning: We emphasized the importance of careful planning, including design considerations, material selection, and budgeting. Planning sets the stage for a successful patio construction project.
2. Clearing the Area: This step involved removing vegetation and debris from the patio site, marking the boundaries, and ensuring proper drainage for your patio.
3. Marking the Layout: We covered how to accurately mark the layout of the patio, taking into consideration dimensions, alignment, and reference points for a level and visually pleasing result.
4. Excavating the Area: This step involved removing the necessary soil to create a suitable depth for the patio base, ensuring stability and proper drainage.
5. Preparing the Base: We discussed the significance of creating a solid and compacted base using appropriate materials, such as crushed stone or gravel, to provide a stable foundation for the patio.
6. Installing Edging: The installation of edging emphasized defining the perimeter of the patio, securing the stones, and adding a polished finish to the overall design.
7. Setting the Stones: We covered how to carefully place and arrange the stones, ensuring proper alignment, levelness, and spacing to create an attractive and visually appealing patio surface.
8. Filling the Joints: This step involved filling the gaps between the stones with suitable joint filler material to enhance stability, prevent weed growth, and provide a finished look to the patio.
9. Adding Finishing Touches: We explored various ideas for adding personalization and functionality to the patio, such as landscaping, lighting, seating, and other accessories to create an inviting and enjoyable outdoor space.
Throughout the process, it’s important to remember that each patio is unique, and you have the opportunity to unleash your creativity and customize it to suit your personal style.
By following this comprehensive guide, you have taken the necessary steps to create a breathtaking stone patio that will become the centerpiece of your outdoor living space. Enjoy the beauty, durability, and low-maintenance benefits that a stone patio provides, and take pride in the fact that you created it with your own hands.
Remember to regularly maintain your patio by cleaning the stones, addressing any necessary repairs, and refreshing the joint filler as needed. With proper care, your stone patio will continue to bring joy and entertainment to your outdoor lifestyle for many years to come.
Frequently Asked Questions about How To Lay A Stone Patio
Was this page helpful?
At Storables.com, we guarantee accurate and reliable information. Our content, validated by Expert Board Contributors, is crafted following stringent Editorial Policies. We're committed to providing you with well-researched, expert-backed insights for all your informational needs.


0 thoughts on “How To Lay A Stone Patio”