Home>Garden Essentials>How To Plant Forget-Me-Not Seeds
Garden Essentials
How To Plant Forget-Me-Not Seeds
Modified: March 15, 2024
Learn how to plant forget-me-not seeds in your garden and add a beautiful touch of blue to your outdoor space. Discover helpful tips and techniques for successful gardening.
(Many of the links in this article redirect to a specific reviewed product. Your purchase of these products through affiliate links helps to generate commission for Storables.com, at no extra cost. Learn more)
Introduction
Welcome to the world of gardening! Whether you’re a beginner or an experienced gardener, there’s something truly magical about growing and nurturing plants. In this article, we’ll delve into the fascinating world of forget-me-nots, and specifically, how to plant forget-me-not seeds.
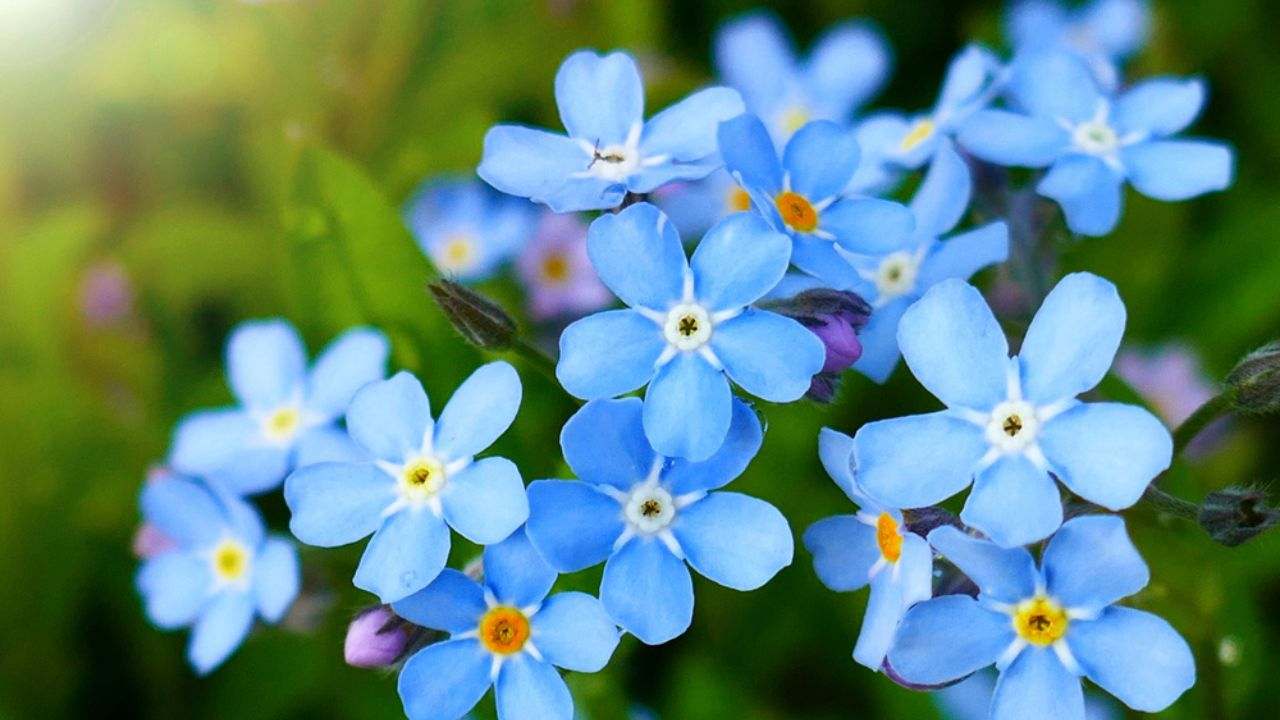
Forget-me-nots are delicate and charming flowers that add a touch of elegance to any garden. With their dainty blue blossoms and delicate foliage, they are sure to capture your heart. These flowers are not only visually appealing but also symbolic, representing true and everlasting love. Planting forget-me-not seeds and watching them grow and bloom can be a truly rewarding experience.
But how do you go about planting forget-me-not seeds? Don’t worry; we’ve got you covered. In the following steps, we will guide you through the process, helping you create an ideal environment for your forget-me-nots to thrive.
Key Takeaways:
- Delicate forget-me-nots thrive in cool, partially shaded areas with well-drained soil. Plant seeds directly, water gently, and enjoy the enchanting blooms while nurturing a symbol of everlasting love.
- Create a haven for forget-me-nots by choosing the right time and location, preparing the soil, and providing ongoing care. Embrace the joy of gardening as you watch these charming flowers flourish.
Read more: How Deep To Plant Forget Me Not Seeds
Step 1: Choosing the Right Time and Location
The first step in planting forget-me-not seeds is to select the right time and location. Forget-me-nots prefer cool weather and partial shade, so it’s best to plant them in early spring or late summer. This allows them to establish their roots before the hot summer months or freezing temperatures arrive.
When it comes to choosing a location, consider an area in your garden that receives morning sun and afternoon shade. This will provide your forget-me-nots with the ideal balance of light and protection from intense heat. Additionally, ensure that the soil is well-drained and rich in organic matter to promote healthy growth.
If you’re cultivating forget-me-nots in containers, choose a pot with drainage holes and use a high-quality potting mix. Place the container where it will receive bright, indirect light without prolonged exposure to direct sunlight.
Remember, the success of your forget-me-nots largely depends on finding the perfect spot for them to flourish. Taking the time to carefully choose the right time and location will set a solid foundation for their growth and development.
Step 2: Prepare the Soil
Once you have selected the right time and location, the next step is to prepare the soil for planting forget-me-not seeds. Forget-me-nots prefer a slightly acidic to neutral soil pH, ranging from 5.5 to 7.0. You can test the soil pH using a home testing kit or by sending a sample to a local agricultural extension service.
Start by clearing the area of any weeds, rocks, or debris. Loosen the soil with a garden fork or tiller to a depth of at least 6 inches. This will improve drainage and allow the roots to penetrate easily. Remove any large clumps or stones that may impede the growth of the plants.
Before planting, consider adding organic matter such as compost or well-rotted manure to enrich the soil. Mix it in thoroughly to improve the soil structure and provide essential nutrients for the forget-me-nots.
Remember to water the soil the day before planting to ensure it is moist but not waterlogged. This will create an optimal environment for seed germination and growth.
Preparing the soil is an important step to give your forget-me-nots the best chance of thriving. By providing them with a nutrient-rich and well-drained soil, you are setting them up for success.
Step 3: Sowing the Seeds
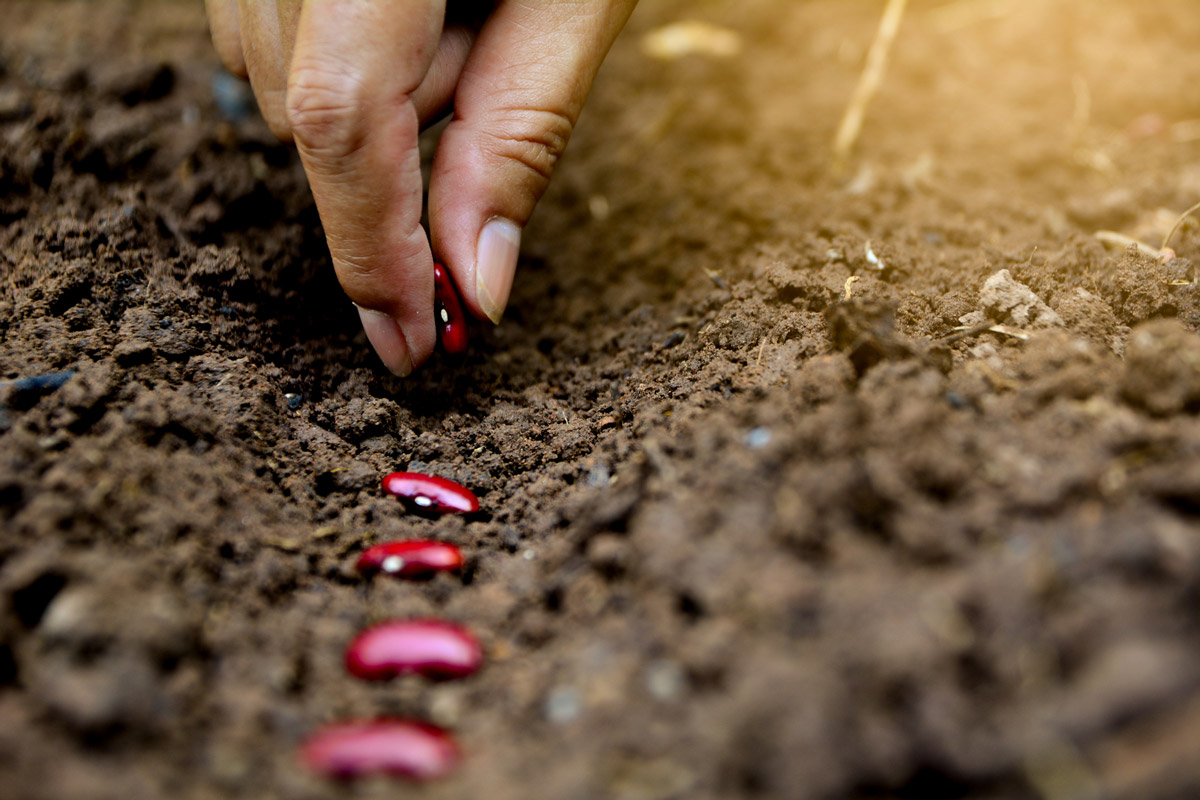
Now that the soil is prepared, it’s time to sow the forget-me-not seeds. These tiny seeds are best sown directly into the soil rather than starting them indoors. Their delicate nature makes them more prone to transplant shock, so direct sowing is the preferred method.
Begin by scattering the seeds over the prepared soil. It’s important not to bury the seeds too deeply, as forget-me-nots require light to germinate. A light dusting of soil or vermiculite to cover the seeds is sufficient. Aim to space the seeds about 6-8 inches apart to allow for proper growth and air circulation.
Once you have sprinkled the seeds, gently press them into the soil using your hand or the back of a rake. This ensures good seed-to-soil contact and helps prevent the seeds from being washed away during watering.
After sowing the seeds, lightly water the area with a fine mist spray or a gentle shower attachment. Be careful not to flood the area, as this can lead to soil erosion and seed displacement.
Remember, forget-me-not seeds are small, so it’s easy to accidentally sow too many in one area. If this happens, you can thin out the seedlings once they have sprouted by removing the weaker ones, allowing the stronger ones to thrive.
With the seeds sown, it’s time to nurture them and watch as they transform into beautiful forget-me-not blossoms.
Step 4: Watering and Mulching
Proper watering is crucial for the successful growth of forget-me-nots. These delicate flowers have shallow root systems and need consistent moisture without being constantly wet. Aim to keep the soil evenly moist, but not soggy.
Water your forget-me-nots gently and deeply, ensuring that the water reaches the roots. Avoid overhead watering, as this can lead to wet foliage, which may promote disease. Instead, use a soaker hose or water directly at the base of the plants.
During dry periods, monitor the moisture levels in the soil and adjust your watering schedule accordingly. It’s better to water deeply once or twice a week rather than providing frequent light watering.
To help retain moisture and suppress weed growth, consider applying a layer of mulch around your forget-me-nots. Organic mulches like straw, pine needles, or compost can be spread around the plant, being careful not to cover the stem or foliage. Mulching not only helps conserve moisture but also adds nutrients to the soil as it breaks down.
Be sure to regularly check the moisture level of the soil and adjust your watering and mulching practices as needed. Remember, maintaining proper moisture levels is key to ensuring the health and vitality of your forget-me-nots.
Plant forget-me-not seeds in early spring or late fall in well-draining soil. Scatter the seeds on the soil surface and lightly press them in. Keep the soil consistently moist and the seeds should germinate in 1-3 weeks.
Read more: How To Germinate Forget-Me-Nots
Step 5: Maintenance and Care
Once your forget-me-nots have sprouted and started to grow, it’s important to provide them with proper maintenance and care to ensure their continued health and vigor. Here are some essential tasks to keep in mind:
1. Weeding: Regularly remove any weeds that may compete with your forget-me-nots for nutrients and space. Be careful not to disturb the roots of the forget-me-nots while weeding.
2. Deadheading: As the flowers fade, it’s beneficial to deadhead or remove the spent blooms. This not only encourages new flower production but also prevents the plant from diverting energy to seed production.
3. Fertilization: To promote healthy growth and blooming, apply a balanced, water-soluble fertilizer every 4-6 weeks during the growing season. Follow the manufacturer’s instructions for application rates and timing.
4. Support: Forget-me-nots can sometimes become droopy or flop over, especially when they are in full bloom. Providing support, such as small stakes or plant cages, can help keep them upright and maintain their aesthetic appeal.
5. Pest and Disease Control: Monitor your forget-me-nots for any signs of pests or diseases, such as aphids or powdery mildew. If necessary, take appropriate measures to control and treat the issues, whether through organic or chemical means.
6. Regular Inspection: Take the time to regularly inspect your plants for any abnormalities, such as yellowing leaves or signs of stress. Early detection allows for timely intervention and ensures the best chances of resolving any issues.
Remember, each plant may have unique needs. Pay attention to your forget-me-nots and adjust your maintenance routine based on their specific requirements. By providing the appropriate care, you’ll help your forget-me-nots thrive and continue to beautify your garden.
Step 6: Transplanting (Optional)
Transplanting forget-me-nots is an optional step that you may choose to do if you initially started them in containers or if you want to rearrange their placement in the garden. This step should be done carefully to minimize any stress on the plants.
The best time to transplant forget-me-nots is during their dormant period in early spring or late fall. Here’s how to transplant them:
1. Choose the Right Time: Select a cool and cloudy day for transplanting. Avoid transplanting during periods of extreme heat or cold.
2. Prepare the New Site: Dig a hole in the new location that is slightly larger and deeper than the root ball of the forget-me-not.
3. Carefully Remove the Plant: Gently loosen the soil around the plant and carefully lift it from the ground, ensuring you preserve the root system as much as possible.
4. Transplant the Plant: Place the forget-me-not in the prepared hole in the new location. Backfill the hole with soil, ensuring that the plant is at the same depth as it was in its previous location.
5. Water Thoroughly: After transplanting, give the plant a deep watering to help settle the soil and encourage root establishment.
6. Monitor and Care: Keep a close eye on the transplanted forget-me-not and provide appropriate care, including regular watering and monitoring for any signs of stress or disease.
It’s important to note that forget-me-nots have delicate and sensitive root systems, making transplanting a potential stressor. If possible, it is best to avoid frequent transplanting and allow them to establish and grow in their original location.
Remember, transplanting is an optional step, and if your forget-me-nots are already thriving in their current spot, there’s no need to disturb them. However, if you do choose to transplant, take care to minimize any shock to the plants and provide them with the care they need to adapt to their new surroundings.
Step 7: Enjoying the Blooms
After putting in the time and effort to plant and care for your forget-me-nots, it’s finally time to sit back, relax, and enjoy the beautiful blooms. Here are some tips to enhance your enjoyment of these charming flowers:
1. Regularly Deadhead: As your forget-me-nots continue to bloom, remember to regularly deadhead any faded or spent flowers. This will encourage the plant to produce more blooms, prolonging the flowering period.
2. Cut Flowers for Arrangements: Forget-me-nots make lovely additions to floral arrangements. Cut some stems when the flowers are at their peak and enjoy their delicate beauty indoors as well.
3. Observe and Appreciate: Take the time to observe your forget-me-not plants closely. Appreciate the intricacies of their blooms, the delicate blue hues, and the gracefulness of their foliage. With their tiny flowers clustered together, forget-me-nots create a picturesque sight in your garden.
4. Share the Joy: If your forget-me-nots produce an abundance of blooms, consider sharing them with family, friends, or neighbors. Bouquets of forget-me-nots make for thoughtful and meaningful gifts.
5. Reflect on the Symbolism: Remember the symbolic meaning associated with forget-me-nots: true and everlasting love. Let their presence in your garden serve as a reminder of cherished memories and the importance of nurturing relationships.
6. Capture the Moments: Grab your camera or smartphone and capture the beauty of your forget-me-nots. Photographs will not only allow you to share the beauty of your garden with others but also serve as a personal keepsake.
Ultimately, the joy of gardening lies in observing the growth and blooming of your plants. Take the time to appreciate the beauty of your forget-me-nots and create lasting memories as you enjoy the fruits of your efforts.
Congratulations on successfully planting forget-me-not seeds and embarking on this gardening journey. May your garden be filled with the enchanting charm of these delightful flowers.
Conclusion
Congratulations! You have reached the end of our guide on planting forget-me-not seeds. By following these steps, you have learned how to create the ideal conditions for these delicate and beautiful flowers to thrive in your garden.
From choosing the right time and location to preparing the soil, sowing the seeds, and providing ongoing care, each step plays a vital role in the success of your forget-me-nots. Remember to maintain proper moisture levels, provide necessary support, and address any pests or diseases that may arise.
As your forget-me-nots continue to grow and bloom, take the time to appreciate their enchanting beauty and the symbolism they carry. Whether you’re cutting them for arrangements, admiring them in the garden, or sharing their blooms with loved ones, forget-me-nots bring joy and a touch of romance to any setting.
Gardening is a journey of patience, nurturing, and connection with nature. As you embark on this journey with your forget-me-nots, enjoy the satisfaction of watching them flourish and create a haven of beauty in your outdoor space.
Remember, gardening is not only about the end result but also about the joy and tranquility it brings along the way. Soak in the moments of success, capture memories through photographs, and cherish the experience of nurturing and growing forget-me-nots.
Thank you for joining us on this gardening adventure. We hope this guide has provided you with useful insights and inspiration. Now it’s time to roll up your sleeves, get your hands dirty, and start planting forget-me-not seeds. Enjoy the process, embrace the beauty, and let your garden be adorned with the captivating allure of forget-me-nots.
Frequently Asked Questions about How To Plant Forget-Me-Not Seeds
Was this page helpful?
At Storables.com, we guarantee accurate and reliable information. Our content, validated by Expert Board Contributors, is crafted following stringent Editorial Policies. We're committed to providing you with well-researched, expert-backed insights for all your informational needs.


0 thoughts on “How To Plant Forget-Me-Not Seeds”