Home>Garden Essentials>How To Save Hyacinth Bean Vine Seeds
Garden Essentials
How To Save Hyacinth Bean Vine Seeds
Modified: March 15, 2024
Learn how to save hyacinth bean vine seeds in your garden and ensure a bountiful harvest. Follow our step-by-step guide for success.
(Many of the links in this article redirect to a specific reviewed product. Your purchase of these products through affiliate links helps to generate commission for Storables.com, at no extra cost. Learn more)
Introduction
Growing a beautiful garden is a rewarding experience that allows one to connect with nature and enjoy the beauty of plants and flowers. If you’re a gardening enthusiast, you’ve probably come across the stunning hyacinth bean vine. With its vibrant purple flowers and lush green foliage, the hyacinth bean vine is a popular choice for adding a touch of elegance and color to any garden.
One of the joys of gardening is being able to save seeds from your favorite plants for future use. In this article, we will focus on how to save hyacinth bean vine seeds. By taking the time to collect and store seeds properly, you can ensure a bountiful supply of hyacinth bean vine seeds for years to come.
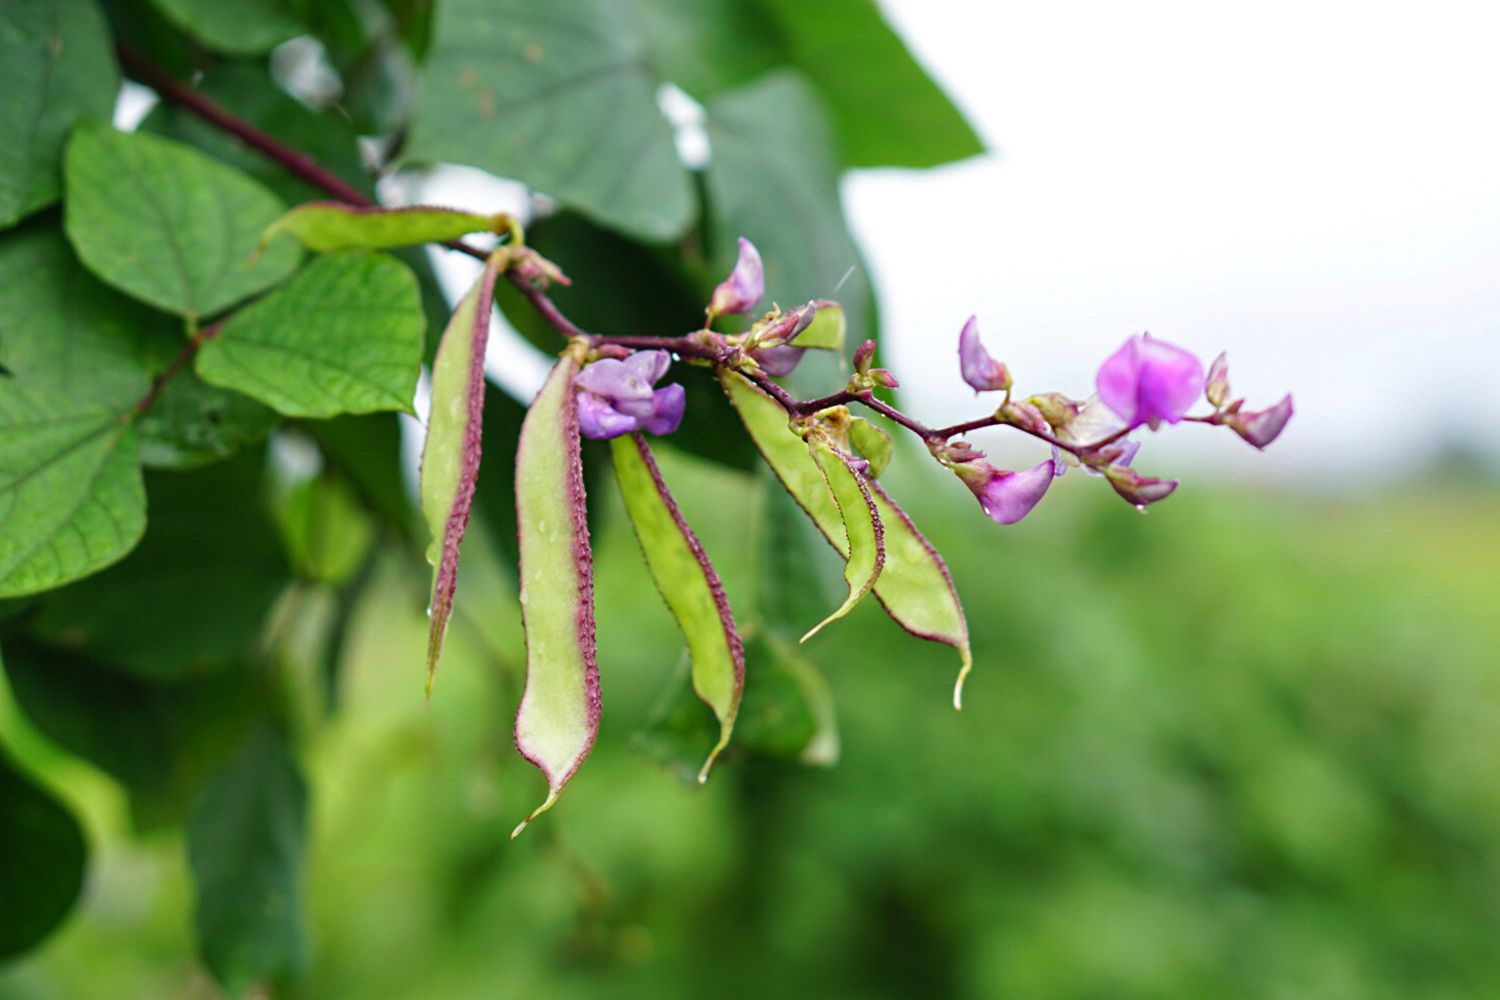
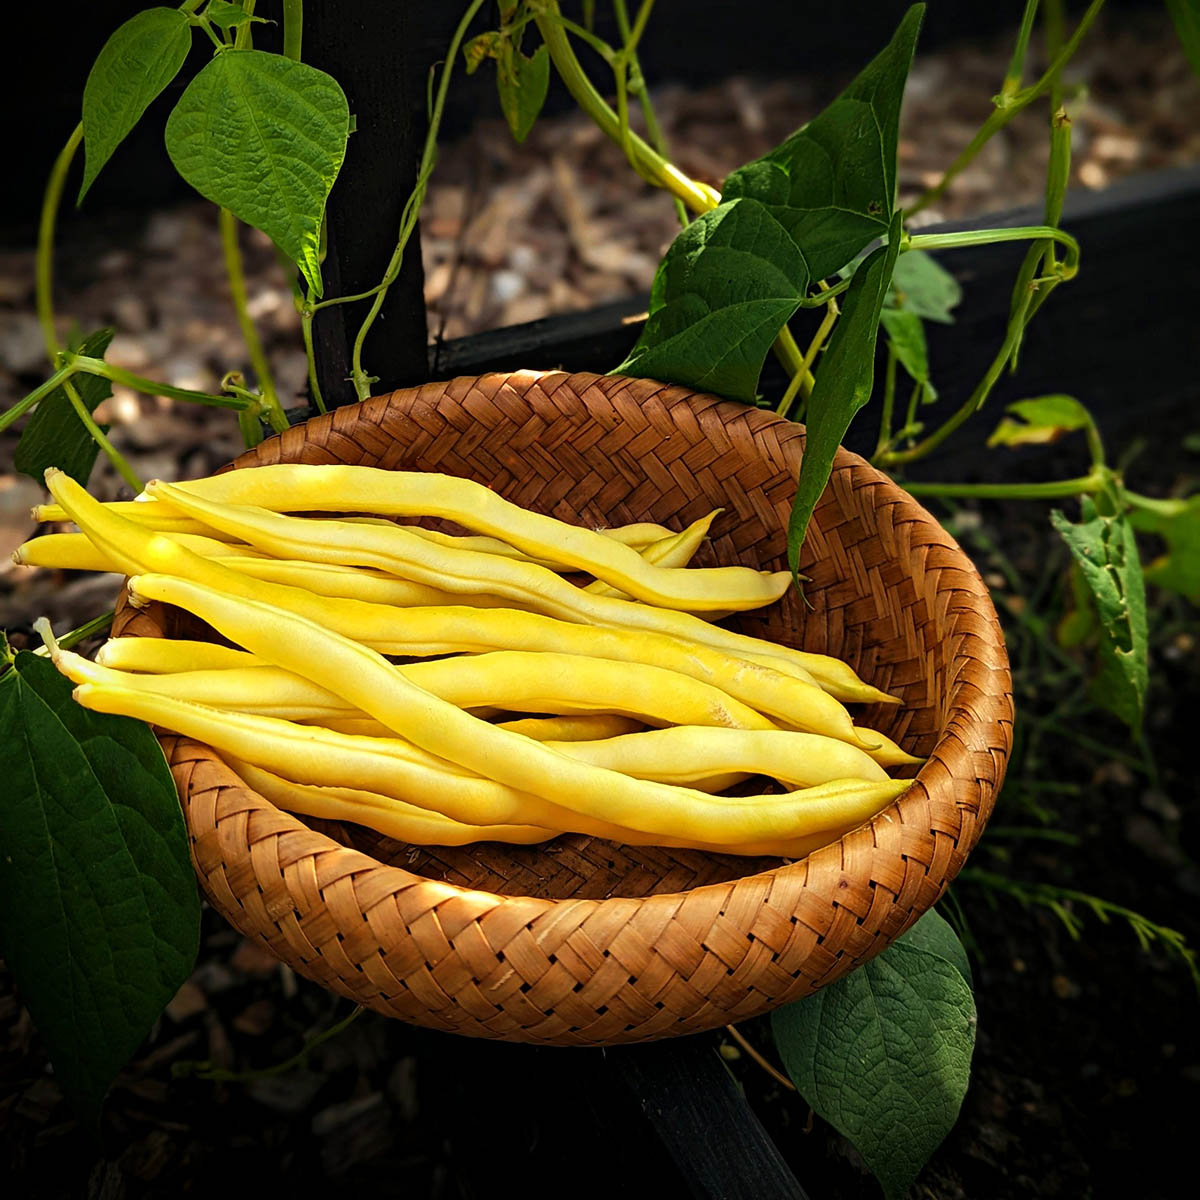
Before we dive into the process of saving hyacinth bean vine seeds, it’s important to understand the plant itself. The hyacinth bean vine, scientifically known as Lablab purpureus, is a fast-growing climbing vine that belongs to the legume family. It produces attractive purple flowers, which eventually give way to long, slender pods.
These pods house the precious hyacinth bean vine seeds that we aim to save. Each pod contains several seeds that are mature and ready for harvesting when the pod starts to dry out and turn brown. By saving and replanting these seeds, you can continue to enjoy the beauty of the hyacinth bean vine year after year.
Are you ready to embark on the journey of saving hyacinth bean vine seeds? Let’s get started by discussing the materials you’ll need for this process.
Key Takeaways:
- Save hyacinth bean vine seeds by harvesting, removing, cleaning, and storing them properly. Enjoy vibrant garden colors year after year with this rewarding and sustainable practice.
- Gather materials, harvest mature pods, and follow the steps to save hyacinth bean vine seeds. Ensure proper storage for future use and vibrant garden blooms.
Read more: How To Store Hyacinth Bean Seeds
Getting Started
Before you begin the process of saving hyacinth bean vine seeds, it’s important to gather the necessary materials. Here’s what you’ll need:
- A pair of garden gloves
- A pair of garden scissors or pruners
- A container or bucket
- A clean towel or tarp
Once you have all the materials ready, it’s time to head to your garden and start harvesting the hyacinth bean vine pods.
Choose a sunny day to harvest the pods when the plants are dry. This will make it easier to handle the pods and ensure that the seeds inside are mature and ready for collection. Put on your garden gloves to protect your hands from any prickly parts of the plant.
As you walk through your garden, carefully inspect the hyacinth bean vine plants for pods that are starting to turn brown and dry out. These pods indicate that the seeds inside are fully developed and ready to be harvested.
When you locate a pod, use your garden scissors or pruners to snip it from the plant. Be careful not to damage the pod or the plant itself while doing so. Place the harvested pods in a container or bucket.
Continue this process until you have harvested all the mature hyacinth bean vine pods in your garden. Once you have gathered all the pods, you can proceed to the next step of removing the seeds.
Harvesting the Pods
Harvesting the hyacinth bean vine pods is an essential step in the process of saving the seeds. Here’s how to do it:
- Once you have gathered all the mature pods, bring them indoors to a clean and well-ventilated area. Spread out a clean towel or tarp on a flat surface to create a workspace.
- Take one pod at a time and hold it gently to avoid crushing or damaging it. If the pod is still partially green, allow it to dry further in a warm, well-ventilated area for a few more days.
- With a firm grip, twist the pod to break it open. As you do so, you should hear a satisfying crack, indicating that the pod has split open.
- Inside the pod, you will find several seeds encased in a papery skin. Gently remove the seeds from the pod.
- Inspect the seeds to ensure that they are mature and fully developed. Immature or shriveled seeds are not viable and should be discarded.
While harvesting the pods, it’s essential to handle them with care to avoid damaging the seeds or spreading any debris. Remember to work slowly and methodically to ensure the best possible outcome.
Once you have collected all the seeds from the harvested pods, it’s time to move on to the next step: removing the seeds from their papery skin.
Removing the Seeds
After harvesting the hyacinth bean vine pods and extracting the seeds, the next step is to remove the seeds from their papery skin. Follow these steps to accomplish this:
- Gather all the seeds you have collected and place them in a clean, dry container.
- Take a handful of seeds at a time and rub them gently between your hands. This action will help loosen the papery skin from the seeds.
- As you rub the seeds, you will notice that the papery skin starts to flake off. Continue rubbing until most of the skin is removed, exposing the naked seeds underneath.
- Transfer the de-skinned seeds to a separate container. You can use your fingers or a small brush to gently brush away any remaining bits of skin.
- Repeat this process with the remaining seeds until all of them are free from their papery skin.
Removing the papery skin from hyacinth bean vine seeds may take some time and patience, but it is a crucial step that allows the seeds to germinate effectively. Once all the seeds are free from their skin, you can move on to the next step: cleaning the seeds.
After the hyacinth bean pods have dried on the vine, collect them and remove the seeds. Allow the seeds to air dry for a few days before storing them in a cool, dry place for next year’s planting.
Cleaning the Seeds
After removing the papery skin from the hyacinth bean vine seeds, it’s important to clean them thoroughly before storing them. Here’s how you can clean the seeds:
- Place the de-skinned seeds in a fine-mesh sieve or strainer.
- Rinse the seeds under cool running water, gently swishing them around to remove any remaining debris or residue.
- Continue rinsing the seeds until the water runs clear, indicating that they are clean and free from any contaminants.
- Shake off any excess water from the seeds and spread them out on a clean towel or paper towel to air dry.
- Allow the seeds to dry completely before storing them. This can take anywhere from a few days to a week, depending on the humidity levels in your area.
While cleaning the seeds, it’s important to handle them with care to avoid any damage or loss. Make sure that the seeds are completely dry before moving on to the final step: storing them for future use.
By cleaning the hyacinth bean vine seeds, you are ensuring that they are in optimal condition and ready for successful germination when it’s time to plant them.
Read more: How To Germinate A Bean
Storing the Seeds
Proper storage of hyacinth bean vine seeds is crucial to maintain their viability and ensure successful germination when you’re ready to plant them. Follow these steps to store the seeds:
- Make sure the seeds are completely dry before storing them. Moisture can cause the seeds to rot or develop mold, rendering them unviable.
- Place the dry hyacinth bean vine seeds in a small paper envelope or a breathable container like a glass jar or a cloth bag. Avoid using plastic bags, as they can trap moisture and promote the growth of mold.
- Label the envelope or container with the date of seed collection and the name of the plant.
- Store the seeds in a cool, dry, and dark location. A refrigerator or a cool basement is ideal for maintaining the seed’s longevity.
- Check on the seeds periodically to ensure they are still dry and in good condition. Discard any seeds that show signs of mold or damage.
It’s important to note that hyacinth bean vine seeds can remain viable for up to 2-3 years if stored properly. However, it is recommended to use the seeds within the first year for the best germination rates.
When you’re ready to plant the stored hyacinth bean vine seeds, soak them in water for a few hours to rehydrate them before planting. This will help jumpstart the germination process.
By following these storage guidelines, you will ensure that your hyacinth bean vine seeds stay in top-notch condition, ready to be planted and bloom into beautiful vines for years to come.
Conclusion
Saving hyacinth bean vine seeds allows you to continue enjoying the beauty of these stunning vines year after year. By following the steps outlined in this article, you can successfully harvest, remove, clean, and store the seeds for future use.
Starting with gathering the necessary materials and carefully harvesting the mature pods, you can ensure that the seeds are of the highest quality. Removing the papery skin and cleaning the seeds thoroughly help maintain their viability and prevent any diseases or contaminants from affecting them.
Proper storage is key to preserving the seeds’ viability for future planting. Keeping them dry, cool, and in a dark environment will maintain their potential for germination for several years.
When the time comes to plant your stored hyacinth bean vine seeds, remember to soak them in water beforehand to help kickstart the germination process.
By engaging in the process of saving hyacinth bean vine seeds, you not only ensure a thriving garden year after year but also actively participate in the preservation of this beautiful plant species.
So, get ready to embark on the journey of saving hyacinth bean vine seeds and watch as your garden flourishes with the vibrant colors and enchanting beauty of these exquisite vines.
Frequently Asked Questions about How To Save Hyacinth Bean Vine Seeds
Was this page helpful?
At Storables.com, we guarantee accurate and reliable information. Our content, validated by Expert Board Contributors, is crafted following stringent Editorial Policies. We're committed to providing you with well-researched, expert-backed insights for all your informational needs.


0 thoughts on “How To Save Hyacinth Bean Vine Seeds”