Home>Garden Essentials>How To Start Spinach Seeds
Garden Essentials
How To Start Spinach Seeds
Modified: March 24, 2024
Learn how to start spinach seeds in your garden and enjoy fresh, homegrown spinach all season long. Step-by-step instructions and tips for success!
(Many of the links in this article redirect to a specific reviewed product. Your purchase of these products through affiliate links helps to generate commission for Storables.com, at no extra cost. Learn more)
Introduction
Welcome to the world of gardening! If you’re a fan of fresh, nutritious greens, growing spinach in your garden is a wonderful choice. Not only is spinach packed with essential vitamins and minerals, but it is also easy to grow from seeds. Whether you’re a seasoned gardener or just starting out, this guide will provide you with the step-by-step instructions on how to start spinach seeds and cultivate this delicious leafy vegetable.
Spinach (Spinacia oleracea) is a cool-season crop, meaning it thrives in cooler temperatures, making it an excellent choice for early spring or fall planting. It is rich in iron, fiber, and vitamins A and C, making it a nutritious addition to any diet. By growing spinach from seeds, you have the advantage of selecting from a wide variety of cultivars, ensuring you get the perfect flavor, texture, and leaf type for your preferences.
Now, let’s dive into the steps to successfully start spinach seeds and enjoy a bountiful harvest of fresh, homegrown spinach right in your backyard!
Key Takeaways:
- Spinach is a nutritious and easy-to-grow vegetable. Choose the right seeds, provide good soil and sunlight, and enjoy a bountiful harvest of fresh, homegrown spinach.
- Harvest spinach leaves when they reach a usable size, and practice continuous harvesting for a steady supply. Embrace the process of growing your own spinach from seeds!
Read more: How To Plant Spinach Seeds
Step 1: Selecting the right spinach seeds
The first step in starting your spinach seeds is to select the right variety for your garden. When choosing spinach seeds, consider the following factors:
- Climate: Different spinach varieties thrive in different climates. Ensure you select a variety that is well-suited to the temperature and growing conditions of your region.
- Growth habit: Spinach varieties come in various growth habits, such as savoy-leaved (crinkled leaves) or smooth-leaved (flat leaves). Choose the leaf type that you prefer or experiment with different varieties to discover your favorite.
- Bolt resistance: Spinach has a tendency to bolt (go to seed) in warm weather. To extend your harvest window, look for varieties that are known for their bolt resistance.
- Germination rate: Check the germination rate of the seeds you are considering. Look for varieties with a high germination rate to maximize your chances of success.
You can find a wide variety of spinach seeds at your local garden center or through online seed catalogs. Popular spinach varieties include Bloomsdale, Tyee, and Giant Nobel.
Once you have chosen your desired spinach seeds, you are ready to move on to the next step: preparing the planting containers.
Step 2: Preparing the planting containers
Now that you have your spinach seeds ready, it’s time to prepare the planting containers. Follow these steps to ensure a suitable environment for your spinach seeds to germinate and grow:
- Containers: Choose containers that are at least 2-3 inches deep and have drainage holes to prevent waterlogging. You can use seed trays, pots, or even repurposed containers as long as they meet these requirements.
- Soil mixture: Fill the containers with a well-draining potting mix or seed-starting mix. Avoid using heavy garden soil as it can compact and hinder seed germination.
- Moisture: Moisten the soil mixture before sowing the seeds. Aim for a slightly damp consistency, not overly wet. This will provide the right conditions for seed germination.
Once your containers are ready, move on to the next step: planting the spinach seeds.
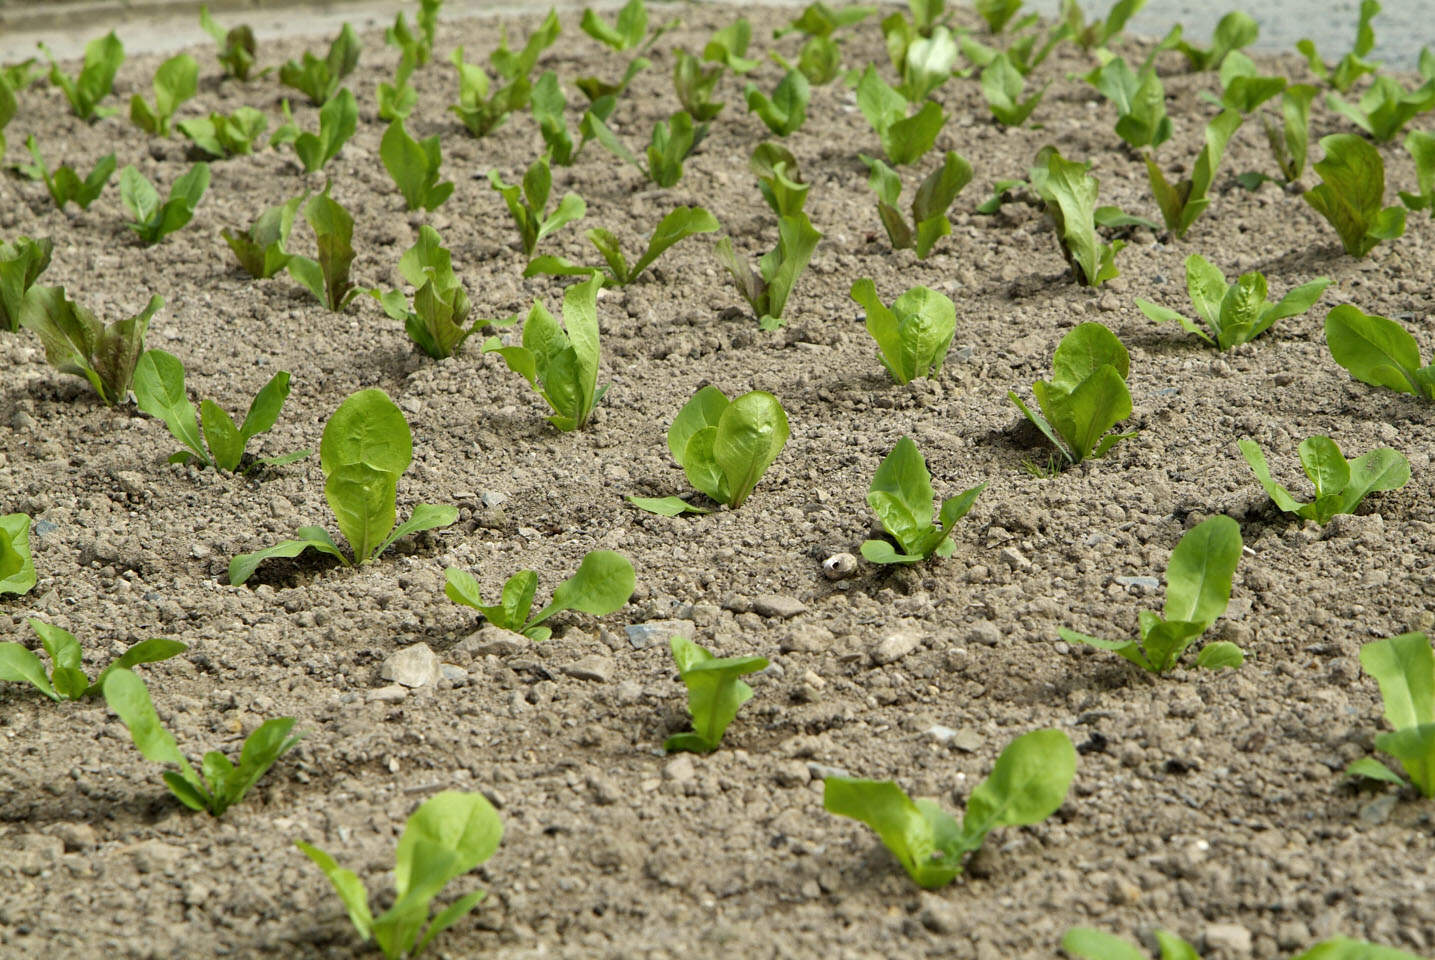
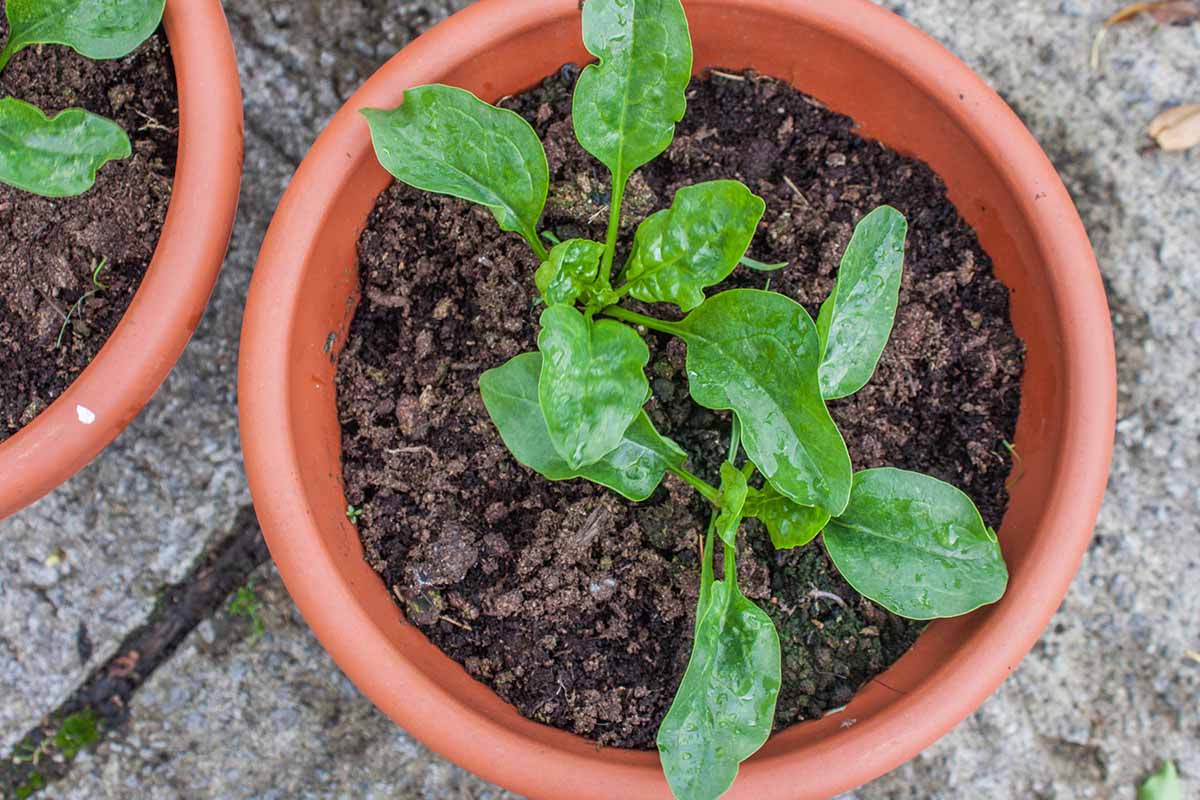
Step 3: Planting the spinach seeds
It’s time to get your hands dirty and start planting the spinach seeds. Follow these steps for successful seed sowing:
- Spacing: Space the spinach seeds about 1 inch apart in rows or scatter them evenly if you are using a wide container. This will ensure that the plants have enough room to grow.
- Seed depth: Plant the spinach seeds about ½ inch deep in the soil. Gently press the soil over the seeds to secure them in place.
- Labeling: If you are planting different spinach varieties, it’s a good idea to label the containers or rows to keep track of the different types.
After you have planted the spinach seeds, lightly water the containers to help settle the soil and initiate the germination process. Place the containers in a location that receives partial sun or filtered light. Spinach prefers cool temperatures between 50°F and 70°F (10°C to 21°C).
Now, it’s time to move on to Step 4: providing the ideal growing conditions for your spinach seeds.
Start spinach seeds indoors 4-6 weeks before the last frost. Plant seeds 1/2 inch deep in a well-draining potting mix. Keep soil consistently moist and provide 12-14 hours of light daily. Transplant seedlings outdoors after the last frost.
Step 4: Providing the ideal growing conditions
To ensure the healthy growth of your spinach plants, it’s essential to provide them with the ideal growing conditions. Follow these steps to create an optimal environment:
- Sunlight: Spinach thrives in partial sun or filtered light. Place your containers or plant beds in a location that receives 4-6 hours of sunlight per day. Avoid exposing them to intense heat or full sun, as this can cause the plants to bolt prematurely.
- Temperature: Spinach prefers cooler temperatures between 50°F and 70°F (10°C to 21°C). If you are planting spinach in the summer, provide some shade or use row covers to help regulate the temperature.
- Watering: Keep the soil consistently moist but not waterlogged. Water the spinach plants whenever the soil feels dry to the touch. Avoid overwatering, as excessively wet conditions can lead to fungal diseases.
- Fertilization: Spinach is a leafy green that benefits from regular fertilization. Apply a balanced, organic fertilizer according to the package instructions once every two weeks to provide essential nutrients.
- Weed control: Keep the area around the spinach plants free from weeds, as they can compete for nutrients and space. Regularly remove any weeds that sprout near the seedlings.
By providing these ideal growing conditions, you will promote healthy growth and maximize the yield of your spinach plants.
Next, let’s move on to Step 5: regular watering and maintenance.
Read more: How To Sow Spinach Seeds
Step 5: Regular watering and maintenance
Regular watering and proper maintenance are crucial for the successful growth of spinach plants. Follow these steps to ensure their health and productivity:
- Watering: Spinach plants prefer moist soil, so water them regularly to keep the soil consistently damp. Avoid overwatering, as it can lead to root rot. Water at the base of the plants to prevent wetting the foliage, which can increase the risk of diseases.
- Thinning: Once the spinach plants have grown a few inches tall, thin them out to provide enough space for the remaining plants to develop. Thin the seedlings to approximately 3-4 inches apart to allow proper airflow and reduce competition.
- Mulching: Apply a layer of mulch around the base of the spinach plants to conserve moisture, suppress weed growth, and regulate soil temperature. Organic mulches, such as straw or shredded leaves, work well for spinach.
- Pest control: Keep an eye out for common spinach pests like aphids, leafminers, and slugs. If you notice any signs of pest damage, take appropriate measures such as handpicking, using organic insecticidal soap, or employing natural pest control methods.
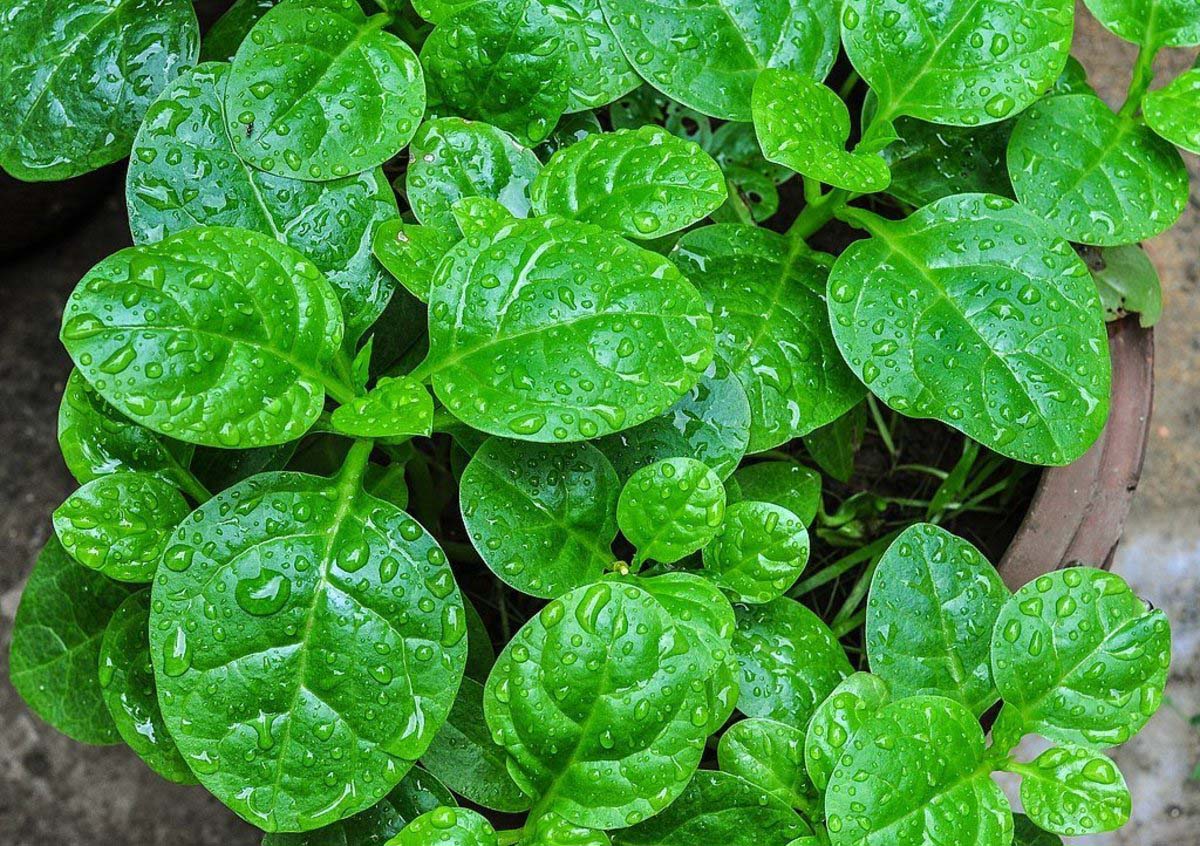
- Harvesting: As the spinach leaves mature, you can begin harvesting them. Start by picking the outer leaves when they reach a usable size, typically around 4-6 weeks after planting. Avoid harvesting more than one-third of the plant at a time to allow for continuous growth.
By practicing regular watering, thinning, mulching, and pest control, you will ensure the health and productivity of your spinach plants. Now, let’s move on to the final step: harvesting the spinach leaves!
Step 6: Harvesting the spinach leaves
One of the most rewarding aspects of growing spinach is being able to harvest the fresh, nutrient-rich leaves. Follow these steps to harvest your spinach leaves at the peak of freshness:
- Leaf size: Begin harvesting the spinach leaves when they reach a usable size, typically around 4-6 weeks after planting. Look for leaves that are large enough to be picked without damaging the plant.
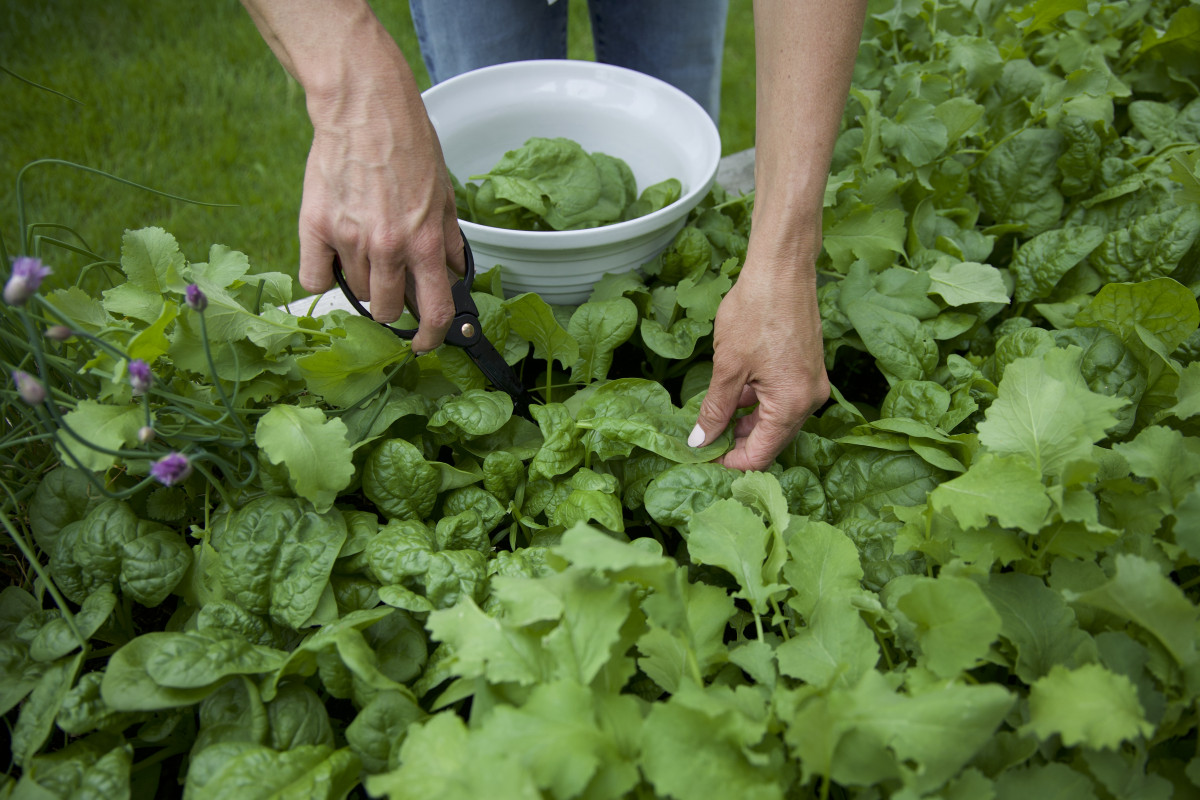
- Harvesting method: To harvest spinach, use a sharp pair of garden scissors or simply pinch off the leaves at the base. Avoid tearing the leaves, as this can introduce bacteria and make them prone to rotting.
- Continuous harvesting: Rather than harvesting the entire plant at once, practice continuous harvesting by picking the outer leaves as they mature. This allows the inner leaves to continue growing, providing a continuous supply of spinach throughout the season.
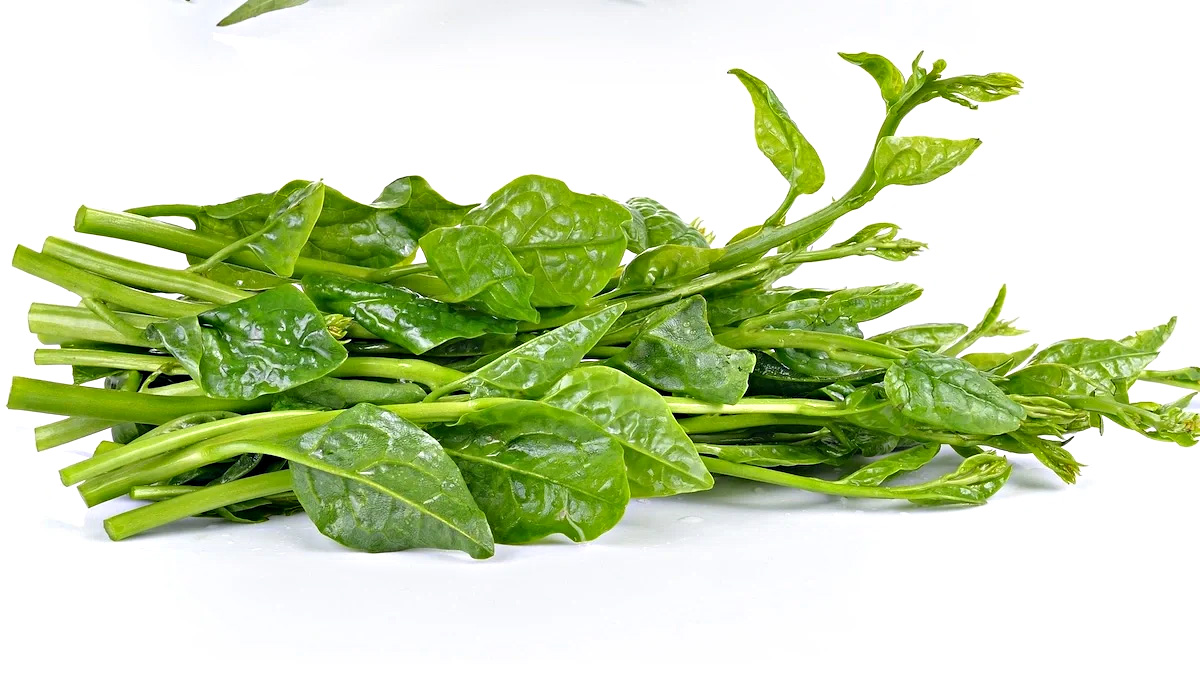
- Storage: After harvesting, gently wash the spinach leaves to remove any dirt or debris. Pat them dry with a clean towel or use a salad spinner to remove excess moisture. Properly stored, spinach can be refrigerated for up to a week.
Remember, freshness is key when it comes to enjoying the full flavor and nutritional benefits of spinach. Harvesting the leaves promptly and handling them with care will ensure the best quality produce for your meals.
Congratulations! You have successfully learned how to start spinach seeds and cultivate delicious, homegrown spinach. By following these steps, you can enjoy a bountiful harvest of this nutritious leafy green that will elevate your culinary creations.
So, get out there, embrace your green thumb, and enjoy the process of growing your own spinach from seeds!
If you have any further questions or need gardening advice, feel free to reach out. Happy gardening!
Conclusion
Growing spinach from seeds is a rewarding experience that allows you to enjoy the freshness and nutritional benefits of this leafy green right from your own garden. By following the steps outlined in this guide, you can successfully start spinach seeds and cultivate healthy plants that provide you with a bountiful harvest.
Remember to start by selecting the right spinach seeds for your climate and preferences. Prepare the planting containers with well-draining soil and provide the ideal growing conditions, including partial sun, cool temperatures, and regular watering. Thinning the seedlings, mulching, and practicing pest control will contribute to the healthy development of your spinach plants.
When it comes time to harvest, do so by picking the mature leaves, practicing continuous harvesting to ensure a steady supply. Properly store the harvested spinach leaves to maintain their freshness and quality for longer periods.
By following these steps, you can not only enjoy the delicious taste of homegrown spinach but also take pride in the fact that you are growing your own nutritious food. Gardening is a remarkable way to connect with nature, reduce stress, and create a sustainable lifestyle.
So, get your hands dirty, start your spinach seeds, and embark on a journey that will not only satisfy your taste buds but also nurture your soul. Happy gardening!
Frequently Asked Questions about How To Start Spinach Seeds
Was this page helpful?
At Storables.com, we guarantee accurate and reliable information. Our content, validated by Expert Board Contributors, is crafted following stringent Editorial Policies. We're committed to providing you with well-researched, expert-backed insights for all your informational needs.


0 thoughts on “How To Start Spinach Seeds”