Home>Gardening & Outdoor>Landscaping Ideas>How To Lay Artificial Grass Between Pavers

Landscaping Ideas
How To Lay Artificial Grass Between Pavers
Modified: August 17, 2024
Learn how to lay artificial grass between pavers with our landscaping ideas. Create a beautiful and low-maintenance outdoor space with these simple steps.
(Many of the links in this article redirect to a specific reviewed product. Your purchase of these products through affiliate links helps to generate commission for Storables.com, at no extra cost. Learn more)
Introduction
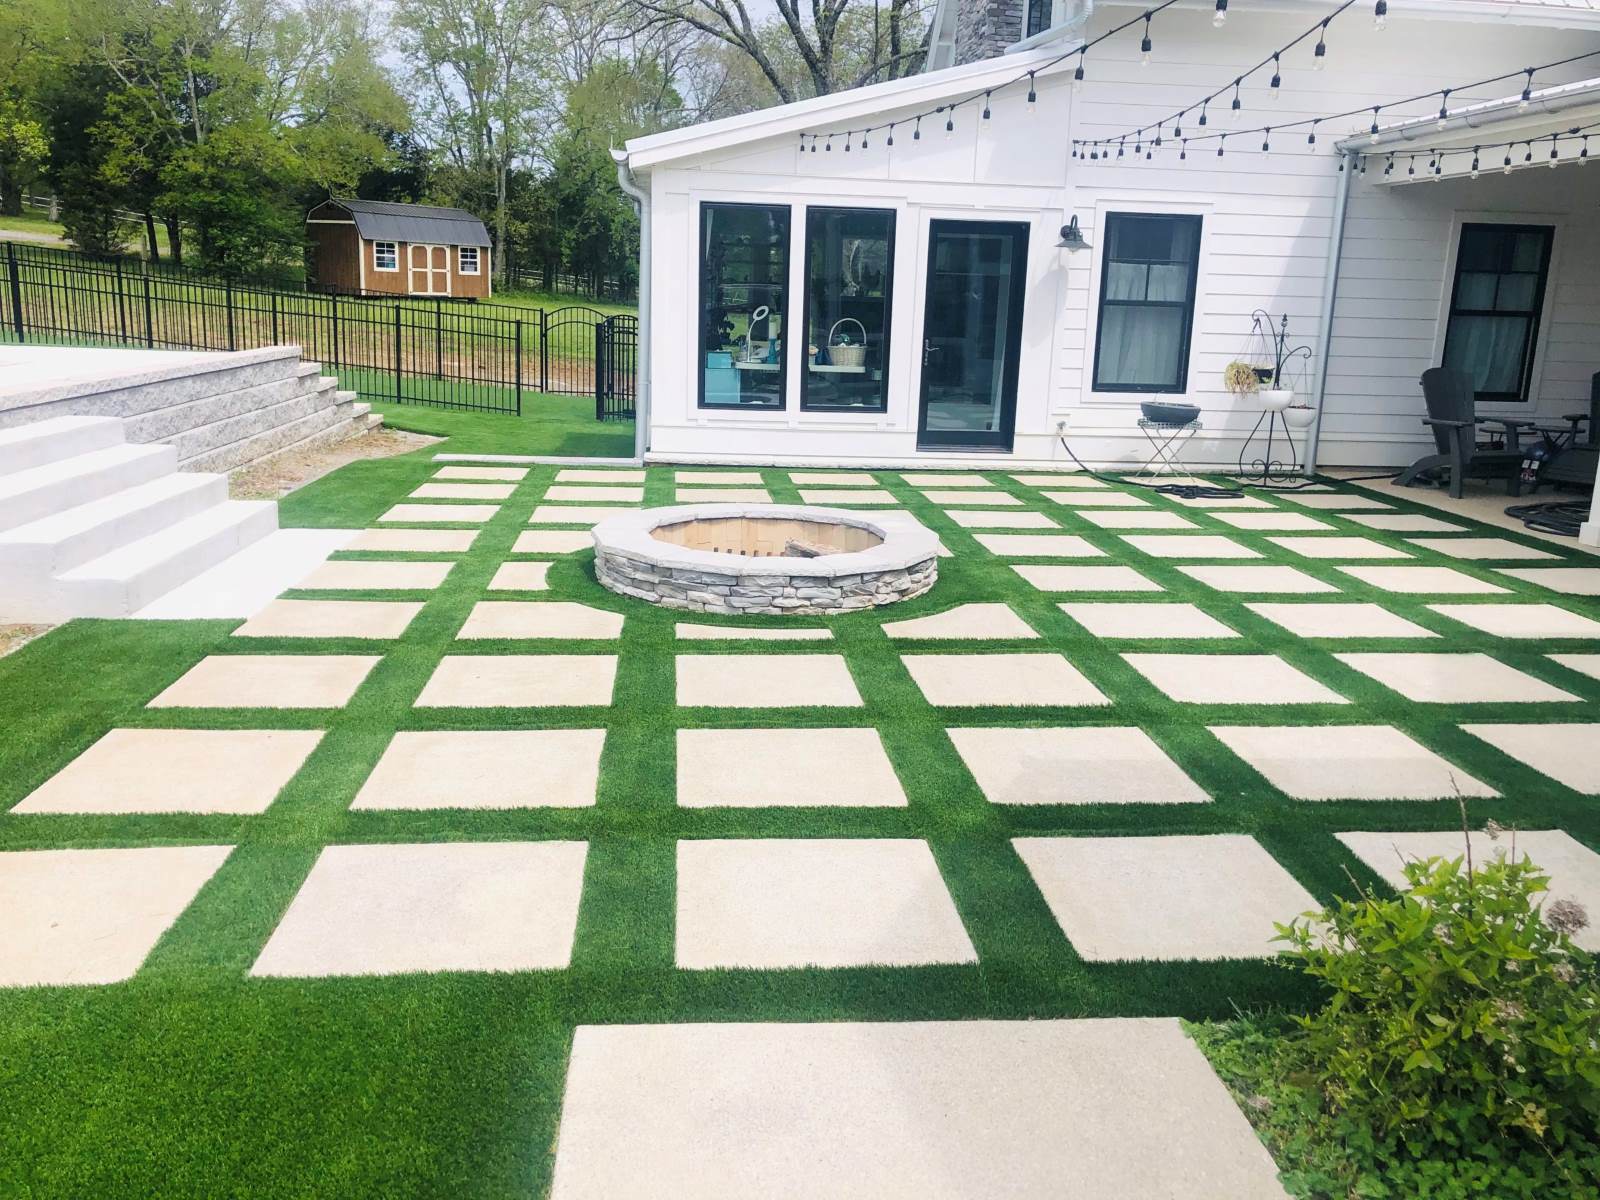
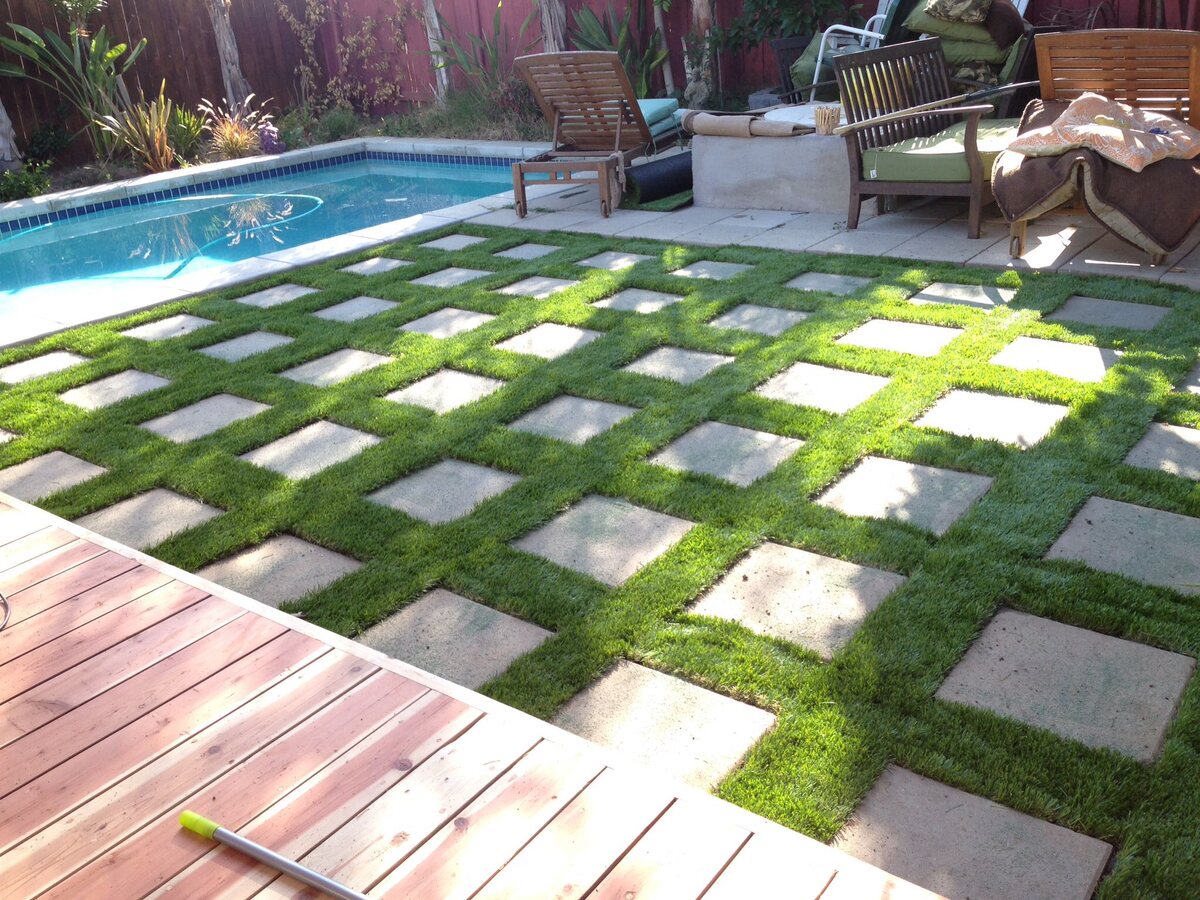
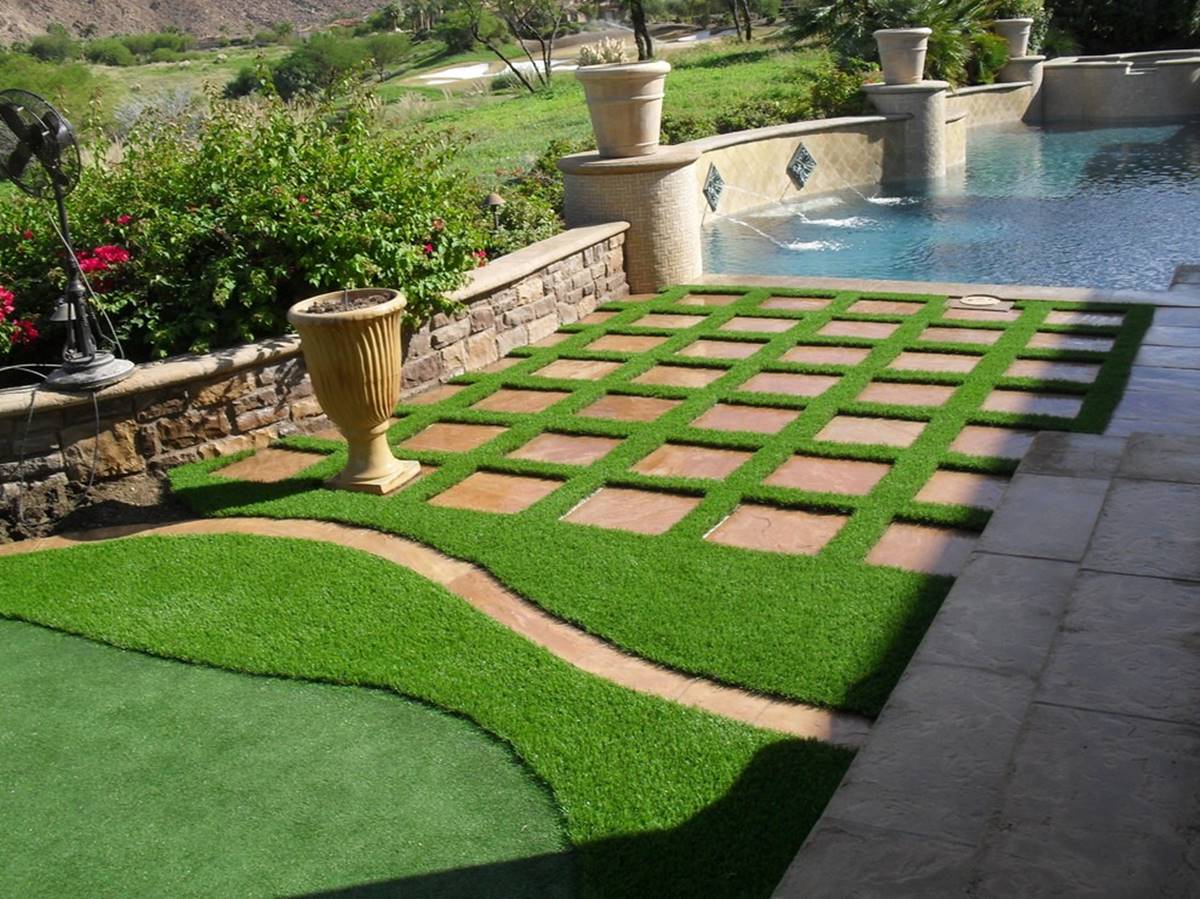
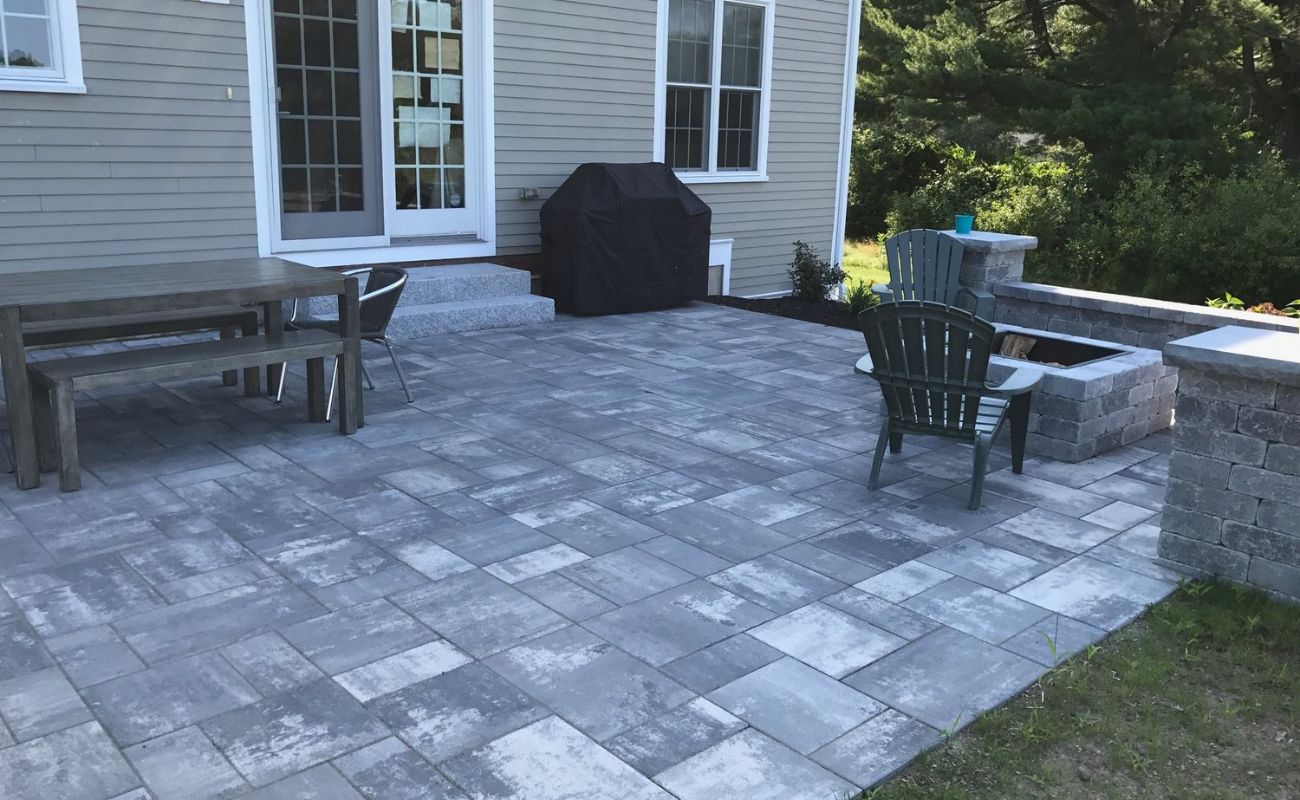
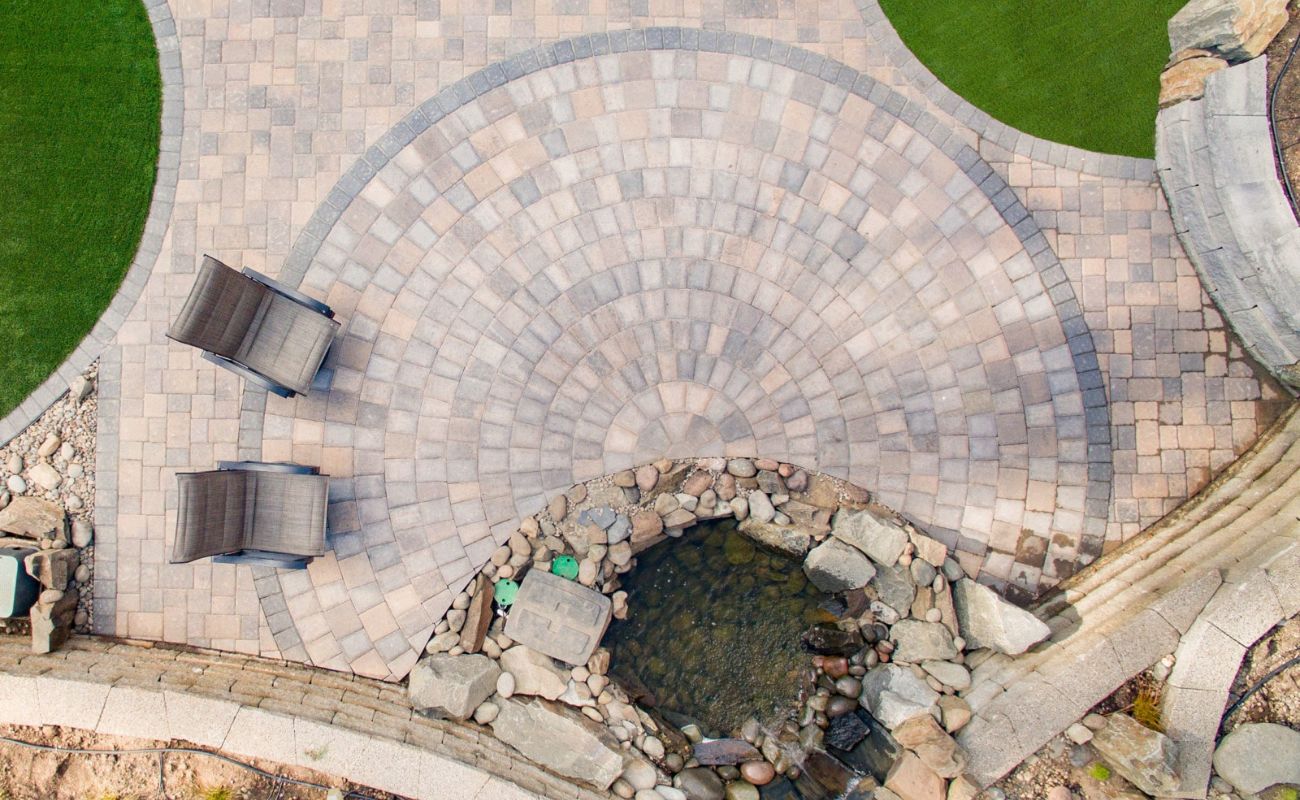
Welcome to the world of landscape design, where the fusion of natural beauty and modern innovation creates stunning outdoor spaces. One popular trend in landscaping is the use of artificial grass to enhance the visual appeal and functionality of outdoor areas. When it comes to incorporating artificial grass between pavers, the result is a seamless blend of nature and architectural elements that elevates the overall aesthetic of the space.
Artificial grass offers numerous benefits, including low maintenance, durability, and year-round vibrancy, making it a desirable choice for both residential and commercial properties. With the right techniques and materials, you can achieve a professional-looking installation that will stand the test of time.
In this guide, we will walk through the step-by-step process of laying artificial grass between pavers, from gathering the necessary materials to adding the final touches. Whether you’re a seasoned DIY enthusiast or a homeowner looking to spruce up your outdoor area, this comprehensive tutorial will equip you with the knowledge and confidence to transform your space into a captivating oasis.
Key Takeaways:
- Create a captivating outdoor oasis by seamlessly integrating artificial grass with pavers. Enjoy low maintenance, year-round vibrancy, and a visually striking landscape feature that enhances your property’s ambiance.
- Transform your outdoor space with artificial grass between pavers. Achieve a professional and enduring result with meticulous installation and regular maintenance, creating a captivating and low-maintenance oasis.
Read more: How To Lay A Paver Patio
Step 1: Gather Materials
Before embarking on the project, it’s essential to gather all the necessary materials and tools to ensure a smooth and efficient installation process. Here’s a comprehensive list of items you’ll need:
- Artificial grass
- Pavers
- Edging material (such as flexible metal or plastic bender board)
- Crushed rock or decomposed granite
- Class II road base or compactable gravel
- Weed barrier fabric
- Stabilized sand
- Adhesive for artificial grass seams (if required)
- Landscape stakes
- Hammer
- Utility knife
- Shovel
- Rake
- Plate compactor
- Push broom
- Measuring tape
- Protective gloves
- Safety glasses
By ensuring you have all the necessary materials on hand, you can streamline the installation process and minimize interruptions. Additionally, having the right tools at your disposal will contribute to the precision and quality of the final result.
Step 2: Prepare the Area
Proper preparation of the installation area is crucial for achieving a professional and long-lasting result. Follow these steps to prepare the space for laying artificial grass between pavers:
- Clean the Surface: Begin by clearing the area of any debris, including rocks, dirt, and organic matter. Use a rake and a shovel to achieve a smooth and even surface.
- Address Drainage: Ensure that the area has proper drainage to prevent water from pooling. If necessary, consider incorporating a gentle slope or installing a drainage system to direct water away from the installation site.
- Compact the Soil: Use a plate compactor to compact the soil, creating a stable foundation for the subsequent layers. This step is essential for minimizing the risk of uneven settling over time.
- Install Edging: Place the edging material along the perimeter of the installation area to define the space and provide support for the artificial grass and pavers. Secure the edging in place using landscape stakes.
- Apply Weed Barrier Fabric: Lay down a high-quality weed barrier fabric to prevent the growth of weeds and ensure the longevity of the installation. Trim the fabric to fit the area, overlapping the seams by several inches for optimal coverage.
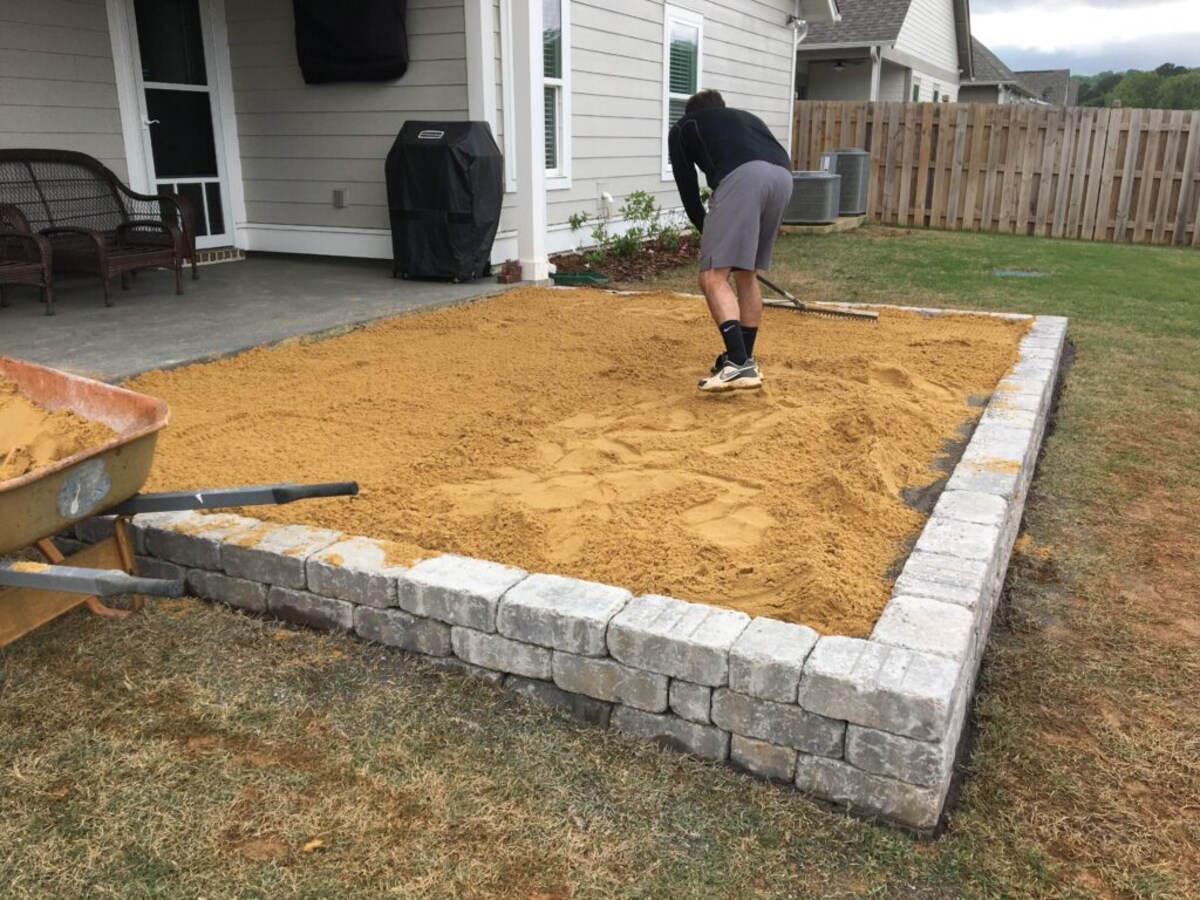
- Add Base Materials: Spread a layer of crushed rock or decomposed granite over the weed barrier fabric. Follow this with a layer of class II road base or compactable gravel, using a rake to achieve an even distribution and the desired level of compaction.
By meticulously preparing the area, you set the stage for a successful and enduring installation. Attention to detail during this phase will contribute to the overall stability and visual appeal of the finished project.
Step 3: Lay the Base
Creating a solid and level base is essential for ensuring the longevity and functionality of the artificial grass installation. Follow these steps to effectively lay the base for your project:
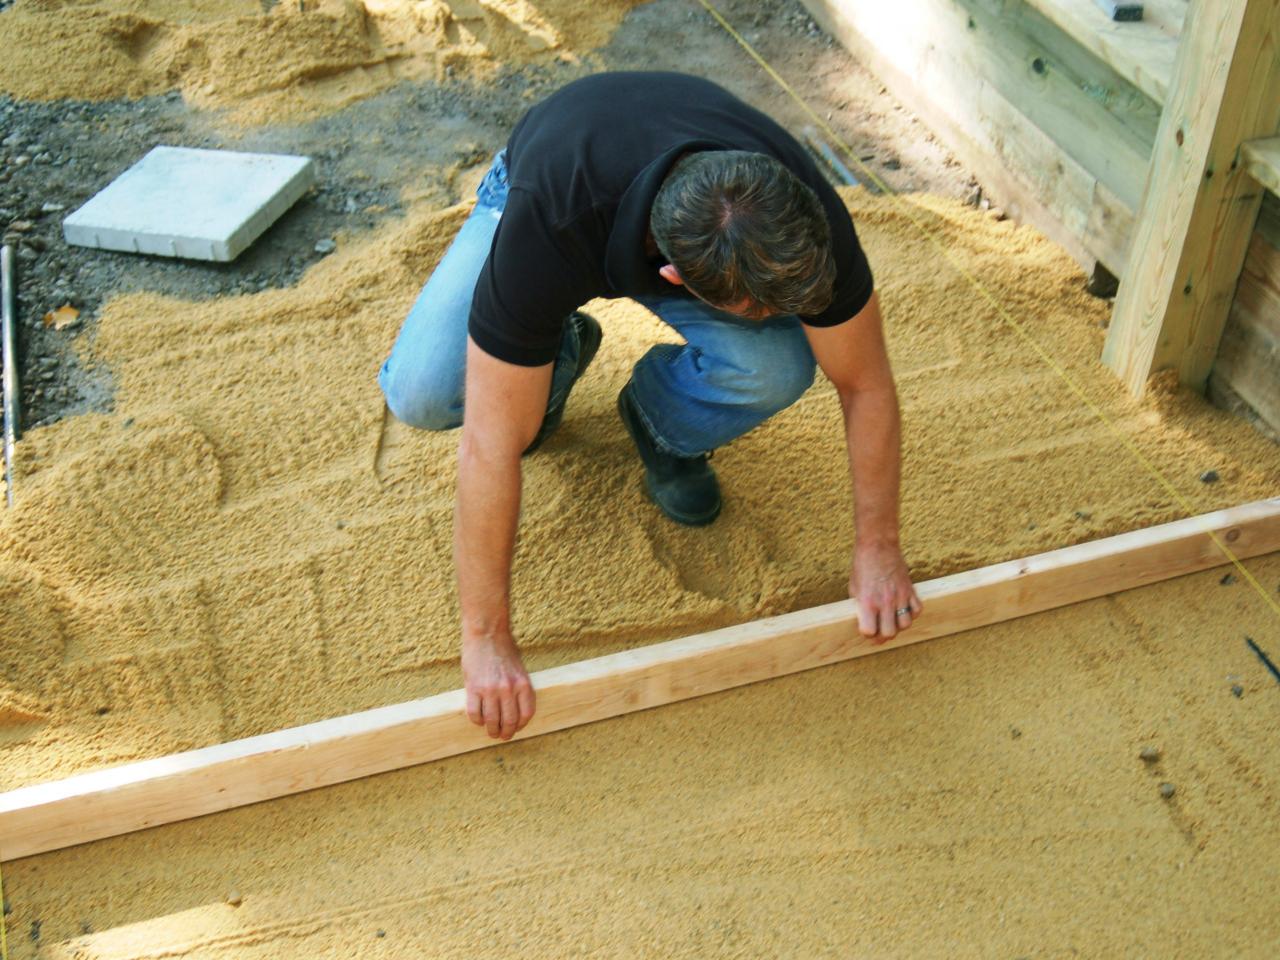
- Spread Stabilized Sand: Once the compactable base materials are in place, spread a layer of stabilized sand over the surface. Stabilized sand, which is designed to interlock and provide a stable base for the artificial grass, should be distributed evenly using a rake.
- Compact the Base: Utilize a plate compactor to compact the stabilized sand, ensuring a firm and uniform foundation for the artificial grass. Repeat the compaction process multiple times from different directions to achieve optimal stability.
- Check for Evenness: Use a level to verify that the base is even and free of any noticeable irregularities. Address any uneven areas by adding or removing sand as needed, and re-compact the surface to maintain uniformity.
- Consider Drainage: If the installation area is prone to heavy rainfall or irrigation, take into account the need for additional drainage measures. This may involve creating channels or incorporating perforated pipes to direct water away from the surface.
By meticulously laying the base, you establish a solid and reliable foundation for the artificial grass, ensuring optimal performance and visual appeal. Attention to detail during this phase will contribute to the overall stability and longevity of the installation.
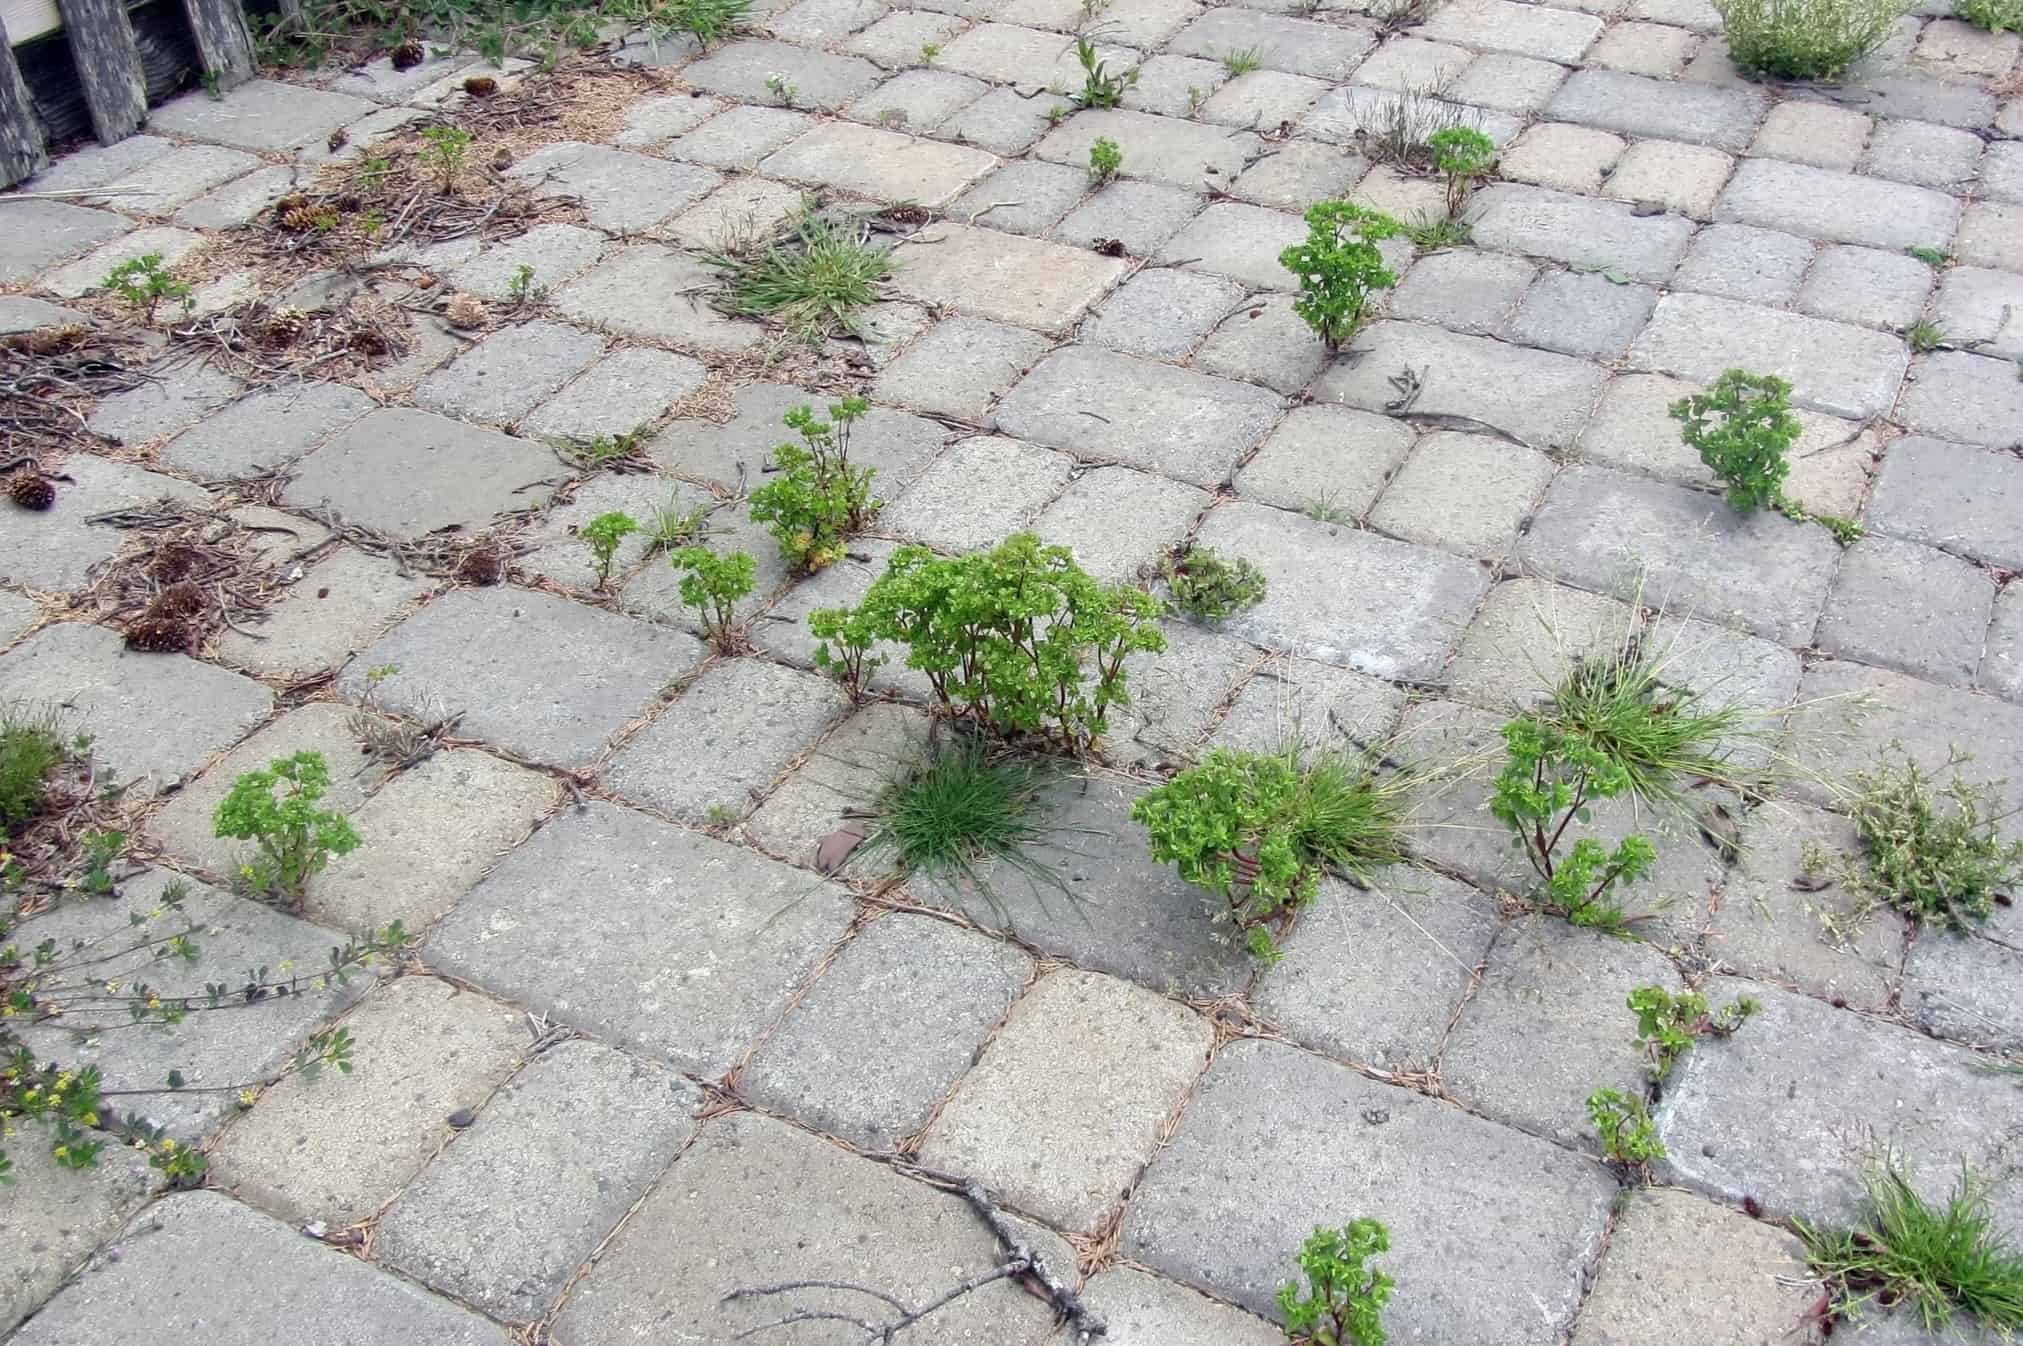
When laying artificial grass between pavers, make sure to use a good quality weed barrier to prevent weeds from growing through the grass. This will help maintain a clean and tidy look for your outdoor space.
Step 4: Install the Artificial Grass
With the base properly prepared, it’s time to proceed with the installation of the artificial grass. Follow these steps to achieve a professional and visually appealing result:
- Roll Out the Artificial Grass: Unroll the artificial grass across the prepared installation area, ensuring that the grain of the blades faces the same direction for a consistent appearance.
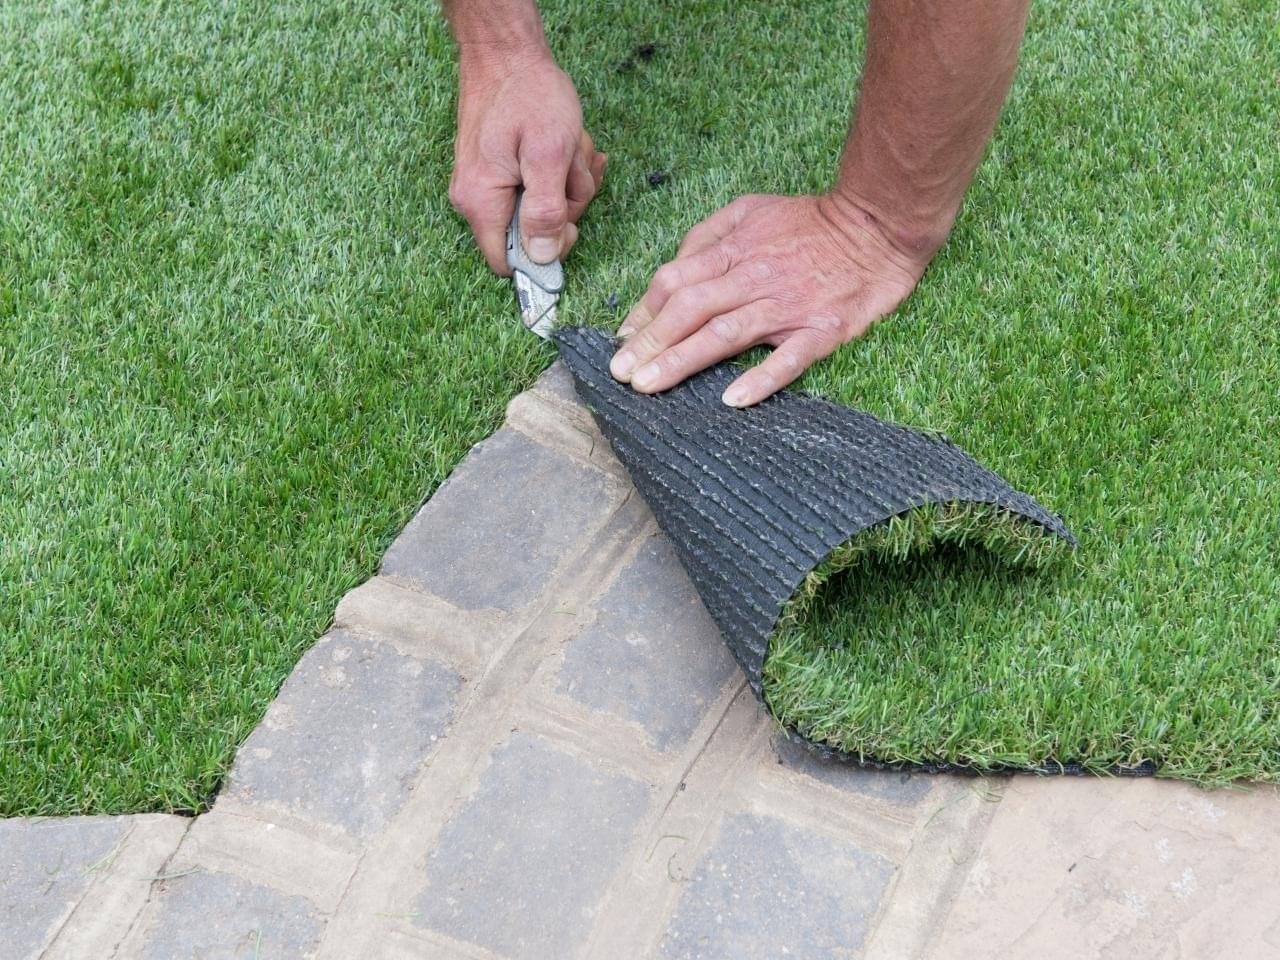
- Trim Excess Material: Use a sharp utility knife to trim any excess artificial grass along the edges, taking care to create clean and precise cuts for a seamless fit within the defined space.
- Join Seams (If Necessary): If multiple pieces of artificial grass are required to cover the installation area, carefully join the seams using an appropriate adhesive. Follow the manufacturer’s guidelines for seamless and secure seam integration.
- Secure the Grass: Secure the artificial grass in place using landscape stakes, placing them at regular intervals along the edges and seams to prevent shifting and ensure a snug fit.
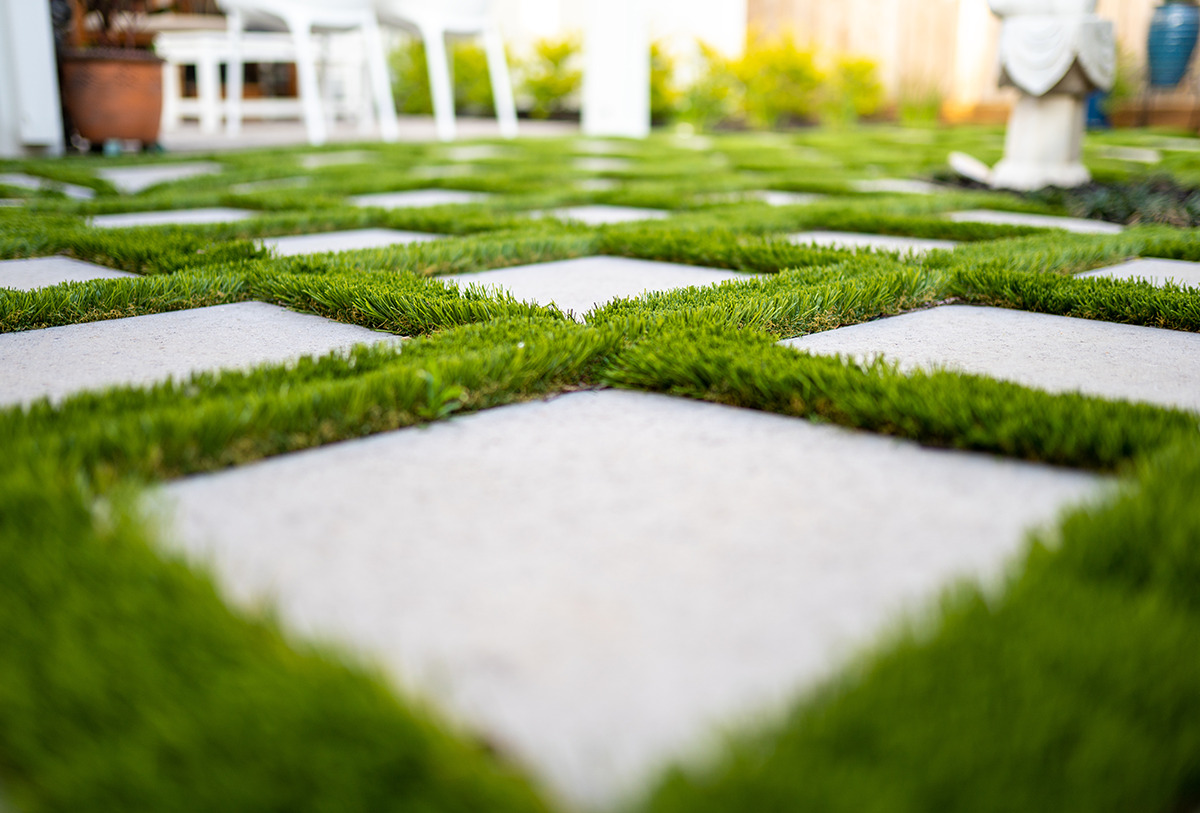
- Brush and Fluff: Use a stiff-bristled push broom to brush and fluff the artificial grass, lifting the blades and enhancing the overall appearance. This step helps achieve a natural and well-maintained look.
By following these steps, you can achieve a professional and visually striking installation of artificial grass, seamlessly integrating it with the surrounding pavers and creating a cohesive and inviting outdoor space.
Read more: How To Plant Ground Cover Between Pavers
Step 5: Secure the Edges
Securing the edges of the artificial grass is crucial for ensuring a tidy and long-lasting installation. Follow these steps to effectively secure the edges and enhance the overall stability of the project:
- Anchor the Edges: Utilize landscape stakes or anchoring pins to secure the edges of the artificial grass, placing them at regular intervals along the perimeter. This will prevent the edges from shifting and maintain a neat and uniform appearance.
- Apply Edging Material: Install the chosen edging material, such as flexible metal or plastic bender board, along the outer edges of the artificial grass. This will provide additional support and create a clean transition between the grass and surrounding surfaces.
- Secure the Edging: Use appropriate fasteners or stakes to secure the edging material in place, ensuring that it is firmly positioned and complements the overall design of the installation.
- Inspect and Adjust: Thoroughly inspect the secured edges, ensuring that they are level and free of any visible gaps or inconsistencies. Make any necessary adjustments to achieve a seamless and secure finish.
By effectively securing the edges of the artificial grass, you can safeguard the integrity of the installation and create a polished and professional look that seamlessly integrates with the surrounding pavers.
Step 6: Final Touches and Maintenance
Completing the installation of artificial grass between pavers involves adding final touches and establishing a maintenance routine to ensure the longevity and vibrancy of the outdoor space. Follow these steps to add the finishing touches and implement proper maintenance practices:
- Trim and Shape: Use a sharp utility knife to trim any remaining excess artificial grass and shape the edges for a clean and tailored appearance. Pay attention to detail to achieve a seamless integration with the surrounding pavers.
- Brush and Groom: Regularly brush and groom the artificial grass using a stiff-bristled broom to maintain its natural appearance and prevent matting. This simple maintenance task will keep the grass looking lush and inviting.
- Clean and Rinse: Periodically clean the artificial grass by removing debris and rinsing the surface with water to eliminate dust and maintain its vibrant color. This step is particularly important in high-traffic areas.
- Inspect for Damage: Routinely inspect the artificial grass for any signs of damage or wear, addressing issues promptly to prevent further deterioration. Repair or replace damaged sections as needed to uphold the overall integrity of the installation.
- Implement Preventive Measures: Take proactive measures to prevent staining and damage, such as avoiding the use of harsh chemicals and promptly addressing spills and pet waste to preserve the appearance of the artificial grass.
By attending to these final touches and implementing a consistent maintenance regimen, you can ensure that the artificial grass between pavers remains visually striking and functional for years to come, creating a captivating outdoor space that enhances the overall ambiance of your property.
Conclusion
Congratulations on completing the installation of artificial grass between pavers, transforming your outdoor space into a captivating and low-maintenance oasis. By following the step-by-step guide provided in this tutorial, you’ve gained the knowledge and confidence to seamlessly integrate artificial grass with pavers, creating a visually striking and functional landscape feature.
Artificial grass offers a myriad of benefits, including its year-round vibrancy, durability, and minimal maintenance requirements, making it a desirable choice for enhancing outdoor areas. By carefully preparing the installation site, laying a solid base, and meticulously installing and securing the artificial grass, you’ve achieved a professional and enduring result that will elevate the aesthetic appeal of your property.
Remember to implement regular maintenance practices, such as grooming, cleaning, and inspecting the artificial grass, to preserve its pristine appearance and functionality. By taking proactive measures and promptly addressing any issues, you can ensure that your artificial grass installation maintains its allure for years to come.
Whether you’ve embarked on this project as a homeowner or a landscaping enthusiast, the seamless integration of artificial grass between pavers adds a touch of natural beauty and modern innovation to your outdoor space. Embrace the versatility and charm of artificial grass as you create an inviting and picturesque environment that enhances the overall ambiance of your property.
Thank you for joining us on this journey through the installation of artificial grass between pavers. We hope this guide has equipped you with valuable insights and practical know-how to embark on your landscaping endeavors with confidence and creativity.
Frequently Asked Questions about How To Lay Artificial Grass Between Pavers
Was this page helpful?
At Storables.com, we guarantee accurate and reliable information. Our content, validated by Expert Board Contributors, is crafted following stringent Editorial Policies. We're committed to providing you with well-researched, expert-backed insights for all your informational needs.

0 thoughts on “How To Lay Artificial Grass Between Pavers”