Home>Gardening & Outdoor>Landscaping Ideas>How To Lay Patio Slabs On Grass
Landscaping Ideas
How To Lay Patio Slabs On Grass
Modified: August 28, 2024
Learn how to lay patio slabs on grass with our expert landscaping ideas. Transform your outdoor space with our step-by-step guide.
(Many of the links in this article redirect to a specific reviewed product. Your purchase of these products through affiliate links helps to generate commission for Storables.com, at no extra cost. Learn more)
Introduction
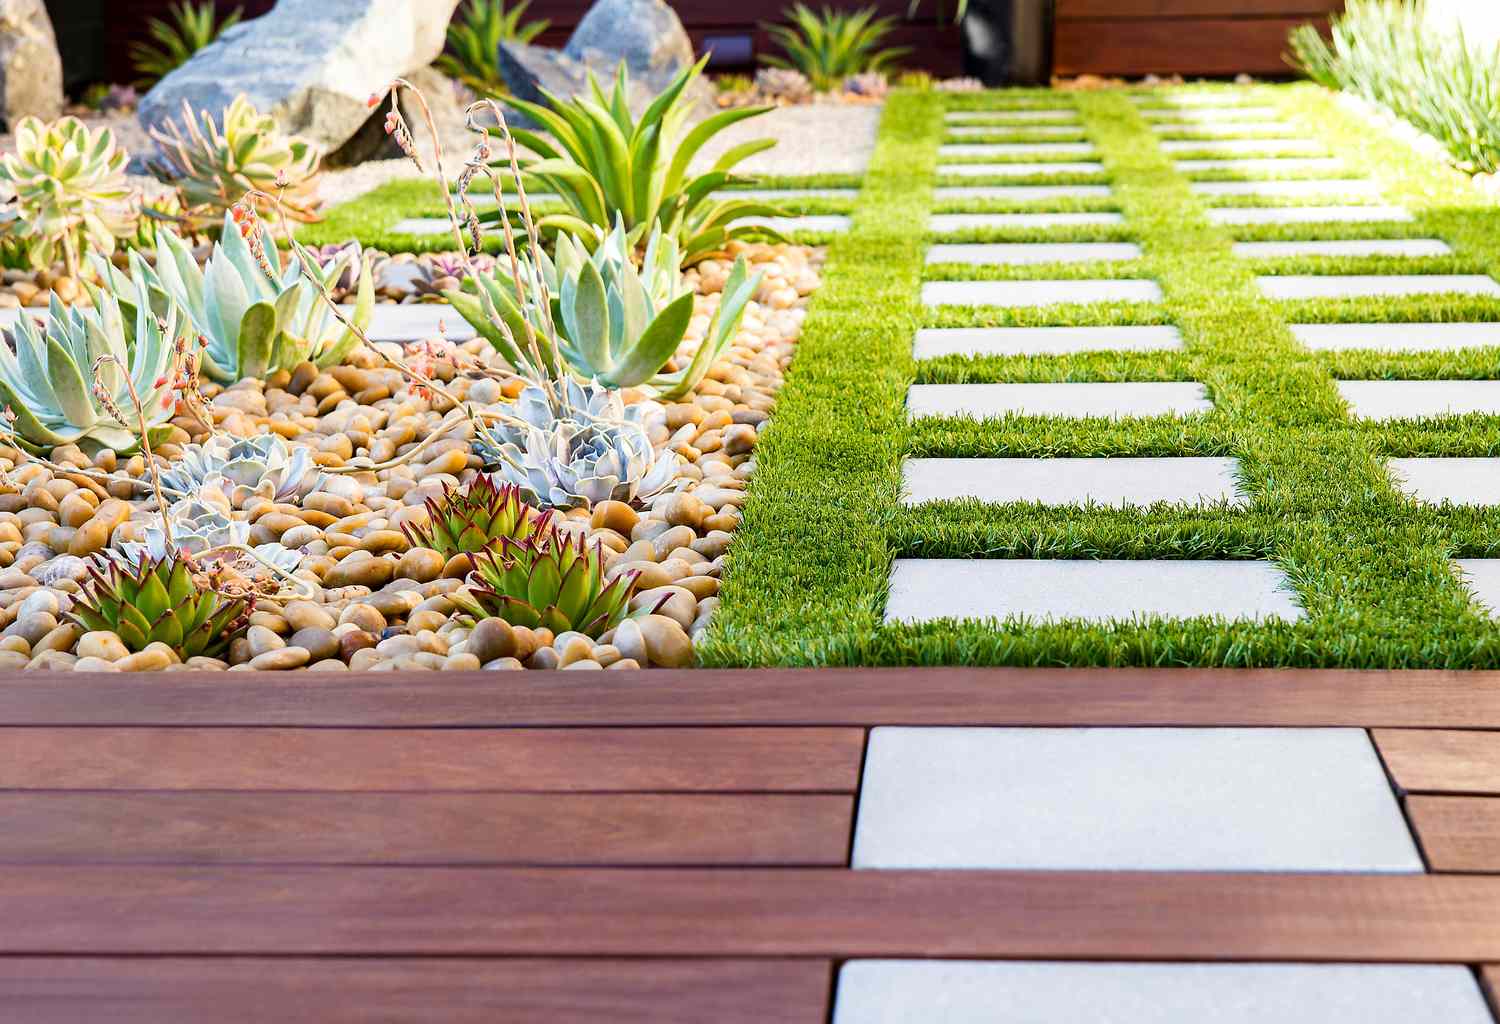
Welcome to the ultimate guide on transforming your grassy outdoor space into a stunning patio with the installation of beautiful slabs. Creating a patio on grass not only adds functionality and aesthetic appeal to your yard but also provides a versatile outdoor living area for relaxation and entertainment. Whether you envision a cozy seating nook for enjoying your morning coffee or a spacious gathering spot for hosting barbecues and social gatherings, laying patio slabs on grass can turn your dreams into reality.
In this comprehensive guide, we will walk you through the step-by-step process of laying patio slabs on grass, providing valuable tips and insights to ensure a successful and visually captivating result. From preparing the area and laying the base to placing and securing the slabs, we’ve got you covered with expert advice and practical instructions. By the end of this guide, you’ll be equipped with the knowledge and confidence to embark on this rewarding landscaping project and elevate the charm and functionality of your outdoor space.
Key Takeaways:
- Transform your grassy outdoor space into a stunning patio by following our step-by-step guide to laying patio slabs on grass. Create a versatile outdoor living area for relaxation and entertainment.
- Prepare the area, lay the base, place and secure the slabs, and add finishing touches to create a durable, visually appealing, and structurally sound patio that enriches your outdoor living experience.
Read more: How To Lay Concrete Slabs On Grass
Step 1: Prepare the Area
Before you embark on the exciting journey of laying patio slabs on grass, it’s essential to prepare the designated area to ensure a solid foundation and long-lasting results. Here’s a detailed breakdown of the crucial preparatory steps:
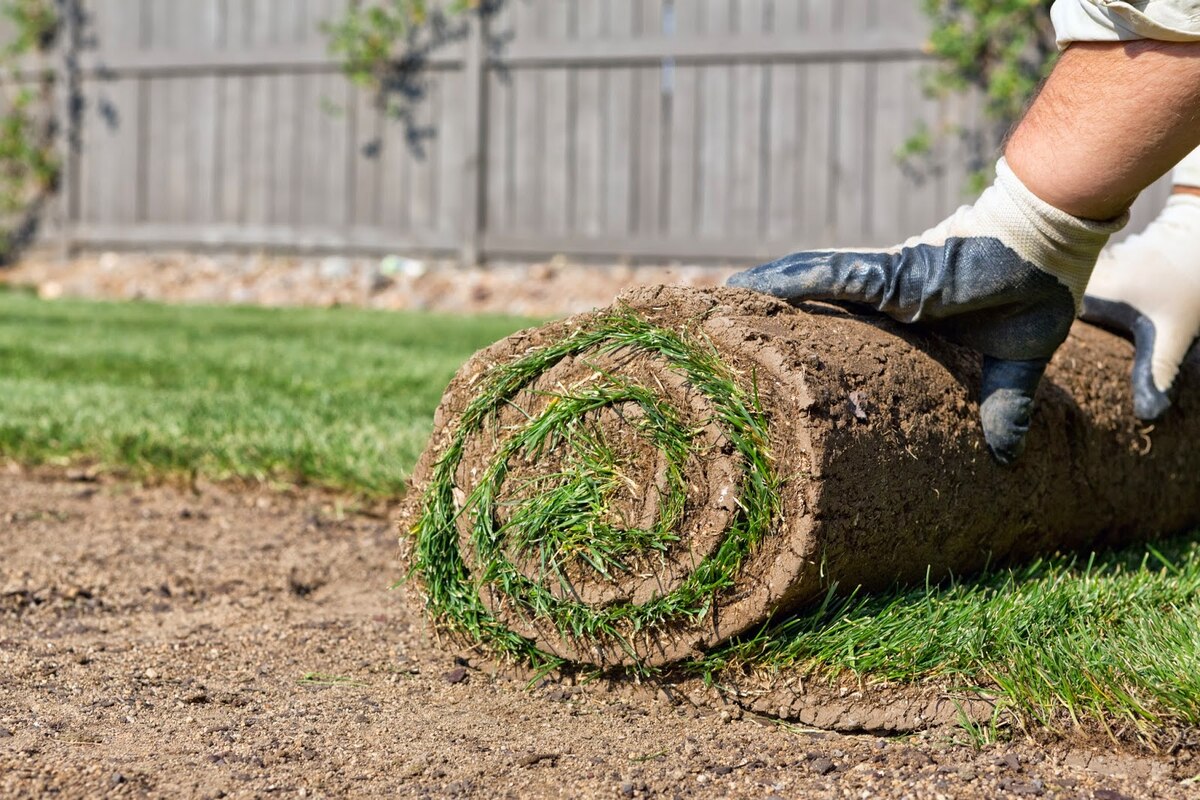
- Clear the Area: Begin by clearing the grass and any vegetation from the intended patio site. Use a shovel, rake, or turf cutter to remove the top layer of grass and ensure that the area is level and free of debris.
- Mark the Perimeter: Use marking spray or string to outline the perimeter of the patio. This will provide a clear visual guide for the area you’ll be working on and help maintain a consistent shape and size.
- Excavate the Soil: With the perimeter marked, proceed to excavate the soil to a depth that allows for the base and slab thickness. Typically, a depth of 4-6 inches is recommended to accommodate the base material and the slabs.
- Compact the Soil: Once the soil is excavated, use a hand tamper or plate compactor to compact the ground thoroughly. This step is crucial for creating a stable and level surface to support the base and prevent future settling.
- Install Edging: To define and contain the patio area, consider installing edging materials such as plastic or metal paver restraints. These edging materials help prevent the slabs from shifting and provide a neat, finished look to the patio.
By diligently preparing the area, you’ll set the stage for a successful patio slab installation, ensuring that your outdoor retreat stands the test of time and enhances the beauty of your landscape.
Step 2: Lay the Base
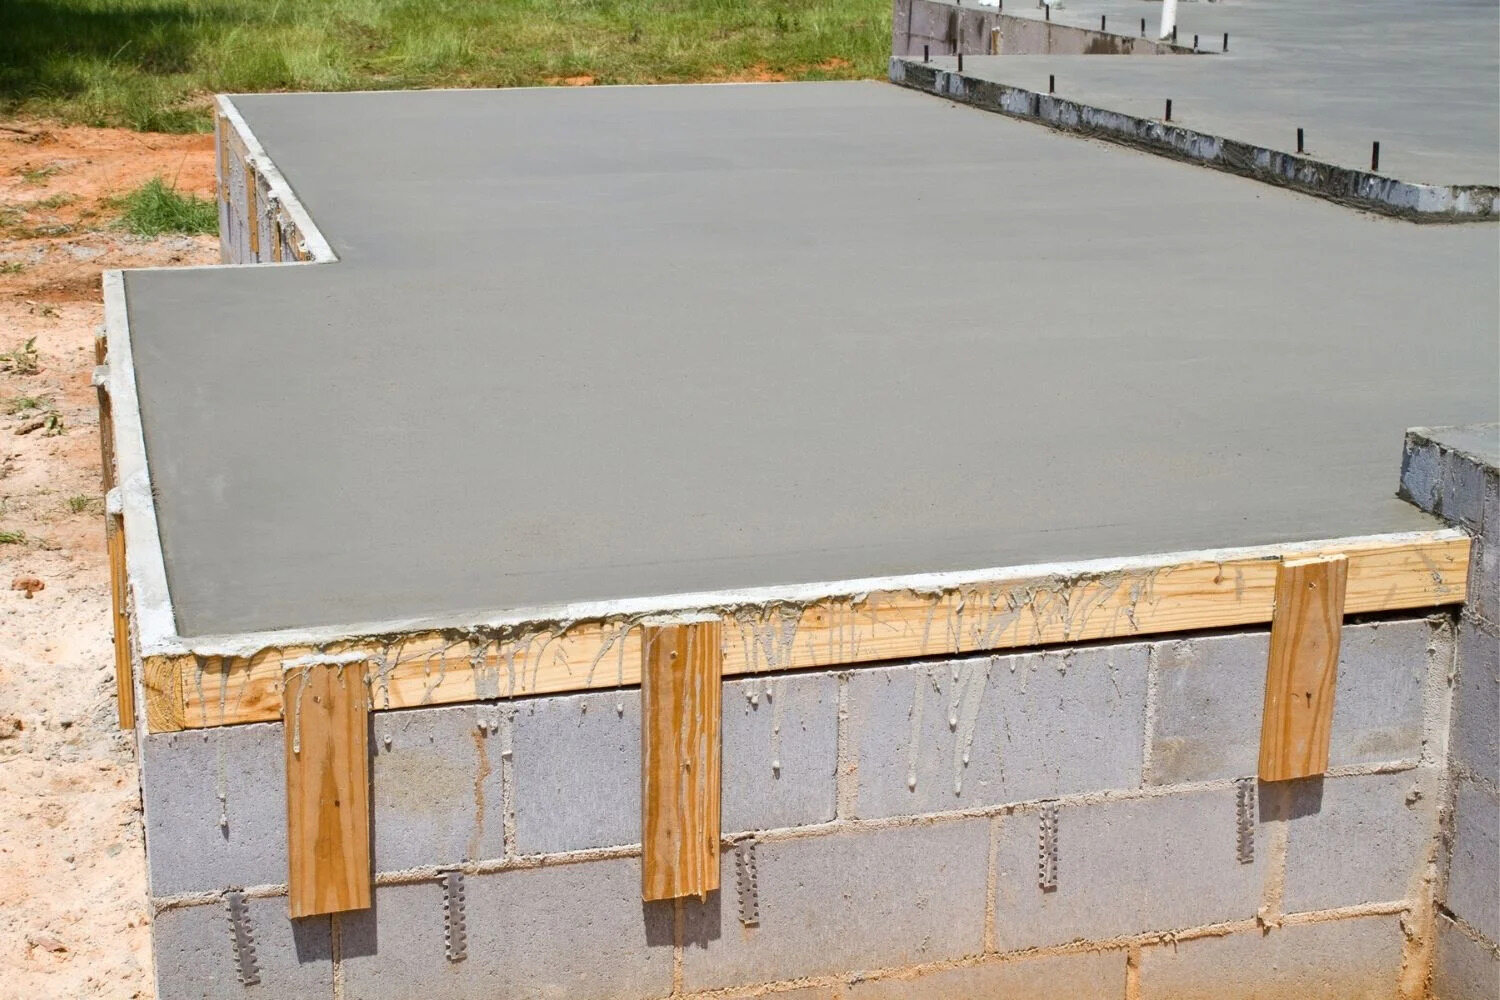
With the area prepared, the next critical step in the process of laying patio slabs on grass is to establish a stable and supportive base. The base serves as the foundation for the slabs, promoting proper drainage, minimizing settling, and ensuring the longevity of your patio. Here’s a comprehensive guide to laying the base:
- Add a Geotextile Membrane: Before adding any base materials, consider laying a geotextile membrane over the excavated area. This permeable fabric helps prevent weed growth, stabilizes the base, and enhances drainage.
- Apply a Layer of Gravel: Start by adding a layer of well-compacted gravel to the excavated area. The gravel layer provides essential drainage and stability for the patio while allowing water to percolate through and prevent water buildup.
- Compact the Gravel: Use a compactor to firmly compact the gravel, ensuring a solid and level base. This step is crucial for minimizing shifting and settling over time, creating a reliable foundation for the patio slabs.
- Add a Layer of Sharp Sand: Once the gravel is compacted, evenly spread a layer of sharp sand over the surface. The sand layer provides a smooth and level surface for laying the patio slabs, allowing for minor adjustments during the placement process.
- Level the Sand: Use a screed board or straight edge to level the sand, ensuring uniform thickness and a flat surface. Pay close attention to achieving a consistent sand layer to facilitate the even placement of the patio slabs.
By meticulously laying the base, you’ll establish a solid and well-draining foundation for your patio, setting the stage for the exciting next steps of placing and securing the beautiful slabs that will transform your outdoor space.
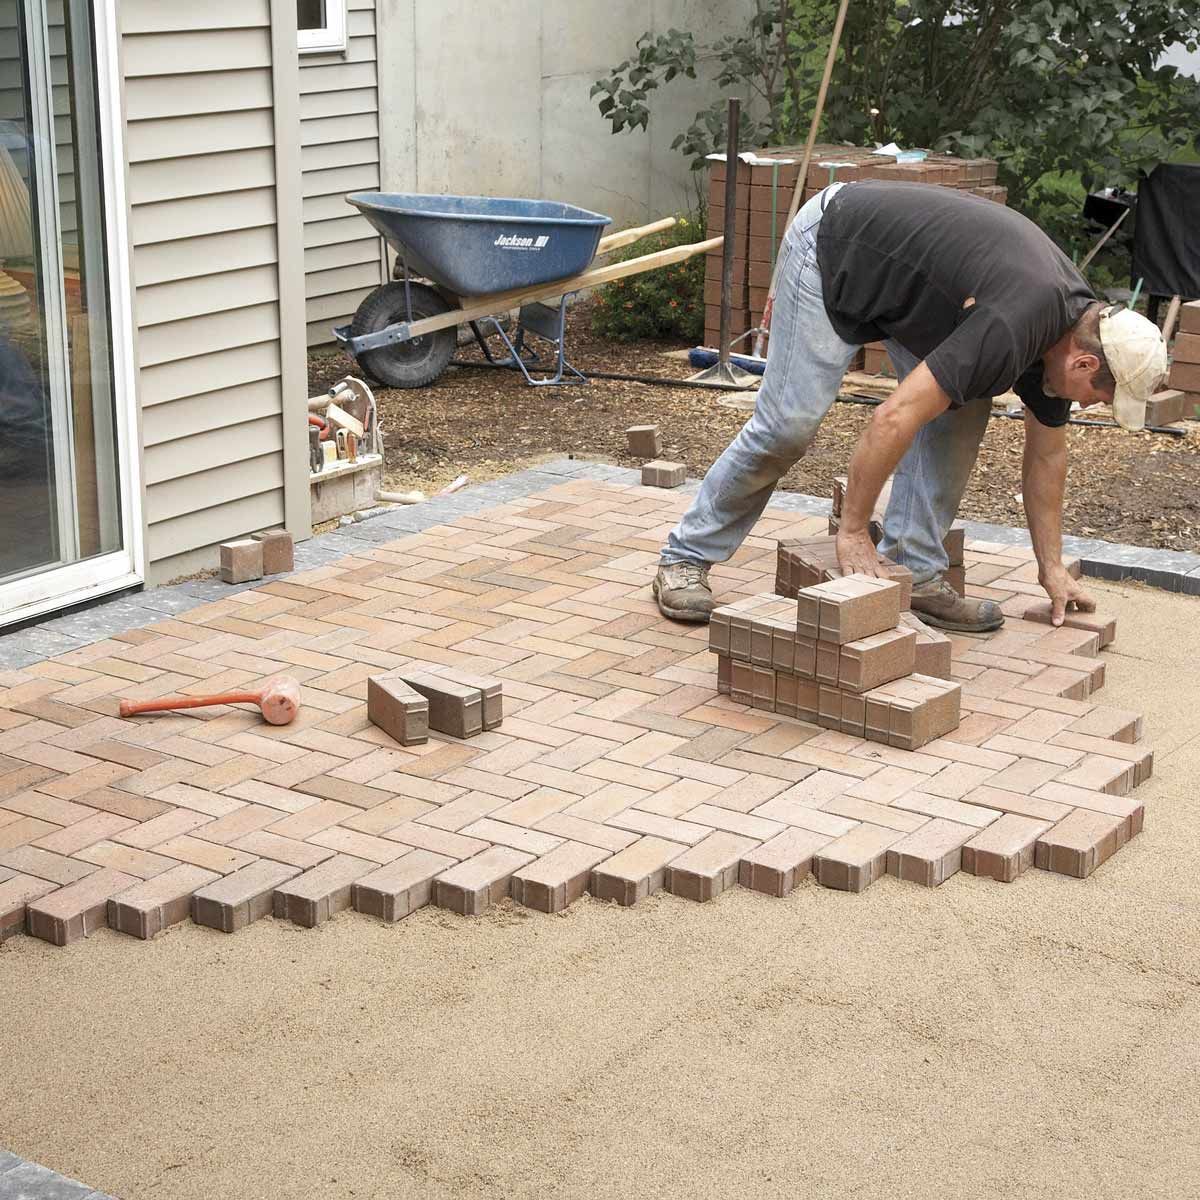
Step 3: Place the Slabs
As you progress through the patio transformation process, the placement of the slabs marks a pivotal stage where your vision begins to take shape. This step requires careful attention to detail and precision to ensure a visually appealing and structurally sound patio. Here’s a comprehensive guide on placing the slabs:
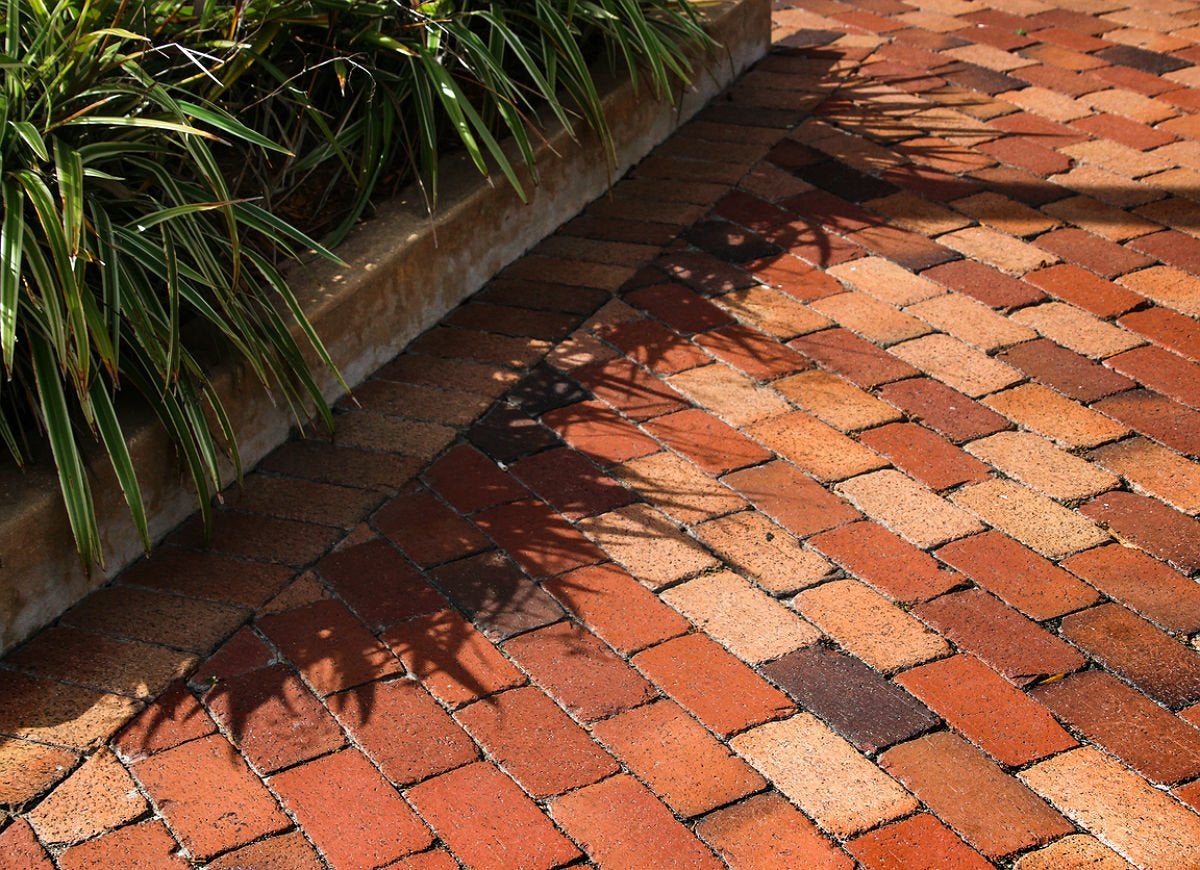
- Plan the Layout: Before placing the slabs, take time to plan the layout and pattern. Consider various design options and positioning to achieve your desired aesthetic. Dry-lay the slabs without fixing them to the sand to experiment with different arrangements and ensure a cohesive look.
- Start from a Fixed Point: Begin laying the slabs from a fixed point, such as a corner or the edge of an existing structure. This approach provides a reference point for maintaining straight lines and consistent spacing throughout the patio.
- Space the Slabs: Use spacers or small wooden blocks to maintain uniform spacing between the slabs. This step is crucial for creating even joints and a professional finish. Ensure that the spacing is consistent across the entire patio surface.
- Check for Level: As you place each slab, use a spirit level to check for both evenness and alignment. Adjust the sand as needed to achieve a level surface and make minor alterations to the placement of the slabs to ensure a uniform and visually pleasing result.
- Tap the Slabs Gently: Once a slab is positioned correctly, gently tap it with a rubber mallet to ensure it settles into the sand and achieves a solid bond. This step helps seat the slabs securely while maintaining the level and spacing established during the placement process.
By meticulously placing the slabs with attention to detail and precision, you’ll bring your patio vision to life, creating a captivating outdoor space that reflects your unique style and enhances the charm of your landscape.
Before laying patio slabs on grass, make sure to clear the area of any debris and level the ground. Use a layer of sand or gravel as a base to prevent the slabs from sinking into the grass.
Step 4: Secure the Slabs
Once the patio slabs are meticulously placed, the next crucial step is to secure them in position to ensure stability, longevity, and a professional finish. Properly securing the slabs is essential for withstanding foot traffic, environmental elements, and the test of time. Here’s a comprehensive guide on securing the slabs:
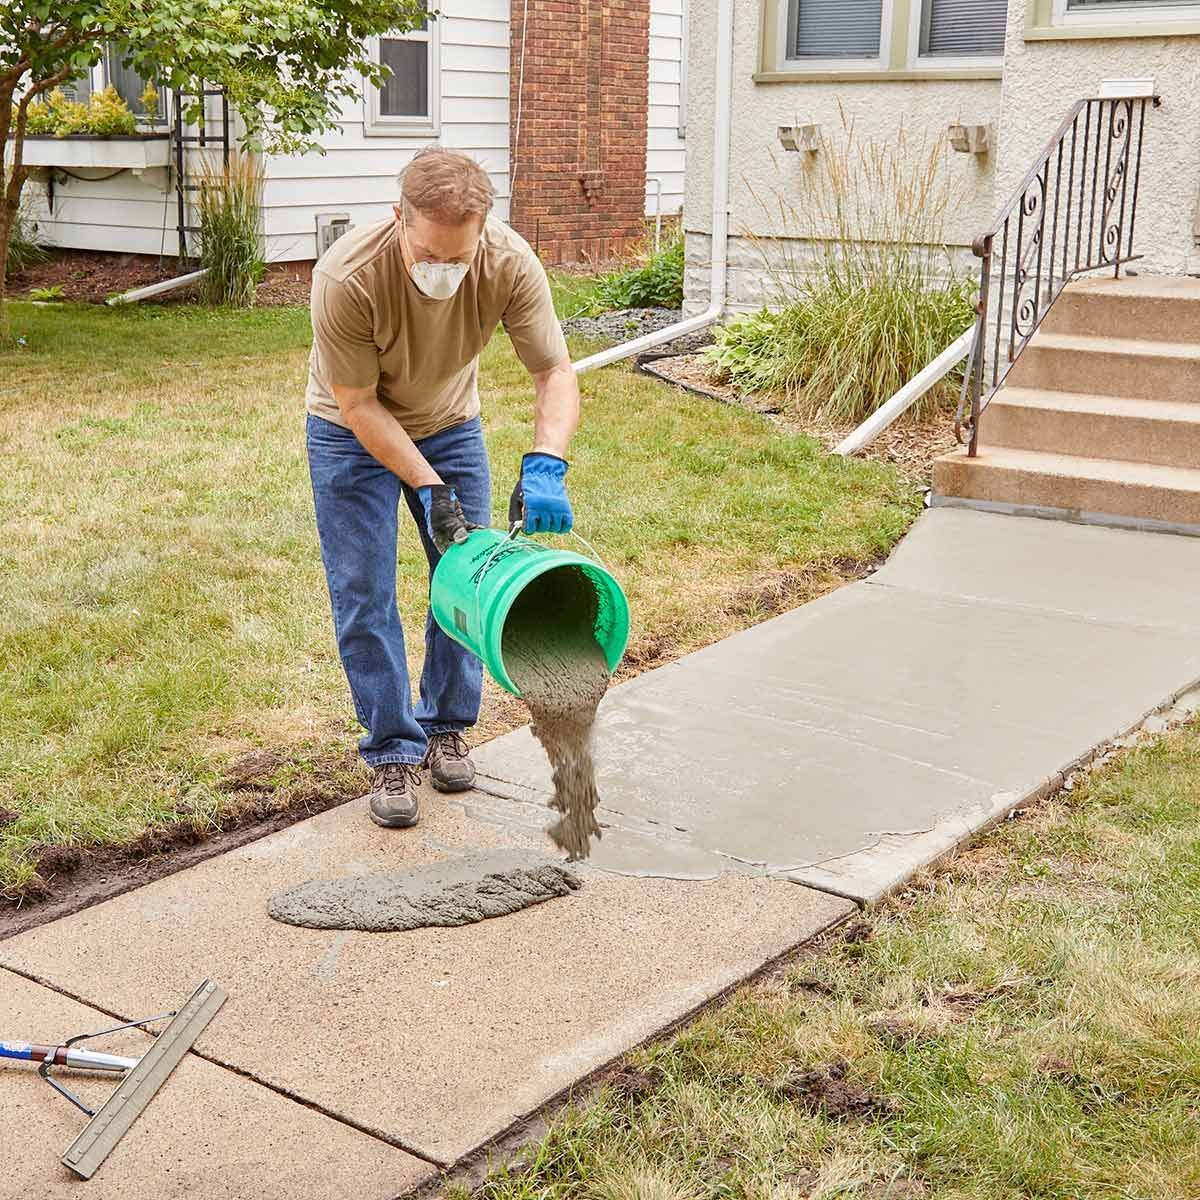
- Fill the Joints: After the slabs are placed, fill the joints between them with fine kiln-dried sand. Use a soft brush to sweep the sand over the surface, ensuring that it settles into the joints and creates a cohesive bond between the slabs.
- Compact the Surface: Once the joints are filled, use a plate compactor or a rubber mallet and a protective piece of wood to gently compact the surface. This step helps settle the slabs into the sand, ensuring a secure and level finish while further enhancing the bond between the slabs and the base.
- Apply Edge Restraints: Install edge restraints along the perimeter of the patio to secure the outermost slabs. This helps prevent shifting and maintains the structural integrity of the patio, providing a clean and polished appearance.
- Check for Stability: After securing the slabs, carefully walk across the patio surface to check for any movement or rocking. Address any unstable slabs by lifting them, adding or adjusting the sand beneath, and reseating them to ensure a solid and stable patio surface.
- Water the Patio: Lightly water the patio surface to help settle the sand in the joints and promote cohesion. Allow the water to percolate through the sand, filling any voids and enhancing the bond between the slabs for added stability.
By diligently securing the slabs and attending to the finer details, you’ll ensure a durable, visually appealing, and structurally sound patio that enriches your outdoor living experience and complements the natural beauty of your landscape.
Read more: How To Regrout Patio Slabs
Step 5: Finishing Touches
As you near the completion of your patio transformation, attending to the finishing touches adds a layer of refinement and personalization to your outdoor space. These final steps elevate the visual appeal, functionality, and overall ambiance of your newly laid patio. Here’s a comprehensive guide to the finishing touches:
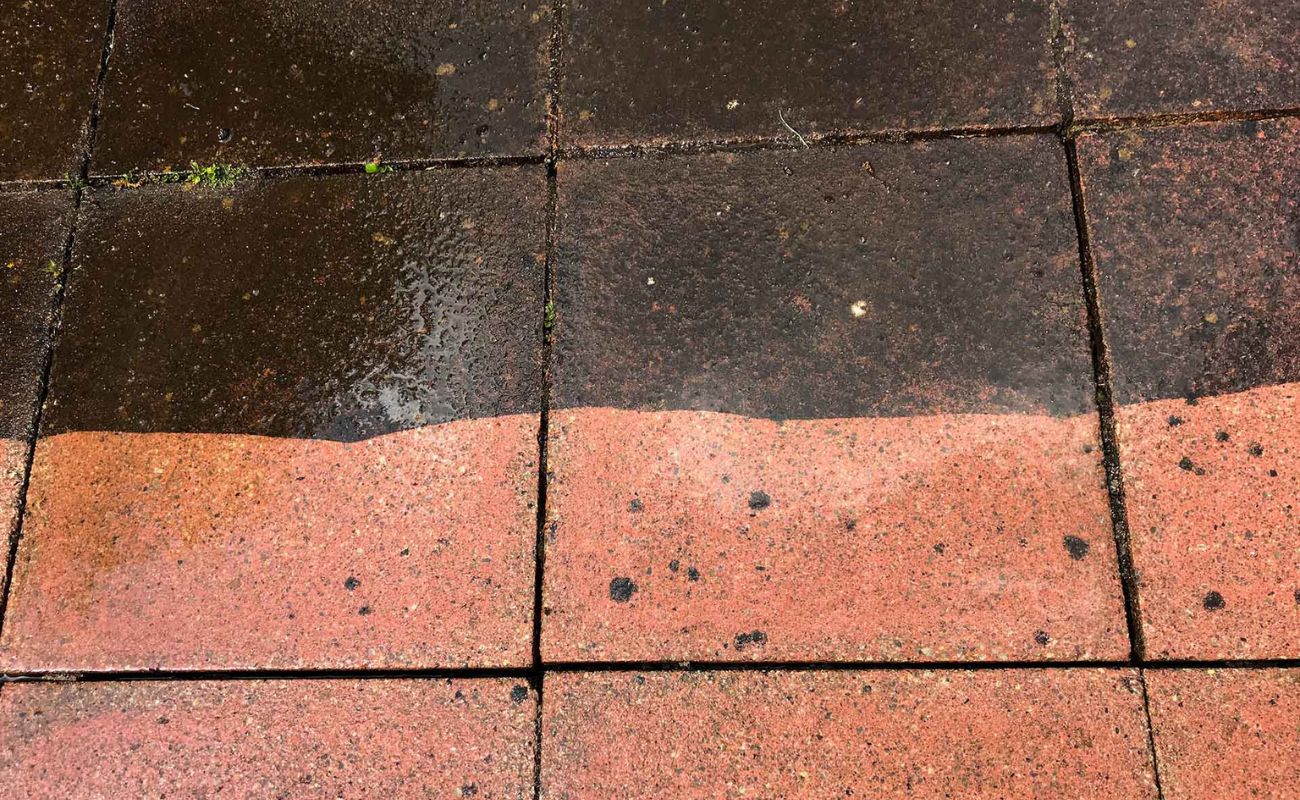
- Clean the Surface: Thoroughly clean the surface of the patio slabs to remove any residual sand, dirt, or debris. A gentle wash with water and a mild detergent can help restore the natural beauty of the slabs and prepare the patio for its debut.
- Apply Sealant (Optional): Consider applying a sealant to the patio slabs to enhance their durability, protect against stains, and create a lustrous finish. Choose a sealant specifically formulated for the type of slabs you’ve installed and follow the manufacturer’s instructions for application.
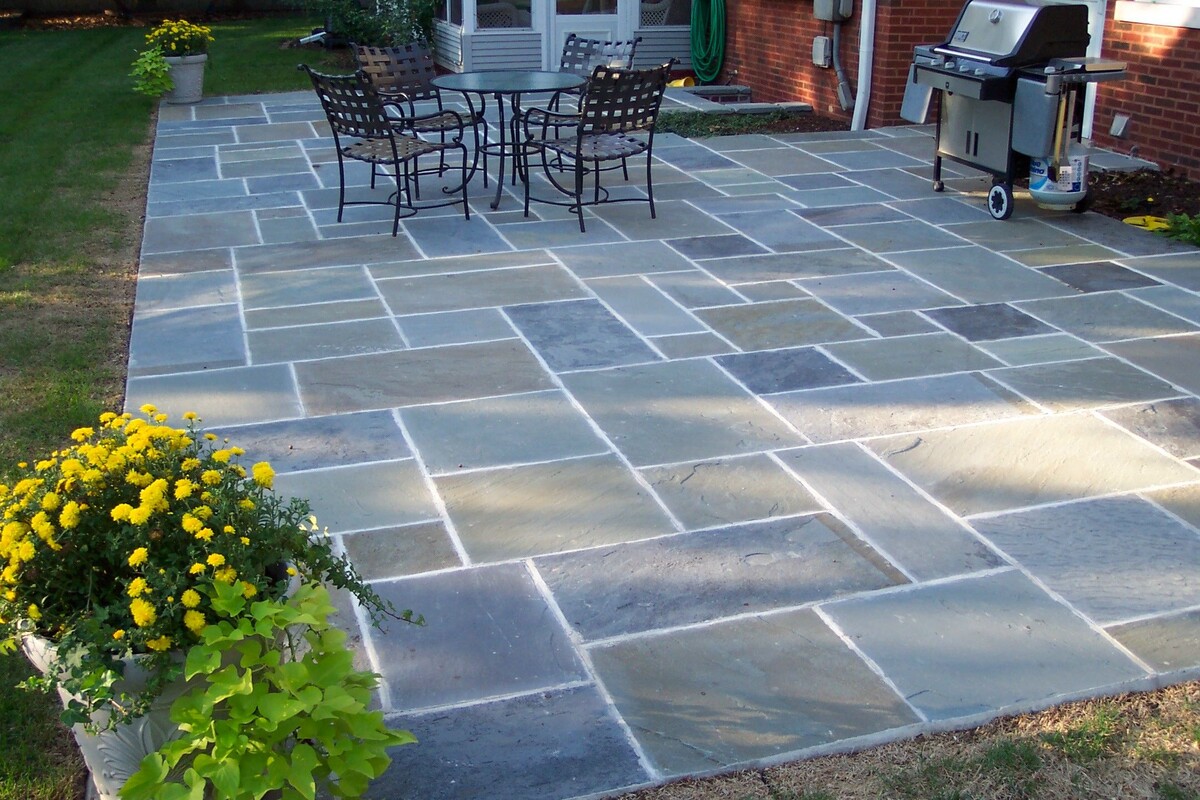
- Add Outdoor Furnishings: Introduce outdoor furnishings such as patio chairs, tables, and decorative elements to infuse personality and functionality into your outdoor oasis. Select furnishings that complement the style of your home and the ambiance you wish to create in your outdoor living space.
- Enhance with Greenery: Incorporate potted plants, flower beds, or a lush border of greenery around the patio to soften its edges and integrate natural beauty into the design. Greenery adds vibrancy, texture, and a sense of tranquility to the patio environment.
- Install Lighting: Illuminate your patio for evening enjoyment by installing outdoor lighting. Whether it’s string lights, lanterns, or strategically placed fixtures, lighting enhances the ambiance and extends the functionality of your patio into the evening hours.
By attending to these finishing touches, you’ll elevate your patio from a functional space to a captivating outdoor retreat that reflects your style, enhances your lifestyle, and beckons you to embrace the beauty of outdoor living.
Conclusion
Congratulations on successfully completing the transformation of your grassy outdoor space into a stunning patio adorned with beautiful slabs. By following the comprehensive steps outlined in this guide, you’ve not only created a functional and visually captivating outdoor living area but also embarked on a rewarding journey of landscape enhancement. As you admire the fruits of your labor and bask in the newfound charm of your patio, it’s essential to reflect on the significance of this transformation and the impact it has on your outdoor lifestyle.
Your newly laid patio serves as a versatile canvas for relaxation, entertainment, and connection with nature. It beckons you to savor quiet moments with a good book, host lively gatherings with friends and family, and embrace the simple joy of alfresco dining. The patio becomes an extension of your living space, blurring the boundaries between indoor comfort and the natural splendor of the outdoors.
Furthermore, the process of laying patio slabs on grass embodies the spirit of creativity, craftsmanship, and dedication to enhancing your surroundings. It’s a testament to your vision, patience, and willingness to invest time and effort in creating a space that reflects your unique style and enriches your daily life. As the seasons change and the landscape evolves, your patio stands as a steadfast anchor, inviting you to embrace the beauty of each moment.
In closing, your newly laid patio is more than just an outdoor surface; it’s a testament to your commitment to creating a harmonious blend of form and function within your landscape. It’s a space where memories are made, laughter resonates, and the beauty of nature intertwines with the comforts of home. As you embark on this journey, may your patio be a sanctuary of joy, a backdrop for cherished moments, and a reflection of the beauty that surrounds you.
Embrace the allure of outdoor living, revel in the transformation you’ve brought to life, and continue to infuse your landscape with the warmth and character that make it uniquely yours.
Frequently Asked Questions about How To Lay Patio Slabs On Grass
Was this page helpful?
At Storables.com, we guarantee accurate and reliable information. Our content, validated by Expert Board Contributors, is crafted following stringent Editorial Policies. We're committed to providing you with well-researched, expert-backed insights for all your informational needs.


0 thoughts on “How To Lay Patio Slabs On Grass”