Home>Gardening & Outdoor>Landscaping Ideas>How To Make A Garden Bed Over Grass

Landscaping Ideas
How To Make A Garden Bed Over Grass
Modified: August 30, 2024
Learn how to create a garden bed over grass with our landscaping ideas. Transform your yard with these step-by-step instructions. Start your gardening project today!
(Many of the links in this article redirect to a specific reviewed product. Your purchase of these products through affiliate links helps to generate commission for Storables.com, at no extra cost. Learn more)
Introduction
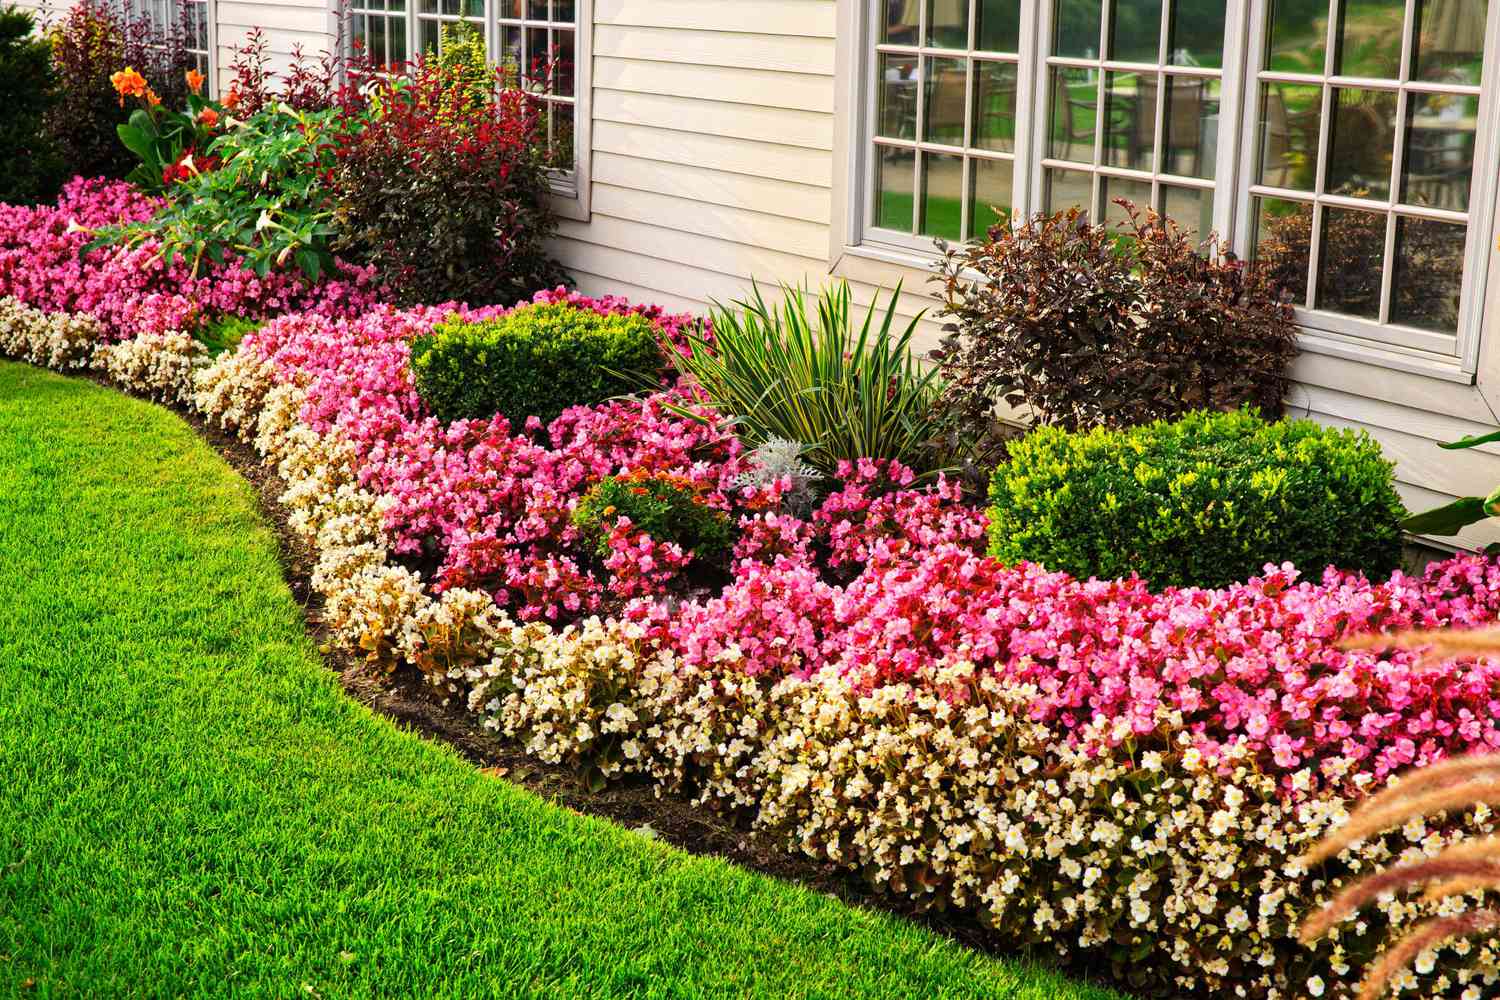
Welcome to the world of gardening! Creating a garden bed over grass is an excellent way to transform your outdoor space into a vibrant and flourishing garden. Whether you’re a seasoned gardener or a novice enthusiast, this guide will walk you through the process of establishing a beautiful garden bed right in your own backyard. With a bit of planning, preparation, and creativity, you can turn an ordinary patch of grass into a thriving garden oasis that will delight your senses and enhance the natural beauty of your home.
By following the steps outlined in this article, you’ll learn how to select the perfect location for your garden bed, prepare the area for optimal growth, build the bed itself, choose the right plants for your space, and maintain your garden bed for long-term success. So, roll up your sleeves, grab your gardening tools, and let’s embark on this exciting journey to create a stunning garden bed over grass!
Key Takeaways:
- Transform your outdoor space by creating a garden bed over grass. Select the right location, prepare the area, build the bed, plant with care, and maintain for a thriving garden oasis!
- With planning and creativity, turn ordinary grass into a vibrant garden. Choose the perfect location, build the bed, plant diverse plants, and maintain for long-term success.
Read more: How To Make A Rock Garden Bed
Selecting the Location
Choosing the right location for your garden bed is crucial to its success. Start by observing your outdoor space to determine the areas that receive adequate sunlight and have good drainage. Most plants thrive in full sun, so aim to select a spot that receives at least 6-8 hours of direct sunlight per day. However, if you’re planning to grow shade-loving plants, consider a location with partial shade.
Additionally, assess the proximity of water sources to ensure convenient access for watering your garden bed. It’s also beneficial to position the garden bed near your home, allowing you to easily monitor and tend to your plants.
Consider the overall aesthetic of your outdoor space when choosing the location. A garden bed can serve as a focal point, so select an area that complements the existing landscape and adds visual interest to your yard. Whether you opt for a secluded corner, a border along a fence, or a prominent spot in the center of your yard, the location should harmonize with the surrounding environment.
Furthermore, take into account the soil quality in the chosen area. Conduct a simple soil test to assess its composition and pH level. While many plants can adapt to various soil conditions, it’s beneficial to know the soil type to make informed decisions about plant selection and soil amendment.
Lastly, consider the accessibility of the location. Ensure that it’s easily reachable for regular maintenance tasks such as weeding, watering, and harvesting. By carefully selecting the location for your garden bed, you set the stage for a thriving and visually appealing outdoor space that will bring you joy and satisfaction for years to come.
Preparing the Area
Before building your garden bed, it’s essential to prepare the area to create an optimal environment for plant growth. The following steps will guide you through the process of transforming the selected location into a fertile ground for your garden bed:
1. Clear the Existing Vegetation: Begin by clearing the area of any existing grass, weeds, or debris. You can use a shovel, a hoe, or a sod cutter to remove the top layer of grass and roots. This step is crucial to prevent competing vegetation from encroaching on your garden bed and robbing your plants of essential nutrients.
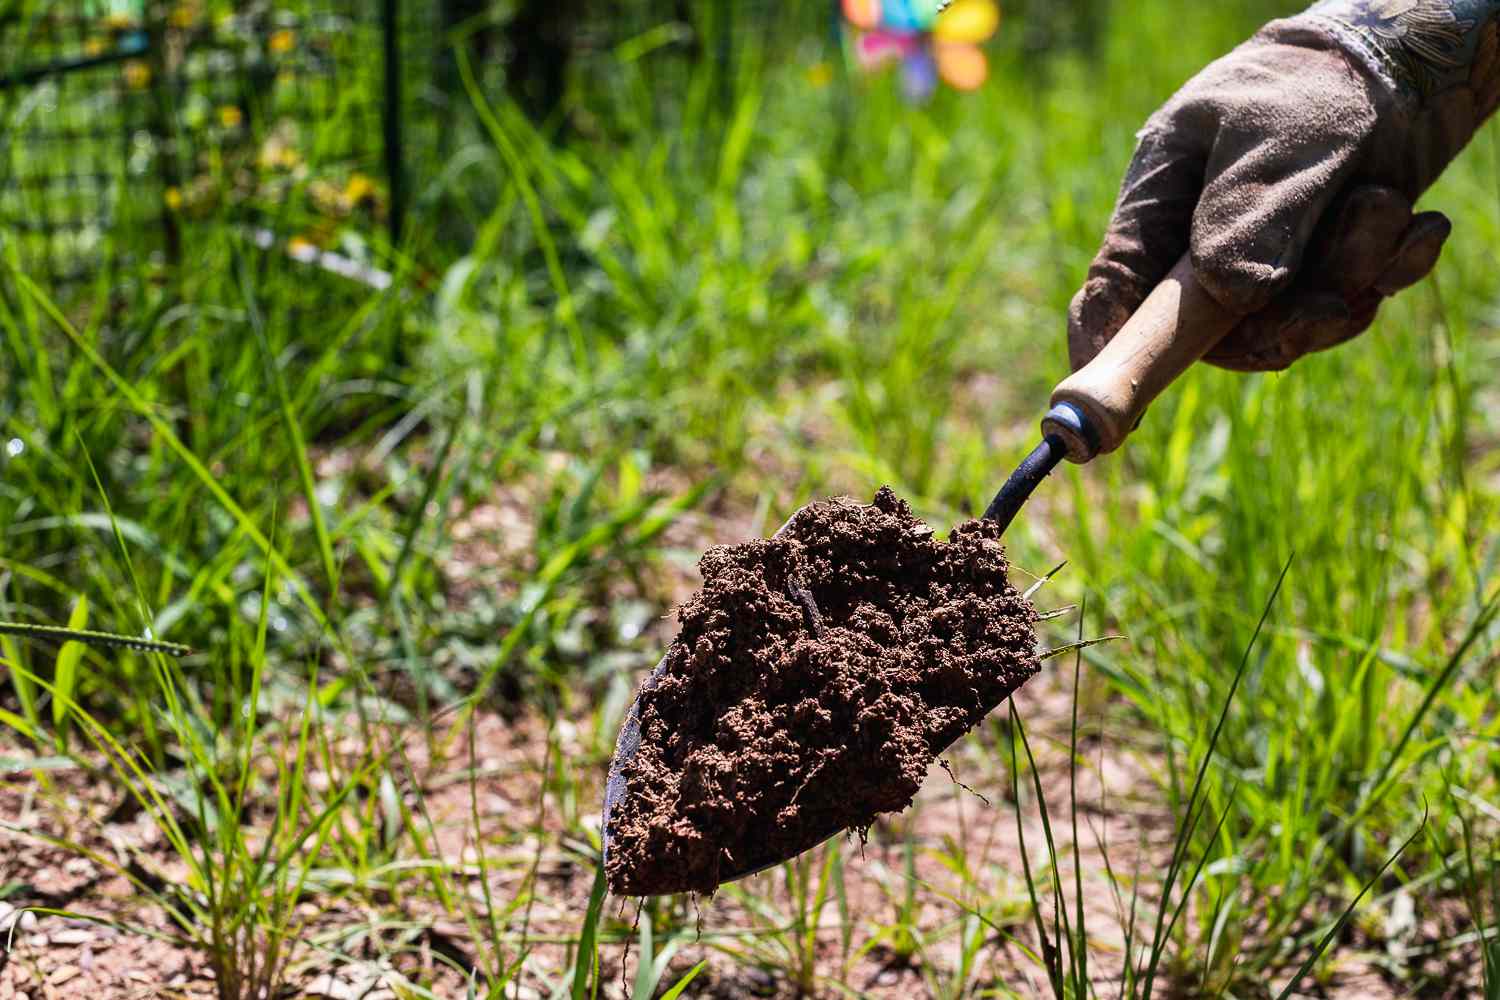
2. Improve Soil Quality: Once the area is cleared, assess the soil quality and make necessary improvements. Add organic matter such as compost, aged manure, or peat moss to enrich the soil and enhance its fertility. Work the organic matter into the soil to improve its structure and water retention capabilities, creating a hospitable environment for plant roots.
3. Define the Bed Borders: Outline the boundaries of your garden bed using materials such as landscape edging, bricks, or wood. This step helps contain the soil, define the garden bed’s shape, and create a barrier against encroaching grass and weeds.
4. Level the Ground: Ensure that the ground within the defined borders is level and free of any dips or bumps. A level surface promotes even water distribution and prevents waterlogging in specific areas of the garden bed.
5. Install Weed Barrier (Optional): Consider laying a weed barrier fabric over the prepared soil to suppress weed growth. This permeable material allows water and nutrients to penetrate the soil while inhibiting the growth of unwanted plants.
By diligently preparing the area for your garden bed, you create a nurturing foundation that sets the stage for healthy plant growth and minimizes potential challenges down the road. With the groundwork laid, you’re one step closer to bringing your garden bed to life with an array of vibrant and thriving plants.
Before building a garden bed over grass, it’s important to remove the grass and its roots to prevent it from growing back. You can do this by using a shovel or a sod cutter to cut and remove the grass before adding soil to create the garden bed.
Building the Garden Bed
With the area prepared, it’s time to construct the physical structure of your garden bed. Whether you opt for a raised bed or an in-ground garden, the following steps will guide you through the process of building the bed:
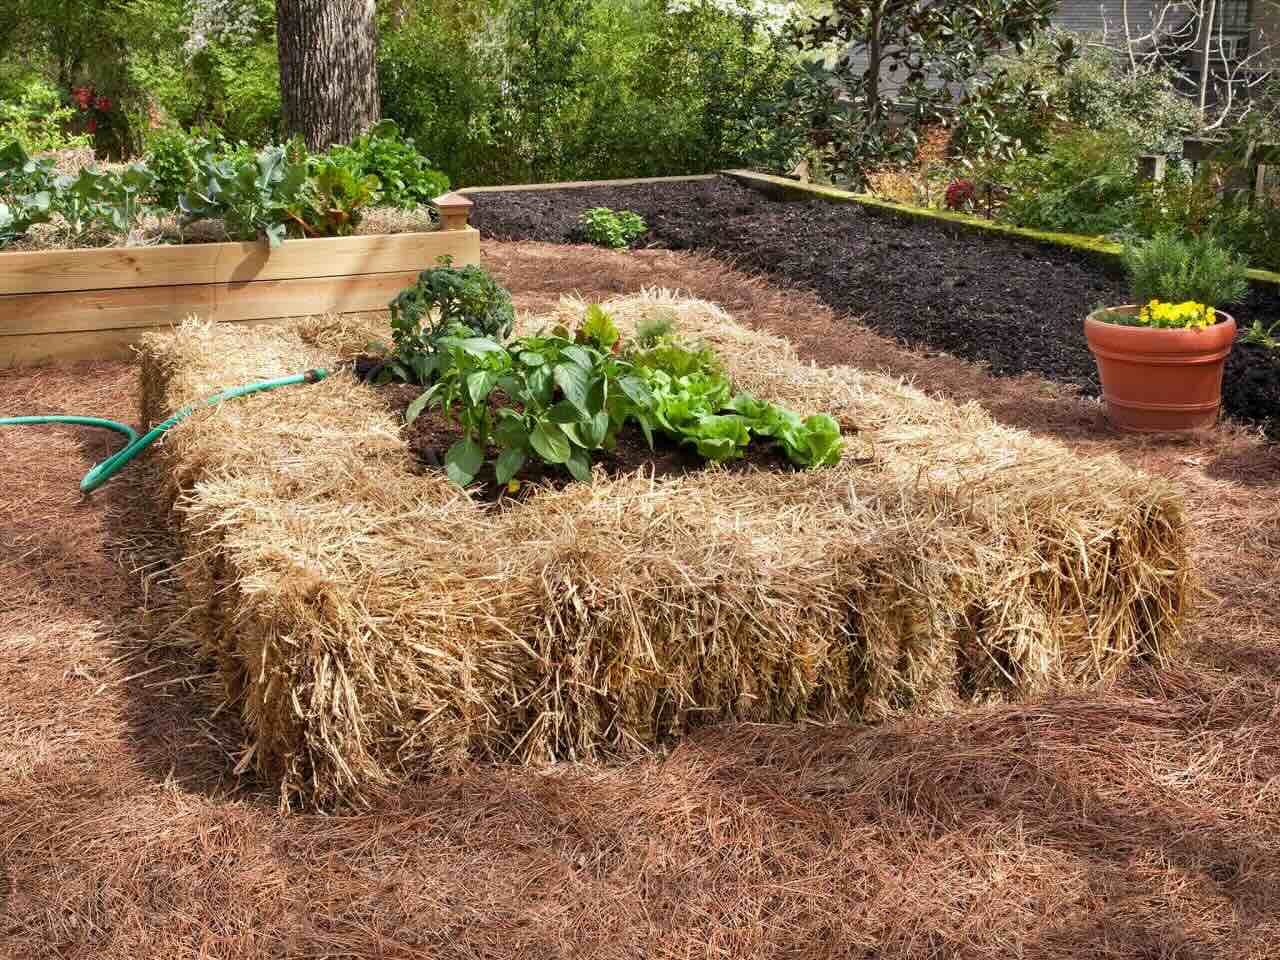
1. Choose the Bed Type: Determine whether you want a raised garden bed or an in-ground garden. Raised beds offer better control over soil quality and drainage, while in-ground gardens integrate seamlessly with the surrounding landscape.
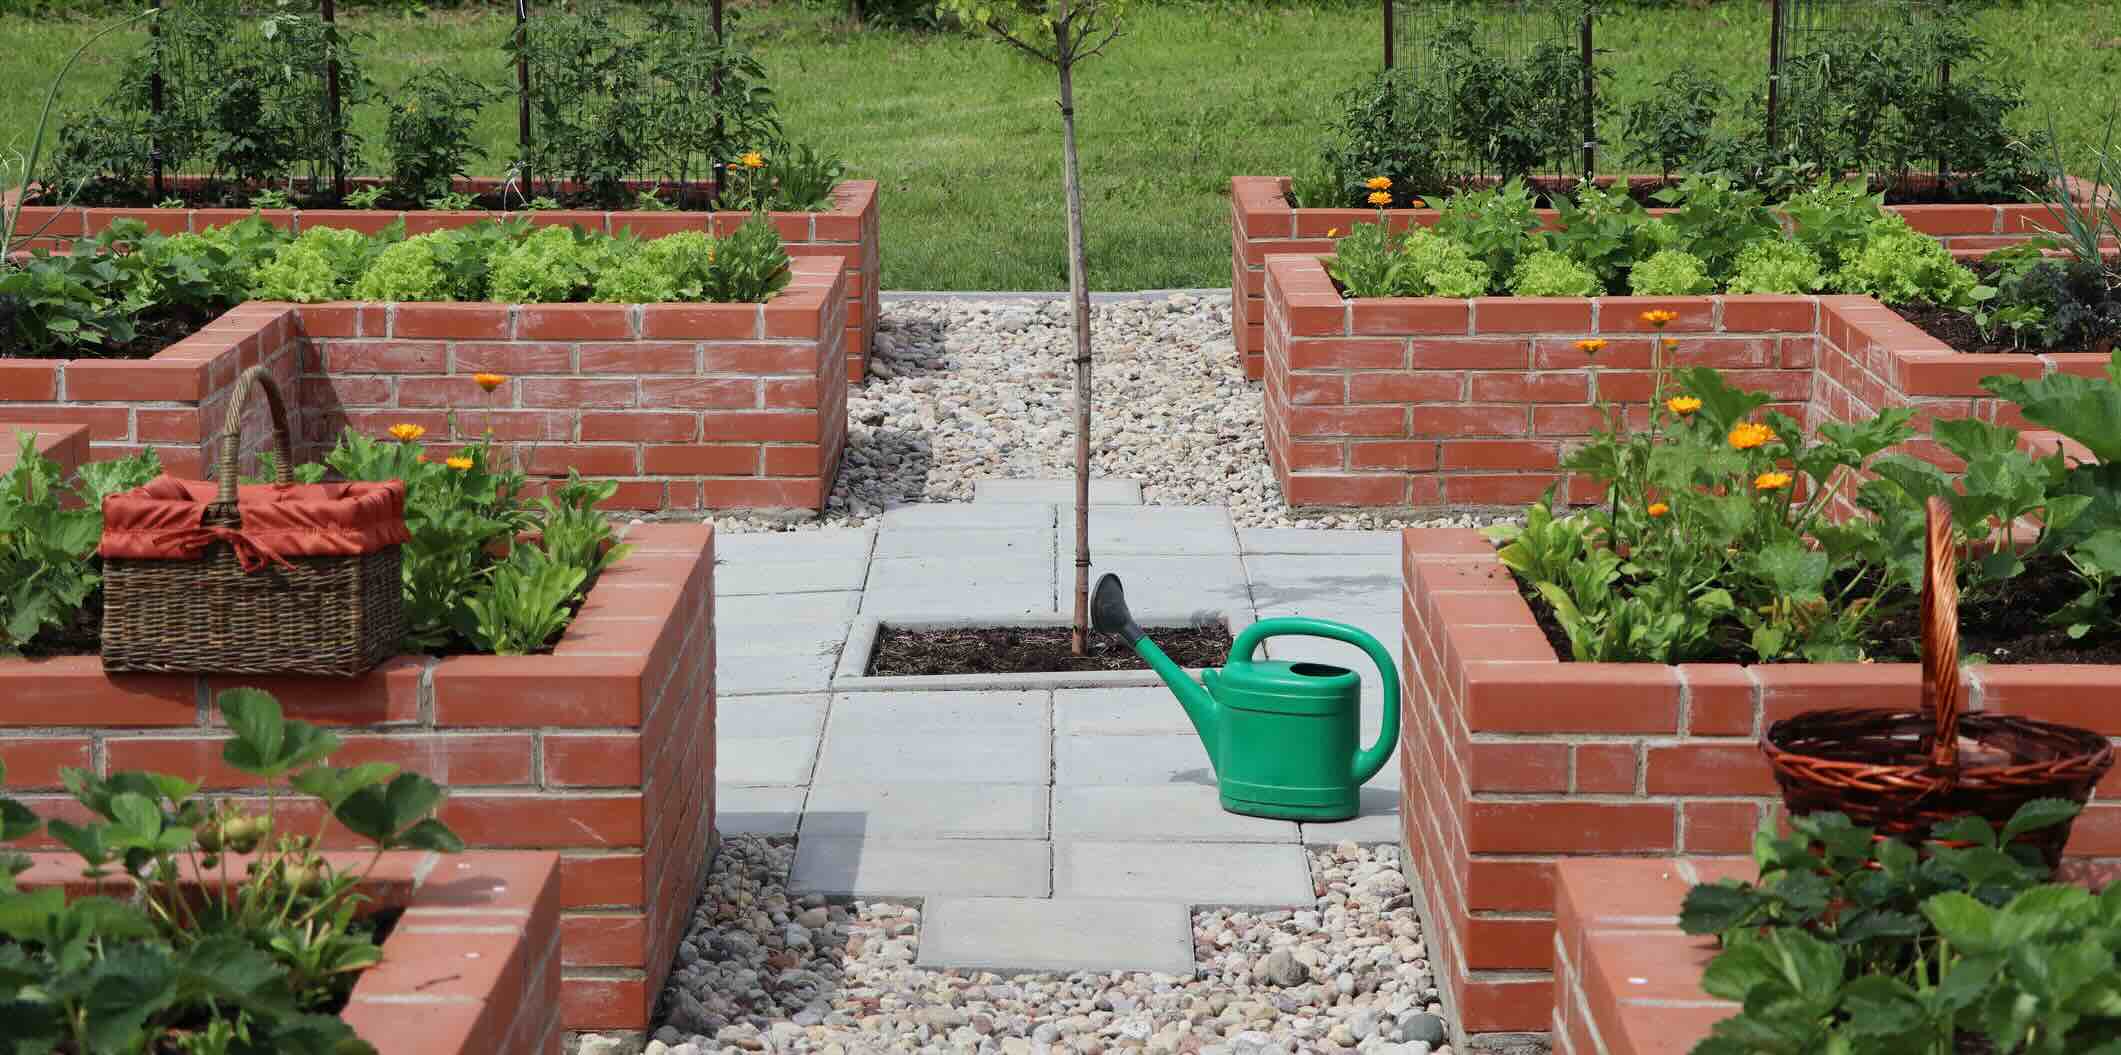
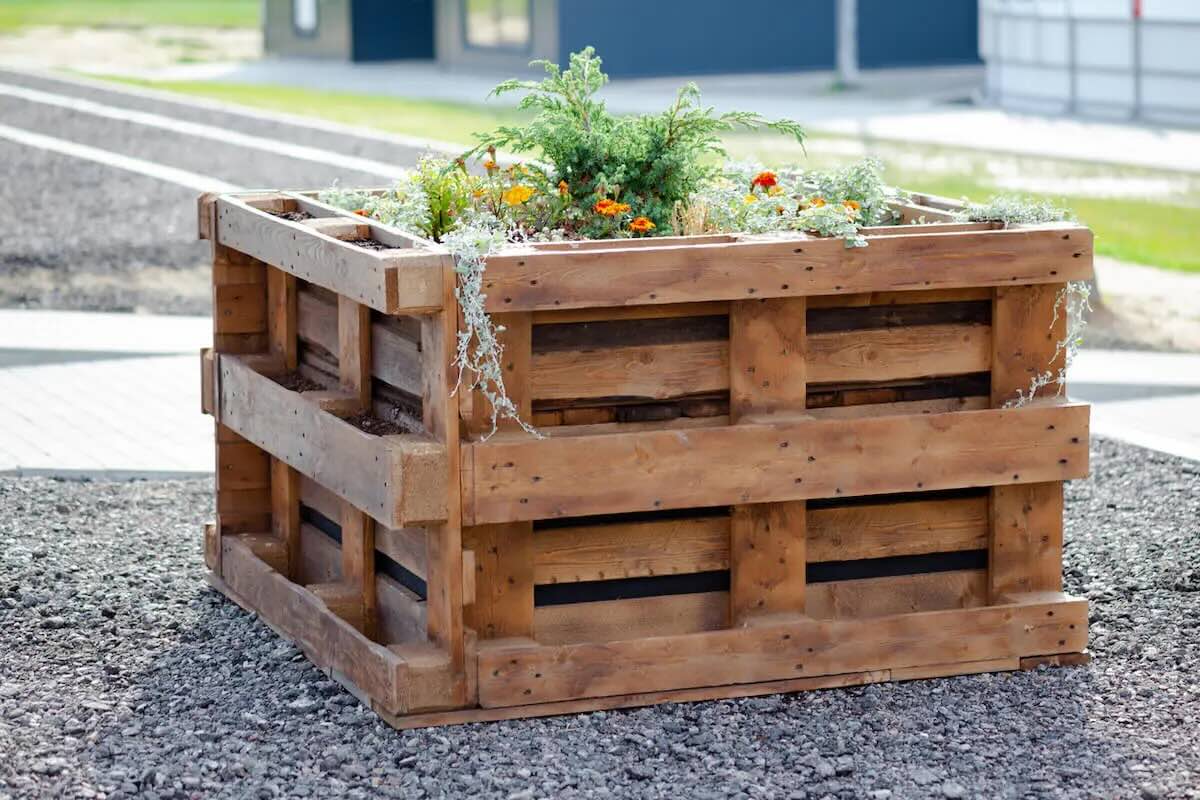
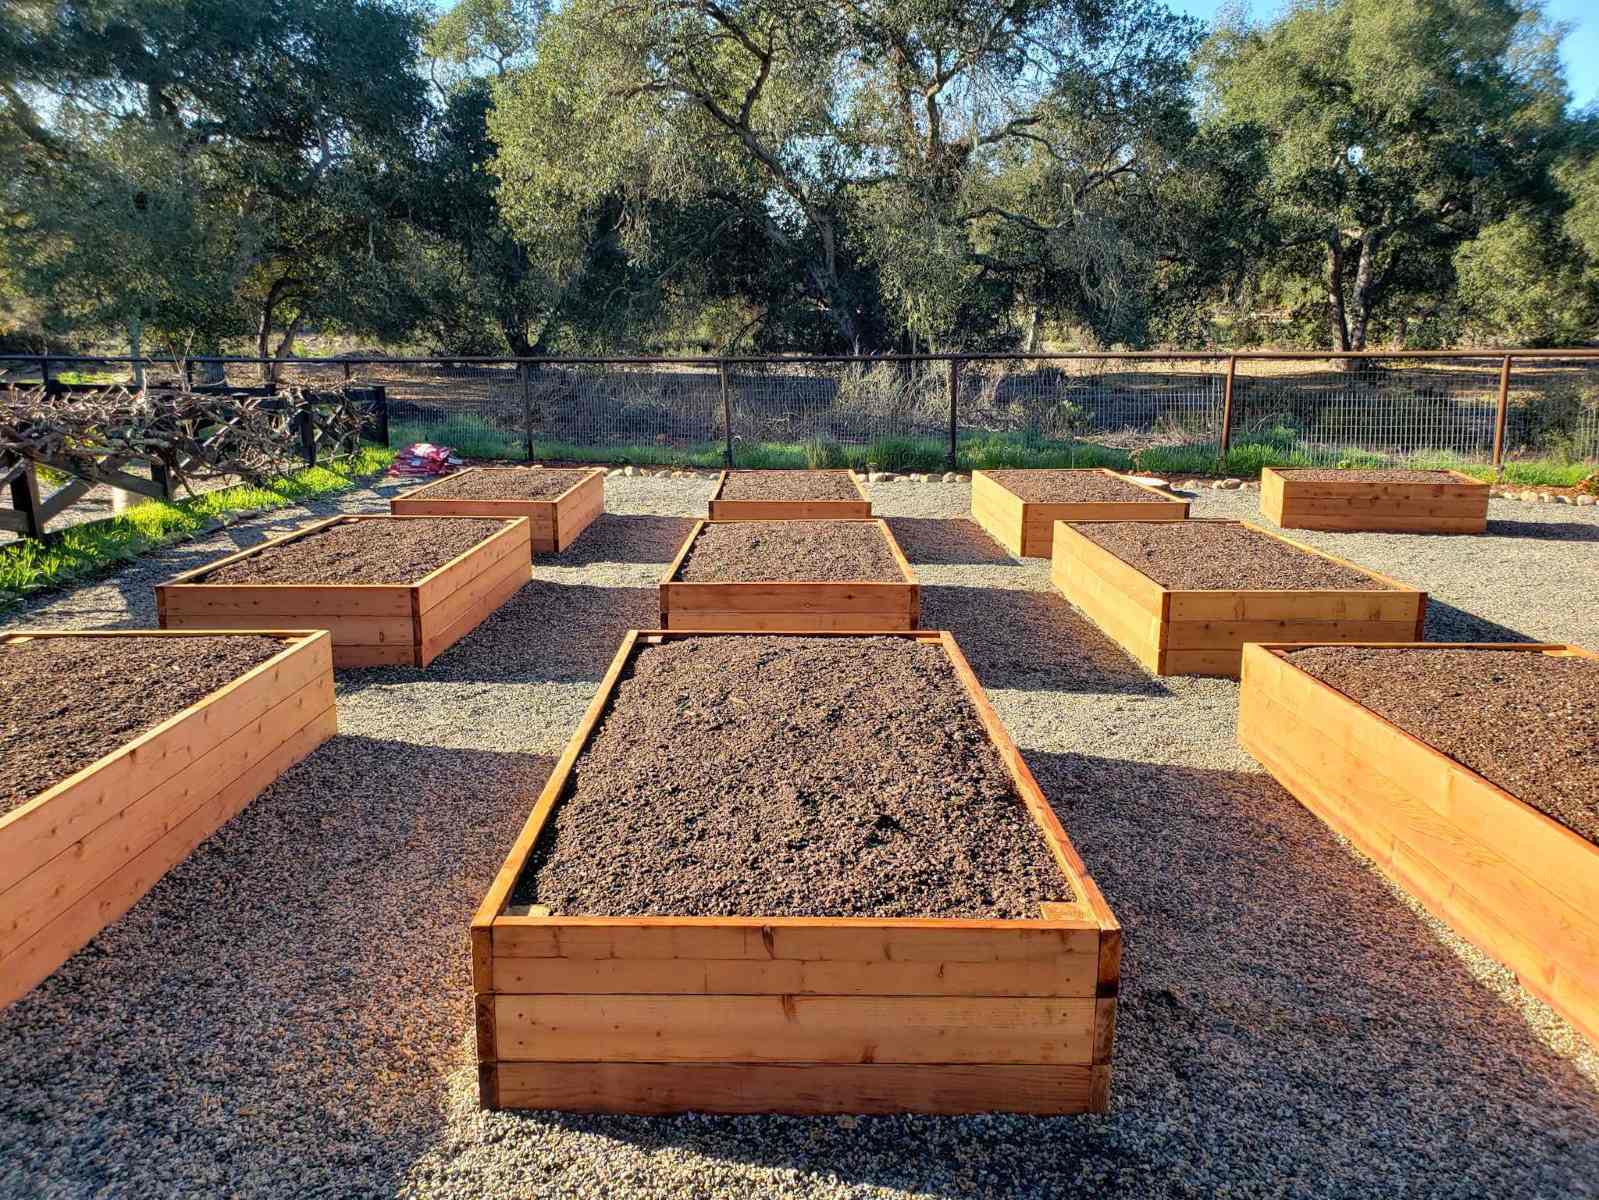
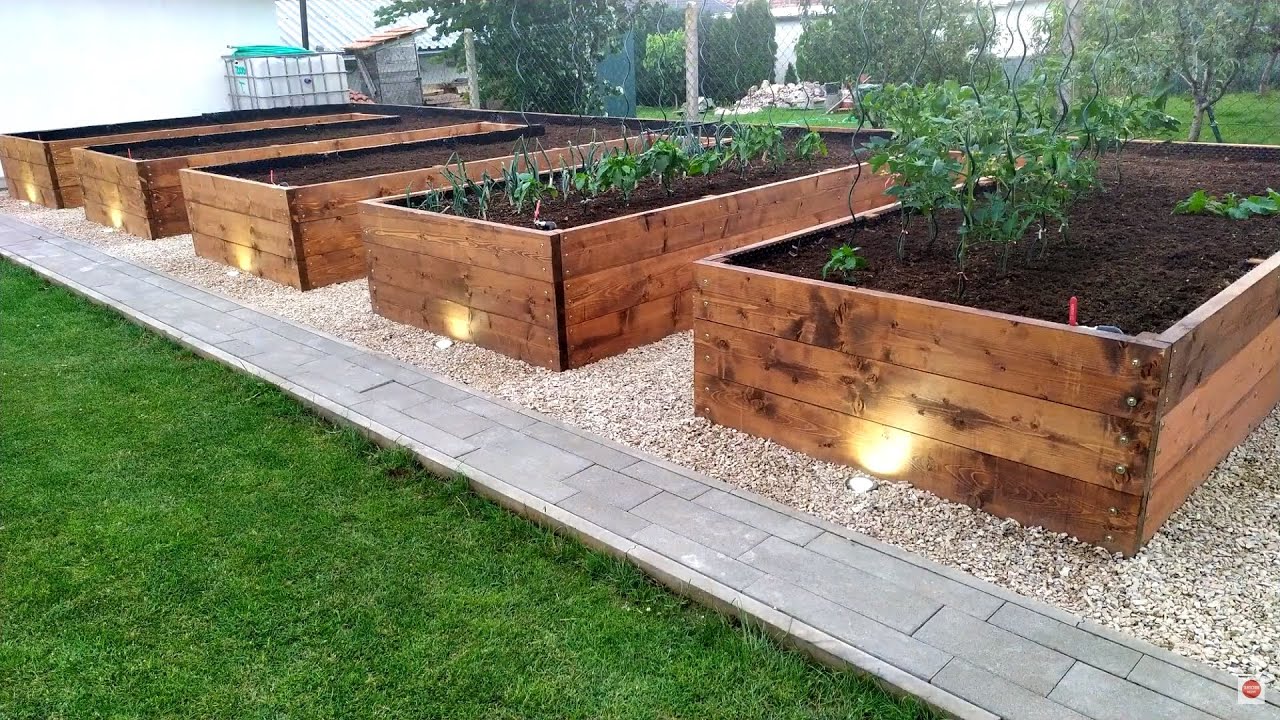
2. Construct Raised Beds (If Applicable): If you’re building a raised bed, assemble the materials such as lumber, bricks, or composite boards to create the bed’s frame. Ensure the dimensions and height of the raised bed are suitable for the plants you intend to grow and consider factors such as accessibility and aesthetics.
3. Fill the Bed: For raised beds, fill the frame with a high-quality soil mix that provides essential nutrients and promotes healthy root development. In in-ground gardens, ensure that the existing soil is well-amended and suitable for planting.
4. Create Pathways (Optional): If you have multiple garden beds or desire defined pathways, consider adding gravel, mulch, or stepping stones between the beds. Pathways enhance accessibility and provide a visually appealing layout for your garden space.
5. Consider Irrigation: Determine the irrigation method for your garden bed, whether it’s through traditional watering, soaker hoses, or drip irrigation systems. Adequate water distribution is essential for plant health and growth, so plan for efficient watering practices.
6. Personalize the Aesthetics: Add personal touches to your garden bed by incorporating decorative elements such as trellises, garden art, or ornamental borders. These details infuse character into your garden space and reflect your unique style and preferences.
By following these steps, you’ll create a well-structured and visually appealing garden bed that serves as the canvas for your horticultural endeavors. Whether you opt for a raised bed or an in-ground garden, the construction phase sets the stage for the exciting task of planting and nurturing a diverse array of plants.
Planting in the Garden Bed
Now that your garden bed is built and ready for planting, it’s time to introduce a diverse selection of plants that will bring color, fragrance, and vitality to your outdoor space. The following steps will guide you through the process of planting in your garden bed:
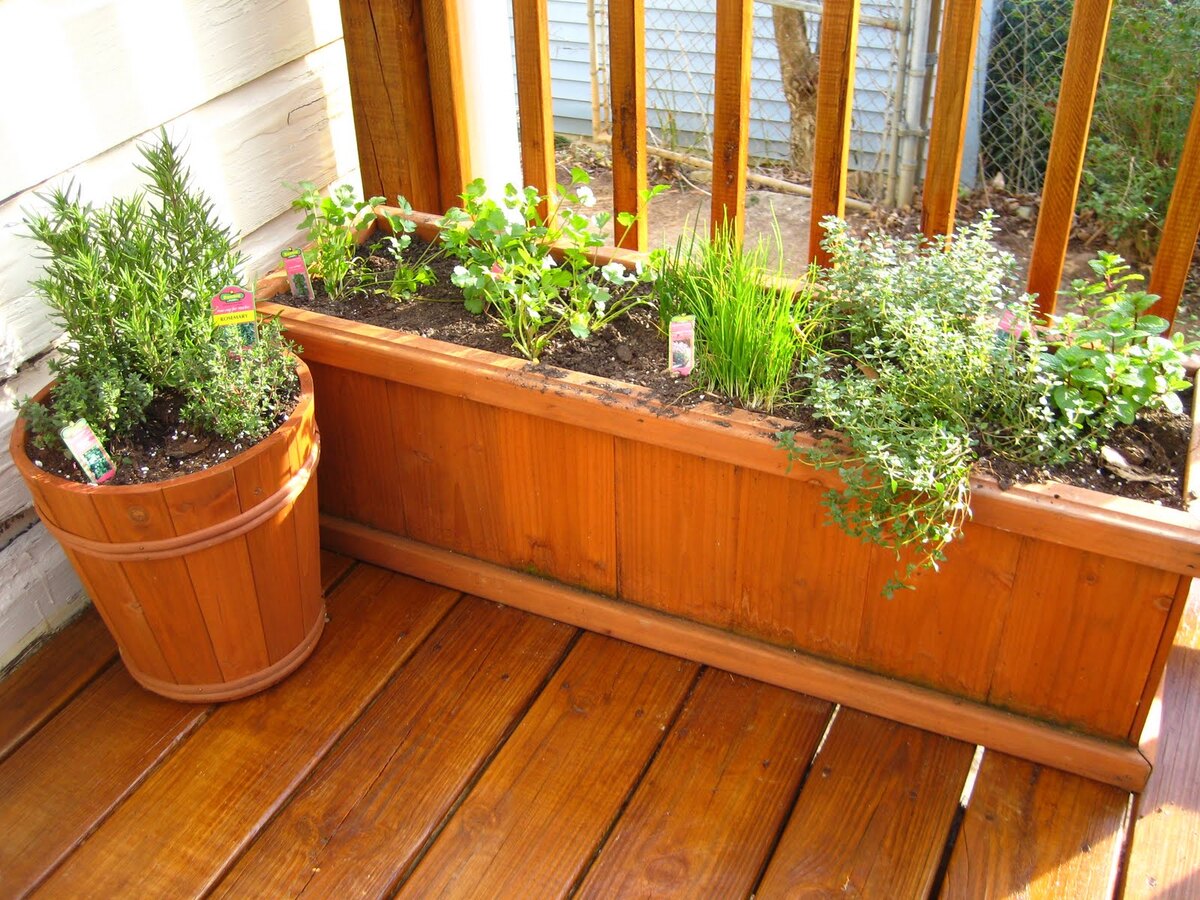
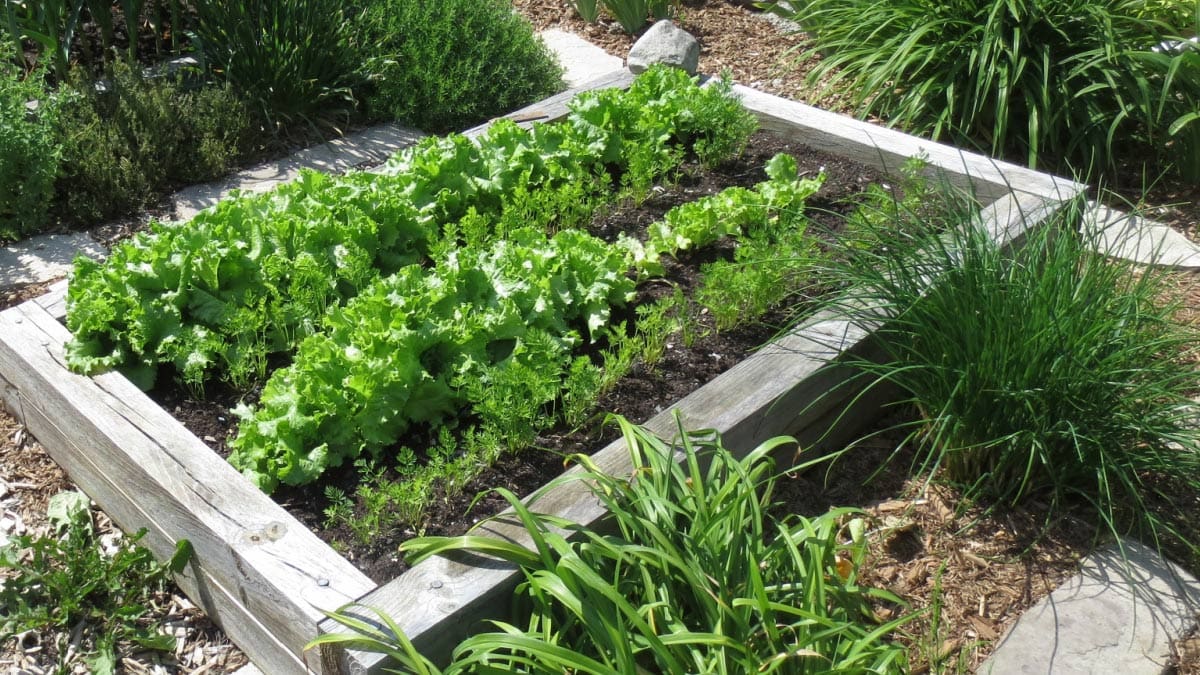
1. Select Your Plants: Choose a variety of plants that thrive in your local climate and are well-suited to the sunlight conditions of your garden bed. Consider incorporating a mix of flowering plants, foliage plants, and perhaps even edible plants to create a dynamic and functional garden space.
2. Plan the Layout: Determine the arrangement of plants within the garden bed, considering factors such as plant height, color, and growth habits. Create a visually appealing layout that balances different plant varieties and provides ample space for growth.
3. Dig Planting Holes: Carefully dig holes for each plant, ensuring that the depth and width accommodate the root ball or root system of the plant. Space the plants according to their mature size to prevent overcrowding and competition for resources.
4. Plant with Care: Gently remove the plants from their containers and position them in the prepared holes. Fill the holes with soil, gently firming it around the base of each plant to provide stability and eliminate air pockets. Water the newly planted garden bed thoroughly to help settle the soil and hydrate the plants.
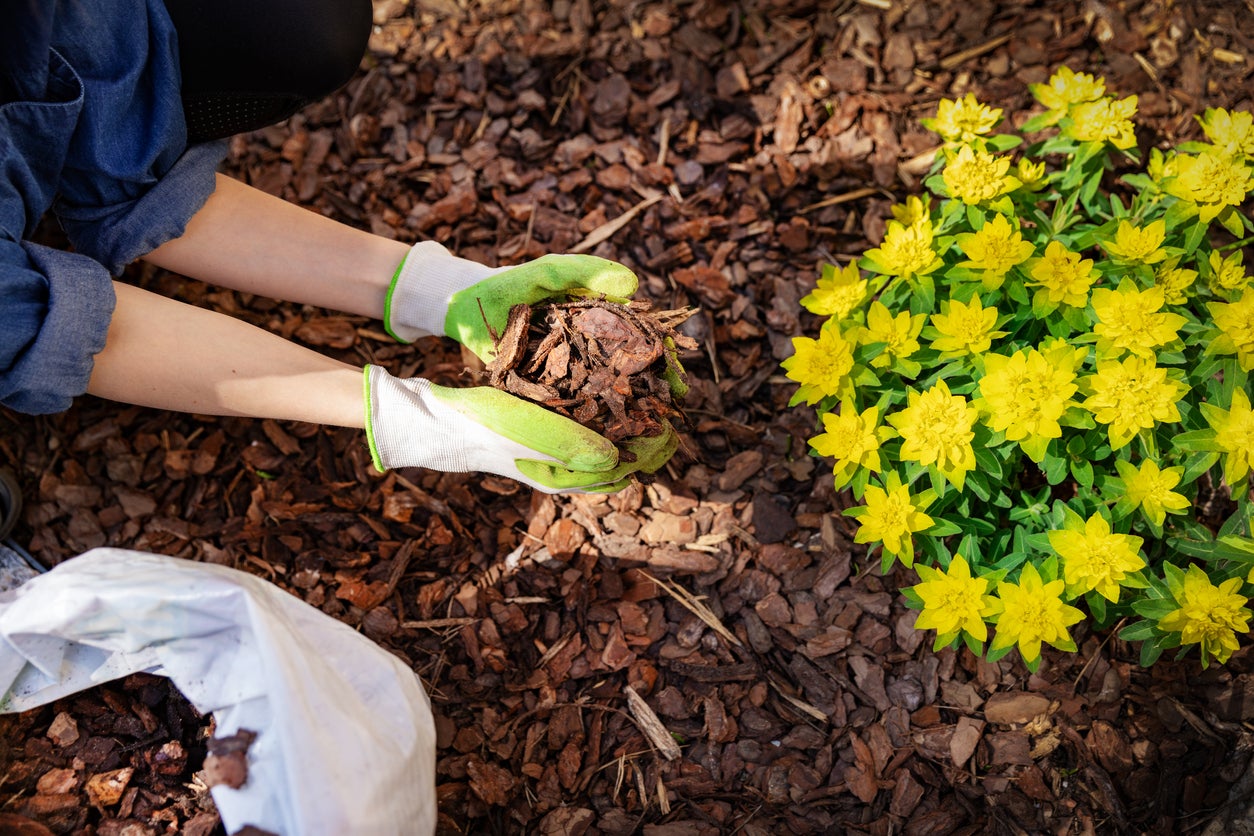
5. Mulch and Fertilize: Apply a layer of organic mulch around the plants to conserve moisture, suppress weed growth, and regulate soil temperature. Additionally, consider fertilizing the garden bed with a balanced, slow-release fertilizer to provide essential nutrients for plant growth.
6. Monitor and Maintain: Keep a close eye on the newly planted garden bed, ensuring that the plants receive adequate water, sunlight, and care. Regularly inspect the plants for signs of pests, diseases, or nutrient deficiencies, and address any issues promptly to promote plant health and vitality.
By following these steps, you’ll bring your garden bed to life with a diverse and harmonious array of plants that will thrive and flourish in their new environment. The act of planting is a transformative and rewarding experience, marking the beginning of a vibrant and ever-evolving garden space.
Read more: How To Make A Small Raised Garden Bed
Maintaining the Garden Bed
Once your garden bed is established, regular maintenance is essential to ensure the continued health and beauty of your plants. By implementing proper care and attention, you can foster a thriving garden bed that brings joy and tranquility to your outdoor space. The following maintenance practices will help you nurture and preserve the vitality of your garden bed:
1. Watering: Monitor the moisture levels in the soil and water your garden bed as needed, ensuring that the plants receive adequate hydration, especially during dry periods. Water deeply and less frequently to encourage deep root growth and resilience in the face of drought.
2. Weeding: Routinely inspect the garden bed for weeds and promptly remove them to prevent competition for nutrients and space. Mulch can help suppress weed growth, but occasional weeding is still necessary to maintain a tidy and healthy garden bed.
3. Pruning and Deadheading: Regularly prune overgrown or damaged foliage to promote plant health and maintain a tidy appearance. Deadhead spent flowers to encourage continuous blooming and prevent the plant from expending energy on seed production.
4. Fertilizing: Consider fertilizing your garden bed with a balanced, slow-release fertilizer to replenish essential nutrients and support robust plant growth. Follow the recommended application rates and timing for optimal results.
5. Pest and Disease Management: Monitor your plants for signs of pests or diseases, and take appropriate measures to address any issues promptly. Utilize organic pest control methods whenever possible to minimize environmental impact.
6. Seasonal Care: Adjust your maintenance practices according to the changing seasons. Prepare your garden bed for winter by clearing debris and protecting sensitive plants, and embrace the arrival of spring by refreshing the soil, dividing perennials, and introducing new seasonal plants.
7. Enjoy and Experiment: Take time to appreciate the beauty of your garden bed and observe how it evolves throughout the seasons. Embrace the opportunity to experiment with new plant varieties, colors, and arrangements to continually enhance and diversify your garden space.
By incorporating these maintenance practices into your gardening routine, you’ll create an environment where your plants can thrive and flourish. The act of nurturing your garden bed fosters a deep connection with nature and provides a source of joy, relaxation, and inspiration right in your own backyard.
Frequently Asked Questions about How To Make A Garden Bed Over Grass
Was this page helpful?
At Storables.com, we guarantee accurate and reliable information. Our content, validated by Expert Board Contributors, is crafted following stringent Editorial Policies. We're committed to providing you with well-researched, expert-backed insights for all your informational needs.




0 thoughts on “How To Make A Garden Bed Over Grass”