Home>Gardening & Outdoor>Outdoor Structures>How To Install A Slide Out Awning

Outdoor Structures
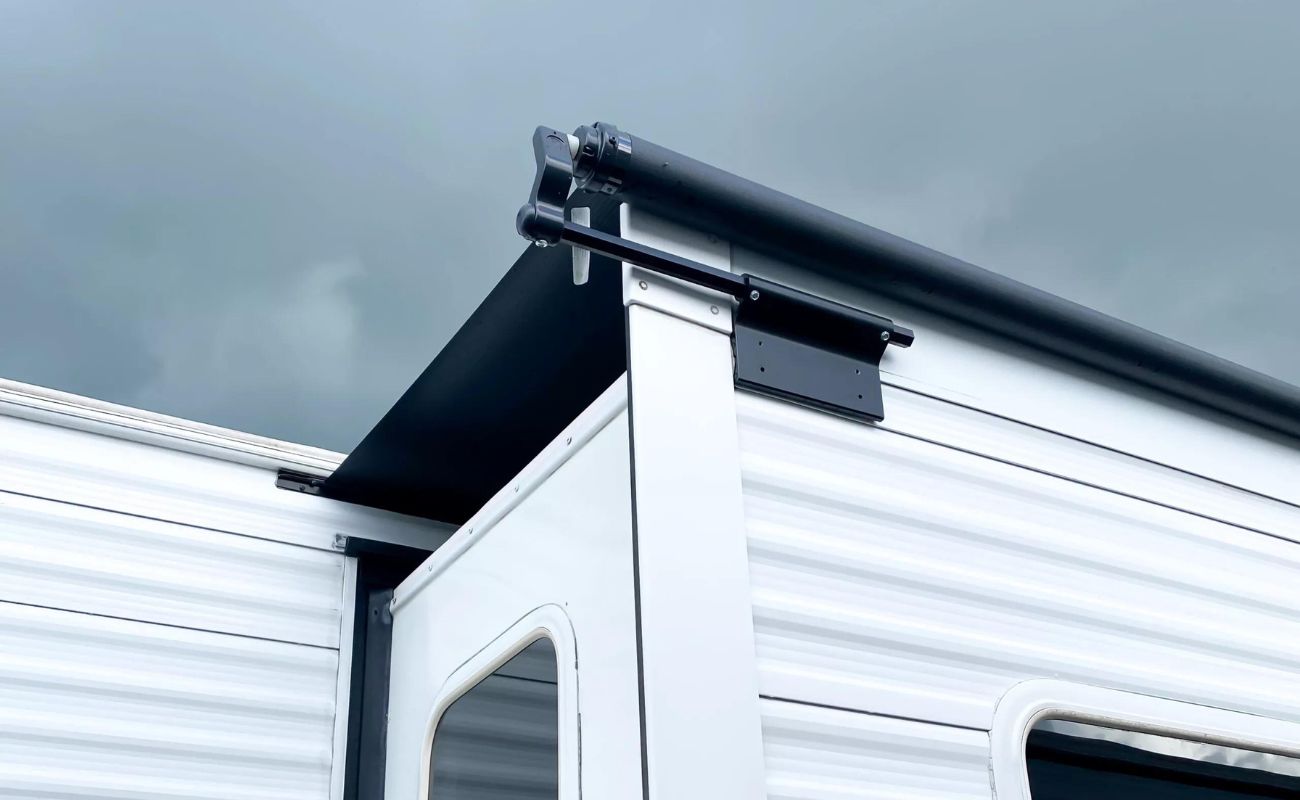
How To Install A Slide Out Awning
Published: January 30, 2024
Learn how to easily install a slide out awning to enhance your outdoor structures. Follow our step-by-step guide for a hassle-free installation.
(Many of the links in this article redirect to a specific reviewed product. Your purchase of these products through affiliate links helps to generate commission for Storables.com, at no extra cost. Learn more)
Introduction
Welcome to the world of outdoor living! Whether you're an avid RV enthusiast or a proud owner of a camper, having a slide-out awning can significantly enhance your outdoor experience. This essential accessory not only provides shade and protection from the elements but also adds a touch of comfort and style to your outdoor space.
In this guide, we'll walk you through the process of installing a slide-out awning, from gathering the necessary tools and materials to the final testing and adjustment. By following these step-by-step instructions, you can elevate your outdoor adventures and create a cozy retreat wherever your travels take you.
So, grab your tools and let's get started on this exciting DIY project that will transform your outdoor living space!
Key Takeaways:
- Elevate your outdoor experience by installing a slide-out awning, adding shade and style to your outdoor space. Follow the detailed steps for a rewarding DIY project.
- Ensure a seamless and reliable slide-out awning installation by meticulously preparing the area, testing its functionality, and making necessary adjustments. Enjoy countless enjoyable moments in the great outdoors!
Read more: How To Install A Sunsetter Awning
Tools and Materials
Before diving into the installation process, it’s crucial to gather all the necessary tools and materials to ensure a smooth and efficient workflow. Here’s a comprehensive list of what you’ll need:
Tools:
- Power drill
- Measuring tape
- Screwdriver set
- Adjustable wrench
- Level
- Caulking gun
- Utility knife
- Step ladder
- Marker or pencil
Materials:
- Slide-out awning kit (includes fabric, roller tube, and hardware)
- Butyl tape or sealant
- Self-tapping screws
- Mounting brackets
- End caps
- Awning rail (if not included in the kit)
- Silicone sealant
- Protective gloves
Ensure that all the tools are in good working condition, and the materials are of high quality to guarantee a durable and reliable installation. With everything at your disposal, you’re ready to embark on this rewarding DIY journey of enhancing your outdoor space.
Preparing the Area
Before installing the slide-out awning, it’s essential to prepare the area to ensure a sturdy and secure mounting. Here are the key steps to follow:
Read more: How To Install A Retractable Awning
1. Clean the Mounting Surface:
Start by thoroughly cleaning the area where the awning will be installed. Remove any dirt, debris, or old sealant using a mild detergent and water. Ensure that the surface is completely dry before proceeding to the next step.
2. Measure and Mark:
Use a measuring tape to determine the precise placement of the awning. Mark the mounting points with a pencil or marker, ensuring that they align with the manufacturer’s recommendations and the dimensions of the awning.
3. Position the Mounting Brackets:
Secure the mounting brackets in the marked positions using self-tapping screws. Ensure that the brackets are level and securely attached to the surface, providing a stable foundation for the awning assembly.
4. Apply Butyl Tape or Sealant:
Place butyl tape or apply a suitable sealant on the back of the mounting brackets. This will create a watertight seal and prevent any moisture from seeping into the mounting holes, ultimately protecting the integrity of the installation.
Read more: How To Install An Awning On An RV
5. Install the Awning Rail (if required):
If the slide-out awning kit does not include an awning rail, carefully install it along the marked line. Ensure that the rail is securely fastened and level to facilitate smooth operation of the awning fabric.
By meticulously preparing the area, you’ll set the stage for a successful and durable installation. Taking the time to clean, measure, and position the mounting components will contribute to the long-term functionality and aesthetic appeal of your slide-out awning.
Installing the Awning
With the area prepared, it’s time to proceed with the installation of the slide-out awning. Follow these detailed steps to ensure a seamless and secure assembly:
1. Attach the Awning Fabric to the Roller Tube:
Lay out the awning fabric on a clean, flat surface. Align the fabric with the roller tube and insert it into the slot. Secure the fabric by sliding the polyrod into the groove, ensuring a snug and even fit along the entire length of the roller tube.
2. Mount the Roller Tube and Fabric Assembly:
With the help of an assistant, carefully lift the roller tube and fabric assembly into position. Insert the ends of the roller tube into the awning rail or mounting brackets, ensuring that it is evenly centered and level.
Read more: How To Install An Awning On A Mobile Home
3. Secure the Roller Tube and Fabric:
Once the roller tube is in place, secure it by tightening the mounting hardware. Ensure that the fabric is taut and evenly distributed across the roller tube to prevent sagging or bunching during operation.
4. Install the End Caps:
Slide the end caps onto the roller tube and secure them in place. These end caps provide a finished look and also prevent the fabric from sliding off the roller tube, ensuring a secure and professional installation.
5. Apply Silicone Sealant:
To further enhance the weather resistance of the installation, apply silicone sealant around the mounting brackets, awning rail, and end caps. This will create a watertight seal, protecting the components from moisture and ensuring long-term durability.
By following these steps meticulously, you’ll complete the installation of the slide-out awning with precision and attention to detail. The result will be a functional and aesthetically pleasing addition to your outdoor space, providing shade and protection for years to come.
Testing and Adjusting
After installing the slide-out awning, it’s essential to thoroughly test its functionality and make any necessary adjustments to ensure optimal performance. Follow these steps to complete the installation process:
Read more: How To Install Awning On Vinyl Siding
1. Extend and Retract the Awning:
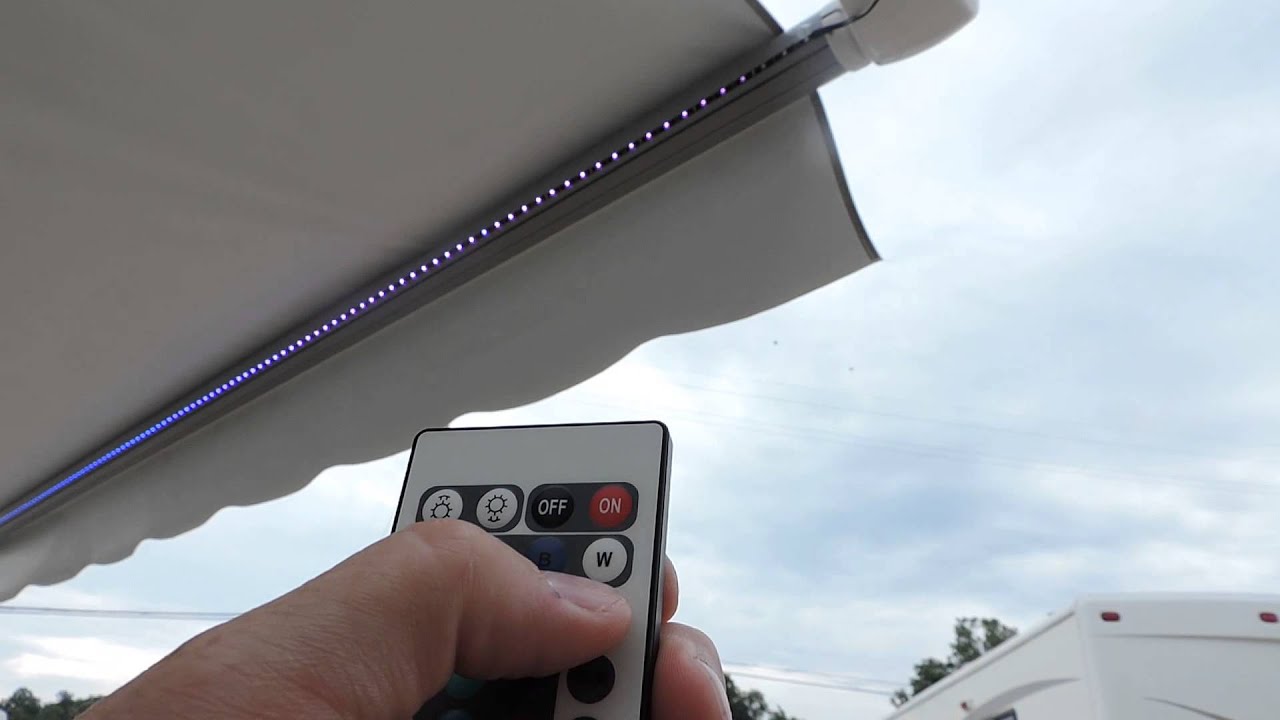
Use the awning’s manual or motorized mechanism to extend and retract the fabric. Observe the movement carefully to ensure that the operation is smooth and that the fabric rolls and unrolls evenly without any snags or resistance.
2. Check for Proper Alignment:
Verify that the awning fabric is aligned properly within the awning rail or mounting brackets. Any misalignment can cause unnecessary wear and tear on the fabric and affect the overall functionality of the awning.
3. Assess Tension and Sag:
Examine the fabric for any signs of excessive tension or sagging. Adjust the tension settings as needed to achieve a balanced and taut appearance when the awning is fully extended.
4. Test in Various Weather Conditions:
Put the awning to the test by extending it in different weather conditions, including mild breezes and moderate sunlight. This will allow you to assess its stability and performance under varying environmental factors.
Read more: How To Install An Aluminum Awning On A House
5. Make Necessary Adjustments:
If you encounter any issues during testing, such as uneven rolling, fabric misalignment, or excessive sagging, make the required adjustments to the mounting brackets, tension settings, or fabric alignment to rectify the issues.
6. Apply Lubrication (if applicable):
If your slide-out awning features moving parts, such as a motorized mechanism, apply a suitable lubricant to ensure smooth and friction-free operation. This will help maintain the longevity of the awning’s mechanical components.
By meticulously testing and making necessary adjustments, you’ll ensure that your slide-out awning is primed for reliable and hassle-free performance. Taking the time to fine-tune its operation will contribute to a seamless outdoor living experience, providing comfort and protection during your adventures.
Conclusion
Congratulations on successfully installing your slide-out awning! By undertaking this DIY project, you’ve not only added a valuable and functional feature to your outdoor space but also acquired a new skill set in the realm of outdoor structure enhancement. As you reflect on the journey from gathering the tools and materials to testing and adjusting the awning, it’s evident that attention to detail and precision were key to achieving a professional and durable installation.
With the slide-out awning in place, you can look forward to countless enjoyable moments in the great outdoors, whether you’re camping, RVing, or simply relaxing in your outdoor living area. The shade and protection offered by the awning will undoubtedly elevate your outdoor experience, providing a comfortable retreat from the elements.
As you bask in the satisfaction of a job well done, take a moment to appreciate the transformation of your outdoor space. The slide-out awning not only serves a practical purpose but also adds a touch of elegance and functionality to your environment, enhancing the overall appeal of your recreational vehicle or outdoor living area.
Remember to periodically inspect and maintain your awning to ensure its continued reliability and longevity. Regular cleaning, lubrication of moving parts, and prompt repairs as needed will preserve the awning’s performance and appearance for years to come.
Thank you for embarking on this DIY adventure with us. We hope that the installation process has been both rewarding and empowering, leaving you with a sense of accomplishment and a newfound appreciation for the outdoor spaces you inhabit. Cheers to many delightful moments under the shade of your slide-out awning!
Frequently Asked Questions about How To Install A Slide Out Awning
Was this page helpful?
At Storables.com, we guarantee accurate and reliable information. Our content, validated by Expert Board Contributors, is crafted following stringent Editorial Policies. We're committed to providing you with well-researched, expert-backed insights for all your informational needs.




0 thoughts on “How To Install A Slide Out Awning”