Home>Gardening & Outdoor>Outdoor Structures>How To Install A Metal Shed
Outdoor Structures
How To Install A Metal Shed
Published: January 20, 2024
Learn how to install a metal shed for your outdoor structures with our step-by-step guide. Get expert tips and advice for a successful installation.
(Many of the links in this article redirect to a specific reviewed product. Your purchase of these products through affiliate links helps to generate commission for Storables.com, at no extra cost. Learn more)
Introduction
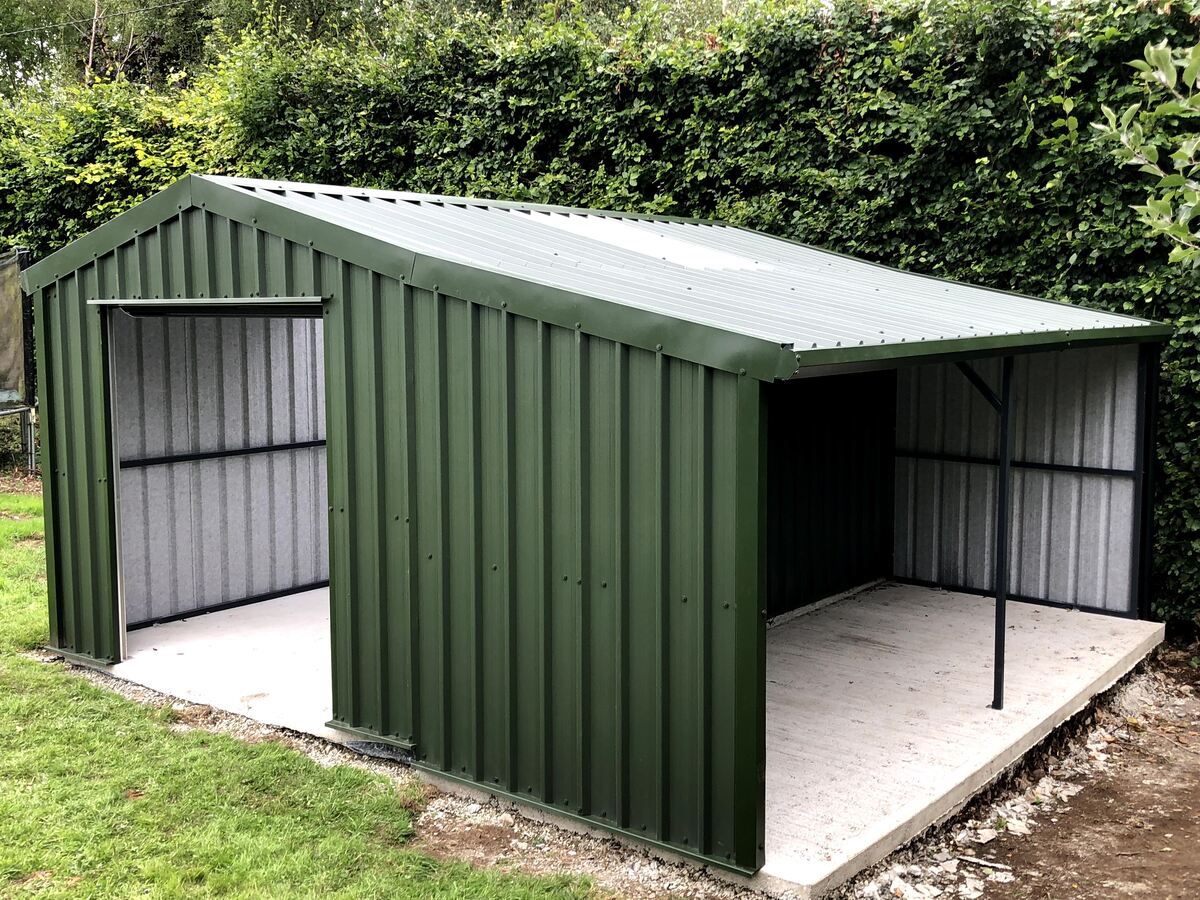
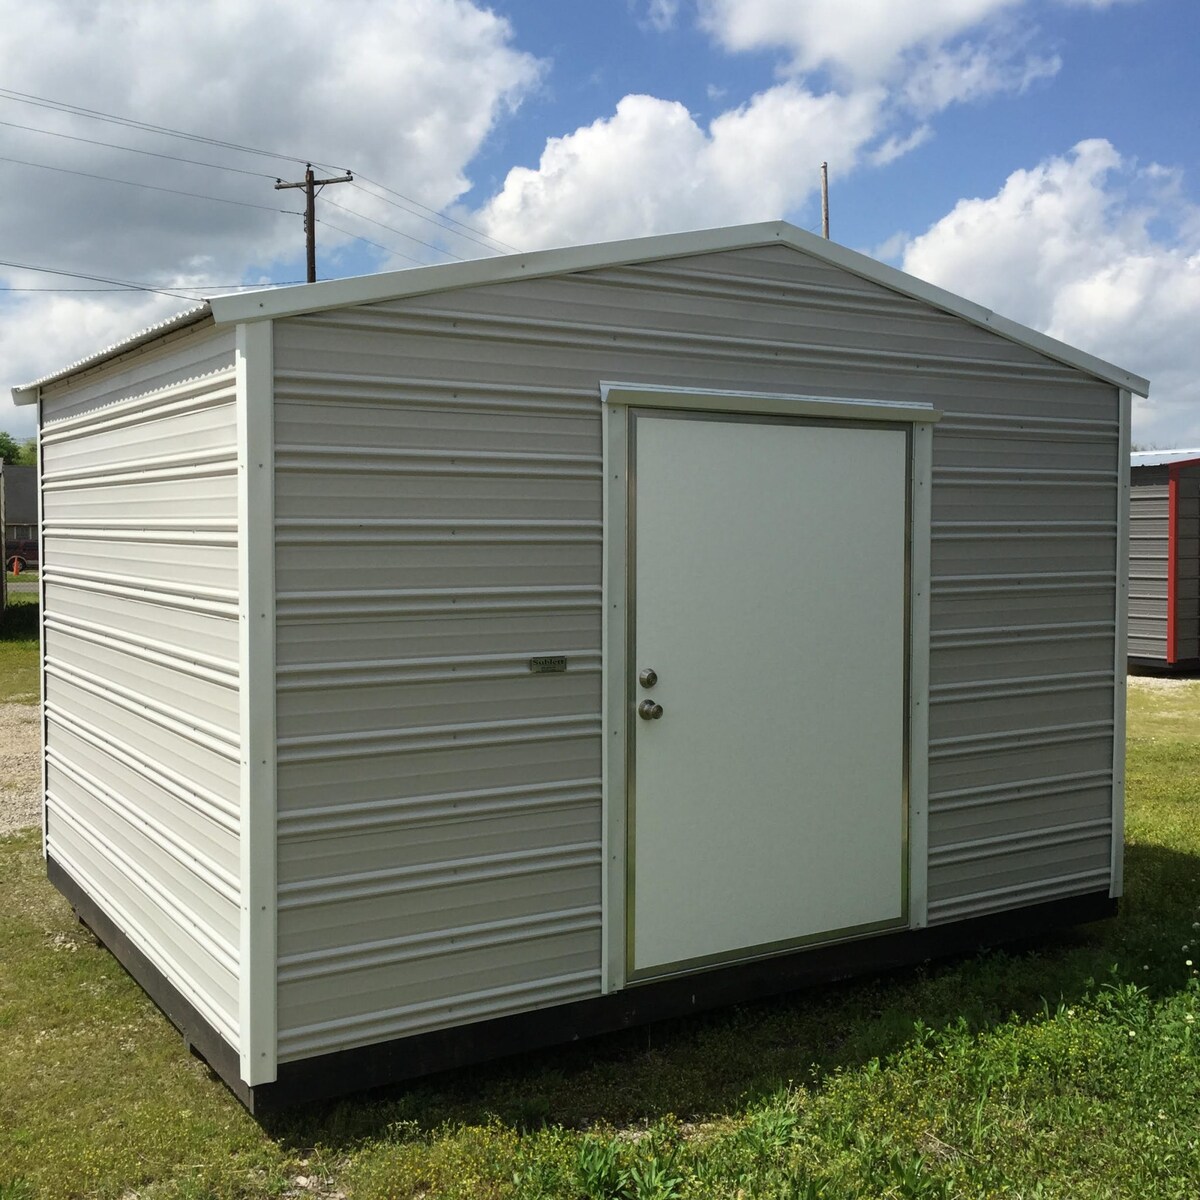
Welcome to the world of outdoor storage solutions! When it comes to adding a durable and reliable structure to your property, a metal shed is an excellent choice. Not only does it provide a secure space for your tools, equipment, and other belongings, but it also offers a sleek and modern aesthetic that can complement any outdoor environment.
Installing a metal shed may seem like a daunting task, but with the right guidance and a bit of elbow grease, you can have your new storage space up and ready in no time. In this comprehensive guide, we’ll walk you through the step-by-step process of installing a metal shed, covering everything from choosing the perfect location to securing the shed against the elements.
Whether you’re a seasoned DIY enthusiast or a first-time shed installer, this guide is designed to equip you with the knowledge and confidence needed to tackle this project with ease. So, roll up your sleeves, gather your tools, and let’s dive into the exciting world of metal shed installation!
Key Takeaways:
- Choose a level, accessible, and well-drained location for your metal shed to ensure stability and longevity. Compliance with local regulations is crucial for placement.
- Prepare the ground, assemble the frame, install the panels, and secure the shed to create a durable and reliable outdoor storage space. Regular maintenance will ensure its long-term functionality.
Read more: How To Install A Metal Roof On A Shed
Step 1: Choose the Location
Before diving into the physical installation of your metal shed, it’s crucial to carefully select the ideal location for this structure. Consider the following factors to ensure that you make the best choice:
- Level Ground: Look for a spot with a flat and level surface. This will provide a stable foundation for the shed and make the assembly process much smoother.
- Accessibility: Opt for a location that allows easy access to the shed. You’ll want to ensure that you can comfortably enter and exit the structure, as well as maneuver any larger items in and out.
- Drainage: Take into account the drainage patterns in your chosen location. Avoid areas prone to pooling water, as excess moisture can compromise the integrity of the shed over time.
- Sunlight Exposure: Consider the path of the sun throughout the day. Placing the shed in an area that receives ample sunlight can help prevent mold and mildew growth inside the structure.
- Local Regulations: Check with your local authorities or homeowner’s association to ensure compliance with any zoning or building regulations that may dictate the placement of outdoor structures.
Once you’ve assessed these factors, mark the chosen location using stakes and a string to outline the perimeter of the shed. This will provide a visual guide as you move on to the next steps in the installation process.
Remember, the location you select will have a significant impact on the longevity and functionality of your metal shed, so take the time to choose wisely. With the perfect spot secured, you’ll be well on your way to enjoying the benefits of your new outdoor storage space.
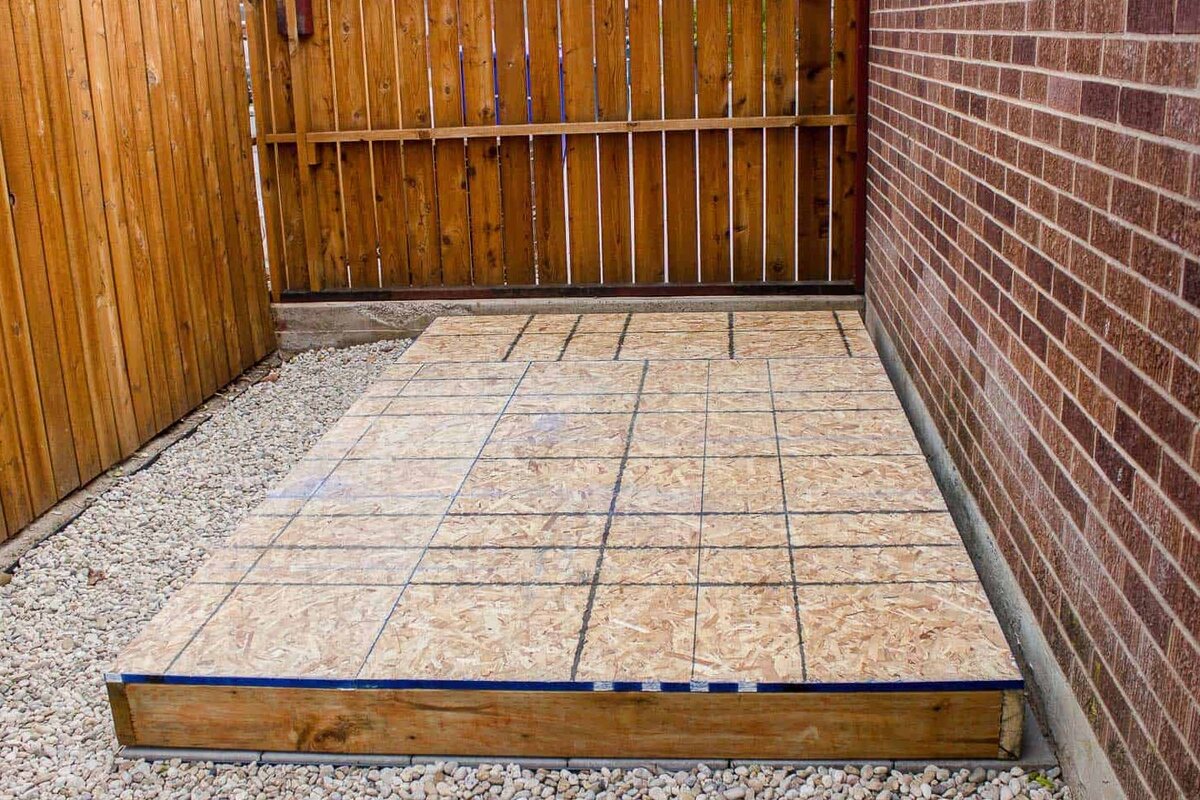
Step 2: Prepare the Ground
With the location of your metal shed chosen, the next crucial step is to prepare the ground to ensure a stable and long-lasting foundation. Follow these essential guidelines to get the ground ready for your shed:
- Clear the Area: Begin by removing any debris, rocks, or vegetation from the designated spot. A clean and clear area will make it easier to lay down the foundation and assemble the shed.
- Level the Ground: Use a shovel and a level to even out the ground within the marked perimeter. This will help create a flat surface for the shed and prevent any potential issues with stability or water drainage.
- Add a Base Material: Consider laying down a base material, such as crushed stone or gravel, to further enhance the stability of the shed’s foundation. This material can help with water drainage and minimize the risk of the shed shifting over time.
- Install Anchors or Foundation Kit: Depending on the design of your metal shed, you may need to install anchors or a foundation kit to secure the structure to the ground. Follow the manufacturer’s instructions carefully to ensure proper installation.
By taking the time to properly prepare the ground, you’ll create a solid and reliable base for your metal shed, ultimately contributing to its overall durability and performance. With the ground meticulously prepped, you’re now ready to move on to the exciting phase of assembling the shed frame.
Step 3: Assemble the Frame
Now that the ground is prepared, it’s time to embark on the assembly of the metal shed frame. This step is where the structure begins to take shape, and careful attention to detail is key to ensuring a sturdy and well-constructed shed. Follow these essential steps to assemble the frame of your metal shed:
- Organize the Components: Lay out all the components of the shed frame in an organized manner, taking care to identify and group similar parts together. This will streamline the assembly process and help you stay on track.
- Follow the Instructions: Refer to the manufacturer’s instructions provided with the shed to guide you through the assembly process. Pay close attention to the specific order of assembly and any recommended tools or techniques.
- Secure the Frame: As you piece together the frame components, use the appropriate fasteners and hardware to securely connect the parts. Double-check the alignment and ensure that all connections are tight and stable.
- Check for Squareness: Periodically check the frame for squareness as you assemble it. This can be done by measuring the diagonals of the frame to ensure that they are equal in length, indicating a square and properly aligned structure.
- Consider Assistance: Depending on the size and complexity of the shed frame, enlisting the help of a friend or family member can make the assembly process more manageable and safe.
As you progress through the assembly of the frame, take your time to ensure that each step is completed accurately. A well-constructed frame sets the stage for the rest of the installation process and contributes to the overall stability and integrity of your metal shed.
With the frame assembled, you’re now ready to move on to the next phase: installing the panels that will enclose the structure and provide protection for your stored items.
When installing a metal shed, make sure to level the ground first to ensure stability. Use a solid foundation, such as concrete or gravel, and follow the manufacturer’s instructions carefully for assembly.
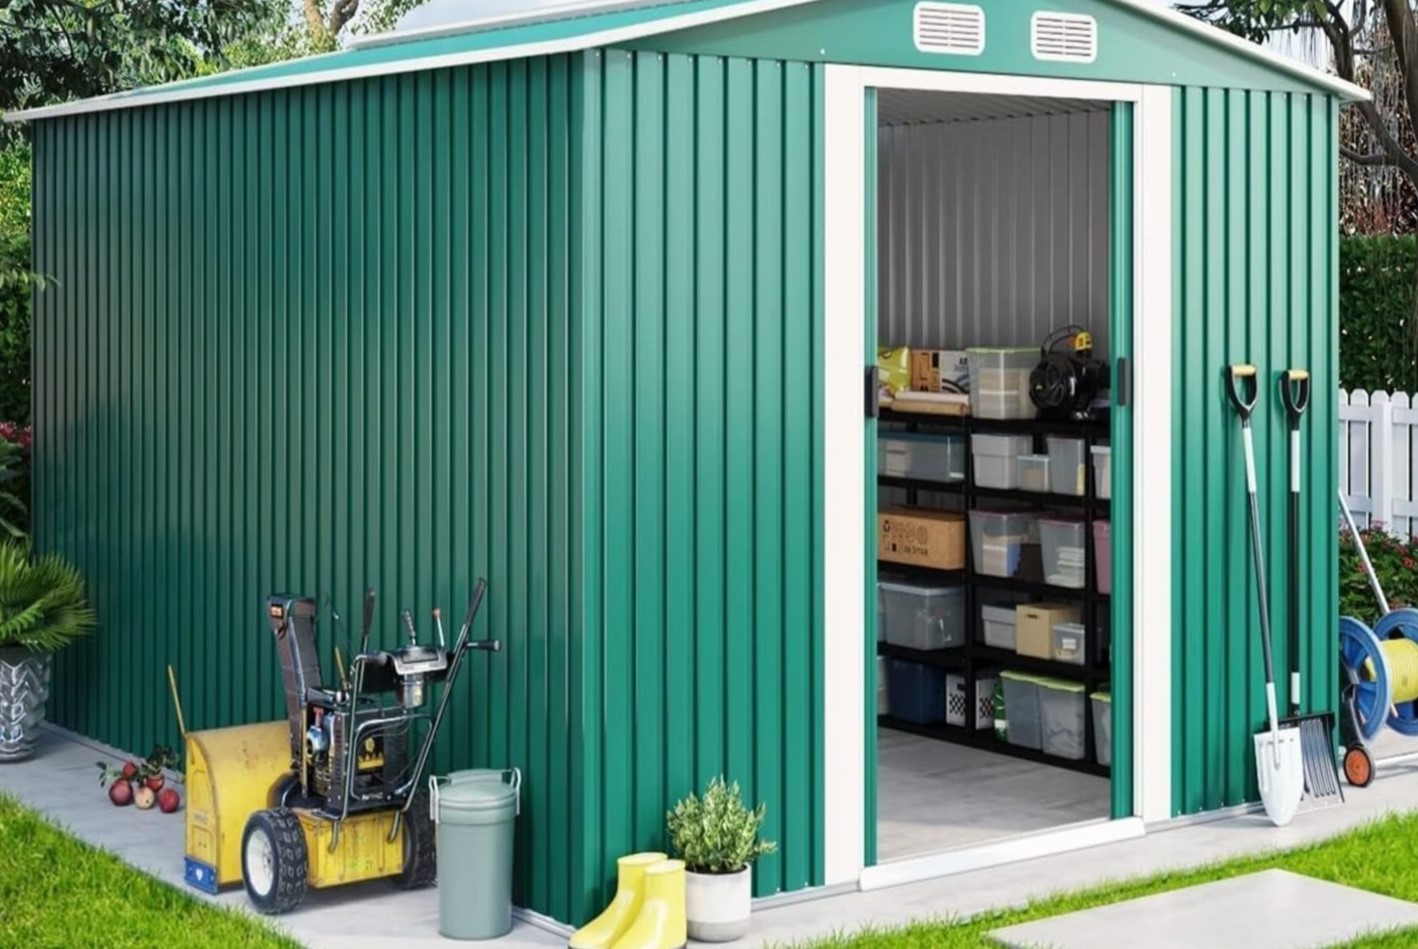
Step 4: Install the Panels
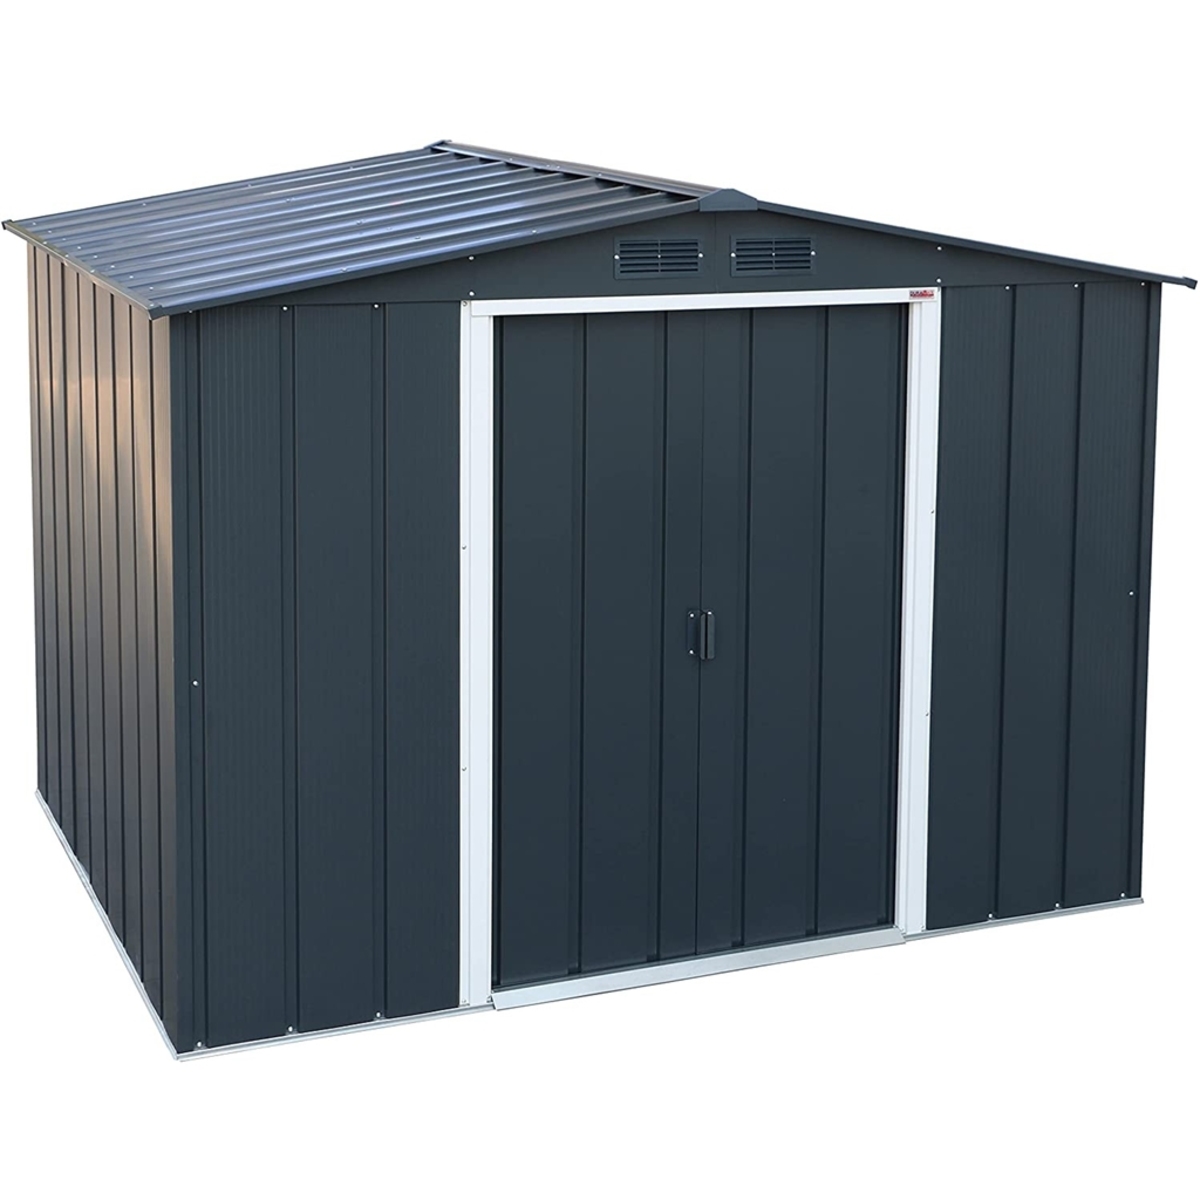
With the frame of your metal shed securely in place, it’s time to add the panels that will enclose the structure and provide protection from the elements. Follow these steps to effectively install the panels and bring your shed one step closer to completion:
- Refer to the Manual: Consult the manufacturer’s manual to understand the specific instructions for panel installation. Different shed models may have varying panel attachment methods, so it’s important to follow the recommended guidelines.
- Start from the Bottom: Begin installing the panels from the bottom of the shed, working your way up. This approach ensures that each panel overlaps the one below it, creating a weather-resistant barrier against rain, wind, and other external elements.
- Secure the Panels: Use the designated fasteners or clips provided with the shed to securely attach each panel to the frame. Pay attention to the alignment and ensure that the panels are snugly fitted to prevent gaps that could compromise the shed’s integrity.
- Check for Plumb and Level: As you install each panel, verify that it is plumb (perfectly vertical) and level. This will contribute to the overall stability and appearance of the shed, ensuring that it stands strong and true.
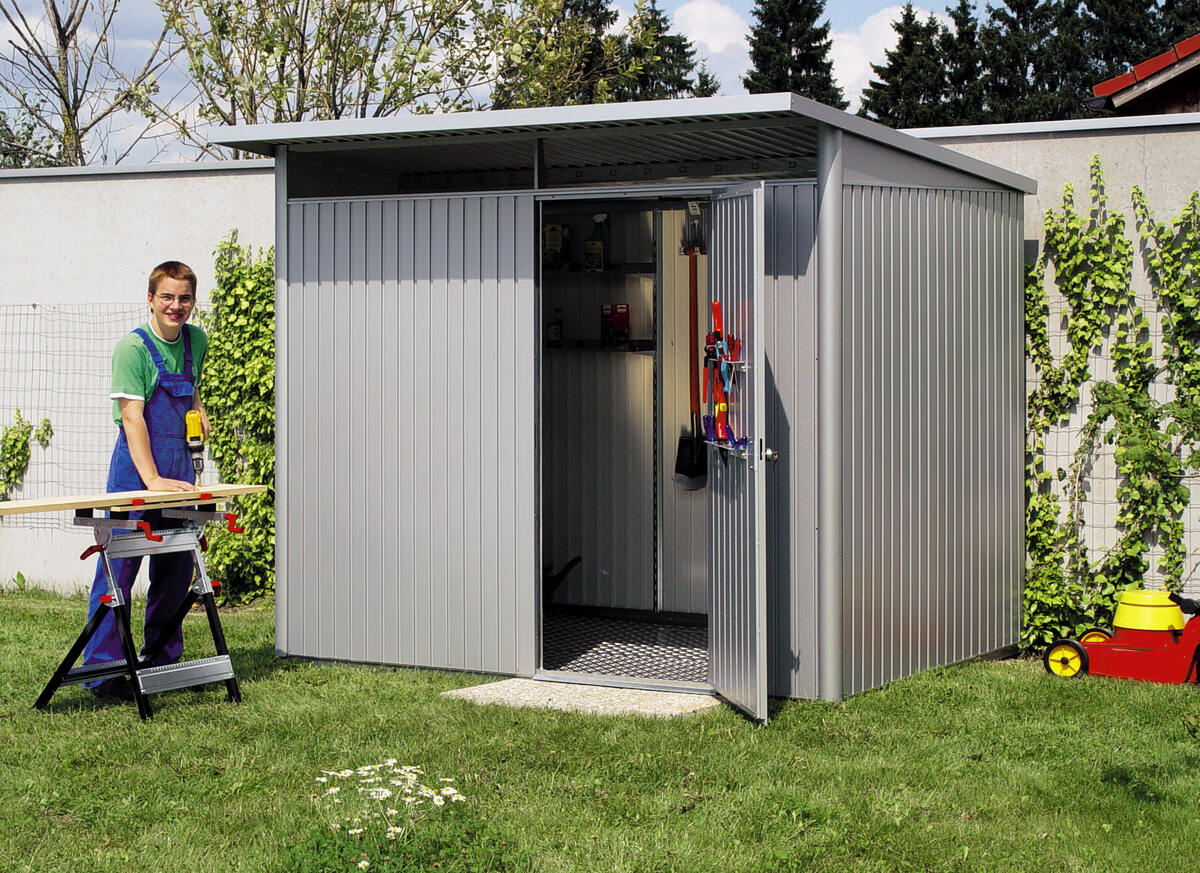
- Address Openings and Vents: If your shed includes windows, vents, or other openings, carefully install the corresponding panels or accessories to ensure proper functionality and weatherproofing.
As you progress through the panel installation process, take the time to step back and admire the transformation taking place. Each panel brings your metal shed closer to its finished form, providing a secure and reliable space for your outdoor storage needs.
With the panels in place, your metal shed is now taking shape, and it’s time to focus on the final steps of securing the structure to ensure its long-term stability and resilience.
Read more: How To Install Metal Siding On A Shed
Step 5: Secure the Shed
As the installation of your metal shed nears completion, the final step involves securing the structure to ensure its resilience against external forces and environmental conditions. By taking the time to properly secure the shed, you’ll enhance its stability and longevity. Follow these essential guidelines to secure your metal shed:
- Anchoring the Shed: Depending on the manufacturer’s recommendations and local building codes, consider anchoring the shed to the ground using appropriate anchors or fastening systems. This will help prevent the shed from being displaced by strong winds or other external forces.
- Seal Joints and Gaps: Inspect the joints and seams where the panels meet, ensuring that they are properly sealed to prevent water infiltration. Use silicone caulk or other recommended sealants to weatherproof these areas and safeguard the contents of the shed.
- Check and Tighten Fasteners: Go through the entire shed and double-check all fasteners, bolts, and screws to ensure they are securely tightened. This step helps maintain the structural integrity of the shed and prevents any potential loosening over time.
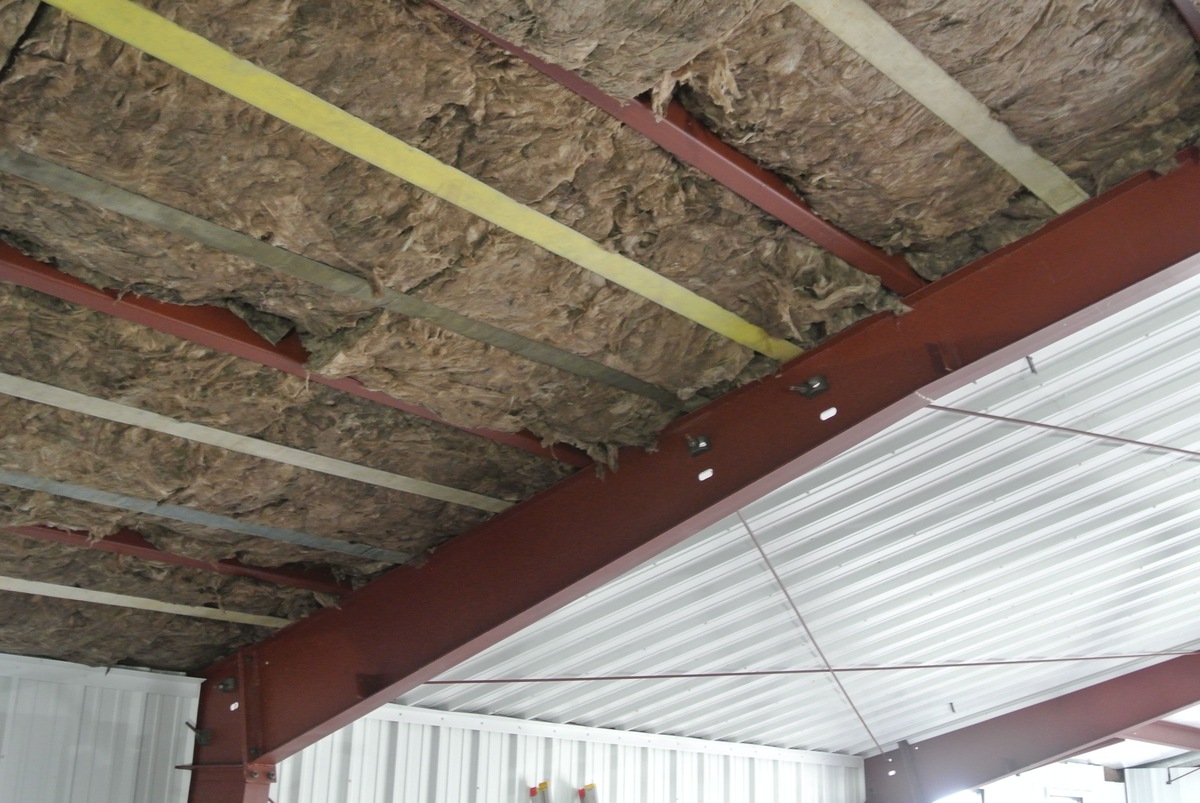
- Inspect the Roof: If your metal shed features a roof, carefully inspect it for any signs of damage or loose components. Address any issues promptly to prevent water leaks and maintain the shed’s protective capabilities.
- Consider Additional Security Measures: Depending on your specific needs and location, you may want to consider adding security features such as padlocks, motion-activated lights, or security cameras to further safeguard the shed and its contents.
By meticulously securing your metal shed, you’ll ensure that it stands strong against the elements and provides a reliable storage space for your belongings. With the final touches in place, step back and admire the transformation, knowing that your metal shed is now ready to serve as a dependable and durable outdoor structure.
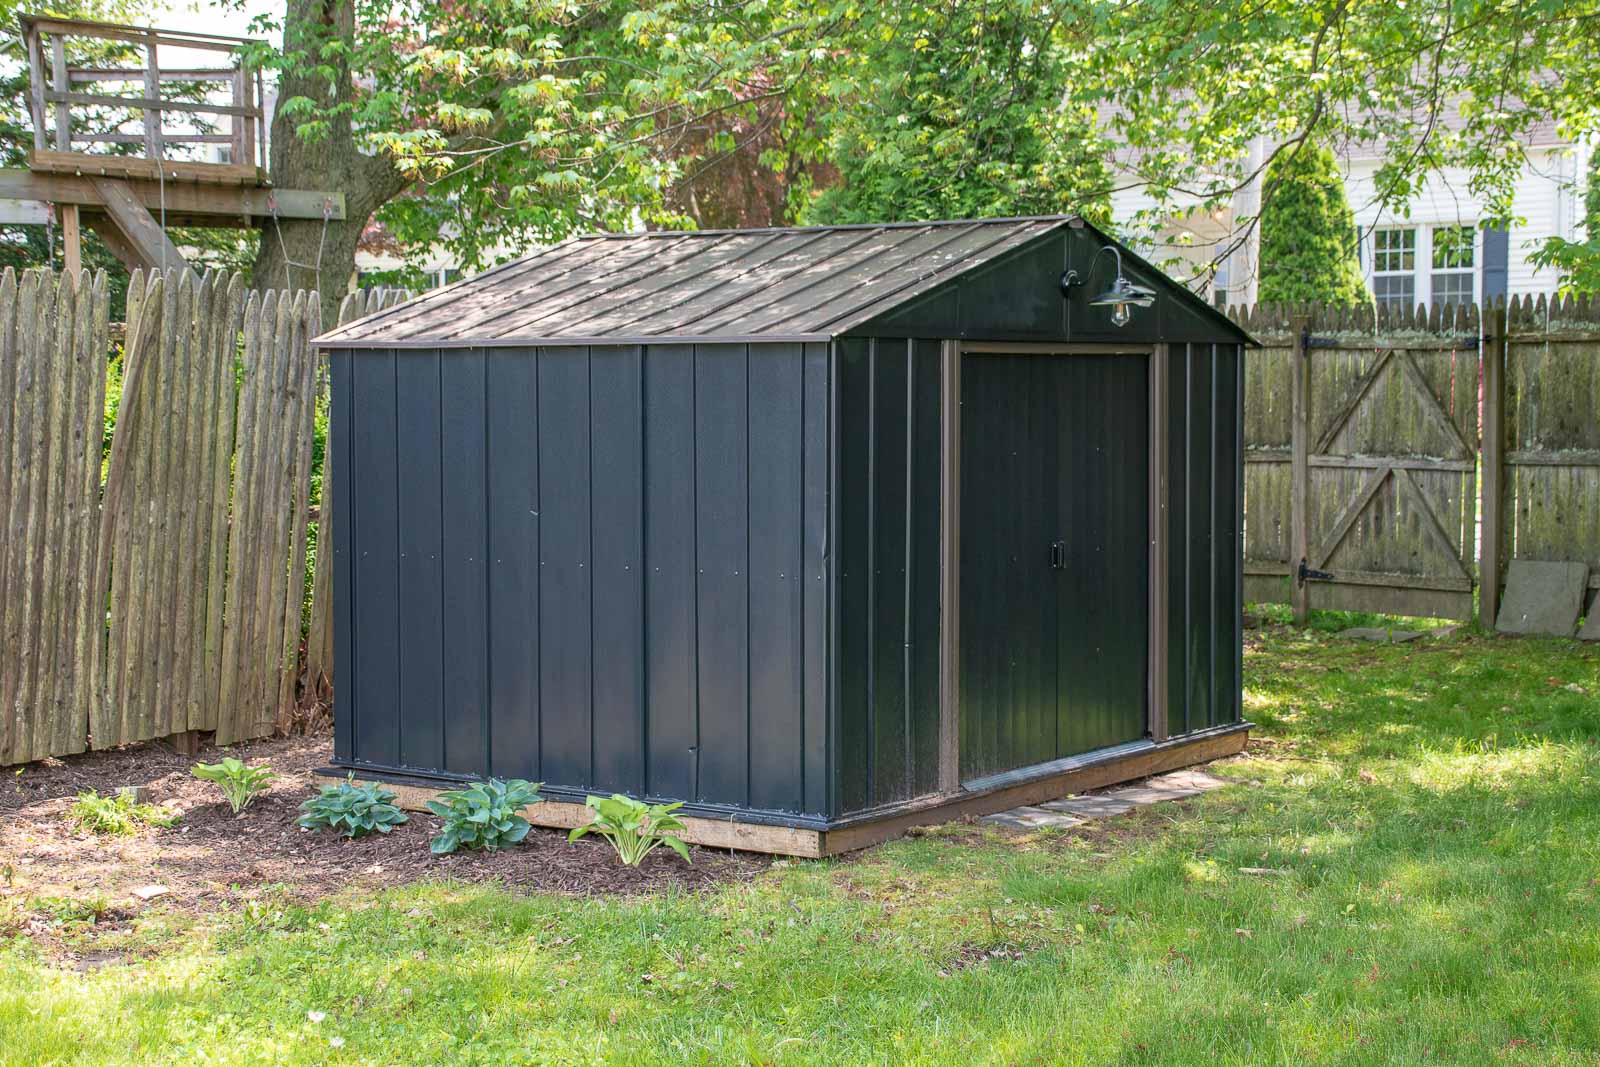
Conclusion
Congratulations on successfully completing the installation of your metal shed! Through careful planning, meticulous preparation, and methodical assembly, you’ve transformed a collection of components into a functional and reliable outdoor storage space. As you stand back and admire the finished product, take pride in the accomplishment and the valuable new addition to your property.
Installing a metal shed is not just about creating a storage space; it’s about enhancing the organization and functionality of your outdoor environment. With your shed in place, you now have a dedicated area to store tools, equipment, seasonal items, and more, keeping your property tidy and your belongings protected from the elements.
Beyond the practical benefits, the process of installing a metal shed can also be a rewarding and empowering experience. Whether you embarked on this project solo or enlisted the help of friends and family, the journey of transforming raw materials into a fully assembled structure is a testament to your resourcefulness and determination.
As you enjoy the fruits of your labor, take a moment to reflect on the journey you’ve undertaken. From choosing the perfect location to securing the shed against external forces, each step has contributed to the creation of a durable and functional outdoor structure that will serve you well for years to come.
With your metal shed now a prominent feature of your property, take the time to customize and organize its interior to suit your specific needs. Consider adding shelving, hooks, and storage solutions to maximize the utility of the space and keep your belongings neatly arranged and easily accessible.
As you move forward, maintaining your metal shed through regular cleaning, inspections, and minor repairs will ensure that it continues to serve you effectively. With proper care and attention, your shed will remain a valuable asset, providing reliable storage and contributing to the overall organization and aesthetics of your outdoor space.
Thank you for joining us on this journey of metal shed installation. We hope this guide has equipped you with the knowledge and confidence to tackle this project with ease, and we wish you many years of satisfaction and utility from your newly installed metal shed.
Frequently Asked Questions about How To Install A Metal Shed
Was this page helpful?
At Storables.com, we guarantee accurate and reliable information. Our content, validated by Expert Board Contributors, is crafted following stringent Editorial Policies. We're committed to providing you with well-researched, expert-backed insights for all your informational needs.


0 thoughts on “How To Install A Metal Shed”