Home>Home Maintenance>How To Clean A Stackable Dryer Vent
Home Maintenance
How To Clean A Stackable Dryer Vent
Modified: October 18, 2024
Learn how to properly clean your stackable dryer vent in this comprehensive home maintenance guide. Ensure better dryer performance and reduce fire risk.
(Many of the links in this article redirect to a specific reviewed product. Your purchase of these products through affiliate links helps to generate commission for Storables.com, at no extra cost. Learn more)
Introduction
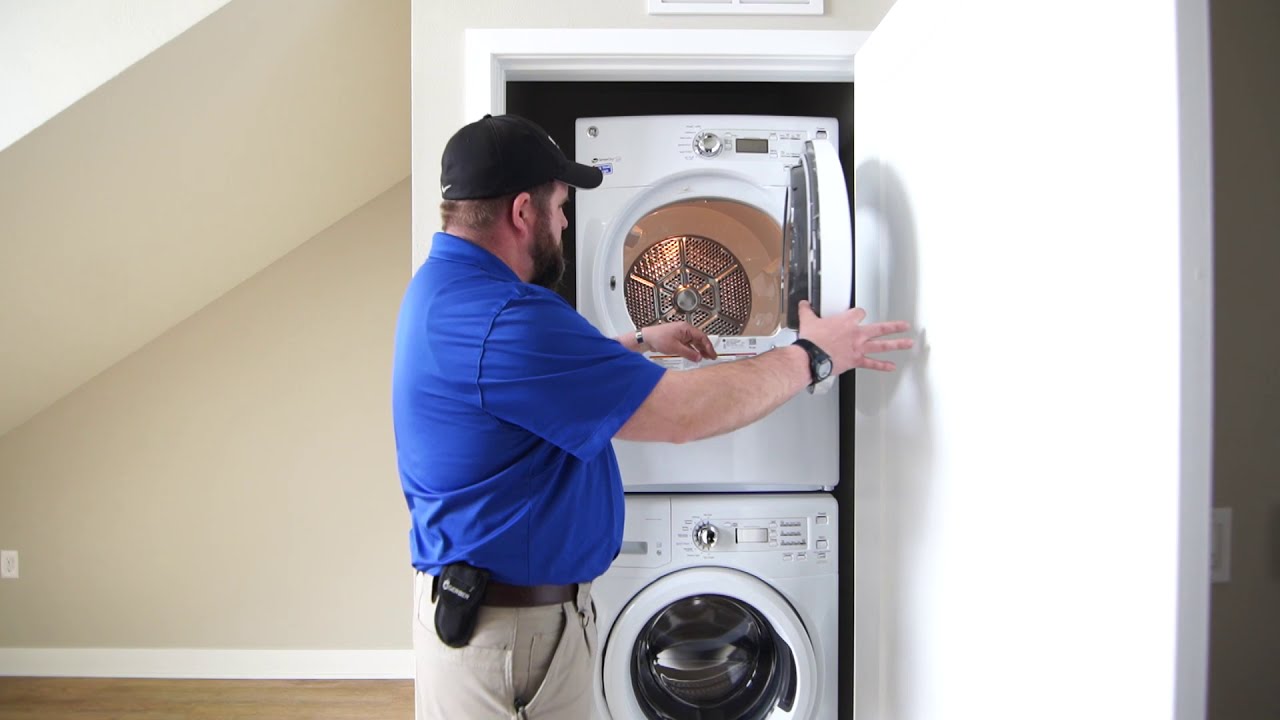
Welcome to our comprehensive guide on how to clean a stackable dryer vent. A stackable dryer is a convenient and space-saving appliance commonly used in homes and apartments. Over time, the dryer vent can become clogged with lint and debris, resulting in reduced airflow and inefficient drying. Regular maintenance and cleaning of the dryer vent are essential to ensure optimal performance and prevent potential fire hazards.
In this article, we will take you through a step-by-step process on how to clean a stackable dryer vent. From gathering the necessary tools and materials to reconnecting the dryer properly, we will cover everything you need to know to keep your dryer running smoothly.
But before we delve into the cleaning process, it’s important to understand the importance of dryer vent maintenance. A clogged or obstructed vent can lead to a range of problems, including longer drying times, overheating of the dryer, and increased energy consumption. Moreover, a blocked dryer vent poses a significant fire hazard. According to the U.S. Fire Administration, failure to clean dryer vents is a leading cause of house fires.
Now that we understand the significance of maintaining a clean dryer vent, let’s move on to the essential tools and materials you will need for the cleaning process.
Key Takeaways:
- Regularly cleaning your stackable dryer vent is crucial for efficient drying and fire safety. Follow the step-by-step guide to ensure optimal airflow and prolong your appliance’s lifespan.
- Prioritize safety by disconnecting the dryer from the power source before starting any maintenance tasks. Enjoy the benefits of a properly functioning and safe dryer!
Read more: Who Cleans Dryer Vent
Step 1: Gather the necessary tools and materials
Before you begin cleaning the stackable dryer vent, it’s important to gather all the necessary tools and materials. Having everything you need on hand will make the process smoother and more efficient. Here are the items you will need:
- A vacuum cleaner with a narrow attachment
- A screwdriver
- A vent brush or dryer vent cleaning kit
- A damp cloth
- A bucket or bag for collecting lint
The vacuum cleaner will help you remove loose lint and debris from the dryer vent. The narrow attachment will allow you to reach into tight spaces and corners. The screwdriver is essential for disconnecting the dryer from the power source and removing any fasteners or clamps that hold the vent hose in place. The vent brush or cleaning kit is specifically designed to clean dryer vents and will help you remove built-up lint effectively. The damp cloth will come in handy for wiping clean the lint trap and exterior vent. Lastly, a bucket or bag will serve as a collection point for the lint you remove.
Once you have gathered all the necessary tools and materials, you are ready to move on to the next step: disconnecting the dryer from the power source.
Step 2: Disconnect the dryer from the power source
Before you begin cleaning the stackable dryer vent, it is crucial to disconnect the dryer from the power source to ensure your safety. Here’s how you can do it:
- Locate the power cord behind the dryer.
- Unplug the power cord from the electrical outlet.
- For added safety, you can also turn off the circuit breaker dedicated to the dryer.
Once you have disconnected the dryer from the power source, you can proceed to the next step: removing and cleaning the lint trap.
By disconnecting the dryer from the power source, you eliminate the risk of electric shock. It is essential always to prioritize your safety when working with electrical appliances.
Now that the dryer is disconnected, let’s move on to the next step: removing and cleaning the lint trap.
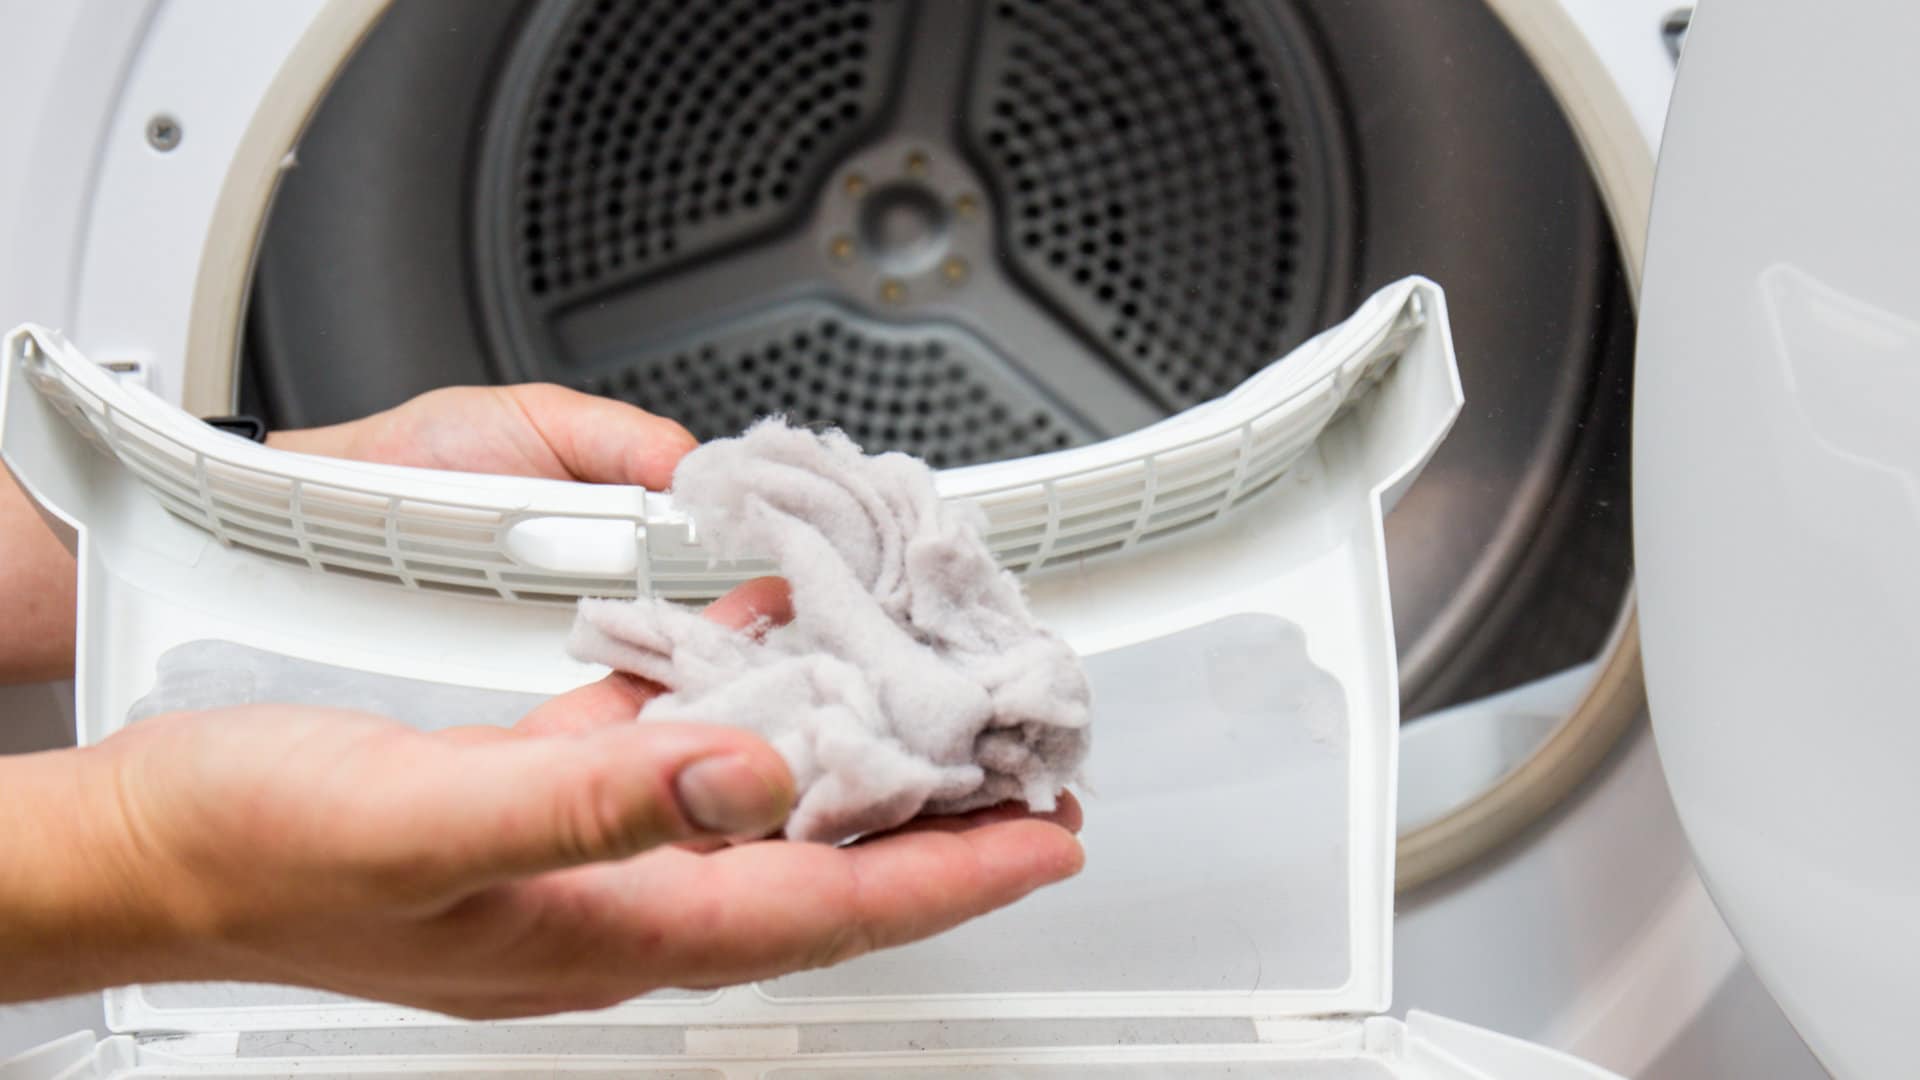
Step 3: Remove the lint trap and clean it
The lint trap is a crucial component of the dryer that collects lint and debris during the drying process. Over time, the lint trap can become clogged with lint, affecting the dryer’s performance and increasing the risk of a fire. Here’s how you can remove and clean the lint trap:
- Locate the lint trap, typically located on the top or inside the dryer door.
- Gently pull out the lint trap from its slot.
- Remove any visible lint or debris by hand.
- Inspect the lint trap for any stubborn debris or residue.
- If needed, you can wash the lint trap with warm, soapy water.
- Rinse the lint trap thoroughly and let it dry completely before reinserting it.
Regularly cleaning the lint trap prevents lint build-up and ensures proper airflow, leading to more efficient drying and reducing the risk of a fire. Make it a habit to clean the lint trap after each use to maintain optimal dryer performance.
Once you have cleaned the lint trap, it’s time to move on to the next step: vacuuming the lint trap housing.
Step 4: Vacuum the lint trap housing
After cleaning the lint trap, it’s essential to vacuum the lint trap housing to remove any loose lint or debris that may have accumulated. This step will help ensure that the airflow in the dryer remains unobstructed. Here’s how you can vacuum the lint trap housing:
- Attach a narrow vacuum attachment to your vacuum cleaner.
- Insert the attachment into the lint trap housing.
- Use the vacuum cleaner to suction out any lint or debris from the housing.
- Move the attachment around to reach all areas of the housing, including the corners and the sides.
- Continue vacuuming until you have removed all visible lint and debris.
Vacuuming the lint trap housing is an important step as it helps prevent the accumulation of lint that can block the airflow and lead to dryer inefficiency and potential fire hazards. Regularly performing this step will keep your dryer running smoothly and enhance its longevity.
Once you have thoroughly vacuumed the lint trap housing, it’s time to move on to the next step: disconnecting and cleaning the dryer vent hose.
Read more: How To Clean The Inside Of A Dryer Vent
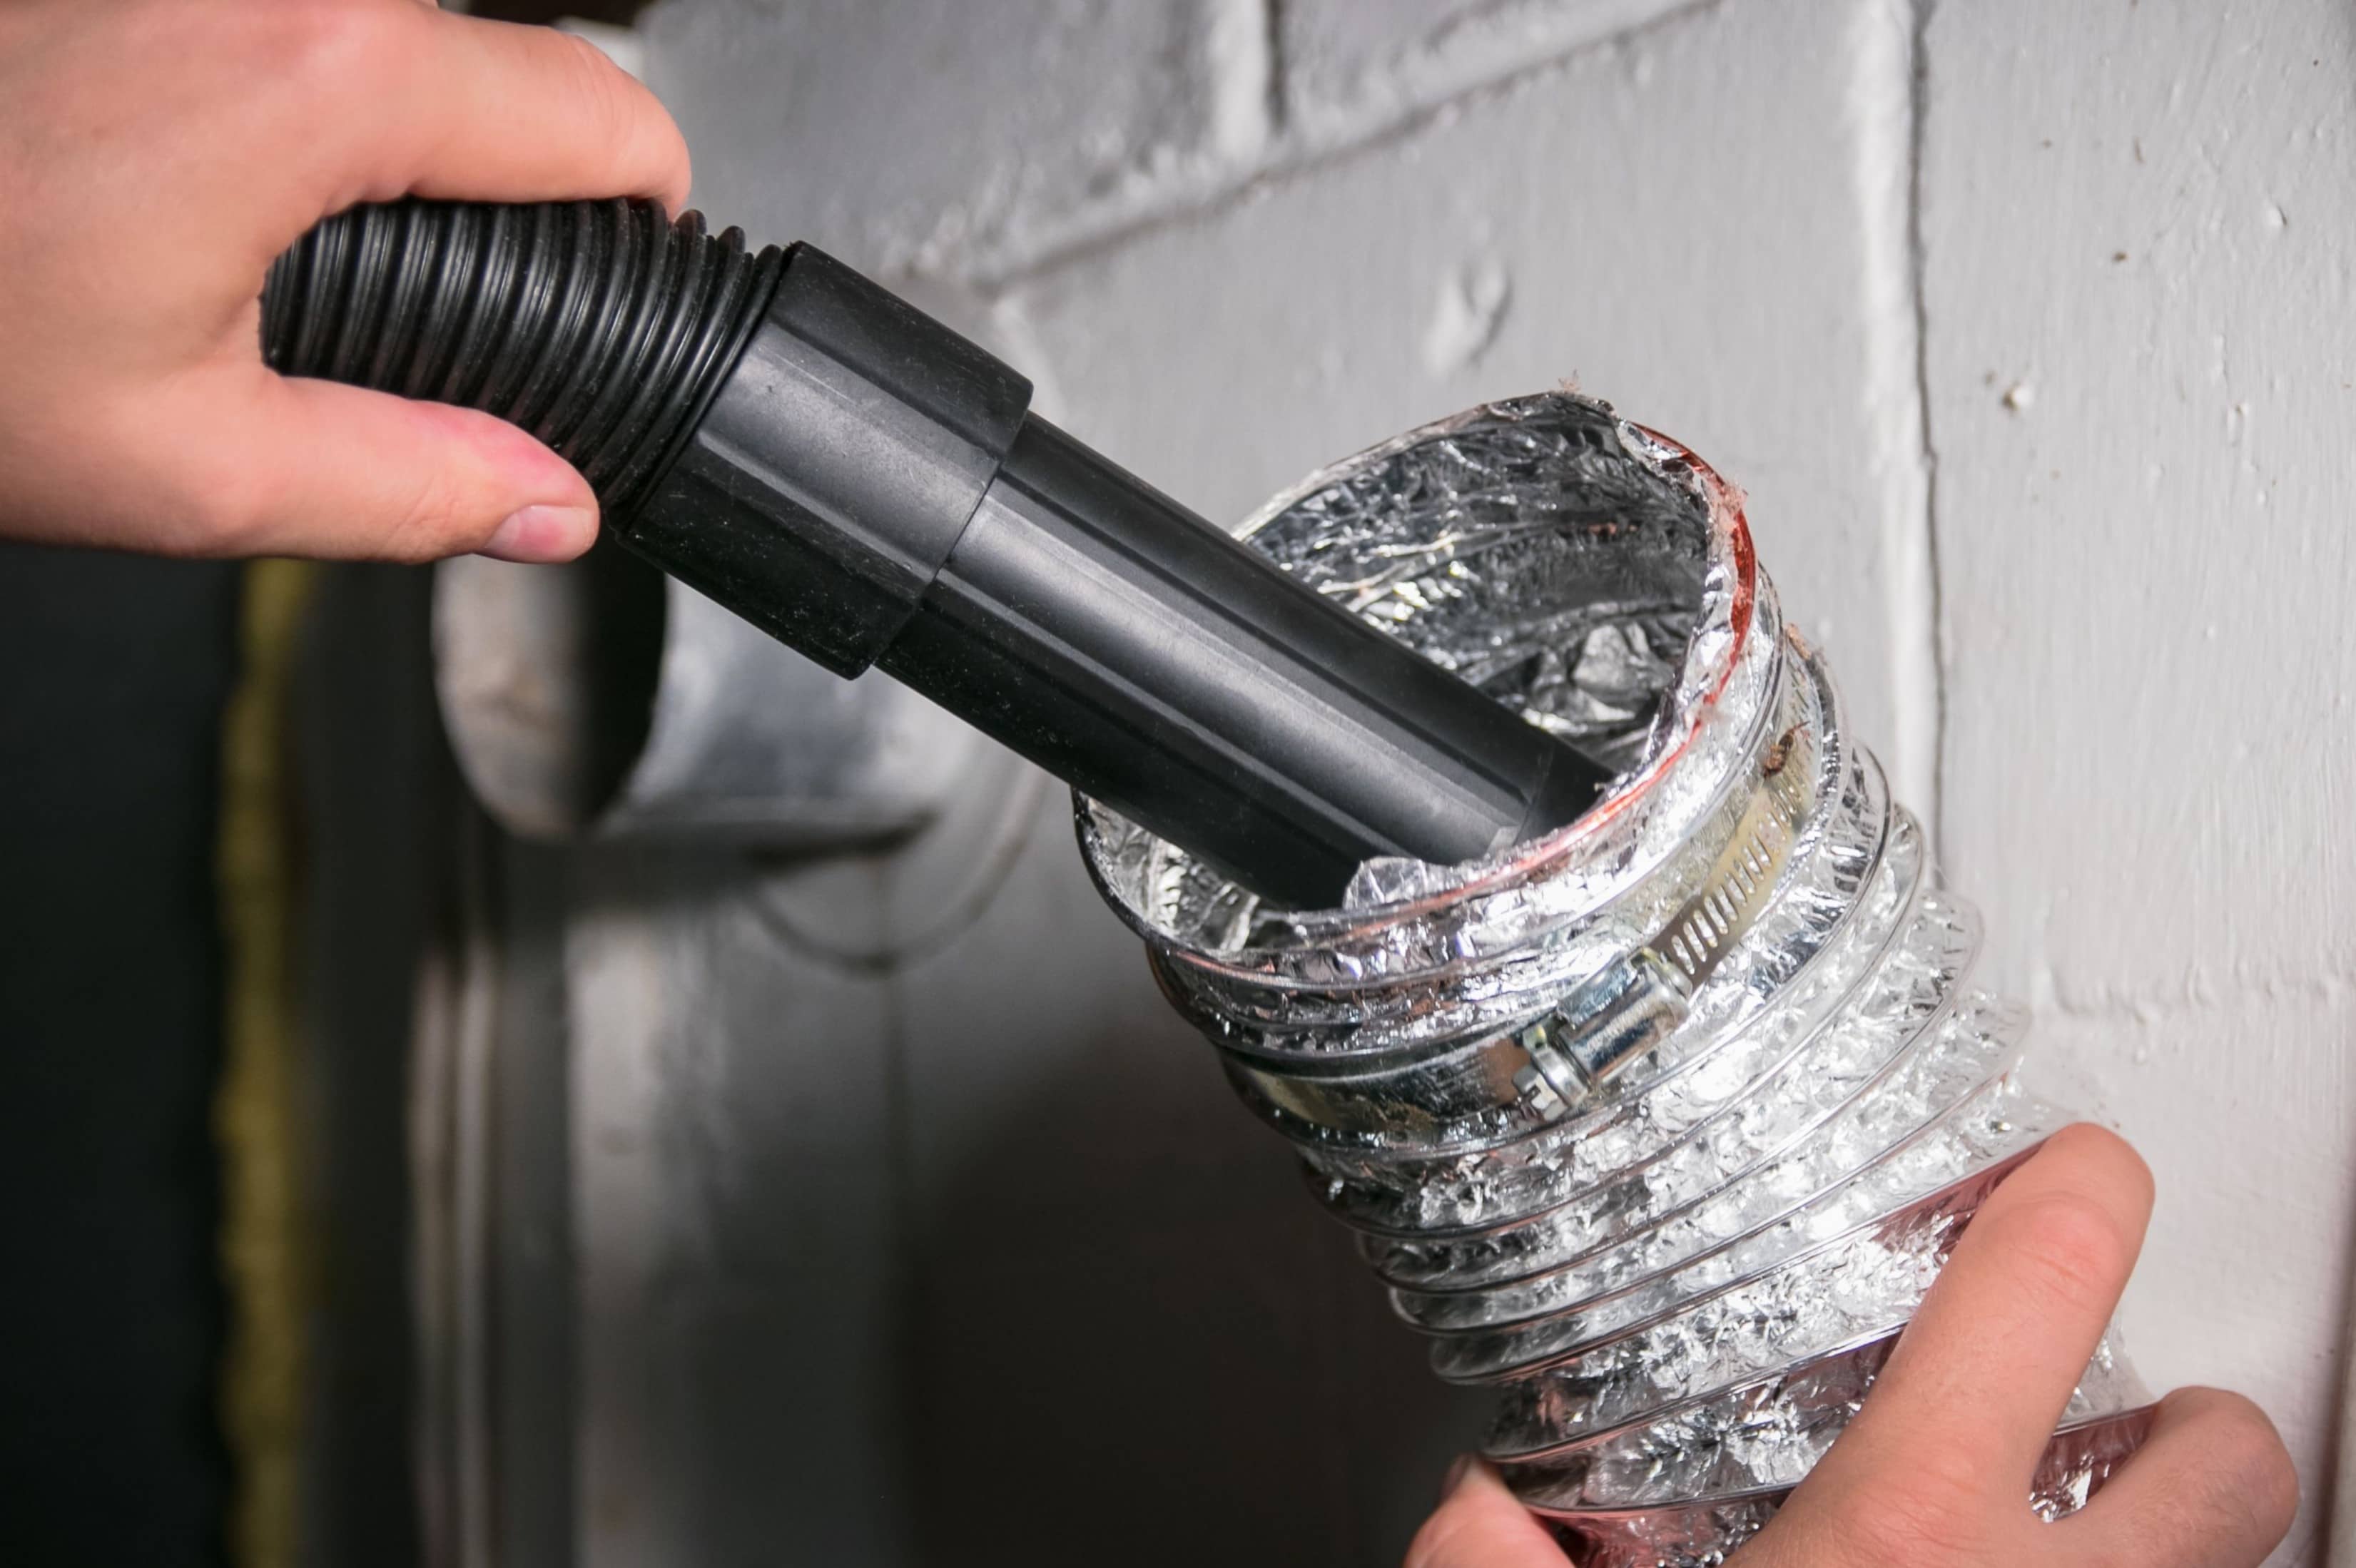
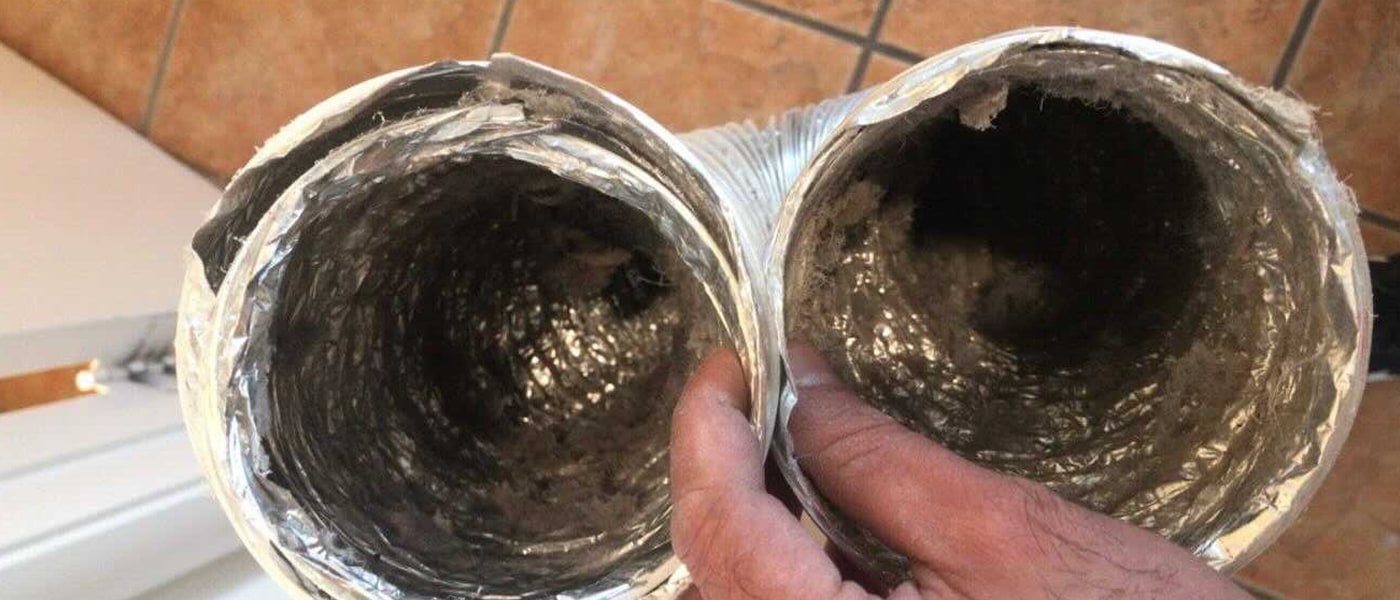
Step 5: Disconnect and clean the dryer vent hose
The dryer vent hose is responsible for carrying the hot air and moisture from the dryer to the outside. Over time, lint and debris can accumulate in the vent hose, reducing airflow and increasing the risk of a fire. In this step, we will guide you through the process of disconnecting and cleaning the dryer vent hose:
- Locate the vent hose at the back of the dryer.
- Using a screwdriver, loosen the clamp that attaches the vent hose to the dryer.
- Gently pull the vent hose off the dryer’s exhaust port.
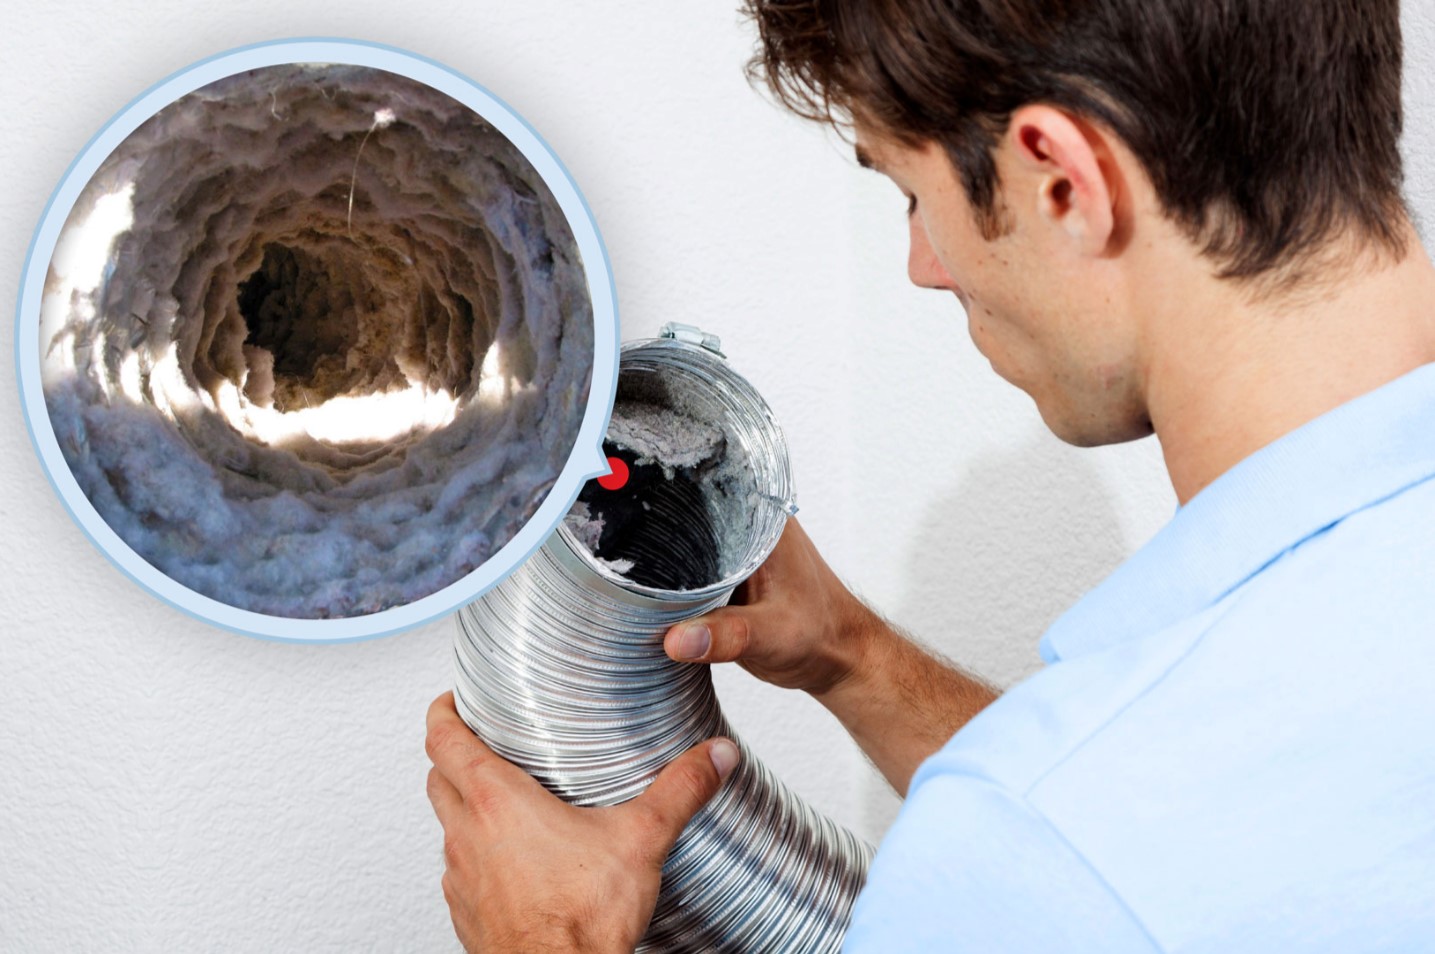
- Inspect the vent hose for any visible lint or debris.
- If you notice significant lint build-up, use a vent brush or a dryer vent cleaning kit to remove the clog. Follow the instructions provided with the cleaning tool.
- Alternatively, you can use a vacuum cleaner with a narrow attachment to suction out the lint and debris from the vent hose.
- Ensure that you clean both ends of the vent hose thoroughly.
By disconnecting and cleaning the dryer vent hose, you remove any blockages that could hinder proper airflow. This step improves the dryer’s efficiency and reduces the risk of overheating, prolonging the lifespan of the appliance.
Once you have cleaned the vent hose thoroughly, let’s move on to the next step: inspecting and cleaning the exterior vent.
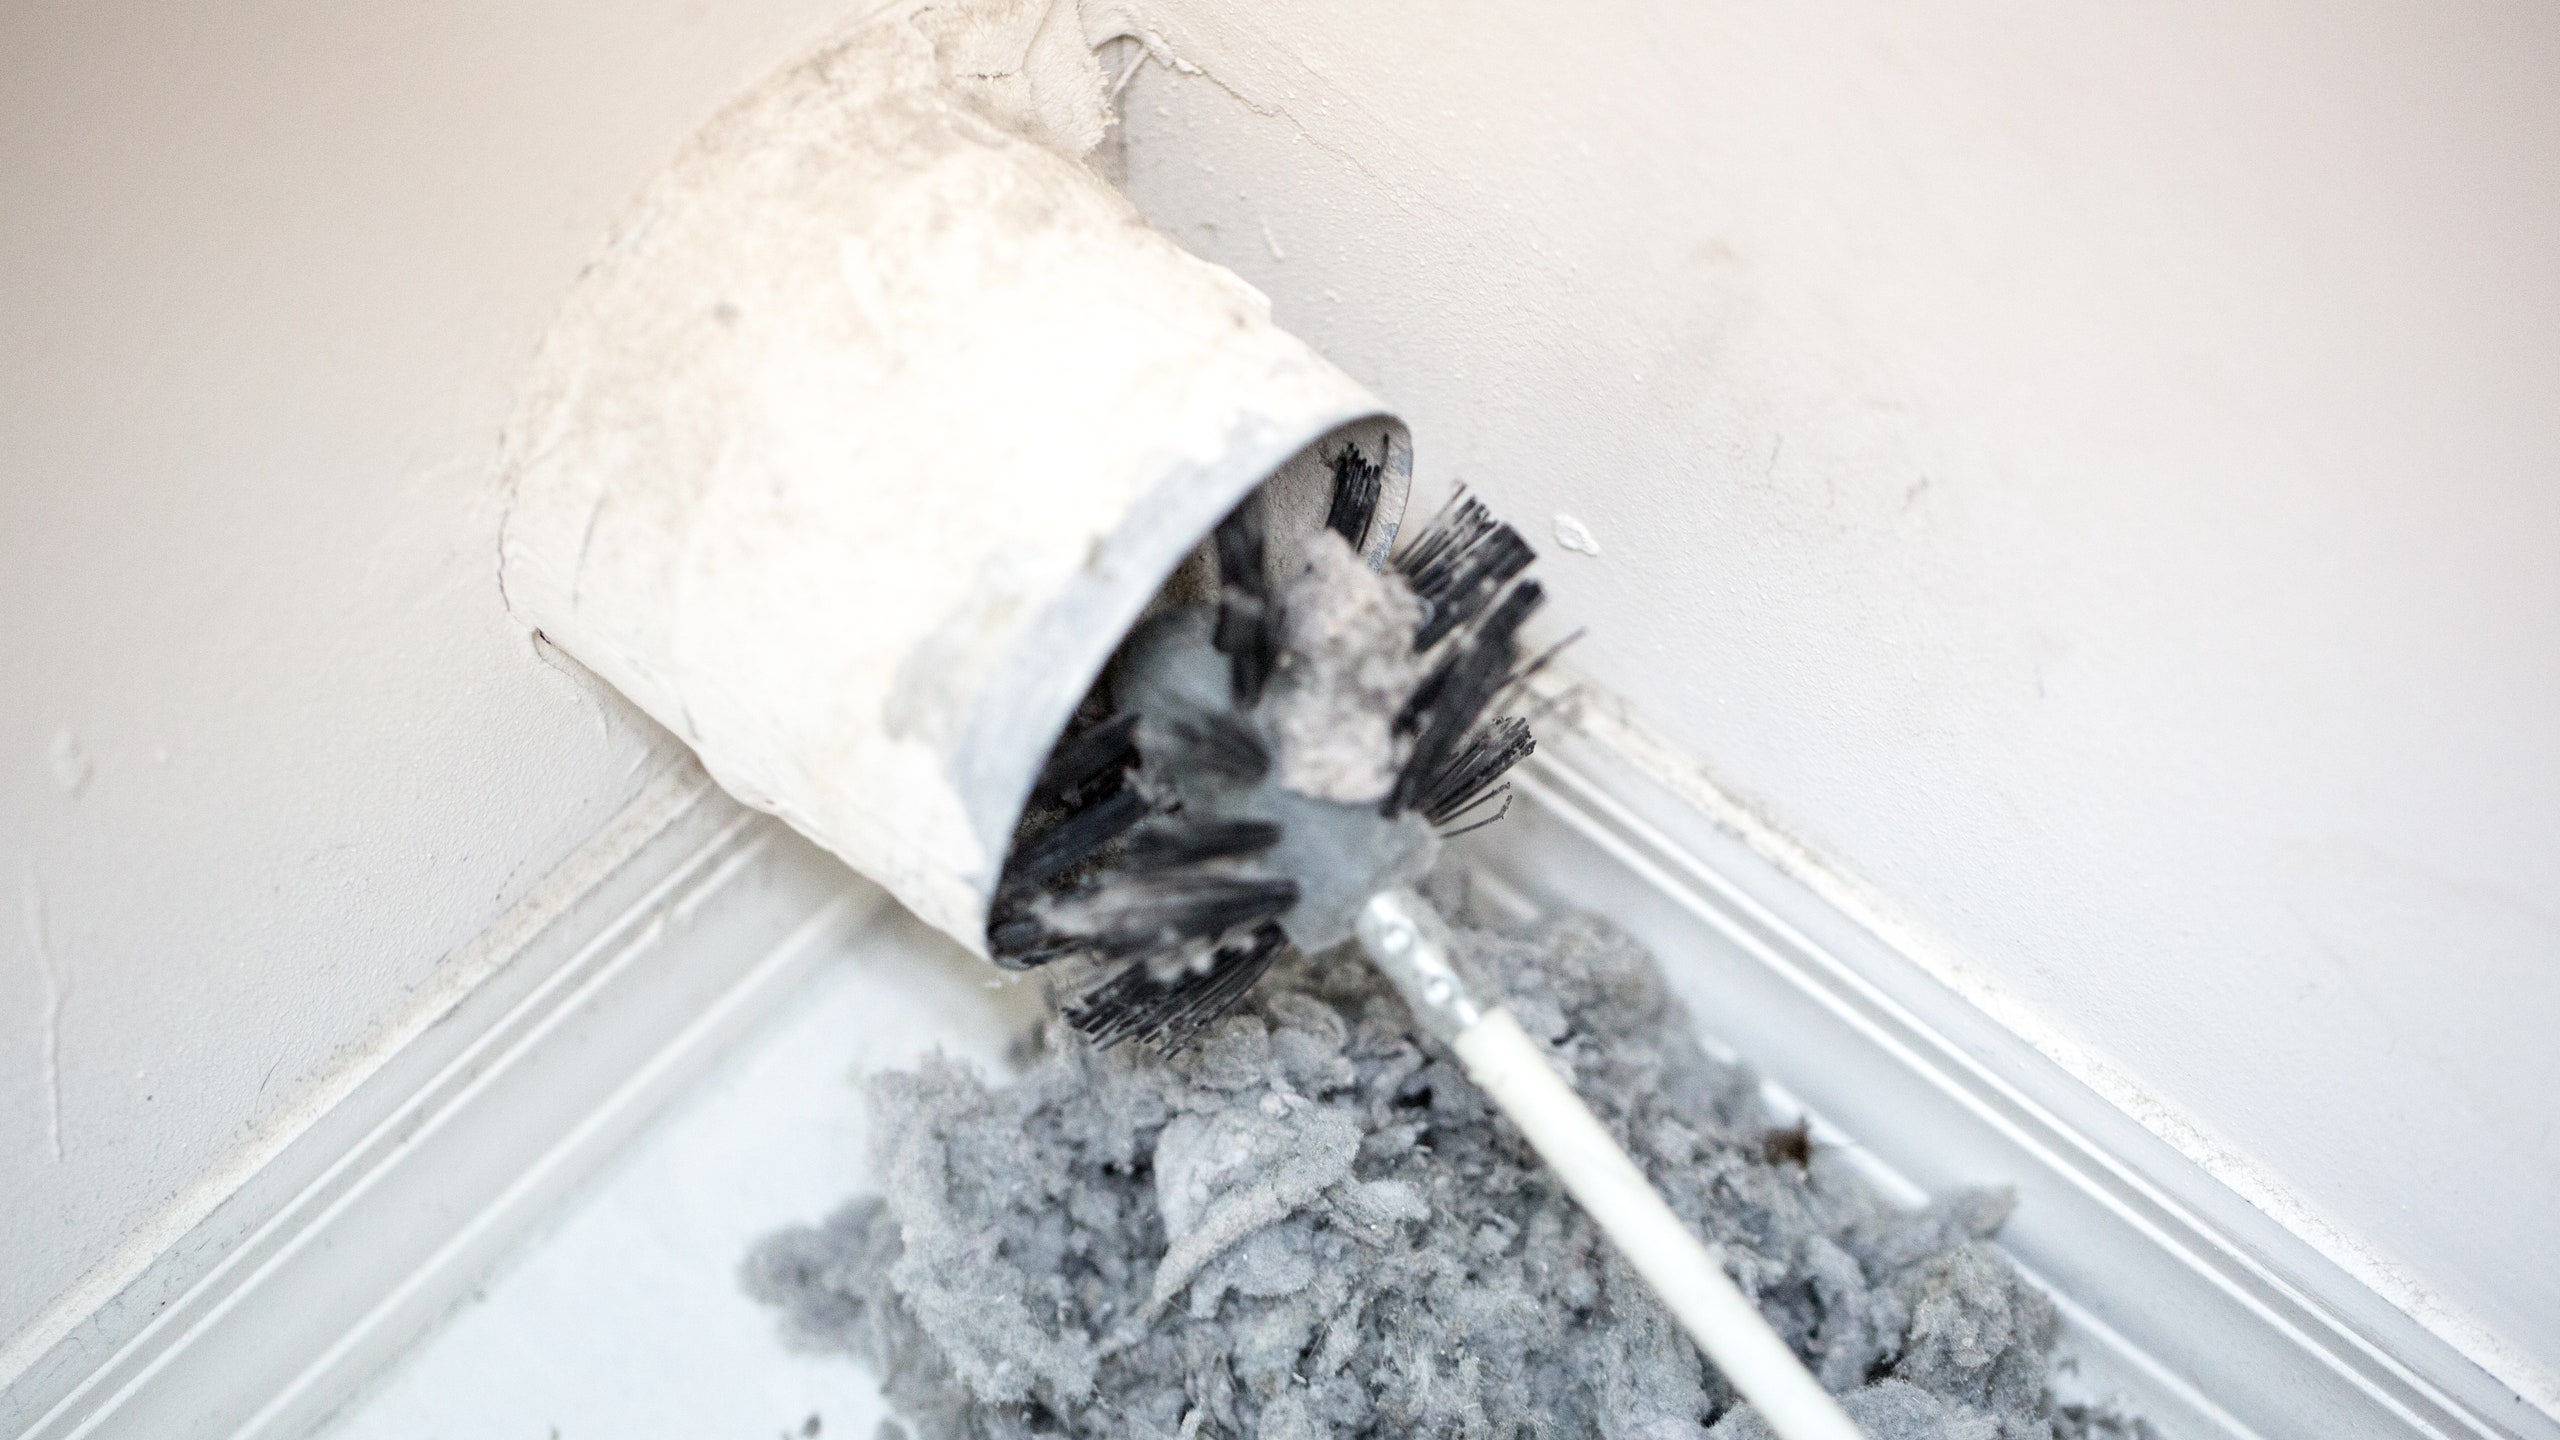
Regularly clean the lint trap and vent of your stackable dryer to prevent buildup and reduce the risk of fire. Use a vent cleaning brush to remove lint from the vent and ensure proper airflow.
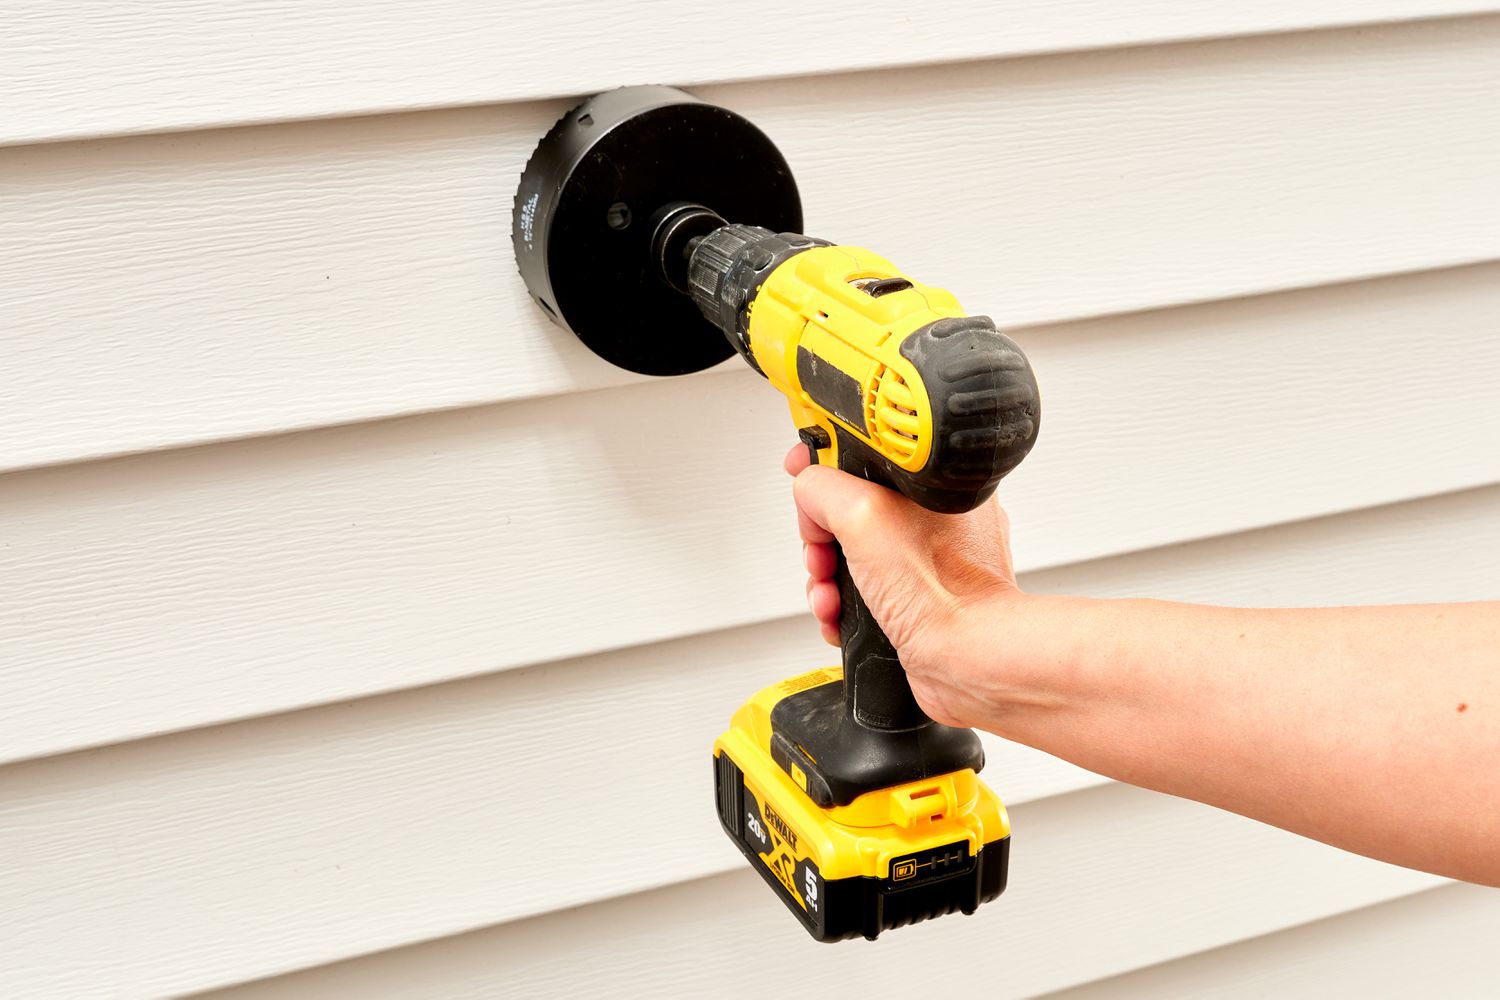
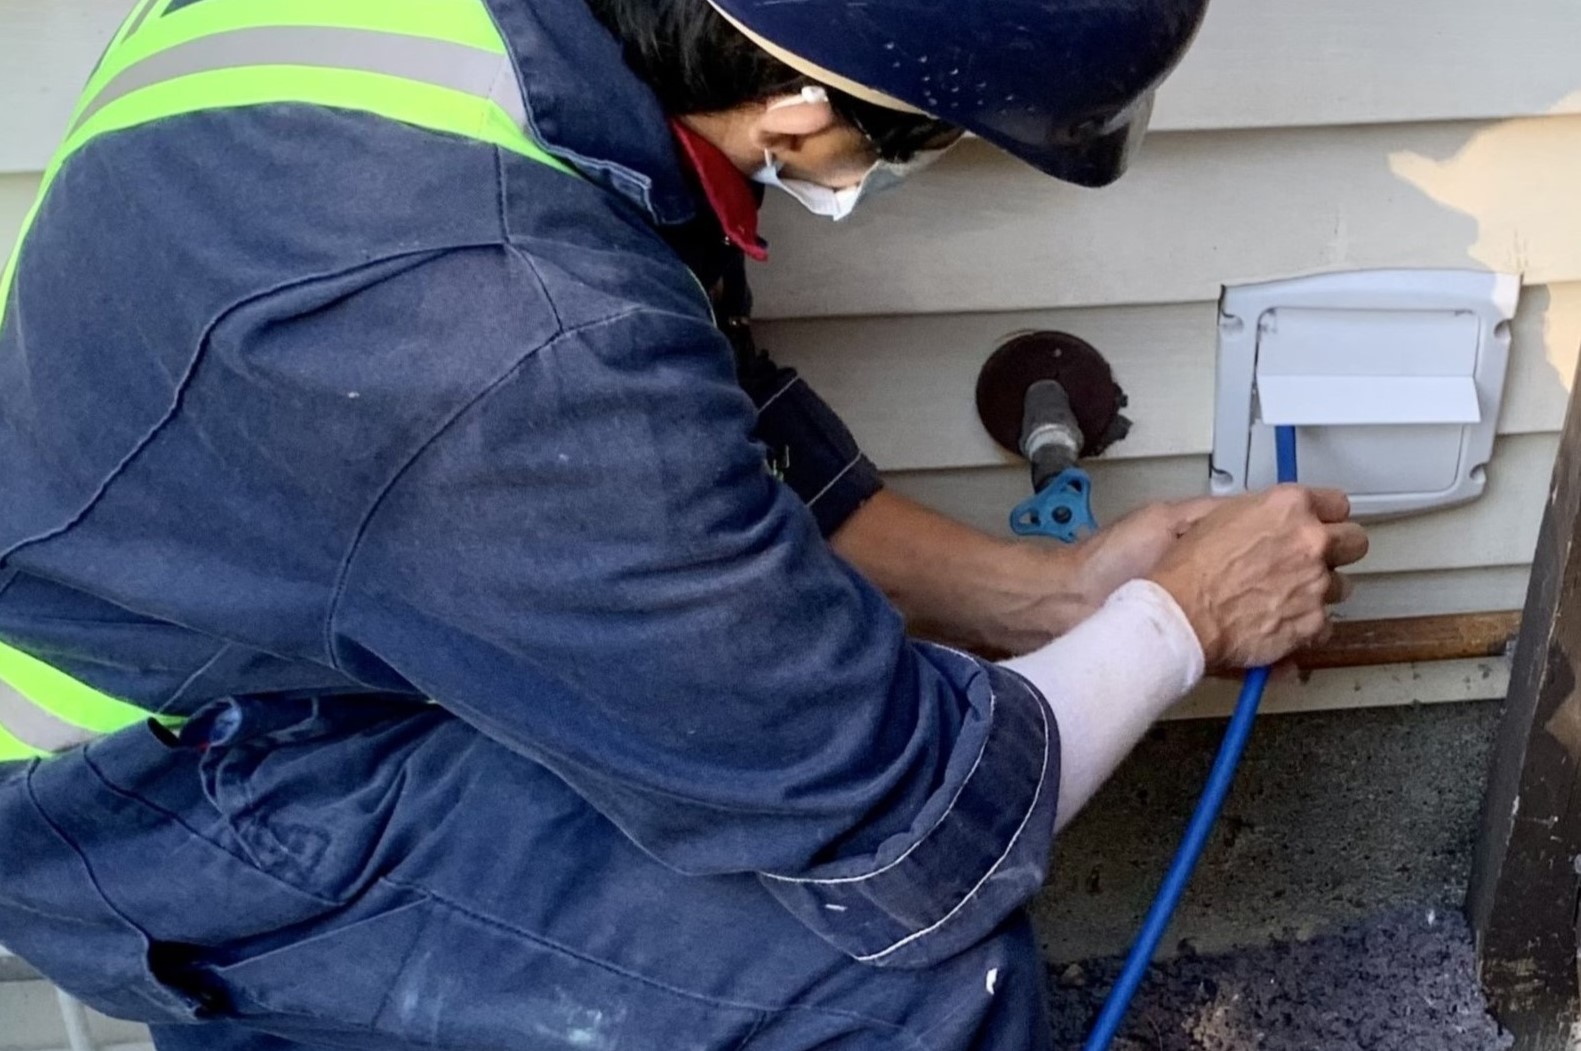
Step 6: Inspect and clean the exterior vent
The exterior vent of your stackable dryer plays a critical role in releasing hot air and moisture from your home. Over time, it can become blocked by lint, debris, or even small animals, which can hinder proper airflow. To ensure optimal performance, you need to inspect and clean the exterior vent regularly. Follow these steps:
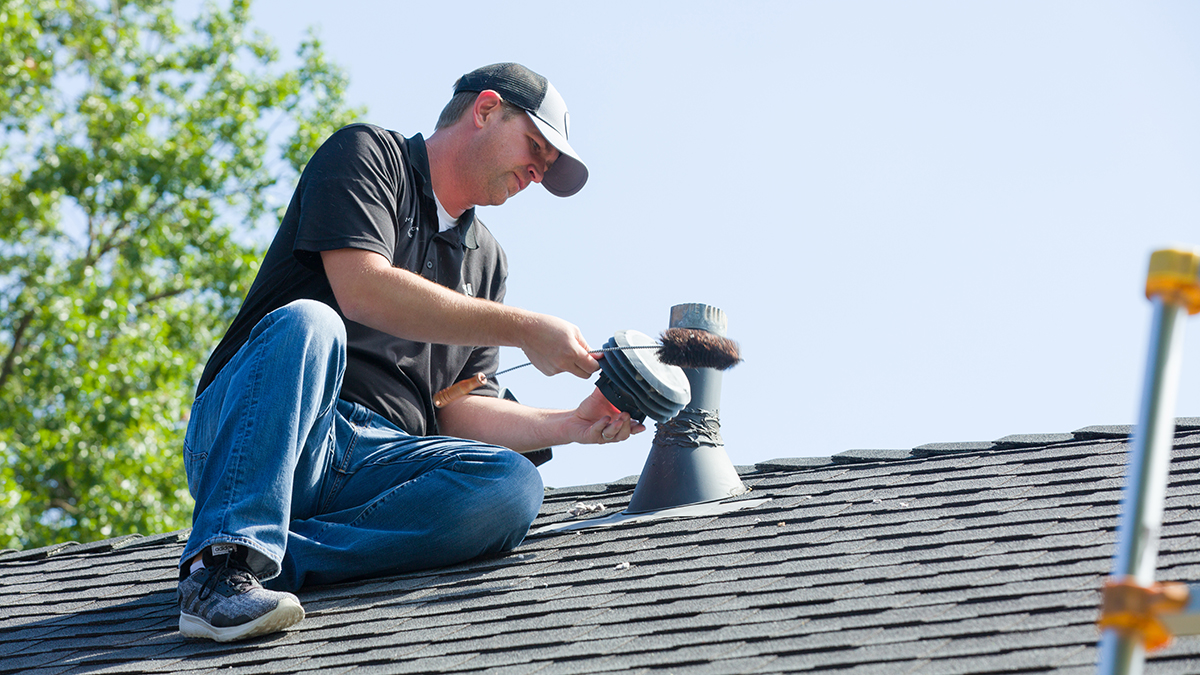
- Locate the exterior vent, which is usually on an exterior wall or on the roof.
- Visually inspect the vent for any visible signs of obstruction, such as lint or debris.
- If the vent has a cover or grille, remove it carefully.
- Use a flashlight to look inside the vent and check for any blockages.
- If you notice any debris or lint, use a vent brush or a long cleaning tool to clear the obstruction.
- Ensure that the exterior vent cover or grille is clean and free from any build-up.
Regularly inspecting and cleaning the exterior vent helps maintain proper airflow and prevents potential fire hazards. If you notice any significant blockages that you cannot remove on your own, it is advisable to seek professional assistance. They have the necessary tools and expertise to thoroughly clean and clear the vent.
Once you have inspected and cleaned the exterior vent, let’s move on to the next step: reconnecting the dryer vent hose.
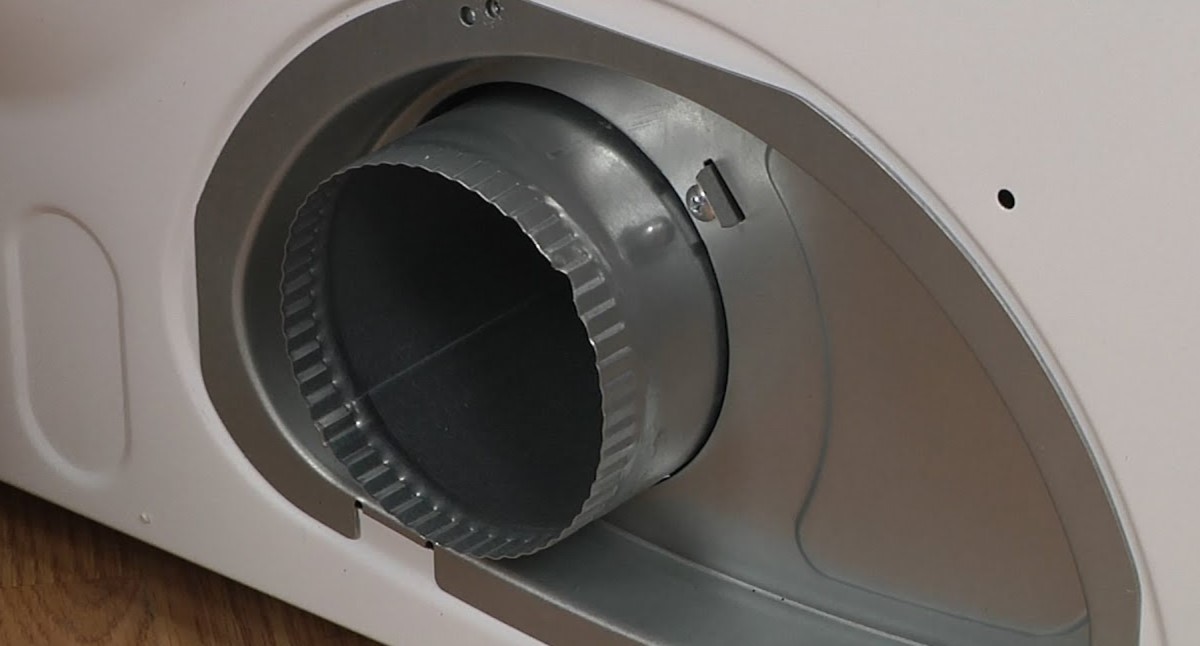
Step 7: Reconnect the dryer vent hose
After cleaning the vent hose and inspecting the exterior vent, it’s time to reconnect the dryer vent hose to ensure proper airflow and efficient operation of your stackable dryer. Follow these steps to reconnect the dryer vent hose:
- Position the dryer vent hose near the exhaust port on the back of the dryer.
- Ensure that the hose is aligned with the port, allowing for a smooth connection.
- Using a screwdriver, tighten the clamp around the hose to secure it in place.
- Check the connection to ensure it is snug and that there are no gaps or kinks in the hose.
It’s important to ensure a secure and airtight connection between the dryer vent hose and the exhaust port. A loose or improperly connected hose can result in reduced airflow and lint buildup, compromising the performance and safety of your dryer.
Once you have successfully reconnected the dryer vent hose, let’s move on to the next step: plugging the dryer back into the power source.
Step 8: Plug the dryer back into the power source
Now that you have completed the cleaning and maintenance tasks for your stackable dryer vent, it’s time to plug the dryer back into the power source. Follow these steps to ensure a safe and proper reconnection:
- Locate the power cord behind the dryer.
- Align the prongs of the power cord with the corresponding slots in the electrical outlet.
- Insert the power cord into the outlet securely.
- Check that the connection is tight and there are no loose or exposed wires.
- For added safety, you can also turn on the circuit breaker dedicated to the dryer.
It’s crucial to ensure that the power cord is securely plugged into the electrical outlet to avoid any electrical hazards. The dryer should be receiving a steady power supply for proper operation.
With the dryer successfully plugged back into the power source, let’s move on to the final step: testing the dryer to ensure proper airflow.
Read more: How Often Dryer Vent Cleaning
Step 9: Test the dryer to ensure proper airflow
After going through the process of cleaning and reconnecting the stackable dryer vent, it’s essential to test the dryer to ensure proper airflow. This step confirms that all connections are secure, there are no obstructions, and the dryer is functioning as it should. Follow these steps to perform the airflow test:
- Make sure the dryer is empty and ready for operation.
- Turn on the dryer and set it to a heat setting.
- Allow the dryer to run for a few minutes to generate heat.
- While the dryer is running, check for proper airflow.
- Place your hand near the exterior vent and feel for a steady and strong airflow.
- If you notice weak airflow or no airflow at all, double-check all connections and make sure the exterior vent is clear of any obstructions.
- If the problem persists, it may be necessary to seek professional assistance.
Testing the airflow after cleaning the stackable dryer vent ensures that the cleaning process has been successful, and the dryer is operating efficiently. Proper airflow is crucial for optimal drying performance and helps prevent lint build-up and potential fire hazards.
With the airflow test completed, you have successfully finished the process of cleaning and maintaining your stackable dryer vent. By regularly performing these steps, you can prolong the lifespan of your dryer, improve its efficiency, and maintain a safe and reliable appliance for years to come.
It’s important to remember that the frequency of cleaning your dryer vent may vary depending on usage and other factors. It’s recommended to clean the vent at least once a year, but if you notice any signs of reduced performance or airflow issues, it’s best to address them promptly.
We hope this guide has been helpful in teaching you how to clean a stackable dryer vent. Enjoy your freshly cleaned and properly functioning dryer!
Conclusion
Maintaining a clean and properly functioning stackable dryer vent is essential for efficient drying performance and fire safety. By following the step-by-step guide provided in this article, you can easily clean your dryer vent and ensure optimal airflow. Regular cleaning and maintenance of the vent will not only improve drying efficiency but also prolong the lifespan of your appliance.
Throughout the cleaning process, we covered various steps, including gathering the necessary tools and materials, disconnecting the dryer from the power source, removing and cleaning the lint trap, vacuuming the lint trap housing, disconnecting and cleaning the dryer vent hose, inspecting and cleaning the exterior vent, reconnecting the dryer vent hose, and plugging the dryer back into the power source. The final step involved testing the dryer to ensure proper airflow.
It is important to remember that the frequency of cleaning your dryer vent may vary depending on usage and other factors. Regularly inspecting and cleaning the vent will help prevent lint buildup, reduce the risk of fire, and maintain optimal drying efficiency. As always, prioritize your safety by disconnecting the dryer from the power source before starting any maintenance tasks.
We hope that this comprehensive guide has provided you with the knowledge and guidance needed to effectively clean your stackable dryer vent. Enjoy the benefits of a properly functioning dryer and peace of mind knowing that you have taken necessary steps to maintain a safe and efficient appliance.
Remember, if you encounter any significant blockages or issues during the cleaning process, it is advisable to seek professional assistance. They have the expertise and tools to handle more complex situations.
Thank you for taking the time to read this guide, and we wish you success in maintaining a clean and well-functioning stackable dryer vent!
Frequently Asked Questions about How To Clean A Stackable Dryer Vent
Was this page helpful?
At Storables.com, we guarantee accurate and reliable information. Our content, validated by Expert Board Contributors, is crafted following stringent Editorial Policies. We're committed to providing you with well-researched, expert-backed insights for all your informational needs.