Home>Home Maintenance>How To Clean The Outside Of An Air Conditioner Unit
Home Maintenance
How To Clean The Outside Of An Air Conditioner Unit
Modified: September 2, 2024
Learn how to effectively clean the exterior of your air conditioner unit with this comprehensive guide on home maintenance. Keep your unit running efficiently and extend its lifespan!
(Many of the links in this article redirect to a specific reviewed product. Your purchase of these products through affiliate links helps to generate commission for Storables.com, at no extra cost. Learn more)
Introduction
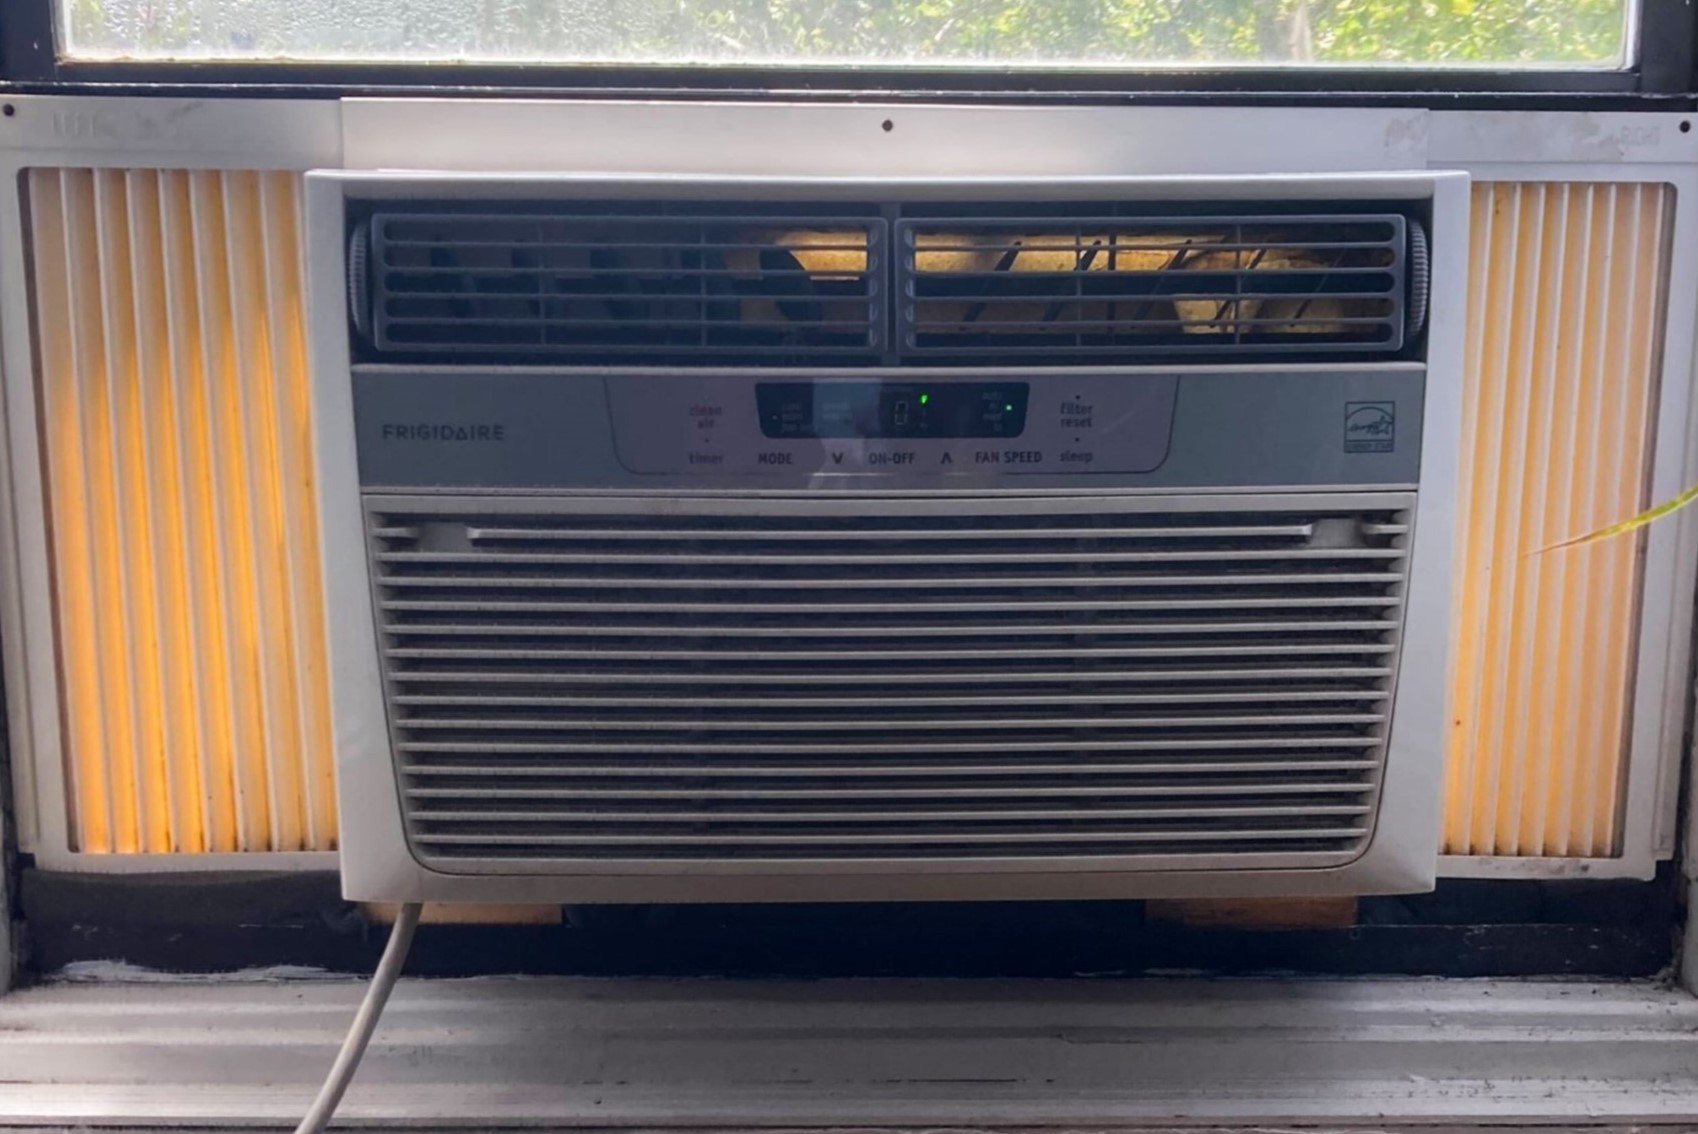
Having an air conditioner is a great way to stay cool and comfortable during the hot summer months. However, just like any other appliance, your air conditioner needs regular maintenance to ensure its optimal performance. While many people focus on cleaning the interior components of their air conditioner, it is equally important to clean the outside unit.
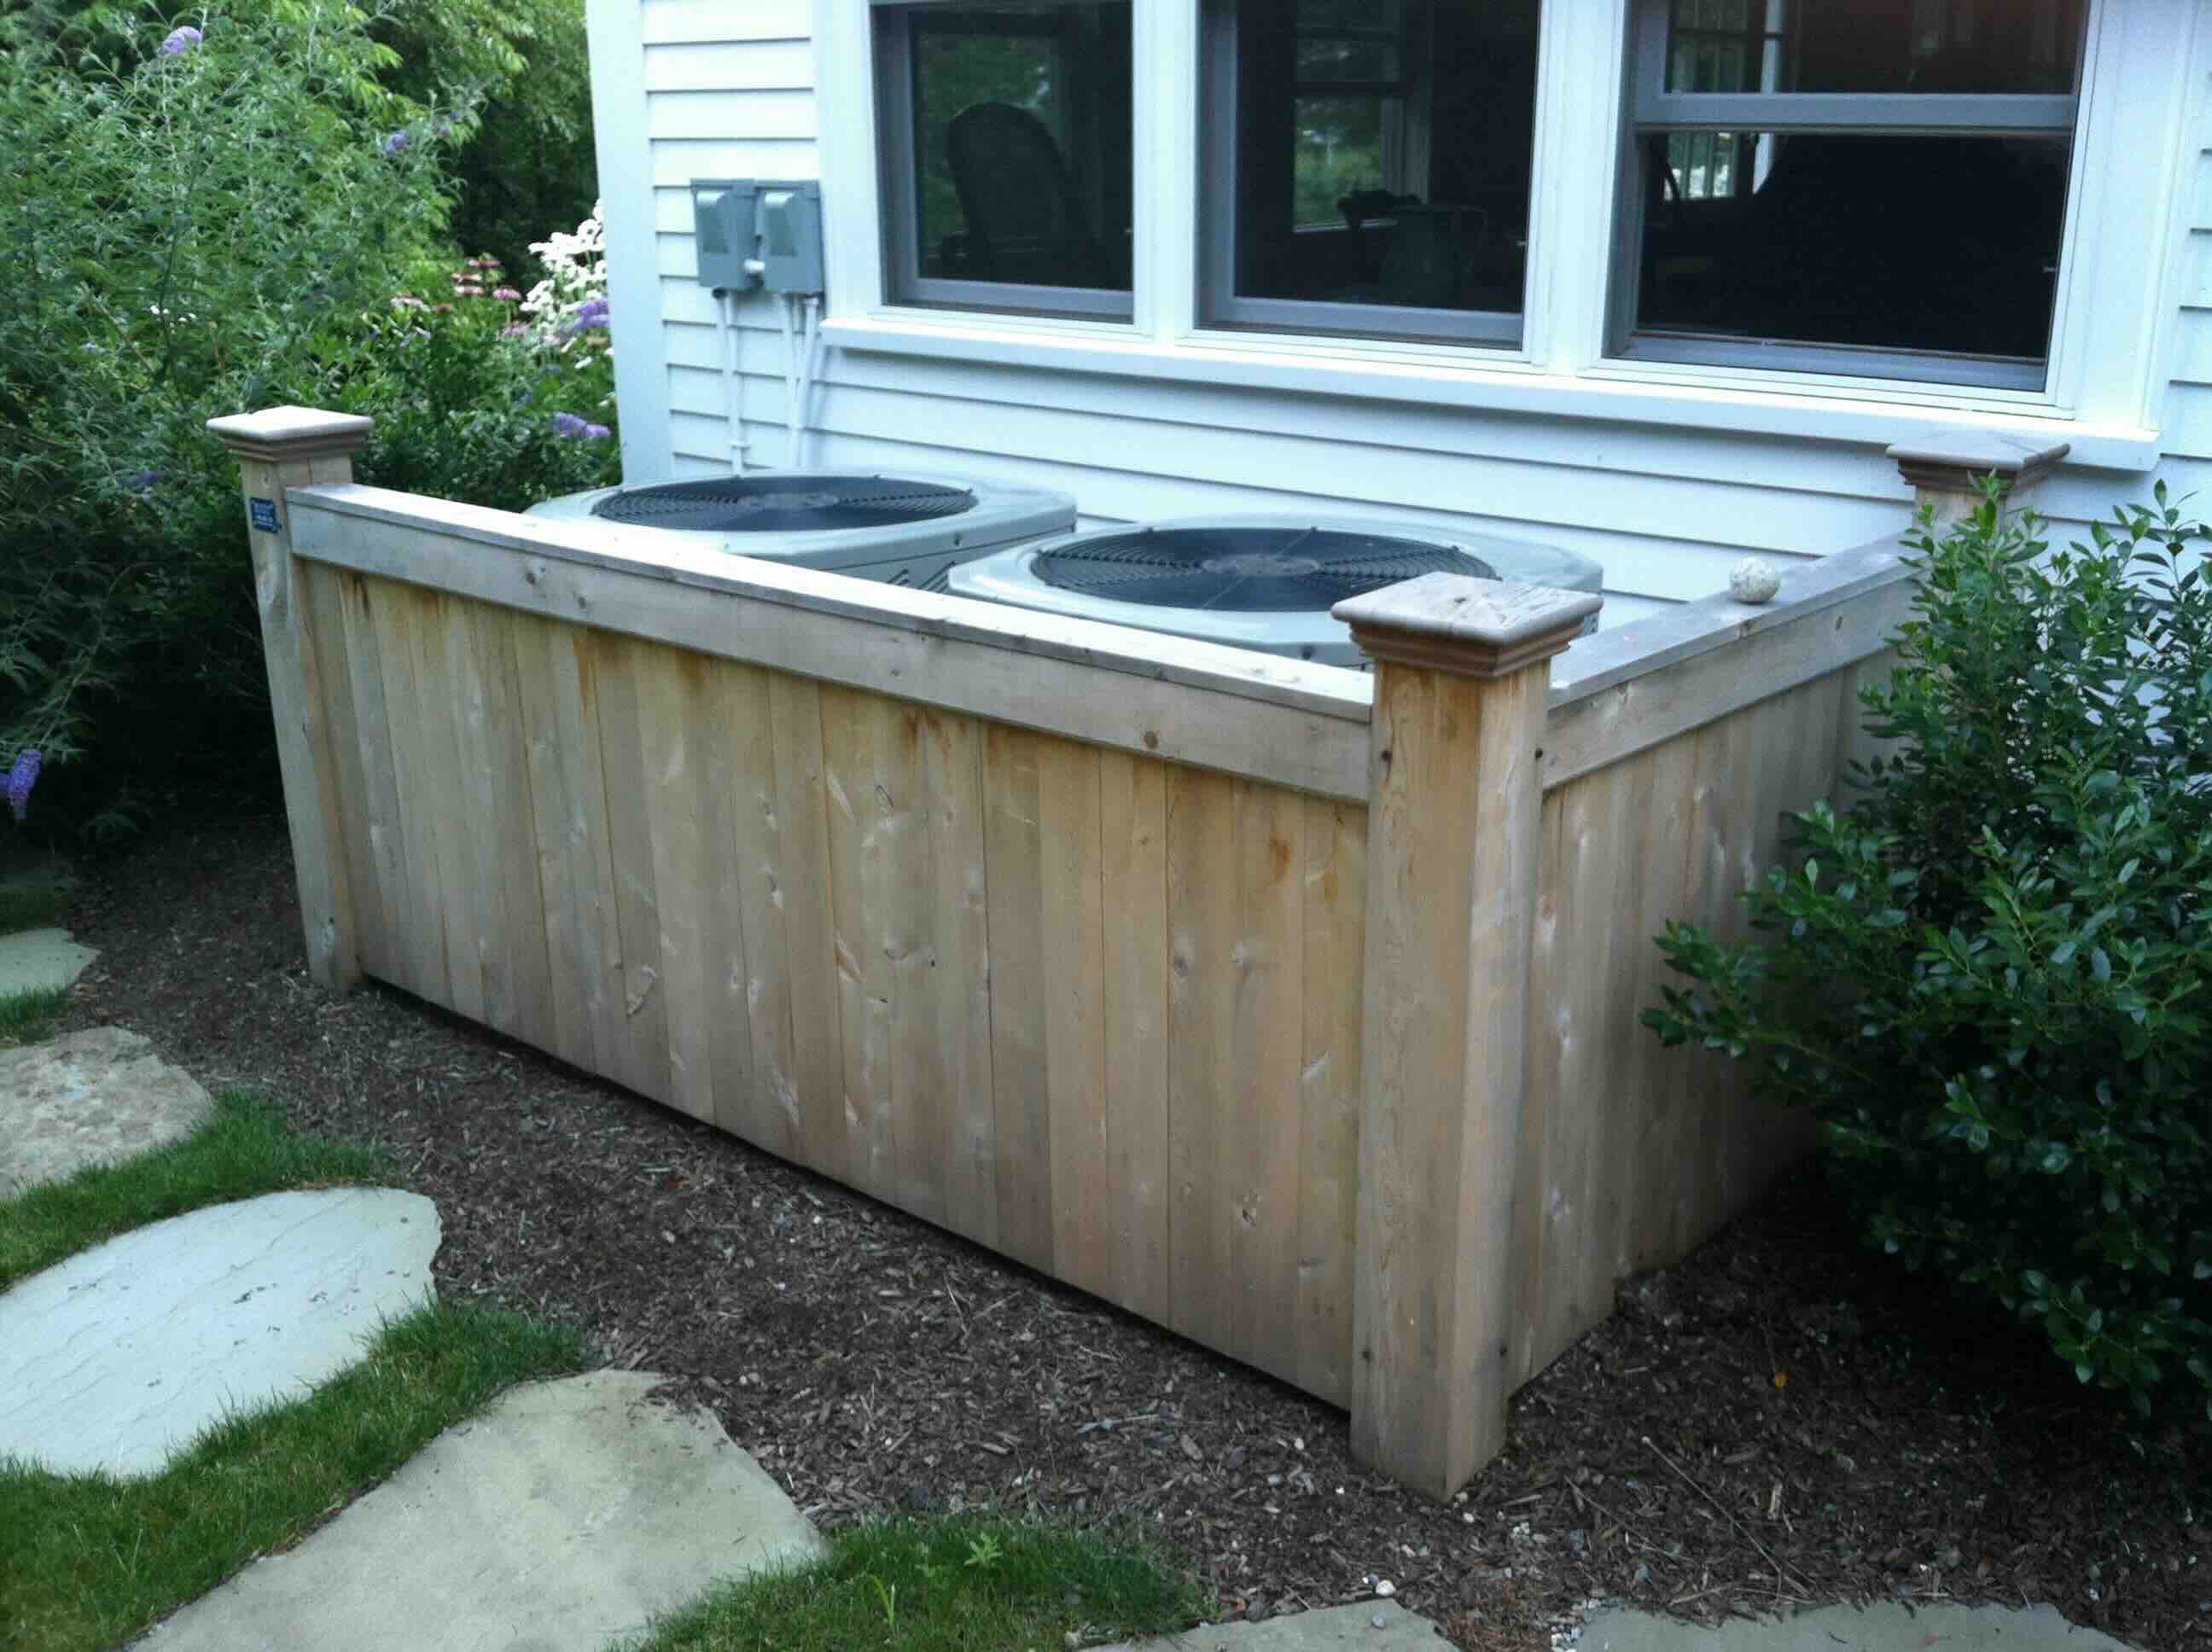
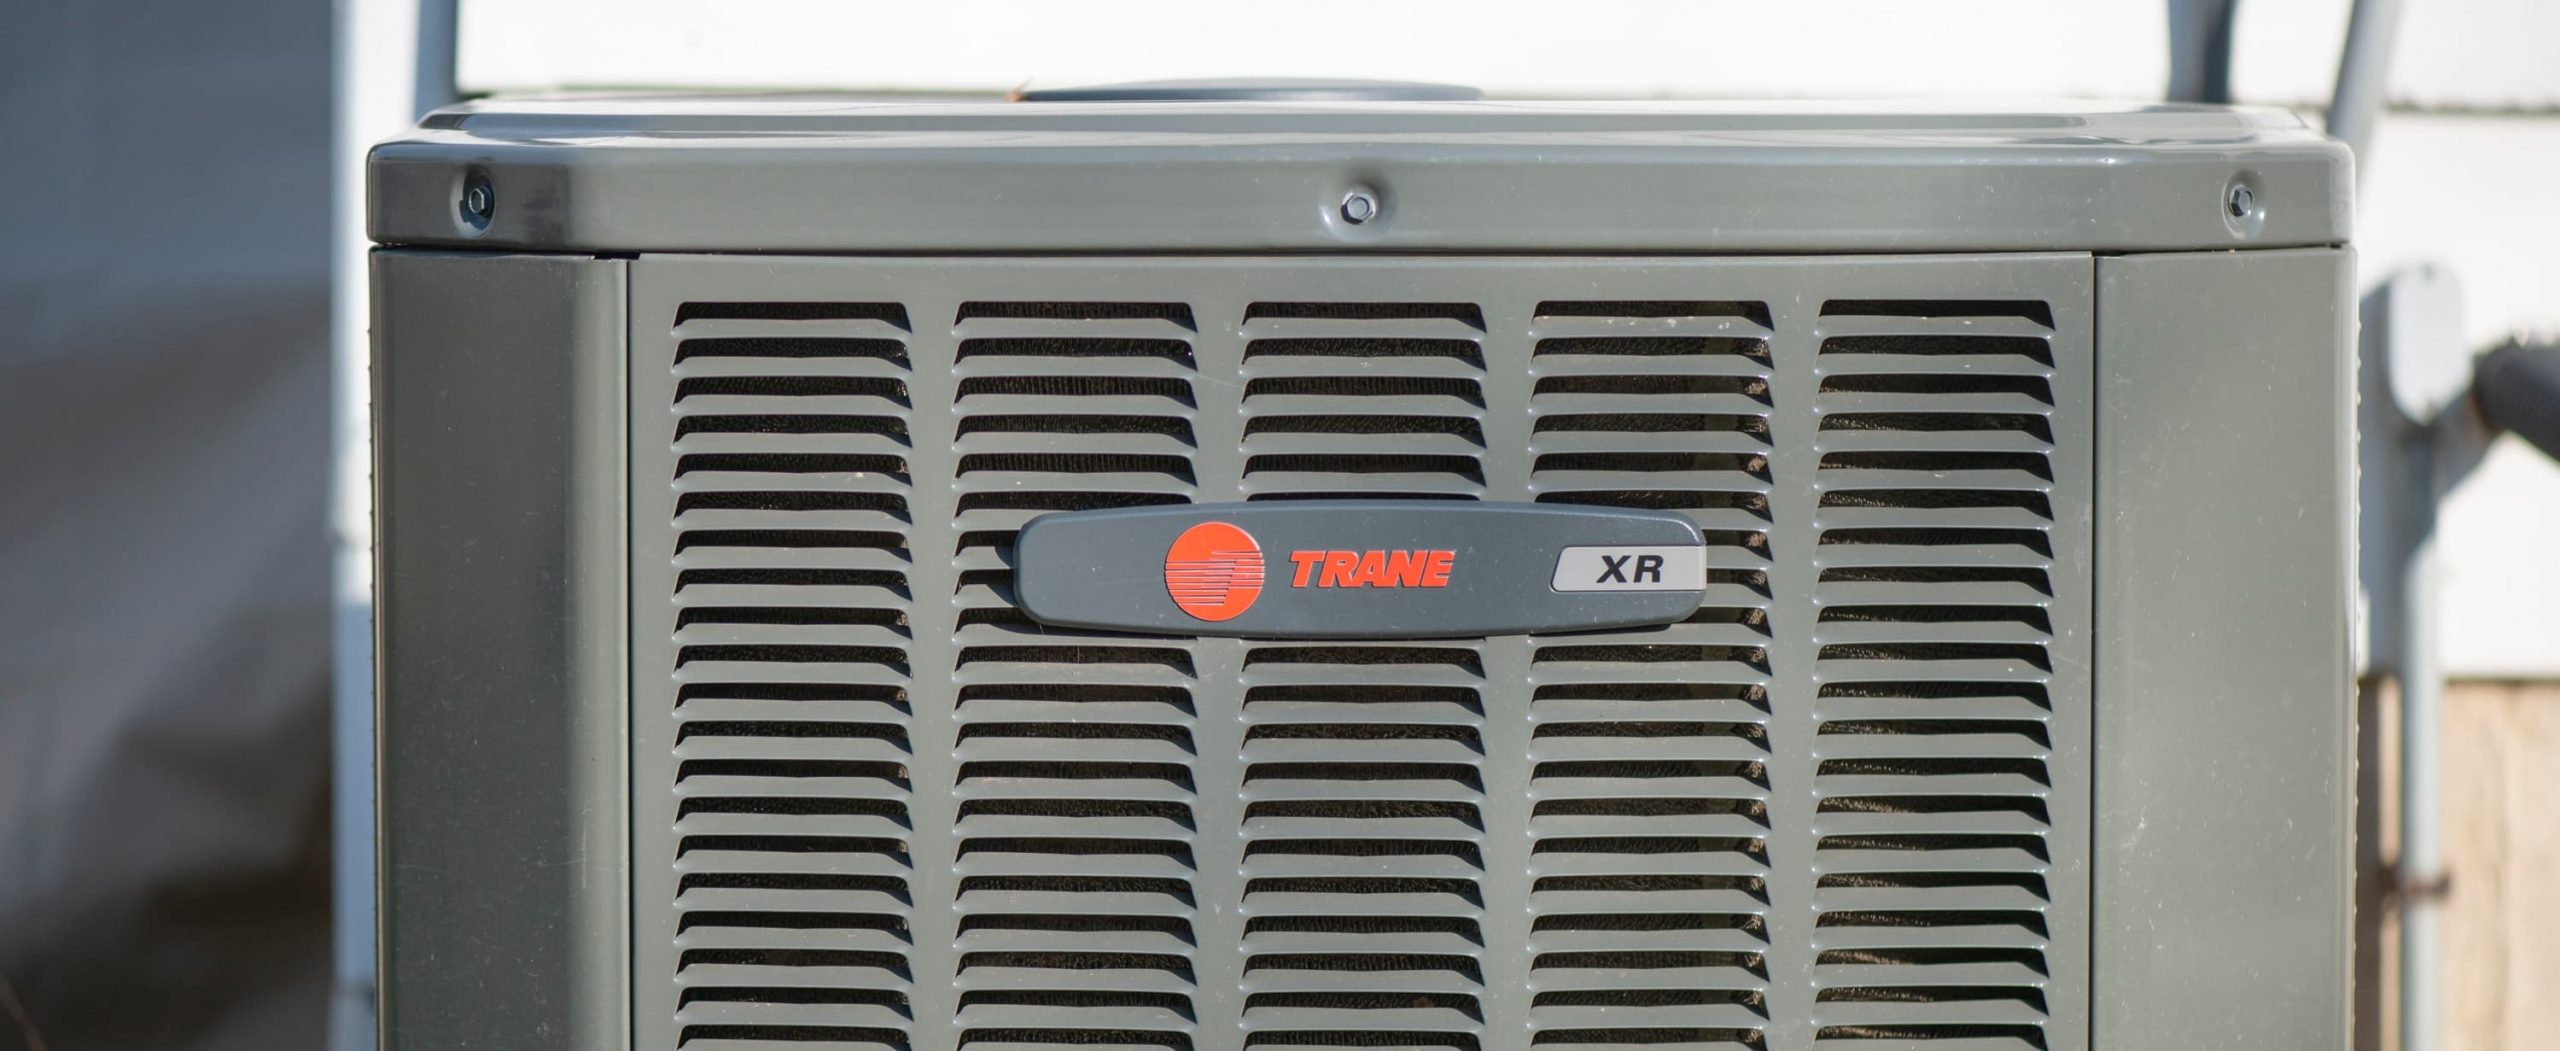
The outside unit, also known as the condenser unit, is responsible for releasing heat from your home, allowing your air conditioner to effectively cool the air. Over time, dirt, dust, leaves, and other debris can accumulate on the outside unit, hindering its performance and efficiency. By regularly cleaning the outside of your air conditioner unit, you can improve its airflow, extend its lifespan, and potentially lower your energy bills.
This comprehensive guide will walk you through the step-by-step process of cleaning the outside of your air conditioner unit. Following these instructions will help you maintain the optimum performance of your air conditioner and ensure a comfortable and cool living environment.
Key Takeaways:
- Regularly cleaning the outside of your air conditioner unit improves its efficiency, extends its lifespan, and helps lower energy bills. Follow safety precautions and gather necessary materials for a smooth cleaning process.
- Prioritize safety, gather necessary materials, and follow the step-by-step cleaning process to maintain the optimal performance of your air conditioner unit. Regular maintenance ensures a cool and comfortable living environment.
Read more: How To Cover An Air Conditioner Outside
Safety Precautions
Before you begin cleaning the outside of your air conditioner unit, it is essential to prioritize safety. Taking the necessary precautions will minimize the risk of accidents or injuries. Here are some safety guidelines to follow:
- Turn off the power: Before starting any maintenance work on your air conditioner unit, shut off the power to the unit. This can be done by turning off the circuit breaker that supplies electricity to the unit. This prevents any accidental electrical shock during the cleaning process.
- Wear protective gear: It is vital to protect yourself while cleaning the unit. Wear gloves, safety goggles, and a dust mask to shield yourself from dust, debris, and any potential allergens or irritants.
- Avoid contact with moving parts: The fan blades and other components of the outside unit may still be spinning even when the power is off. Take caution not to touch any moving parts to avoid injuries.
- Use a sturdy ladder: If you need to access the top of the unit or any hard-to-reach areas, use a stable ladder to ensure your safety. Make sure the ladder is on a level surface and that someone is nearby to assist if necessary.
- Inspect the area before starting: Before you begin cleaning, survey the area around the unit. Look for any potential hazards, such as sharp objects or loose wires, and remove them to create a safe working environment.
- Follow manufacturer’s instructions: Different air conditioner units may have specific cleaning requirements or unique safety guidelines. Always refer to the manufacturer’s instructions or user manual for guidelines specifically tailored to your unit.
By adhering to these safety precautions, you can ensure a safe and secure environment while cleaning the outside of your air conditioner unit, minimizing the risk of accidents or injuries.
Necessary Materials
Before you begin cleaning the outside of your air conditioner unit, gather the necessary materials. Having these items on hand will make the process smoother and more efficient. Here’s a list of the materials you will need:
- Garden hose: A garden hose with a nozzle attachment will be your primary tool for cleaning the unit. Make sure the hose is long enough to reach the outside unit from a water source.
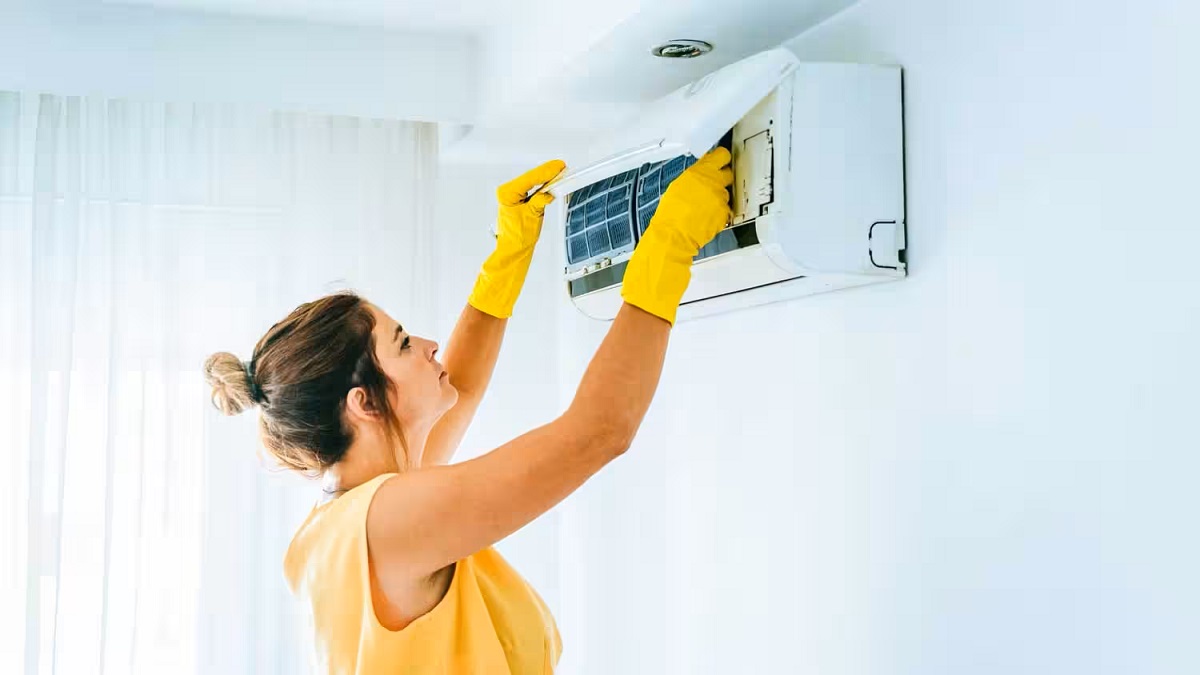
- Soft brush or vacuum cleaner: You will need a soft brush or a vacuum cleaner with a brush attachment to remove dirt, dust, and debris from the unit’s exterior.
- Coil cleaner solution: To effectively clean the coils of your air conditioner, you may need a coil cleaner solution. Make sure to choose a cleaner that is compatible with your specific unit and follow the manufacturer’s instructions for proper usage.
- Fin comb: A fin comb is a handy tool for straightening any bent coil fins on the unit. These fins are delicate and can easily be damaged, so using a fin comb will help restore their original shape.
- Screwdriver: In some cases, you may need a screwdriver to remove the fan cage or access certain parts of the unit. Make sure you have the appropriate size and type of screwdriver for your specific unit.
- Towels or rags: Keep some towels or rags handy to wipe away excess water or to protect nearby surfaces from water spillage during the cleaning process.
- Protective gear: As mentioned in the safety precautions, have gloves, safety goggles, and a dust mask ready to protect yourself from debris, dust, and any potential allergens.
By ensuring you have all the necessary materials before you start, you can clean the outside of your air conditioner unit effectively and efficiently, without any interruptions or delays.
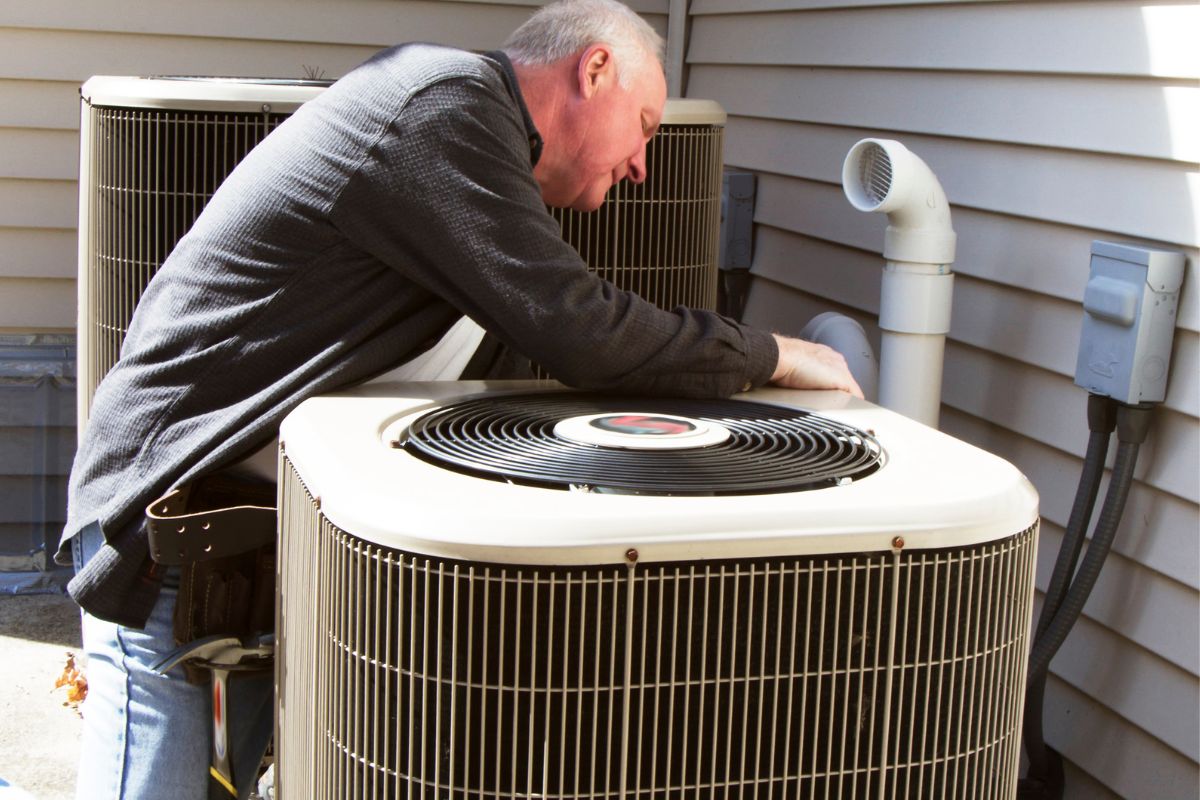
Step 1: Shut Off the Power
Before you begin cleaning the outside of your air conditioner unit, it is crucial to shut off the power to ensure your safety. By turning off the power, you will prevent any potential electrical hazards during the cleaning process. Here’s how to do it:
- Locate the circuit breaker that supplies electricity to your air conditioner unit. It is usually found in your main electrical panel or a separate panel dedicated to your HVAC system.
- Identify the circuit breaker that corresponds to your air conditioner unit. Typically, it is labeled as “AC” or “Air Conditioner.”
- Flip the switch to the “Off” position to shut off the power to the unit.
- As an added safety precaution, you can use a voltage tester to ensure that the power is indeed off. Simply touch the tester to the electrical connections within the unit. If there is no electrical current detected, it is safe to proceed.
Once the power is safely turned off, you can proceed with confidence to the next steps of cleaning the outside of your air conditioner unit.
Step 2: Clear Away Debris
Clearing away debris is an essential step in cleaning the outside of your air conditioner unit. Over time, leaves, grass clippings, dirt, and other debris can accumulate on and around the unit, obstructing airflow and affecting its performance. Follow these steps to clear away debris effectively:
- Start by removing any large debris, such as sticks or leaves, from the top and sides of the unit. Use your hands or a small broom to gently sweep away the debris.
- Next, use a soft brush or a vacuum cleaner with a brush attachment to carefully clean the exterior of the unit. Be thorough in removing any dirt or dust that has accumulated on the surfaces.
- If there is grass or vegetation growing around the unit, trim it back to ensure adequate airflow. Use gardening shears or a small trimmer to trim any overgrown grass or plants.
- Check the area beneath the unit and remove any debris or objects that may be blocking the airflow. This includes rocks, mulch, or any other items that may have collected under the unit.
- Inspect the area around the unit as well. Ensure that there are no obstructions, such as furniture or plants, that may impede the airflow. Clear any objects that are too close or may restrict the unit’s ventilation.
By clearing away debris, you are allowing for proper airflow around your air conditioner unit, which is essential for its efficient operation. This step helps maintain optimal performance and prevents potential issues caused by blockages.
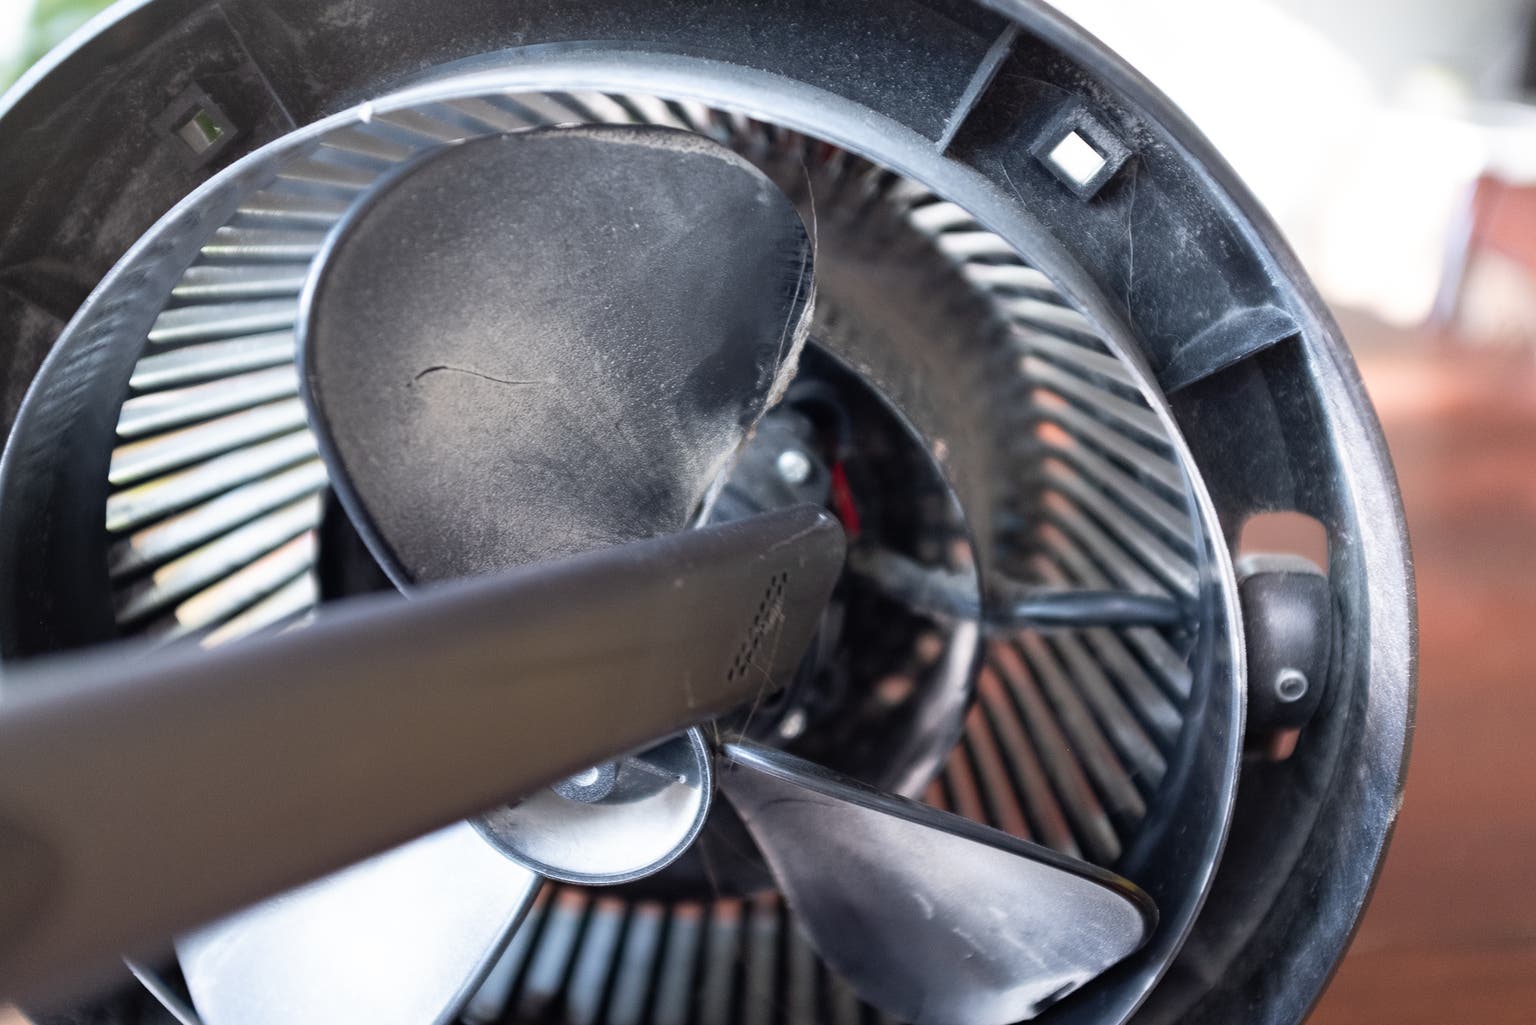
Step 3: Remove the Fan Cage
In order to thoroughly clean the coils and fan blades, you will need to remove the fan cage from the outside unit. Follow these steps to safely remove the fan cage:
- Locate the screws or fasteners that secure the fan cage to the unit. These are typically located on the top or sides of the unit.
- Using a screwdriver, carefully remove the screws or fasteners that hold the fan cage in place. Set the screws aside in a safe place, as you will need them when reassembling the unit.
- Once the screws or fasteners are removed, gently lift the fan cage straight up to detach it from the unit. Take care not to bend or damage the fan blades or any delicate components.
- Place the fan cage in a safe location away from the cleaning area, such as on a towel or a clean surface. This will prevent it from getting dirty or damaged during the cleaning process.
Removing the fan cage will provide you with better access to the coils and fan blades, allowing for a more thorough cleaning. Remember to handle the fan cage with care, as it is a delicate component of your air conditioner unit.
Regularly clean the outside of your air conditioner unit by removing any debris, such as leaves and dirt, and gently spraying it with a hose to remove built-up grime. This will help maintain its efficiency and prolong its lifespan.
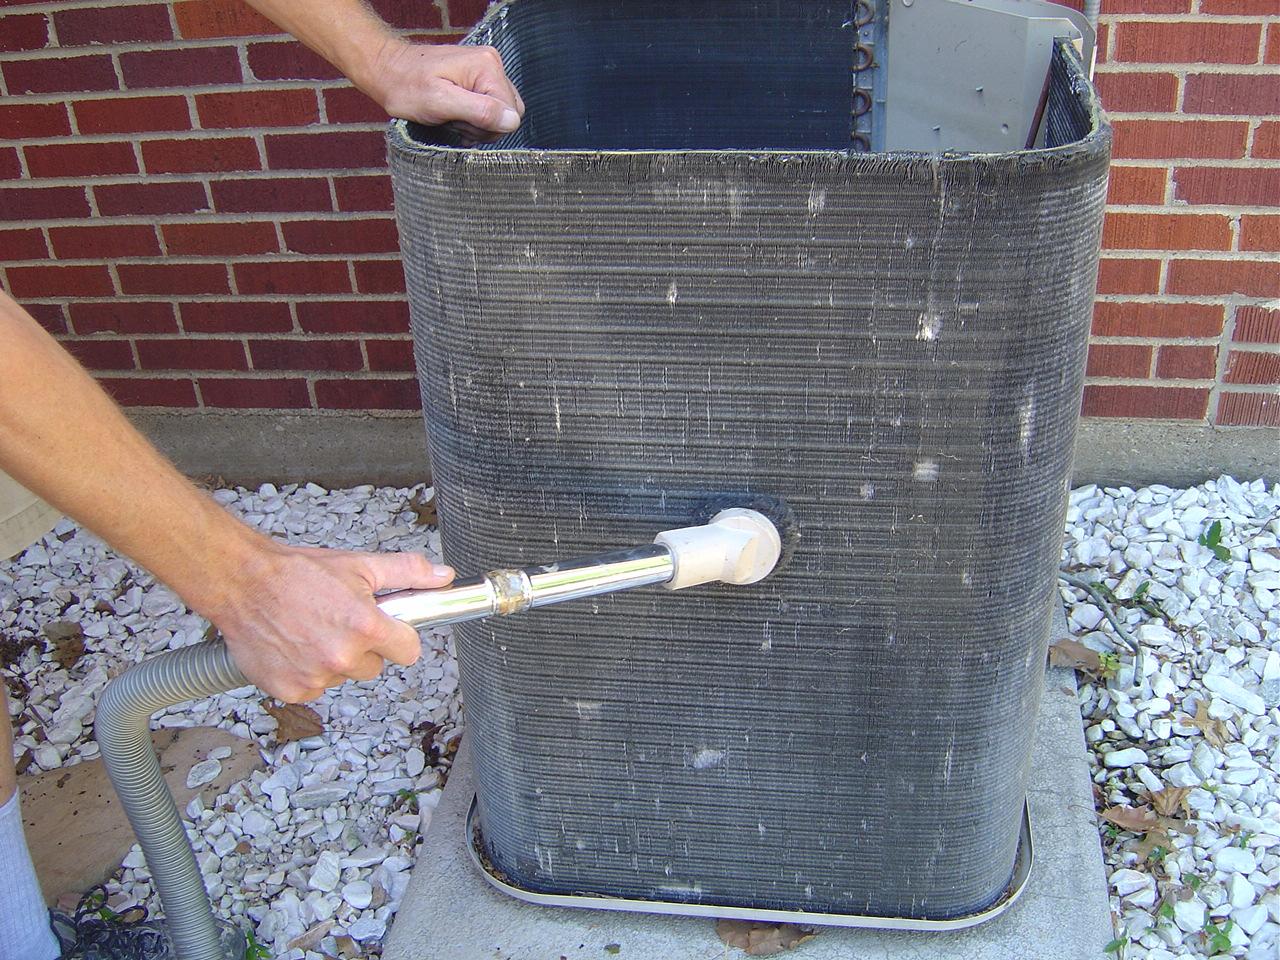
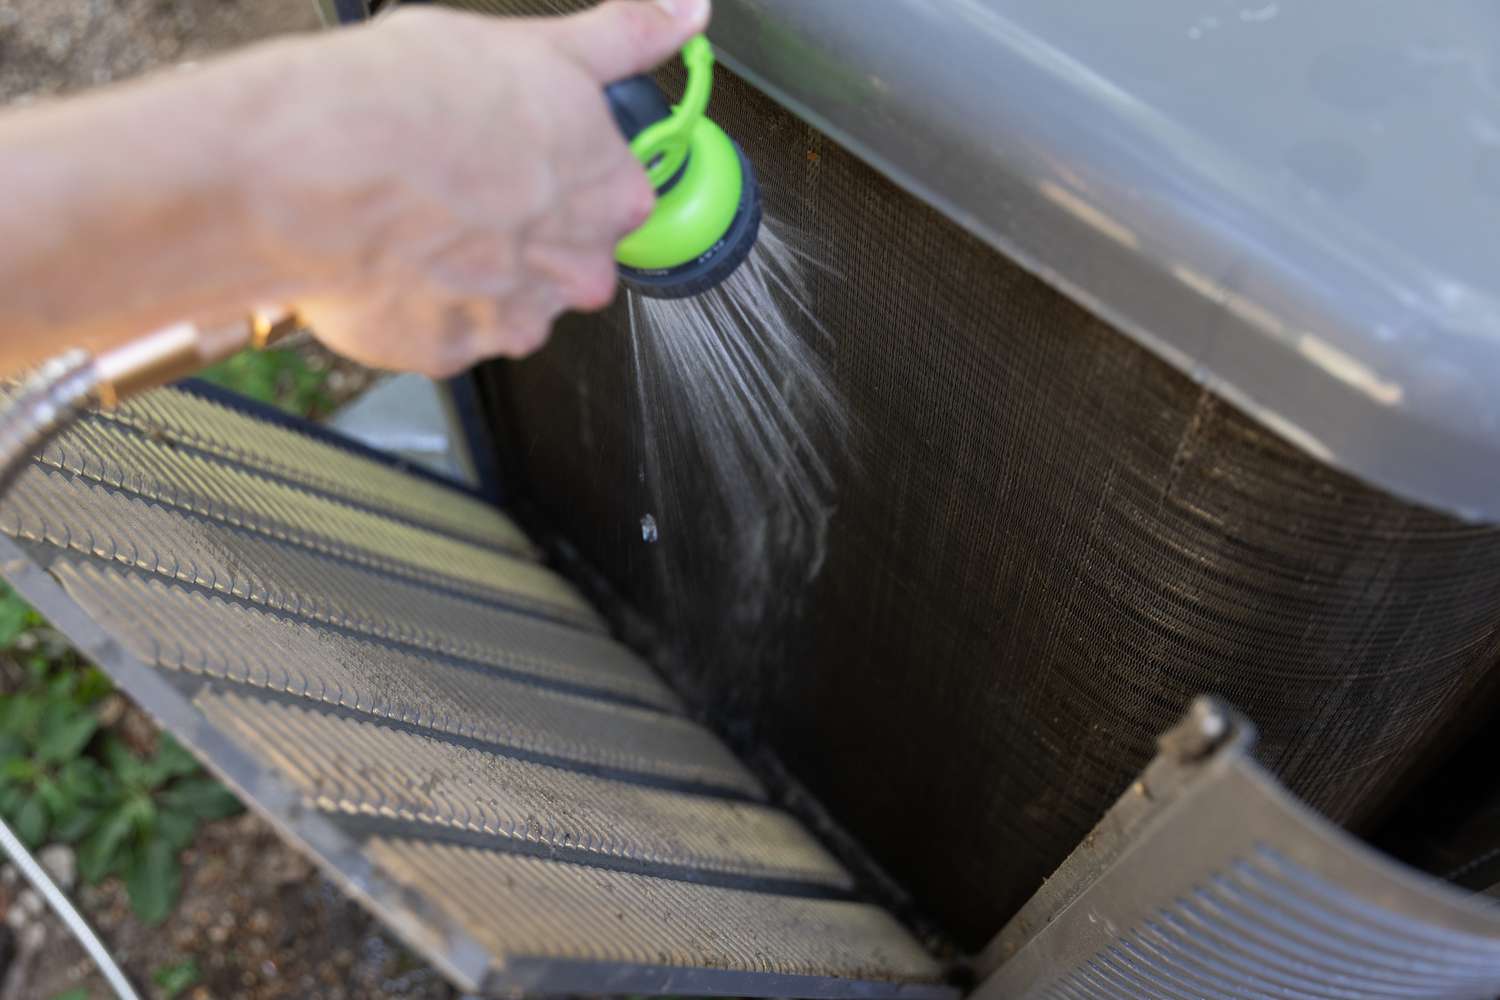
Step 4: Clean the Coils
Cleaning the coils is an essential part of maintaining the outside of your air conditioner unit. Over time, dirt and debris can accumulate on the coils, reducing their efficiency and hindering the cooling process. Here’s how to effectively clean the coils:
- Start by spraying the coils with water using a garden hose. Use moderate water pressure to ensure thorough cleaning without damaging the coils.
- If the coils are particularly dirty or covered in grime, you may need to use a coil cleaner solution. Follow the manufacturer’s instructions on how to use the solution properly. Apply the coil cleaner to the coils and allow it to sit for the recommended amount of time.
- After the coil cleaner has had time to work, rinse the coils with water again to remove any remaining dirt or residue. Ensure that all traces of the cleaning solution are thoroughly washed away.
- Pay special attention to the area between the coils, as this is where debris tends to get trapped. Use a soft brush or a fin comb to gently remove any stubborn dirt or debris from the coil fins.
- Continue rinsing the coils with water until they are clean and free from any dirt or cleaning solution. Make sure to rinse from top to bottom to ensure thorough cleaning.
- Allow the coils to air dry completely before proceeding to the next step.
Cleaning the coils will help maintain the efficiency of your air conditioner unit and ensure proper heat transfer from your home. By removing dirt and debris, you are helping to prolong the lifespan of your unit and prevent potential issues caused by clogged coils.
Step 5: Straighten Coil Fins
After cleaning the coils, it’s important to straighten any bent or damaged coil fins. The coil fins are the thin metal pieces that surround the coils, and they play a crucial role in the airflow and heat transfer process. Here’s how you can straighten the coil fins:
- Inspect the coil fins carefully to identify any bent or misaligned fins. Bent fins can restrict the airflow and hinder the efficiency of your air conditioner unit.
- Using a fin comb, gently run the comb through the fins, starting at the top and working your way down. The fin comb will help straighten out the bent fins and restore their original shape.
- Be cautious not to apply too much pressure when using the fin comb to avoid damaging or breaking the fins. Use a gentle but firm motion to straighten each individual fin.
- Continue working through the coil fins, ensuring that all bent fins are straightened out. Take your time to ensure thoroughness and accuracy.
- Inspect the fins again after straightening to make sure they are aligned properly and there are no bent or damaged fins remaining.
Straightening the coil fins will improve the airflow around the coils, allowing for better heat transfer and energy efficiency. It’s an important step in the maintenance of your air conditioner unit and will contribute to its optimal performance.
Step 6: Clean the Fan Blades
Cleaning the fan blades is crucial for ensuring proper airflow and optimal performance of your air conditioner unit. Over time, dust, dirt, and debris can accumulate on the blades, reducing their efficiency. Here’s how to effectively clean the fan blades:
- Start by inspecting the fan blades for any visible debris or dirt. Use a soft brush or a vacuum cleaner with a brush attachment to gently remove any loose debris.
- If there is stubborn dirt or grime on the blades, mix a mild detergent with water to create a cleaning solution. Dip a soft cloth or sponge into the solution and wring out any excess.
- Gently wipe down each fan blade, ensuring that all surfaces are thoroughly cleaned. Pay attention to both sides of the blades, as well as the edges.
- Rinse the fan blades with clean water to remove any residue from the cleaning solution. Make sure all soap or detergent is completely removed.
- Allow the fan blades to air dry before reattaching them to the unit. Ensure that they are fully dry to prevent any damage or corrosion.
Cleaning the fan blades will improve the airflow and prevent any obstructions that may hinder the performance of your air conditioner unit. It’s an important step in maintaining the efficiency of your system and ensuring a comfortable living environment.
Step 7: Reassemble the Unit
After completing the cleaning process, it’s time to reassemble the outside unit of your air conditioner. Follow these steps to ensure a proper reassembly:
- Retrieve the fan cage that you removed earlier. Gently line up the screw holes on the fan cage with the corresponding holes on the unit.
- Use a screwdriver to secure the fan cage in place by reinstalling the screws or fasteners. Make sure they are tightened properly but not overly tightened, as this can damage the unit.
- Double-check that the fan cage is securely attached to the unit and there are no loose parts.
- Inspect the area around the unit to ensure there are no tools or debris left behind.
- Turn on the power to the unit by flipping the circuit breaker back to the “On” position. Listen for the sound of the air conditioner unit starting up.
- Observe the unit to verify that it is functioning properly. Check for any unusual noises or issues with airflow.
Reassembling the unit is an important final step to complete the cleaning process. Properly securing the fan cage ensures that the unit operates efficiently and safely.
Step 8: Trim Surrounding Vegetation
Trimming the surrounding vegetation is an important step in maintaining the optimal performance of your air conditioner unit. Overgrown trees, shrubs, and plants can obstruct airflow, reduce efficiency, and potentially cause damage to the unit. Follow these steps to trim the vegetation around your unit:
- Identify any plants or shrubs that are in close proximity to the unit. These may include bushes, branches, vines, or other vegetation that may interfere with the proper functioning of the unit.
- Using gardening shears or a small trimmer, carefully trim back any branches or foliage that are directly touching or obstructing the unit. This includes any growth that is within a 2-foot radius around the unit.
- Pay attention to the top of the unit as well, since overhanging branches can lead to debris falling onto the unit and potentially causing damage.
- Remove any dead leaves, sticks, or other debris that may have collected around the unit. Dispose of the debris properly to prevent it from getting back into the unit or clogging up the area again.
- Regularly monitor the vegetation in the area and trim it as necessary to prevent it from encroaching on the unit. Ideally, there should be a clearance of at least 2-3 feet around the unit to ensure proper airflow.
By trimming the surrounding vegetation, you can ensure unobstructed airflow to the unit, which is crucial for its efficient operation. This step will help improve the cooling performance and extend the lifespan of your air conditioner.
Conclusion
Maintaining the outside of your air conditioner unit is essential to ensure its optimal performance and longevity. By following the step-by-step cleaning process outlined in this guide, you can effectively clean your unit and keep it in top shape. Regular cleaning and maintenance not only improve the efficiency of your air conditioner but also enhance its cooling capabilities, leading to a more comfortable living environment.
Throughout the cleaning process, it is crucial to prioritize safety by following the necessary precautions and using the recommended protective gear. By ensuring your safety, you can carry out the cleaning process with confidence and peace of mind.
Remember to gather the necessary materials before you begin the cleaning process, including a garden hose, soft brush or vacuum cleaner, coil cleaner solution, and fin comb, among others. Having these materials on hand ensures a smooth and efficient cleaning experience.
Each step in the cleaning process plays a vital role in maintaining the performance of your air conditioner unit. Shutting off the power, clearing away debris, removing the fan cage, cleaning the coils, straightening coil fins, cleaning fan blades, reassembling the unit, and trimming surrounding vegetation all contribute to the overall efficiency and performance of your unit.
Regular maintenance and cleaning of your air conditioner unit will not only extend its lifespan but also help lower energy bills and prevent potential breakdowns. It is recommended to perform these cleaning steps at least once a year, ideally before the start of the cooling season.
By taking the time to clean and maintain the outside of your air conditioner unit, you can enjoy its cooling benefits effectively and efficiently for years to come.
Frequently Asked Questions about How To Clean The Outside Of An Air Conditioner Unit
Was this page helpful?
At Storables.com, we guarantee accurate and reliable information. Our content, validated by Expert Board Contributors, is crafted following stringent Editorial Policies. We're committed to providing you with well-researched, expert-backed insights for all your informational needs.