Home>Home Maintenance>How To Install A Heat Recovery Ventilation System
Home Maintenance
How To Install A Heat Recovery Ventilation System
Modified: March 6, 2024
Learn how to install a heat recovery ventilation system in your home with our step-by-step guide. Improve indoor air quality and save energy with this essential home maintenance project.
(Many of the links in this article redirect to a specific reviewed product. Your purchase of these products through affiliate links helps to generate commission for Storables.com, at no extra cost. Learn more)
Introduction
Welcome to our comprehensive guide on how to install a heat recovery ventilation system for your home. Proper ventilation is crucial for maintaining a healthy and comfortable living environment, and a heat recovery ventilation (HRV) system can help achieve just that. In this article, we will walk you through the process of planning, purchasing, and installing an HRV system, ensuring that you can enjoy the benefits of improved indoor air quality and energy efficiency.
An HRV system extracts stale air from your home while simultaneously bringing in fresh outdoor air. The heat recovery component of the system allows the outgoing warm air to transfer its heat to the incoming cold air, minimizing heat loss in the process. This not only improves indoor air quality but also helps to reduce energy consumption and lower heating costs.
Installing an HRV system involves several steps, including planning and preparation, purchasing the necessary equipment, connecting the ductwork, wiring and controls, testing and adjustments, and ongoing maintenance.
Throughout this guide, we will provide you with detailed instructions and tips to ensure a successful installation. But before we dive into the technical aspects, make sure to check your local building codes and regulations to ensure compliance. It is also recommended to consult with a professional if you are unsure about any step of the process.
So, let’s get started on this journey to a healthier and more energy-efficient home by learning how to install a heat recovery ventilation system.
Key Takeaways:
- Installing a heat recovery ventilation (HRV) system involves planning, purchasing equipment, and careful installation to improve indoor air quality and energy efficiency in your home. It’s like giving your home a breath of fresh air while saving on heating costs!
- Regular maintenance, testing, and adjustments are essential for keeping your HRV system running smoothly. Just like taking care of a plant, cleaning filters, checking airflow, and scheduling professional maintenance will ensure your home stays fresh and comfortable.
Understanding Heat Recovery Ventilation
Before delving into the installation process, it’s essential to have a clear understanding of how a heat recovery ventilation (HRV) system works. HRV systems are designed to provide fresh air to a home while removing stale air, all while recovering as much heat as possible in the process.
The basic principle of an HRV system involves two main components: an intake vent and an exhaust vent. The intake vent brings in fresh outdoor air, and the exhaust vent expels the stale indoor air. These vents are usually located on opposite sides of the house to ensure proper circulation.
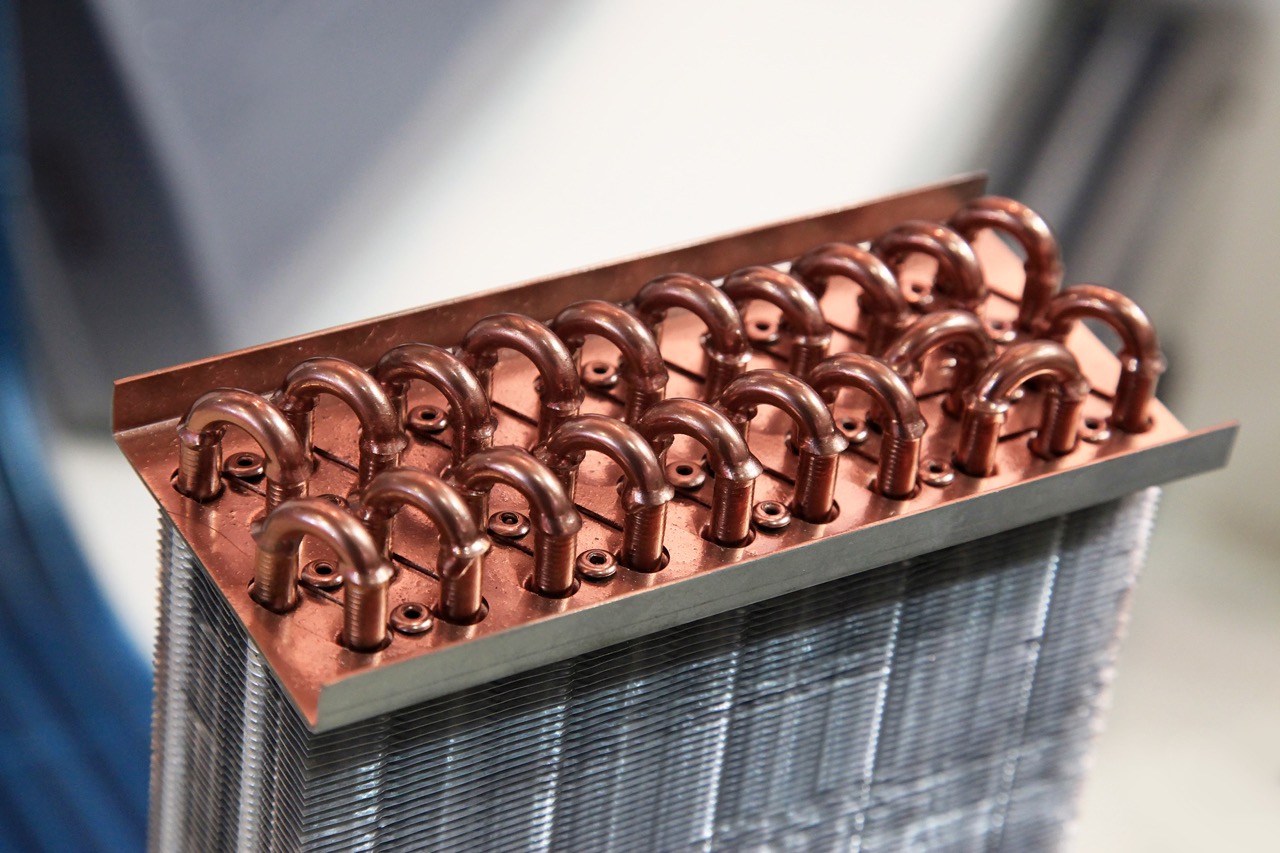
What sets an HRV system apart from a standard ventilation system is the heat recovery core. This core is a heat exchanger that allows the outgoing warm air to transfer its heat to the incoming cold air. The heat recovery core can consist of various materials, such as aluminum or plastic, and is designed to maximize heat transfer efficiency.
As the warm, stale air from inside the house passes through the exhaust vent, it flows through the heat recovery core. At the same time, the cold, fresh air from outside the house enters the intake vent and also passes through the heat recovery core. The heat from the warm air is transferred to the cold air without the two air streams mixing.
By recovering the heat from the exhaust air, an HRV system can significantly reduce the overall energy consumption of a home. This is particularly beneficial during the colder months when heating costs can be high. The heat recovery component allows you to maintain a comfortable indoor temperature while continuously introducing fresh air.
In addition to energy efficiency, HRV systems also help improve indoor air quality. They remove excess moisture, airborne contaminants, and odors, replacing them with fresh outdoor air. This can be especially valuable in tightly sealed homes that are more prone to poor indoor air quality.
Now that you have a basic understanding of how an HRV system operates, we can move on to the planning and preparation phase of the installation process.
Planning and Preparation
Proper planning and preparation are crucial for a successful installation of a heat recovery ventilation (HRV) system. This phase involves assessing your home’s ventilation needs, determining the ideal location for the HRV unit, and ensuring necessary permits and permissions are obtained.
1. Ventilation Needs: Begin by evaluating your home’s ventilation requirements. Consider factors such as the size of your home, the number of occupants, and the level of existing ventilation. You can consult with a professional or use online calculators to determine the appropriate airflow rate for your specific needs.
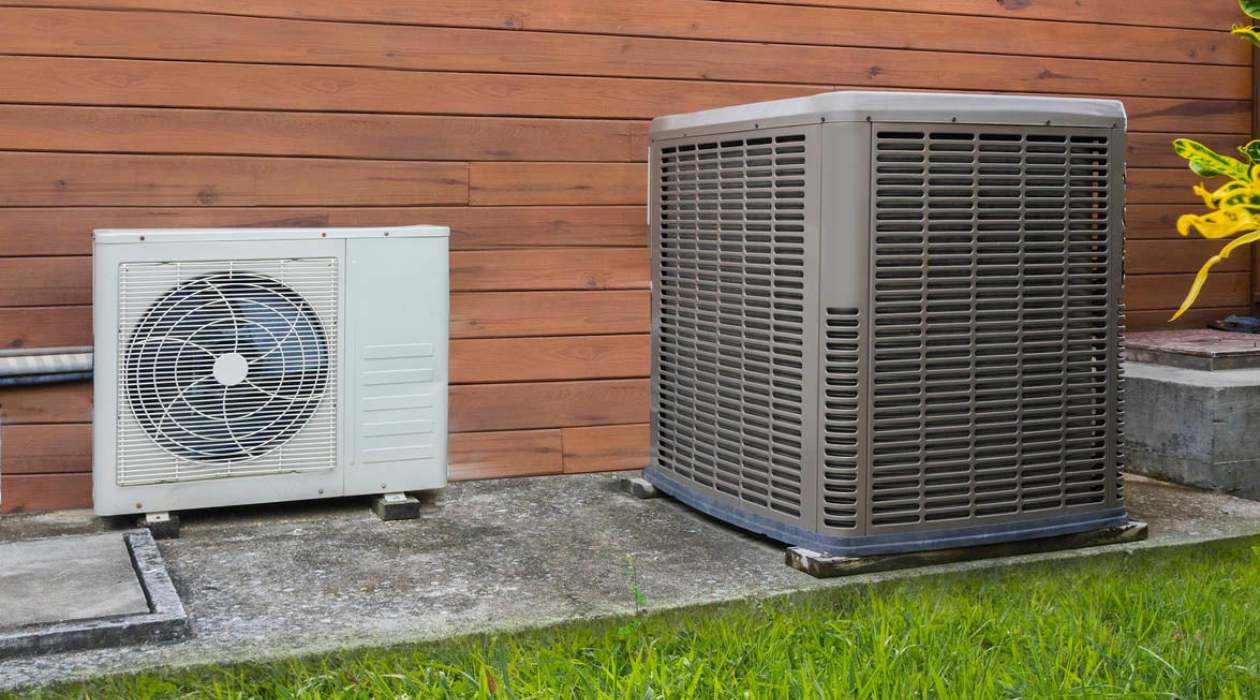
2. Location: Identify an optimal spot to install the HRV unit within your home. Typically, this is a central location, such as the basement, attic, or utility room. Ensure there is sufficient space for the unit and easy access for maintenance and servicing.
3. Ductwork: Assess your home’s existing ductwork or plan the installation of new ductwork. The HRV system requires both an intake and an exhaust duct, so ensure that proper routing can be achieved without any obstructions or obstacles.
4. Permitting: Check with your local building authority to see if any permits or approvals are necessary for installing an HRV system. Compliance with local regulations is essential to ensure safety and adherence to building codes.
5. Power Source: Determine the power source for the HRV unit. It typically requires a dedicated electrical circuit. Ensure that the power source is easily accessible and meets the system’s voltage and amperage requirements.
6. Condensation Drainage: Consider a suitable method for condensation drainage. HRV units generate condensation, so it’s essential to install a proper drainage system to prevent moisture buildup and potential damage.
7. Noise Considerations: Take into account potential noise generated by the HRV unit. If the unit will be installed in a living space or a noise-sensitive area, consider soundproofing options, such as adding insulation or choosing a unit with a quiet operation.
By thoroughly planning and preparing for the installation, you can ensure a smooth and efficient process. Once you have completed the necessary preparations, it’s time to proceed with the next step: purchasing the necessary equipment.
Purchasing the Necessary Equipment
Once you have completed the planning and preparation phase for installing your heat recovery ventilation (HRV) system, the next step is to purchase the necessary equipment. This includes selecting the right HRV unit, choosing compatible ductwork, and obtaining any additional components required for the installation.
1. HRV Unit: Begin by selecting an HRV unit that fits your home’s ventilation needs. Consider factors such as the airflow rate, energy efficiency, and warranty. Look for units with high heat recovery efficiency ratings to maximize energy savings. It is also beneficial to choose a unit that has easily accessible filters for maintenance purposes.
2. Ductwork: Choose appropriate ductwork for your HRV system installation. The ducts should be made of durable material, such as galvanized steel or flexible aluminum, and have the correct diameter to ensure proper airflow. Additionally, consider insulated ducts to minimize heat loss during the ventilation process.
3. Intake and Exhaust Vents: Select intake and exhaust vents that are compatible with your chosen HRV unit and ductwork. These vents should be designed to provide optimal airflow, prevent the entry of pests or debris, and have mechanisms for adjusting the airflow rate if needed.
4. Control System: Determine if your chosen HRV unit requires a control system for operation. This could include basic controls for adjusting fan speed and airflow, as well as more advanced options for setting up timers or connecting to smart home automation systems.
5. Additional Components: Depending on your specific installation requirements, you may need additional components such as mounting brackets, transition pieces for connecting the ductwork, backdraft dampers to prevent reverse airflow, or insulation materials for soundproofing or heat retention.
When purchasing equipment, it is advisable to consult with HVAC professionals or specialists in the field. They can provide guidance on selecting the right products and ensure compatibility within your home’s existing systems.
Once you have obtained all the necessary equipment, you are ready to move on to the actual installation process. In the next section, we will guide you through the steps involved in installing the HRV system in your home.
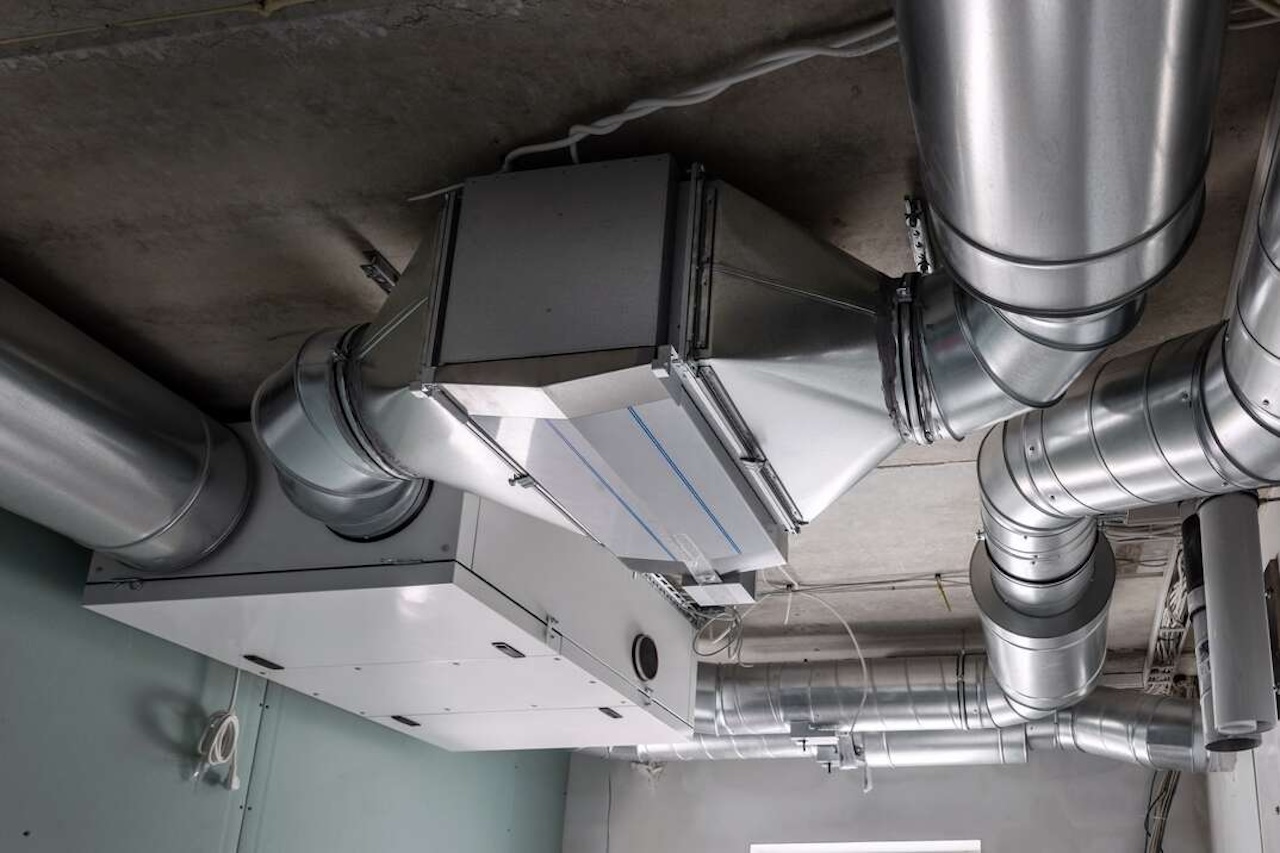
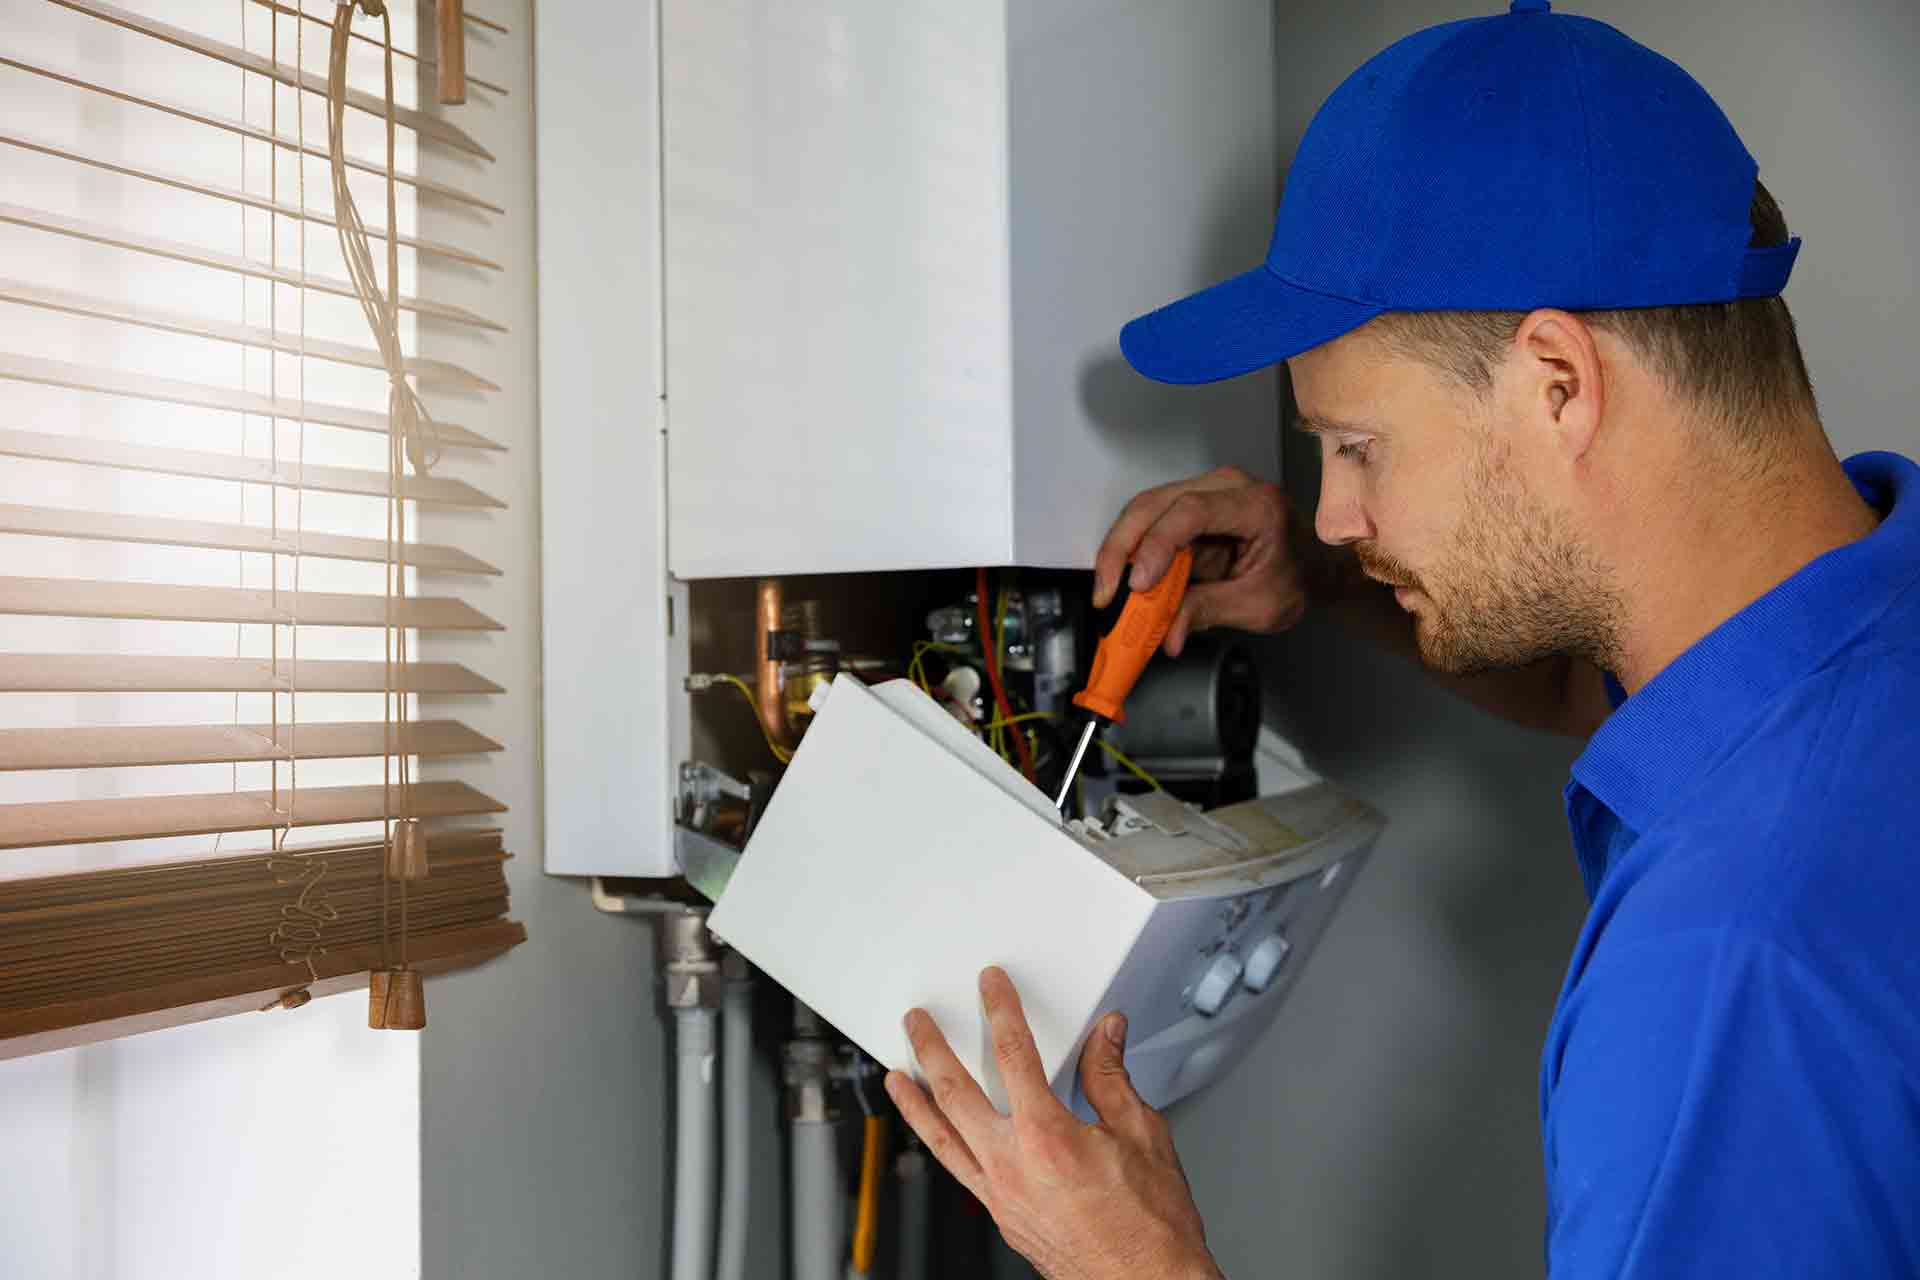
Installing the Heat Recovery Ventilation System
Now that you have completed the planning, preparation, and purchasing phases, it’s time to move on to the installation of your heat recovery ventilation (HRV) system. Follow these step-by-step instructions to ensure a successful installation:
1. Determine the Installation Location: Install the HRV unit in the previously determined location. Ensure that there is sufficient space and clearance around the unit for proper functioning and maintenance.
2. Mount the HRV Unit: Securely mount the HRV unit to the wall or floor using the provided mounting brackets or supports. Follow the manufacturer’s instructions for proper installation and make sure the unit is level and stable.
3. Connect the Intake and Exhaust Ducts: Connect the intake and exhaust ducts to the respective ports on the HRV unit. Use compatible duct connectors or transition pieces if necessary. Ensure that the connections are airtight, and secure them with appropriate clamps or tape.
4. Install the Intake and Exhaust Vents: Install the intake and exhaust vents on the exterior of your home. Position them in locations that allow for proper airflow and avoid obstructions. Use appropriate sealing materials to ensure a weather-tight seal around the vent openings.
5. Electrical Connections: Connect the HRV unit to a dedicated power source. Follow the manufacturer’s instructions and applicable electrical codes. Make sure to turn off the power before making any electrical connections and ensure all connections are secure and properly insulated.
6. Control System Setup (if applicable): If your HRV unit requires a control system, install it according to the manufacturer’s instructions. This may involve connecting wiring or programming the controls based on your preferences.
7. Test the System: Once the installation is complete, test the HRV system to ensure proper operation. Turn on the unit and verify that both the intake and exhaust fans are running smoothly. Check for any leaks or unusual noises. Additionally, test the control system to ensure it is functioning as intended.
8. Adjust Airflow Balance: Depending on your specific needs, you may need to adjust the airflow balance between the intake and exhaust vents. This can be done using the controls provided or by adjusting the dampers on the vents themselves.
9. Final Checks: Inspect the entire HRV system, including the ductwork and vents, to ensure everything is securely connected and properly sealed. Double-check all electrical connections and ensure that any condensation drainage systems are functioning correctly.
By following these installation steps carefully, you can successfully install your HRV system. In the next section, we will cover the process of connecting the ductwork for proper airflow throughout your home.
When installing a heat recovery ventilation system, make sure to properly seal all ductwork to prevent air leaks and maximize energy efficiency.
Connecting the Ductwork
Connecting the ductwork is a crucial step in ensuring proper airflow throughout your home in the heat recovery ventilation (HRV) system. Follow these steps to connect the ductwork effectively:
1. Assess the Duct Layout: Before connecting the ducts, assess the layout of your home and determine the most efficient and practical routing for the intake and exhaust ducts. Take into consideration any obstacles, such as walls, floors, or other fixed structures, and plan accordingly to minimize bends and obstructions in the ductwork.
2. Measure and Cut the Ducts: Measure and cut the duct sections according to your planned routing. Use appropriate tools, such as tin snips or a duct cutter, to make clean and precise cuts.
3. Connect Duct Sections: Connect the duct sections using compatible connectors or fittings. Secure the joints with metal screws or duct tape to ensure airtight connections. Avoid sharp bends or kinks that could restrict airflow.
4. Install Dampers (if applicable): Depending on your HRV system and duct design, you may need to install dampers to regulate airflow. Dampers are typically installed at strategic points in the ductwork and can be adjusted to balance the intake and exhaust airflows.
5. Insulate Ducts (if necessary): Consider insulating the ducts, especially if they pass through unconditioned spaces such as crawl spaces or attics. Insulation helps prevent heat loss or gain and ensures that the airflow remains at the desired temperature.
6. Secure Ducts in Place: Once the duct sections are connected, use metal hangers, straps, or clamps to secure them in place. This ensures that the ductwork remains stable and properly aligned, minimizing the risk of leaks or damage.
7. Seal Duct Joints: After securing the ducts, seal all joints and connections with duct mastic or aluminum foil tape. This provides an airtight seal, preventing air leakage and maintaining efficient airflow throughout the system.
8. Test the Airflow: Once the ductwork is fully connected and properly sealed, test the airflow by turning on the HRV system. Ensure that air is flowing smoothly through both the intake and exhaust vents. Make any necessary adjustments to the dampers or airflow balancing system to achieve the desired airflow distribution.
By carefully connecting the ductwork and ensuring a balanced airflow, you can maximize the effectiveness of your HRV system. In the next section, we will cover the wiring and controls required for the proper operation of the system.
Wiring and Controls
Proper wiring and controls are essential for the efficient and effective operation of your heat recovery ventilation (HRV) system. Follow these steps to ensure a successful wiring and control setup:
1. Electrical Requirements: Before starting the wiring process, ensure that you have the proper electrical supply to meet the HRV unit’s requirements. Check the voltage and amperage specifications in the manufacturer’s instructions, and ensure the power source matches these requirements.
2. Turn Off Power: Prior to any electrical work, turn off the power at the breaker box for the circuits that will be connected to the HRV unit. This ensures the safety of the installation process.
3. Determine Wiring Path: Plan the wiring path from the HRV unit to the nearest electrical junction or power source. Use appropriate electrical conduit or wiring channels to protect the wires and keep them organized.
4. Connect the Power Supply: Connect the HRV unit to the power supply, following the manufacturer’s instructions. Make sure to use the correct gauge of wiring and connect the corresponding wires (usually black for live, white for neutral, and green or copper for ground).
5. Install Control Wiring: If your HRV unit requires control wiring, such as for a control panel or advanced automation features, follow the manufacturer’s instructions to connect the control wiring appropriately.
6. Mount and Connect Control Panel: If your HRV system includes a separate control panel, mount it in a convenient and accessible location, following the manufacturer’s instructions. Connect the control panel to the HRV unit using the provided wiring connectors.
7. Program Controls (if applicable): If your HRV system has programmable controls, follow the manufacturer’s instructions to set up the desired ventilation schedules, timers, or other automation features. Ensure that the controls are properly configured to meet your specific requirements.
8. Test Controls: After completing the wiring, turn on the power and test the controls to ensure they are functioning as intended. Verify that you can adjust fan speeds, set timers, or activate any other desired functions. Make any necessary adjustments or troubleshooting if the controls are not working correctly.
9. Secure and Label Wiring: Once you have verified proper functionality, secure the wiring in place using appropriate fasteners or clips. Consider labeling the wiring connections to aid in future maintenance or troubleshooting.
10. Final Check: Double-check all wiring connections to ensure they are secure and properly insulated. Confirm that the control panel and HRV unit are communicating effectively and responding to your input.
By following these steps for wiring and controls, you can ensure smooth operation and easy management of your HRV system. In the next section, we will cover testing and adjustments to further optimize your system’s performance.
Testing and Adjustments
Testing and adjustments are crucial to ensure that your heat recovery ventilation (HRV) system is operating at its optimal performance level. Follow these steps to test and make necessary adjustments to your HRV system:
1. Initial System Test: Once the installation is complete and the HRV system is fully connected and wired, perform an initial system test. Turn on the unit and ensure that both the intake and exhaust fans are running smoothly. Check for any leaks or unusual noises during operation.
2. Airflow Balance: Check the airflow balance between the intake and exhaust vents. Use a handheld anemometer or airflow measuring device to measure the airflow rate at each vent. Adjust the dampers or airflow balancing system as necessary to achieve the desired balance. Proper airflow balance ensures efficient ventilation throughout your home.
3. Indoor Air Quality Check: Monitor the indoor air quality (IAQ) after the HRV system has been running for a while. Use IAQ sensors or test kits to assess the levels of pollutants, humidity, and other indoor air quality factors. If IAQ is not at the desired level, consider adjusting the ventilation settings or consulting an HVAC specialist for further guidance.
4. Filter Maintenance: Regularly inspect and clean or replace the HRV system’s filters as recommended by the manufacturer. Dirty or clogged filters can hinder airflow and reduce the system’s effectiveness. Clean filters ensure optimal ventilation and minimize the risk of indoor air pollution.
5. Adjust Fan Speed: Some HRV systems allow for adjustable fan speeds. Experiment with different fan speed settings to find the ideal balance between ventilation effectiveness and energy efficiency. Higher fan speeds provide better ventilation, but they may consume more energy. Find the right balance based on your specific needs and preferences.
6. Periodic System Checkup: Conduct periodic checkups of the entire HRV system, including the ductwork, vents, controls, and wiring. Look for any signs of wear or damage, such as loose connections or insulation deterioration, and address them promptly.
7. Consider Professional Maintenance: Schedule professional maintenance for your HRV system at least once a year. HVAC professionals can perform comprehensive inspections, cleanings, and tune-ups to ensure your system continues to operate efficiently and effectively.
Regular testing and adjustments will help you maintain optimum performance and maximize the benefits of your HRV system. It is important to monitor its functionality and make adjustments as necessary to ensure your home enjoys fresh and healthy air.
In the next section, we will cover tips for ongoing maintenance and troubleshooting of your HRV system to address any issues that may arise.
Maintenance and Troubleshooting
Maintaining your heat recovery ventilation (HRV) system is essential to ensure its continued performance and longevity. Additionally, understanding common issues and troubleshooting techniques will help you address any problems that may arise. Follow these maintenance and troubleshooting tips:
1. Regular Filter Maintenance: Clean or replace the HRV system’s filters regularly, as recommended by the manufacturer. This helps maintain proper airflow and prevents the buildup of dust and debris, ensuring optimal ventilation and system efficiency.
2. Keep Vents and Grilles Clean: Regularly clean the intake and exhaust vents and grilles to prevent obstruction and ensure proper airflow. Use a vacuum or damp cloth to remove dust, dirt, and any debris that may accumulate over time.
3. Check Ductwork for Leaks: Inspect the ductwork periodically for leaks or gaps that may compromise the system’s efficiency. Seal any leaks with aluminum foil tape or mastic to maintain airtight connections and prevent air leakage.
4. Monitor Condensation Drainage: Pay attention to the condensation drainage system and ensure it is functioning properly. If you notice excessive moisture or leaks, inspect the drainage lines and clean or repair as needed. Proper condensation drainage prevents moisture buildup and potential damage.
5. Inspect Wiring and Controls: Regularly inspect the wiring connections and controls of your HRV system. Look for loose connections, frayed wires, or any signs of damage. Ensure that all controls and settings are functioning correctly.
6. Schedule Professional Maintenance: Consider scheduling annual maintenance with an HVAC professional. They can perform thorough inspections, cleanings, and tune-ups to keep your HRV system in optimal condition and address any potential issues before they become major problems.
7. Troubleshooting: If your HRV system experiences issues, follow these troubleshooting steps:
- Check the power supply and ensure the unit is turned on and receiving power.
- Inspect and clean the filters to remove any blockages that may restrict airflow.
- Ensure the intake and exhaust vents are not blocked or obstructed.
- Check the controls and settings to ensure they are correctly configured for optimal ventilation.
- If there is inadequate ventilation or poor air quality, consider adjusting the system’s airflow balance or consulting an HVAC professional for further assistance.
- If you encounter persistent issues or are unsure of the problem, it is recommended to seek professional assistance to ensure proper diagnosis and resolution.
By following these maintenance practices and troubleshooting techniques, you can keep your HRV system in excellent working condition. Remember, regular maintenance and timely repairs are essential for the long-term performance and efficiency of your system.
Now that you have a comprehensive understanding of HRV system installation, operation, and maintenance, you can enjoy the benefits of improved indoor air quality and energy efficiency in your home.
If you have additional questions or require further assistance, feel free to consult with a professional HVAC technician or refer to the manufacturer’s guidelines for your specific HRV system.
Read more: How To Install ZLINE Range Hood
Conclusion
Congratulations! You have now reached the end of our comprehensive guide on how to install a heat recovery ventilation (HRV) system for your home. By following the step-by-step instructions and tips provided in this article, you are well-equipped to improve your indoor air quality and enhance your home’s energy efficiency.
We started by understanding the importance of heat recovery ventilation and how it works to provide fresh air while recovering heat from the outgoing stale air. We then delved into the planning and preparation phase, guiding you on assessing ventilation needs, determining the installation location, and obtaining any necessary permits.
Next, we covered the purchasing phase, highlighting the importance of selecting the right HRV unit, compatible ductwork, and other necessary components. We then proceeded to the installation phase, where we walked you through the steps of mounting the HRV unit, connecting the ductwork, and wiring and setting up the controls.
Furthermore, we emphasized the significance of testing and adjustments to ensure the optimal performance of your HRV system. We encouraged you to check and balance airflow, assess indoor air quality, and perform regular maintenance tasks such as filter cleaning and duct inspection.
Lastly, we discussed troubleshooting techniques and the importance of seeking professional help when needed. By following these guidelines, you can enjoy a consistently healthy and comfortable living environment.
Remember, proper ventilation is essential for maintaining good indoor air quality and creating a comfortable home. An HRV system not only provides fresh air but also helps save energy and reduce heating costs.
If you have any further questions or require additional assistance, consider consulting with an HVAC professional who can provide personalized advice based on your specific needs and circumstances.
Thank you for joining us on this journey to a healthier and more energy-efficient home. Here’s to a fresh and comfortable living environment!
Frequently Asked Questions about How To Install A Heat Recovery Ventilation System
Was this page helpful?
At Storables.com, we guarantee accurate and reliable information. Our content, validated by Expert Board Contributors, is crafted following stringent Editorial Policies. We're committed to providing you with well-researched, expert-backed insights for all your informational needs.


0 thoughts on “How To Install A Heat Recovery Ventilation System”