Home>Home Security and Surveillance>How To Add A Motion Detector To An Existing Light

Home Security and Surveillance
How To Add A Motion Detector To An Existing Light
Modified: October 19, 2024
Learn how to enhance your home security and surveillance by adding a motion detector to your existing light. Ensure safety and peace of mind with this simple and effective solution.
(Many of the links in this article redirect to a specific reviewed product. Your purchase of these products through affiliate links helps to generate commission for Storables.com, at no extra cost. Learn more)
Introduction
Welcome to the world of home security and surveillance! In today’s fast-paced and ever-changing world, it’s crucial to ensure the safety and security of our homes and loved ones. One effective way to achieve this is by adding a motion detector to an existing light. This simple yet powerful addition can provide an extra layer of protection and peace of mind.
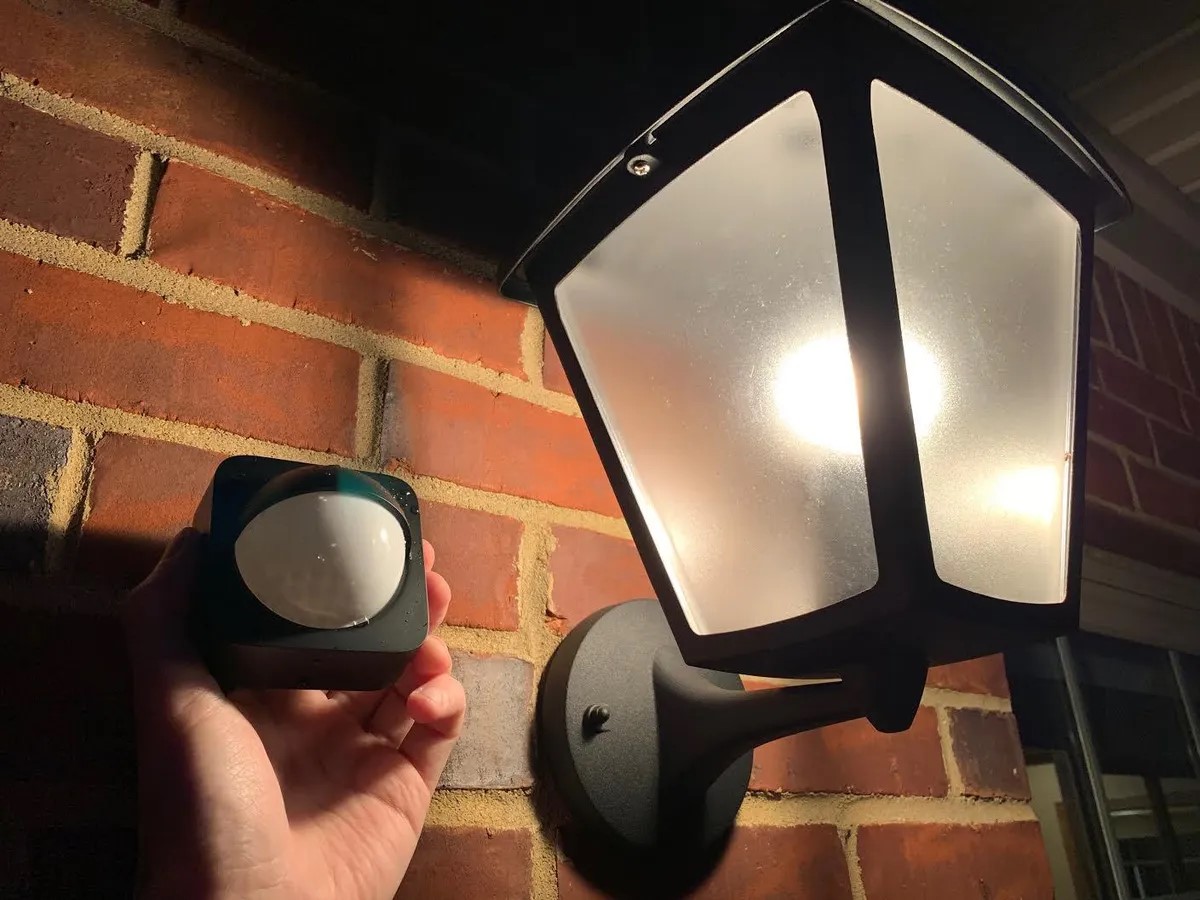
By incorporating a motion detector into your existing home lighting system, you can automatically detect any movement and trigger the lights to turn on. This not only acts as a deterrent to potential intruders but also offers added convenience by illuminating your path when you approach the area.
In this step-by-step guide, we will walk you through the process of adding a motion detector to an existing light. Whether you have a basic understanding of electrical work or are a complete novice, this article will provide you with the knowledge and confidence to complete this project successfully.
Before we begin, it’s important to note that safety should always be your top priority when working with electricity. If you are unsure or uncomfortable with any step of this process, it is strongly recommended that you seek professional assistance. Now, let’s dive into the exciting world of home security and learn how to add a motion detector to an existing light!
Key Takeaways:
- Enhance your home security and convenience by adding a motion detector to your existing light. It automatically turns on the lights when it detects movement, providing peace of mind and deterring potential intruders.
- Prioritize safety and follow the step-by-step guide to successfully install a motion detector. Enjoy the added security and convenience it brings to your home, without the need for professional assistance.
Read more: How To Add Sound To Motion Detector
Step 1: Gather the Necessary Supplies
Before you embark on adding a motion detector to an existing light, it’s essential to gather all the necessary supplies. Having everything on hand will make the installation process smoother and more efficient. Here’s a list of the supplies you’ll need:
- Motion detector kit: Choose a motion detector kit that suits your needs and is compatible with your existing light fixture. Consider factors such as detection range and sensitivity.
- Screwdriver set: A set of screwdrivers with different sizes and types will come in handy for removing and installing components.
- Wire cutters and strippers: These tools will help you trim and strip electrical wires for proper connection.
- Electrical tape: Use electrical tape to insulate and secure wire connections.
- Wire connectors: Wire connectors are crucial for joining and securing the wires together.
- Voltage tester: A voltage tester will ensure that the power is turned off before working on the electrical components.
- Ladder or step stool: Depending on the height of your light fixture, you may need a ladder or step stool to reach it safely.
It’s important to ensure that all the supplies you gather are of good quality and meet safety standards. This will ensure a reliable and long-lasting installation.
Once you have all the necessary supplies ready, you’re one step closer to enhancing the security and functionality of your home. The next step is to turn off power to the light fixture, which we’ll cover in the following section.
Step 2: Turn Off Power to the Light Fixture
Safety should always be the first priority when working with electrical components. Before you start any work on adding a motion detector to an existing light, it’s crucial to turn off the power to the light fixture. This will help prevent any accidental electrical shocks or damage during the installation process.
Here are the steps to follow to turn off the power to the light fixture:
- Locate the electrical panel: The electrical panel, also known as the breaker box, is usually found in the basement, garage, or utility room. It contains the circuit breakers for different areas of your home.
- Identify the circuit breaker for the light fixture: Each circuit breaker is labeled to indicate which area or appliance it controls. Look for the label that corresponds to the light fixture you’ll be working on.
- Switch off the circuit breaker: Flip the switch for the light fixture’s circuit breaker to the “off” position. This will cut off the power supply to the fixture, ensuring that there is no electrical current flowing through it.
- Test the power: To double-check that the power to the fixture is indeed turned off, use a voltage tester on the light switch or unscrew the light bulb and test the socket. If the voltage tester doesn’t detect any current, the power is successfully turned off.
It’s crucial to ensure that the power is completely cut off before proceeding with the installation. This will minimize the risk of electrical accidents or damage to the light fixture and the motion detector.
Once you’ve confirmed that the power is off, you can move on to the next step – removing the existing light fixture.
Step 3: Remove the Existing Light
Now that you’ve turned off the power to the light fixture, it’s time to remove the existing light. By following these steps, you can safely detach the old light and prepare for the installation of the motion detector.
Here’s how to remove the existing light:
- Remove the light bulb: Unscrew the light bulb and set it aside in a safe place. This will prevent any accidental breakage during the removal process.
- Remove the light fixture cover: Depending on the type of light fixture, you may need to remove a cover or a decorative plate. Use a screwdriver to loosen and remove any screws or fasteners holding the cover in place. Carefully lift off the cover and set it aside.
- Disconnect the wiring: Inside the light fixture, you’ll see a set of wires connected to the electrical box. Use wire cutters and strippers to remove the wire nuts or connectors joining the wires together. Once they’re disconnected, separate the wires and set them aside.
- Remove the mounting bracket: The light fixture is typically held in place by a mounting bracket secured to the electrical box. Locate the screws or fasteners attaching the bracket to the box and use a screwdriver to remove them. Once the bracket is released, carefully detach the light fixture from the box and set it aside.
With the existing light removed, you’re now ready to move on to the next step – installing the motion detector bracket. This bracket will provide the necessary support for the motion detector unit.
Take your time during the removal process to ensure that all connections are properly disconnected and that you handle the light fixture with care. This will help avoid any damage to the wiring or the fixture itself.
Step 4: Install the Motion Detector Bracket
With the existing light removed, it’s time to install the motion detector bracket. This bracket will serve as a sturdy base for mounting the motion detector unit securely. Follow these steps to complete this crucial step:
- Inspect the electrical box: Before installing the motion detector bracket, ensure that the electrical box is in good condition and securely mounted. If any repairs or adjustments are needed, address them before proceeding.
- Align the bracket: Take the motion detector bracket and align it with the screw holes on the electrical box. Make sure the bracket is level and centered before proceeding.
- Attach the bracket: Once the bracket is aligned, use the appropriate screws or fasteners to secure it to the electrical box. Use a screwdriver to tighten the screws, ensuring that the bracket is tightly affixed.
- Double-check the stability: After attaching the bracket, give it a gentle tug to ensure it is firmly secured. If there is any wobbling or instability, double-check the screws and make any necessary adjustments.
Installing the motion detector bracket is a critical step in the process, as it provides a stable platform for mounting the motion detector unit. It’s important to ensure that the bracket is securely attached to the electrical box to prevent any issues down the line. A stable bracket will ensure the motion detector functions properly and remains in place.
Now that the motion detector bracket is securely installed, it’s time to move on to the next step — connecting the wiring. This step will involve carefully connecting the wires between the motion detector and the electrical box.
When adding a motion detector to an existing light, make sure to turn off the power before starting the installation. Follow the manufacturer’s instructions carefully to ensure proper installation and functionality.
Read more: How To Replace A Motion Detector Light
Step 5: Connect the Wiring
Now that the motion detector bracket is in place, it’s time to connect the wiring. This step involves safely and correctly connecting the wires from the motion detector to the electrical box. Follow these steps to ensure a secure and reliable connection:
- Prepare the wires: Start by stripping about 1/2 inch of insulation from the ends of the wires protruding from both the motion detector and the electrical box. Use wire strippers to carefully remove the insulation, exposing the bare copper wires.
- Match the wire colors: Identify the different colored wires from both the motion detector and the electrical box. Typically, these wires will be color-coded (e.g., black, white, and green or bare copper).
- Connect the black wires: Twist the bare copper ends of the black wires together from the motion detector and the electrical box. Slide a wire connector over the joined wires and twist it clockwise until it is snug and secure.
- Connect the white wires: Repeat the same process for the white wires, connecting them together and securing them with a wire connector.
- Connect the grounding wires: If there is a green or bare copper wire from the motion detector, connect it to the grounding wire in the electrical box. Again, use a wire connector to secure the connection.
- Insulate the connections: Once all the connections are made, wrap electrical tape around each wire connector to provide extra insulation and ensure a secure fit.
It’s important to take your time and ensure that each wire connection is secure and properly insulated. This will not only ensure the motion detector functions correctly but also minimize any potential electrical hazards.
With the wiring successfully connected, you’re now ready to move on to the next step — attaching the motion detector unit to the bracket. This will bring you closer to completing the installation process and enjoying the enhanced security features of your home.
Step 6: Attach the Motion Detector
With the wiring securely connected, it’s time to attach the motion detector to the bracket. The motion detector unit is the heart of the system, as it detects movement and triggers the lights to turn on. Follow these steps to properly attach the motion detector:
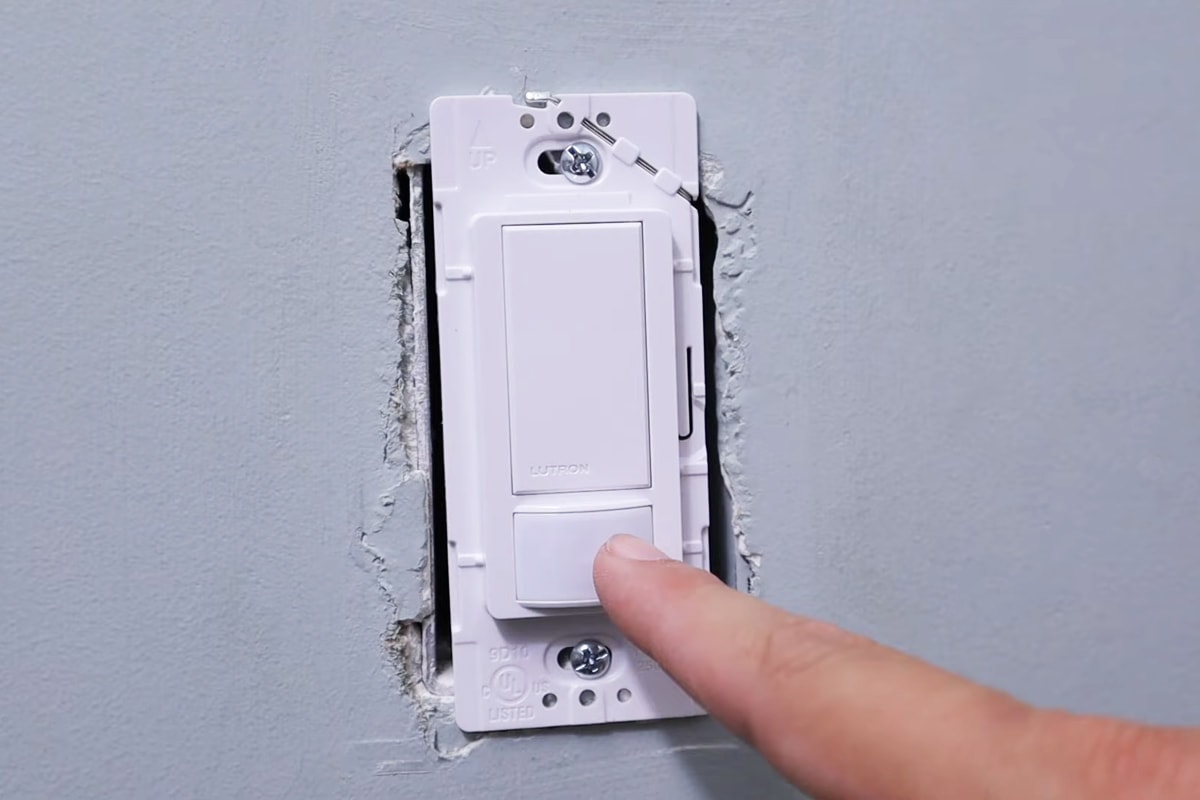
- Position the motion detector: Hold the motion detector up to the bracket and align the screw holes on the back of the detector with the corresponding holes on the bracket.
- Secure the motion detector: Once the holes are aligned, use the provided screws or fasteners to attach the motion detector to the bracket. Use a screwdriver to tighten the screws, ensuring a secure attachment.
- Adjust the motion detector angle: Most motion detectors have a range of motion and allow you to adjust the angle. Consider the area you want to monitor and fine-tune the motion detector’s angle accordingly. This will ensure optimal detection and coverage.
- Test the motion detector: After attaching the motion detector, it’s important to test its functionality. Follow the manufacturer’s instructions to activate the motion sensor and observe if the lights turn on as expected. Make any necessary adjustments to the sensitivity or range settings to achieve the desired outcome.
Attaching the motion detector is the final physical step in the installation process. Once securely mounted, it’s crucial to test the system to ensure it’s working correctly before proceeding.
With the motion detector successfully attached and tested, it’s time to move on to the next step — reinstalling the light fixture. This will complete the installation process and allow you to benefit from the added security and convenience provided by the motion detector.
Step 7: Test the Motion Sensor
Now that the motion detector is securely installed, it’s important to thoroughly test the motion sensor to ensure it functions properly. This step will help you verify that the sensor accurately detects motion and triggers the lights to turn on. Follow these steps to test the motion sensor:
- Switch on the power: Turn on the power to the light fixture at the electrical panel by flipping the circuit breaker switch to the “on” position.
- Set the sensor range: Depending on the motion detector model, there may be an adjustable range setting that determines how far the sensor can detect motion. Refer to the manufacturer’s instructions and adjust the range to suit your needs.
- Position yourself within range: Stand or walk within the detection range of the motion detector. Ensure you are within the designated area where you want motion to activate the lights.
- Observe the lights: As you move within the detection range, carefully observe if the lights turn on and off based on your motion. This indicates that the motion sensor is working correctly.
- Make adjustments if necessary: If the lights don’t turn on when you expect them to, check the sensitivity and range settings on the motion detector. Fine-tune these settings according to your preferences to ensure optimal performance.
Testing the motion sensor is crucial to ensuring its effectiveness in detecting motion and triggering the lights. By carefully observing the lights’ behavior and making any necessary adjustments, you can fine-tune the system to meet your specific needs.
With the motion sensor successfully tested and functioning, you’re one step away from completing the installation process. The final step involves reinstalling the light fixture, bringing the project to a close.
Step 8: Reinstall the Light Fixture
Congratulations, you’re almost done! The final step in adding a motion detector to an existing light is to reinstall the light fixture. By following these steps, you can safely and securely reinstall the fixture and put the finishing touches on your project:
- Position the light fixture: Align the screw holes on the back of the light fixture with the corresponding holes on the motion detector or bracket. Ensure that the fixture is level and centered before proceeding.
- Secure the fixture: Use the provided screws or fasteners to attach the light fixture to the motion detector or bracket. Tighten the screws using a screwdriver, ensuring that the fixture is firmly secured in place.
- Reconnect the wiring: Match the colored wires from the light fixture to the corresponding wires in the electrical box. Twist the bare copper ends of the wires together and secure them with wire connectors. Make sure the connections are tight and properly insulated using electrical tape.
- Attach the light bulb: Screw the light bulb back into the fixture, ensuring it is snug and secure. If your motion detector requires a specific type of bulb, make sure to use the recommended one for optimal performance.
- Replace the cover: If your light fixture has a cover or decorative plate, carefully position it over the fixture and secure it with screws or fasteners. Ensure that the cover is properly aligned and centered before tightening the screws.
- Turn on the power: Go back to the electrical panel and flip the circuit breaker switch for the light fixture back to the “on” position. This will restore power to the fixture.
- Test the light and motion detector: Stand within the motion detector’s range and observe if the lights turn on when you move. Adjust the motion detector’s settings if needed to achieve the desired response.
Once you have completed these steps, you have successfully reinstalled the light fixture, incorporating the motion detector into the existing setup. Take a moment to admire your work and revel in the enhanced security and convenience of your newly upgraded lighting system.
Remember, always prioritize safety when working with electrical components. If you’re unsure about any step of the process or encounter any issues, don’t hesitate to consult a professional electrician.
With that, you’ve completed the installation of a motion detector to an existing light fixture. Enjoy the added security and convenience it brings to your home!
Read more: How To Reset Motion Detector Lights
Conclusion
Adding a motion detector to an existing light fixture is a great way to enhance the security and functionality of your home. This simple and straightforward installation process allows you to automatically activate the lights when motion is detected, providing an extra layer of protection against potential intruders and offering added convenience for you and your family.
Throughout this step-by-step guide, we’ve covered the necessary supplies, the importance of turning off power to the light fixture, removing the existing light, installing the motion detector bracket, connecting the wiring, attaching the motion detector, testing the motion sensor, and finally reinstalling the light fixture. By following these instructions and paying attention to safety precautions, you can successfully complete the installation process yourself.
Remember, safety should always be your top priority when working with electricity. If you’re unsure or uncomfortable with any step of the process, it’s best to seek professional assistance. It’s crucial to ensure that all connections are secure, wires are properly insulated, and the motion detector functions correctly.
By adding a motion detector to an existing light fixture, you’re not only improving the security of your home but also enhancing your day-to-day life. You’ll no longer have to fumble for light switches in the dark or worry about leaving lights on unnecessarily. The motion detector will automatically activate the lights when movement is detected, providing a sense of safety and convenience.
With your newly installed motion detector, you can now enjoy the added peace of mind and improved functionality of your home lighting system. Whether you’re coming home late at night or want to deter potential intruders, your motion detector will keep you and your loved ones safe and secure.
So, go ahead and take the necessary steps to add a motion detector to your existing light fixture. It’s a small investment that can make a significant difference in your home security and surveillance efforts. Embrace the power of technology and enjoy the benefits of a more secure and convenient home!
Frequently Asked Questions about How To Add A Motion Detector To An Existing Light
Was this page helpful?
At Storables.com, we guarantee accurate and reliable information. Our content, validated by Expert Board Contributors, is crafted following stringent Editorial Policies. We're committed to providing you with well-researched, expert-backed insights for all your informational needs.
