Home>Home Security and Surveillance>How To Install A Security Camera System At Home
Home Security and Surveillance
How To Install A Security Camera System At Home
Modified: March 6, 2024
Learn how to install a security camera system for home security and surveillance. Step-by-step guide to set up a reliable and efficient system to protect your home.
(Many of the links in this article redirect to a specific reviewed product. Your purchase of these products through affiliate links helps to generate commission for Storables.com, at no extra cost. Learn more)
Introduction
When it comes to keeping our homes safe and secure, installing a security camera system is a crucial step. A home security camera system not only acts as a deterrent to potential intruders but also provides peace of mind by allowing you to monitor your property from anywhere.
With advancements in technology, security camera systems have become more affordable, user-friendly, and feature-rich. Whether you want to monitor the perimeter of your property, keep an eye on your kids playing in the backyard, or safeguard your home while you’re away, a well-installed security camera system can offer the protection you need.
In this comprehensive guide, we will walk you through the step-by-step process of installing a security camera system at home. From assessing your security needs to camera placement, equipment gathering, and system testing, we will cover everything you need to know to ensure a successful installation.
Before we dive into the installation process, it’s essential to understand that every home is unique, and security requirements may vary. Therefore, it’s crucial to assess your home’s specific security needs before selecting a camera system. Consider factors such as the size of your property, the areas you want to monitor, and the level of visibility required.
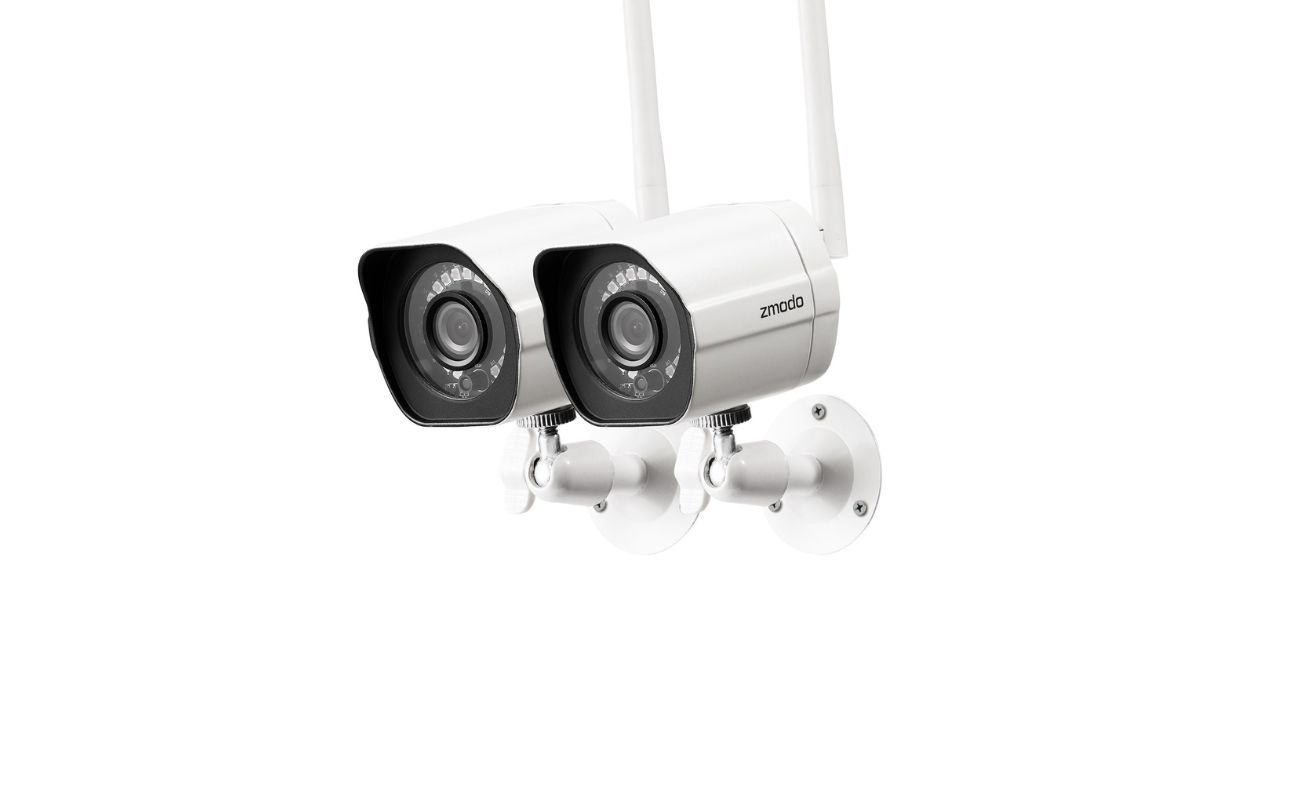
Once you have a clear understanding of your security needs, choosing the right security camera system becomes the next crucial step. There are various types of security cameras available today, from wired and wireless to indoor and outdoor options. Determine whether you need a single-camera setup or a multi-camera system based on your surveillance requirements.
Camera placement is another critical aspect to consider. Identifying the areas you want to cover and finding suitable positions for the cameras can significantly impact the effectiveness of your security system. It’s important to choose locations that provide an optimal view of the desired area while ensuring the cameras are out of reach and protected from the elements.
Before beginning the installation, make sure you have all the necessary tools and equipment on hand. This may include a power drill, screws, cables, a network switch, and a monitor or recording device for viewing and storing the footage captured by the cameras.
Throughout the installation process, be mindful of safety precautions and ensure that you follow any manufacturer’s guidelines or instructions. If you are not comfortable with the installation process, it is always recommended to consult a professional to ensure the job is done correctly.
In the upcoming sections, we will delve into each step of the installation process, providing detailed instructions and tips to help you install your security camera system with confidence. So let’s get started and equip your home with a robust and efficient security camera system!
Key Takeaways:
- Installing a security camera system involves assessing your home’s security needs, choosing the right system, and strategically placing cameras to ensure optimal coverage. It’s a proactive step towards enhancing home safety and peace of mind.
- By following a step-by-step installation process, you can set up a comprehensive surveillance system that allows remote monitoring, recording of suspicious activities, and quick response to potential threats. Regular maintenance and responsible use are essential for maximizing the system’s effectiveness.
Read more: Who Installs Security Cameras
Step 1: Assess Your Home Security Needs
Before starting the installation process, it’s essential to assess your home security needs. Every home is unique, and understanding your specific requirements will help you determine the type and number of cameras you need to install.
Begin by evaluating your property and identifying the areas that require monitoring. Consider which entry points are vulnerable, such as doors, windows, or backyards. Are there any blind spots or areas with limited visibility that need extra surveillance? Understanding these factors will help you determine the number and placement of cameras required to cover your property effectively.
Next, consider the features and functionality you desire in a security camera system. Do you need cameras with night vision capabilities to monitor your property at night? Are you looking for cameras with zoom or pan-tilt capabilities to cover a larger area? Determine your priorities and make a list of the essential features you want in your security camera system.
Another important aspect to consider is whether you want an indoor, outdoor, or a combination of both types of cameras. Outdoor cameras need to be weatherproof and durable to withstand harsh elements, while indoor cameras may focus on monitoring specific areas like the living room or nursery.
Additionally, think about whether you want cameras with built-in audio capabilities. Audio can be helpful for two-way communication, allowing you to speak to someone through the camera or hear what’s happening in the vicinity of the camera.
Budget is also a crucial factor to consider when assessing your home security needs. Determine how much you are willing to invest in a security camera system, keeping in mind the number of cameras, their features, and any additional equipment or accessories you may need. Remember that a higher-quality system may come with additional costs but can provide better performance and reliability.
Lastly, consider whether you want a DIY installation or if you prefer to hire a professional. DIY installations can save money but require some technical knowledge and time investment. Hiring a professional ensures that the installation is done correctly and efficiently, but it comes with an additional cost.
Taking the time to assess your home security needs will help you make informed decisions throughout the installation process. By understanding the specific requirements of your property, you can choose the right security camera system that provides the level of protection and peace of mind you desire. So, grab a pen, paper, and start evaluating your home security needs to move on to the next step of the installation process!
Step 2: Choose the Right Security Camera System
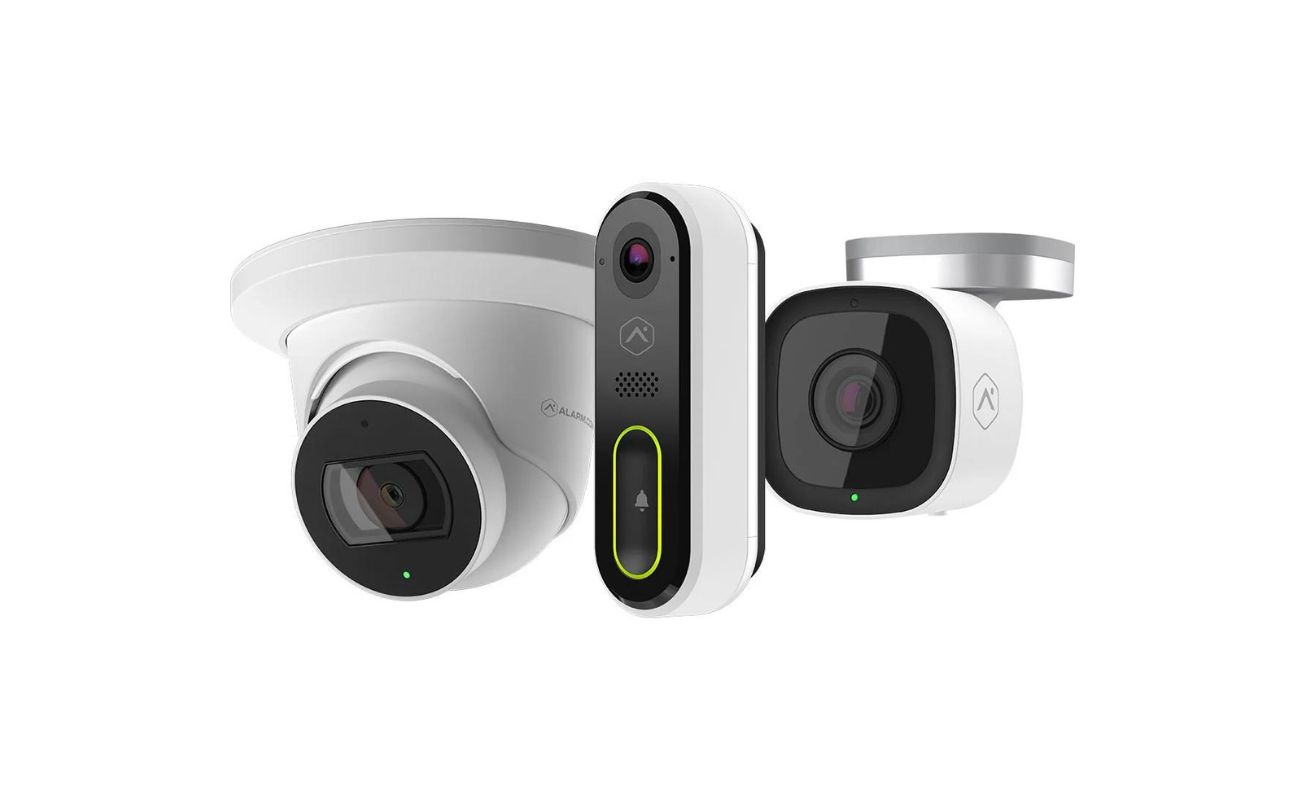
Once you have assessed your home security needs, the next step is to choose the right security camera system that meets your requirements. With numerous options available in the market, it’s important to consider several factors to make an informed decision.
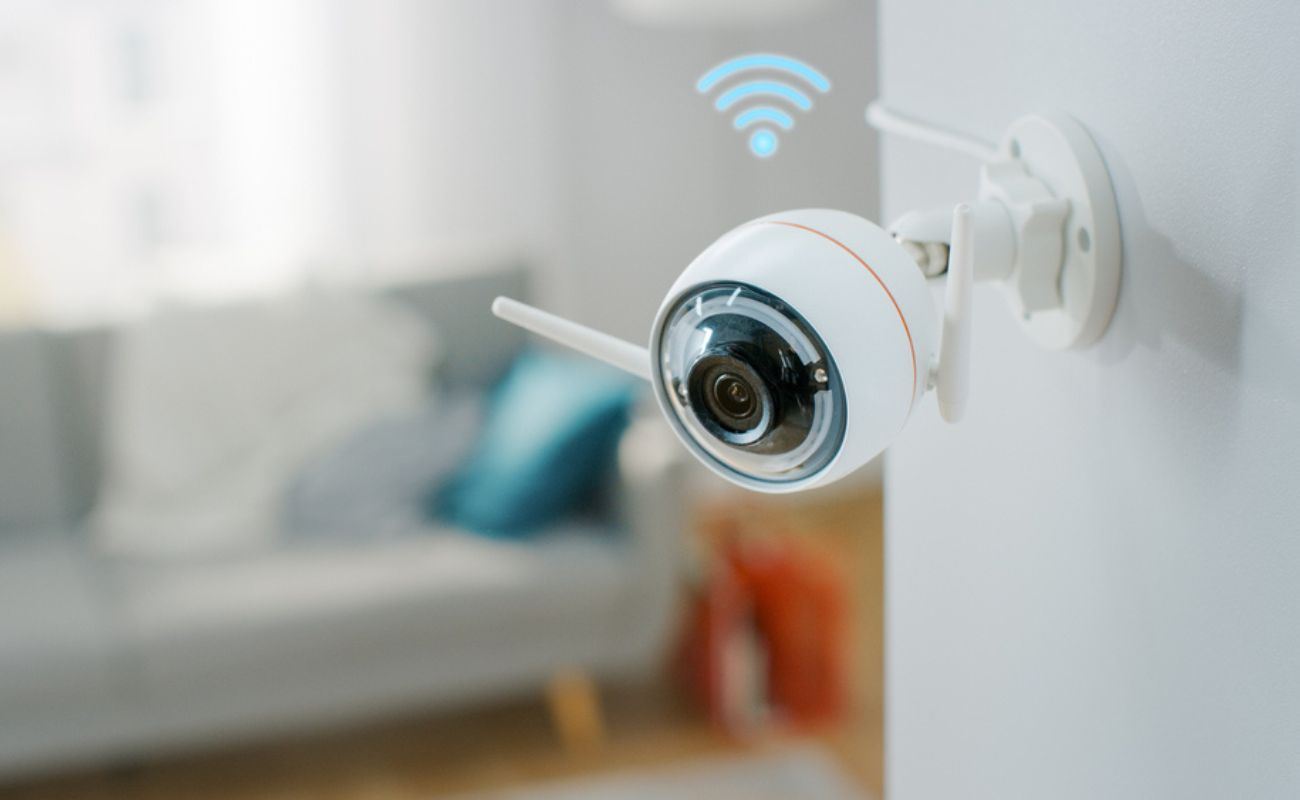
Firstly, decide whether you want a wired or wireless security camera system. Wired systems require running cables from the cameras to the recording device, while wireless systems transmit footage wirelessly. Wired systems may be more reliable and provide a stable connection, but they require more complex installation and can be challenging to modify or expand. Wireless systems, on the other hand, offer flexibility in camera placement and are easier to install but may face signal interference or connectivity issues.
Consider the resolution and image quality of the cameras. High-resolution cameras can capture clear and sharp footage, enabling better identification of faces or details. High-definition (HD) cameras with a resolution of 1080p or higher are recommended for optimal clarity. However, keep in mind that higher resolution cameras may require more storage space for recording and may have higher bandwidth requirements for streaming.
The field of view (FOV) is another important factor to consider. The FOV determines the area that the camera can cover. A larger FOV means the camera can monitor a wider area, reducing the number of cameras required for complete coverage. Wide-angle lenses or cameras with pan-tilt-zoom (PTZ) capabilities can provide greater flexibility in adjusting the field of view.
Consider the low-light capabilities of the cameras, especially if you plan to monitor your property during nighttime or in low-light conditions. Look for cameras with infrared (IR) night vision technology, which allows them to capture clear footage even in complete darkness. Some cameras also offer color night vision, providing enhanced visibility in low-light environments.
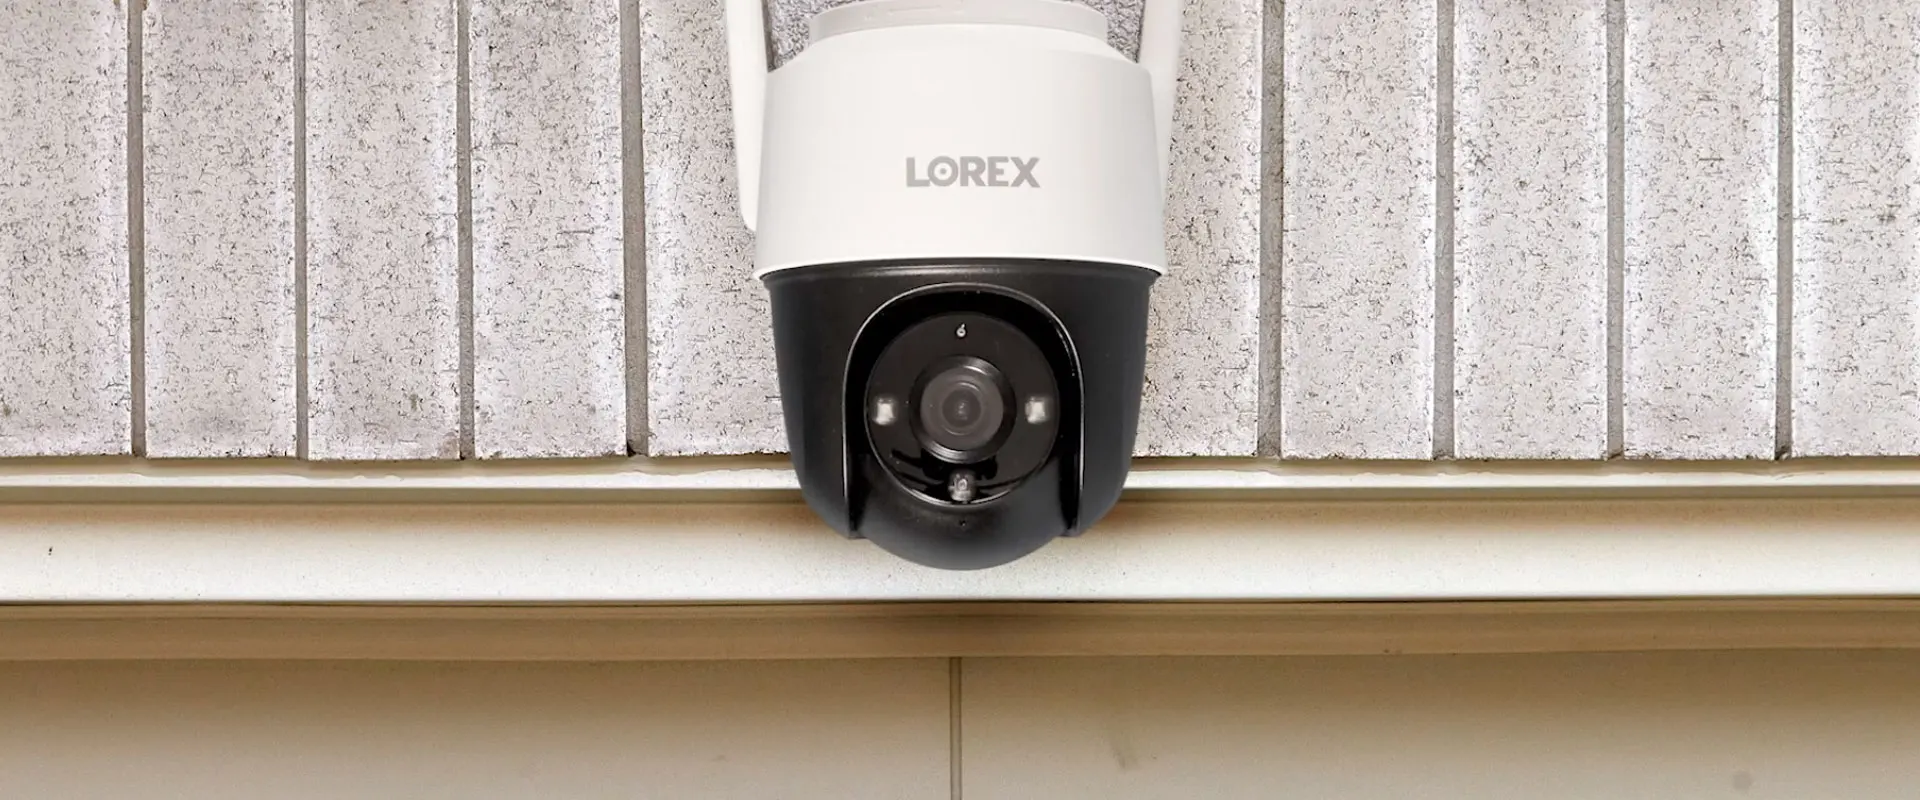
One crucial feature to consider is whether you want your cameras to be visible or discreet. Visible cameras can act as a deterrent to potential intruders, while discreet cameras blend seamlessly into the surroundings. This decision depends on whether you want to make your security measures known or prefer to maintain a more covert surveillance approach.
Additionally, consider whether you want your security camera system to be integrated with other home automation or smart home devices. Integration allows you to control and monitor your cameras through a centralized system, providing convenience and enhancing the overall security of your home.
Lastly, take into account the scalability of the camera system. If you anticipate expanding your surveillance coverage in the future, ensure that the system allows for easy integration of additional cameras.
By considering these factors, you can select a security camera system that aligns with your needs and provides the desired level of protection for your home. Take your time researching different options, read reviews, and compare features to make an informed decision. With the right security camera system in place, you can proceed to the next step of the installation process with confidence.
Step 3: Determine Camera Placement
Determining the proper camera placement is crucial for maximizing the effectiveness of your security camera system. By strategically placing cameras in key areas, you can ensure optimal coverage of your property and minimize blind spots. Here are some factors to consider when determining camera placement:
1. Entry Points: Start by identifying the main entry points to your home, such as doors, windows, and garage. These areas are typically the most vulnerable and require close monitoring. Consider placing cameras near these entry points to capture any suspicious activity or potential break-ins.
2. Perimeter Coverage: Assess the perimeter of your property and identify areas that require surveillance. This may include backyard, patio, pool area, or any other outdoor space. Make sure to place cameras with wide-angle lenses or PTZ capabilities to cover as much of the perimeter as possible.
3. Line of Sight: Ensure that camera locations provide a clear line of sight to the desired areas. Avoid obstructions like trees, shrubs, or walls that could hinder the camera’s view and compromise its effectiveness. It’s also important to consider the camera’s field of view (FOV) and adjust the position accordingly.
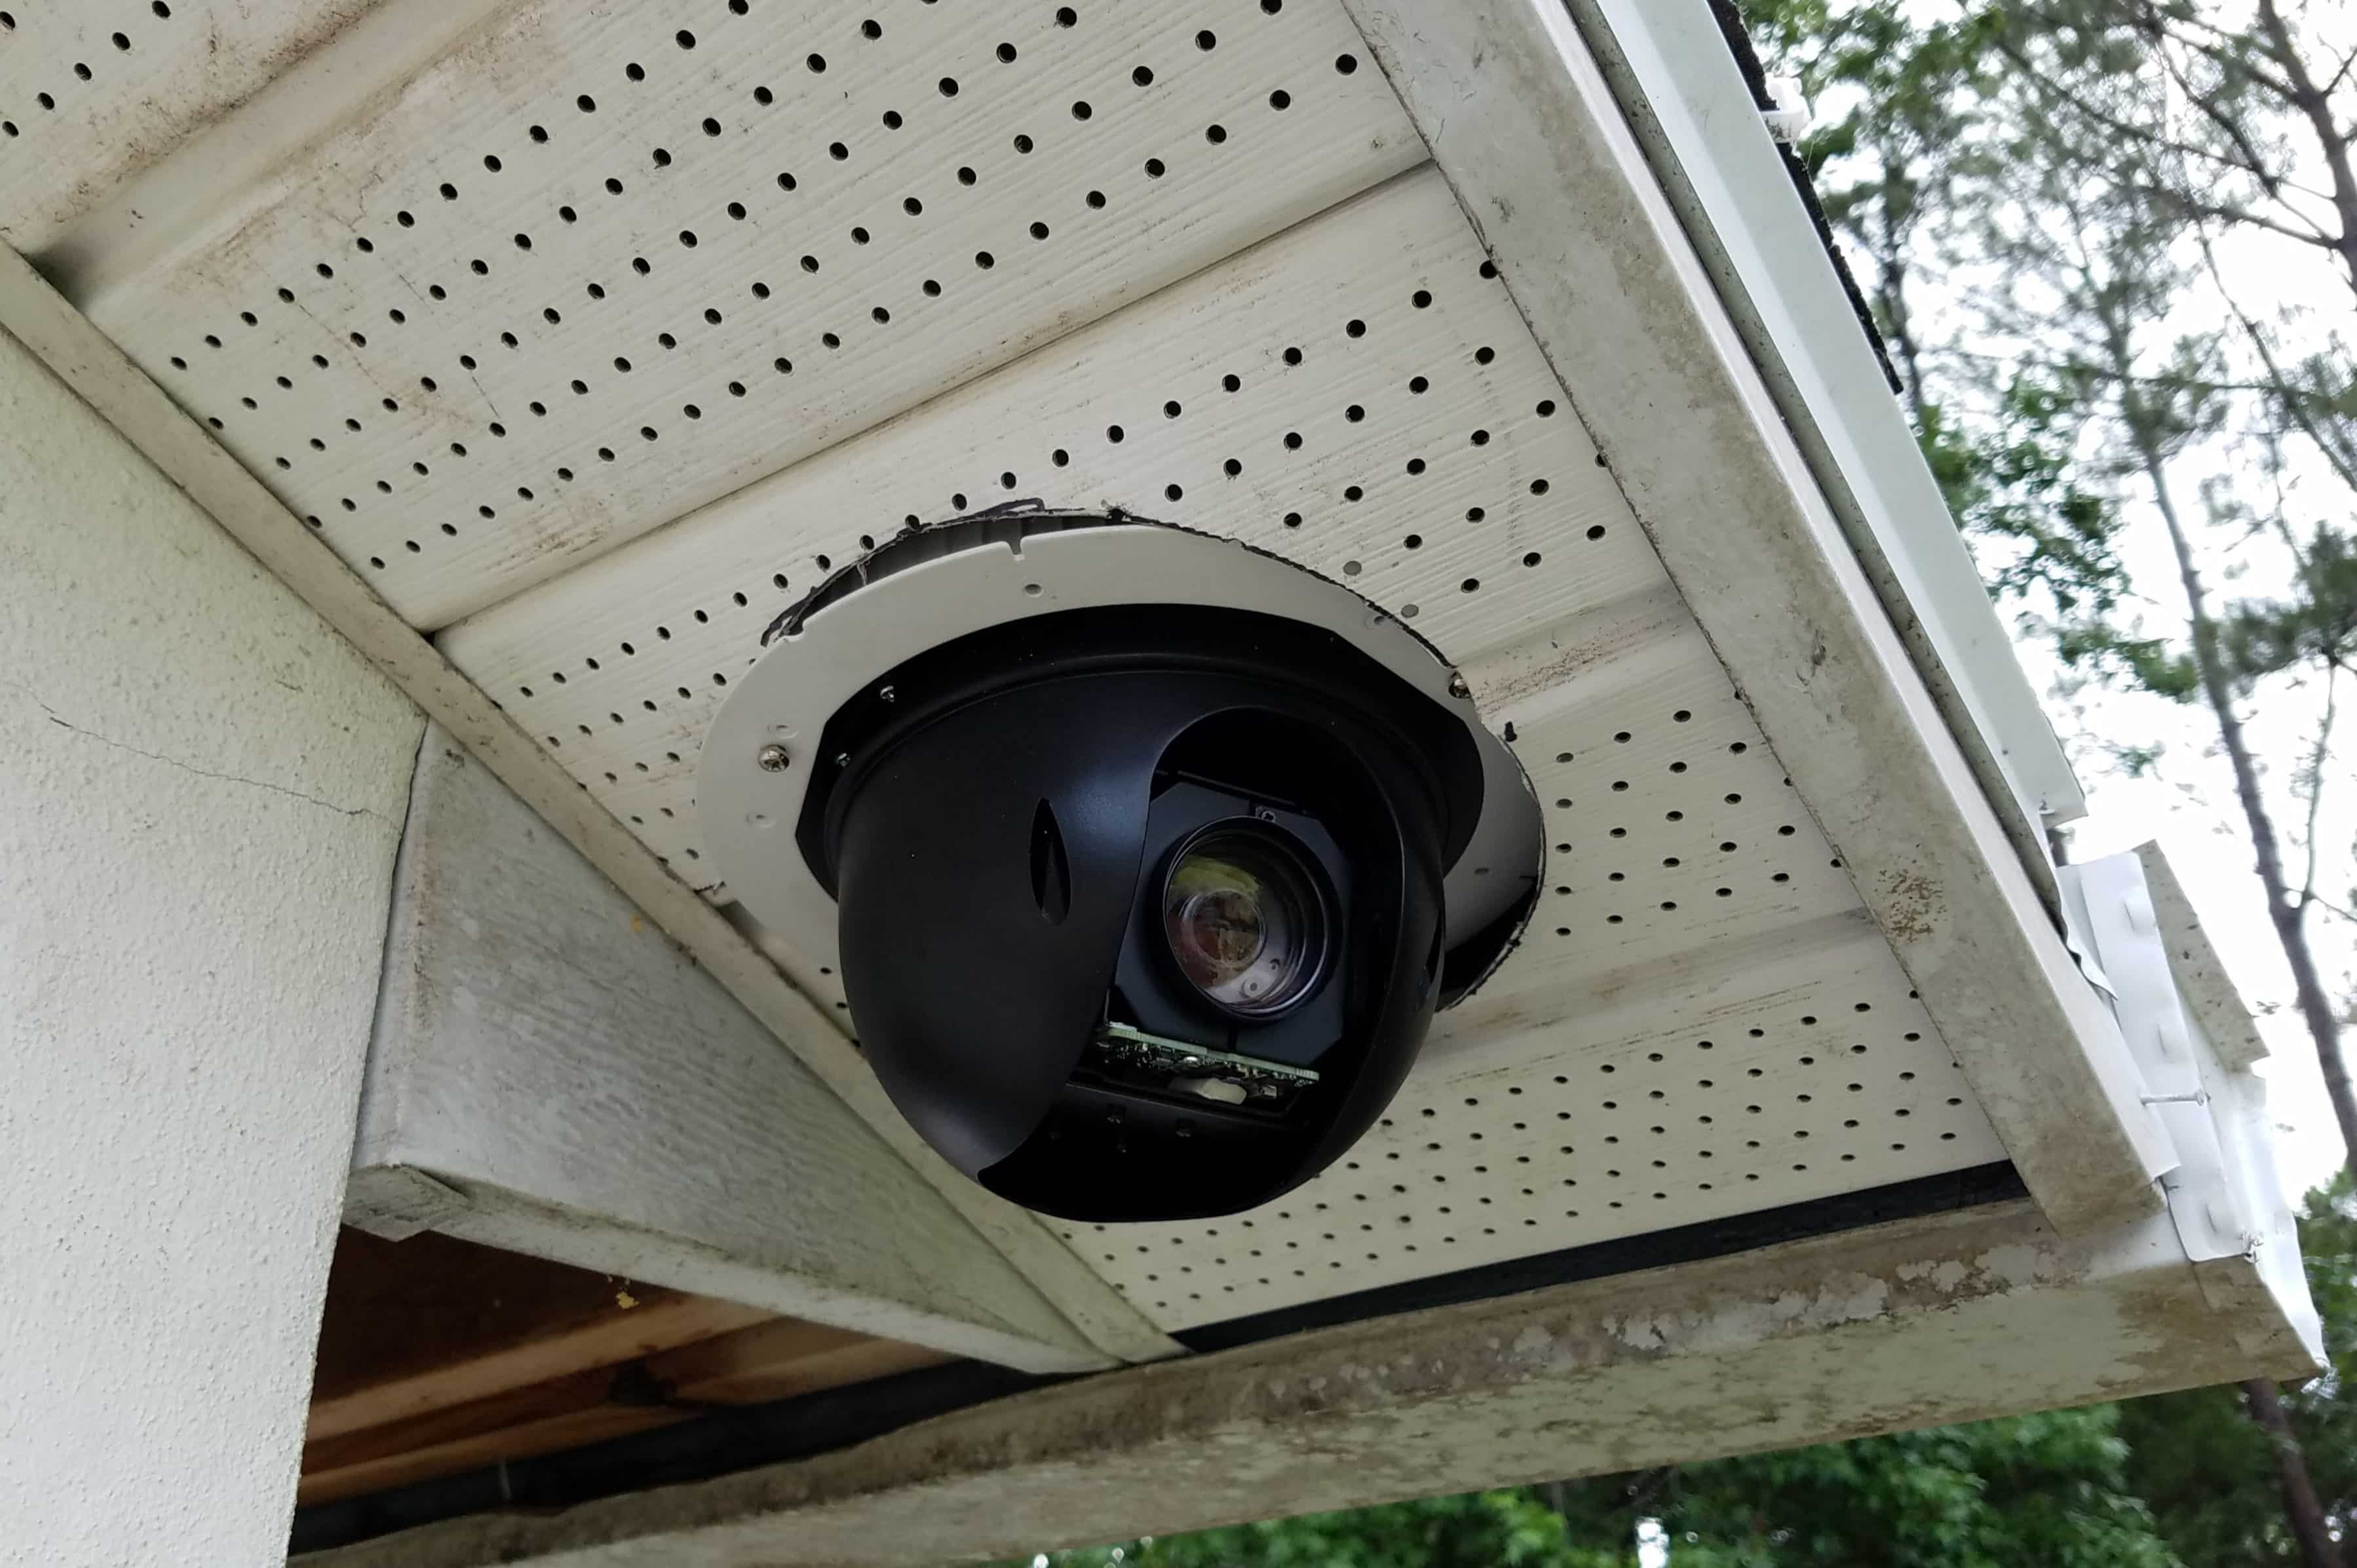
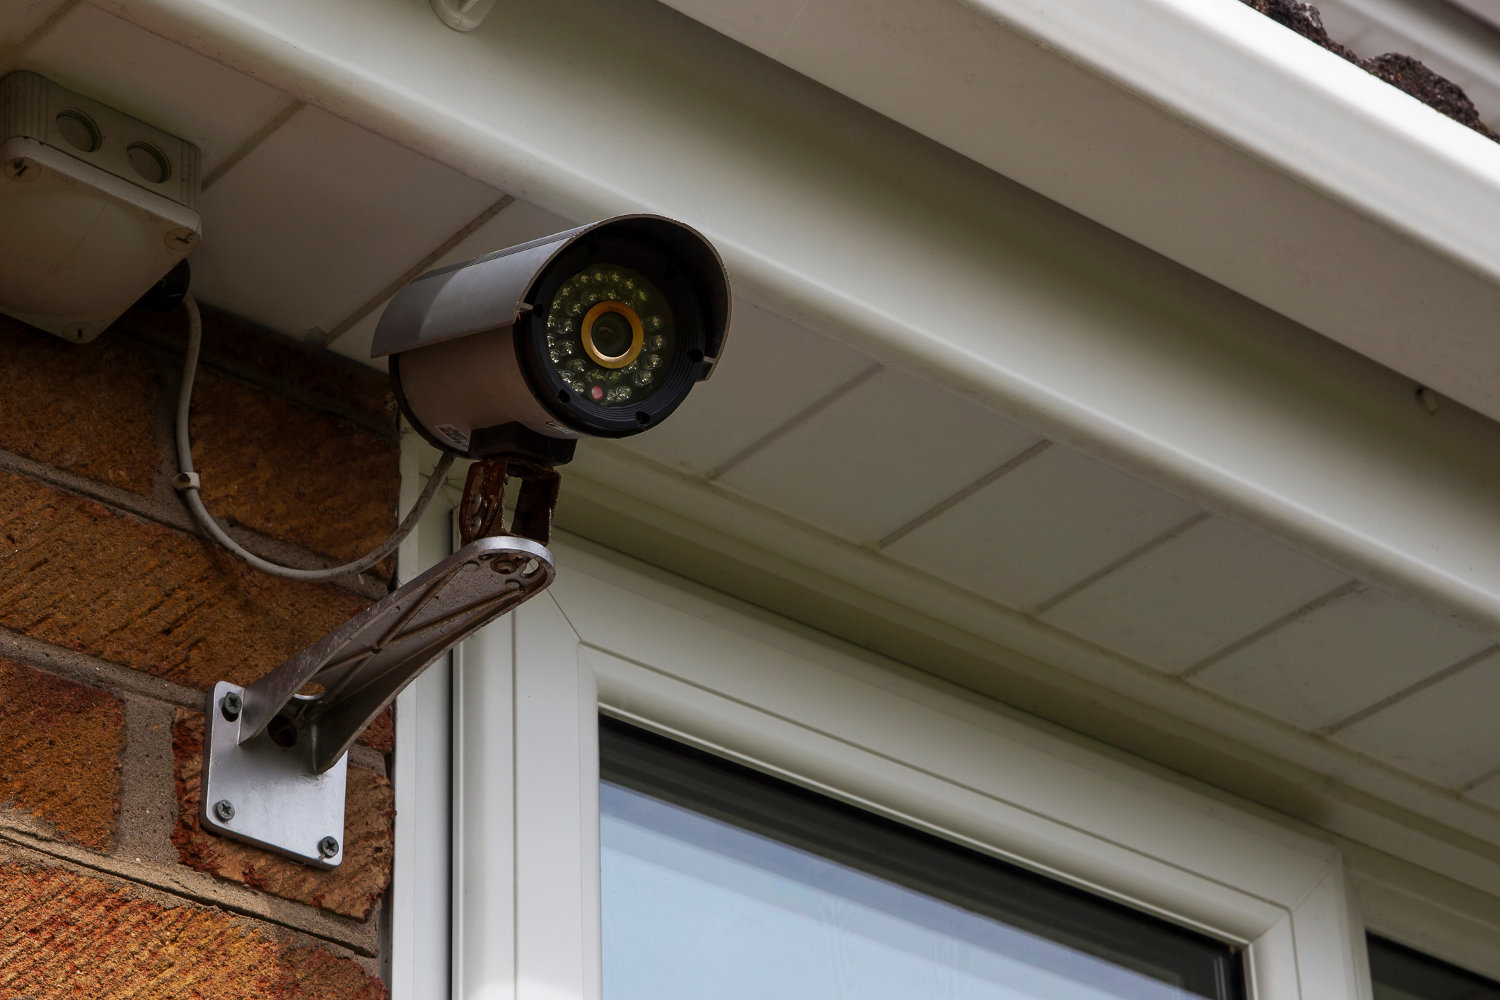
4. Height and Angle: Optimal camera height and angle can greatly impact the quality of footage captured. Consider mounting the cameras at a height that provides a wider perspective while keeping them out of reach. Aim the camera slightly downwards to capture facial features and avoid aiming too high, which may result in obscured views.
5. Cover All Access Points: Along with entry points, ensure that all access points to the property, including side gates, windows, and basement entrances, are covered by cameras. These areas can be targeted by intruders seeking alternative ways to enter your home.
6. Interior Monitoring: If you require monitoring inside your home, determine the key areas that need surveillance. This may include living rooms, hallways, staircases, or rooms where valuable items are kept. Place cameras strategically to cover these areas without invading privacy.
7. Visibility vs. Discretion: Decide whether you want your cameras to be visible or discreet. Visible cameras can serve as a deterrent, while discreet cameras may blend better with the surroundings and avoid attracting attention. This choice depends on your security needs and preferences.
8. Consider Lighting Conditions: Take into account the lighting conditions of the areas you want to monitor. Ensure that the cameras are positioned to avoid glare, backlight, or harsh lighting that could affect the quality of the footage. Adjust camera settings or install additional lighting if necessary.
9. Coverage Overlap: To ensure comprehensive coverage, aim for some overlap between camera views. This helps in providing multiple angles and minimizing blind spots. Additionally, consider using wide-angle lenses or PTZ cameras that can cover a larger area and reduce the number of cameras needed.
10. Consider Privacy: Respect privacy boundaries and avoid placing cameras in areas where they may intrude on neighbors’ properties or capture private spaces. Be mindful of local privacy laws and regulations when determining camera placement.
Remember, camera placement will vary based on the layout and specific needs of your property. Take the time to evaluate each area and consider potential threats or vulnerabilities. By strategically placing your cameras, you can create a robust security system that provides the necessary coverage to safeguard your home. Once you have determined the ideal locations for your cameras, you can proceed to the next step of gathering the necessary tools and equipment for the installation process.
Step 4: Gather the Necessary Tools and Equipment
Before starting the installation process, it’s important to gather all the necessary tools and equipment. Having everything prepared in advance will make the installation smoother and more efficient. Here are the essential tools and equipment you will need:
1. Camera System: Ensure that you have purchased the security camera system that aligns with your requirements. This includes the cameras themselves, the recording device (such as a digital video recorder or network video recorder), and any additional accessories or cables that may be required.
2. Cameras: Depending on your chosen system, gather all the cameras that you need for the installation. Ensure that they are properly packaged and have all the accompanying components, such as mounting brackets or screws.
3. Cables: Determine whether your cameras require power cables, Ethernet cables, or both. Have enough cables of the appropriate length to connect the cameras to the recording device and power source. Consider the distance between cameras and the recording device when estimating cable lengths.
4. Power Supply: If your cameras require power, ensure that you have a suitable power supply. This may include individual power adapters or a centralized power supply unit, depending on your camera system. Make sure it can accommodate the power requirements of all the cameras.
5. Tools: Gather the necessary tools for installation. This may include a power drill, screwdriver, wrench, cable stripper, crimping tool, level, and a ladder or step stool (if needed). Having the right tools on hand will make the installation process smoother.
6. Mounting Hardware: Check if your camera system includes mounting brackets or other hardware for installation. If not, ensure that you have the appropriate hardware, such as screws, anchors, or clamps, to securely mount the cameras on walls, ceilings, or other surfaces.
7. Network Equipment: If your cameras require network connectivity, ensure that you have the necessary network equipment. This may include a network switch or a router with available Ethernet ports for connecting the cameras to the recording device and accessing the footage remotely.
8. Monitor or Display Device: Consider whether you need a dedicated monitor or display device to view the camera feeds. This can be a computer monitor, a TV with HDMI input, or a mobile device with the appropriate viewing app. Make sure you have the necessary cables to connect the display device to the recording device.
9. Storage Device: Check if your camera system requires a separate storage device, such as a hard drive, to store recorded footage. Ensure that it is compatible with the recording device and has sufficient capacity to store the desired amount of footage.
10. Documentation and Instructions: Keep the user manuals, installation guides, and any other documentation provided with your camera system readily available. Familiarize yourself with the instructions before starting the installation to ensure proper setup and configuration.
By gathering all the necessary tools and equipment ahead of time, you can streamline the installation process and avoid any unnecessary delays or interruptions. Make sure that everything is in proper working condition and that you have the required quantity of cables, hardware, and accessories. With everything prepared, you’ll be ready to move on to the next step of the installation process – actually installing the security camera system.
When installing a security camera system at home, make sure to carefully plan the placement of the cameras to cover all entry points and vulnerable areas. This will ensure maximum coverage and effectiveness of the system.
Read more: How To Install Security Cameras Outside
Step 5: Install the Security Camera System
Now that you have gathered all the necessary tools and equipment, it’s time to proceed with the installation of your security camera system. The installation process involves mounting the cameras, running cables, and making necessary connections. Here’s a step-by-step guide to help you install your security camera system:
1. Plan Camera Placement: Refer to the camera placement decisions made in Step 3 and use a measuring tape or ruler to mark the exact locations where the cameras will be mounted. Use a level to ensure that the cameras will be straight and properly aligned.
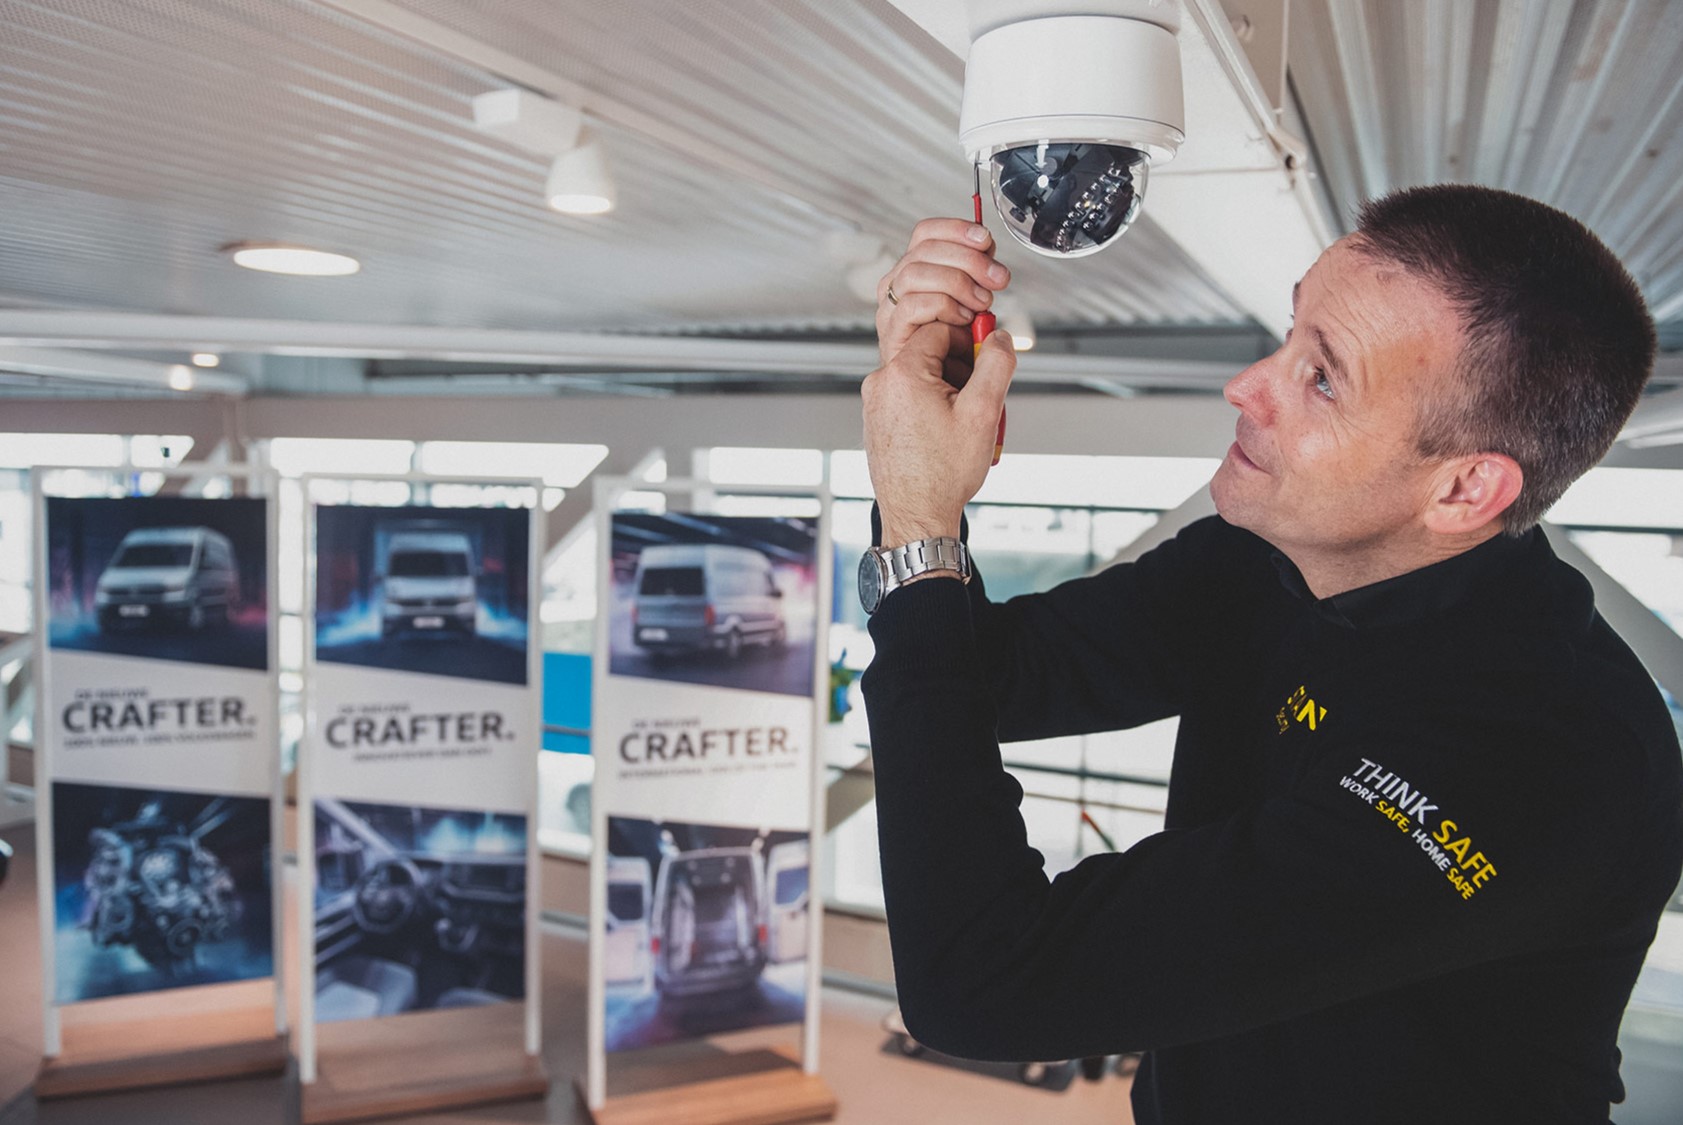
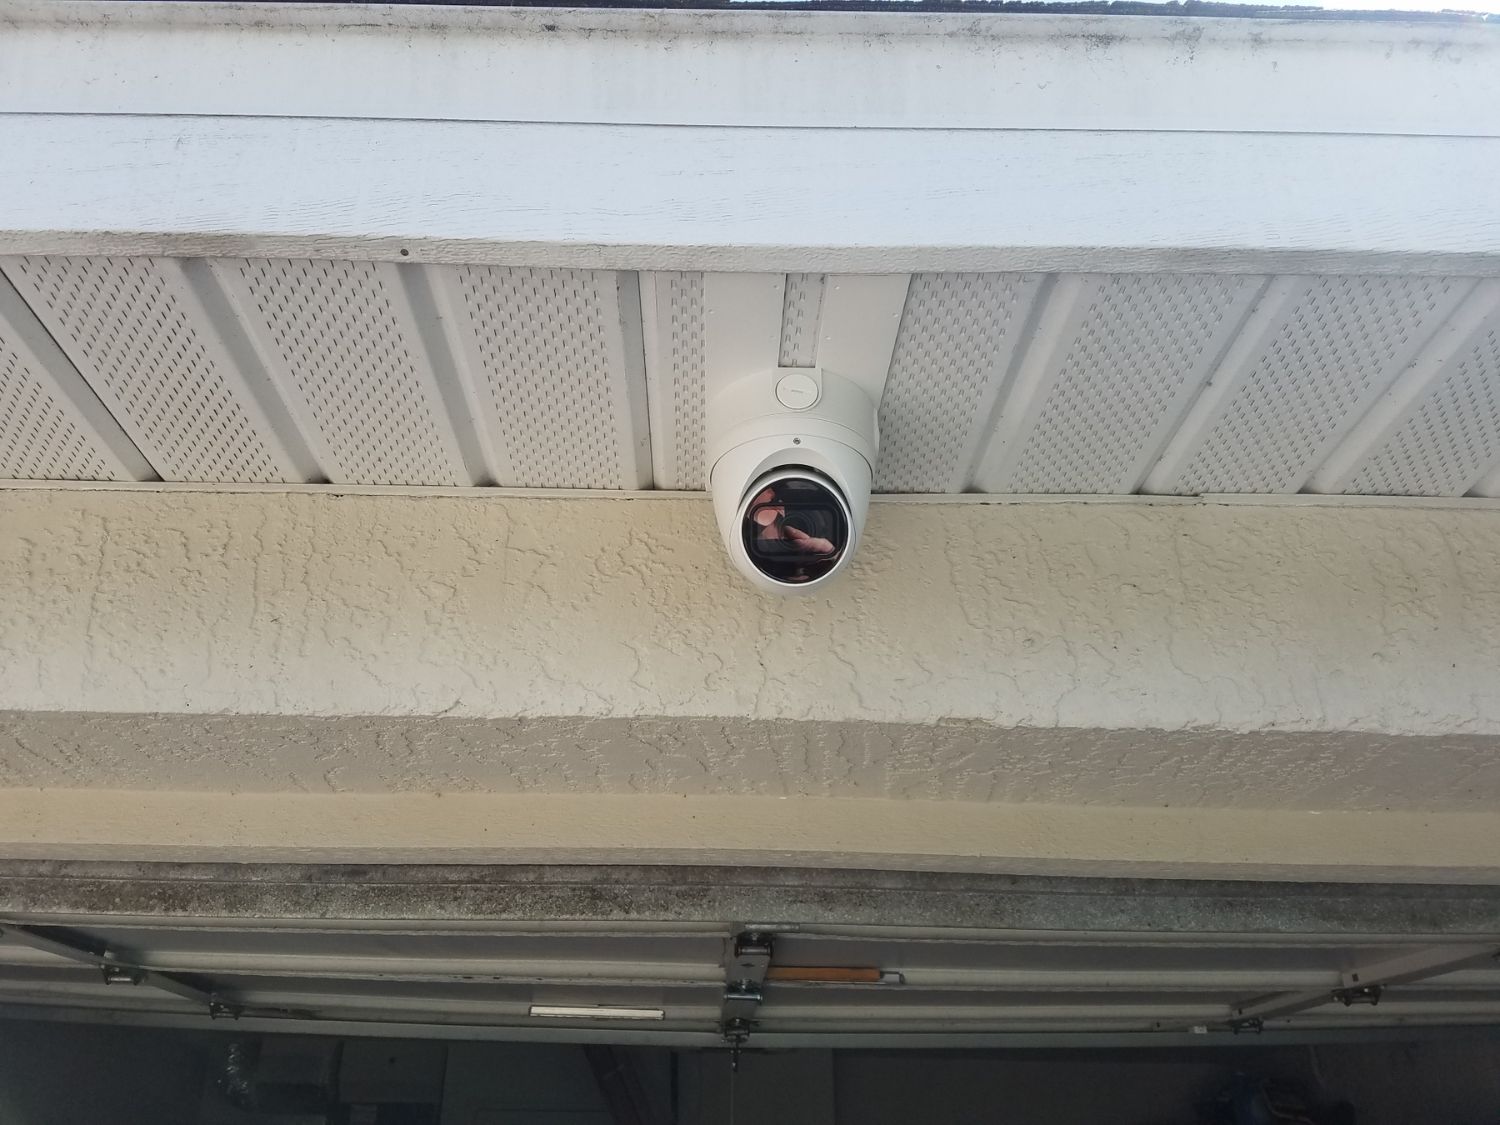
2. Mount the Cameras: Attach the mounting brackets to the chosen camera locations using screws and anchors as needed. Make sure the brackets are securely fastened to the surfaces, such as walls, ceilings, or poles. Mount the cameras onto the brackets and tighten the screws to hold them in place.
3. Run Cables: If your cameras require power or network connectivity, run the necessary cables from each camera to the recording device or network equipment. Depending on the system, this may involve routing cables through walls, ceilings, or conduit pipes. Use cable clips or adhesive clips to secure the cables in place and minimize any visible wiring.
4. Make Cable Connections: Connect the cables from each camera to the corresponding ports on the recording device or network equipment. Ensure that the connections are secure, and the cables are properly inserted. If using power over Ethernet (PoE) cameras, connect the Ethernet cables to both the camera and the network switch or router.
5. Power the Cameras: If your cameras require separate power, connect the power cables to the cameras and plug them into a power source. Ensure that the power supply meets the required voltage and amperage specifications for your cameras.
6. Configure Camera Settings: Refer to the camera manufacturer’s instructions to access the camera settings and configure them according to your preferences. This may include adjusting image quality, enabling motion detection, setting up recording schedules, or configuring network settings.
7. Position and Focus the Cameras: Adjust the camera angles and positions to ensure optimal coverage of the desired areas. Use the camera’s pan, tilt, and zoom features, if available, to fine-tune the viewing angle. Test the camera feeds on your display device to verify their positioning and adjust if necessary.
8. Secure the Cables: Once the cameras and cables are installed, secure any loose cables or excess lengths to prevent trip hazards or damage. Use cable management solutions, such as cable ties or wire clips, to keep the cables organized and tidy.
9. Test Camera Feeds: After completing the installation, test the camera feeds on your display device to ensure that each camera is functioning properly and providing the desired coverage. Check for any blind spots or areas that may require adjustments.
10. Finalize Installation: Once you’re satisfied with the camera feeds, finalize the installation by tightening any loose screws, double-checking cable connections, and ensuring that all equipment is securely mounted and properly secured. Take some time to clean up the installation area and remove any debris or tools.
Remember to follow the manufacturer’s instructions and guidelines throughout the installation process. If you encounter any difficulties or uncertainties, refer to the user manuals or consult the manufacturer’s customer support for assistance. By installing your security camera system with care and precision, you can enhance the safety and security of your home. The next step is to connect the cameras to power and networking, which we will explore in the next section.
Step 6: Connect the Cameras to Power and Networking
With the cameras physically installed, the next step is to connect them to power and networking. Properly connecting the cameras will ensure that they receive power and enable you to access and monitor the camera feeds. Here’s a step-by-step guide to help you connect the cameras to power and networking:
1. Power Connections: If your cameras require separate power, connect each camera’s power cable to a power source. This can be a power outlet or a centralized power supply unit. Ensure that the power supply meets the voltage and amperage requirements specified by the camera manufacturer.
2. Power over Ethernet (PoE) Connections: If your cameras support Power over Ethernet (PoE), connect the Ethernet cables from the cameras to the PoE-enabled network switch or router. The PoE function allows the cameras to receive power through the Ethernet cables, eliminating the need for separate power cables.
3. Network Connections: For cameras requiring network connectivity, connect the Ethernet cables from each camera to the network switch or router. Ensure that the cables are securely inserted into the appropriate Ethernet ports.
4. Verify Power and Network Connectivity: Once the cables are connected, verify the power and network connectivity of each camera. Ensure that the cameras are receiving power and that the network switch or router is properly functioning. You can use the camera’s indicator lights or logging into the camera’s interface to confirm the connection status.
5. Configure IP Addresses: If required, configure static IP addresses for each camera to ensure proper network communication. Refer to the camera’s user manual or manufacturer’s instructions for guidance on configuring the IP addresses.
6. Test Camera Feeds: After connecting the cameras to power and networking, test the camera feeds on your display device to ensure that the cameras are transmitting video properly. Open the viewing app or software provided by the camera manufacturer and check if you can see live feeds from each camera.
7. Adjust Network Settings: If necessary, adjust network settings to enable remote access and monitoring of the camera feeds. This may involve port forwarding, setting up a dynamic DNS (DDNS), or configuring network security settings. Refer to the camera’s documentation or manufacturer’s instructions for guidance on configuring network settings.
8. Secure Cables and Connections: After verifying the camera feeds and ensuring proper power and network connectivity, secure the cables and connections to prevent accidental disconnections or interference. Use cable clips, adhesive clips, or cable management solutions to keep the cables organized and secured.
9. Backup Power Supply: Consider using a backup power supply, such as an uninterruptible power supply (UPS), to protect your security camera system from power outages or interruptions. This can help ensure continuous operation and recording, even during power failures.
10. Perform Regular Maintenance: Once the cameras are connected to power and networking, perform regular maintenance to keep the system running smoothly. This includes checking cables, cleaning camera lenses, updating firmware, and backing up recorded footage.
By following these steps to connect the cameras to power and networking, you can ensure that your security camera system is fully operational and ready for monitoring. Remember to consult the camera’s user manual and manufacturer’s instructions for any specific guidance related to power and network connections. In the next step, we will discuss setting up the monitoring and recording system for your security cameras.
Step 7: Set Up the Monitoring and Recording System
Setting up the monitoring and recording system is a crucial step in maximizing the functionality and effectiveness of your security camera system. By properly configuring the monitoring and recording settings, you can ensure that you have access to live camera feeds, playback recorded footage, and receive alerts when necessary. Here’s a step-by-step guide to help you set up the monitoring and recording system:
1. Choose Monitoring Devices: Determine which devices you will use to monitor your camera feeds. This can be a computer, laptop, smartphone, or tablet. Ensure that these devices are compatible with the camera system and have the necessary software or apps installed.
2. Install Viewing Software/App: If your camera system requires specific viewing software or apps, download and install them on your monitoring devices. Follow the manufacturer’s instructions for installation and configuration.
3. Connect to Network: Ensure that your monitoring devices are connected to the same network as the security camera system. This can be done by connecting the devices to the Wi-Fi network or using an Ethernet connection.
4. Camera Configuration: Launch the viewing software or app and access the camera configuration settings. Configure the necessary parameters such as camera names, resolution, frame rate, recording options, and motion detection settings. Adjust these settings based on your preferences and requirements for monitoring and recording.
5. Live Viewing: Use the software or app to access the live camera feeds from your monitoring devices. Ensure that you can view each camera’s feed and that the images are clear and displayed in real-time.
6. Recording Settings: Configure the recording settings based on your needs. This may include setting up continuous recording or scheduling specific time frames for recording. Adjust the video quality, frame rate, and storage settings to optimize the balance between video quality and storage capacity.
7. Motion Detection: Enable motion detection settings to receive alerts and notifications when the cameras detect movement. Fine-tune the motion detection sensitivity and create custom detection areas to minimize false alarms.
8. Remote Access: Set up remote access to your security camera system, allowing you to monitor the camera feeds from anywhere with an internet connection. This may involve configuring port forwarding, using a VPN (Virtual Private Network), or setting up cloud-based monitoring.
9. Configure Alerts and Notifications: Set up alerts and notifications to receive instant notifications when motion is detected or specific events occur. This can be done through email notifications, push notifications on the viewing software/app, or SMS alerts.
10. Test and Adjust: Once you have configured the monitoring and recording settings, test the system to ensure that everything is functioning as desired. Verify that you can access live camera feeds, playback recorded footage, and receive alerts when triggered.
Regularly check and update the monitoring and recording system settings to meet changing security needs and preferences. Periodically review recorded footage, adjust motion detection settings, and ensure that software or firmware updates are applied to maintain optimal system performance.
By following these steps to set up the monitoring and recording system, you can take full advantage of your security camera system’s features and capabilities. It enables you to monitor your property, review past events, and stay informed about any potential threats or incidents. Now that your monitoring and recording system is set up, it’s time to move on to the next step – testing and adjusting the system for optimal performance.
Step 8: Test and Adjust the System
Testing and adjusting your security camera system is crucial to ensure optimal performance and to address any issues or challenges that may arise. By conducting thorough tests and making necessary adjustments, you can fine-tune your system for reliable surveillance. Here’s a step-by-step guide to testing and adjusting your security camera system:
1. Camera Feeds: Test each camera feed individually to ensure that the cameras are capturing clear and accurate video footage. Verify that the angles and positioning of the cameras cover the desired areas effectively.
2. Video Playback: Review the recorded footage from each camera to ensure the quality and clarity of the recordings. Test the video playback functionality on different devices and adjust the playback settings if necessary.
3. Motion Detection: Test the motion detection settings of your cameras to ensure that they accurately detect motion and trigger alerts or recordings as expected. Walk through the designated detection areas and monitor if the cameras respond accordingly.
4. Alerts and Notifications: Verify that you are receiving alerts and notifications when motion is detected or during specified events. Test the notification methods, such as email alerts or push notifications, and make adjustments to the settings if needed.
5. Remote Access: Test the remote access capabilities of your security camera system from outside your home network. Ensure that you can access the camera feeds and control the system from a different location, such as using a mobile device network or a public Wi-Fi connection.
6. Night Vision: Test the night vision capabilities of the cameras in low-light conditions or complete darkness. Ensure that the cameras switch to night vision mode automatically and provide clear footage during nighttime surveillance.
7. Camera Adjustments: If you discover any blind spots or areas that are not adequately covered by the cameras, make necessary adjustments to their positioning or viewing angles. This may involve repositioning the cameras, adjusting the field of view, or adding additional cameras if required.
8. Lighting Conditions: Assess the lighting conditions around the areas monitored by the cameras. Adjust camera settings or add additional lighting if needed to enhance the clarity of the recorded footage.
9. Recording Settings: Review the recording settings, such as the duration of recorded footage, storage capacity, or overwrite options. Make necessary adjustments to align them with your desired duration and retain the required amount of recorded footage.
10. Ongoing Maintenance: Establish a regular maintenance schedule for your security camera system. This includes cleaning camera lenses, checking cable connections, updating firmware, and ensuring that backup systems, such as the power supply or storage devices, are functioning correctly.
By conducting thorough testing and making adjustments as needed, you can fine-tune your security camera system for optimal performance. Regularly review and update the system settings based on changing needs or any identified areas of improvement. This will help you maintain a reliable and effective surveillance system for the continued safety and security of your home.
Congratulations! With the completion of step 8, you have successfully tested and adjusted your security camera system. You can now sit back, relax, and enjoy the peace of mind that comes with having a robust and efficient security solution in place.
Read more: How To Install A Ring Security Camera
Conclusion
Installing a security camera system at home is a proactive step towards enhancing the safety and security of your property. By following the step-by-step process outlined in this guide, you can successfully set up a comprehensive surveillance system tailored to your specific needs.
Throughout the installation process, you assessed your home security needs, chose the right security camera system, determined camera placement, gathered the necessary tools and equipment, installed the cameras, connected them to power and networking, set up the monitoring and recording system, tested and adjusted the system for optimal performance. Each step contributed to creating a robust security solution that meets your requirements and provides peace of mind.
Remember that maintaining and regularly checking your security camera system is equally important. Conduct routine maintenance, review footage, and make adjustments as needed. Stay updated with the latest software updates and firmware releases to ensure optimal functionality and security.
Apart from acting as a deterrent, a properly installed and configured security camera system enables you to monitor your property remotely, record suspicious activities, and receive instant alerts. It empowers you with the ability to respond quickly to potential threats and keeps you connected to your home even when you’re away.
Make sure to familiarize yourself with the local laws and regulations surrounding surveillance and privacy. Respect the privacy of others and use your security camera system responsibly.
By taking the time to install and maintain a security camera system, you are taking proactive measures to protect your home and loved ones. The investment in a security camera system is an investment in peace of mind, allowing you to have confidence in the security of your property.
Now that you have completed the installation process and have a fully functional security camera system, take a moment to appreciate the value it brings to your home security. Utilize the system effectively, stay vigilant, and enjoy the enhanced sense of security that comes with knowing you have a trusted surveillance solution in place.
Congratulations on successfully installing your home security camera system! May it provide you with the peace of mind and protection you deserve.
Frequently Asked Questions about How To Install A Security Camera System At Home
Was this page helpful?
At Storables.com, we guarantee accurate and reliable information. Our content, validated by Expert Board Contributors, is crafted following stringent Editorial Policies. We're committed to providing you with well-researched, expert-backed insights for all your informational needs.