Home>Home Security and Surveillance>Uniden Wireless Security System: How To Install

Home Security and Surveillance
Uniden Wireless Security System: How To Install
Modified: March 6, 2024
Learn how to install the Uniden Wireless Security System for effective home security and surveillance. Protect your property with this easy-to-install solution.
(Many of the links in this article redirect to a specific reviewed product. Your purchase of these products through affiliate links helps to generate commission for Storables.com, at no extra cost. Learn more)
Introduction
Welcome to our comprehensive guide on how to install the Uniden wireless security system. Whether you’re a homeowner looking to increase the safety of your property or a business owner wanting to protect your premises, the Uniden wireless security system is a convenient and reliable option. This system offers a range of features, including high-definition video surveillance, remote access, and motion detection.
Installing a home security system may seem like a daunting task, but with the right guidance, it can be a straightforward and rewarding experience. In this article, we will walk you through the step-by-step process of setting up your Uniden wireless security system. By following these instructions, you’ll be able to fortify your home or business with a robust surveillance system that provides peace of mind.
Before diving into the installation process, let’s take a moment to understand the benefits of having a wireless security system. Unlike traditional wired systems, wireless systems offer greater flexibility in terms of camera placement. They can transmit video and audio signals wirelessly, reducing the need for extensive wiring installations. Wireless security systems are also easier to expand and upgrade, making them a cost-effective choice for future expansion.
Aside from the flexibility and ease of installation, the Uniden wireless security system is packed with advanced features to ensure your property’s security. These features include high-resolution cameras that capture clear and crisp footage, night vision capabilities for round-the-clock surveillance, and motion detection sensors that send instant alerts to your mobile device whenever activity is detected.
Throughout this guide, we will provide clear instructions and insightful tips to ensure a successful installation. So, without further ado, let’s embark on the journey of installing your Uniden wireless security system, step by step.
Key Takeaways:
- Setting up a Uniden wireless security system is easy with step-by-step instructions. It offers high-definition video, motion detection, and remote access, providing peace of mind for homeowners and business owners.
- Proper camera placement, system power-up, and thorough testing are crucial for a fully functional Uniden wireless security system. Regular maintenance ensures ongoing performance and effectiveness.
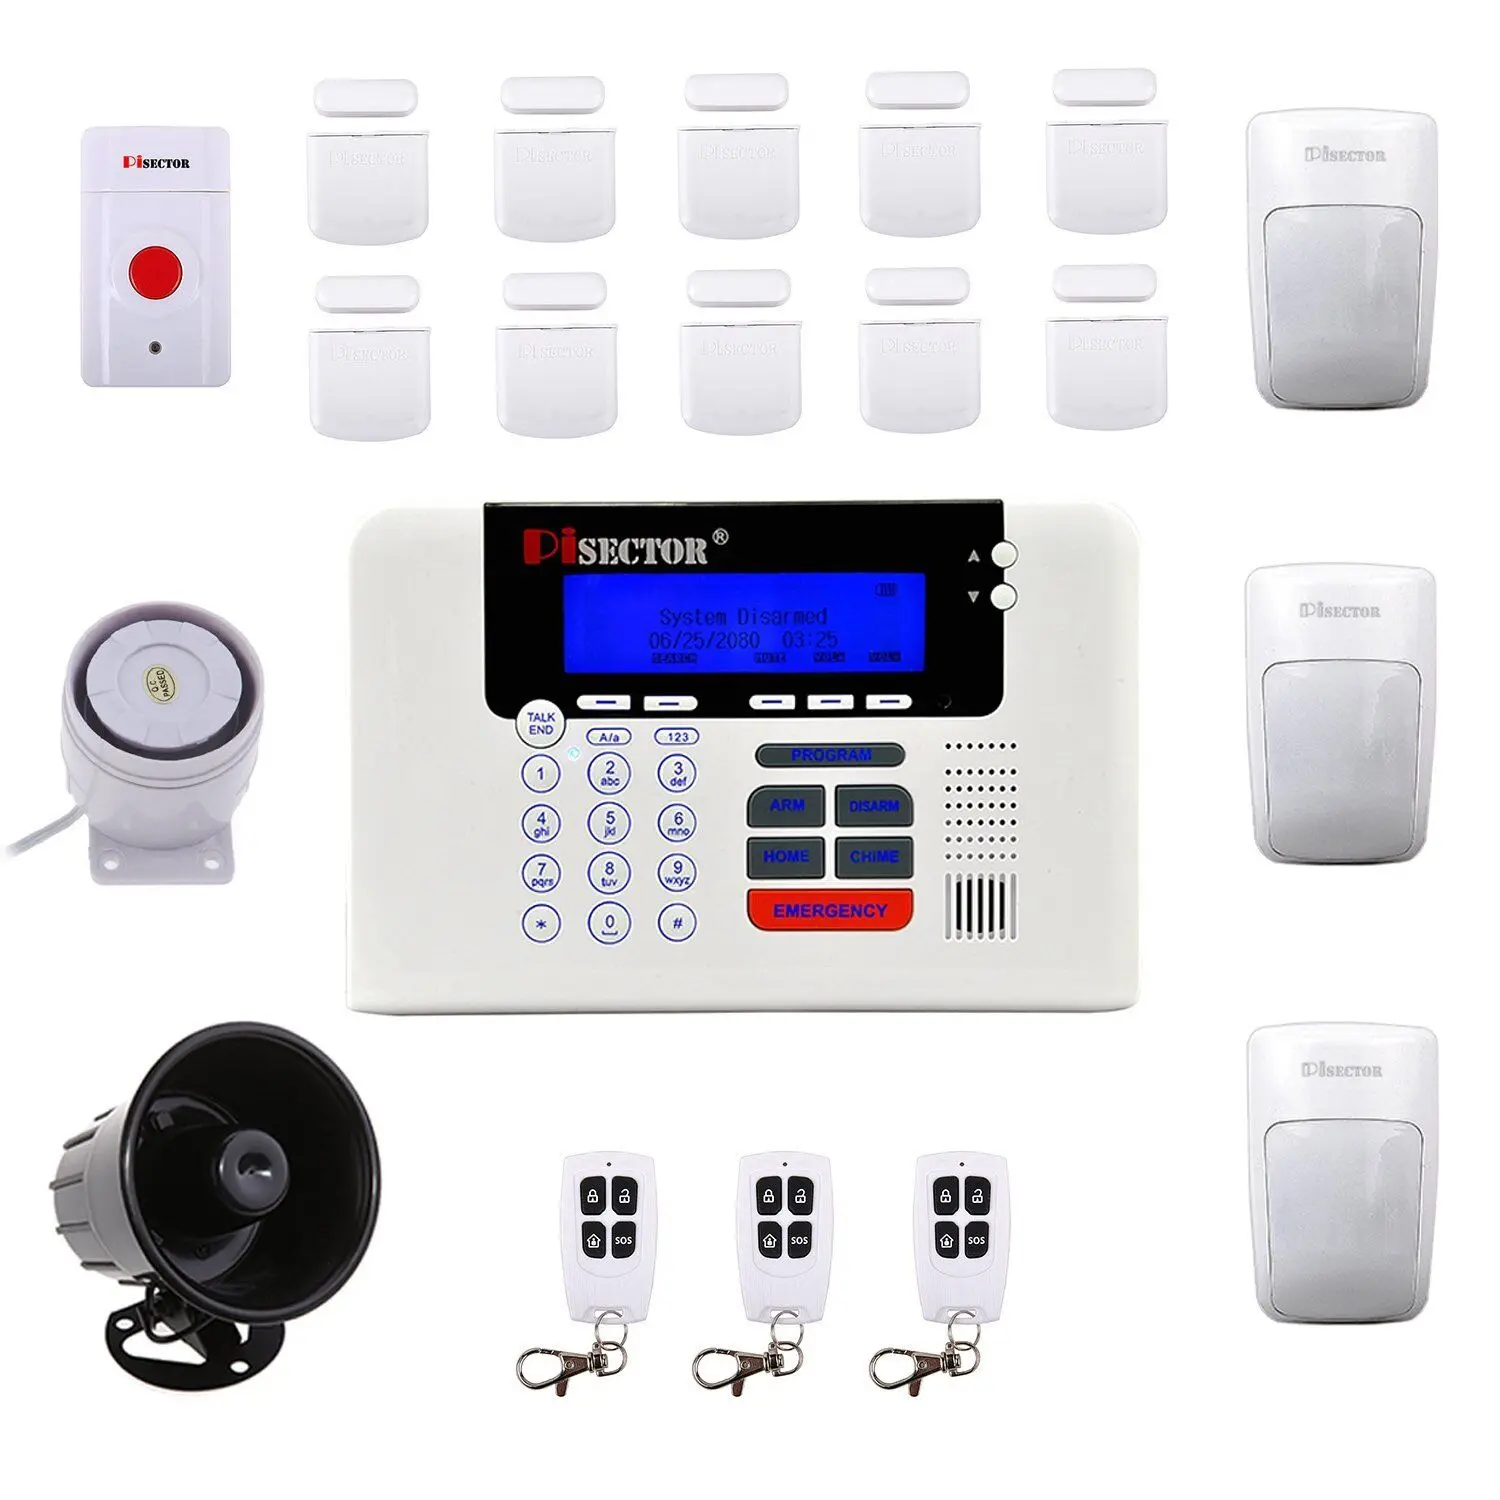
Step 1: Checking Package Contents
The first step in installing your Uniden wireless security system is to check the package contents to ensure that you have all the necessary components. When you receive your package, inspect it carefully and make sure it includes the following items:
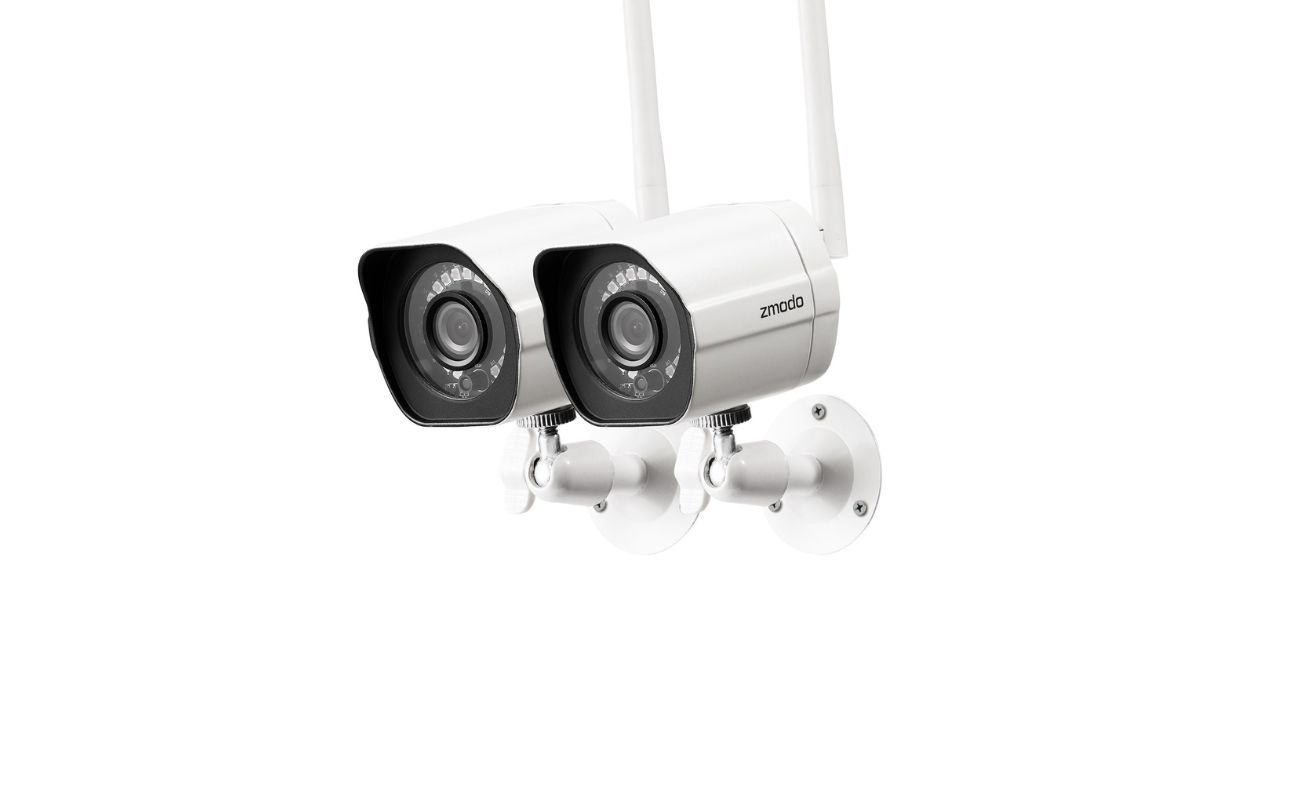
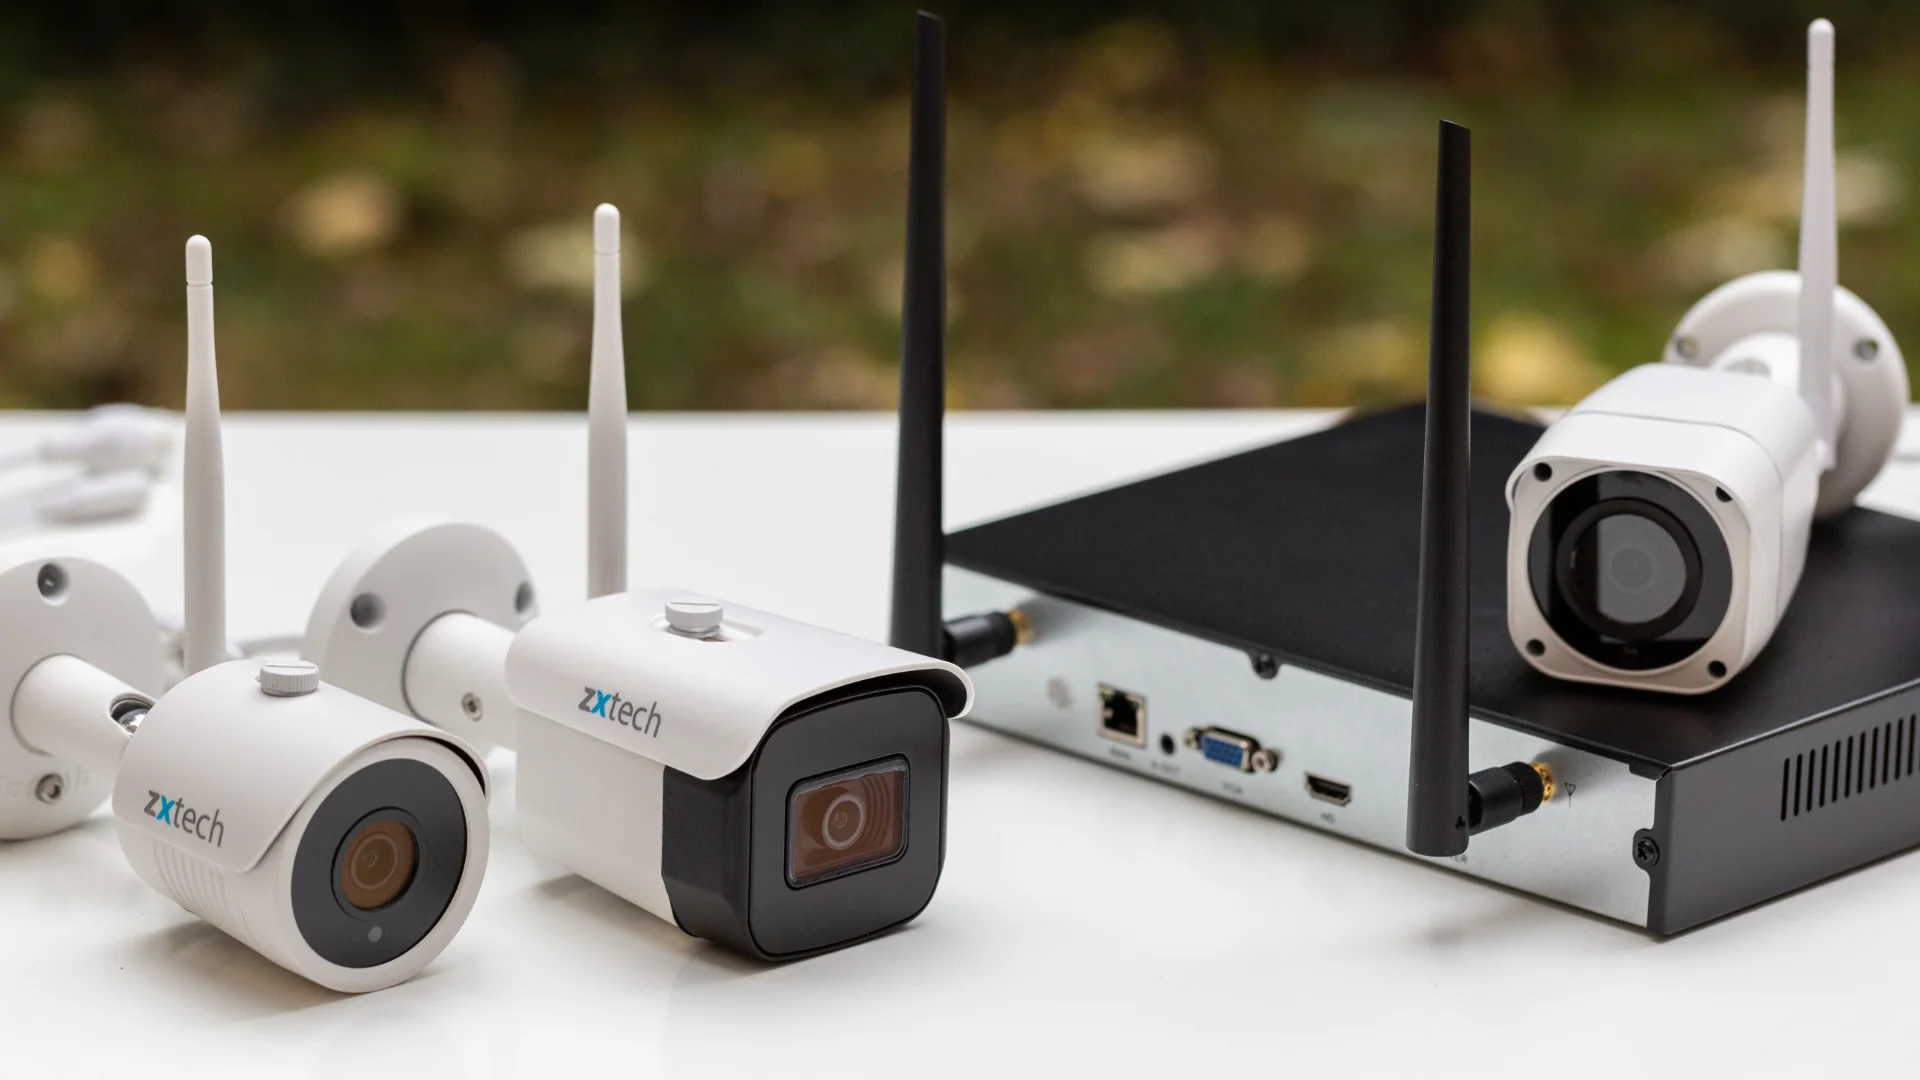
- Base station: This is the central hub of the security system and is responsible for connecting and controlling the cameras.
- Wireless cameras: These are the devices that capture video footage and transmit it to the base station.
- Power adapters: Each camera and the base station requires a power adapter to be connected to a power source.
- Mounting brackets and screws: These accessories are used to securely mount the cameras on walls or other surfaces.
- Ethernet cable: This cable is used to connect the base station to your internet router for remote access.
- Quick start guide and user manual: These documents provide detailed instructions on setting up and configuring the system.
Once you have confirmed that all the components are present, it’s a good idea to familiarize yourself with the user manual and the quick start guide. These resources will provide you with important information about the installation process and the various features of the Uniden wireless security system.
Before proceeding to the next step, ensure that you have the necessary tools on hand. These may include a screwdriver, a drill, and a level for mounting the cameras securely. Taking the time to gather and prepare the tools in advance will make the installation process smoother and more efficient.
Now that you have checked the package contents and gathered the necessary tools, you’re ready to move on to the next step: setting up the base station.
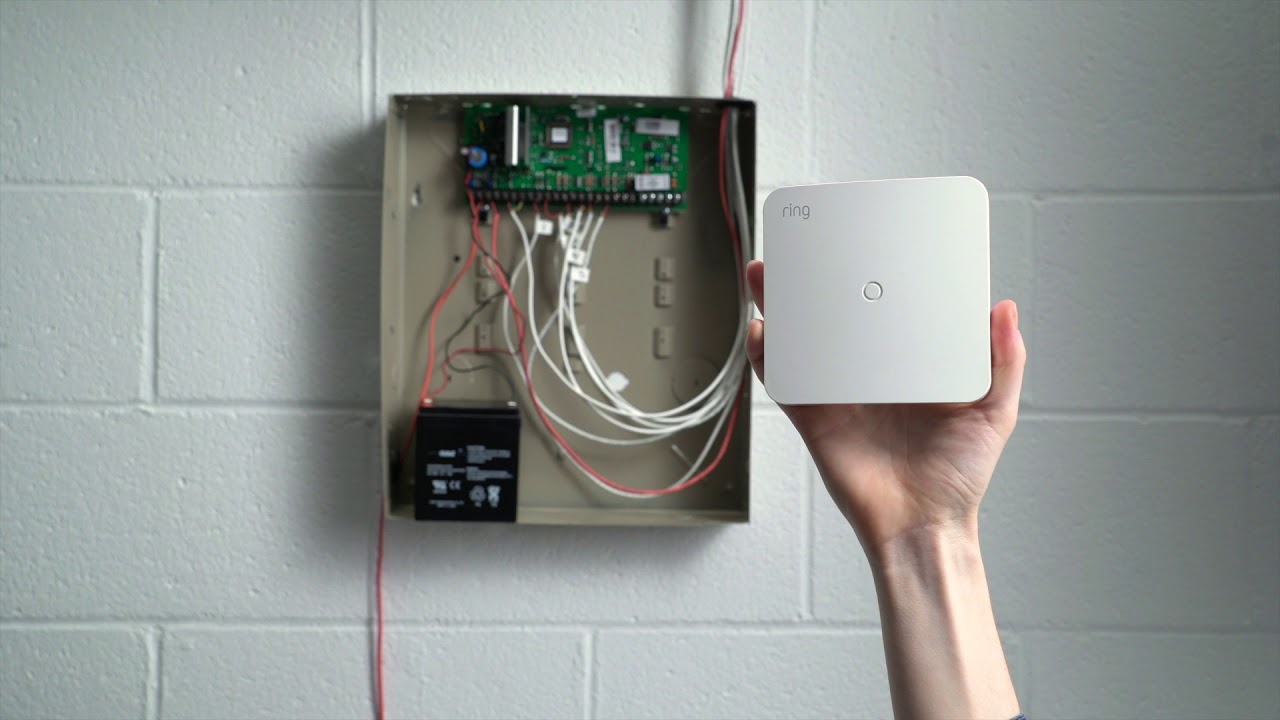
Step 2: Setting Up the Base Station
In this step, we will guide you through setting up the base station of your Uniden wireless security system. The base station acts as the central hub that connects and controls all the cameras in your surveillance system. Follow these steps to successfully set up the base station:
- Choose the ideal location: Find a suitable location for the base station near your internet router. This will ensure a stable and reliable connection. Plug in the power adapter and connect the base station to your router using the provided Ethernet cable.
- Power on the base station: Once the base station is connected to the power source, power it on. Wait for the power indicator light to turn solid or for the device to display a ready status.
- Access the base station settings: Open a web browser on your computer and enter the IP address of the base station. This information can be found in the user manual or the quick start guide. You may be prompted to create an account or log in with your credentials.
- Configure network settings: In the base station settings, navigate to the network settings section. Here, you will need to set the appropriate network configuration, such as the IP address, subnet mask, and gateway address. These settings will allow the base station to communicate with your network and enable remote access.
- Save and apply the settings: Once you have entered the network settings, save and apply the changes. The base station will restart to apply the new settings.
- Verify the connection: After the base station has restarted, verify that it is properly connected to your network. Check the network status indicator in the dashboard or use the provided software to ensure a successful connection.
By following these steps, you will have successfully set up the base station of your Uniden wireless security system. The base station is now ready to connect and control the wireless cameras. In the next step, we will guide you through the process of connecting the cameras to the base station.
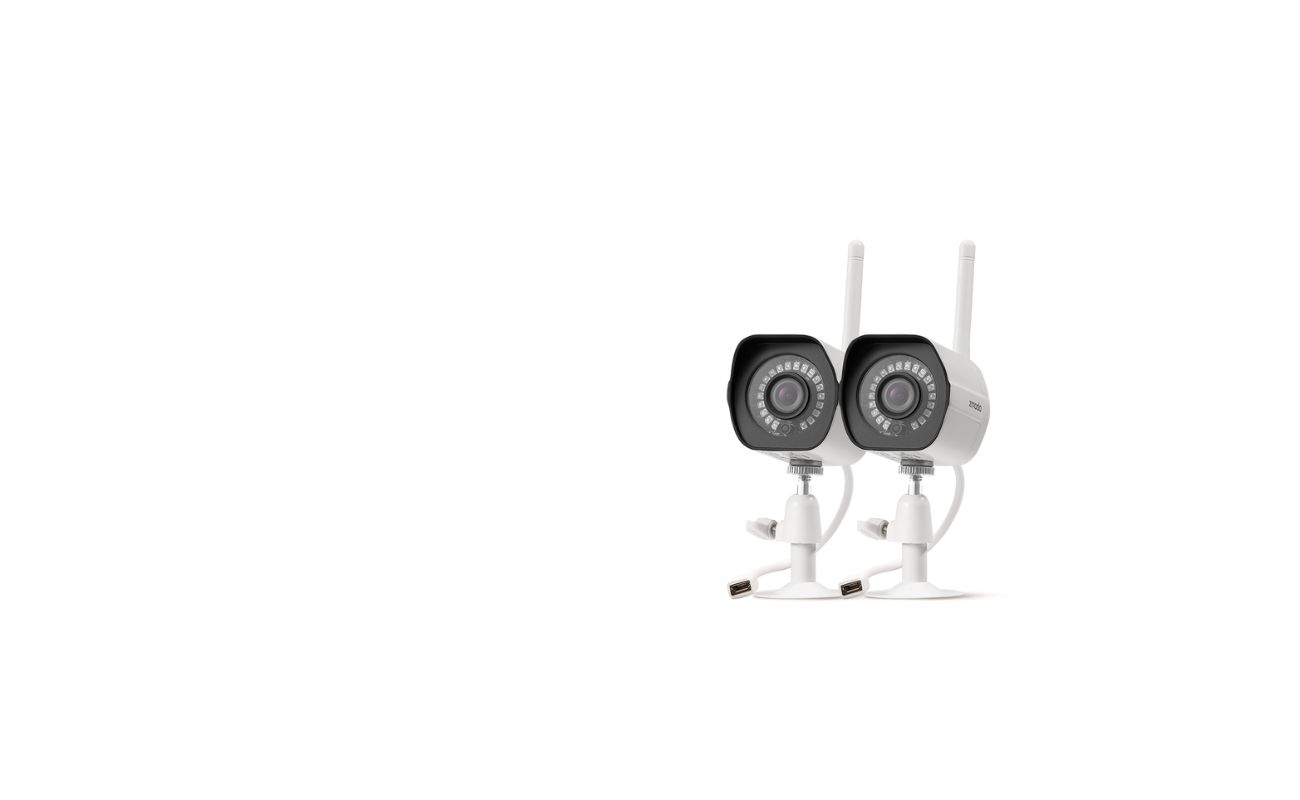
Step 3: Connecting Cameras
Now that you have set up the base station, it’s time to connect the wireless cameras to your Uniden security system. Follow these steps to successfully connect the cameras:
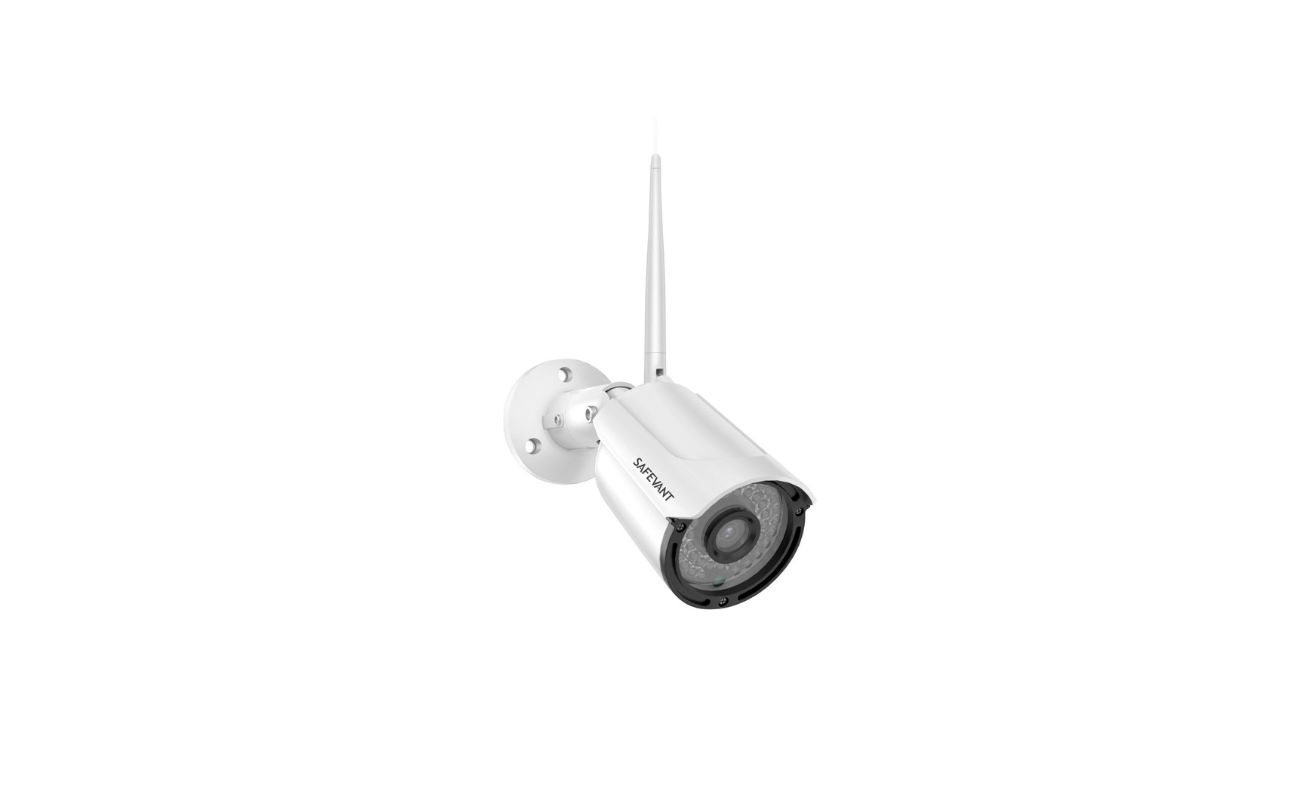
- Choose camera locations: Determine the areas you want to monitor and select the ideal locations for your cameras. Keep in mind factors such as visibility, coverage, and potential obstacles.
- Mount the cameras: Use the provided mounting brackets and screws to securely mount the cameras on walls, ceilings, or other surfaces. Make sure the cameras are positioned at the desired angles for optimal coverage.
- Power on the cameras: Connect the power adapters to each camera and plug them into a power source. Ensure that the cameras receive power and that the status lights indicate they are ready for setup.
- Access camera settings: Open the Uniden security system software or use a web browser to access the camera settings. This will allow you to configure and connect the cameras to the base station.
- Start the camera pairing process: Locate the camera pairing button on the base station and press it. The base station will then enter pairing mode, indicated by a flashing light or an on-screen prompt.
- Pair the cameras: Within the camera settings, navigate to the camera pairing section. Follow the instructions to pair each camera with the base station. This may involve pressing a pairing button on the camera or entering a unique code.
- Monitor the pairing process: As you pair each camera, monitor the base station or software interface to ensure that the cameras are successfully connected and recognized by the system.
- Confirm camera connections: Once all cameras are paired, verify that they are displayed as connected in the camera settings or software interface. You should be able to see live video feeds from each camera.
By following these steps, you will have successfully connected the wireless cameras to your Uniden security system. The cameras are now ready to capture and transmit video footage to the base station. In the next step, we will guide you through the process of pairing the cameras with the base station.
Step 4: Pairing Cameras with the Base Station
In this step, we will guide you through the process of pairing the wireless cameras with the base station of your Uniden security system. By pairing the cameras, you will ensure that they are recognized and connected to the base station for seamless functionality. Follow these steps to successfully pair the cameras:
- Access the camera settings: Open the Uniden security system software or use a web browser to access the camera settings and configuration interface.
- Navigate to the camera pairing section: Within the camera settings, locate the camera pairing or “add camera” section. This is where you will initiate the pairing process.
- Start the pairing mode: Press the pairing button on the camera itself or follow the on-screen instructions to activate its pairing mode. The camera should indicate that it is currently in pairing mode.
- Initiate pairing on the base station: On the base station, navigate to the camera pairing section or follow the on-screen prompts to start the pairing process. This may involve pressing a pairing button on the base station or entering a unique code.
- Wait for pairing to complete: Once the pairing process is initiated, wait for the base station and camera to establish a connection. This may take a few moments, and you should see a confirmation message or indication on the screen.
- Repeat the process for each camera: If you have multiple cameras, repeat the above steps for each camera that you want to pair with the base station. Make sure to follow the same pairing process for each camera individually.
- Verify camera connections: After pairing each camera, verify that they are displayed as connected in the camera settings or software interface. You should be able to see live video feeds from each camera.
- Adjust camera settings if necessary: Once the cameras are paired and connected, you can customize various settings such as motion detection sensitivity, recording schedules, and video quality. Take the time to configure these settings according to your preferences and needs.
By following these steps, you will have successfully paired the wireless cameras with the base station of your Uniden security system. The cameras are now fully integrated with the system and ready to provide reliable surveillance. In the next step, we will guide you on how to adjust the placement of the cameras for optimal coverage.
When installing your Uniden Wireless Security System, make sure to carefully read the instruction manual and follow the step-by-step guide to ensure proper installation and setup.
Read more: How To Disarm Wireless Security System
Step 5: Adjusting Camera Placement
Proper camera placement plays a crucial role in maximizing the effectiveness of your Uniden wireless security system. In this step, we will guide you through adjusting the placement of your cameras to ensure optimal coverage and surveillance. Follow these steps to adjust the camera placement:
- Assess the camera coverage area: Evaluate the areas you want to monitor and consider the range and viewing angle of each camera. Take into account factors such as entrances, windows, and blind spots.
- Consider camera mounting options: Depending on the location and structure of your property, you may choose to mount the cameras on walls, ceilings, or other surfaces. Use the mounting brackets and screws provided to securely attach the cameras.
- Check camera angle and tilt: The camera angle and tilt are essential in capturing the desired field of view. Adjust the cameras to ensure they are pointing in the right direction and at the appropriate tilt angle for optimal coverage.
- Eliminate obstructions: Make sure there are no obstructions in the camera’s line of sight. Clear away any objects, branches, or obstacles that may obstruct the camera’s view and compromise its effectiveness.
- Avoid direct sunlight: Direct sunlight can affect the image quality and visibility of the camera. Try to position the cameras to avoid direct exposure to sunlight or use sunshades to reduce glare.
- Consider privacy concerns: Be mindful of privacy concerns and avoid pointing the cameras towards neighboring properties or areas where privacy might be expected.
- Test camera views: Once you have adjusted the placement of the cameras, test the camera views to ensure that they cover the desired areas effectively. Review the live video feeds from each camera on the monitoring interface or app.
- Make necessary adjustments: If you find that certain areas are not adequately covered or if there are areas with excessive overlap, make the necessary adjustments to fine-tune the camera placement.
By following these steps, you can ensure that your Uniden wireless security system provides comprehensive coverage of your property. Remember to regularly review and adjust the camera placement as needed to adapt to any changes in your surveillance requirements. In the next step, we will guide you through the process of powering up the entire system.
Step 6: Powering Up the System
Now that you have successfully adjusted the placement of your cameras, it’s time to power up the entire Uniden wireless security system. Follow these steps to ensure a smooth and efficient power-up process:
- Connect the power adapters: Plug in the power adapters for the cameras and the base station. Ensure that they are securely connected to a power source.
- Check the power indicators: Once the power adapters are connected, check the power indicators on the cameras and the base station. They should indicate that the devices have power and are ready for operation.
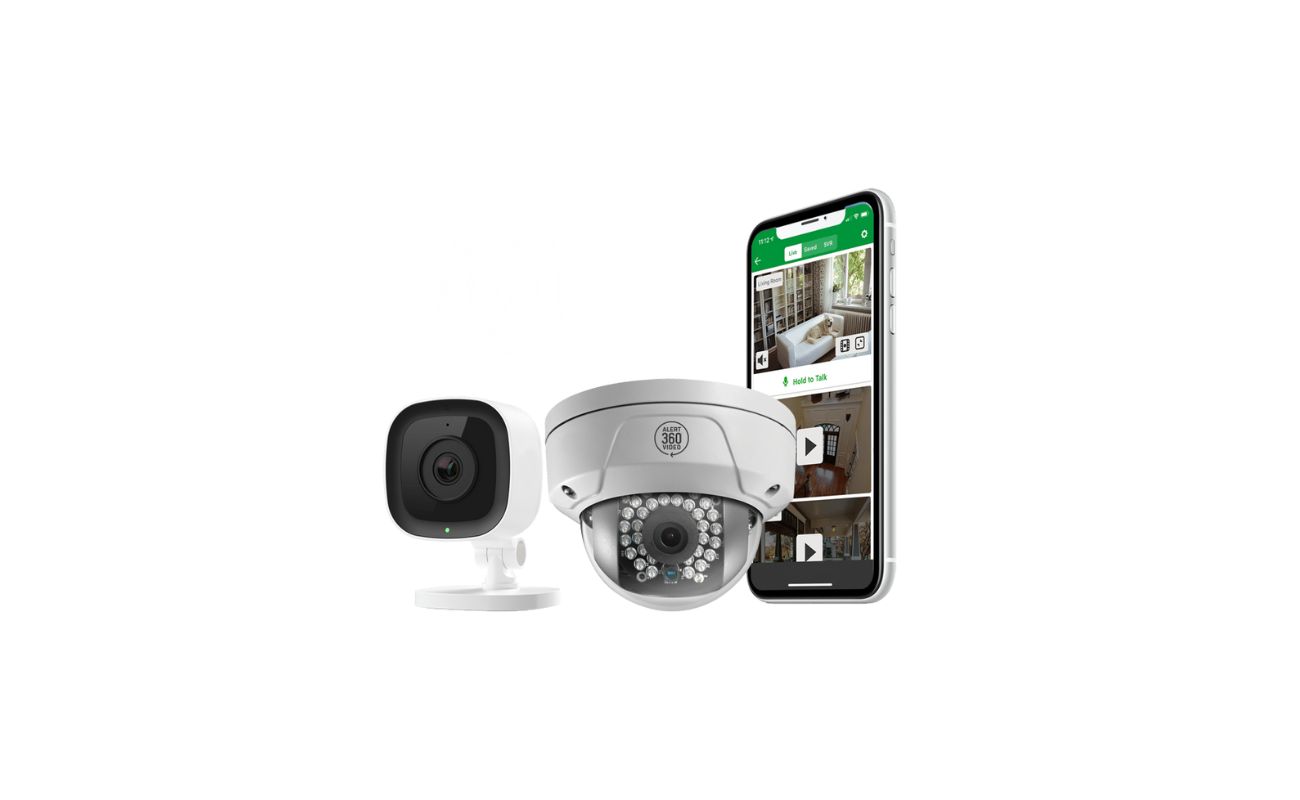
- Verify camera connectivity: Using the monitoring interface or app, verify that the cameras are connected to the base station and displaying live video feeds. If any camera does not show a connection, double-check the camera’s power source and ensure it is securely connected.
- Ensure network connectivity: Confirm that the base station is properly connected to your network. Check the network status indicators on the base station or use the provided software to verify network connectivity.
- Test remote access: If remote access is a feature of your Uniden wireless security system, test the connectivity and accessibility from a remote location. Use a computer or mobile device to access the monitoring interface or app and view the live video feeds remotely.
- Adjust camera settings if necessary: Once the system is powered up, you may need to fine-tune the camera settings. Adjust parameters such as motion detection sensitivity, recording schedules, and notification preferences to suit your requirements.
- Regularly monitor system performance: Keep an eye on the performance of your Uniden wireless security system. Check the video feeds, review footage, and ensure that the system is operating as expected.
By following these steps, you will have successfully powered up your Uniden wireless security system. It’s important to regularly monitor and maintain the system to ensure optimal performance. In the next step, we will guide you through the process of configuring the wireless security system to suit your specific needs.
Step 7: Configuring the Wireless Security System
Now that your Uniden wireless security system is powered up and fully operational, it’s time to configure the system to meet your specific needs. Follow these steps to successfully configure your wireless security system:
- Access the system settings: Open the Uniden security system software or use a web browser to access the system settings and configuration interface.
- Set up user accounts: Create user accounts for yourself and any other individuals who will have access to the security system. Assign appropriate access levels and permissions for each user.
- Configure motion detection settings: Adjust the motion detection settings according to your preferences. Determine the sensitivity level to avoid false alarms and set up specific areas where motion detection should be enabled.
- Enable scheduled recording: If desired, set up a recording schedule for the cameras. This will allow the system to automatically record video during specific times or days of the week.
- Choose recording modes: Configure the recording modes based on your preferences and requirements. Options may include continuous recording, motion-triggered recording, or a combination of both.
- Explore additional features: Familiarize yourself with any additional features provided by your Uniden wireless security system, such as two-way audio, facial recognition, or cloud storage. Configure these features if desired.
- Test system responsiveness: After configuring the system settings, conduct a few tests to ensure that the system is functioning as expected. Walk around the monitored area to trigger motion detection and verify that notifications are received and recordings are captured.
- Regularly review and update settings: It’s important to regularly review and update the system settings as needed. Consider adjusting motion detection sensitivity, updating user accounts, or modifying recording schedules to adapt to any changes in your requirements.
By following these steps, you will successfully configure your Uniden wireless security system to suit your specific needs. Regularly reviewing and updating the system settings will help ensure optimal performance and security. In the final step, we will guide you through testing the system to confirm its functionality.
Step 8: Testing the System
Testing your Uniden wireless security system is a crucial step to ensure that it is functioning as intended. Proper testing will help identify any issues or areas that require adjustment. Follow these steps to effectively test your system:
- Verify camera connectivity: Check that all cameras are properly connected to the base station and displaying live video feeds. If any camera is not functioning or displaying a connection, recheck the camera pairing and power source.
- Monitor video quality: Review the live video feeds from each camera to ensure that the quality is clear and sharp. Make adjustments to camera placement or settings if necessary to improve the overall video quality.
- Trigger motion detection: Walk around the monitored area and intentionally trigger motion detection. Verify that the system captures the motion and sends alerts to the designated devices or email addresses. Adjust the motion detection settings, if needed, to minimize false alarms.
- Test remote access: If remote access is a feature of your system, test accessing the monitoring interface or app from a remote location. Ensure that you can view the live video feeds, review recorded footage, and receive notifications as expected.
- Check recording and storage: Verify that the system is recording and storing footage properly. Play back recorded videos to confirm that they are captured and stored without any issues. If using cloud storage, ensure that the footage is accessible and retained as expected.
- Confirm notification alerts: Test the notification alerts triggered by motion detection events. Verify that you receive alerts through the designated channels such as mobile apps, email, or push notifications. Adjust notification settings if necessary.
- Ensure system stability: Test the overall stability of the system by monitoring it over an extended period. Check for any software glitches, camera disconnects, or system crashes. If any issues arise, troubleshoot and resolve them promptly.
- Evaluate system performance: Assess the overall performance of your Uniden wireless security system. Consider factors such as video quality, motion detection accuracy, and response time. Make adjustments or seek technical support if you encounter any performance issues.
By following these steps, you will thoroughly test your Uniden wireless security system to ensure that it meets your expectations and functions reliably. Regularly repeating these tests and keeping up with system maintenance will help maintain the system’s performance and effectiveness over time.
Congratulations! You have successfully completed the installation and testing process for your Uniden wireless security system. Enjoy the added security and peace of mind that your new system provides!
Conclusion
Installing a Uniden wireless security system is a proactive step towards safeguarding your home or business. By following the step-by-step guide outlined in this article, you have successfully set up and configured your system with ease. This comprehensive installation process ensures that your Uniden wireless security system is fully functional and ready to provide reliable surveillance.
Throughout the installation process, you have learned the importance of checking package contents, setting up the base station, connecting cameras, pairing them with the base station, adjusting camera placement, powering up the system, configuring the settings, and thoroughly testing the system. By carefully following these steps, you are now equipped with a properly installed and optimized Uniden wireless security system.
Remember to regularly monitor and maintain your security system to ensure its ongoing performance and effectiveness. This includes reviewing camera placement, adjusting settings as needed, and testing the system periodically to address any potential issues or updates.
With your Uniden wireless security system in place, you can enjoy the benefits of enhanced security, peace of mind, and remote access to monitor your property from anywhere. Now, you can confidently protect your home or business against potential threats and have a greater sense of control over your security.
We hope this comprehensive guide has been helpful in assisting you with the installation of your Uniden wireless security system. If you have any further questions or need support, please refer to the user manual or contact the Uniden customer service team for assistance. Stay safe and enjoy the added security and peace of mind provided by your Uniden wireless security system!
Frequently Asked Questions about Uniden Wireless Security System: How To Install
Was this page helpful?
At Storables.com, we guarantee accurate and reliable information. Our content, validated by Expert Board Contributors, is crafted following stringent Editorial Policies. We're committed to providing you with well-researched, expert-backed insights for all your informational needs.