Home>Home Security and Surveillance>How To Run CCTV Cables Through Walls In Your Home
Home Security and Surveillance
How To Run CCTV Cables Through Walls In Your Home
Modified: August 26, 2024
Learn how to run CCTV cables through walls in your home for optimal home security and surveillance. Step-by-step guide for easy installation.
(Many of the links in this article redirect to a specific reviewed product. Your purchase of these products through affiliate links helps to generate commission for Storables.com, at no extra cost. Learn more)
Introduction
Welcome to the world of home security and surveillance! In today’s rapidly evolving technological landscape, protecting our homes and loved ones has become a top priority for many homeowners. One of the most effective ways to ensure the safety of your property is by installing a CCTV (Closed Circuit Television) system.
CCTV systems provide continuous monitoring and recording of activities in and around your home. From deterring potential intruders to capturing evidence in the event of a security breach, these systems offer peace of mind and an added layer of protection against threats.
However, a key aspect of setting up a CCTV system is running the cables through walls, which can be a daunting task for many homeowners. In this article, we will guide you through the process of running CCTV cables through walls, ensuring a neat and professional installation.
Before diving into the process, let’s take a look at the tools and materials you will need to get started.
Key Takeaways:
- Planning and preparation are crucial for running CCTV cables through walls. Assess your home’s layout, determine camera placement, and measure cable length to ensure a smooth and efficient installation process.
- Use fish tape or wire pulling tools to guide CCTV cables through walls, and secure and conceal the cables for a professional setup. Thoroughly test the system to ensure optimal performance and functionality.
Read more: How To Run Electrical Wire Through Walls
Tools and Materials Needed
Before you begin running CCTV cables through your walls, it’s important to gather the necessary tools and materials. Having these items readily available will make the installation process smoother and more efficient. Here’s a list of what you’ll need:
- Drill: A power drill will be essential for creating holes in the walls to run the cables through.
- Drill Bits: Make sure to have a variety of drill bits on hand, suitable for the type of walls in your home.
- CCTV Cables: Purchase high-quality CCTV cables, with the appropriate length to span the distance between the cameras and the recording device.
- Wire Cutters and Strippers: These tools will be used to cut and strip the cables, preparing them for connection.
- Fish Tape or Wire Pulling Tools: These tools are essential for guiding the cables through the walls, especially in tight spaces.
- Tape Measure: Use a tape measure to accurately measure the distance between the cameras and the recording device, ensuring the cables are the correct length.
- Pencil or Marker: Having a pencil or marker handy will allow you to mark the locations where holes need to be drilled and where the cables will pass through.
- Level: Use a level to ensure that the holes and cable paths are straight and aligned.
- Cable Clips: These clips will help secure and organize the cables along the walls as they run through.
- Screwdriver: A screwdriver will be needed to securely attach the cable clips to the walls.
- Masking Tape: This can be used to temporarily hold cables in place while you work on the installation.
- Cable Tester: A cable tester will allow you to check the integrity and connectivity of the cables once the installation is complete.
Gathering these tools and materials before you begin the installation process will ensure a seamless experience and save you from interruptions along the way. Now that you’re ready, let’s move on to the planning and preparation phase.
Planning and Preparation
Before you start running CCTV cables through your walls, it’s crucial to spend some time planning and preparing for the installation. This will help you ensure a smooth and efficient process, saving you time and effort in the long run. Here are some important steps to follow:
1. Assess Your Home’s Layout: Take a thorough look at your home’s interior and exterior layout. Identify the locations where you want to install the CCTV cameras and the path the cables need to take to reach the recording device. Consider the distance, the number of walls to pass through, and any obstacles that may hinder the cable installation process.
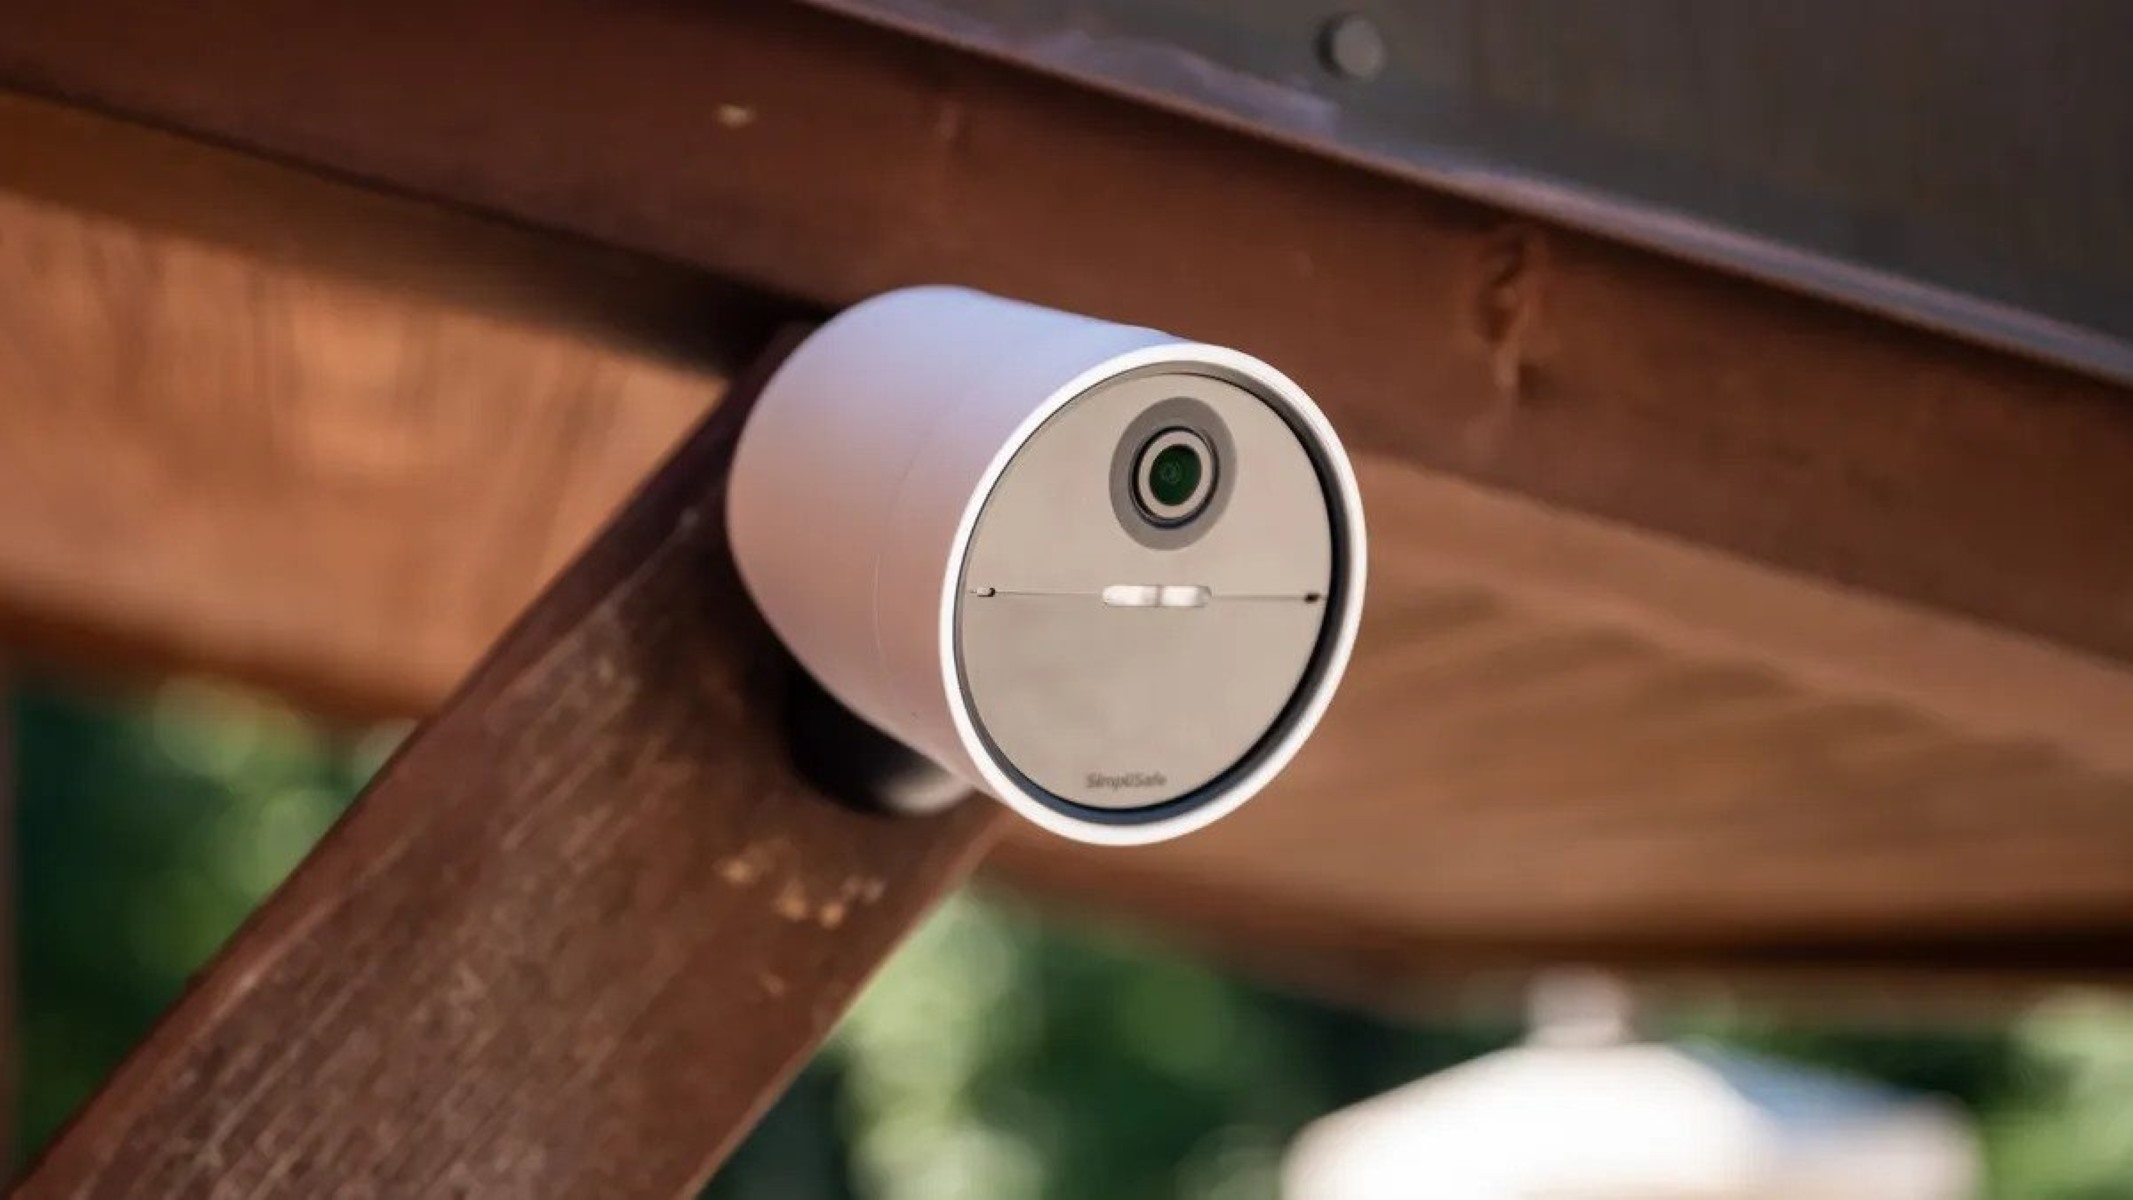
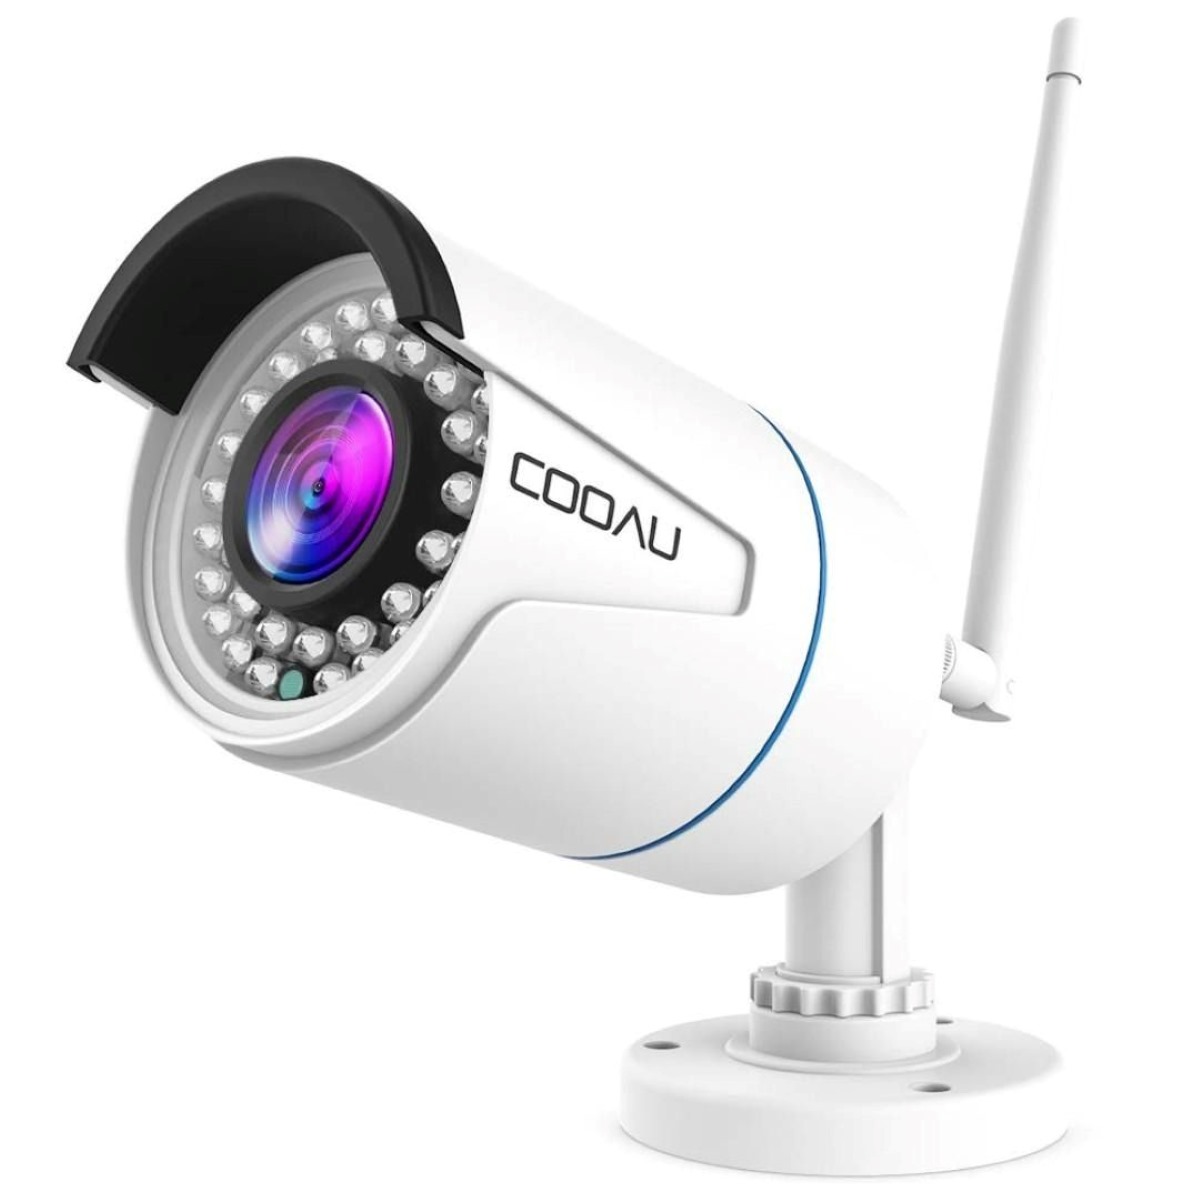
2. Determine the Camera Placement: Decide on the optimal camera placement based on your security needs. Consider factors such as coverage area, visibility, and potential blind spots. It’s important to choose strategic locations that can effectively monitor entry points, vulnerable areas, and high-traffic zones.
3. Measure Cable Length: Using a tape measure, determine the length of cable needed to connect each camera to the recording device. Allow some extra length for flexibility, ensuring the cables can reach their destinations without being too taut or stretched.
4. Identify Power Sources: Determine the nearest power outlets or power supply options for each CCTV camera. Make sure there are accessible power sources near the camera locations. If needed, consider using extension cords or hiring an electrician to install additional power outlets.
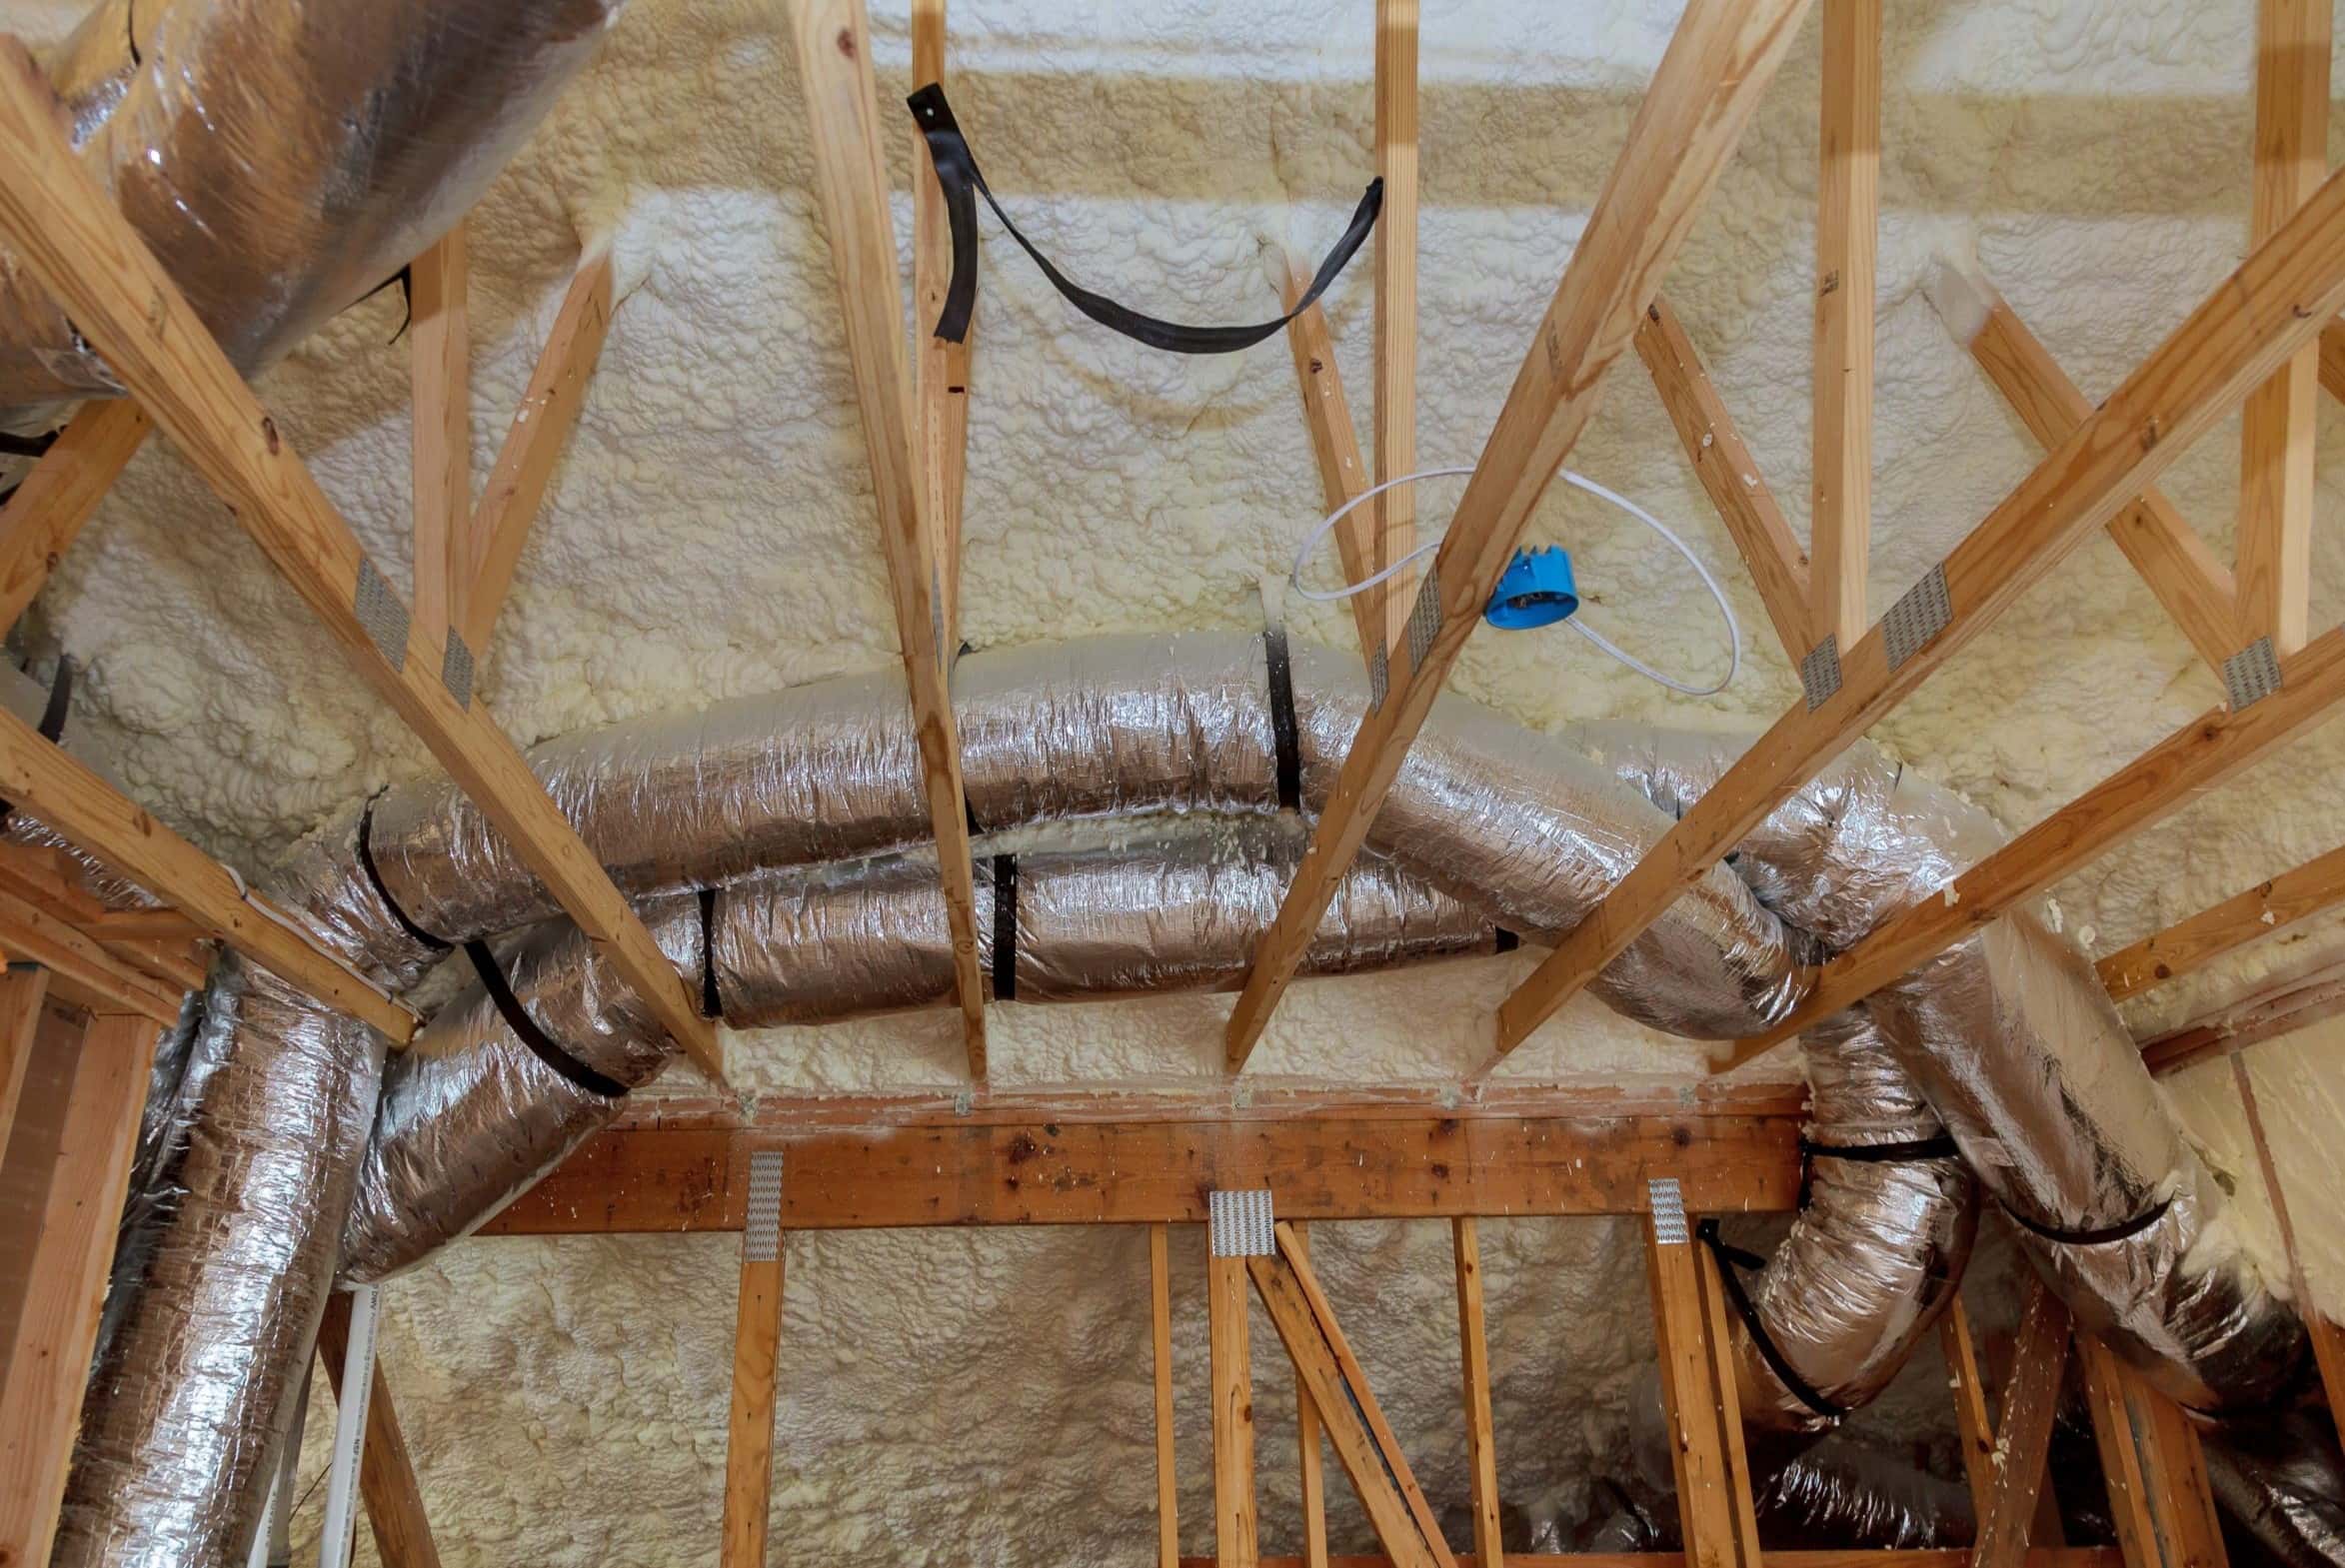
5. Consider Cable Routing Options: Evaluate different cable routing options to minimize visibility and potential damage to the cables. Look for existing cable conduits, hollow walls, or pre-existing openings that can be utilized. If no options are available, consider running the cables through the ceiling or floor to conceal them.
6. Create a Layout Diagram: Sketch out a diagram or floor plan of your home, marking the camera locations, cable paths, and any drilling points. This will serve as your guide during the installation process and ensure you have a clear visual representation of your plan.
7. Check for Permits and Regulations: Before installing your CCTV system, check with local authorities or homeowner associations to determine if there are any permits or regulations you need to comply with. Certain areas may have restrictions on the placement and visibility of CCTV cameras, so it’s essential to be aware of any legal requirements.
By thoroughly planning and preparing, you can avoid potential pitfalls and ensure a successful CCTV cable installation. Once you have everything in order, you can move on to choosing the right cable type for your needs.
Choosing the Right Cable Type
When it comes to running CCTV cables through walls, selecting the right cable type is crucial. There are a few options available in the market, each with its own advantages and considerations. Here are the most common cable types used for CCTV installations:
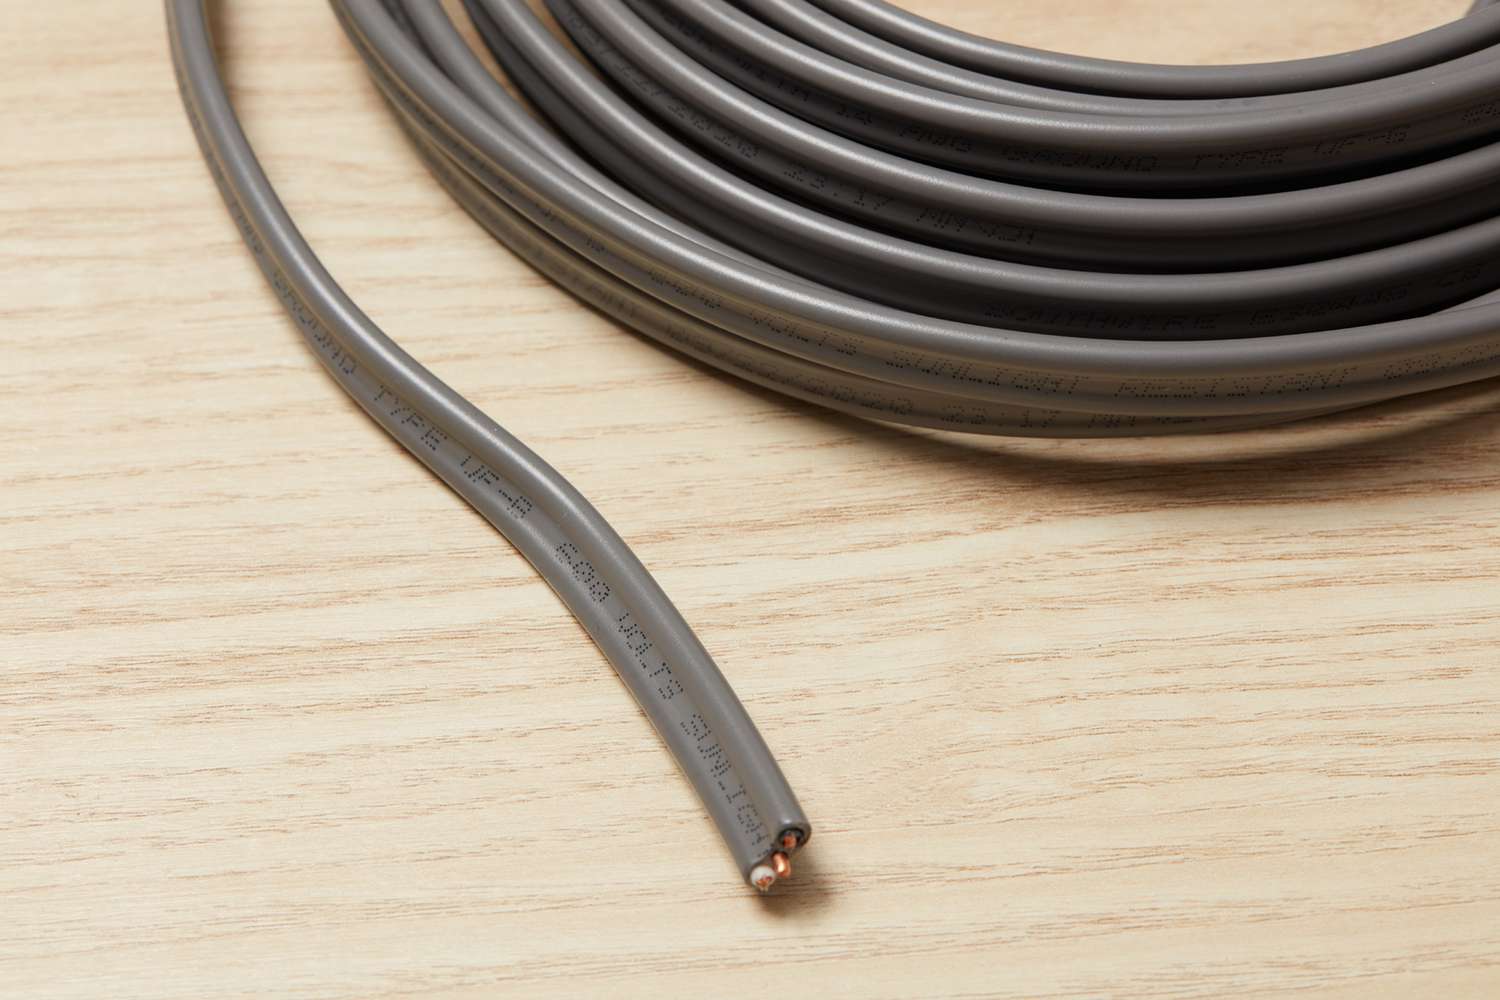
1. Coaxial Cable: Coaxial cables are the most widely used cables for CCTV installations. They consist of a copper conductor surrounded by insulation and a shielding layer. This cable type is known for its durability, signal integrity, and resistance to interference. It is suitable for both analog and digital CCTV systems.
2. Cat5e or Cat6 Ethernet Cable: Ethernet cables, commonly used for internet connections, can also be used for CCTV installations. Cat5e and Cat6 cables are capable of transmitting both data and power (PoE – Power over Ethernet) to IP cameras. They offer the advantage of using a single cable for both power and data transmission, simplifying the installation process.
3. Siamese Cable: Siamese cables combine a coaxial cable and a power cable in a single jacket. This type of cable is ideal for installations where the cameras require both power and video signals. It reduces clutter and simplifies the cable management process.
4. Fiber Optic Cable: Fiber optic cables offer the highest bandwidth and are ideal for long-distance CCTV installations where signal degradation may be a concern. However, fiber optic cables are more expensive and require additional equipment for installation and maintenance.
When choosing the cable type for your CCTV installation, consider factors such as the distance between the cameras and the recording device, the video quality you desire, and the overall system requirements. Additionally, consider future scalability and flexibility as your CCTV needs may evolve over time.
It’s also important to select high-quality cables from trusted manufacturers to ensure optimal performance and durability. Check the specifications of the cables, including signal transmission capabilities, shielding, and supported video formats, to ensure they meet your requirements.
Once you’ve decided on the cable type, it’s time to move on to the next step, which is locating and marking the cable path.
Locating and Marking the Cable Path
Before running CCTV cables through walls, it’s essential to locate and mark the cable path to ensure a seamless installation process. Here are the steps to follow:
1. Conduct a Visual Inspection: Begin by inspecting the areas where you plan to run the cables. Look for existing conduits, openings, or cable pathways that can be utilized, such as electrical conduits, baseboards, or ceiling voids. These can provide an easier and more concealed route for the cables.
2. Use a Stud Finder: If you need to run the cables through solid walls, use a stud finder to locate the wall studs. This will help you avoid drilling into any structural elements of the wall.
3. Determine the Path: Based on your visual inspection and stud findings, determine the path the cables will take. This may involve drilling holes in the walls or ceiling/floor to create a passage for the cables. Take into consideration the shortest and most direct route, as well as any obstacles you may need to navigate around.
4. Mark the Drill Points: Use a pencil or marker to mark the precise locations where you need to drill holes for the cables. Ensure these marks are clearly visible and easily distinguishable from other markings. Take measurements, both vertically and horizontally, to ensure the accuracy of the cable path.
5. Plan for Additional Outlets: If you need to install additional power outlets for the cameras, mark the locations where these outlets will be placed. Consult with an electrician if necessary to ensure compliance with electrical codes and proper installation.
6. Consider Concealment Options: If aesthetics are important to you, think about how to conceal the cables after they are installed. Depending on your home’s layout, you may be able to hide the cables behind baseboards, crown moldings, or wall-mounting brackets. Consider these options as you plan the cable path.
7. Double-check the Cable Path: Once you have marked the drill points and planned the cable path, double-check your plan to ensure it aligns with your overall vision and security requirements. This step will help you catch any errors or oversights before proceeding with the installation.
By carefully locating and marking the cable path, you will save time and effort during the installation process. With your cable path marked, you can now move on to drilling holes for the cables.
Read more: How To Run Electrical Wire On Concrete Wall
Drilling Holes for the Cable
Now that you have located and marked the cable path in your walls, it’s time to drill holes to create a passage for the CCTV cables. Follow these steps to ensure accurate and clean holes:
1. Gather your Tools: Before you begin, ensure you have your drill, appropriate drill bits, tape measure, pencil, and safety equipment ready.
2. Choose the Right Drill Bit: Select a drill bit that matches the size of the cables you will be running through the walls. You want the holes to be just slightly larger than the diameter of the cables to ensure a snug fit.
3. Mark the Drill Points: Referencing the previously marked drill points, use a pencil to clearly mark the exact spots where you will be drilling the holes. Double-check your measurements to ensure accuracy.
4. Wear Safety Equipment: Put on safety goggles and a dust mask to protect your eyes and lungs from any debris that may be produced during the drilling process.
5. Drill the Holes: Position your drill perpendicular to the wall and apply steady pressure as you start drilling holes at the marked points. Take care not to apply excessive force, as this can damage the wall or create wider holes than necessary. Use a slow and steady drilling motion for best results.
6. Test for Depth: As you drill, periodically check the depth of the holes to ensure they are deep enough to accommodate the cables. Use a tape measure or a drill bit of the same size to gauge the depth.
7. Clean up the Debris: Once you have drilled the holes, use a vacuum or a brush to remove any debris or dust from the area. This will help ensure a clean and smooth installation.
8. Inspect the Holes: After drilling, inspect the holes to ensure they are clean and free of any obstructions. Check for any signs of damage or cracks in the surrounding area and address them as needed before proceeding.
By following these steps, you will be able to drill precise holes for the CCTV cables. Now that the holes are ready, it’s time to move on to the next step: running the CCTV cables through the walls.
When running CCTV cables through walls, use a fish tape or wire snake to guide the cables through tight spaces. This will help prevent damage to the cables and make the installation process easier.
Fish Tape or Wire Pulling Tools
When it comes to running CCTV cables through walls, fish tape or wire pulling tools are essential for guiding the cables along the intended path. These tools help navigate through tight spaces, electrical conduits, and other obstacles that may hinder a smooth installation. Here’s how to effectively use fish tape or wire pulling tools:
1. Gather the Necessary Tools: Ensure you have a fish tape or wire pulling tools readily available, along with your CCTV cables.
2. Prepare the Fish Tape: If you’re using a fish tape, extend it to its desired length, leaving a bit of extra tape available for holding onto.
3. Attach the Cable: Securely attach the end of the CCTV cable to the fish tape or wire pulling tool. You can use electrical tape or zip ties to create a tight connection.
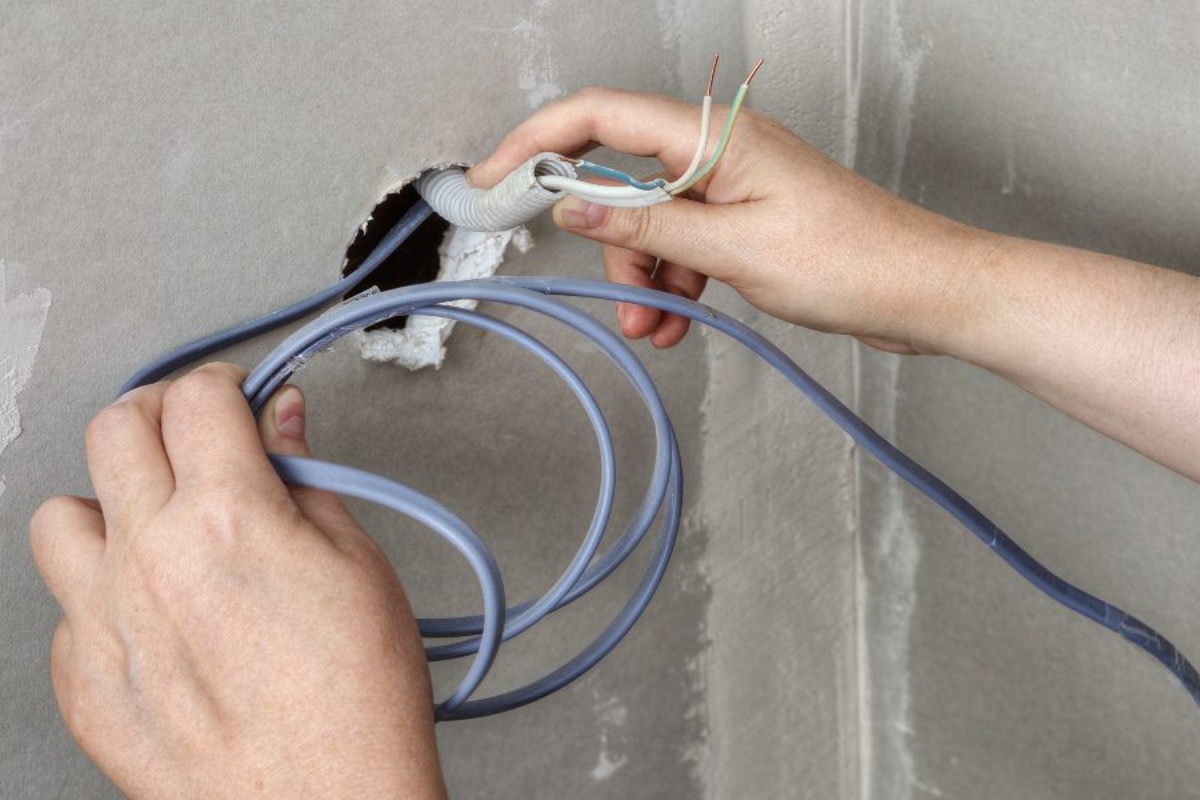
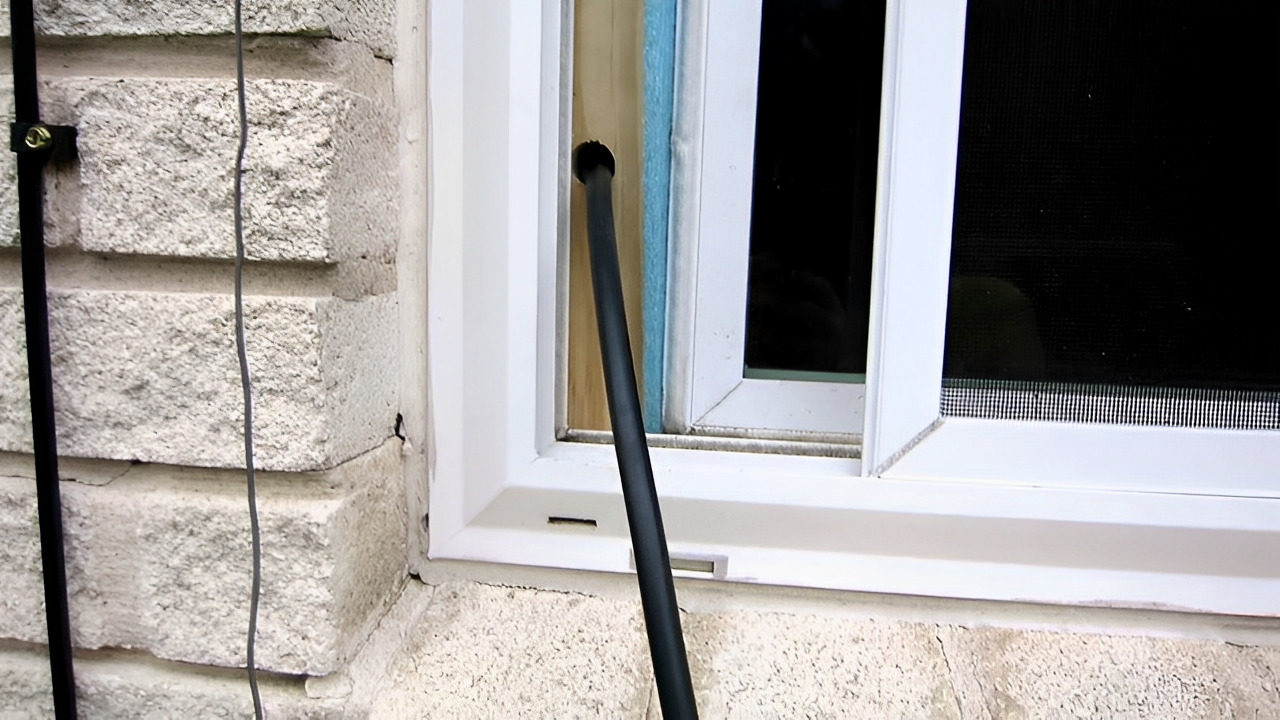
4. Start Guiding the Cable: From the starting point where the holes were drilled, carefully thread the fish tape or wire pulling tool with the attached cable through the first hole. Slowly push or pull the tape/tool, gently guiding the cable through the wall. If you encounter any resistance, try twisting or wiggling the tape/tool to maneuver the cable around obstacles.
5. Maintain Tension: As you guide the cable through the wall, ensure there is a consistent tension on the fish tape or wire pulling tool. This will help prevent the cable from getting tangled or stuck along the way.
6. Secure the Cable: Once the cable has been successfully pulled through the wall, detach it from the fish tape or wire pulling tool. Use cable clips or adhesive mounts to secure the cable to the wall, ensuring it remains in place and doesn’t sag or create tripping hazards.
7. Repeat the Process: If you need to run the cable through multiple walls or sections, repeat the process, running the fish tape or wire pulling tool through each newly drilled hole and attaching the cable accordingly.
8. Test the Cable: After running the CCTV cables through all the desired walls, use a cable tester to verify connectivity and ensure the cables are properly transmitting the video and power signals.
By using fish tape or wire pulling tools, you can efficiently navigate the cable through walls and other tight spaces during the CCTV installation process. With the cables successfully guided, the next step is to secure and conceal them for a professional and neat setup.
Running the CCTV Cables
With the holes drilled and the fish tape or wire pulling tool in place, it’s time to run the CCTV cables through the walls. Follow these steps to ensure a smooth and efficient installation:
1. Prepare the Cables: Ensure that the CCTV cables are properly cut to the required lengths, allowing for some flexibility and slack. Strip the ends of the cables using wire cutters/strippers, exposing the necessary wires for connection.
2. Attach the Cables: Securely attach the cables to the fish tape or wire pulling tool using electrical tape or zip ties. Double-check the connection to ensure that the cables are firmly attached and won’t come loose during the process.
3. Begin Running the Cables: Starting from the first hole, carefully guide the fish tape or wire pulling tool, along with the attached cables, through the walls. Use a gentle pulling or pushing motion, being mindful of any obstacles or tight spaces along the way. If necessary, twist or wiggle the tape/tool to maneuver the cables through difficult areas.
4. Maintain Cable Tension: As you guide the cables through the walls, ensure that there is consistent tension on the fish tape or wire pulling tool. This helps prevent the cables from getting tangled or snagged on any sharp edges or obstructions.
5. Secure the Cables: Once the cables have been successfully pulled through the walls, detach them from the fish tape or wire pulling tool. Use cable clips or adhesive mounts to secure the cables to the walls, ensuring they are neatly arranged and don’t create any tripping hazards.
6. Address Junctions and Connections: If you need to connect multiple cables or create junctions, use appropriate connectors or junction boxes. Ensure that the connections are secure, and the cables are properly insulated to maintain signal integrity.
7. Test the Connections: After running all the CCTV cables, use a cable tester to verify connectivity and ensure that the cables are transmitting the video and power signals correctly. This step will help identify any potential issues early on, allowing for timely troubleshooting and resolution.
8. Label the Cables: To make future maintenance and troubleshooting easier, label each cable according to its location and purpose. This will save you time and effort when identifying specific cables in the system.
By following these steps, you can effectively run the CCTV cables through the walls, ensuring a clean and professional installation. With the cables in place, it’s time to move on to securing and concealing them for a tidy setup.
Securing and Concealing the Cables
Securing and concealing the CCTV cables is an important step in creating a professional and clean installation. Not only does it enhance the aesthetics of your home, but it also helps protect the cables from damage and reduces the risk of accidents. Follow these steps to secure and conceal the cables effectively:
1. Use Cable Clips: Secure the CCTV cables to the walls using cable clips. Position the clips at regular intervals along the cable path to provide support and prevent the cables from sagging or dangling. Make sure the clips are firmly attached to the walls using screws or adhesive backing.
2. Hide Cables Behind Baseboards: If your walls have baseboards, consider removing a portion of the baseboard and running the cables behind it. This allows for a neater appearance and helps keep the cables out of sight. Use a sharp utility knife or a small saw to safely remove the section of the baseboard.
3. Utilize Cable Trays or Raceways: Cable trays or raceways are an excellent option for concealing CCTV cables while providing easy access for future maintenance. These plastic or metal channels can be mounted to the walls or ceilings, discreetly organizing and hiding the cables. Choose a color that matches your wall’s color to further enhance the seamless integration.
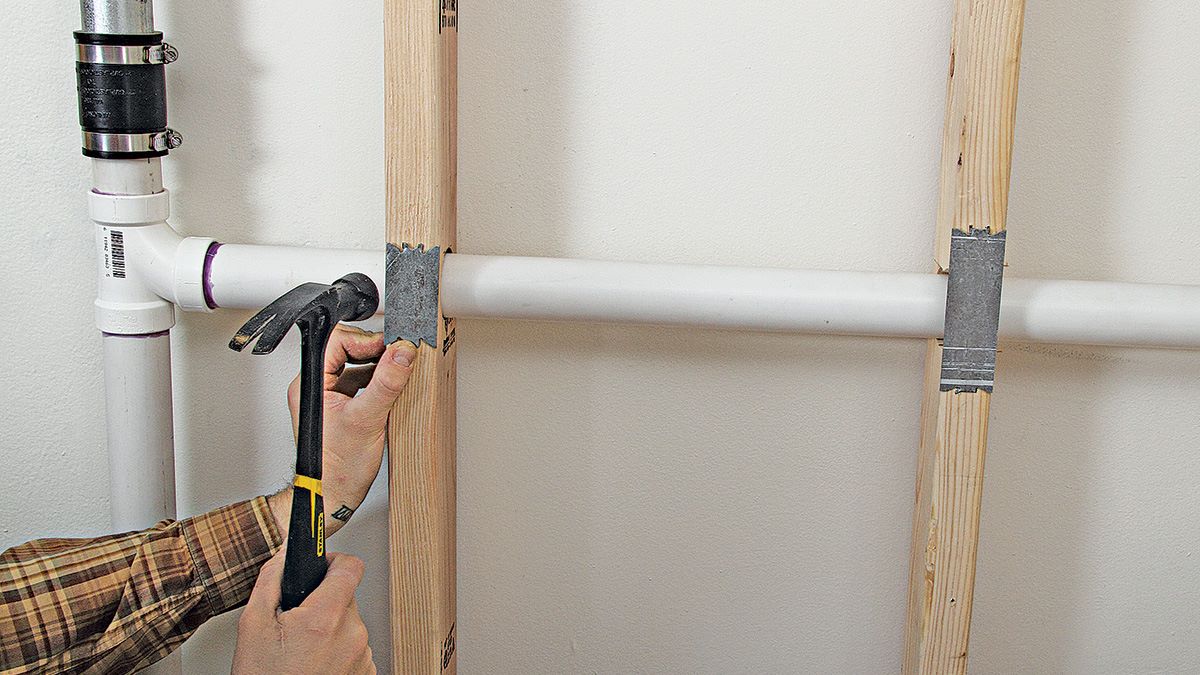
4. Thread Cables through Conduits: If your walls have existing conduits or PVC pipes, thread the CCTV cables through them for a more organized and protected installation. Use a fish tape or wire pulling tool to guide the cables through the conduits, ensuring they are secured at both ends to prevent slippage.
5. Incorporate Wire Raceway Molding: Wire raceway molding is a decorative alternative to cable trays or raceways. It is a self-adhesive channel that adheres to the wall’s surface, allowing you to neatly tuck the CCTV cables inside. Wire raceway molding is available in various colors and can be painted to match your wall’s color, providing a seamless blend.
6. Conceal Cables with Decorative Elements: If your CCTV cables need to be exposed in certain areas, incorporate decorative elements to camouflage them. For example, use wall-mounted plants, artwork, or curtains to disguise the cables and draw attention away from them.
7. Organize Cables with Cable Ties: Use cable ties or Velcro straps to bundle and organize the CCTV cables at various intervals. This not only keeps them tidy but also reduces the risk of cables becoming tangled or interfering with other devices. Be mindful not to overtighten the ties, as this could damage the cables.
8. Ensure Proper Cable Routing: Avoid running the CCTV cables parallel to electrical cables or other sources of interference. Cross them at a right angle to minimize the potential for signal degradation.
By securing and concealing the CCTV cables using these methods, you can achieve a professional and polished installation. Remember to test the system once everything is in place to ensure the cables are transmitting signals properly. With the installation complete, it’s time to test and finalize the setup.
Read more: How To Fish Electrical Wire Through Walls
Testing and Finalizing the Setup
After running and securing the CCTV cables, it’s crucial to thoroughly test and finalize the setup to ensure optimal performance and functionality. Follow these steps to test and finalize your CCTV system:
1. Connect the Cameras: Properly connect each CCTV camera to the recording device or DVR (Digital Video Recorder) using the appropriate connectors. Ensure that the connections are secure and snug to prevent any signal loss.
2. Power On the System: Turn on the power supply for the CCTV system and ensure that all connected devices, including cameras, are receiving power.
3. Check the Video Feed: Use a monitor or a connected device to verify that the video feed from each camera is displayed correctly. Check for image quality, clarity, and proper positioning of each camera. Make any necessary adjustments to camera angles or focus to optimize the view.
4. Test the Recording Function: Initiate a test recording to ensure that the system is correctly capturing and saving video footage. Verify playback functionality to ensure that recorded videos can be accessed and viewed without any issues.
5. Check Remote Viewing Options: If your CCTV system offers remote viewing capabilities, set up the necessary network configurations or download the appropriate mobile app. Test the remote viewing option on different devices to ensure seamless access to the live feed and recorded footage from anywhere.
6. Review Motion Detection Settings: If your CCTV system supports motion detection, configure the sensitivity and detection zones. Test the motion detection feature to ensure accurate alerts and efficient recording when motion is detected in the camera’s field of view.
7. Verify Cable Integrity: Use a cable tester to check the integrity and connectivity of each CCTV cable. Verify that the cables are transmitting video signals reliably and that there are no issues or interruptions in the network.
8. Perform a System Check: Conduct a comprehensive system check to ensure that all components, including cameras, cables, and the recording device, are functioning optimally. Test various scenarios, such as different camera angles and lighting conditions, to ensure the system performs reliably in different situations.
9. Document and Finalize: Once you have verified that the system is working correctly, document the setup, including cable paths, camera locations, and any specific settings or configurations. This documentation will be valuable for future reference or troubleshooting needs.
By thoroughly testing and finalizing the setup, you can ensure that your CCTV system is fully operational, providing the desired level of security and peace of mind. Regularly perform system maintenance and check for updates to keep the system functioning optimally over time.
With the testing and finalization complete, you can now enjoy the enhanced security and surveillance that your CCTV system brings to your home.
Conclusion
Installing a CCTV system in your home is a proactive step towards enhancing your overall security and surveillance. By running the CCTV cables through walls and following the proper installation process, you can ensure a seamless and professional setup. Throughout this article, we have provided a comprehensive guide to help you navigate each step of the installation process, from planning and preparation to testing and finalizing the setup.
Remember, it’s crucial to gather the necessary tools and materials, choose the right cable type, and locate and mark the cable path before drilling holes in the walls. Use fish tape or wire pulling tools to guide the cables through the walls, and secure them using cable clips or other concealment methods. Finally, thoroughly test the system, including the camera connections, video feed, recording function, and remote viewing options to ensure everything is functioning as intended.
Running CCTV cables through walls can be a challenging task, but with careful planning, attention to detail, and the right tools, you can achieve a clean and professional installation. The security and peace of mind provided by a properly installed CCTV system make the effort well worth it.
Remember to regularly maintain and check your CCTV system to ensure it continues to operate optimally. Address any issues or malfunctions promptly to maintain a high level of security for your home.
With your new CCTV system in place, you can enjoy the added protection and surveillance it offers, providing you and your loved ones with peace of mind. Stay proactive, stay secure!
Frequently Asked Questions about How To Run CCTV Cables Through Walls In Your Home
Was this page helpful?
At Storables.com, we guarantee accurate and reliable information. Our content, validated by Expert Board Contributors, is crafted following stringent Editorial Policies. We're committed to providing you with well-researched, expert-backed insights for all your informational needs.