Home>Ideas and Tips>Upgrading Your Home’s Attic With DIY Reflective Insulation
Ideas and Tips
Upgrading Your Home’s Attic With DIY Reflective Insulation
Published: September 20, 2024
Upgrade your attic's energy efficiency with DIY reflective insulation. Learn step-by-step installation tips to reduce cooling costs and improve comfort.
(Many of the links in this article redirect to a specific reviewed product. Your purchase of these products through affiliate links helps to generate commission for Storables.com, at no extra cost. Learn more)
Introduction
As homeowners, we’re always on the lookout for ways to make our homes more energy-efficient and comfortable. One of the best ways to do this is by upgrading the insulation in your attic. But why should you consider using reflective insulation? Reflective insulation is a game-changer, especially in hot climates. It works by reflecting radiant heat away from your attic, keeping your home cooler in the summer and warmer in the winter. This not only makes your living space more comfortable but also helps you save on energy bills. So, if you’re tired of high energy costs and uncomfortable indoor temperatures, reflective insulation might just be the solution you need.
Understanding Attic Insulation
Attic insulation is crucial for maintaining a comfortable and energy-efficient home. It serves several important purposes:
- Temperature Regulation: Insulation helps keep your home cool in the summer and warm in the winter by reducing heat transfer between the living space and the attic.
- Moisture Control: Proper insulation prevents moisture from accumulating in the attic, which can lead to mold, mildew, and structural damage.
- Energy Efficiency: By reducing heat gain and loss, attic insulation can significantly lower your energy bills.
Types of Insulation
There are several types of insulation available, each with its own pros and cons:
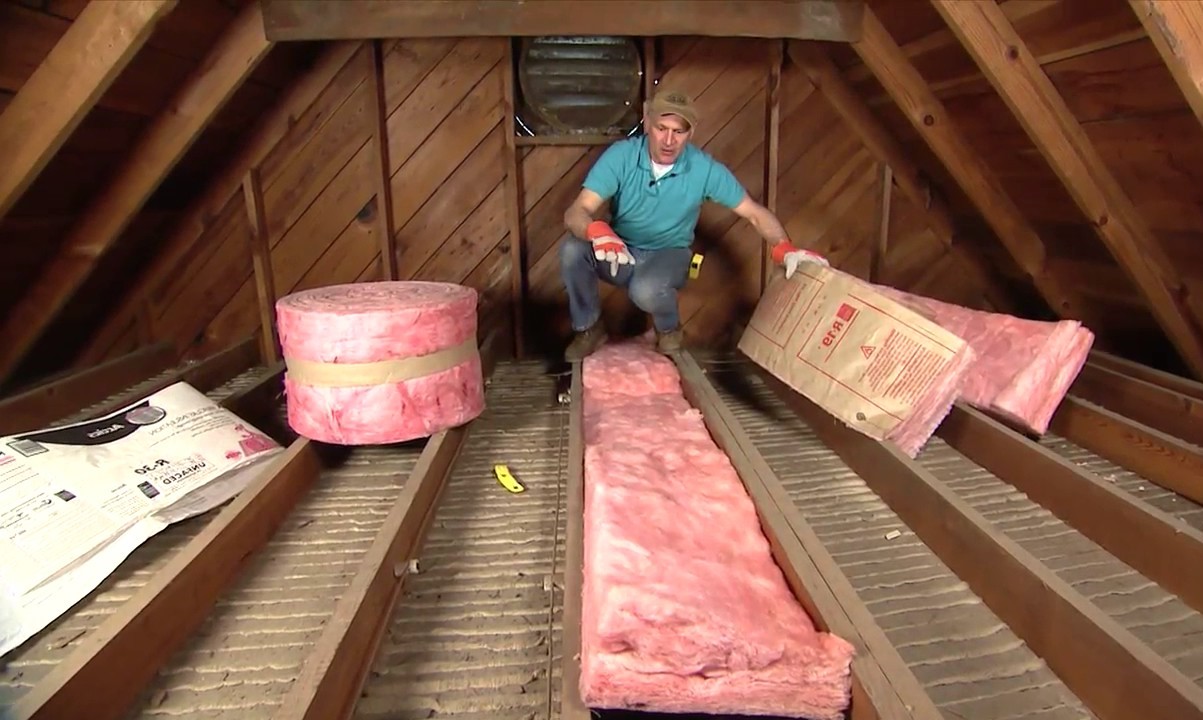
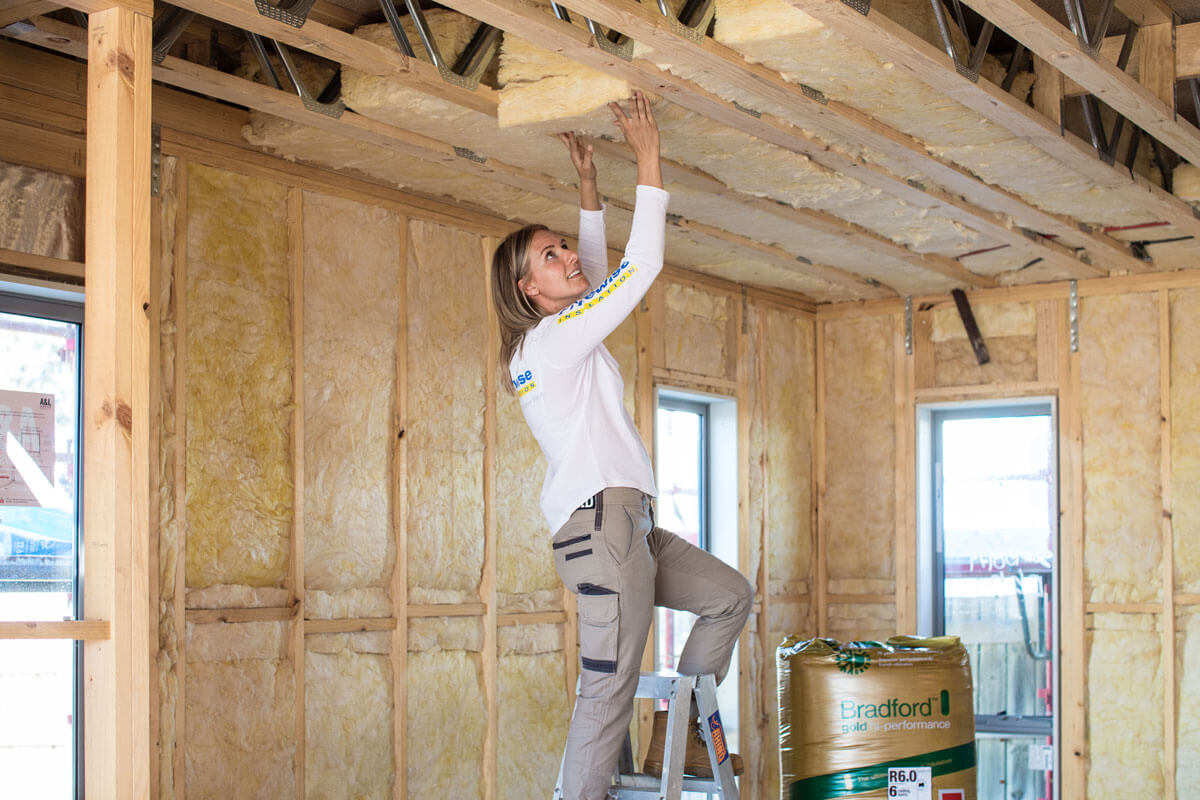
- Fiberglass: This is a common type of insulation that is relatively inexpensive but can be itchy and may cause respiratory issues.
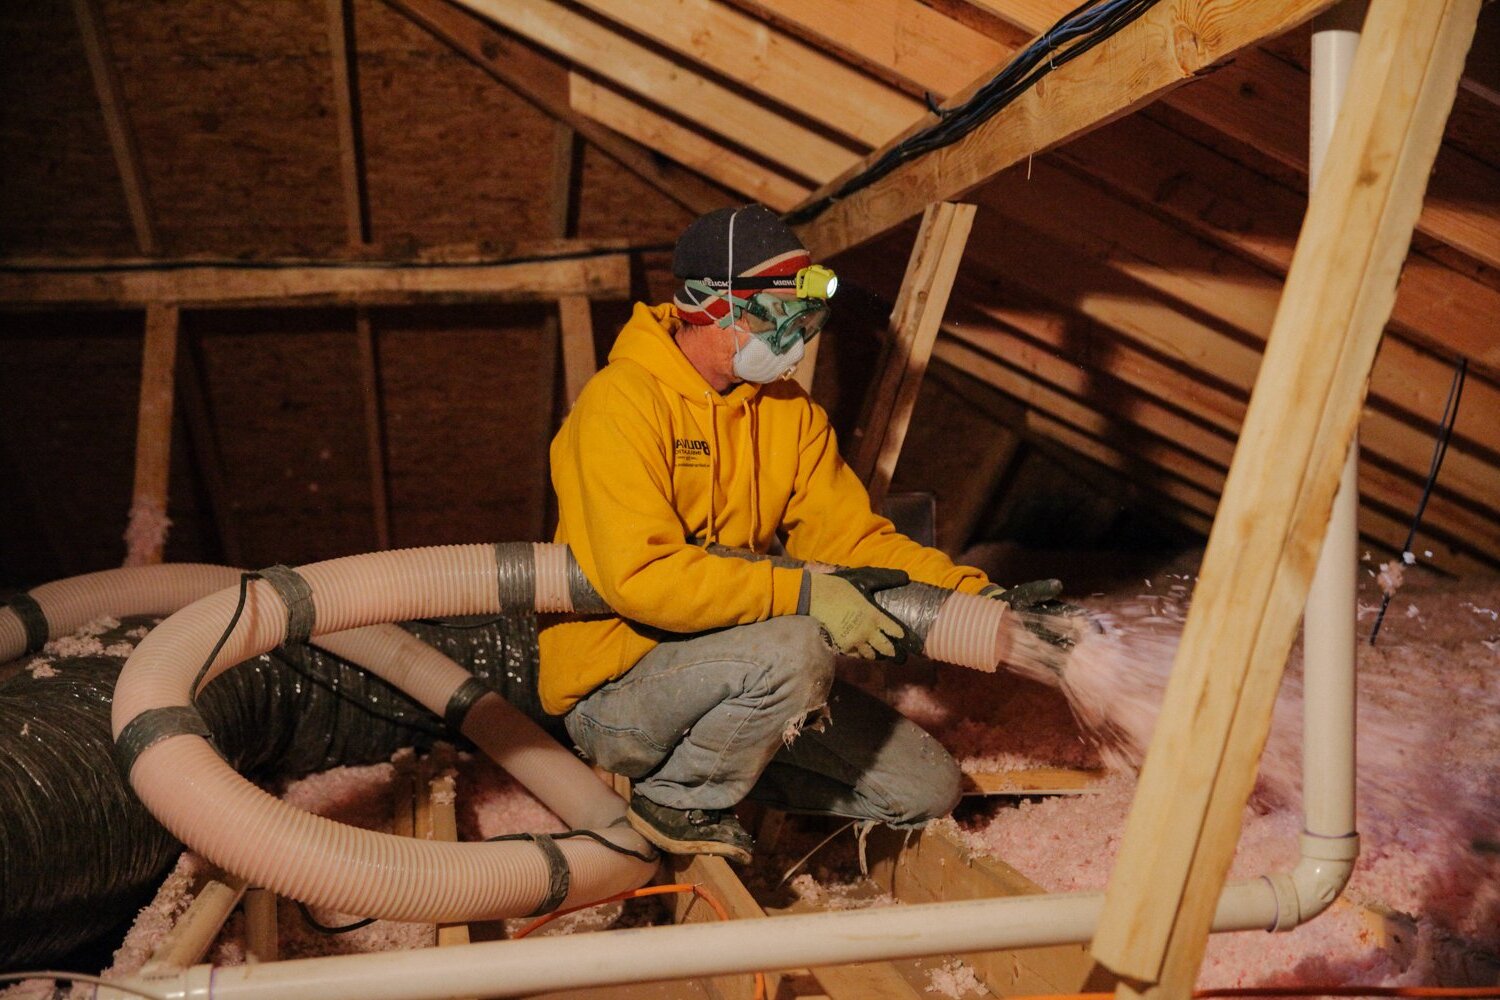
- Cellulose: Made from recycled paper products, cellulose is eco-friendly and can be blown into tight spaces.
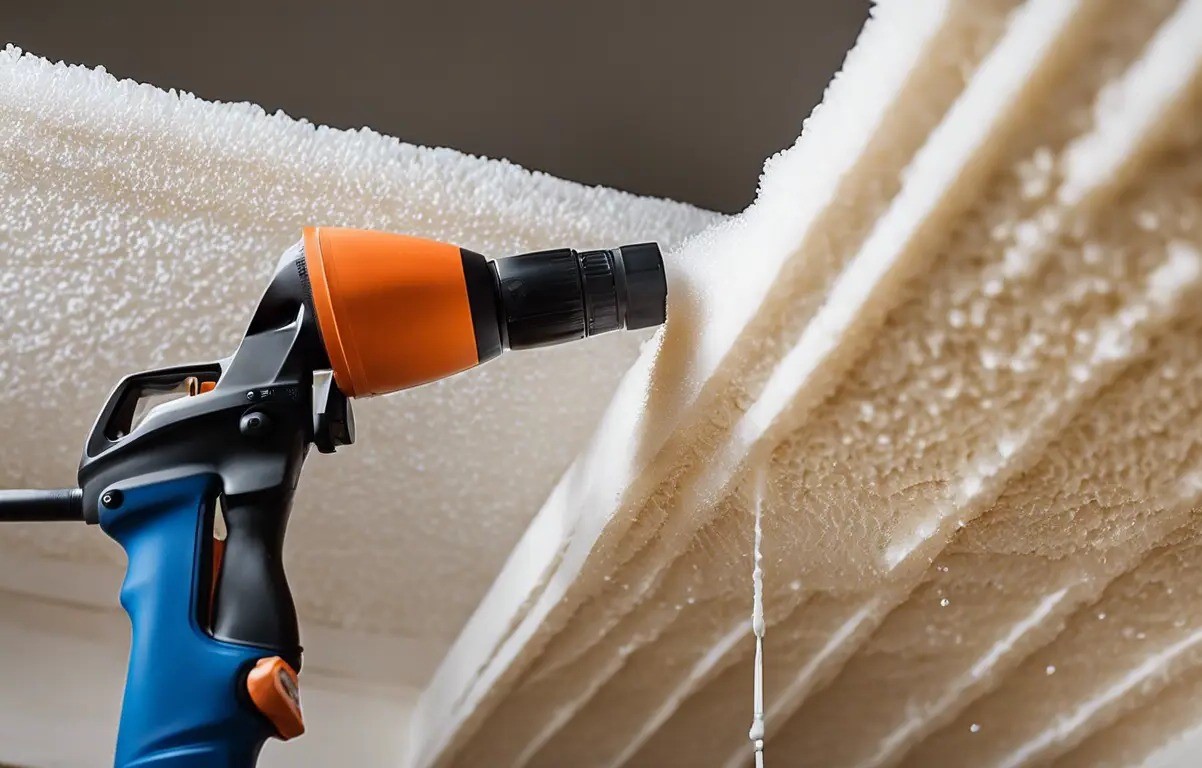
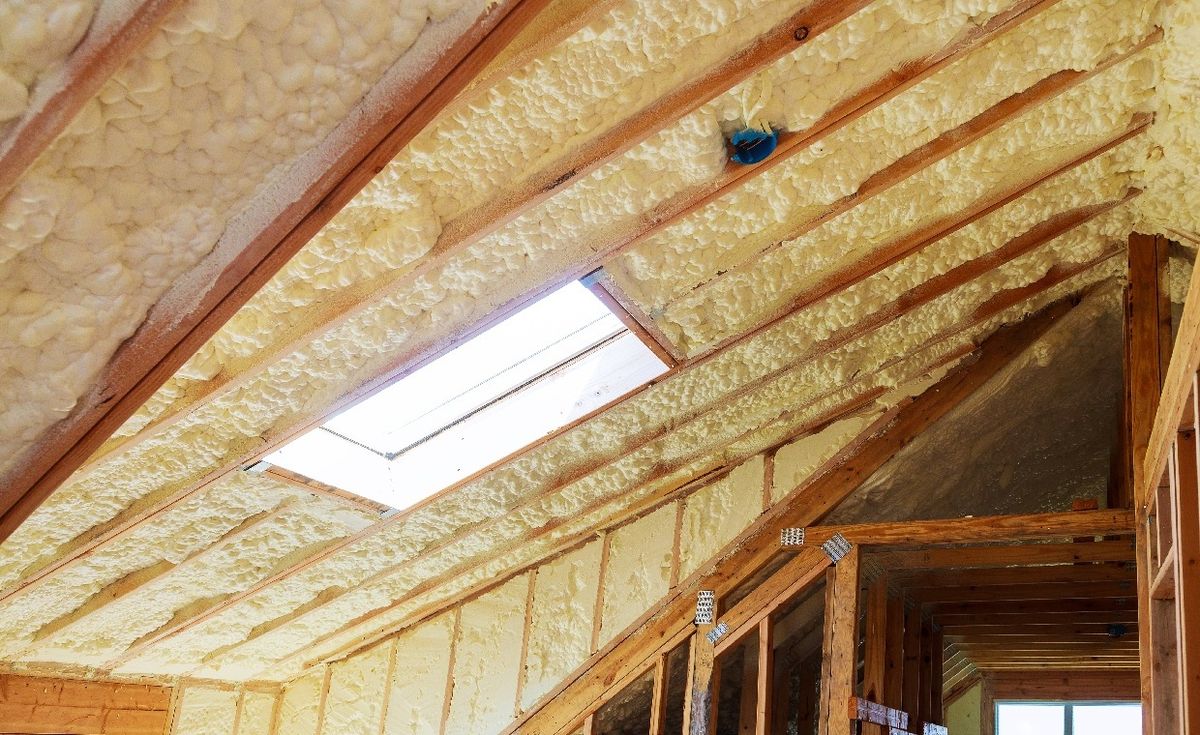
- Spray Foam: This type of insulation provides excellent R-value but is more expensive and requires professional installation.
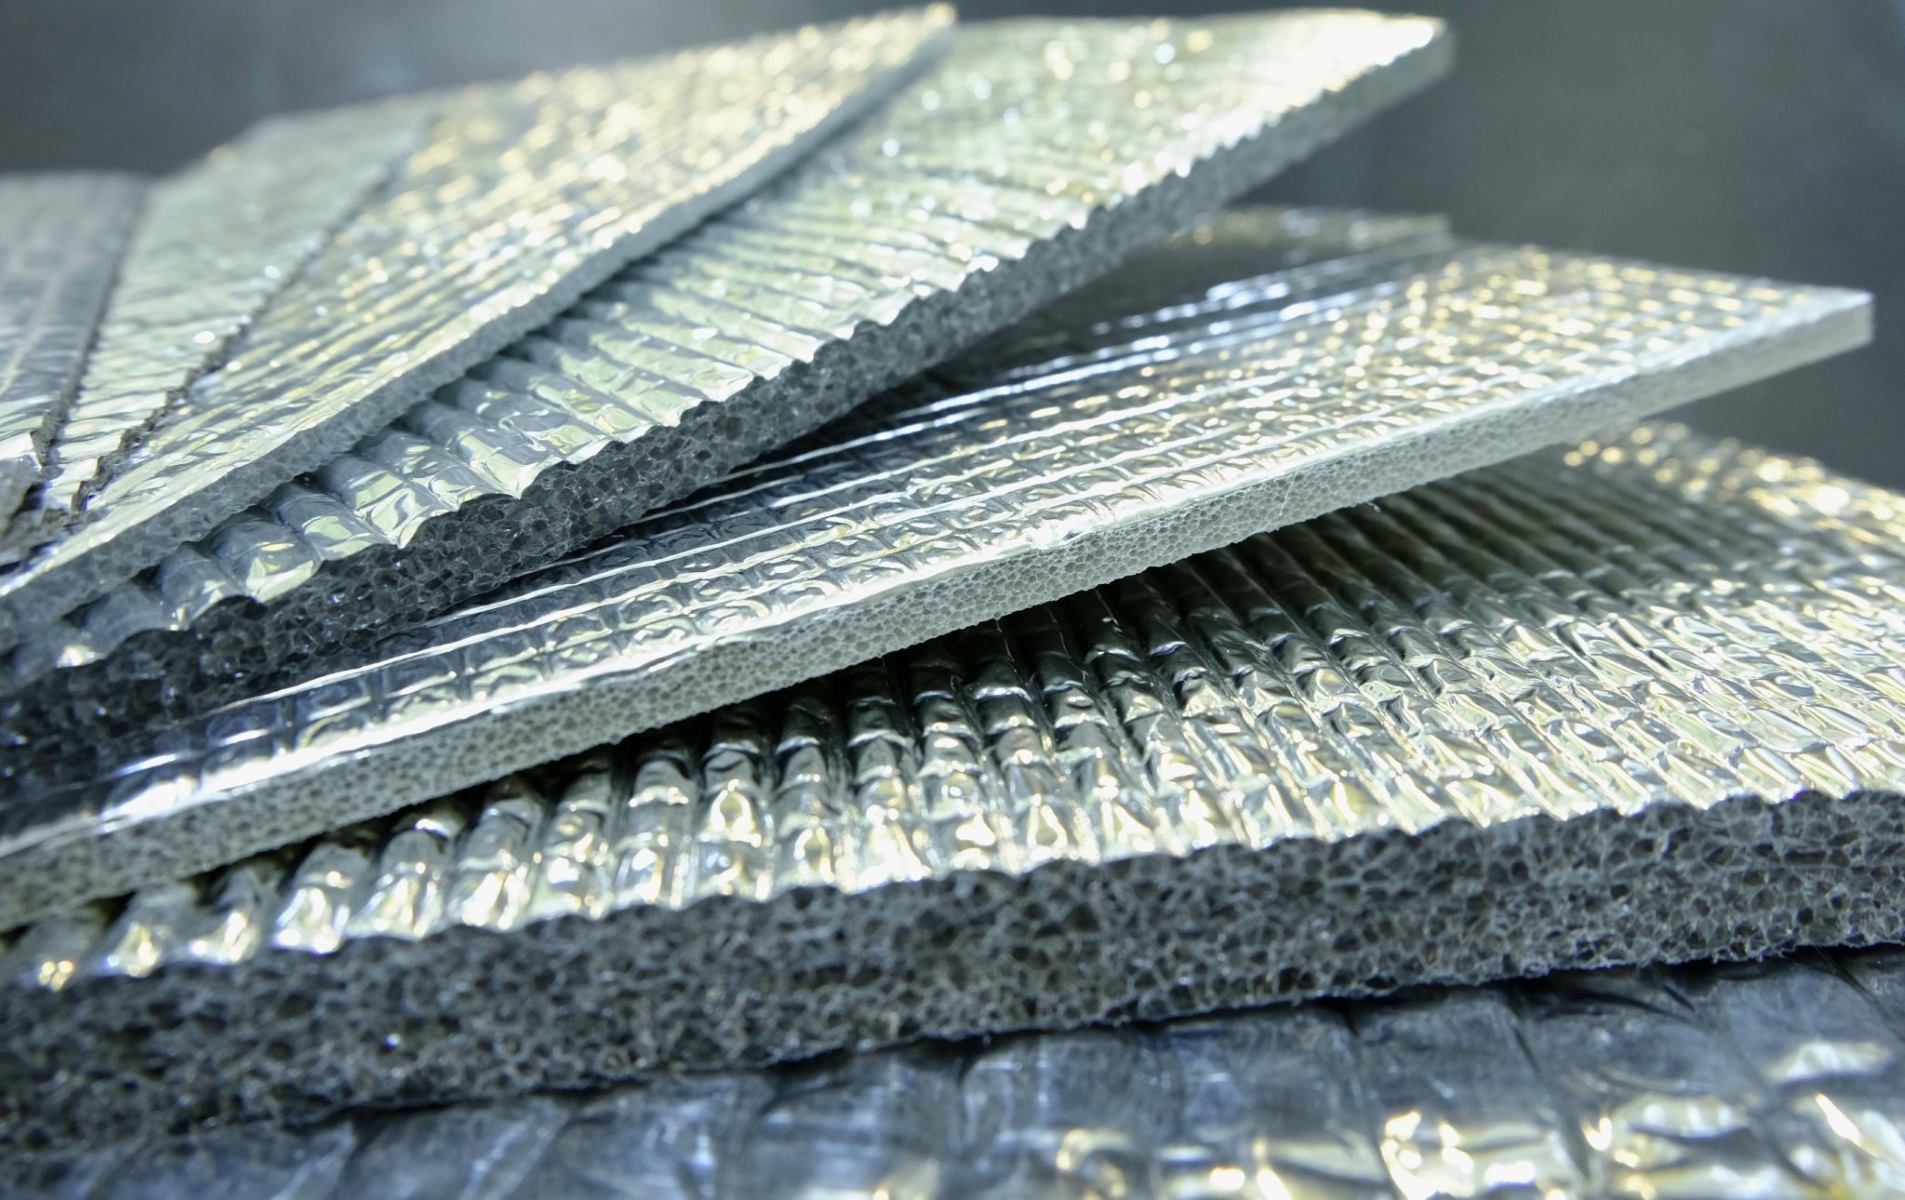
- Reflective Insulation: This type of insulation uses reflective materials to reflect radiant heat rather than absorb it.
The Benefits of Reflective Insulation
Reflective insulation is particularly effective in hot climates where radiant heat gain is a significant issue. Here are some benefits of using reflective insulation:
- Reduced Radiant Heat Gain: By reflecting radiant heat away from the attic, you can keep your home cooler during the summer months.
- Improved Energy Efficiency: Reflective insulation can reduce the load on your air conditioning system, leading to lower energy bills.
- Durability: Reflective insulation is less prone to moisture damage compared to other types of insulation.
- Cost-Effective: While it may be more expensive upfront, reflective insulation can pay for itself over time through reduced energy costs.
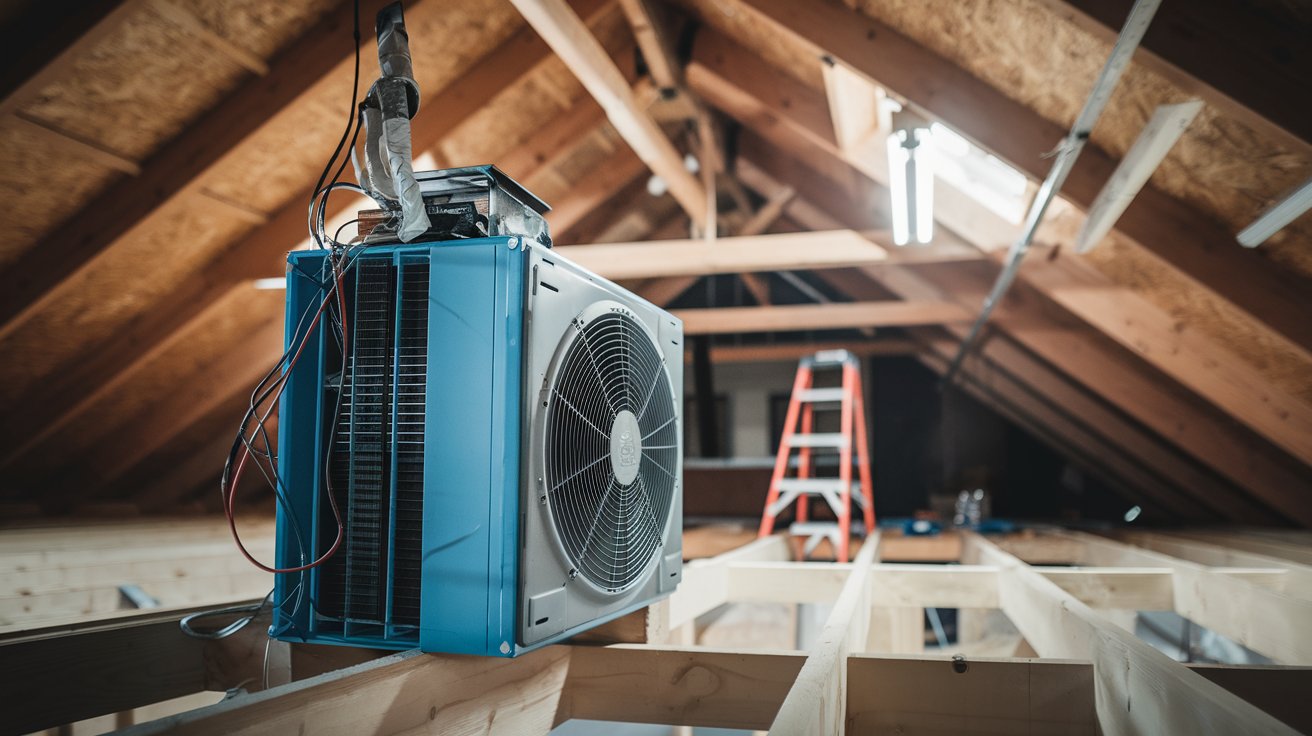
Preparing Your Attic for Installation
Before you start installing reflective insulation, it’s crucial to prepare your attic space properly:
- Clean the Attic: Remove any debris, old insulation, or junk that could interfere with the installation process.
- Seal Air Leaks: Use caulk or spray foam to seal any gaps or holes in the attic floor, walls, and around vents.
- Check for Mold or Mildew: Ensure that there are no signs of mold or mildew in the attic. If you find any, address the issue before proceeding.
Step-by-Step Guide to Installing Reflective Insulation
Materials Needed
To make a DIY radiant barrier, you’ll need the following materials:
- Painter’s Masking Paper (36" x 33.3 yards)
- Generic Aluminum Foil (12" x 75 feet)
- 3M Super 77 Spray Adhesive (2 cans)
- Tape Measure
- Broom
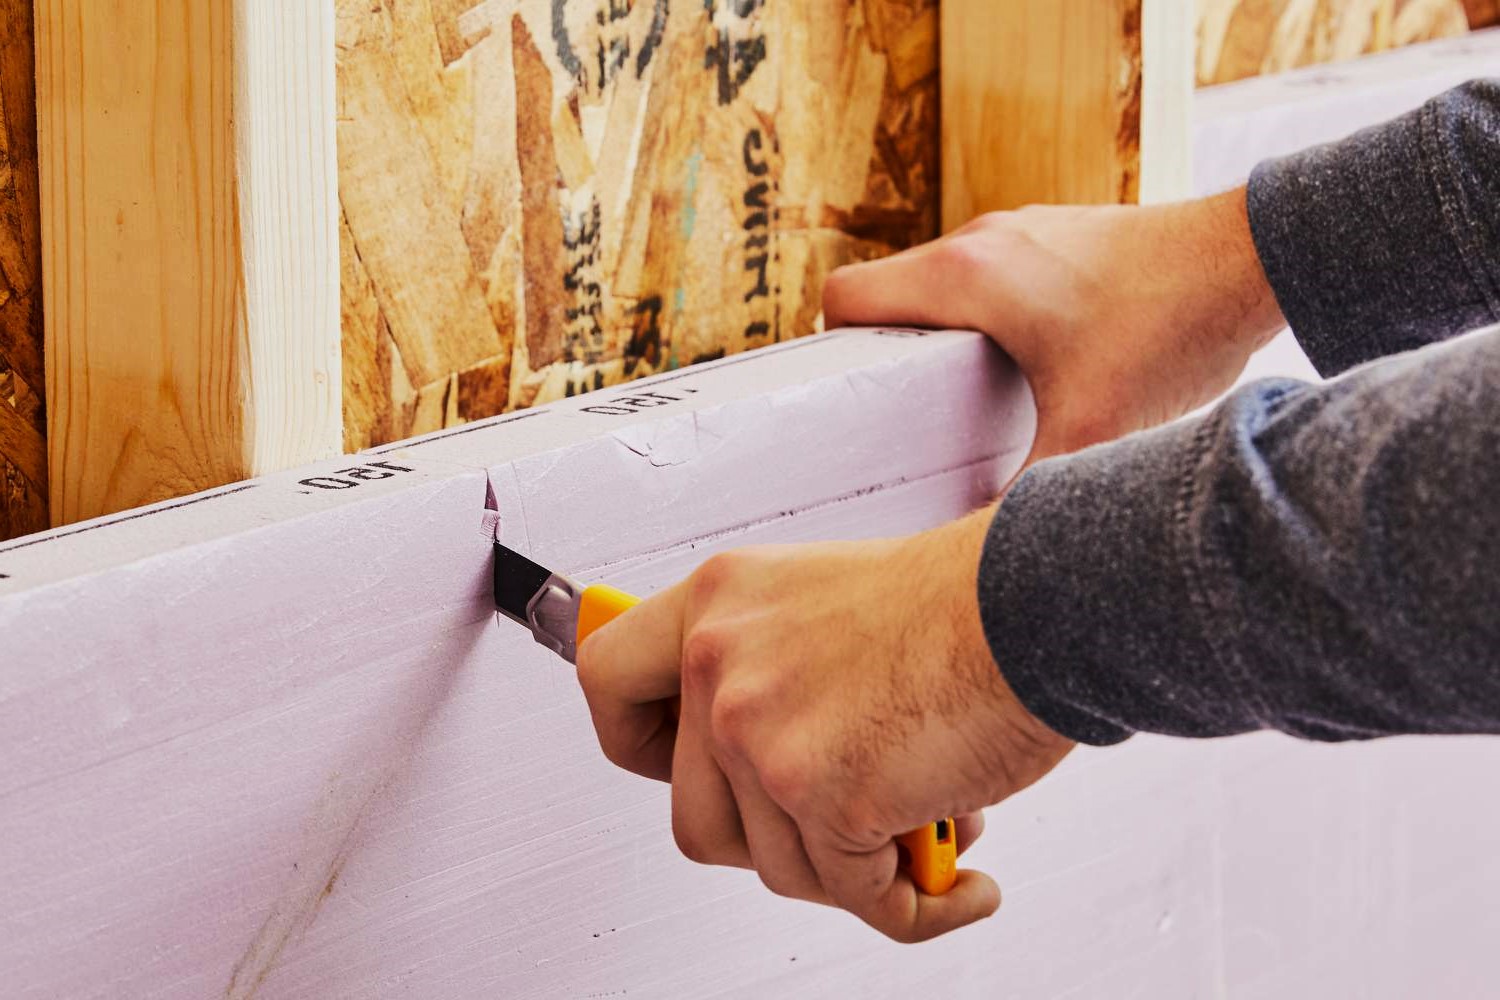
- Razor Blade
- Staple Gun with Staples
Step 1: Prepare the Materials
- Unroll the Masking Paper: Roll out the masking paper into predetermined lengths, typically 12 feet for most attics.
- Apply Adhesive: Spray the adhesive to the masking paper in a 2-foot wide pattern.
- Lay Down Aluminum Foil: Roll out the aluminum foil starting with one roll and overlap it by about 1/16th inch with the second roll.
Step 2: Install the Radiant Barrier
- Start at the Top: Begin installing the radiant barrier at the top of your attic, leaving at least 18 inches of space between the barrier and any vents or obstructions.
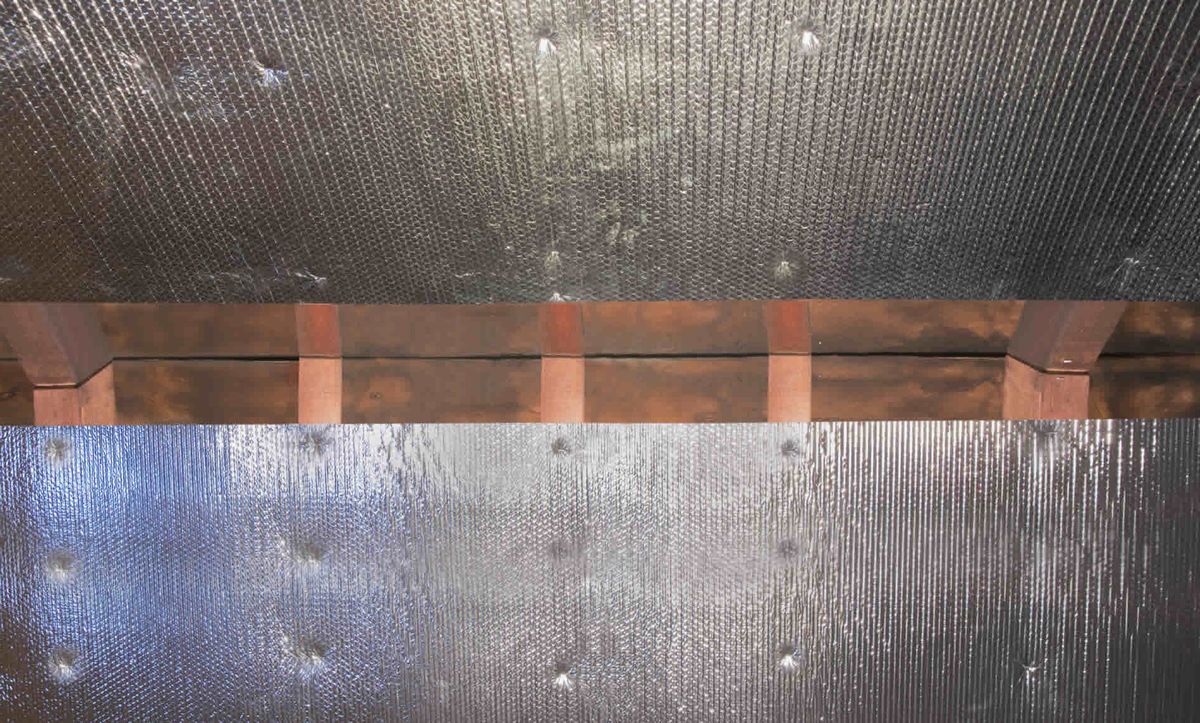
- Staple Down: Use a staple gun to secure the barrier to the rafters at about 6-inch intervals. Ensure that the foil faces towards the roof sheathing.
- Remove Excess: After both sides are stapled, remove any excess material with a razor blade.
Additional Tips
- Ensure Proper Air Gap: The air gap between the radiant barrier and the roof sheathing is crucial for its effectiveness. Make sure there is no contact between these surfaces.
- Avoid Dust Collection: If you’re using an attic floor barrier, consider using a dust-repellent coating to prevent dust accumulation.
Upgrading Wall and Ceiling/Attic Floor Insulation
While installing reflective insulation in your attic is a significant step towards energy efficiency, it’s equally important to upgrade your wall and ceiling/attic floor insulation:
- Measure Wall Cavities: Determine the width of your wall cavities to choose the appropriate insulation width (R-15 or R-19).
- Choose High-Performance Insulation: Opt for high-performance insulation like R-15 which provides excellent R-value without compromising on space.
- Add Polystyrene Board: Use thicker polystyrene boards as backing on kneewall insulation to help with moisture wicking and add R-value.
Considerations for Southern Kansas Climate
Living in southern Kansas means you’re dealing with hot summers and mild winters. Here are some specific considerations for your climate:
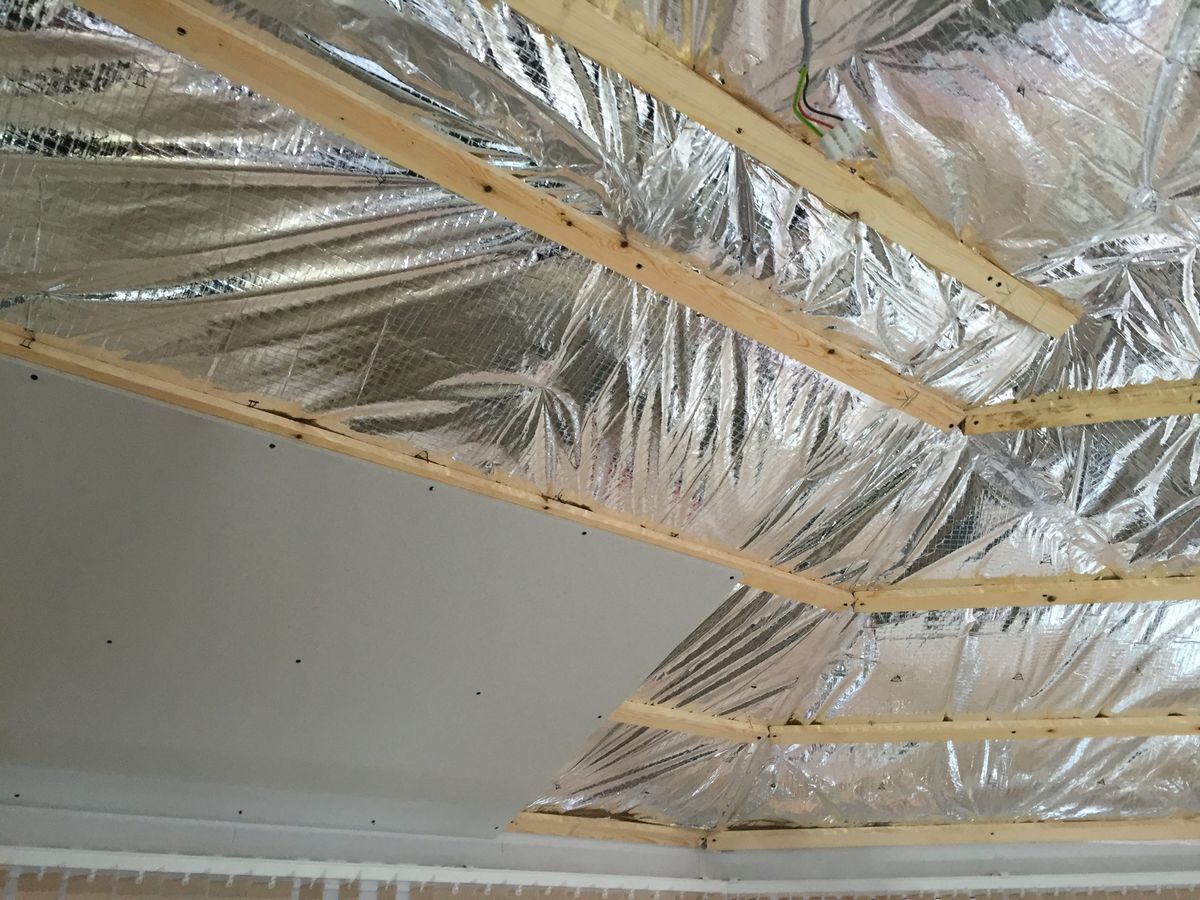
- Reflective Radiant Barrier: Installing a reflective radiant barrier on the underside of the roof joists can significantly reduce radiant heat gain during the summer months.
- Existing Insulation: If you have existing insulation that’s not moldy or mildewed, keep it and add an additional R-42 to bring your overall insulation up above code.
- Moisture Ventilation: Ensure proper ventilation in unvented areas by using closed-cell foam which doesn’t allow moisture migration.
DIY Radiant Barrier vs Professional Installation
While professional installation can ensure a perfect job, many homeowners prefer DIY projects for their cost-effectiveness and hands-on approach. Here’s how you can make a DIY radiant barrier:
- Materials Cost: The materials needed for a DIY radiant barrier are relatively inexpensive compared to professional installation costs.
- Time-Saving: With proper planning, you can complete the installation process within a weekend or two.
Case Studies and Real-World Examples
Several homeowners have successfully upgraded their attic insulation using reflective materials:
- Case Study 1: A homeowner in southern Kansas upgraded their attic insulation by installing reflective radiant barriers over existing insulation. They noticed a significant reduction in attic temperatures and improved overall energy efficiency.
- Case Study 2: Another homeowner converted their attic space into a living area and installed spray foam insulation. They reported that their attic stayed a few degrees hotter/colder than the rest of the house after the upgrade.
Conclusion
Upgrading your home’s attic with DIY reflective insulation is a cost-effective and efficient way to improve energy efficiency and reduce cooling costs. By following these steps and considering specific climate factors, you can create a more comfortable living space while saving money on energy bills. Whether you’re dealing with traditional single-peak roofs or converted attic spaces, reflective insulation offers numerous benefits that make it an essential upgrade for any homeowner looking to enhance their home’s performance.
Additional Resources
For further information on attic insulation upgrades and DIY projects, consider consulting the following resources:
- Reddit Community: The r/HomeImprovement community on Reddit offers valuable insights and advice from experienced homeowners.
- YouTube Tutorials: Videos like "Improving R-value with Radiant Barrier Over Insulation" provide detailed explanations on how radiant barriers work and how to install them effectively.
- Green Building Advisor: Articles on Green Building Advisor offer practical tips on sealing air leaks and increasing insulation levels for improved energy efficiency.
By combining these resources with the step-by-step guide provided here, you’ll be well-equipped to tackle your attic insulation upgrade project confidently and effectively.
Was this page helpful?
At Storables.com, we guarantee accurate and reliable information. Our content, validated by Expert Board Contributors, is crafted following stringent Editorial Policies. We're committed to providing you with well-researched, expert-backed insights for all your informational needs.


0 thoughts on “Upgrading Your Home’s Attic With DIY Reflective Insulation”