Home>Interior Design>How To Texture A Wall: 5 Methods For Interesting Features
Interior Design
How To Texture A Wall: 5 Methods For Interesting Features
Modified: October 28, 2024
Learn the top 5 methods to texture a wall and create interesting features for your interior design projects. Transform your space with these easy techniques.
(Many of the links in this article redirect to a specific reviewed product. Your purchase of these products through affiliate links helps to generate commission for Storables.com, at no extra cost. Learn more)
Introduction
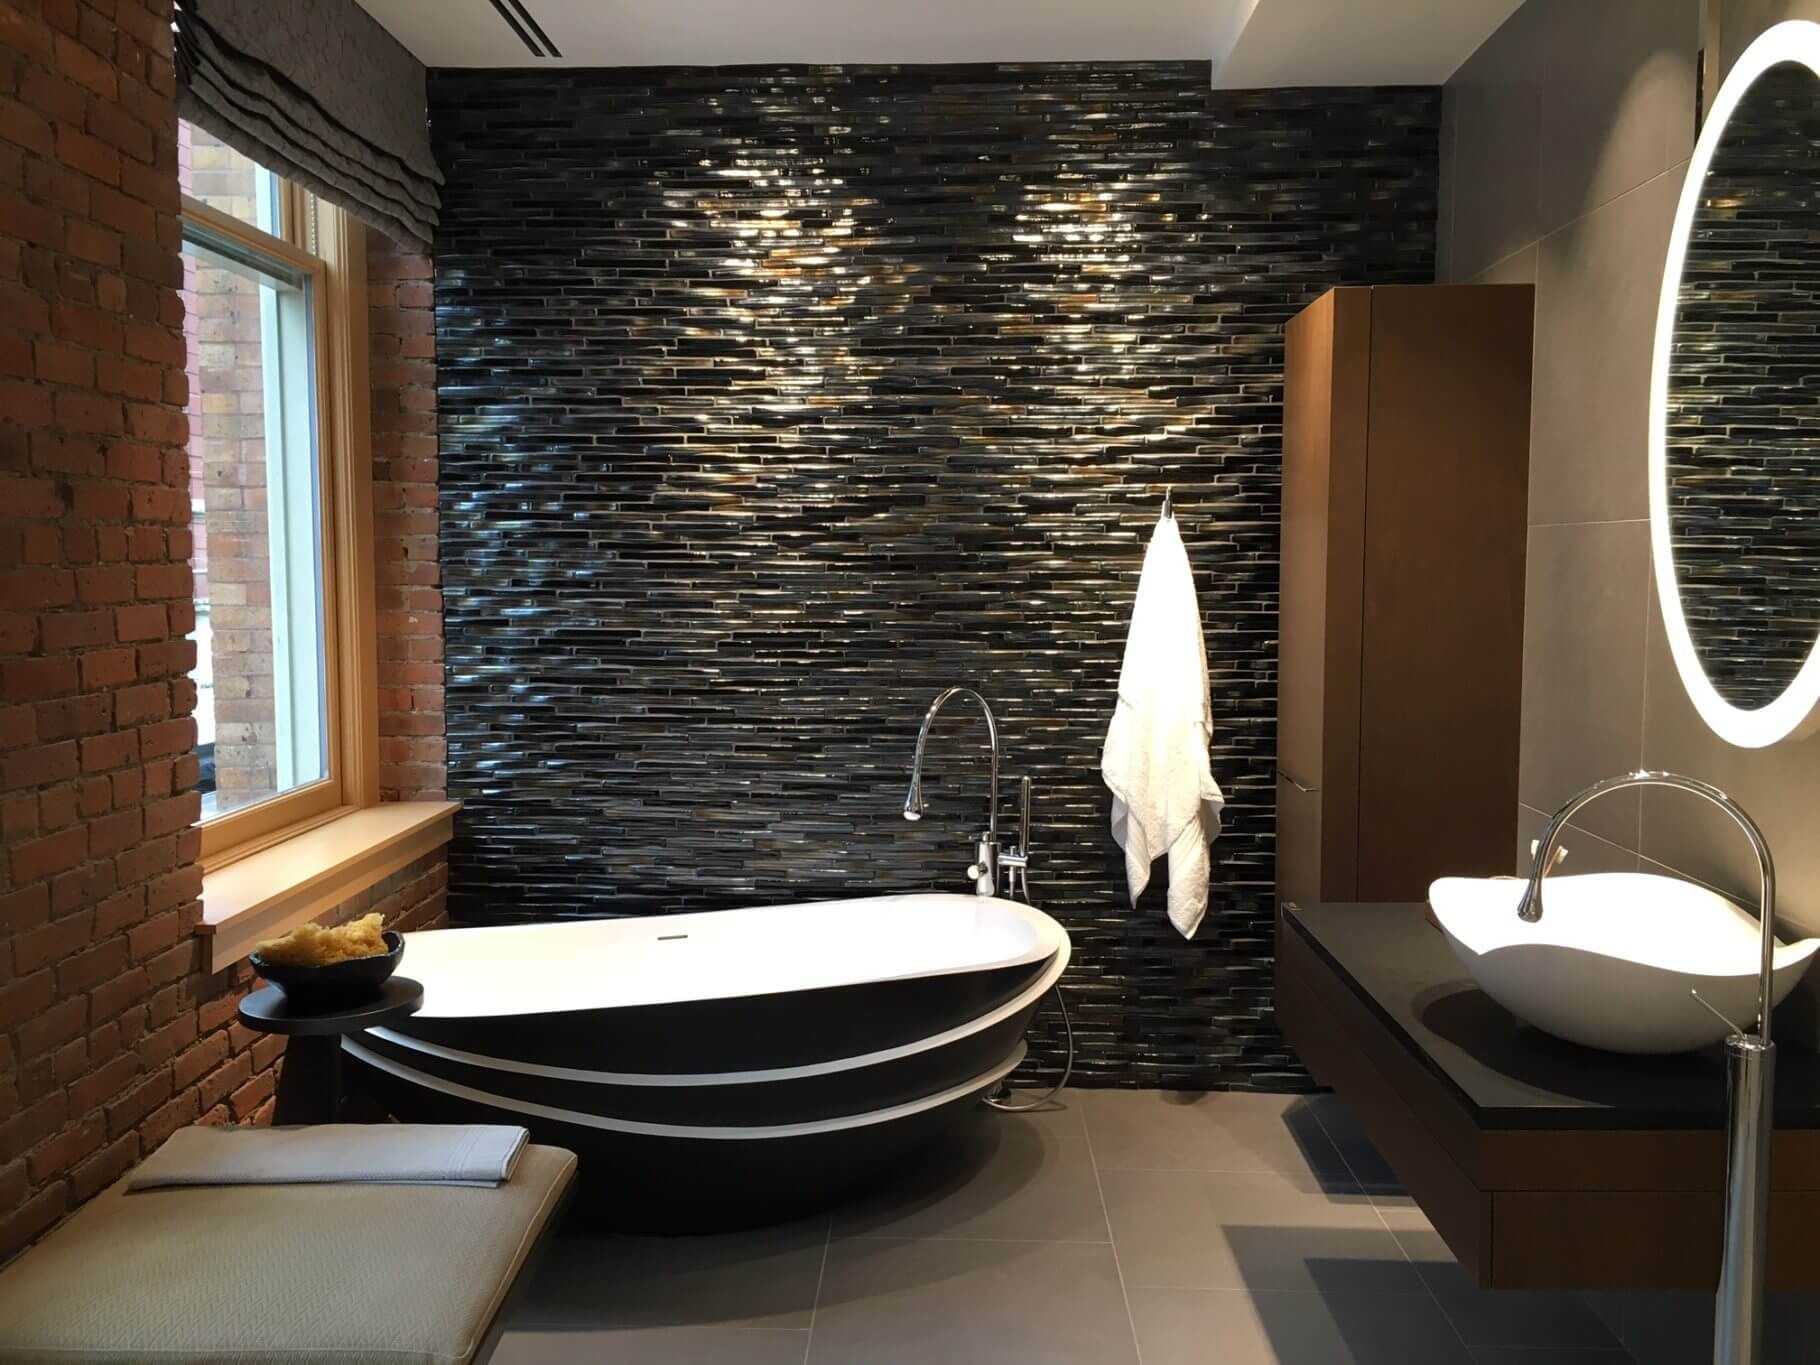
When it comes to creating a visually appealing and interesting interior space, the walls often play a key role. While a plain, flat wall can act as a backdrop for other design elements, adding texture to your walls can create a captivating feature that adds depth and character to any room.
Textured walls can be achieved through various methods, each offering its own unique aesthetic and level of complexity. Whether you prefer a subtle texture or a bold statement, there are several techniques to choose from. In this article, we will explore five popular methods for texturing walls, ranging from simple DIY options to more advanced techniques.
So, if you’re looking to add visual interest and personality to your walls, grab your tools and let’s dive into the world of wall texturing!
Key Takeaways:
- Elevate your interior design with textured walls using paint, wallpaper, paneling, stenciling, or decorative plaster. Each method offers unique textures and patterns to create visually captivating and personalized spaces.
- Experiment with different texturing methods to add depth, character, and visual interest to your walls. Whether you prefer subtle textures or bold designs, there’s a technique to suit every style and skill level.
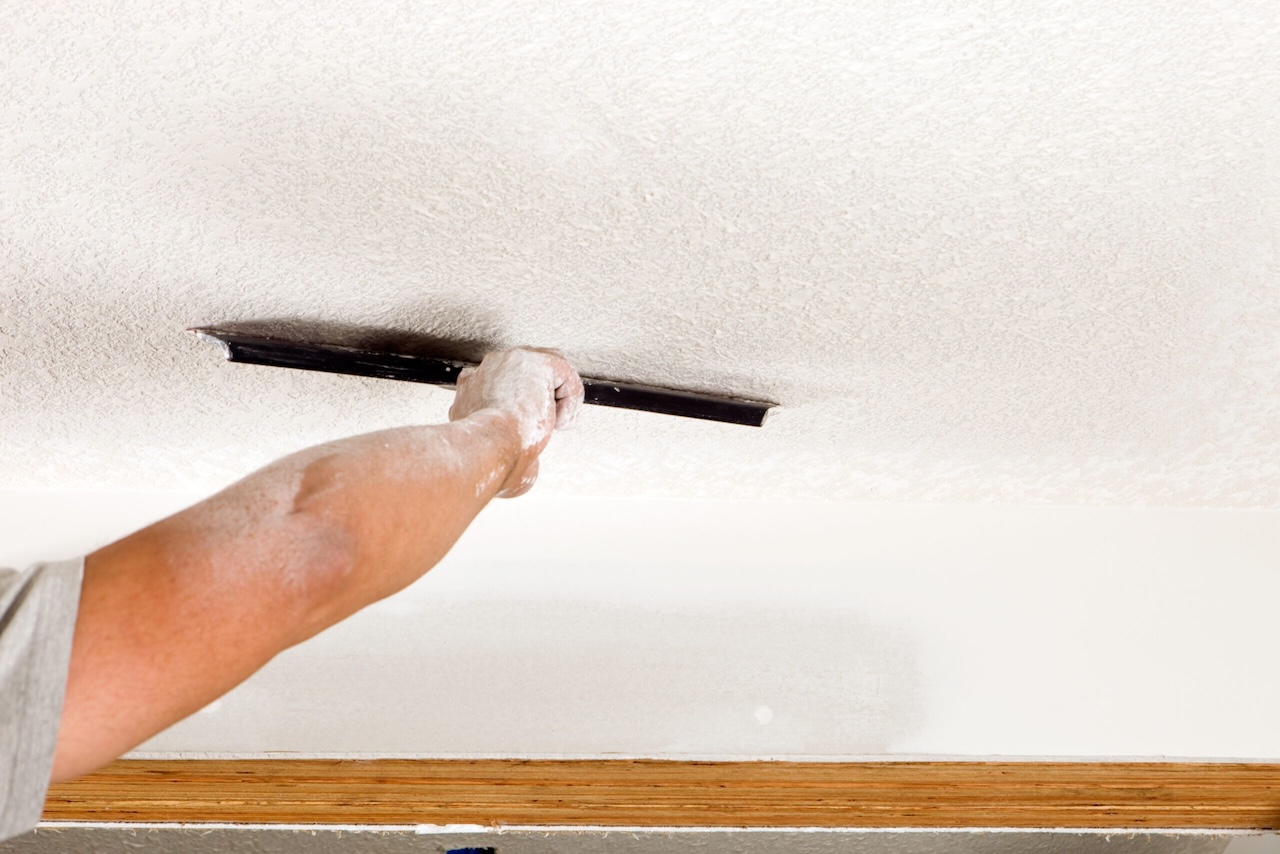
Read more: How To Spackle A Textured Wall
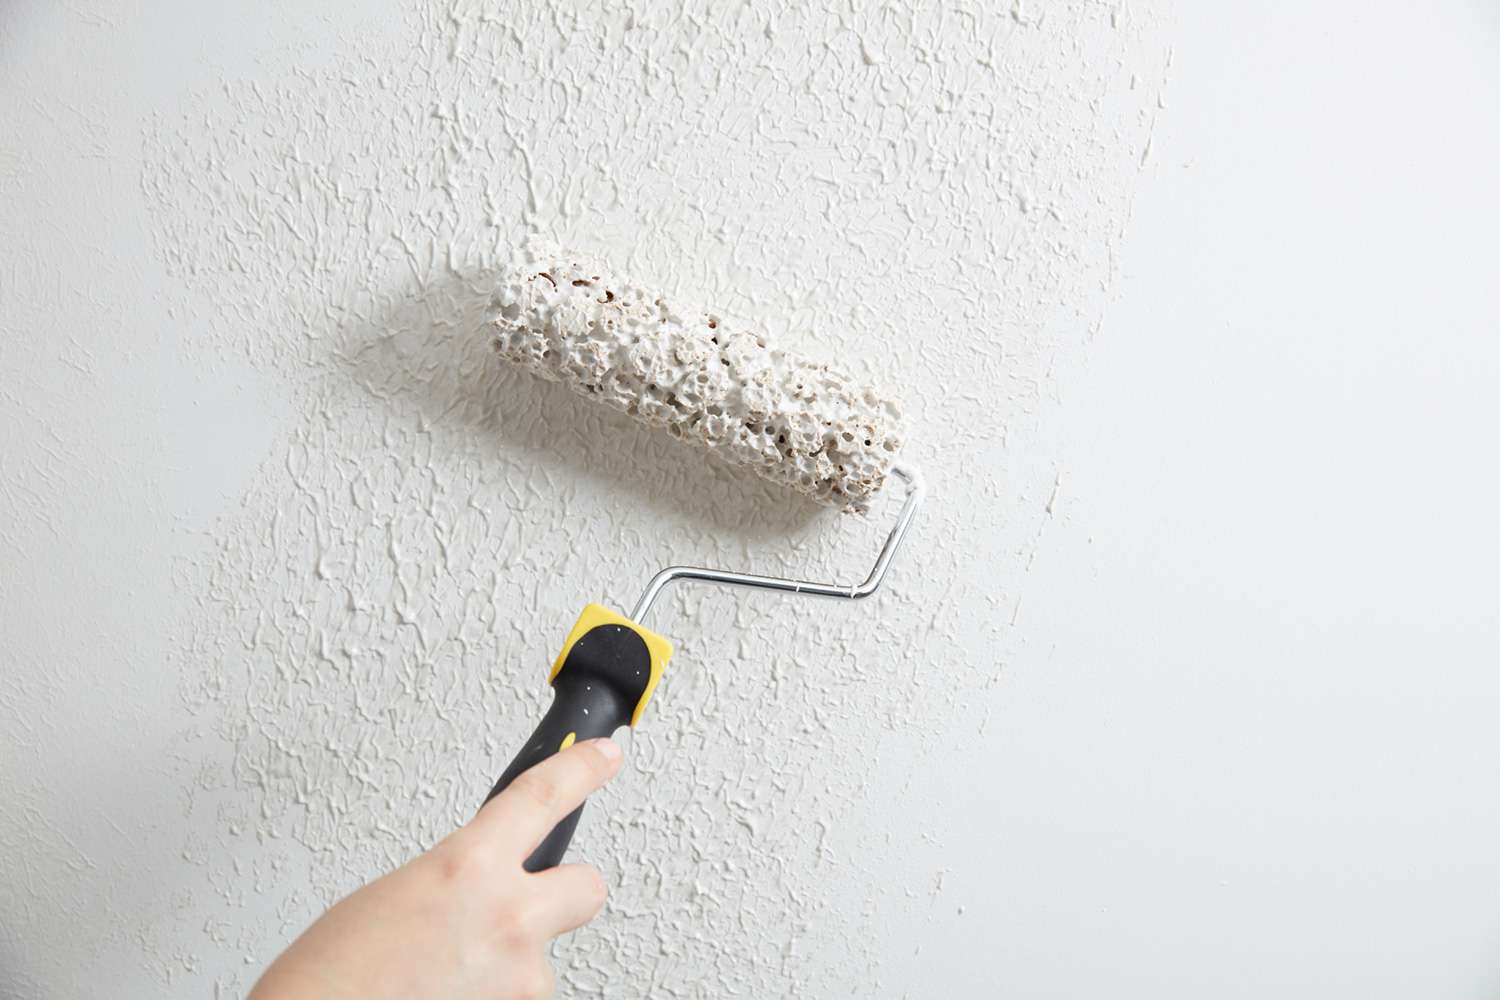
Method 1: Paint
One of the easiest and most versatile ways to texture a wall is through the use of paint. With a wide range of colors and finishes available, you can achieve various textured effects that suit your style and decor.
To create texture with paint, you can use a variety of techniques such as sponge painting, rag rolling, or even using textured paint rollers. Here’s a breakdown of each method:
- Sponge painting: This technique involves using a natural sea sponge or a sponge roller to apply multiple layers of paint onto the wall. By dabbing or stippling the sponge onto the surface, you can create a mottled, textured effect that adds depth and dimension.
- Rag rolling: With this method, you’ll need a clean rag or cloth to roll onto the freshly painted wall. After applying a base coat of paint, simply roll the rag gently over the surface in a random pattern. This technique creates a soft, textured look that mimics the appearance of fabric.
- Textured paint rollers: If you’re looking for a hassle-free approach to adding texture, textured paint rollers are a great option. These rollers have raised patterns or designs on their surfaces, which create texture when rolled onto the wall. From brick patterns to floral designs, the options are endless, allowing you to achieve a unique and eye-catching texture.
When using paint to texture your walls, it’s important to prepare the surface properly by filling in any cracks or holes and ensuring it’s smooth and clean. In addition, experimenting with different colors and layering techniques can further enhance the textured effect.
Whether you choose a subtle sponge-painted finish or a bold pattern with a textured roller, textured walls created with paint offer a cost-effective and customizable solution to elevate your interior design.
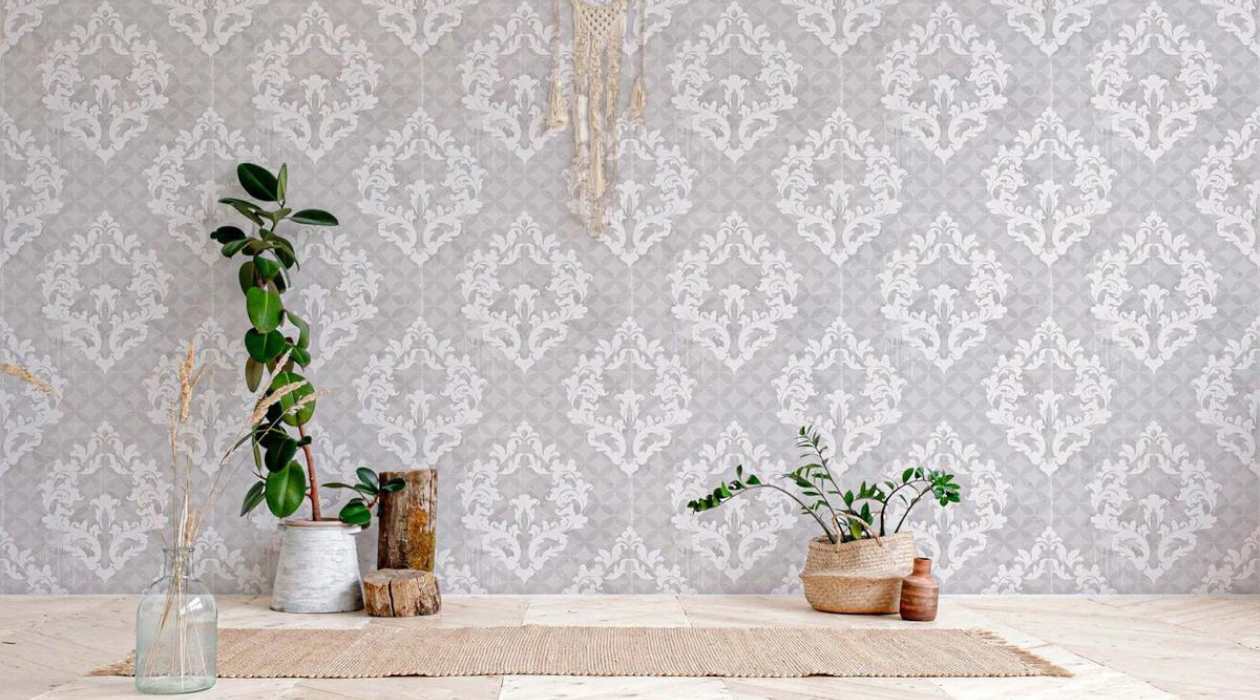
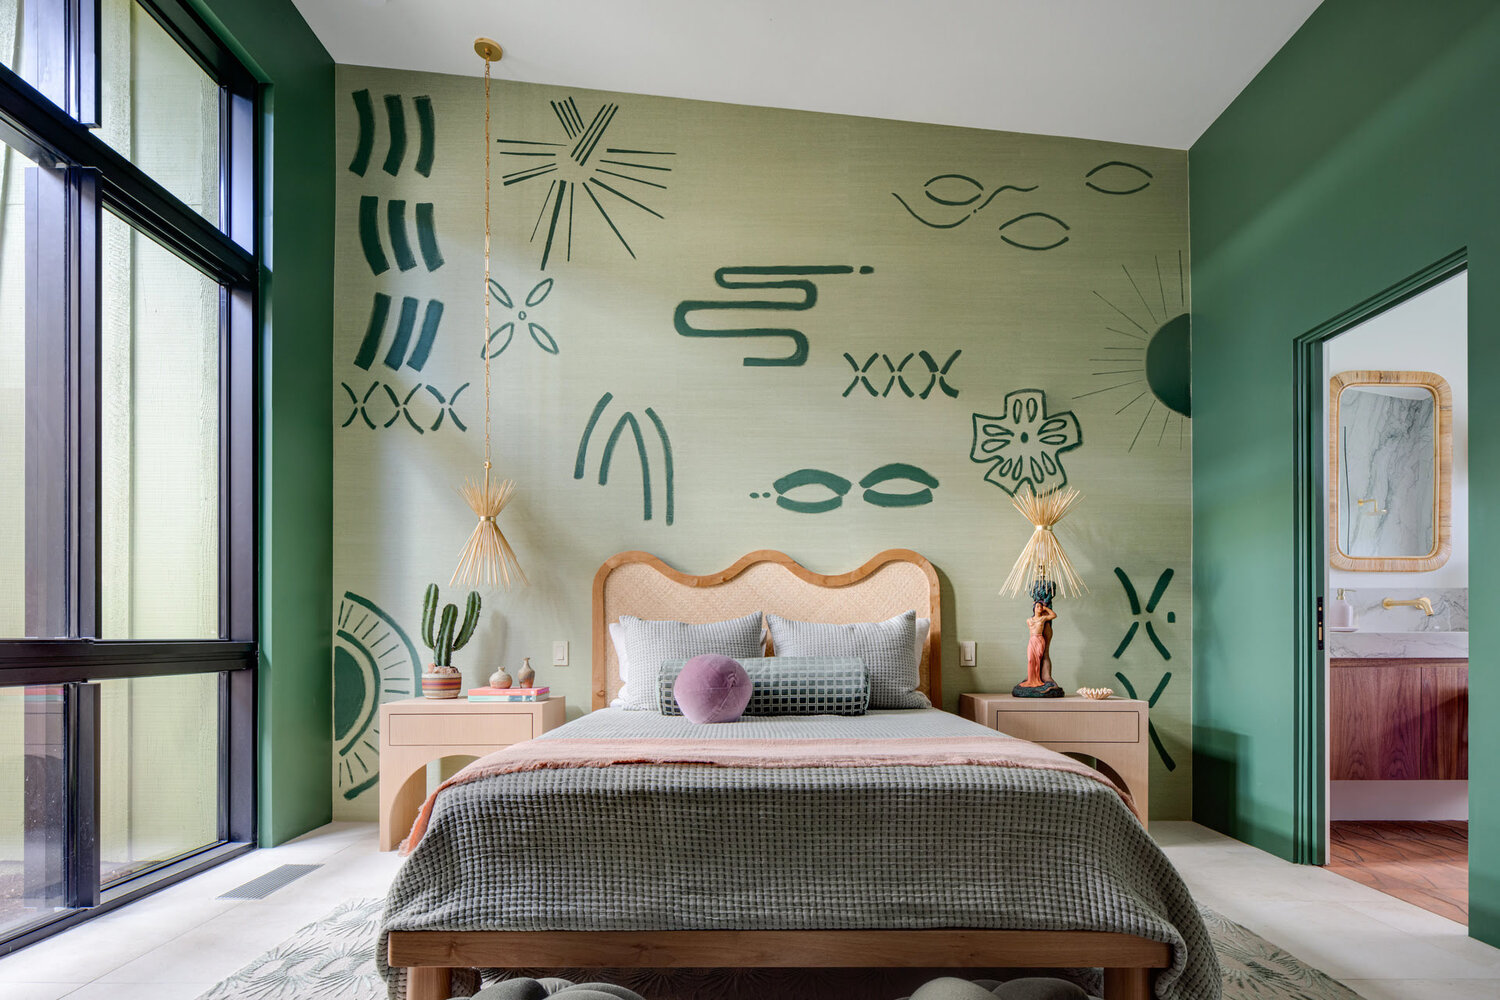
Method 2: Wallpaper
When it comes to adding texture and pattern to your walls, wallpaper is a go-to option. With a wide range of designs, textures, and colors available, you can easily transform a plain wall into a stunning focal point.
One of the benefits of using wallpaper to create texture is the variety of options. From subtle textures like grasscloth or linen to bold patterns such as geometric or floral designs, there is a wallpaper to suit every style and preference.
Installing wallpaper may seem intimidating, but with some preparation and the right tools, it can be a fun and rewarding DIY project. Here are the basic steps to apply wallpaper:
- Prepare the wall: Ensure that the wall is clean, smooth, and free of any imperfections. Fill in any holes or cracks and sand the surface if needed.
- Measure and cut: Measure the height and width of your wall and cut the wallpaper accordingly, leaving a few extra inches at the top and bottom for adjustments.
- Apply adhesive: Depending on the type of wallpaper you choose, apply the appropriate adhesive to the back of the wallpaper or directly to the wall.
- Smooth and hang: Carefully align the wallpaper with the top of the wall and slowly smooth it down, removing any air bubbles or wrinkles as you go. Trim any excess wallpaper at the top and bottom.
- Repeat: Continue hanging the wallpaper panels edge to edge until you have covered the entire wall.
- Finishing touches: Use a wallpaper smoother or a clean, damp cloth to smooth out any remaining bubbles or wrinkles. Finally, trim any excess wallpaper around corners, outlets, or windows using a sharp utility knife.
With the wide range of textured wallpapers available, you can easily create a unique and visually interesting feature wall or apply it to the entire room for a cohesive look.
Using wallpaper to texture your walls offers a convenient and versatile option, allowing you to experiment with different patterns and styles to achieve the desired aesthetic for your space.
Method 3: Textured Paneling
If you’re looking for a more permanent and substantial way to add texture to your walls, textured paneling is an excellent option. Textured paneling, also known as 3D wall panels, offers a unique and dimensional look that can instantly transform the ambiance of a room.
Textured paneling comes in a variety of materials, including wood, PVC, gypsum, and even eco-friendly options made from reclaimed materials. Each material offers its own distinct texture and style, allowing you to choose the one that best suits your design preferences and the overall aesthetic of your space.
The installation process for textured paneling can vary depending on the specific product you choose, but here are the general steps:
- Prepare the wall: Ensure that the wall is clean, smooth, and free of any imperfections. If needed, apply a base coat of paint or primer.
- Measure and cut: Measure the dimensions of the wall and cut the panels to the appropriate size, allowing for any necessary adjustments.
- Apply adhesive: Depending on the type of textured paneling, apply the recommended adhesive to the back of each panel or directly to the wall.
- Install the panels: Starting from one corner, press the panel onto the wall firmly and ensure it is level. Continue installing the panels, interlocking or aligning them according to the manufacturer’s instructions.
- Finishing touches: Once all the panels are installed, use a level to ensure they are aligned and adjust as necessary. Fill in any gaps or seams with caulk or putty, and paint or finish the paneling as desired.
The result of textured paneling is a visually captivating wall that adds depth and dimension to any space. Whether you choose a rustic wooden texture or a modern geometric pattern, textured paneling can be an excellent choice for creating a statement wall or adding texture to an entire room.
Furthermore, textured paneling not only adds visual interest but can also improve acoustics and insulation, making it a practical choice for both residential and commercial spaces.
Consider using techniques such as stenciling, sponging, rag rolling, or using textured paint to add depth and interest to your walls. Experiment with different methods to achieve the desired look.
Method 4: Stenciling
If you’re looking for a budget-friendly way to add texture and intricate patterns to your walls, stenciling is a fantastic option. Stenciling allows you to create unique designs and motifs that can transform a plain wall into a visually stunning work of art.
Here’s how you can achieve textured walls through stenciling:
- Choose a stencil: There are numerous stencil designs available, ranging from floral patterns to geometric shapes. Select a stencil that matches your desired aesthetic and suits the room’s style.
- Prepare the surface: Ensure that the wall is clean and smooth. If necessary, apply a base coat of paint in a color that complements your stencil design.
- Secure the stencil: Position the stencil on the wall using painter’s tape or stencil adhesive spray. Make sure it is level and secure to avoid any smudging or shifting while painting.
- Apply paint: Dip a stencil brush or sponge into your chosen paint color and dab off any excess. Lightly dab or swirl the brush over the stencil openings, applying the paint in thin layers to prevent smudging and bleeding. Gradually build up the color intensity as desired.
- Remove the stencil: Carefully lift the stencil away from the wall, making sure to lift straight up to avoid smearing the paint. Allow the painted design to dry completely before repositioning the stencil for the next section.
- Repeat the process: Realign the stencil with the previously painted sections, ensuring a seamless and consistent design. Repeat the stenciling process until the entire wall is covered with the desired pattern.
- Touch up and detail: Once the stenciled design is complete, inspect the wall for any imperfections or areas that need touch-ups. Use a fine brush to add details or make corrections, ensuring a polished finish.
Stenciling allows you to unleash your creativity by customizing and personalizing your walls. You can experiment with different colors, sizes, and placement of the stencils to create a truly unique textured effect that reflects your style.
Whether you choose to stencil an accent wall or incorporate stenciled patterns throughout the room, this technique offers a cost-effective and customizable way to add texture and visual interest to your walls.
Read more: How To Make Textured Wall Art
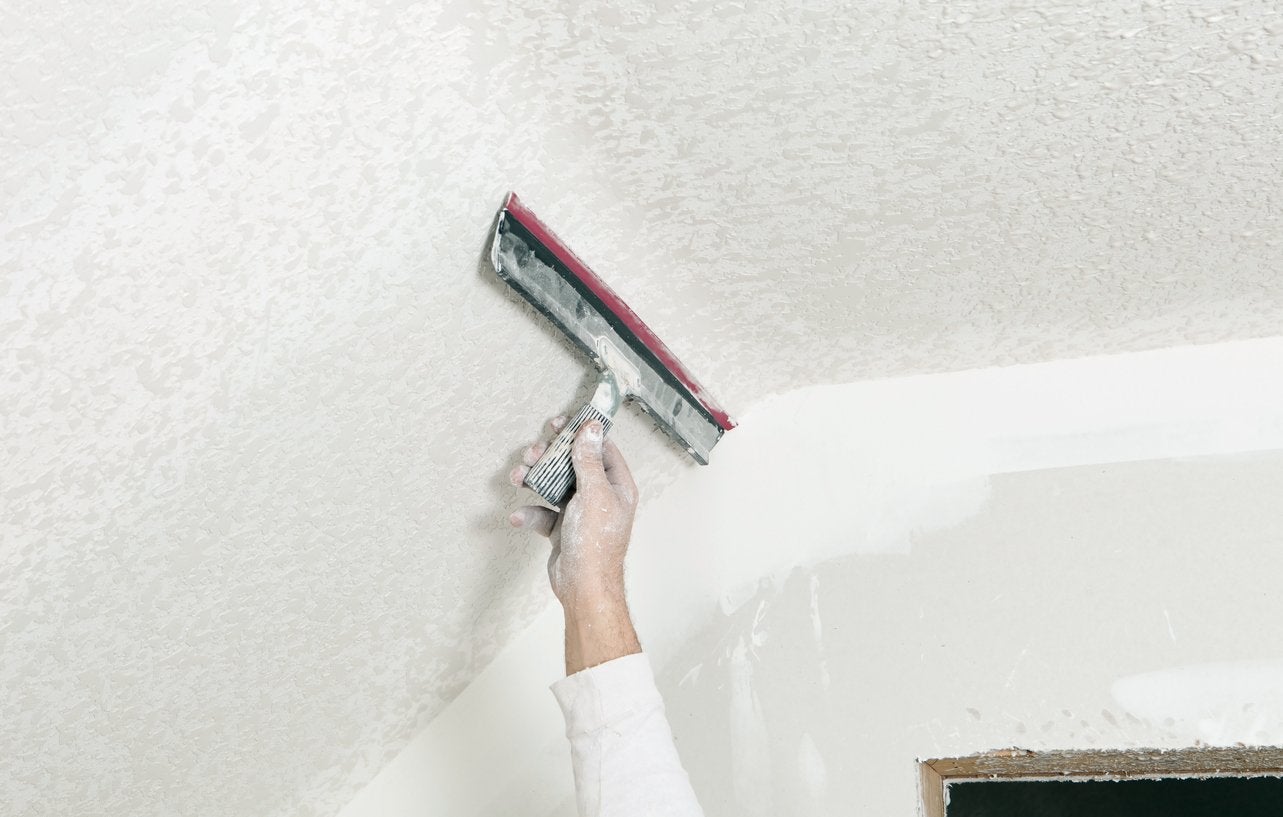
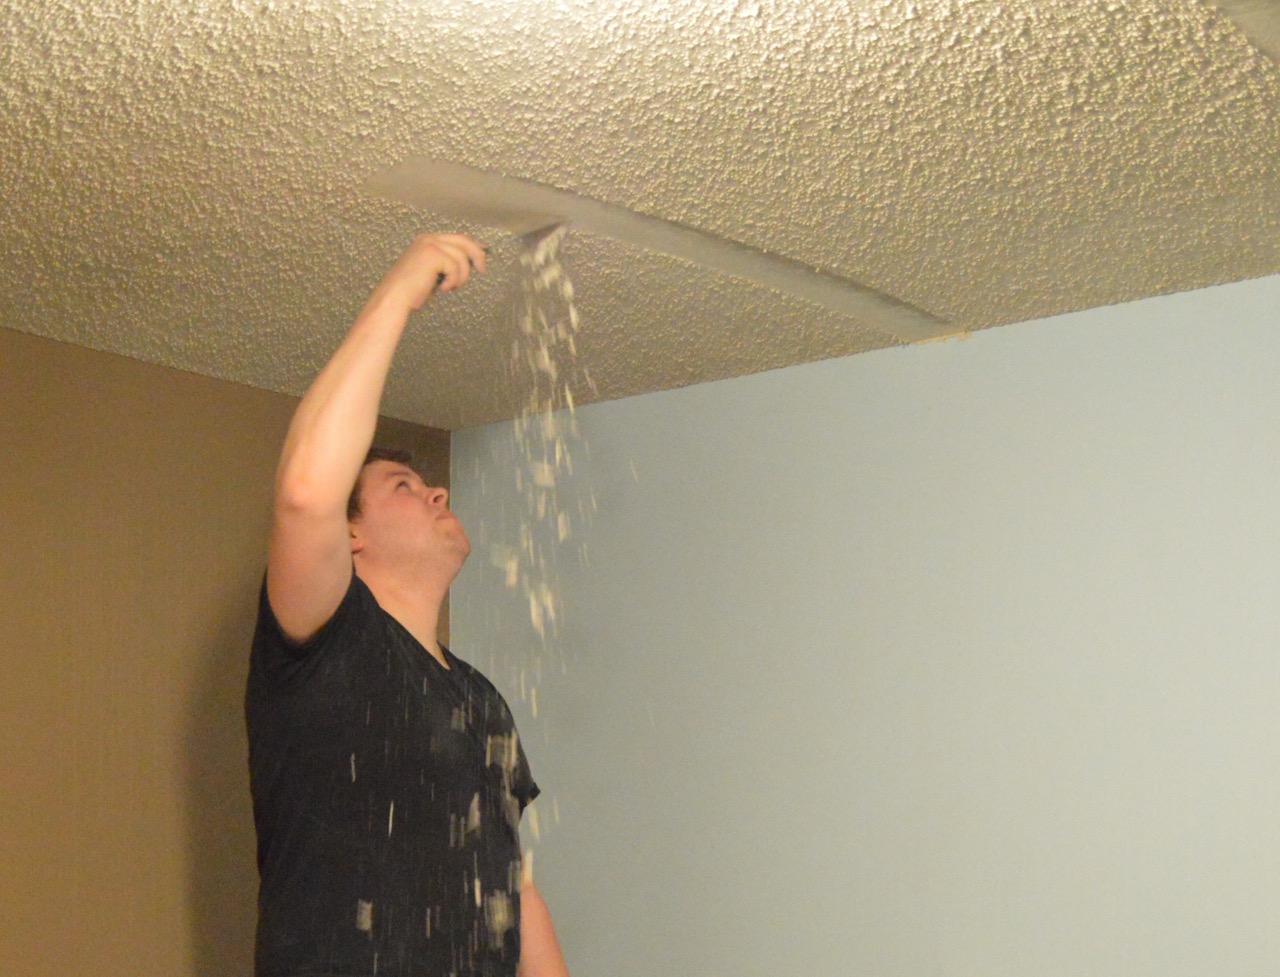
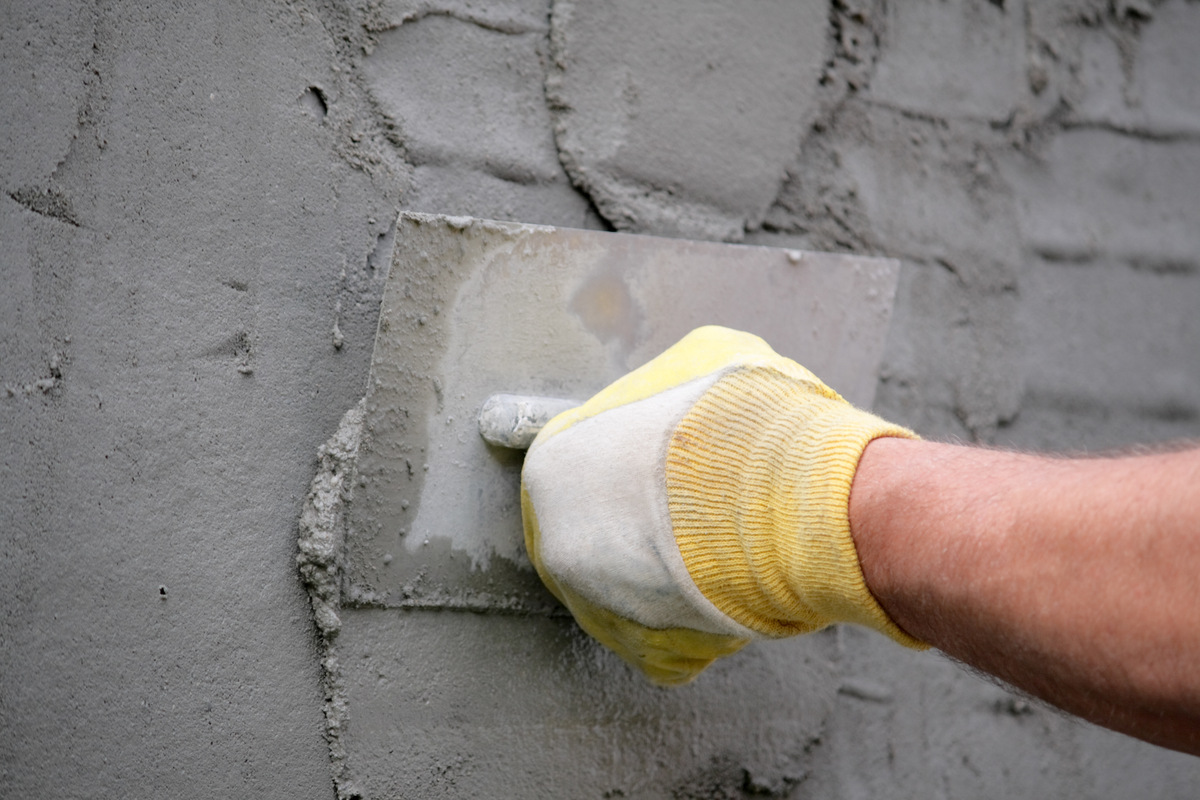
Method 5: Decorative Plaster or Texture Coating
If you’re looking to achieve a more luxurious and sophisticated textured wall, decorative plaster or texture coating is an excellent choice. This method involves applying a specialized coating or plaster to create a stunning textured finish that resembles the look and feel of natural materials.
Here’s how you can achieve textured walls through decorative plaster or texture coating:
- Prepare the surface: Ensure that the wall is clean, smooth, and free of any imperfections. Fill in any cracks or holes and sand the surface if necessary.
- Choose the coating: Select a decorative plaster or texture coating that suits your desired texture and style. Options include Venetian plaster, limestone finishes, textured paint coatings, and more.
- Prepare the mixture: Follow the manufacturer’s instructions to prepare the decorative plaster or texture coating mixture. This may involve adding water or mixing different components to achieve the desired consistency.
- Apply the coating: Using a trowel or a specialized application tool, apply the mixture to the wall in a smooth, even layer. You can experiment with different techniques such as swirling, stippling, or combing to create various textured patterns.
- Allow for drying and curing: Each type of decorative plaster or texture coating may have different drying and curing times. Follow the manufacturer’s recommendations to ensure proper drying and achieve the desired texture.
- Finishing touches: After the coating has fully dried, you can further enhance the textured effect by adding a sealant or topcoat. This will protect the finish and provide a polished look.
Decorative plaster or texture coating offers a high-end and elegant way to texture your walls. The natural variations in the texture and color of these finishes create a visually stunning and tactile experience, adding a touch of luxury to any space.
Additionally, decorative plaster and textured coatings are durable and easy to maintain, making them suitable for both residential and commercial applications. Whether you choose to texture an entire room or create a focal point on a feature wall, this method can elevate the aesthetic appeal of your space.
Conclusion
Adding texture to your walls is a great way to elevate the overall look and feel of your space. Whether you prefer a subtle and understated texture or a bold and eye-catching design, there are various methods available to suit your style and skill level.
From the versatility of paint to the intricate patterns of stenciling, each technique offers its own unique way to create texture on your walls. Wallpaper provides a vast array of designs and textures, allowing you to easily transform a plain wall into a stunning focal point.
If you’re looking for a more permanent and substantial solution, textured paneling offers a three-dimensional look that adds depth and character to any room. And for those seeking a luxurious and sophisticated textured finish, decorative plaster or texture coating provides a high-end option that resembles natural materials.
Regardless of the method you choose, it’s essential to prepare your walls properly and follow the instructions for each technique to achieve the best results. Experiment with different colors, patterns, and textures to create a personalized and visually captivating space.
By considering the aesthetics of your room and your own personal style, you can select the perfect texturing method that enhances the ambiance and makes a statement. Whether you’re revamping your living room, bedroom, or even a commercial space, textured walls are sure to impress your guests and create a visually engaging environment.
So go ahead, unleash your creativity, and embark on the journey of texturing your walls to transform your space into a visual masterpiece!
Frequently Asked Questions about How To Texture A Wall: 5 Methods For Interesting Features
Was this page helpful?
At Storables.com, we guarantee accurate and reliable information. Our content, validated by Expert Board Contributors, is crafted following stringent Editorial Policies. We're committed to providing you with well-researched, expert-backed insights for all your informational needs.


0 thoughts on “How To Texture A Wall: 5 Methods For Interesting Features”