Home>Construction & Tools>Building Materials>How To Tile Over A Brick Wall
Building Materials
How To Tile Over A Brick Wall
Modified: October 20, 2024
Learn how to transform your brick wall with tiles. Find the best building materials and step-by-step instructions for a successful tiling project.
(Many of the links in this article redirect to a specific reviewed product. Your purchase of these products through affiliate links helps to generate commission for Storables.com, at no extra cost. Learn more)
Introduction
So, you've got a brick wall that's in need of a refresh, and you've decided that tiling over it is the perfect solution. Tiling over a brick wall can completely transform the look and feel of a space, adding a touch of modernity and style. Whether you're looking to revamp the interior of your home or enhance the exterior of your property, this project can breathe new life into your surroundings.
Before diving into this exciting endeavor, it's essential to understand the key steps involved in tiling over a brick wall. From assessing the condition of the wall to selecting the right tiles and applying the adhesive, each stage plays a crucial role in achieving a stunning and long-lasting result. By following the proper techniques and utilizing the appropriate materials, you can ensure that the tiled brick wall not only looks fantastic but also stands the test of time.
In this comprehensive guide, we'll walk you through the entire process, from the initial assessment of the brick wall to the finishing touches. By the end, you'll have the knowledge and confidence to tackle this project with ease. So, let's roll up our sleeves and embark on this transformative journey to revitalize your brick wall with beautiful, new tiles.
Key Takeaways:
- Transforming a brick wall with tiles can revitalize any space, but it’s crucial to assess the wall’s condition, choose the right tiles, and apply adhesive and grout meticulously for a stunning and enduring result.
- Properly preparing the brick wall, selecting the right tiles, and meticulously applying adhesive and grout are essential for achieving a visually stunning and enduring transformation of the wall’s surface.
Read more: How To Drywall Over Brick
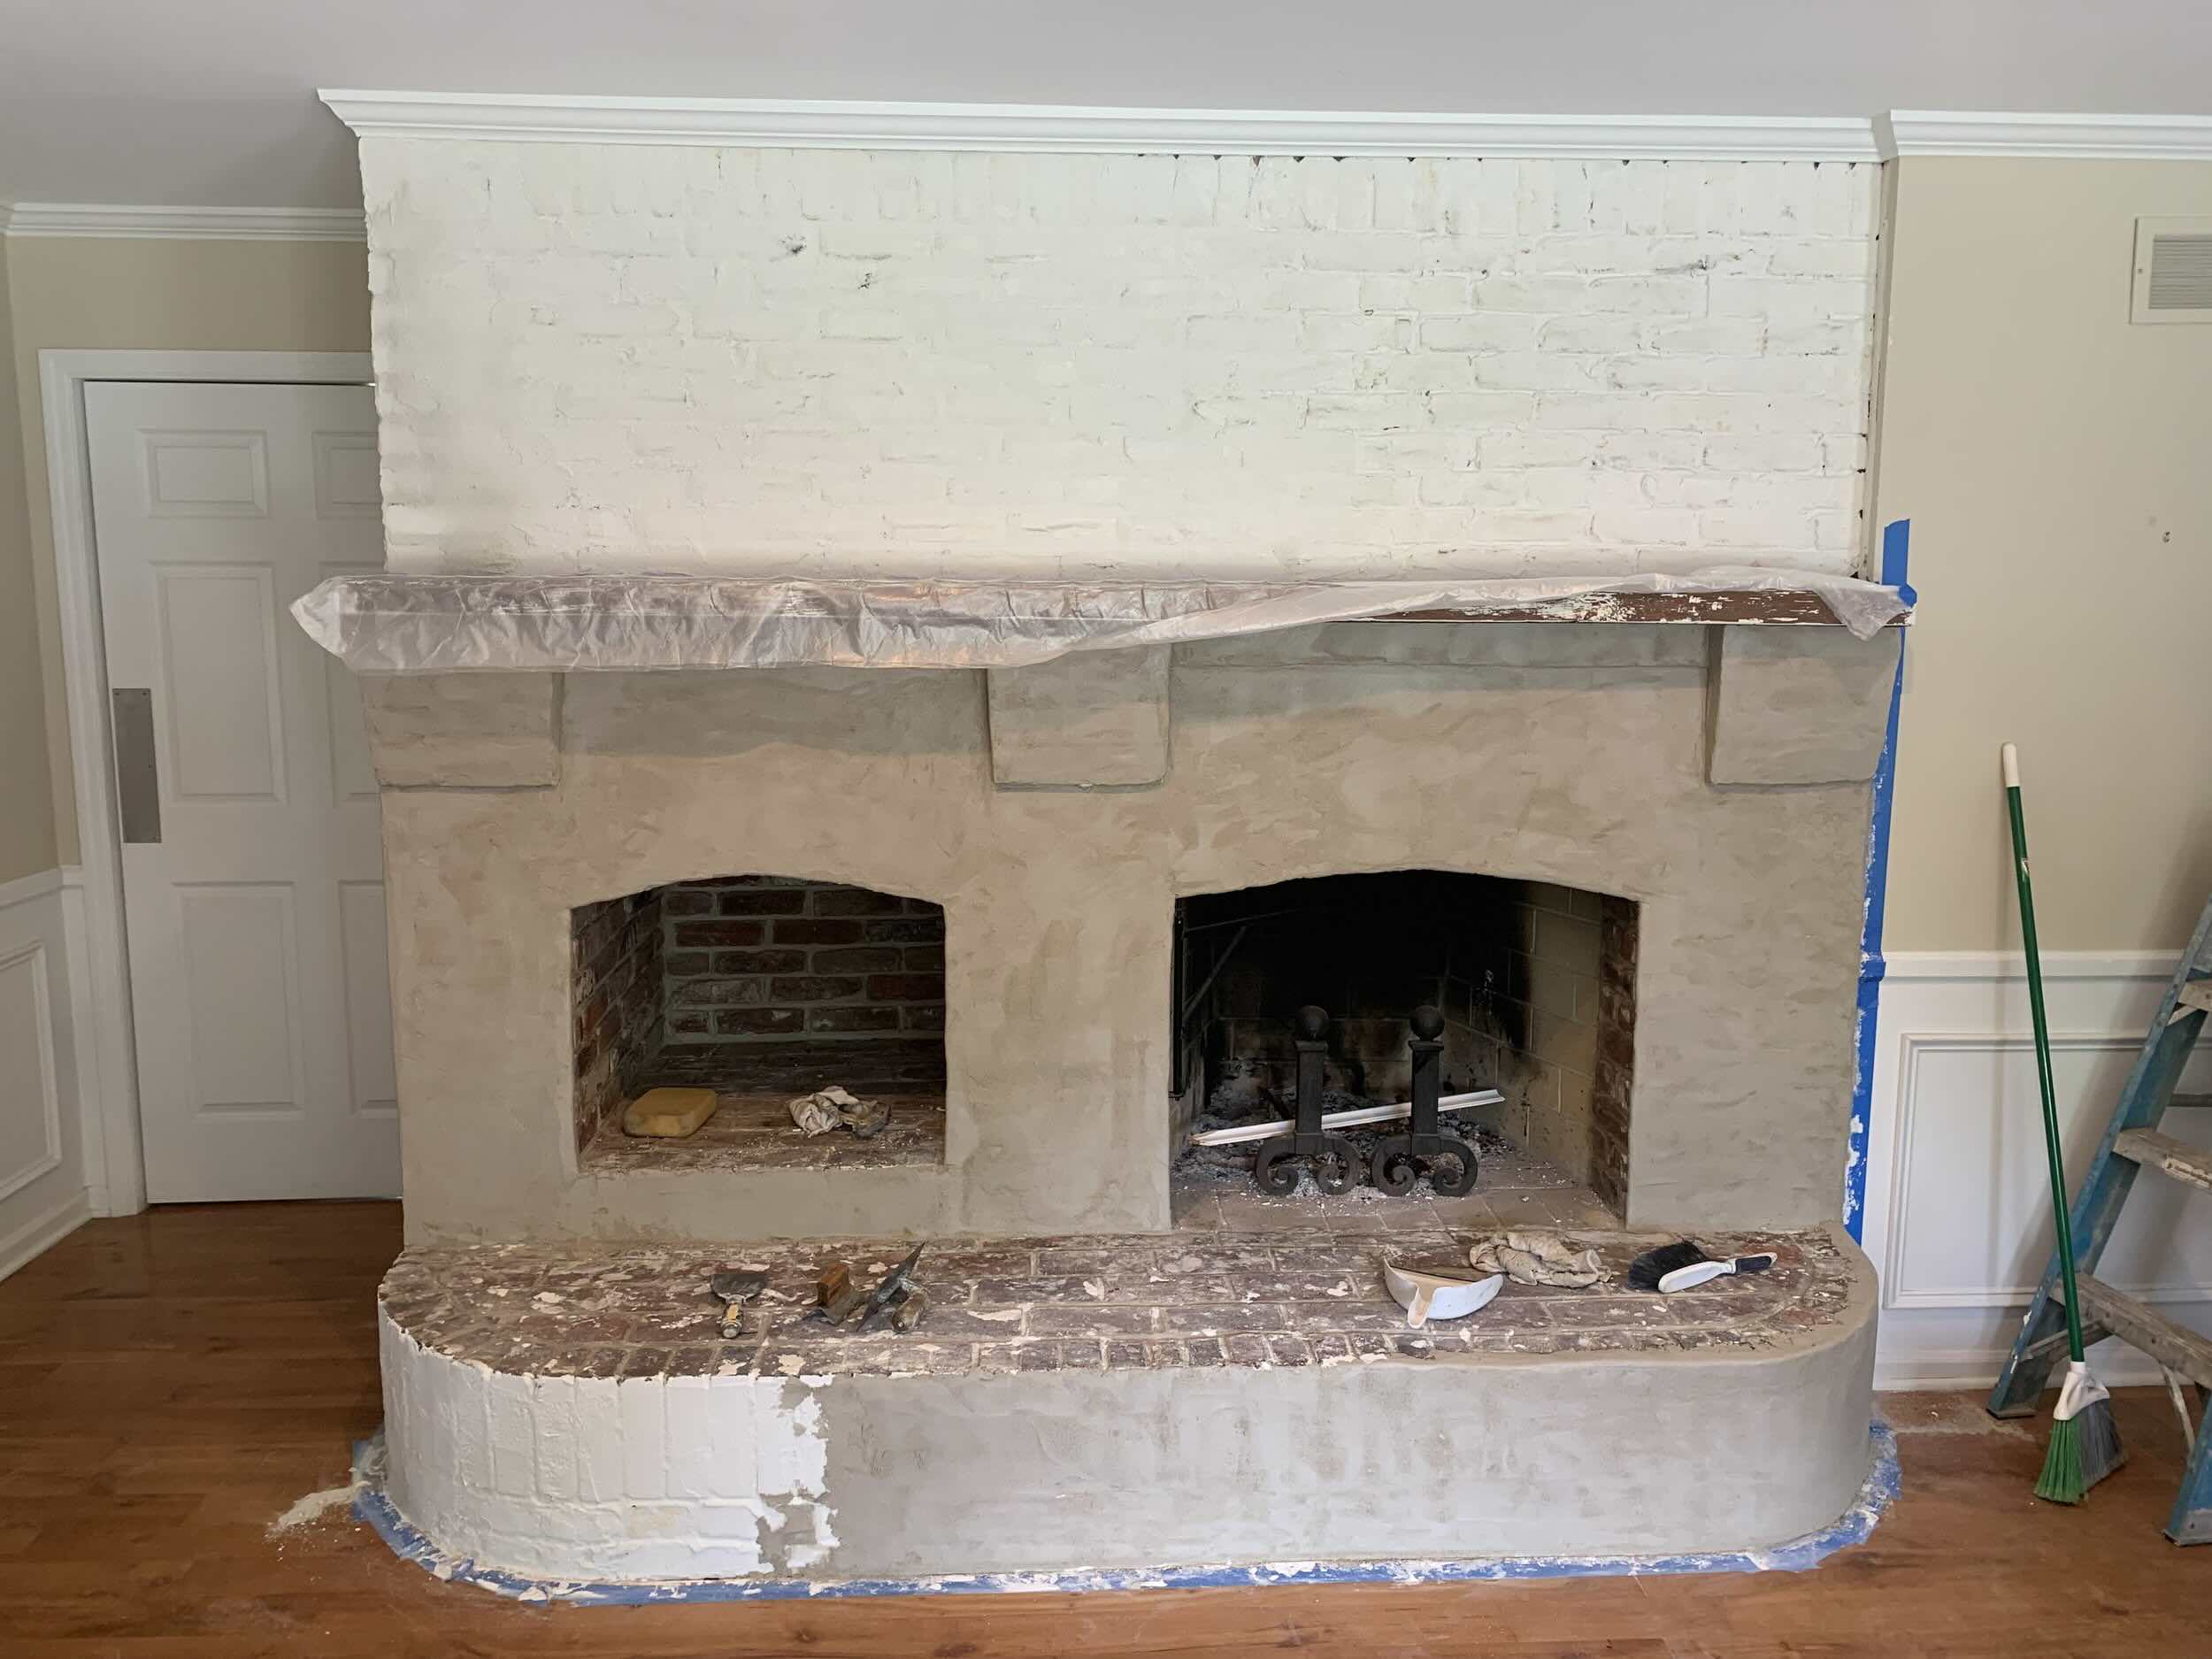
Assessing the Brick Wall
Before diving into the tiling process, it’s crucial to thoroughly assess the condition of the brick wall. This step is essential for identifying any underlying issues that may impact the tiling project and for determining the necessary preparations. Here’s how to approach the assessment:
Examine the Surface: Start by closely inspecting the brick wall’s surface. Look for any signs of damage, such as cracks, chips, or areas where the mortar is deteriorating. It’s important to address these issues before proceeding with the tiling to ensure a smooth and stable base for the tiles.
Check for Moisture: Moisture can be a significant concern when tiling over a brick wall, especially in outdoor or basement settings. Use a moisture meter to determine if the wall is affected by excess moisture, as this can impact the adhesion of the tiles. If moisture is present, it’s crucial to address the underlying cause and allow the wall to dry completely before tiling.
Assess Structural Integrity: Consider the structural integrity of the wall. Ensure that it is stable and capable of supporting the additional weight of the tiles. If there are any concerns about the wall’s stability, it may be necessary to consult a professional to address any structural issues before proceeding with the tiling.
Take Measurements: Measure the dimensions of the wall to determine the amount of tiling material required. This step is essential for accurately estimating the quantity of tiles, adhesive, and grout needed for the project.
By thoroughly assessing the brick wall, you can identify and address any potential challenges before they impact the tiling process. This proactive approach sets the stage for a successful tiling project and ensures that the wall is primed for the stunning transformation that lies ahead.
Preparing the Wall for Tiling
Once the assessment of the brick wall is complete, it’s time to prepare the surface for the tiling process. Proper preparation is essential for ensuring the adhesion and longevity of the tiles. Follow these essential steps to ready the wall for tiling:
Clean the Surface: Begin by thoroughly cleaning the brick wall to remove any dirt, dust, or debris. Use a stiff-bristled brush and a mild detergent solution to scrub the surface and ensure it is free from any contaminants that could affect the adhesion of the tiles.
Repair Any Damage: Address any visible damage to the brick wall, such as cracks or loose mortar. Use a suitable masonry repair compound to fill in cracks and gaps, ensuring that the surface is smooth and even. Allow the repairs to dry completely before proceeding.
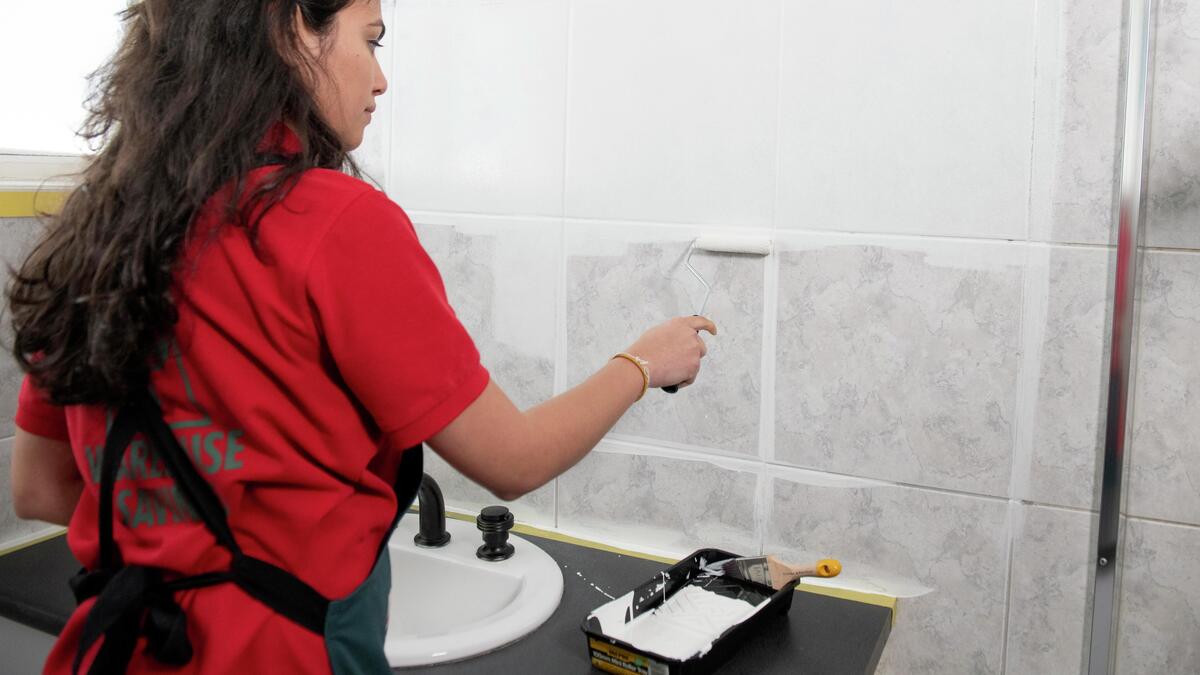
Apply a Bonding Agent: To enhance the adhesion of the tiles, consider applying a bonding agent to the clean, repaired surface of the brick wall. This will create a strong bond between the wall and the tile adhesive, promoting a secure and long-lasting installation.
Consider Waterproofing: If the brick wall is located in an area prone to moisture, such as a bathroom or outdoor setting, consider applying a waterproofing membrane to the surface. This additional layer of protection can help prevent moisture from seeping through the wall and compromising the integrity of the tiles.
Prime the Surface: In some cases, especially when tiling over particularly porous brick, it may be beneficial to prime the surface with a suitable primer. This can help improve the adhesion of the tile adhesive and ensure a strong bond between the tiles and the wall.
By diligently preparing the brick wall for tiling, you can create an optimal foundation for the installation of the tiles. This careful attention to detail sets the stage for a successful and visually stunning transformation of the wall’s surface.
Choosing the Right Tiles
When it comes to tiling over a brick wall, selecting the right tiles is a crucial step that significantly influences the overall aesthetic and durability of the project. With a wide array of tile options available, it’s important to consider both the visual appeal and the practical aspects of the tiles. Here’s how to choose the perfect tiles for your tiling project:
Consider the Location: The location of the brick wall will play a significant role in determining the type of tiles to use. For interior walls, such as kitchen backsplashes or accent walls, a variety of tile materials, including ceramic, porcelain, glass, or even natural stone, can be suitable. Outdoor walls may require tiles that are specifically designed to withstand the elements, such as frost-resistant porcelain or natural stone tiles.
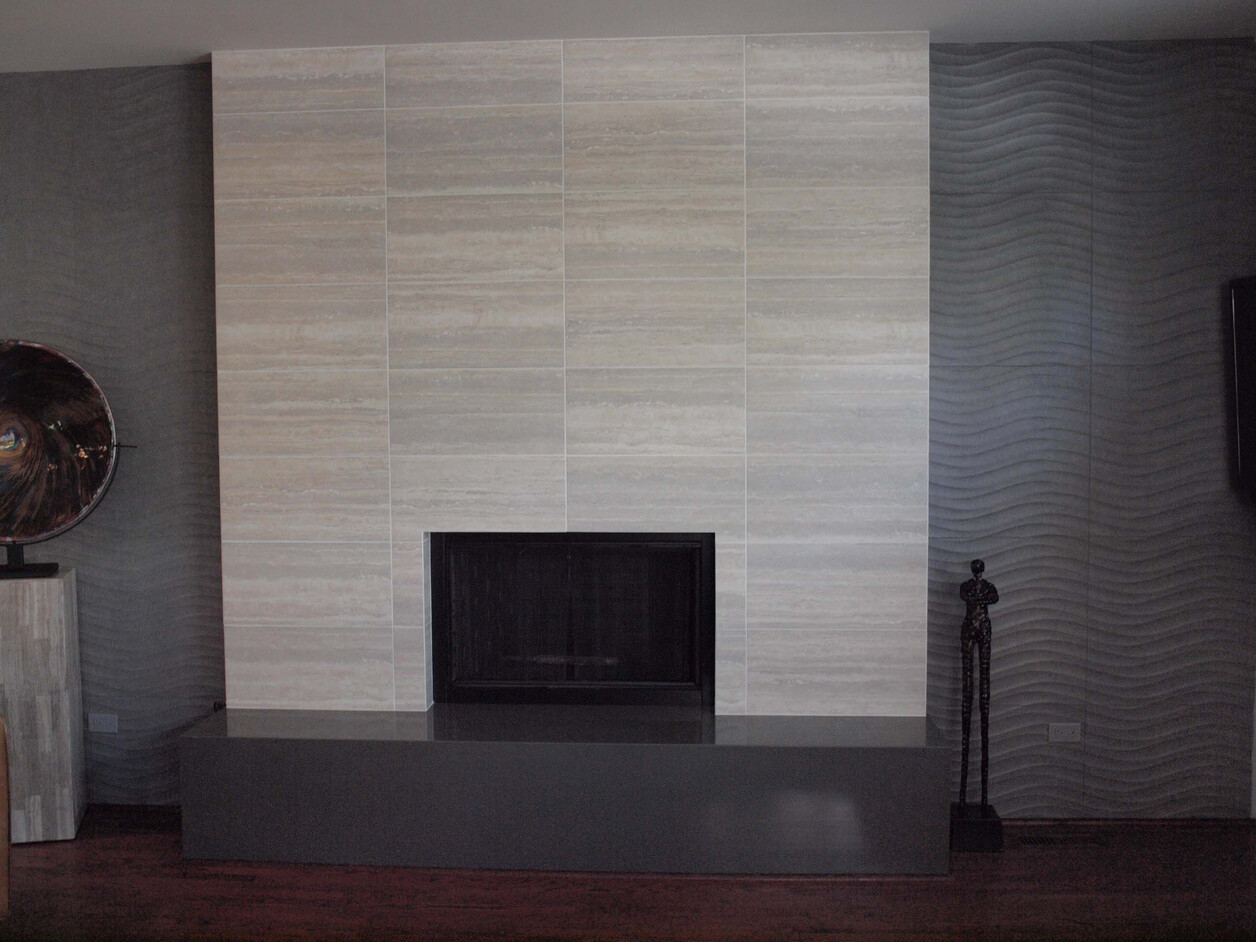
Evaluate the Style: Think about the overall style and design aesthetic you want to achieve. Whether you prefer a sleek, modern look or a more rustic, textured appearance, there are tiles available to suit a wide range of design preferences. Consider the color, shape, and texture of the tiles to ensure they complement the existing decor and architectural features of the space.
Assess Durability: Prioritize the durability of the tiles, especially for outdoor or high-traffic areas. Look for tiles that are rated for the intended use and are capable of withstanding the environmental conditions they will be exposed to. This may include factors such as slip resistance, impact resistance, and resistance to moisture and temperature fluctuations.
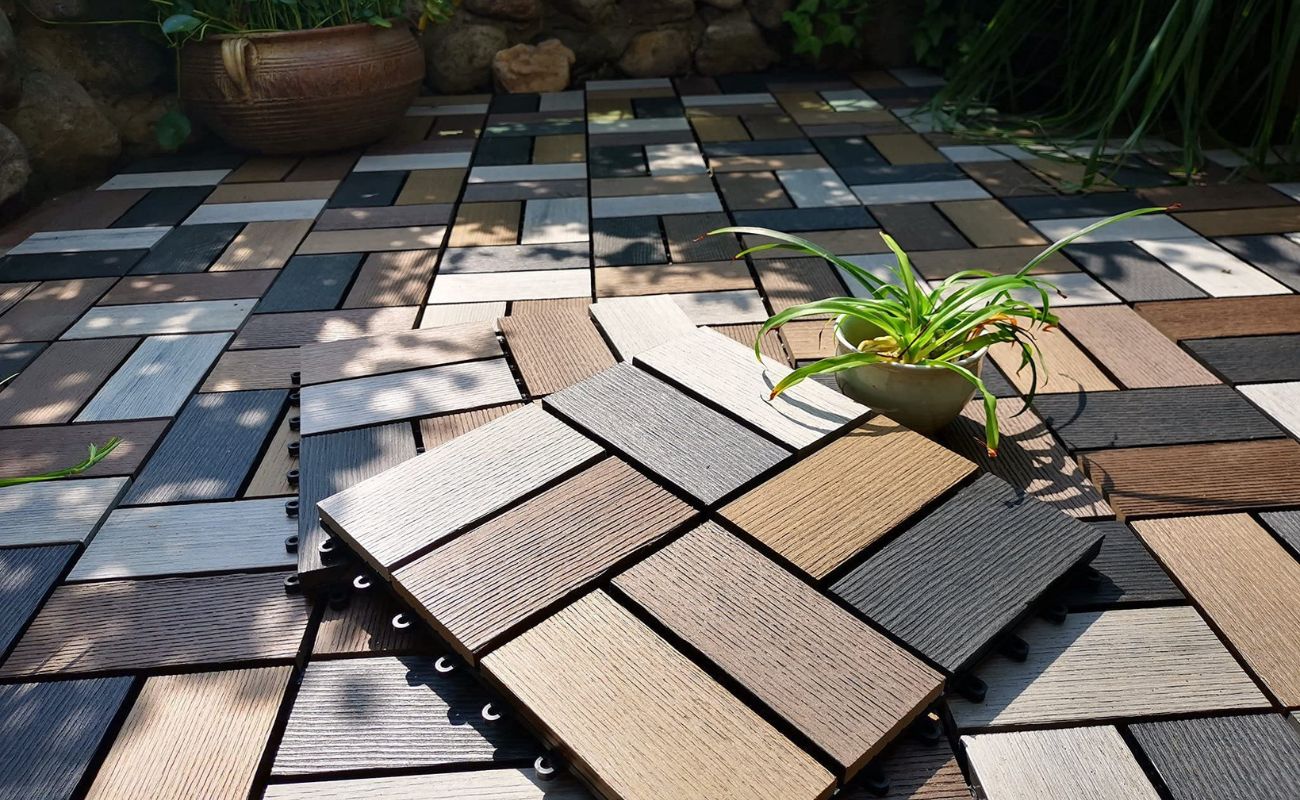
Explore Tile Sizes and Patterns: The size and pattern of the tiles can have a significant impact on the visual impression of the wall. Consider experimenting with different tile sizes and layouts to achieve the desired aesthetic. Larger tiles can create a sense of openness and modernity, while smaller tiles or unique patterns can add character and visual interest.
Consult with Experts: If you’re unsure about the best tile options for your project, don’t hesitate to seek advice from tile experts or designers. They can provide valuable insights and recommendations based on your specific requirements and the characteristics of the brick wall.
By carefully considering the location, style, durability, and design possibilities, you can confidently select the perfect tiles to elevate the visual appeal of the brick wall and create a stunning focal point within your space.
Before tiling over a brick wall, make sure to clean and roughen the surface for better adhesion. Use a suitable adhesive and grout for outdoor use.
Applying the Adhesive
With the brick wall assessed, prepared, and the tiles chosen, the next critical step is applying the adhesive. The proper application of tile adhesive is essential for ensuring a strong and durable bond between the tiles and the wall. Follow these guidelines to effectively apply the adhesive:
Choose the Right Adhesive: Select a high-quality tile adhesive that is suitable for the specific type of tiles and the conditions of the installation area. For example, if you’re tiling an outdoor brick wall, opt for an adhesive designed to withstand outdoor environmental factors such as temperature fluctuations and moisture.
Prepare the Adhesive: Follow the manufacturer’s instructions to prepare the adhesive mixture. This typically involves combining the adhesive powder with water and mixing it to the appropriate consistency. Use a drill with a mixing paddle attachment for larger batches to ensure a smooth, lump-free mixture.
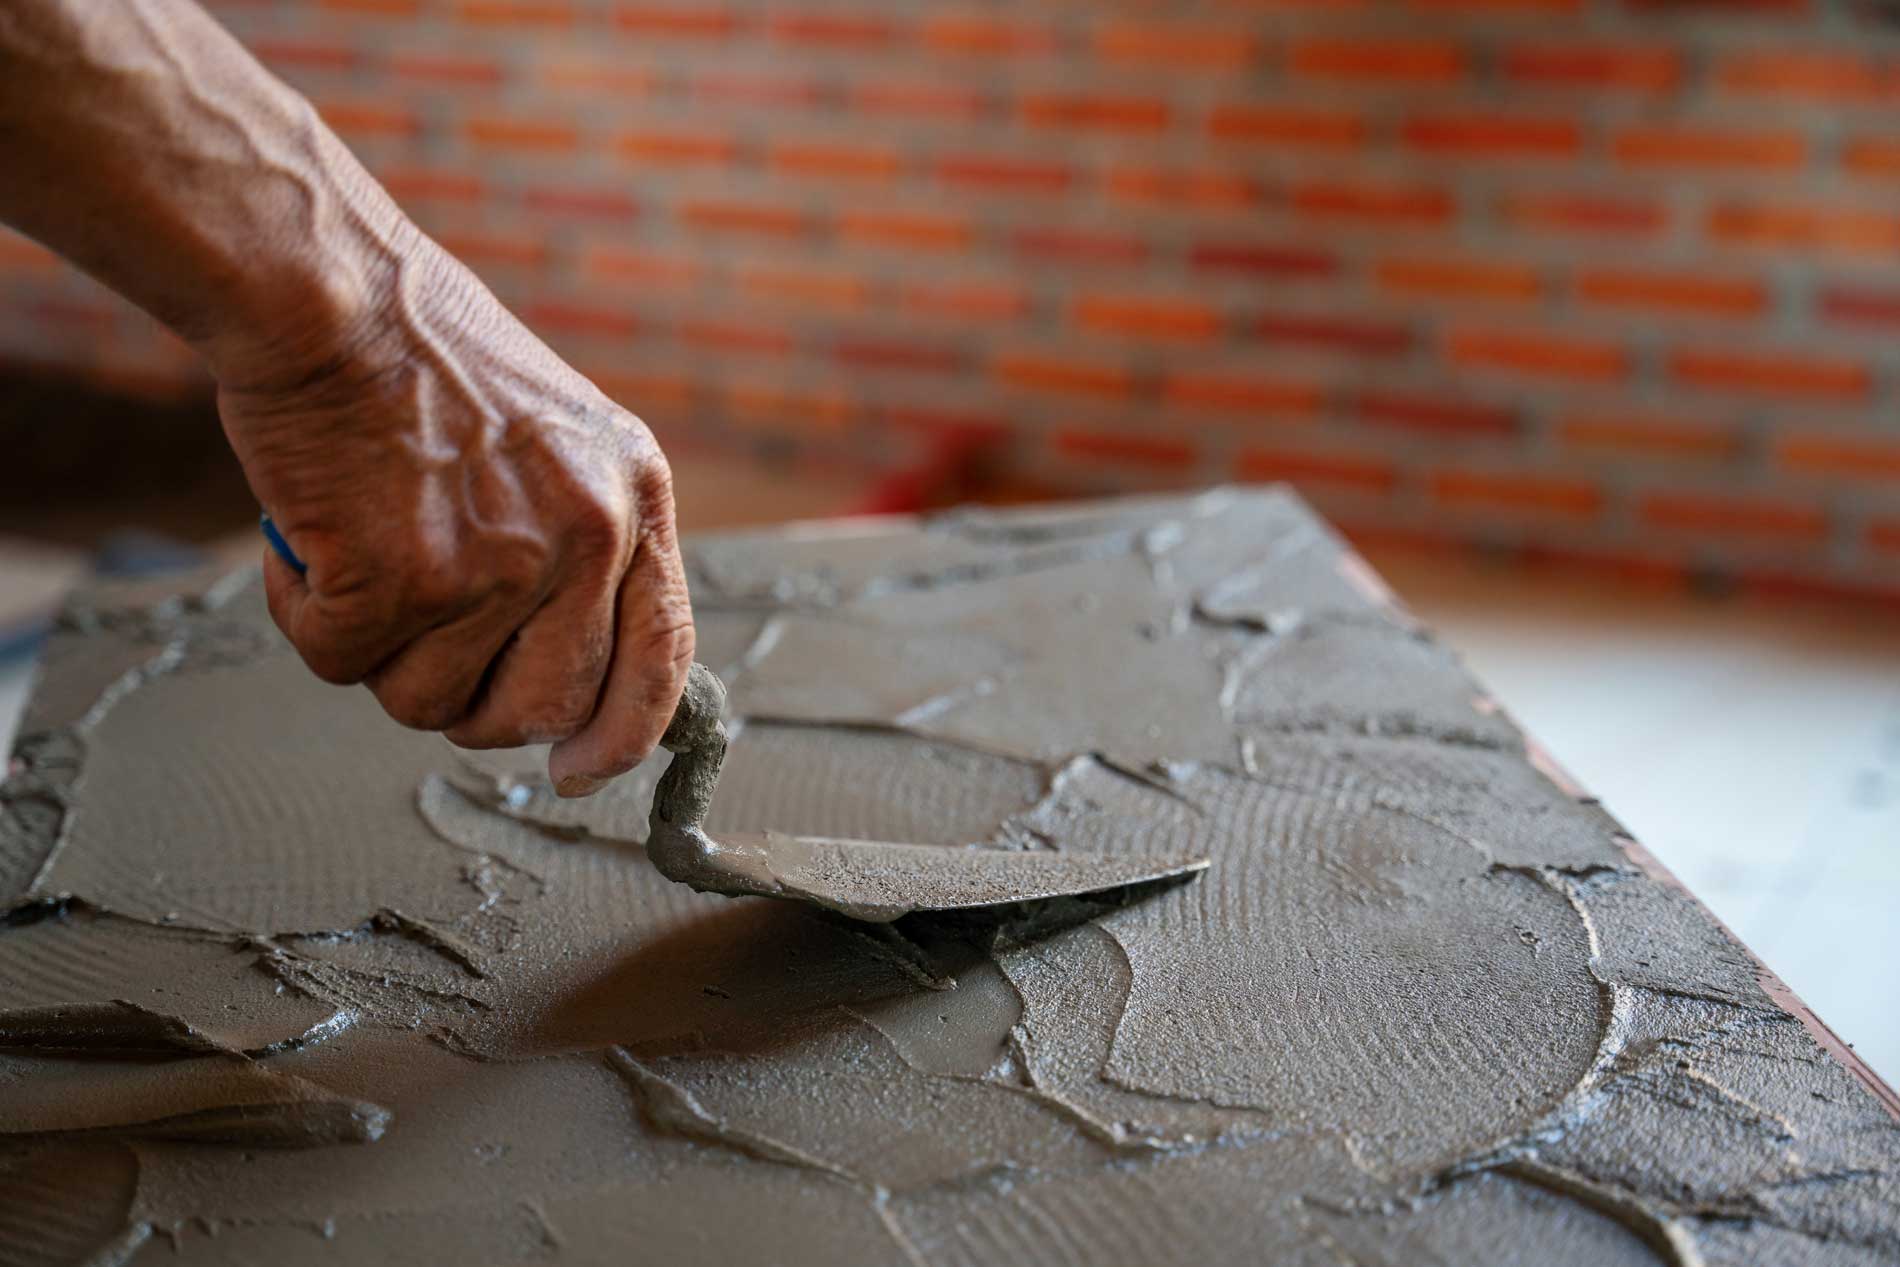
Apply the Adhesive: Using a notched trowel, spread the adhesive evenly over a small section of the brick wall. The notches on the trowel create ridges in the adhesive, ensuring proper coverage and a strong bond with the tiles. Work in manageable sections to prevent the adhesive from drying out before the tiles are placed.
Consider Back-Buttering: For larger or heavier tiles, back-buttering may be necessary. This involves applying a thin layer of adhesive to the back of the tile before setting it in place. Back-buttering ensures full coverage and improves the bond between the tile and the wall.
Check for Consistency: As you apply the adhesive and set the tiles, periodically check the consistency of the adhesive to ensure it remains workable. If the adhesive begins to skin over or lose its tackiness, remove and replace it with fresh adhesive to maintain a strong bond.
Follow Recommended Drying Times: After the tiles are set in place, allow the adhesive to cure for the recommended time specified by the manufacturer. This crucial step ensures that the tiles adhere firmly to the brick wall and sets the stage for the grouting process.
By meticulously applying the adhesive according to best practices, you can establish a solid foundation for the tiles, ensuring a visually striking and enduring transformation of the brick wall.
Placing the Tiles
As the adhesive sets the stage for the transformation, the process of placing the tiles is where the vision of the revamped brick wall begins to take shape. Proper technique and attention to detail during this phase are essential for achieving a seamless and visually stunning result. Here’s how to effectively place the tiles on the brick wall:
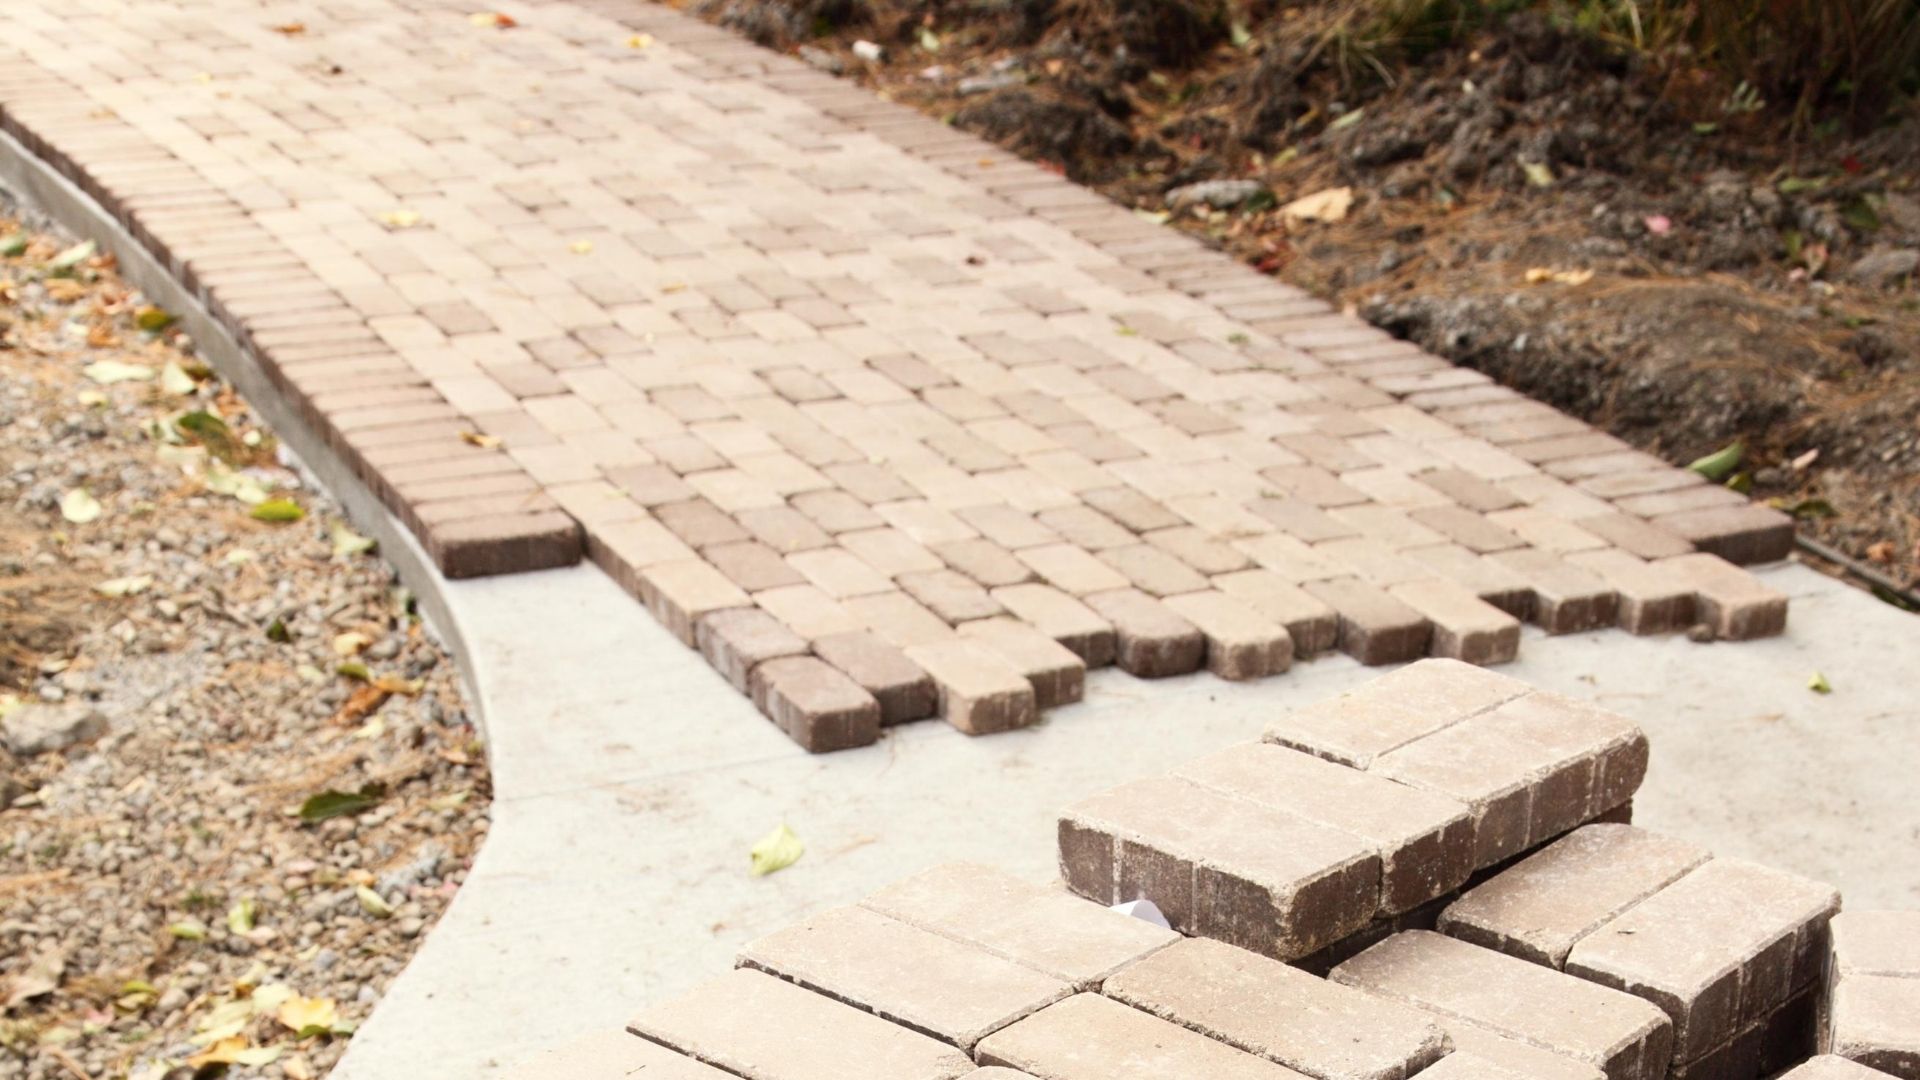
Start with Layout Planning: Before placing the tiles, plan the layout to ensure a balanced and visually appealing arrangement. Consider the positioning of cuts, corners, and any design elements, and make any necessary adjustments to achieve a harmonious overall appearance.
Set the First Tile: Begin by setting the first tile in the predetermined starting point, typically at the bottom of the wall or at a prominent vertical or horizontal reference line. Press the tile firmly into the adhesive, ensuring it is level and properly aligned with adjacent surfaces.
Use Tile Spacers: Place tile spacers between the tiles to maintain consistent spacing and ensure uniform grout lines. This step is crucial for achieving a professional and polished look once the grouting process is complete.
Continue Setting Tiles: Work methodically, setting tiles in rows or sections according to the predetermined layout. Use a tile cutter to make precise cuts for tiles that require trimming to fit around obstacles or along edges. Ensure that the tiles are set with a slight twisting motion to ensure full contact with the adhesive.
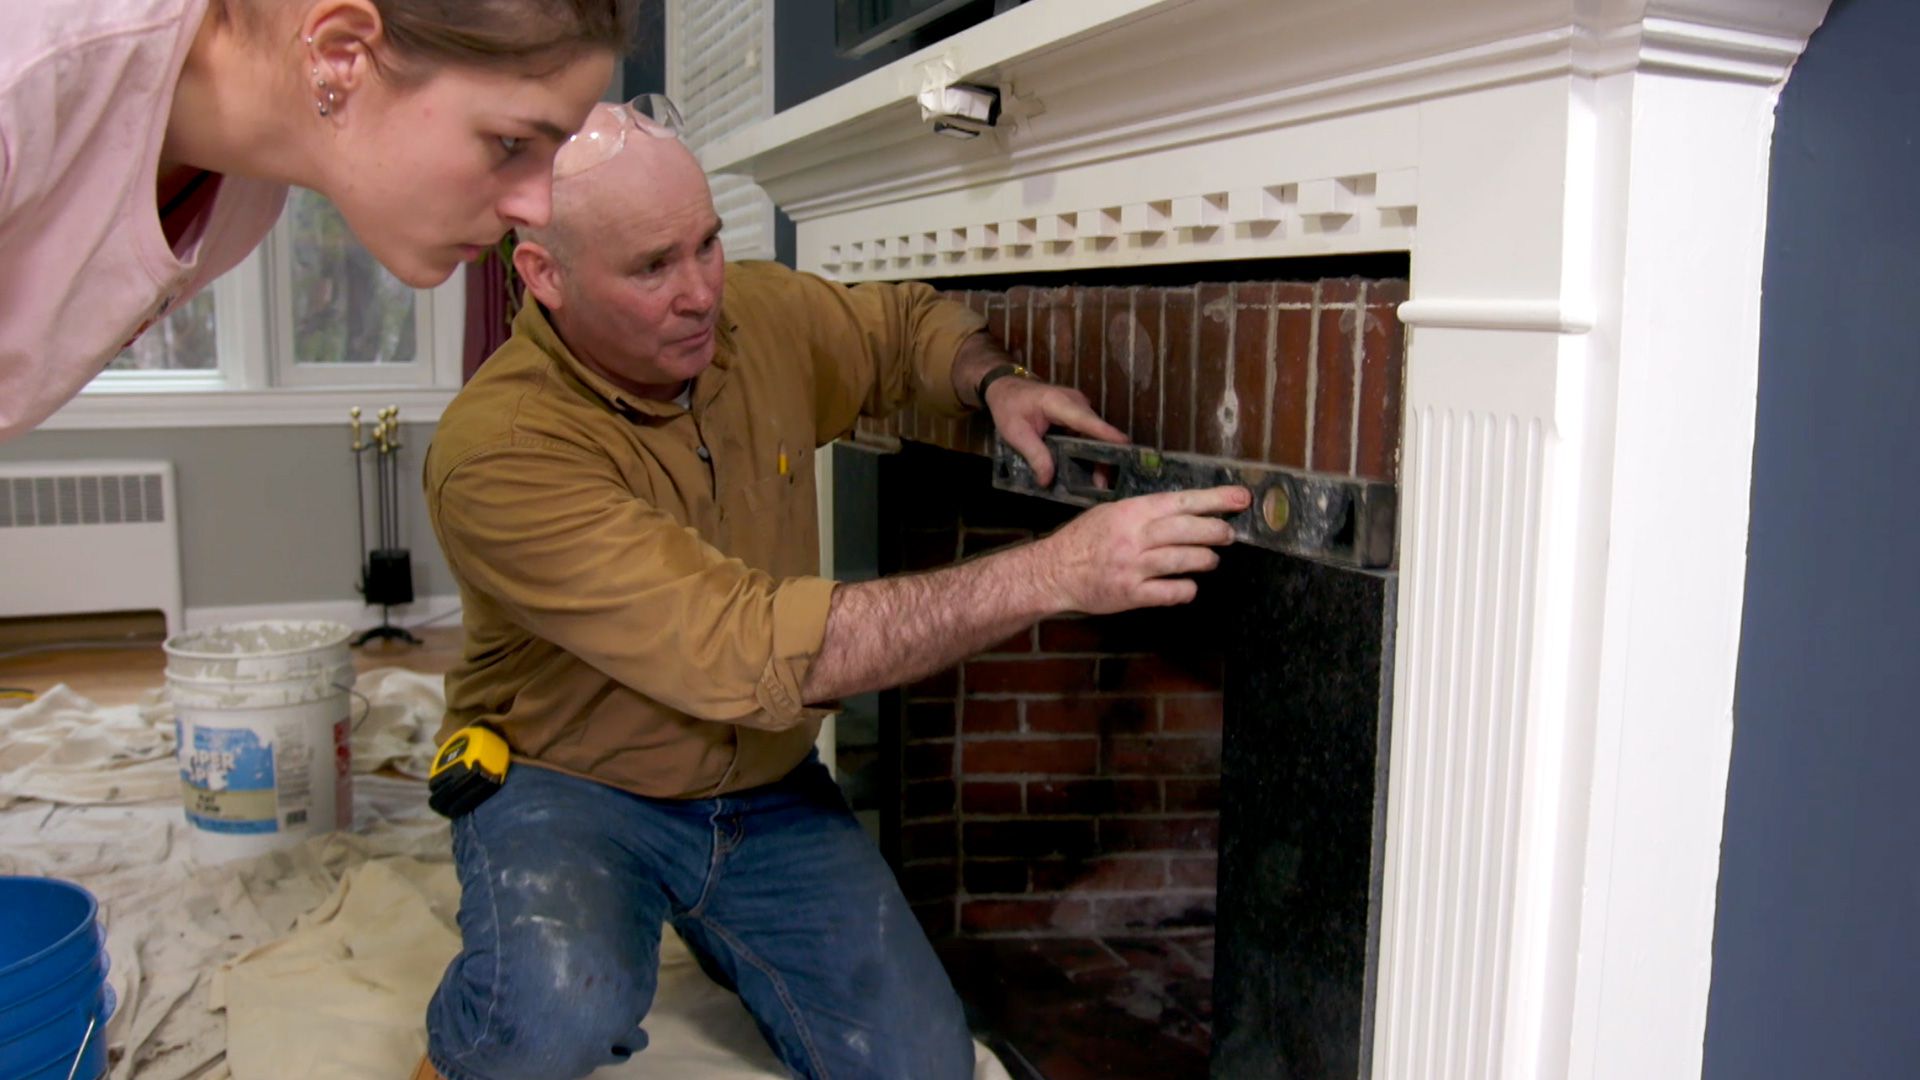
Check Alignment and Leveling: Periodically check the alignment and leveling of the tiles as you work, making any necessary adjustments to maintain a consistent and visually pleasing installation. Use a level to ensure that the tiles are straight and plumb, making adjustments as needed to achieve a professional finish.
Allow for Setting Time: Once all the tiles are in place, allow the adhesive to set according to the manufacturer’s recommended drying time. This critical step ensures that the tiles adhere securely to the brick wall, setting the stage for the final phase of the tiling process: grouting.
By carefully placing the tiles with precision and attention to detail, you can bring your vision for the transformed brick wall to life, creating a visually captivating and enduring enhancement to your space.
Grouting the Tiles
Grouting the tiles is a pivotal step that not only enhances the visual appeal of the tiled brick wall but also ensures the stability and longevity of the installation. Proper grouting techniques contribute to a polished and professional finish. Here’s how to effectively grout the tiles on the brick wall:
Select the Grout: Choose a high-quality grout that complements the chosen tiles and aligns with the desired aesthetic. Consider factors such as color, texture, and whether sanded or unsanded grout is most suitable for the tile joints.
Mix the Grout: Follow the manufacturer’s instructions to mix the grout to the appropriate consistency. Use a grout float to blend the grout mixture thoroughly, ensuring a smooth and lump-free texture that is ready for application.
Apply the Grout: Using the grout float, apply the grout to the tiled surface, working it into the joints at a 45-degree angle to ensure complete coverage. Work in small sections to prevent the grout from drying out before it can be properly smoothed and finished.
Remove Excess Grout: After applying the grout, use the edge of the grout float to remove excess grout from the surface of the tiles. Hold the float at a 90-degree angle and scrape diagonally across the tiles to remove the surplus grout while leaving the joints filled and level.
Clean the Tiles: Once the excess grout is removed, use a damp sponge to gently clean the surface of the tiles, being careful not to disturb the grout in the joints. Rinse the sponge frequently and continue to clean the tiles until they are free from grout residue.
Final Smoothing and Shaping: After the initial cleaning, use a grout finishing tool or a rounded stick to shape and smooth the grout lines, ensuring a uniform and professional appearance. Pay close attention to achieving consistent joint widths and a clean, polished finish.
Allow for Curing Time: After the grouting process is complete, allow the grout to cure for the recommended time specified by the manufacturer. This essential step ensures that the grout sets properly, providing a stable and durable finish for the tiled brick wall.
By diligently following best practices for grouting, you can elevate the visual impact of the tiled brick wall while ensuring a durable and long-lasting enhancement to your space.
Finishing Touches
As the tiling and grouting process nears completion, attention to the finishing touches is essential to ensure a polished and cohesive outcome. These final steps contribute to the overall visual impact and durability of the tiled brick wall, completing the transformation with finesse. Here’s how to add the finishing touches to your tiling project:
Seal the Grout: Once the grout has fully cured, consider applying a grout sealer to protect the grout from staining and moisture penetration. A quality grout sealer helps to prolong the life and appearance of the grout, ensuring that it remains clean and resistant to discoloration over time.
Inspect and Touch Up: Thoroughly inspect the tiled wall, paying close attention to the grout lines and the overall surface. Address any areas where the grout may be uneven or where the tiles may require additional cleaning or touch-up. Taking the time to refine the details ensures a flawless finish.
Apply Trim and Edging: Consider adding trim pieces or edging tiles to provide a polished and cohesive transition between the tiled wall and adjacent surfaces. Trim pieces can enhance the visual appeal of the installation while providing a clean and professional edge to the tiled area.
Clean and Polish: Once the grout sealer has fully cured, thoroughly clean the tiled surface to remove any remaining residue or marks. Use a suitable tile cleaner and a soft cloth to gently polish the tiles, ensuring that they are free from any grout haze or smudges for a pristine finish.
Enjoy and Maintain: Step back and admire the stunning transformation of the brick wall. Take pride in the visual impact and enhanced ambiance created by the tiled surface. To maintain the beauty and longevity of the installation, follow the recommended maintenance guidelines for the specific type of tiles and grout used.
By attending to the finishing touches with care and precision, you can elevate the visual impact and durability of the tiled brick wall, creating a striking and enduring enhancement to your space that will be enjoyed for years to come.
Frequently Asked Questions about How To Tile Over A Brick Wall
Was this page helpful?
At Storables.com, we guarantee accurate and reliable information. Our content, validated by Expert Board Contributors, is crafted following stringent Editorial Policies. We're committed to providing you with well-researched, expert-backed insights for all your informational needs.


0 thoughts on “How To Tile Over A Brick Wall”