Home>Kitchen & Cooking>Kitchen Gadgets & Utensils>How To Make Bread In A Stand Mixer

Kitchen Gadgets & Utensils
How To Make Bread In A Stand Mixer
Modified: February 28, 2024
Learn how to make bread in a stand mixer with our easy-to-follow guide. Discover the best kitchen gadgets and utensils for baking delicious homemade bread. Elevate your baking game today!
(Many of the links in this article redirect to a specific reviewed product. Your purchase of these products through affiliate links helps to generate commission for Storables.com, at no extra cost. Learn more)
Introduction
Read more: How To Make Cookies Without A Mixer
Introduction
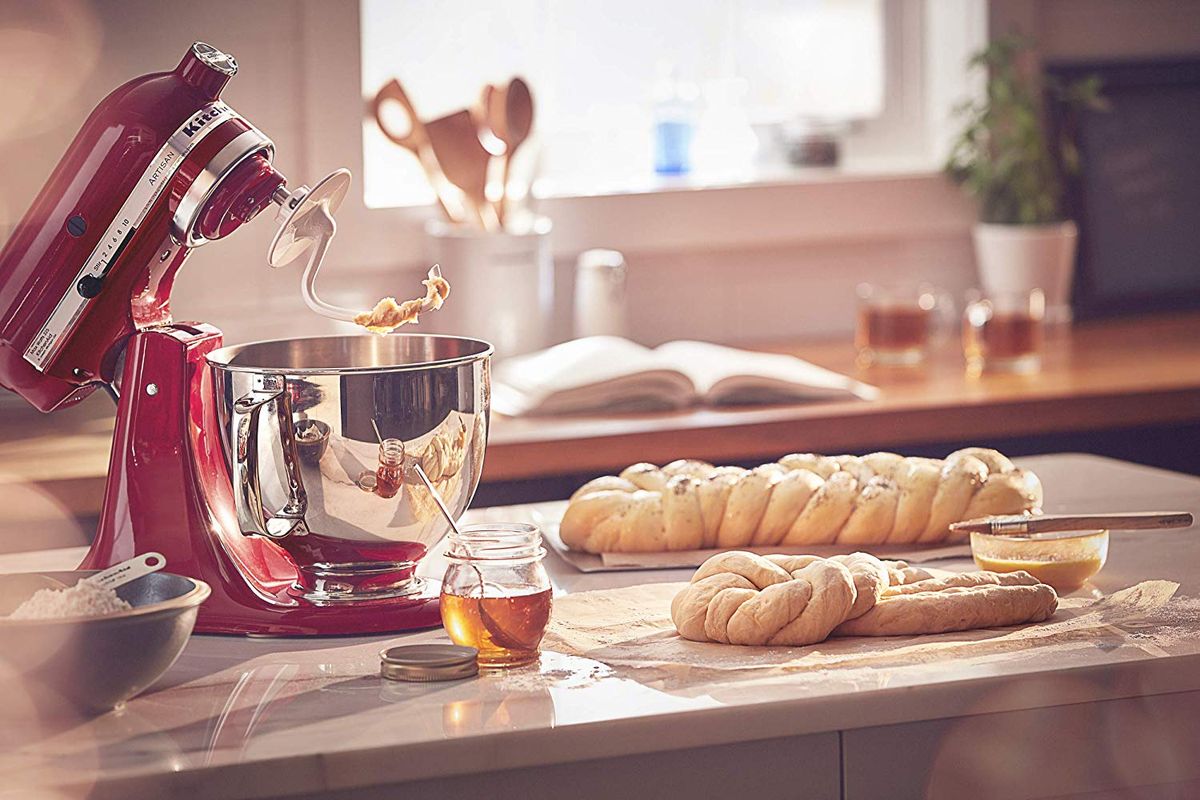
Are you a bread enthusiast who loves the aroma of freshly baked loaves wafting through your kitchen? If so, you're in for a treat! Making bread in a stand mixer is a delightful and rewarding process that yields delectable results. Whether you're a seasoned baker or a novice in the kitchen, this method offers a convenient and efficient way to create homemade bread with minimal effort. Let's embark on a culinary journey to discover the art of crafting mouthwatering loaves using a stand mixer.
Baking bread is not only a culinary endeavor but also a therapeutic and gratifying experience. The tactile sensation of kneading dough and witnessing it transform into a golden-brown masterpiece is truly gratifying. With the aid of a stand mixer, the process becomes even more seamless, allowing you to achieve professional-quality results in the comfort of your own home.
Throughout this guide, we'll explore the essential ingredients, equipment, and step-by-step instructions for creating delectable bread in a stand mixer. Whether you crave the rustic charm of a crusty artisan loaf or the soft, pillowy texture of sandwich bread, this versatile method can accommodate a wide range of bread varieties. So, roll up your sleeves, dust off your stand mixer, and let's embark on a delightful baking adventure together.
Ingredients
Key Takeaways:
- Embrace the Joy of Bread-Making with a Stand Mixer
Crafting homemade bread with a stand mixer is a delightful and rewarding experience that transcends mere culinary endeavor. It fosters a deep connection to tradition and nourishes both body and spirit. - Transform Simple Ingredients into Delightful Creations
Witness the miraculous transformation of humble ingredients into resilient, golden-brown masterpieces that captivate the senses and create cherished moments. The act of bread-making becomes a celebration of tradition, creativity, and culinary bliss.
Ingredients
Before delving into the joy of mixing and kneading, it’s crucial to gather the essential ingredients for your homemade bread. The beauty of bread-making lies in its simplicity, as it requires just a handful of basic components that harmonize to create a sumptuous treat. Here are the fundamental ingredients you’ll need:
- Flour: The cornerstone of any bread recipe, flour provides the structure and texture of the loaf. Opt for high-quality all-purpose or bread flour for optimal results.
- Yeast: This magical microorganism is responsible for leavening the dough, causing it to rise and develop a light, airy crumb. Active dry yeast or instant yeast are popular choices for bread-making.
- Water: A fundamental element in bread-making, water hydrates the flour and activates the yeast, facilitating the fermentation process that gives bread its characteristic flavor and texture.
- Salt: While often overlooked, salt plays a crucial role in enhancing the flavor of bread. It also regulates the fermentation process and strengthens the dough.
- Sugar or Honey (optional): Adding a touch of sweetness can enhance the flavor and promote yeast activity, resulting in a beautifully risen loaf with a hint of sweetness.
- Oil or Butter: These enriching ingredients contribute to the tenderness and flavor of the bread, creating a delightful mouthfeel and enriching the overall sensory experience.
These basic ingredients serve as the building blocks for a wide array of bread varieties, from classic baguettes to savory herb-infused loaves. Additionally, feel free to incorporate specialty ingredients such as seeds, nuts, herbs, and spices to infuse your bread with unique flavors and textures. With these fundamental components at your disposal, you’re well-equipped to embark on your bread-making journey with a stand mixer as your trusted ally.
Equipment
Read more: What To Make In A Stand Mixer
Equipment
Equipping yourself with the right tools is essential for a seamless and enjoyable bread-making experience. When it comes to utilizing a stand mixer for bread preparation, a few key pieces of equipment will elevate your baking endeavors to new heights. Here’s what you’ll need:
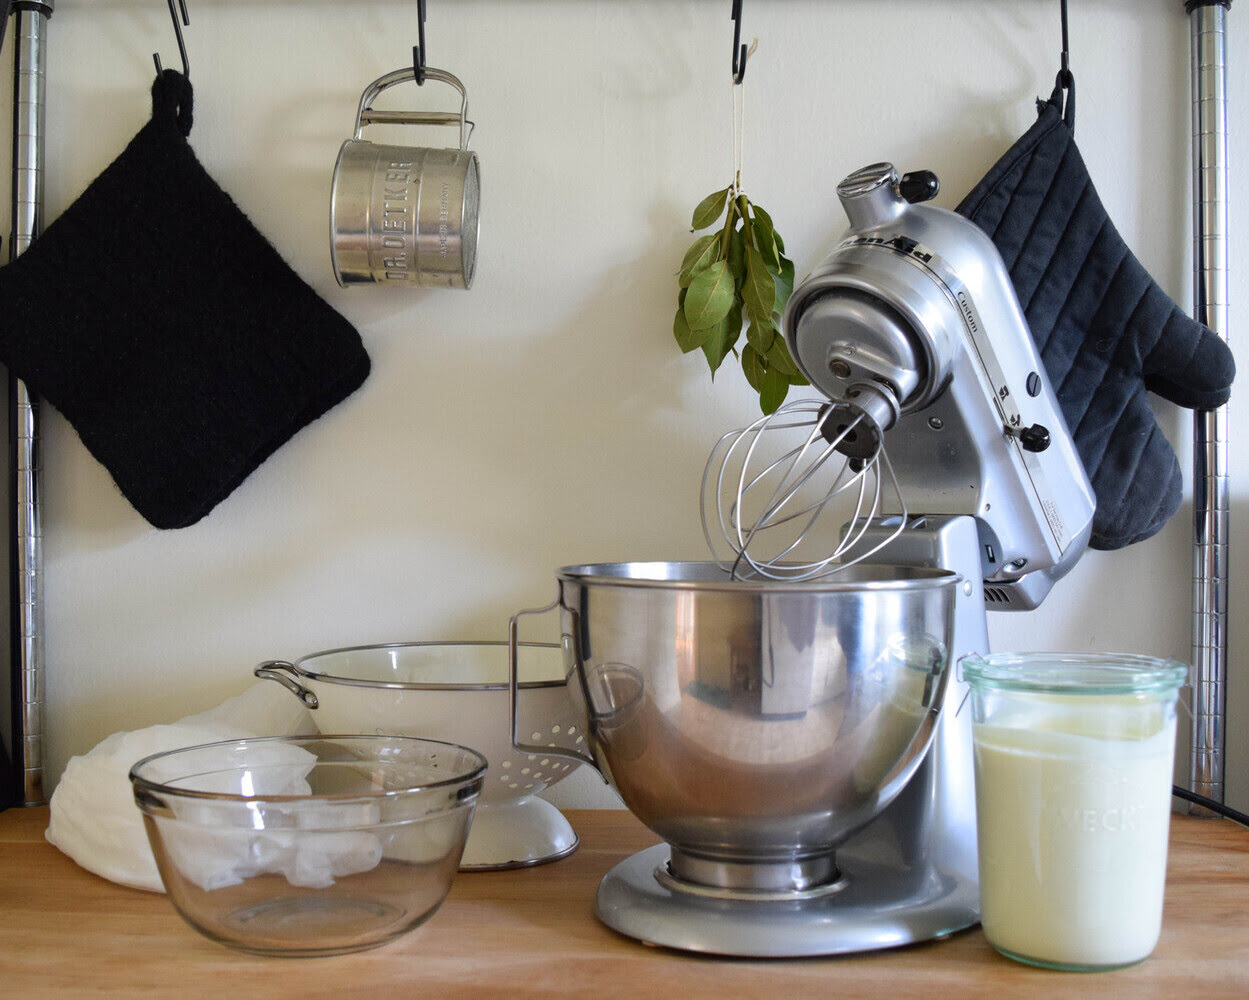
- Stand Mixer: A reliable stand mixer serves as the heart of your bread-making operation. Choose a model with a sturdy dough hook attachment to effortlessly knead and mix your bread dough to perfection.
- Mixing Bowl: Opt for a spacious, durable mixing bowl that accommodates the volume of dough you intend to prepare. Stainless steel or glass bowls are popular choices for their ease of cleaning and durability.
- Dough Scraper: This simple yet indispensable tool allows you to effortlessly manipulate and portion your dough, ensuring a smooth and efficient bread-making process.
- Bench Knife: Also known as a bench scraper, this versatile tool aids in dividing and shaping the dough, making it an invaluable asset for crafting beautifully formed loaves.
- Baking Pans or Baskets: Depending on the type of bread you’re creating, you’ll need suitable baking pans or proofing baskets to shape and bake your loaves. From traditional loaf pans to artisanal bread baskets, the right vessel contributes to the visual appeal of your finished bread.
- Oven: While not directly related to the stand mixer, a reliable oven is crucial for baking your bread to golden perfection. Ensure your oven is preheated to the appropriate temperature before placing your loaves inside.
These essential pieces of equipment, combined with your passion for bread-making, will set the stage for a delightful and rewarding baking experience. With the right tools at your disposal, you’re ready to dive into the art of creating delectable bread using a stand mixer as your trusted culinary companion.
Instructions
Instructions
Embarking on the journey of crafting homemade bread with a stand mixer is an exhilarating and fulfilling endeavor. To guide you through this delightful process, here are the step-by-step instructions for creating delectable loaves that will tantalize your senses and impress your loved ones:
- Prepare the Yeast Mixture: In a small bowl, combine warm water, yeast, and a pinch of sugar. Allow the mixture to rest for a few minutes until it becomes frothy, indicating that the yeast is active and ready to leaven your dough.
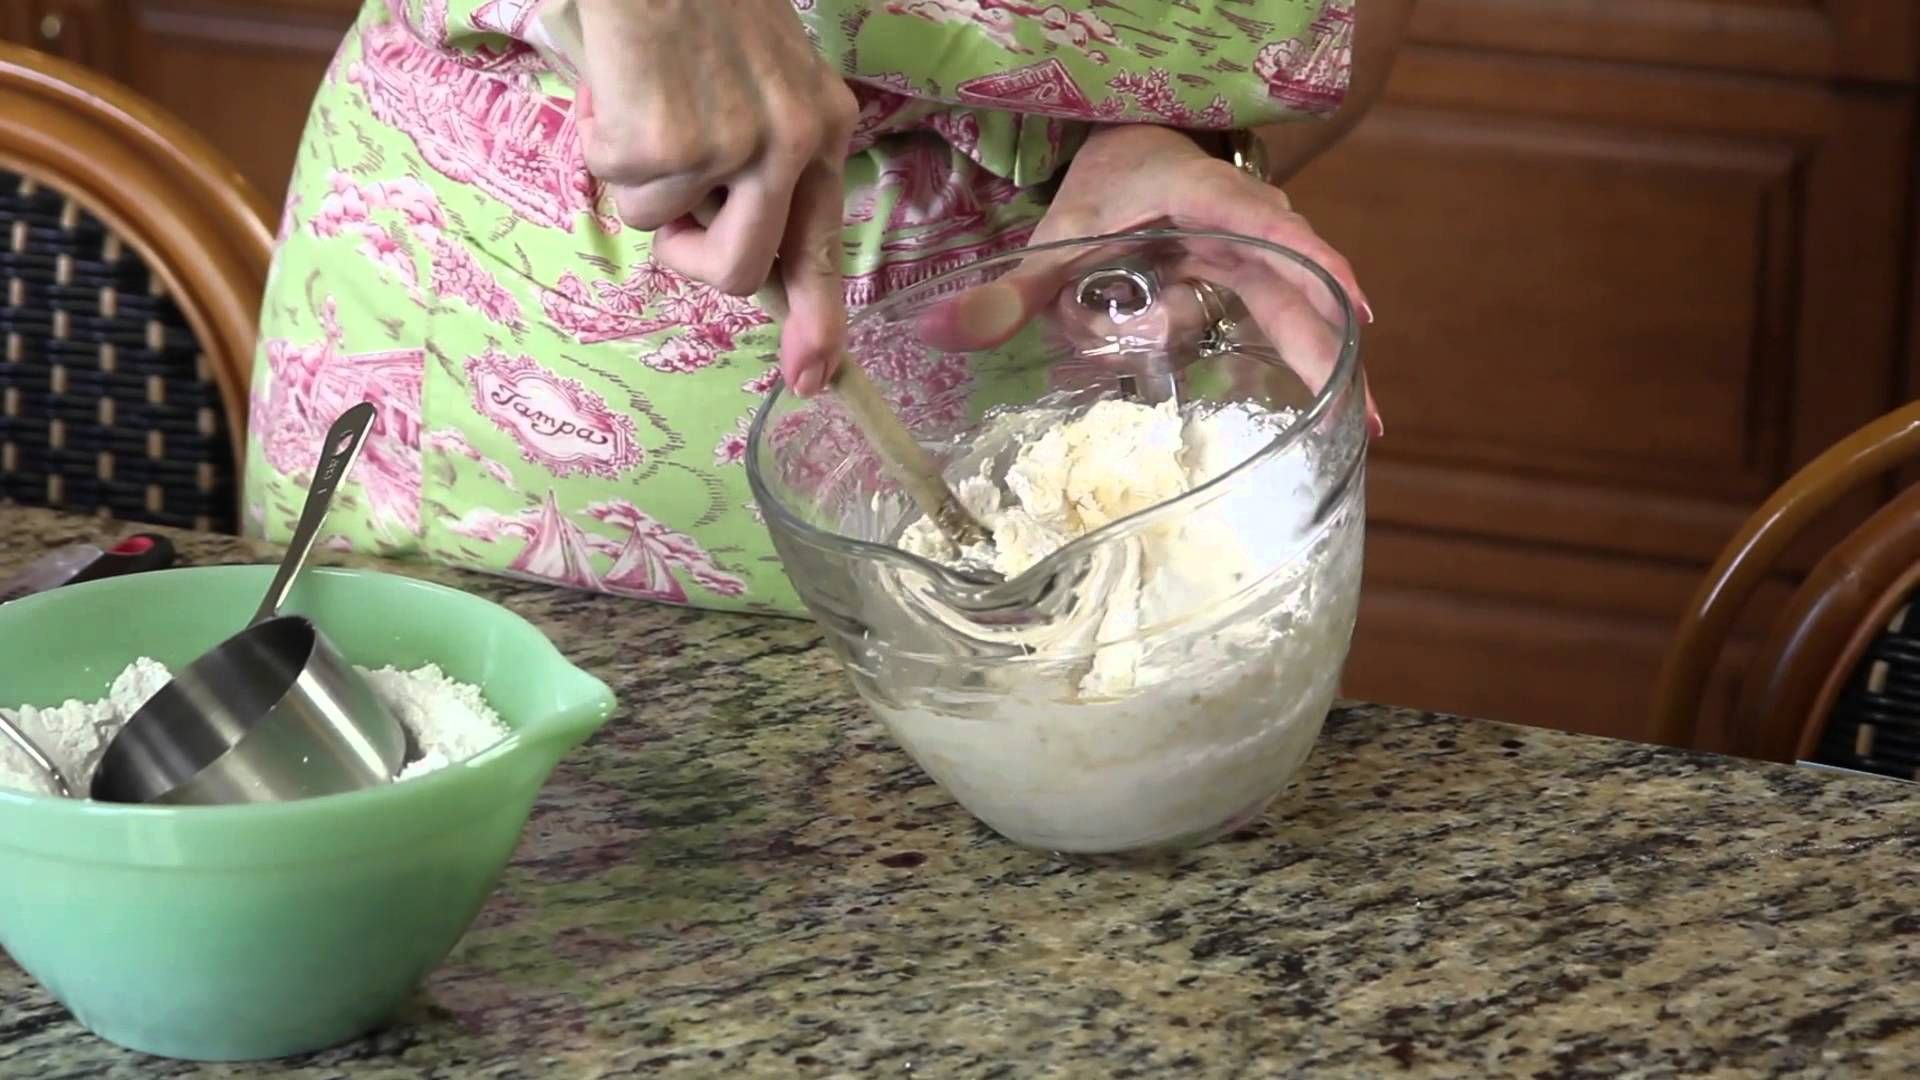
- Combine the Ingredients: In the mixing bowl of your stand mixer, add the flour, salt, and any additional dry ingredients, such as herbs or spices, if desired. Attach the dough hook to the mixer and begin mixing the dry ingredients on low speed.
- Add the Wet Ingredients: Once the dry ingredients are combined, pour in the yeast mixture and any liquid sweeteners, oil, or butter. Continue mixing the dough on low speed until a shaggy mass forms.
- Kneading the Dough: Increase the mixer speed to knead the dough, allowing the stand mixer to work its magic in developing the gluten and creating a smooth, elastic dough. Knead the dough until it becomes supple and springs back when gently pressed with your finger.
- Let the Dough Rise: Transfer the kneaded dough to a lightly greased bowl, cover it with a clean kitchen towel, and place it in a warm, draft-free area to rise. Allow the dough to double in size, which typically takes about an hour, depending on the ambient temperature.
- Shaping the Dough: After the dough has risen, gently deflate it by pressing down on it. Shape the dough into the desired form, whether it’s a traditional loaf, round boule, or intricate braided design, and place it in a prepared baking pan or proofing basket.
- Baking the Bread: Preheat your oven to the specified temperature for your bread recipe. Once the oven is ready, bake the bread until it achieves a golden-brown crust and emits a tantalizing aroma, signaling its readiness to be enjoyed.
Following these meticulous instructions will lead you to the glorious moment of unveiling a freshly baked loaf, brimming with warmth and irresistible fragrance. With your stand mixer as a steadfast ally, each step becomes a delightful and rewarding chapter in your bread-making saga.
Kneading the Dough
Kneading the Dough
Kneading the dough is a pivotal stage in bread-making, as it initiates the development of gluten, a crucial protein that provides structure and elasticity to the bread. When using a stand mixer, this process becomes remarkably convenient and efficient, allowing you to achieve beautifully kneaded dough with minimal physical effort. Here’s a closer look at the art of kneading dough with a stand mixer:
Once the initial mixing of the dough ingredients is complete, it’s time to let the stand mixer work its magic. With the dough hook securely attached, set the mixer to a moderate speed and allow it to knead the dough to perfection. As the hook rotates, it stretches and folds the dough, facilitating the formation of gluten strands that give the bread its characteristic texture and crumb structure.
It’s essential to monitor the dough as it kneads, ensuring that it reaches the desired consistency. The dough should gradually transform from a rough, shaggy mass into a smooth, supple ball that springs back when gently pressed. This indicates that the gluten has been sufficiently developed, and the dough is ready to undergo the fermentation and proofing stages.
While the stand mixer adeptly handles the kneading process, it’s important to exercise patience and refrain from rushing this crucial step. The duration of kneading may vary depending on the type of bread being prepared and the specific recipe instructions. Whether crafting a rustic sourdough boule or a soft, pillowy brioche, allowing the stand mixer to knead the dough to the appropriate consistency is paramount to achieving exceptional results.
As the mixer rhythmically kneads the dough, take a moment to appreciate the mesmerizing transformation taking place before your eyes. Witnessing the gradual metamorphosis of humble ingredients into a cohesive, resilient dough is a testament to the artistry and science of bread-making. With the stand mixer as your steadfast ally, the laborious task of kneading becomes a hands-free and gratifying experience, setting the stage for a delectable loaf that awaits its moment to shine in the oven.
Letting the Dough Rise
Letting the Dough Rise
Allowing the dough to rise is a transformative phase in the bread-making process, where the yeast diligently works its magic, causing the dough to swell and develop a light, airy texture. This crucial step is essential for achieving the desired volume and structure in your bread. Here’s a closer look at the art of letting the dough rise to perfection:
Once the dough has been kneaded to the ideal consistency, it’s time to transfer it to a clean, lightly greased bowl for its first rise. Cover the bowl with a clean kitchen towel or plastic wrap to create a cozy environment for the dough to ferment and expand. Placing the bowl in a warm, draft-free area is crucial for facilitating the fermentation process, allowing the yeast to thrive and impart its characteristic flavor to the dough.
The duration of the first rise may vary depending on the ambient temperature and the specific bread recipe. In general, the dough should be left to rise until it doubles in size, indicating that the yeast has diligently leavened the dough and imparted its delightful aroma and flavor. On average, this initial rise typically takes about an hour, but it’s important to rely on visual cues rather than strictly adhering to a predetermined timeframe.
During this period, take a moment to appreciate the miraculous transformation taking place within the bowl. The dough, once a modest amalgamation of flour, water, and yeast, now swells and pulses with life, brimming with the promise of a delightful loaf that awaits its moment to shine. The act of letting the dough rise is a testament to the patience and artistry inherent in bread-making, as nature’s alchemy unfolds within the confines of your kitchen.
While the dough undergoes its metamorphosis, you’re free to engage in other activities, savoring the anticipation of the delightful bread that will soon emerge from your oven. As the dough rises, it’s as though it beckons you to revel in the joy of creation, reminding you that the most wondrous things often require time, patience, and a touch of nurturing care.
With the stand mixer having deftly kneaded the dough to perfection, the act of letting it rise serves as the next captivating chapter in your bread-making odyssey, infusing your home with the tantalizing aroma of impending culinary delight.
Shaping the Dough
Read more: How To Make Butter In Kitchenaid Mixer
Shaping the Dough
As the dough completes its initial rise and swells with the promise of a delightful loaf, the time has come to embark on the artful process of shaping it into the desired form. Whether crafting a traditional loaf, an intricately braided masterpiece, or a rustic round boule, the act of shaping the dough is a captivating and rewarding endeavor. Here’s a closer look at the art of shaping bread dough:
Upon gently deflating the risen dough, transfer it to a clean, lightly floured surface, ready to be transformed into a visually appealing and delectable masterpiece. The act of shaping the dough not only determines its final form but also contributes to the texture and visual allure of the finished bread.
When shaping the dough, it’s essential to handle it gently, preserving the delicate network of air bubbles that have developed during the fermentation process. Whether you opt for a classic loaf shape, an intricately braided design, or a rustic artisanal boule, the key is to coax the dough into a taut, smooth surface while ensuring an even distribution of air bubbles for a light, airy crumb.
For a traditional loaf shape, gently pat the dough into a rectangle, then fold the top third towards the center and press the seam to seal. Fold the bottom third towards the center and seal the seam, creating a neat package ready to be placed in a prepared loaf pan. Alternatively, for a round boule, gently tuck the edges of the dough underneath, rotating it as you go to create surface tension, resulting in a smooth, taut top surface.
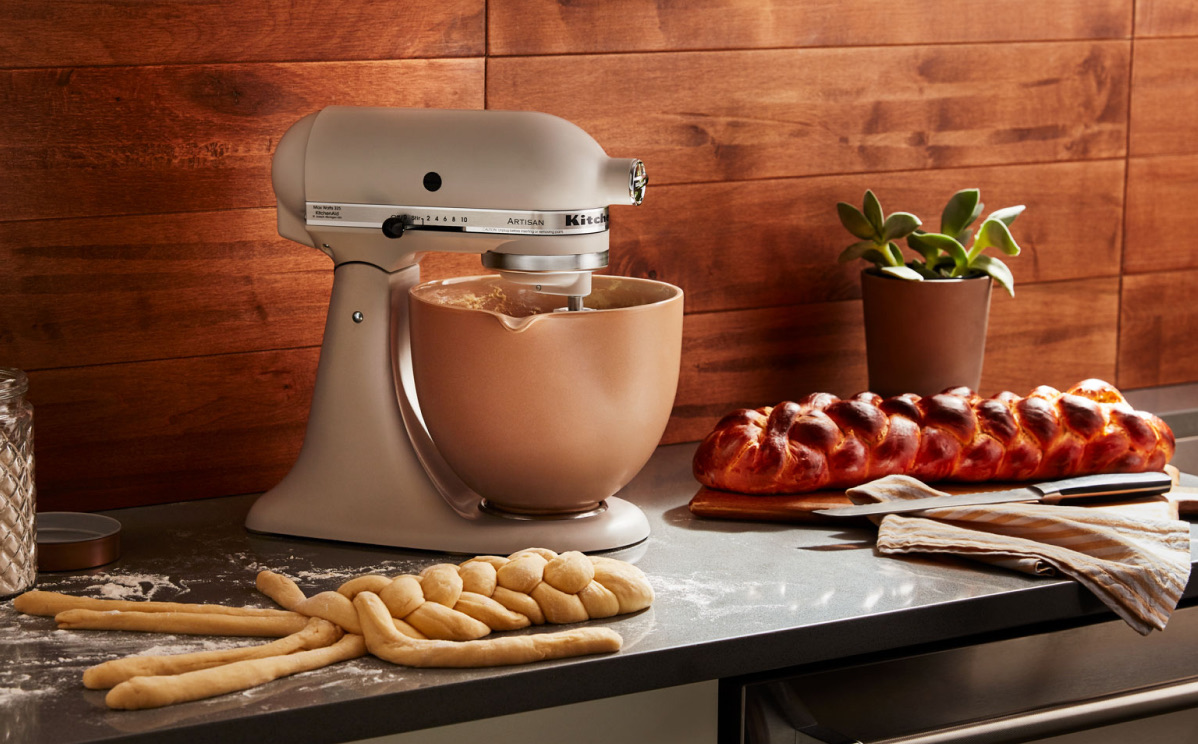
If you’re feeling adventurous, explore the art of braiding dough to create intricate patterns that not only captivate the eye but also offer a delightful textural experience. Whether crafting a classic three-strand braid or experimenting with more elaborate designs, the act of shaping the dough becomes an artistic expression of your creativity and passion for bread-making.
As you deftly shape the dough, take a moment to appreciate the tactile sensation and the artistry of the process. The pliability of the dough and its willingness to be molded into a myriad of forms serve as a testament to the versatility and boundless potential inherent in the humble ingredients.
With the dough now elegantly shaped and ready to undergo its final transformation in the oven, the act of shaping becomes a captivating and fulfilling chapter in your bread-making saga, setting the stage for the delightful aroma of freshly baked bread that will soon grace your kitchen.
Baking the Bread
Baking the Bread
With the dough expertly shaped and brimming with potential, the time has arrived to embark on the culminating stage of the bread-making journey: the transformative act of baking. As the oven preheats and the kitchen becomes suffused with the tantalizing aroma of impending culinary delight, the anticipation of unveiling a freshly baked loaf reaches its zenith. Here’s a closer look at the art of baking bread to golden perfection:
Preheat your oven to the specified temperature for your bread recipe, ensuring that it reaches an optimal heat level to facilitate the formation of a golden-brown crust and a light, airy crumb within the loaf. The act of baking is a harmonious symphony of heat and chemistry, where the dough undergoes its final metamorphosis, emerging as a sumptuous creation that beckons to be savored.
Before placing the dough in the oven, take a moment to appreciate its visual transformation. The once pliant and yielding mass has now become taut and resilient, brimming with the promise of a delightful loaf that awaits its moment to shine. Whether it’s a classic sandwich bread, a rustic artisan boule, or an intricately braided masterpiece, each creation embodies the artistry and passion that infuses the act of bread-making.
Once the oven reaches the specified temperature, carefully place the shaped dough inside, allowing it to undergo its final metamorphosis. As the heat envelops the dough, the yeast diligently works its magic, causing the loaf to expand and develop a golden-brown crust that exudes a tantalizing aroma, signaling its readiness to be enjoyed.
During the baking process, the kitchen becomes a sanctuary of warmth and anticipation, suffused with the delightful aroma of freshly baked bread that evokes a sense of comfort and culinary bliss. As the minutes pass, the transformative alchemy of heat and time unfolds within the confines of your oven, culminating in the creation of a sumptuous loaf that embodies the essence of artisanal craftsmanship.
With each passing moment, the tantalizing aroma grows more pronounced, offering a preview of the delightful sensory experience that awaits. The act of baking becomes a testament to the patience and artistry inherent in bread-making, culminating in the creation of a golden-brown masterpiece that beckons to be savored and shared.
As the timer chimes and the oven door opens, a symphony of warmth and aroma fills the air, heralding the glorious moment of unveiling a freshly baked loaf, brimming with warmth and irresistible fragrance. The act of baking becomes a captivating and fulfilling chapter in your bread-making saga, setting the stage for the delightful aroma of freshly baked bread that will soon grace your kitchen.
Conclusion
Read more: How To Make Bread Without A Mixer
Conclusion
As the delightful aroma of freshly baked bread wafts through your kitchen, the culmination of your bread-making journey becomes a testament to the artistry and passion that infuses the act of creating homemade loaves using a stand mixer. From the humble amalgamation of flour, water, yeast, and salt emerges a sumptuous creation that captivates the senses and nourishes the soul. The act of crafting bread with a stand mixer transcends mere culinary endeavor; it becomes a transformative and gratifying experience that fosters a deep connection to the timeless tradition of bread-making.
Throughout this delightful journey, you’ve witnessed the humble ingredients undergo a miraculous metamorphosis, evolving from a modest amalgamation into a resilient, golden-brown masterpiece that beckons to be savored and shared. The tactile sensation of kneading dough, the anticipation of letting it rise, and the artful act of shaping and baking have woven together to form a rich tapestry of sensory delight and culinary artistry.
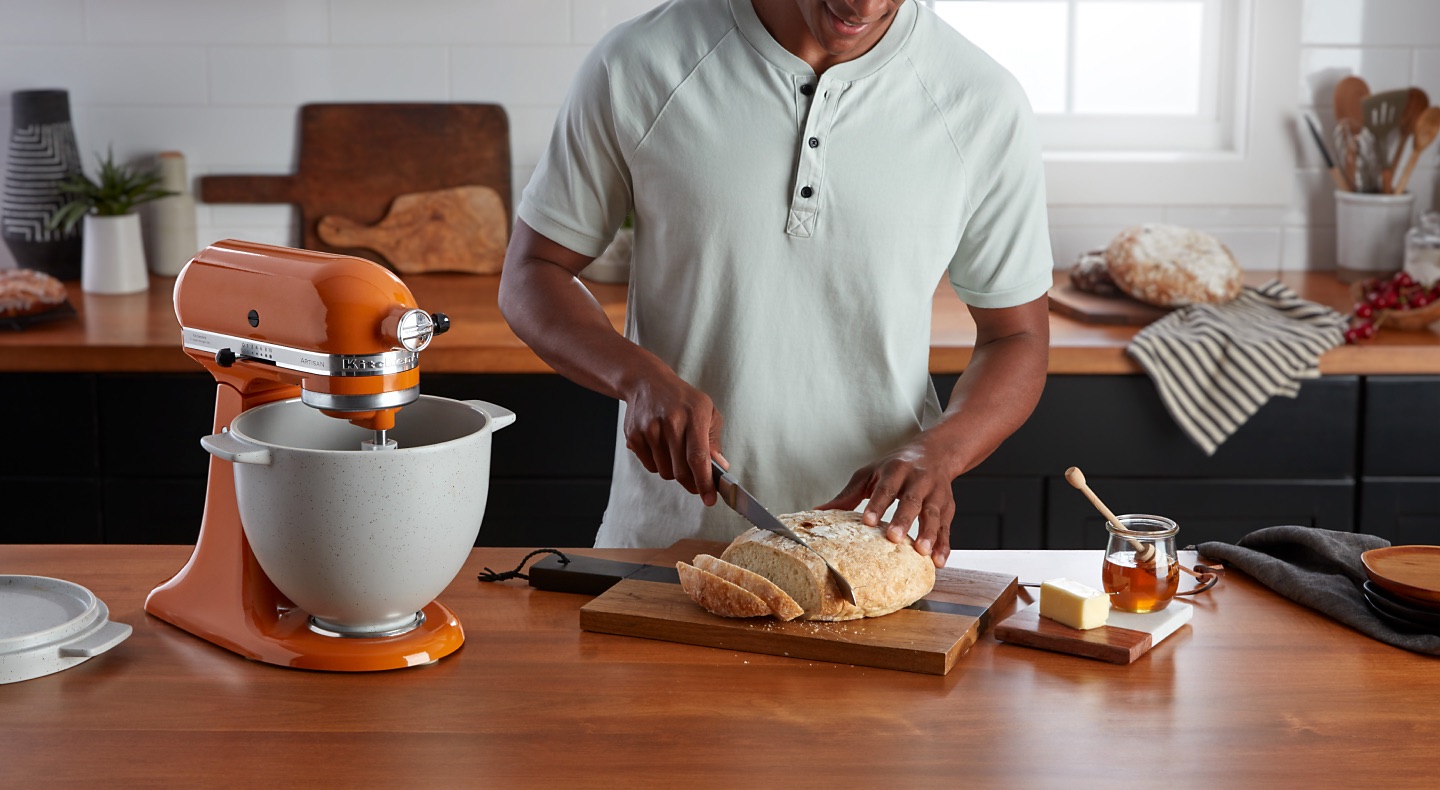
As you savor the first warm slice of freshly baked bread, adorned with a pat of butter or a drizzle of honey, take a moment to revel in the joy of creation. The act of bread-making transcends the mere preparation of sustenance; it becomes a celebration of tradition, creativity, and the timeless art of nourishing both body and spirit.
With each delightful loaf that emerges from your oven, you not only partake in a time-honored tradition but also contribute to the creation of cherished moments and enduring memories. Whether it’s the comforting aroma that fills your home or the shared delight of breaking bread with loved ones, the act of bread-making becomes a conduit for warmth, connection, and culinary bliss.
As the last crumbs are savored and the kitchen is suffused with the lingering aroma of freshly baked bread, take pride in the artful creations that have graced your table. The act of bread-making with a stand mixer becomes a testament to your creativity, patience, and unwavering passion for the culinary arts.
So, as you embark on future bread-making endeavors, may each loaf crafted with your stand mixer serve as a delightful reminder of the joy, artistry, and timeless tradition that infuses the act of creating homemade bread, enriching your home and nourishing both body and soul.
Frequently Asked Questions about How To Make Bread In A Stand Mixer
Was this page helpful?
At Storables.com, we guarantee accurate and reliable information. Our content, validated by Expert Board Contributors, is crafted following stringent Editorial Policies. We're committed to providing you with well-researched, expert-backed insights for all your informational needs.

0 thoughts on “How To Make Bread In A Stand Mixer”