Home>Renovation & DIY>Home Renovation Guides>How To Replace Drywall For Kitchen Backsplash

Home Renovation Guides
How To Replace Drywall For Kitchen Backsplash
Modified: February 18, 2024
Learn how to replace drywall for your kitchen backsplash with our comprehensive home renovation guide. Get expert tips and step-by-step instructions for a successful DIY project.
(Many of the links in this article redirect to a specific reviewed product. Your purchase of these products through affiliate links helps to generate commission for Storables.com, at no extra cost. Learn more)
Introduction
Renovating your kitchen can breathe new life into the heart of your home. One of the key elements of a kitchen renovation is the backsplash, which not only serves a functional purpose but also adds a touch of style and personality to the space. When it comes to replacing the drywall for your kitchen backsplash, it's essential to approach the task with precision and care to ensure a seamless and professional finish.
Whether you're upgrading your kitchen's aesthetic appeal or addressing damage to the existing drywall, this comprehensive guide will walk you through the step-by-step process of replacing the drywall for your kitchen backsplash. From removing the old drywall to applying the finishing touches, you'll gain valuable insights and practical tips to tackle this project with confidence.
By following the detailed instructions and expert recommendations provided in this guide, you'll be equipped to transform your kitchen backsplash with a fresh and flawless drywall installation. Let's embark on this journey to revitalize your kitchen space and unleash your creativity as you bring your vision to life.
Key Takeaways:
- Transform your kitchen with a new backsplash by following precise steps to replace the drywall. From removing old tiles to painting, infuse your personal style and creativity into the heart of your home.
- Achieve a flawless and professional finish for your kitchen backsplash by meticulously measuring, cutting, installing, and painting the new drywall. Embrace the transformative power of creativity and craftsmanship in home renovation.
Read more: How To Replace A Kitchen Backsplash
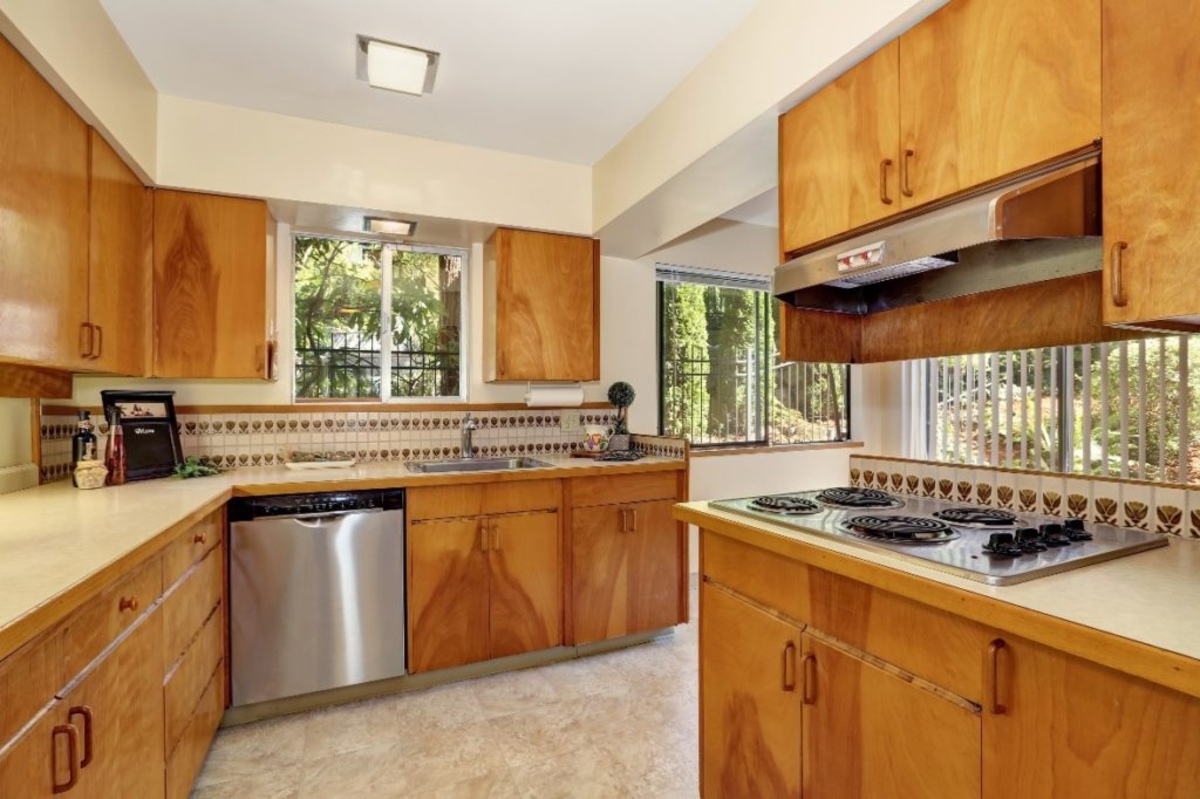
Step 1: Remove the Existing Backsplash
Before embarking on the installation of new drywall for your kitchen backsplash, it's crucial to start with a clean slate by removing the existing backsplash. This process requires careful attention to avoid damaging the surrounding areas and to ensure a smooth transition to the next steps of the renovation.
Tools and Materials
- Utility knife
- Putty knife
- Pry bar
- Safety goggles
- Dust mask
- Drop cloth
Procedure
-
Prepare the Workspace: Lay a drop cloth over the countertop and floor to protect them from debris and dust. Additionally, ensure proper ventilation in the kitchen by opening windows and using a fan if available.
-
Disconnect Utilities: If your existing backsplash includes electrical outlets or switches, turn off the power at the circuit breaker and remove the cover plates. Use a voltage tester to confirm that the power is off before proceeding.
-
Score the Grout: Use a utility knife to carefully score the grout lines around the tiles. This step helps to loosen the tiles and facilitates their removal without causing damage to the surrounding drywall.
-
Remove the Tiles: With the grout scored, gently pry the tiles off the wall using a putty knife and a pry bar if necessary. Work methodically to avoid excessive force that could damage the underlying drywall.
-
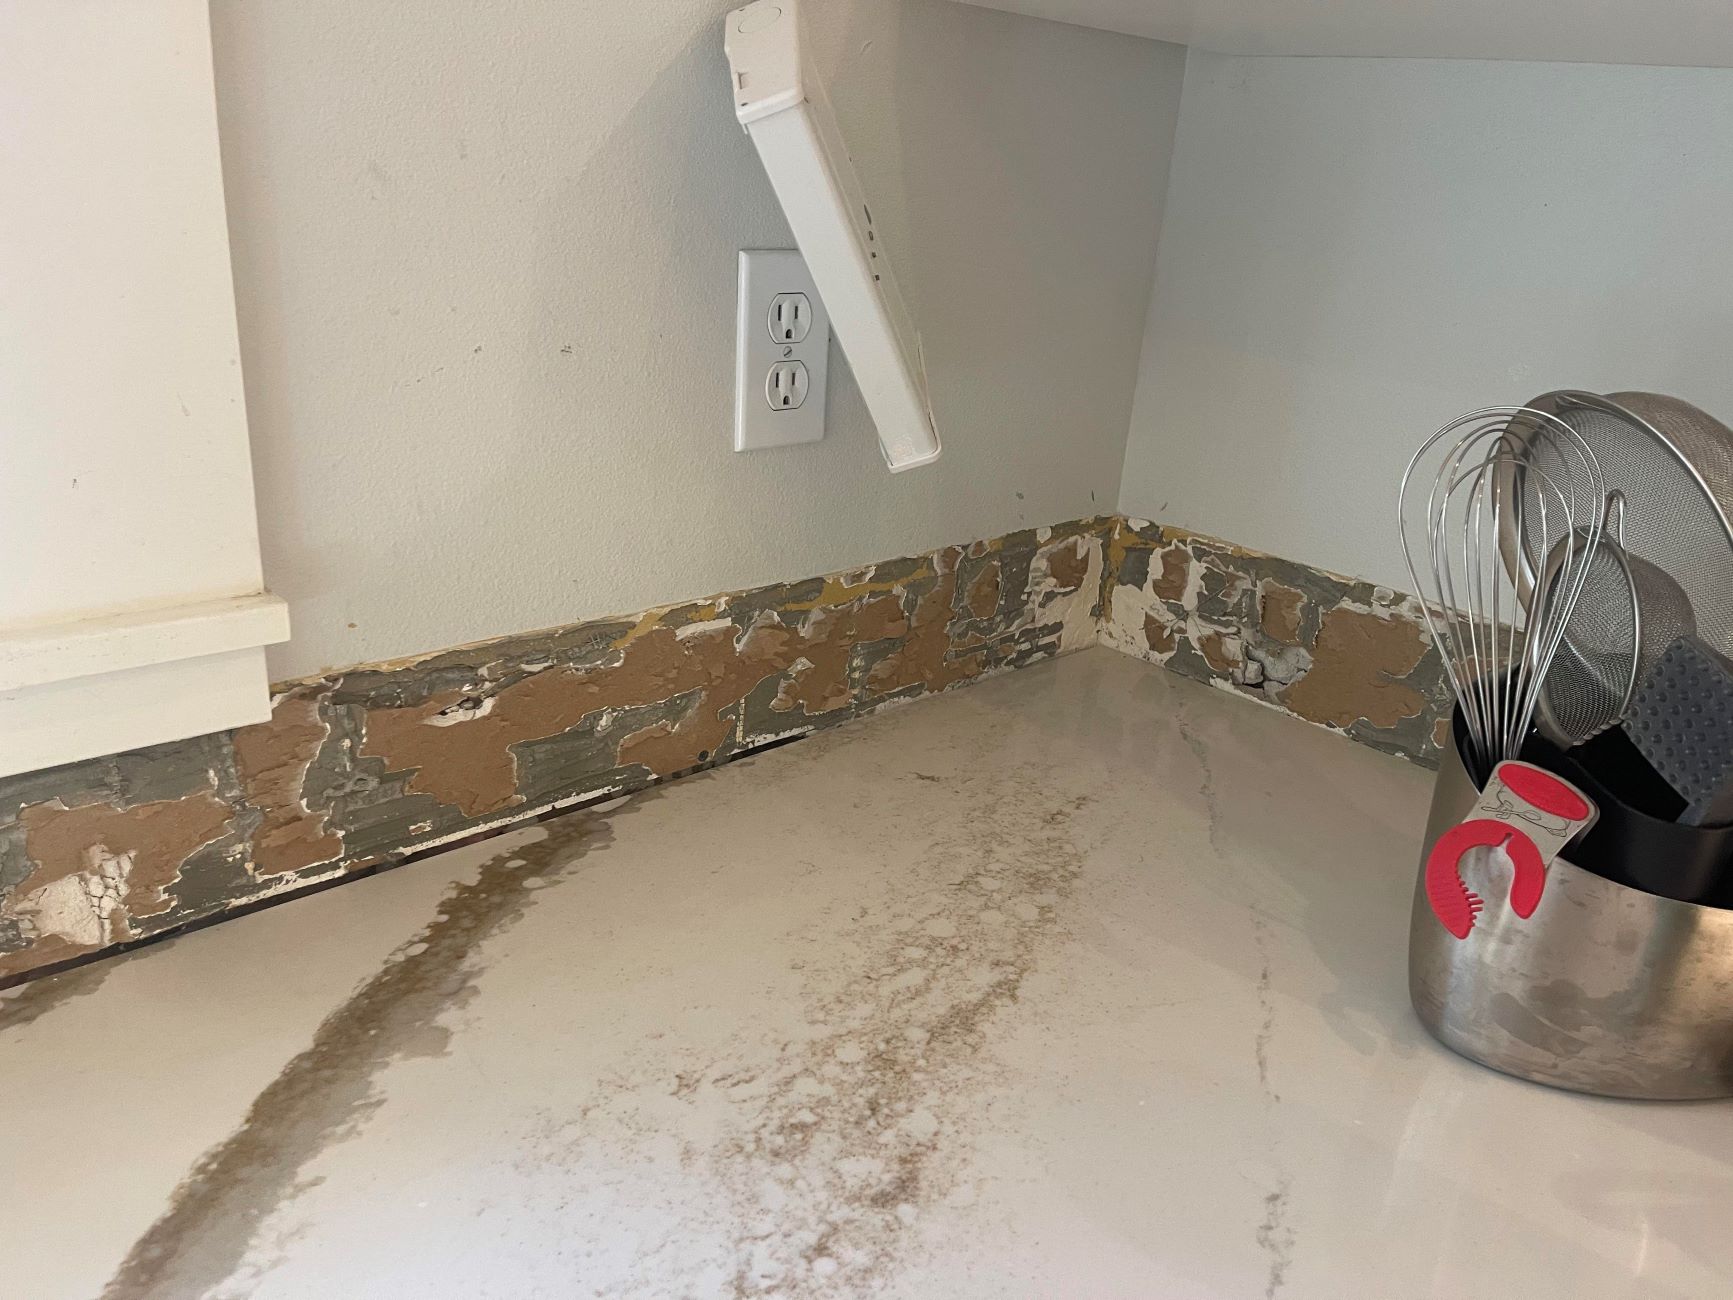
Clear the Area: Once the tiles are removed, use a putty knife to scrape away any remaining adhesive or grout from the wall. Take care not to gouge or damage the drywall surface.
-
Inspect the Substrate: After clearing the area, inspect the exposed drywall for any signs of damage or deterioration. Address any issues before proceeding with the installation of the new drywall.
By meticulously following these steps to remove the existing backsplash, you'll set the stage for a successful transition to the next phase of the renovation. With the old backsplash removed and the workspace prepared, you're ready to move on to the next step of measuring and cutting the new drywall.
Step 2: Measure and Cut the New Drywall
Accurate measurements and precise cuts are essential for a seamless and professional-looking drywall installation. Before proceeding with this step, gather the necessary tools and materials, including a tape measure, pencil, T-square, utility knife, and drywall saw.
Tools and Materials
- Tape measure
- Pencil
- T-square
- Utility knife
- Drywall saw
Procedure
-
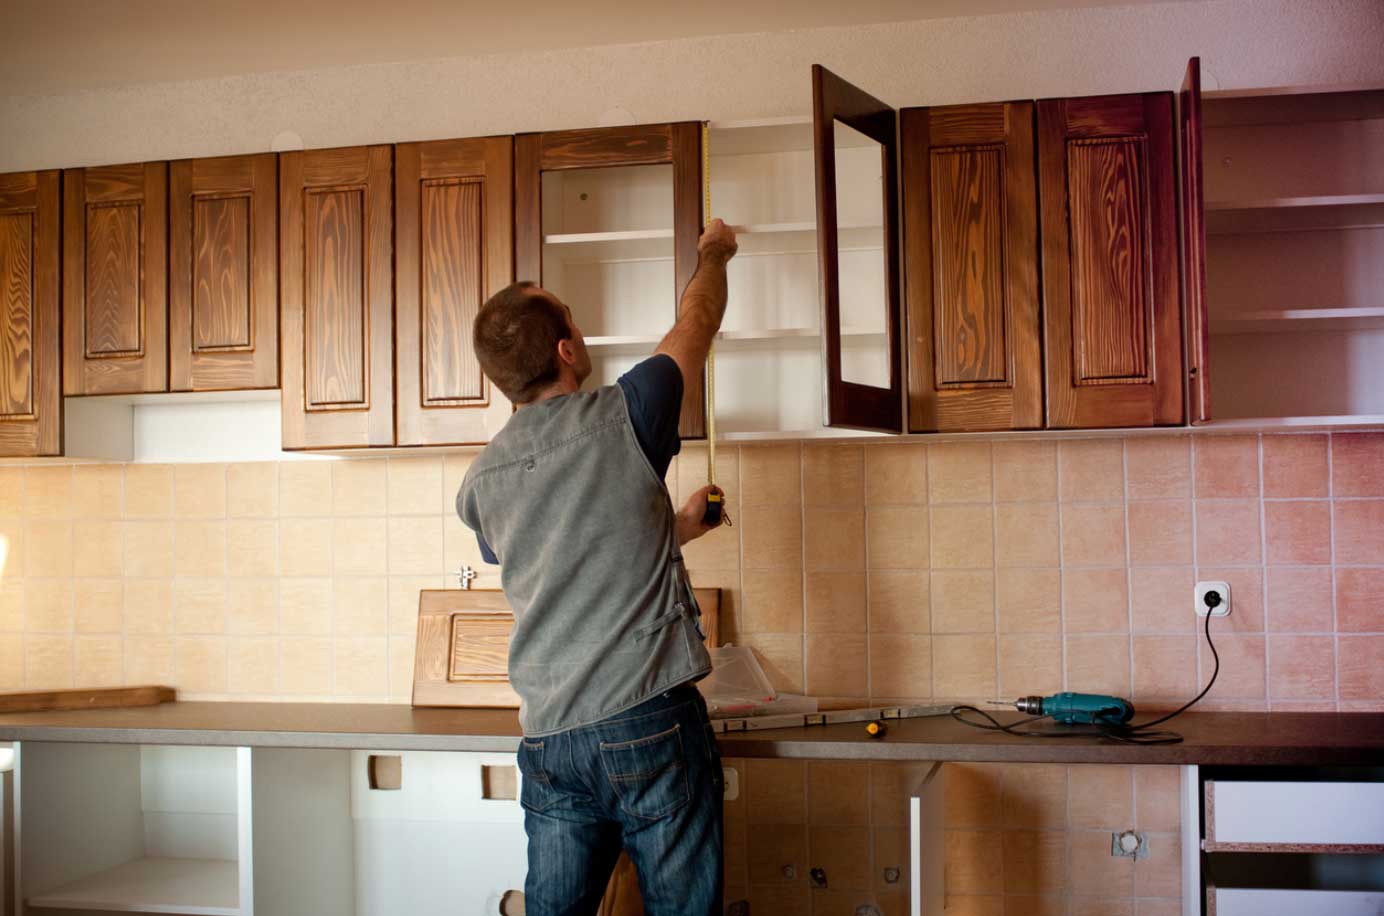
Measure the Wall: Begin by measuring the area where the new drywall will be installed. Use a tape measure to determine the height and width of the space, taking into account any obstacles such as electrical outlets or switches.
-
Transfer Measurements: Transfer the measurements onto the new drywall sheets, marking the dimensions with a pencil. Use a T-square to ensure straight and accurate lines.
-
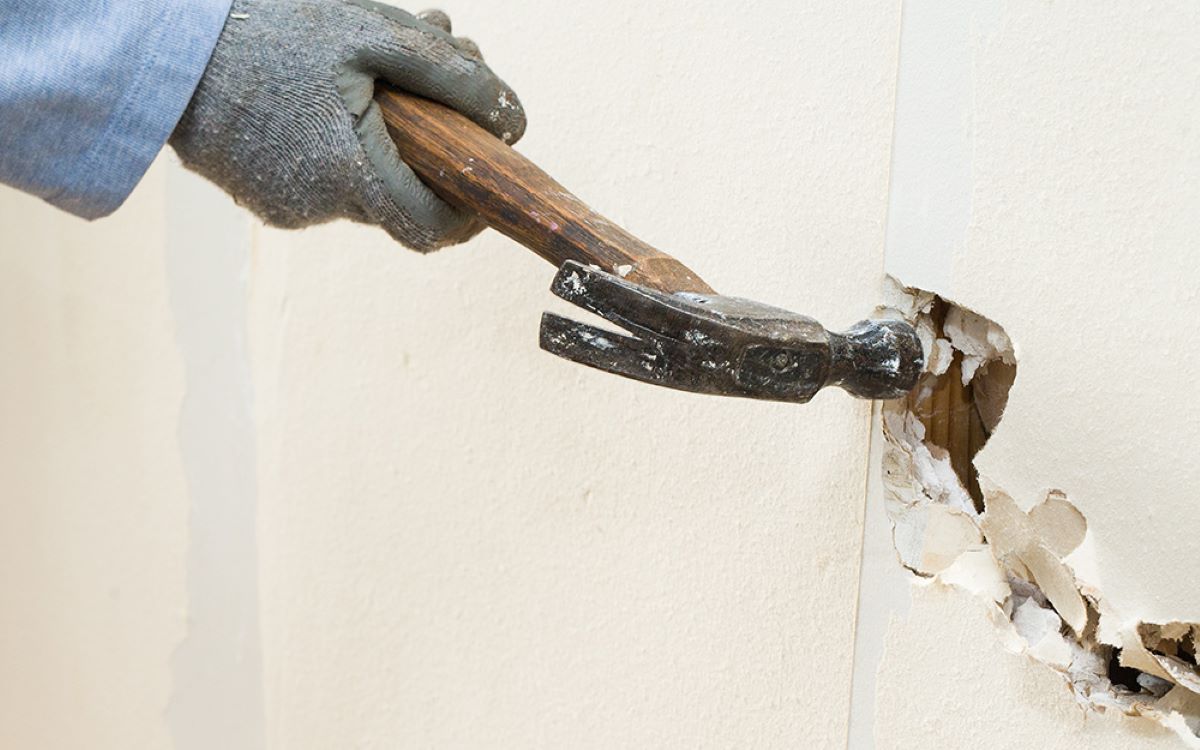
Cut the Drywall: With the measurements marked, carefully score the front side of the drywall along the pencil lines using a utility knife. Once scored, gently snap the drywall along the scored line to create a clean break. Use a drywall saw to complete any remaining cuts, such as openings for outlets or switches.
-
Verify Fit: After cutting the drywall to size, hold each piece up to the installation area to verify that it fits properly. Make any necessary adjustments to ensure a precise fit before proceeding to the next step.
By meticulously measuring and cutting the new drywall, you'll lay the foundation for a successful installation. This careful attention to detail will contribute to a polished and professional outcome as you progress through the renovation process. With the new drywall prepared and ready for installation, you're now poised to move on to the next step of installing the new drywall.
Step 3: Install the New Drywall
With the old backsplash removed and the new drywall cut to size, you're now ready to proceed with the installation process. This step requires precision and attention to detail to ensure a seamless and secure fit for the new drywall.
Tools and Materials
- Drywall screws
- Drill/driver
- Drywall joint tape
- Joint compound
- Drywall knife
- Level
Procedure
-
Prepare the Workspace: Before installing the new drywall, ensure that the area is clean and free of debris. Position the cut drywall pieces near the installation area for easy access.
-
Secure the Drywall: Starting with the bottom row, lift the first piece of drywall into position against the wall. Use a level to ensure it is plumb and flush with the surrounding surfaces. Once aligned, secure the drywall to the wall studs using drywall screws and a drill/driver. Place screws approximately every 12 inches along the studs, ensuring a secure and stable attachment.
-
Continue Installation: Proceed to install the remaining pieces of drywall, working row by row and ensuring a snug fit between each piece. Use a drywall saw to make any necessary cuts for outlets or switches, and verify the fit before securing the drywall in place.
-
Apply Joint Tape and Compound: Once all the drywall pieces are installed, apply drywall joint tape over the seams between the sheets. Using a drywall knife, spread a thin layer of joint compound over the tape, feathering the edges to create a smooth transition. This process helps to conceal the seams and create a seamless surface for painting.
-
Allow for Drying Time: Allow the joint compound to dry completely according to the manufacturer's instructions. Once dry, sand the surface lightly to smooth out any imperfections and create a uniform finish.
By following these detailed steps, you'll successfully install the new drywall for your kitchen backsplash, setting the stage for the final phases of the renovation. With the new drywall securely in place, you're now ready to proceed to the next step of applying joint compound and sanding to prepare the surface for painting.
Step 4: Apply Joint Compound and Sand
After successfully installing the new drywall for your kitchen backsplash, the next crucial step is to apply joint compound and sand the surface to achieve a smooth and seamless finish. This process plays a pivotal role in concealing the seams between the drywall sheets and preparing the surface for the final painting stage.
Tools and Materials
- Drywall joint compound
- Drywall knife
- Sandpaper (fine grit)
- Sanding block or sanding pole
- Dust mask
- Drop cloth
Procedure
-
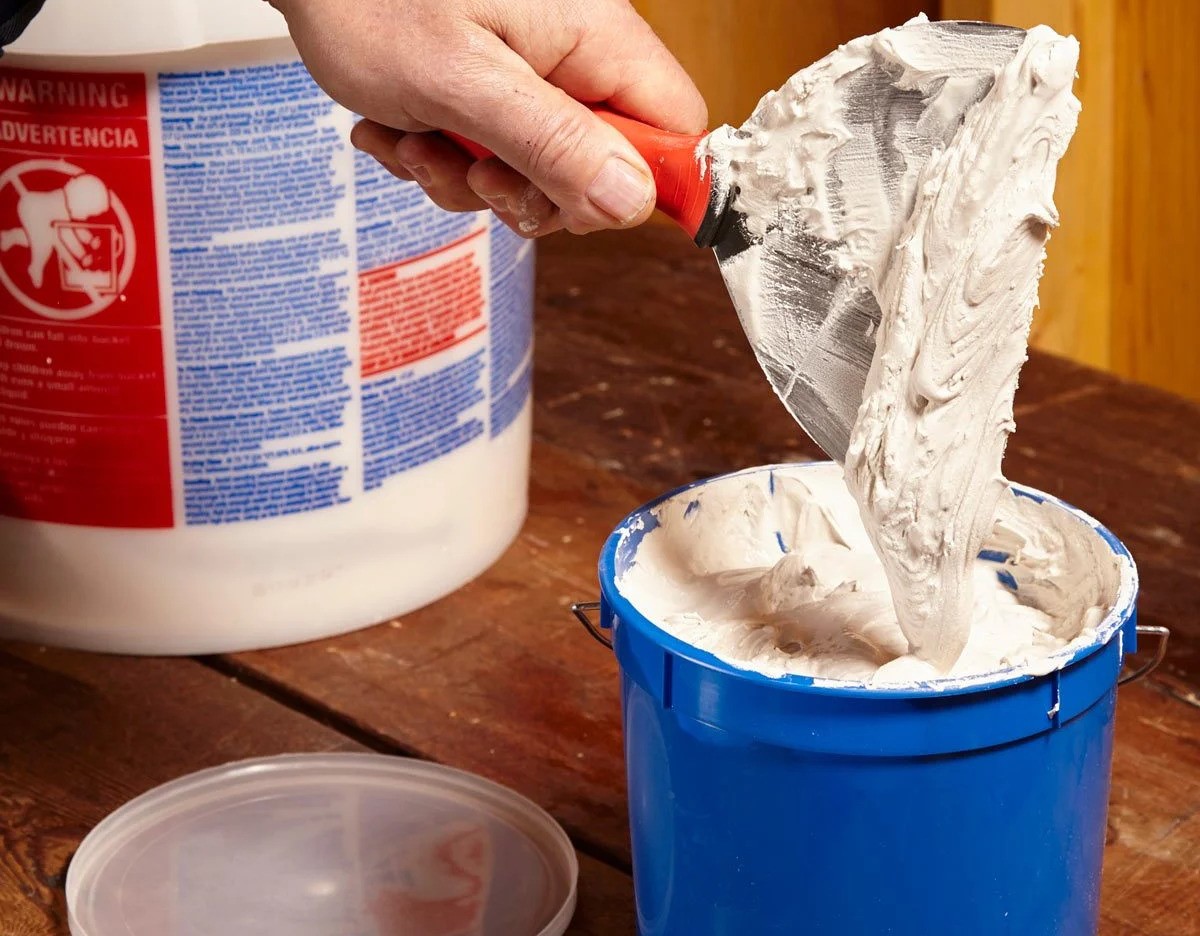
Prepare the Joint Compound: Begin by preparing the drywall joint compound according to the manufacturer's instructions. Ensure that the compound is thoroughly mixed to achieve a smooth and workable consistency.
-
Apply the Joint Compound: Using a drywall knife, apply a thin layer of joint compound over the seams and screw indentations in the drywall. Work methodically to cover the entire surface, feathering the edges to create a seamless transition between the compound and the drywall surface.
-
Embed Joint Tape: Place drywall joint tape over the wet compound, pressing it gently into place to ensure proper adhesion. This tape helps to reinforce the seams and prevent cracking over time.
-
Apply Second Coat (Optional): For particularly wide seams or imperfections, a second coat of joint compound may be necessary. Allow the first coat to dry completely before applying the second coat, ensuring a smooth and even application.
-
Allow for Drying Time: Once the joint compound is applied, allow it to dry thoroughly as per the manufacturer's recommendations. This drying period is essential to ensure that the compound sets and hardens properly.
-
Sand the Surface: Once the joint compound is completely dry, use fine-grit sandpaper and a sanding block or pole to gently sand the surface. The goal is to smooth out any ridges or imperfections, creating a uniform and seamless finish. Be mindful not to oversand and compromise the integrity of the joint compound.
-
Clean the Workspace: After sanding, use a damp cloth to wipe away any dust and residue from the surface. Protect the surrounding area with a drop cloth to minimize cleanup and maintain a tidy workspace.
By meticulously following these steps to apply joint compound and sand the drywall surface, you'll achieve a flawless and professional foundation for the final phase of the renovation. With the surface prepared and primed for painting, you're now poised to move on to the next step of priming and painting the drywall to bring your vision to life.
Read more: How To Store Drywall
Step 5: Prime and Paint the Drywall
With the new drywall meticulously installed, joint compound applied, and the surface sanded to perfection, the final step in revitalizing your kitchen backsplash is to prime and paint the drywall. This transformative phase adds the finishing touches, infusing your personal style and aesthetic preferences into the heart of your kitchen.
Tools and Materials
- Primer
- Paint (latex or acrylic)
- Paintbrushes or rollers
- Painter's tape
- Drop cloths
- Stir sticks
- Paint trays
- Ladder (if necessary)
Procedure
-
Prepare the Workspace: Before priming and painting, ensure that the area is clean and free of dust or debris. Protect the surrounding surfaces, cabinets, and countertops with drop cloths and painter's tape to prevent accidental splatters or spills.
-
Prime the Surface: Using a high-quality primer specifically formulated for drywall, apply a uniform coat over the entire surface. The primer helps to seal the drywall, promote adhesion, and create an even base for the paint. Allow the primer to dry completely according to the manufacturer's instructions.
-
Select Your Paint: Choose a premium latex or acrylic paint in your desired color and finish. Consider the overall aesthetic of your kitchen and select a paint color that complements the existing decor or introduces a fresh, vibrant tone to the space.
-
Apply the Paint: Once the primer is dry, it's time to apply the paint. Use high-quality paintbrushes or rollers to achieve a smooth and consistent finish. Begin with the edges and corners using a brush, then fill in the larger areas with a roller for an even application. Apply multiple coats as needed, allowing each coat to dry before proceeding to the next.
-
Add Personal Touches: If desired, consider adding decorative elements or patterns to the backsplash area using stencils or painter's tape. This creative touch can elevate the visual appeal of the backsplash and make a unique statement in your kitchen.
-
Inspect and Touch Up: Once the paint is dry, carefully inspect the surface for any imperfections or uneven areas. Touch up as needed to ensure a flawless and professional finish.
By meticulously following these steps to prime and paint the drywall, you'll bring your vision to life and complete the transformation of your kitchen backsplash. The freshly painted drywall will serve as a stunning backdrop, enhancing the overall ambiance and style of your kitchen space.
Conclusion
Congratulations on successfully completing the transformation of your kitchen backsplash! By following the comprehensive steps outlined in this guide, you've not only replaced the drywall with precision and care but also infused your personal style and creativity into the heart of your kitchen. As you stand back and admire the newly revitalized space, take pride in the craftsmanship and attention to detail that have brought your vision to life.
The journey of replacing the drywall for your kitchen backsplash began with the meticulous process of removing the existing backsplash, ensuring a clean slate for the renovation. With careful precision, you measured and cut the new drywall, setting the stage for a seamless and professional installation. The installation process itself required patience and precision, as you secured the new drywall in place and applied joint compound to achieve a flawless finish.
The application of joint compound and the subsequent sanding process were pivotal in creating a smooth and seamless surface, laying the foundation for the final transformative phase of priming and painting the drywall. As you selected the perfect paint color and brought it to life on the freshly prepared surface, your personal touch and style became integral parts of the kitchen's aesthetic.
As you reflect on this journey, remember that the successful completion of this renovation project is a testament to your dedication and craftsmanship. The revitalized kitchen backsplash now stands as a reflection of your creativity and attention to detail, enhancing the overall ambiance and style of your kitchen space.
With the completion of this project, you've not only achieved a stunning visual transformation but also gained valuable experience and skills in home renovation. Whether you embarked on this endeavor as a DIY enthusiast or collaborated with professionals, the knowledge and insights gained along the way will serve as valuable assets for future projects.
As you savor the satisfaction of a job well done, take a moment to appreciate the newfound charm and personality that the revitalized kitchen backsplash brings to your home. Embrace the joy of creating a space that reflects your unique style and vision, and let this project inspire future endeavors as you continue to infuse creativity and craftsmanship into every aspect of your home.
The journey of replacing the drywall for your kitchen backsplash has not only transformed a functional element of your kitchen but has also enriched your home with a touch of artistry and personal expression. As you revel in the beauty of your revitalized kitchen space, may it serve as a constant reminder of the transformative power of creativity and the joy of bringing visions to life.
Frequently Asked Questions about How To Replace Drywall For Kitchen Backsplash
Was this page helpful?
At Storables.com, we guarantee accurate and reliable information. Our content, validated by Expert Board Contributors, is crafted following stringent Editorial Policies. We're committed to providing you with well-researched, expert-backed insights for all your informational needs.




0 thoughts on “How To Replace Drywall For Kitchen Backsplash”