Home>Renovation & DIY>Tools & Equipment>How To Spackle Walls
Tools & Equipment
How To Spackle Walls
Published: December 19, 2023
Learn how to spackle walls like a pro with the right tools and equipment. Get expert tips for a flawless finish.
(Many of the links in this article redirect to a specific reviewed product. Your purchase of these products through affiliate links helps to generate commission for Storables.com, at no extra cost. Learn more)
Introduction
Welcome to the world of home improvement! Whether you’re a seasoned DIY enthusiast or a first-time homeowner looking to spruce up your living space, learning how to spackle walls is a valuable skill that can save you time and money. No matter how careful you are, walls are bound to suffer a few dings, dents, and nail holes over time. Fortunately, spackling is a simple and effective way to repair these imperfections and restore your walls to their former glory.
In this comprehensive guide, we’ll walk you through the step-by-step process of spackling walls, from gathering the necessary materials to putting the finishing touches on your freshly repaired surface. By the end of this article, you’ll be equipped with the knowledge and confidence to tackle wall repairs with ease, achieving professional-looking results without the hefty price tag.
So, roll up your sleeves, gather your supplies, and let’s dive into the wonderful world of spackling!
Key Takeaways:
- Master the art of spackling walls with confidence and achieve professional-quality results by following the step-by-step guide. Proper preparation, meticulous application, and attention to detail are key to seamless repairs.
- Gather essential materials, prepare the wall, apply spackle, sand with care, and finish with primer and paint for flawless wall repairs. Experiment with techniques and materials to refine your skills and achieve better results.
Read more: How To Spackle A Textured Wall
Materials Needed
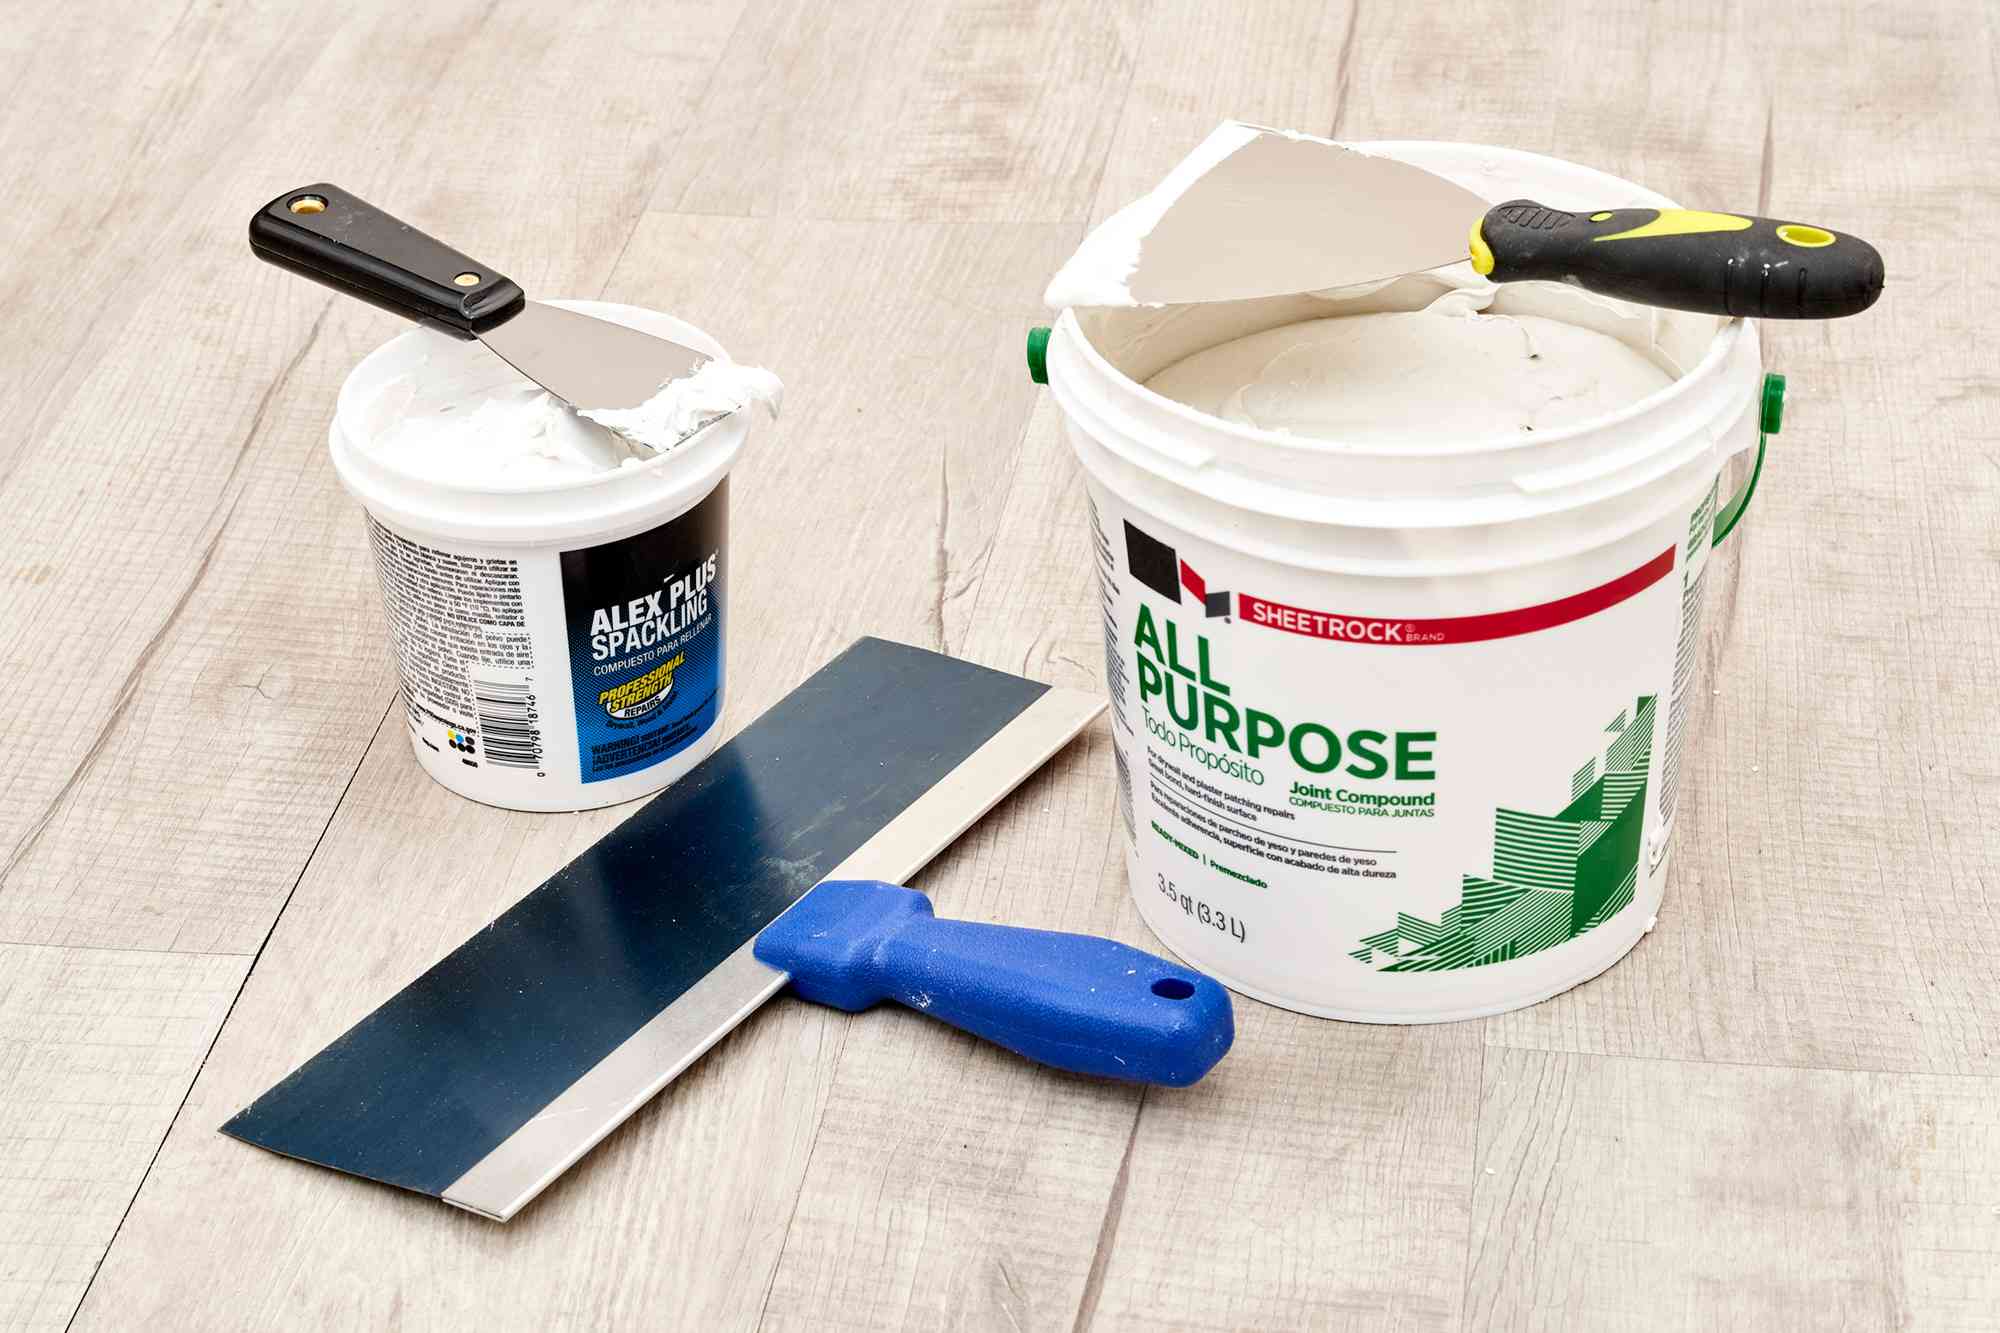
Before you embark on your spackling journey, it’s essential to gather the right tools and materials to ensure a smooth and successful wall repair. Here’s a list of items you’ll need:
- Spackle: This is the star of the show! Choose a high-quality spackling compound that’s suitable for both interior and exterior use. Look for a lightweight, easy-to-sand formula for optimal results.
- Putty Knife: An assortment of putty knives in different sizes will come in handy for applying and smoothing the spackle. A wider blade is ideal for larger areas, while a narrower one is perfect for precision work.
- Sandpaper: Keep a variety of grits on hand, including fine and medium-grit sandpaper. This will allow you to achieve a smooth, seamless finish without damaging the surrounding wall surface.
- Primer: Once the spackled area is dry and sanded, you’ll need primer to prepare the surface for painting. Choose a high-quality primer that’s compatible with the type of paint you plan to use.
- Paint: To complete the repair, have the appropriate paint on hand to match the existing wall color. If you’re unsure of the exact shade, consider bringing a paint swatch to the store for a perfect match.
- Clean Cloth: A soft, clean cloth or sponge is essential for wiping away excess spackle and keeping your work area tidy.
- Drop Cloth or Tarp: Protect your floors and furniture by laying down a drop cloth or tarp before you begin spackling. This will catch any stray spackle or dust, making cleanup a breeze.
- Protective Gear: While spackling is generally safe, it’s a good idea to wear gloves and safety goggles to protect your hands and eyes from any potential irritation.
By ensuring you have these essential materials at your disposal, you’ll be well-prepared to tackle your wall repair project with confidence and precision.
Preparing the Wall
Before you can begin spackling, it’s crucial to prepare the wall surface to ensure optimal adhesion and a seamless repair. Follow these steps to get your wall ready for spackling:
- Clean the Area: Start by wiping the damaged area with a damp cloth to remove any dust, dirt, or debris. This will create a clean surface for the spackle to adhere to.
- Inspect for Loose Material: Check for any loose or flaking material around the damaged area. Use a putty knife or sandpaper to gently remove any loose paint, drywall, or debris. The goal is to create a smooth, even surface for the spackle to be applied.
- Fill Larger Holes: For larger holes or gaps, consider using a wall repair patch or self-adhesive mesh tape to reinforce the area before applying spackle. This will help prevent the spackle from sinking into the hole and ensure a more durable repair.
- Protect Surrounding Areas: To prevent spackle from spreading to unintended areas, use painter’s tape to mask off the edges of the repair area. This will create a clean boundary and make cleanup easier.
By taking the time to properly prepare the wall, you’ll set the stage for a successful spackling job. A clean, smooth surface will allow the spackle to adhere effectively and blend seamlessly with the surrounding wall, resulting in a professional-looking repair.
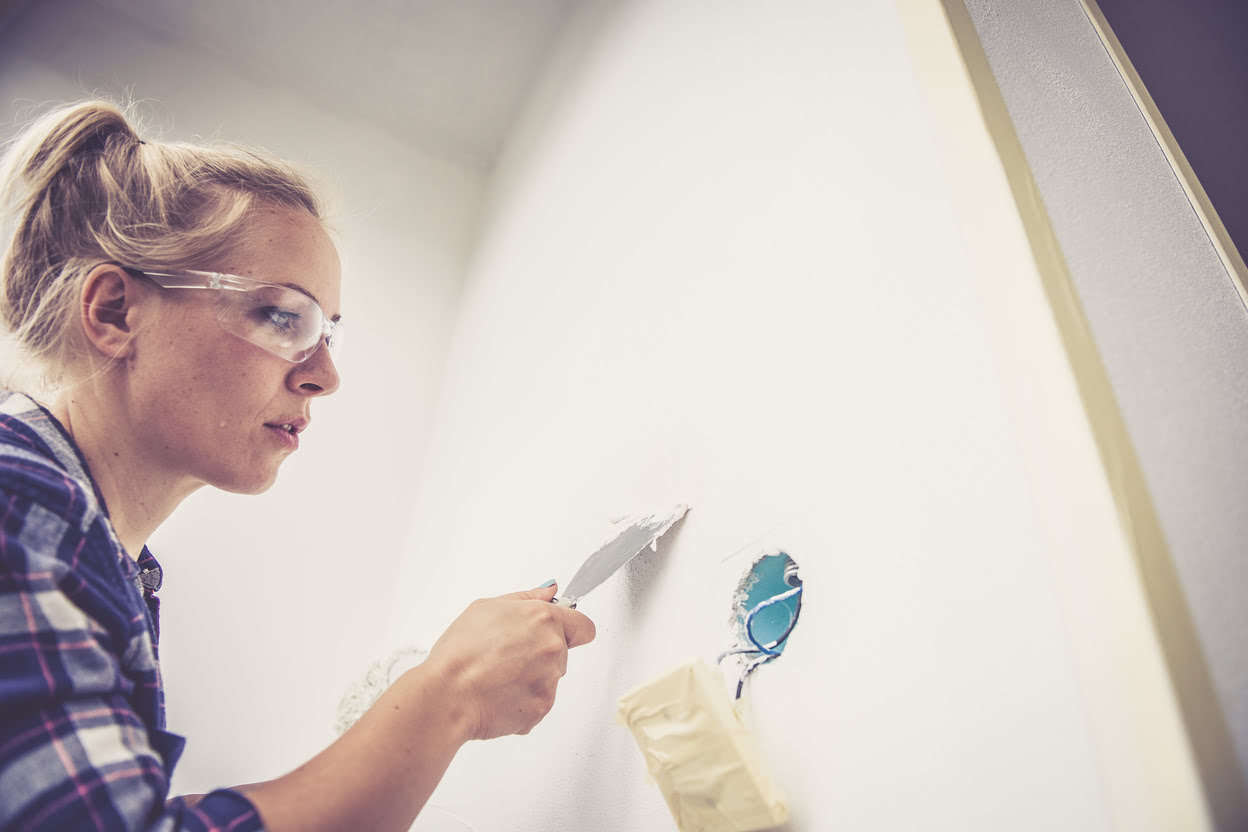
Applying the Spackle
With the wall prepared and the necessary materials at the ready, it’s time to dive into the spackling process. Follow these steps to apply spackle like a pro:
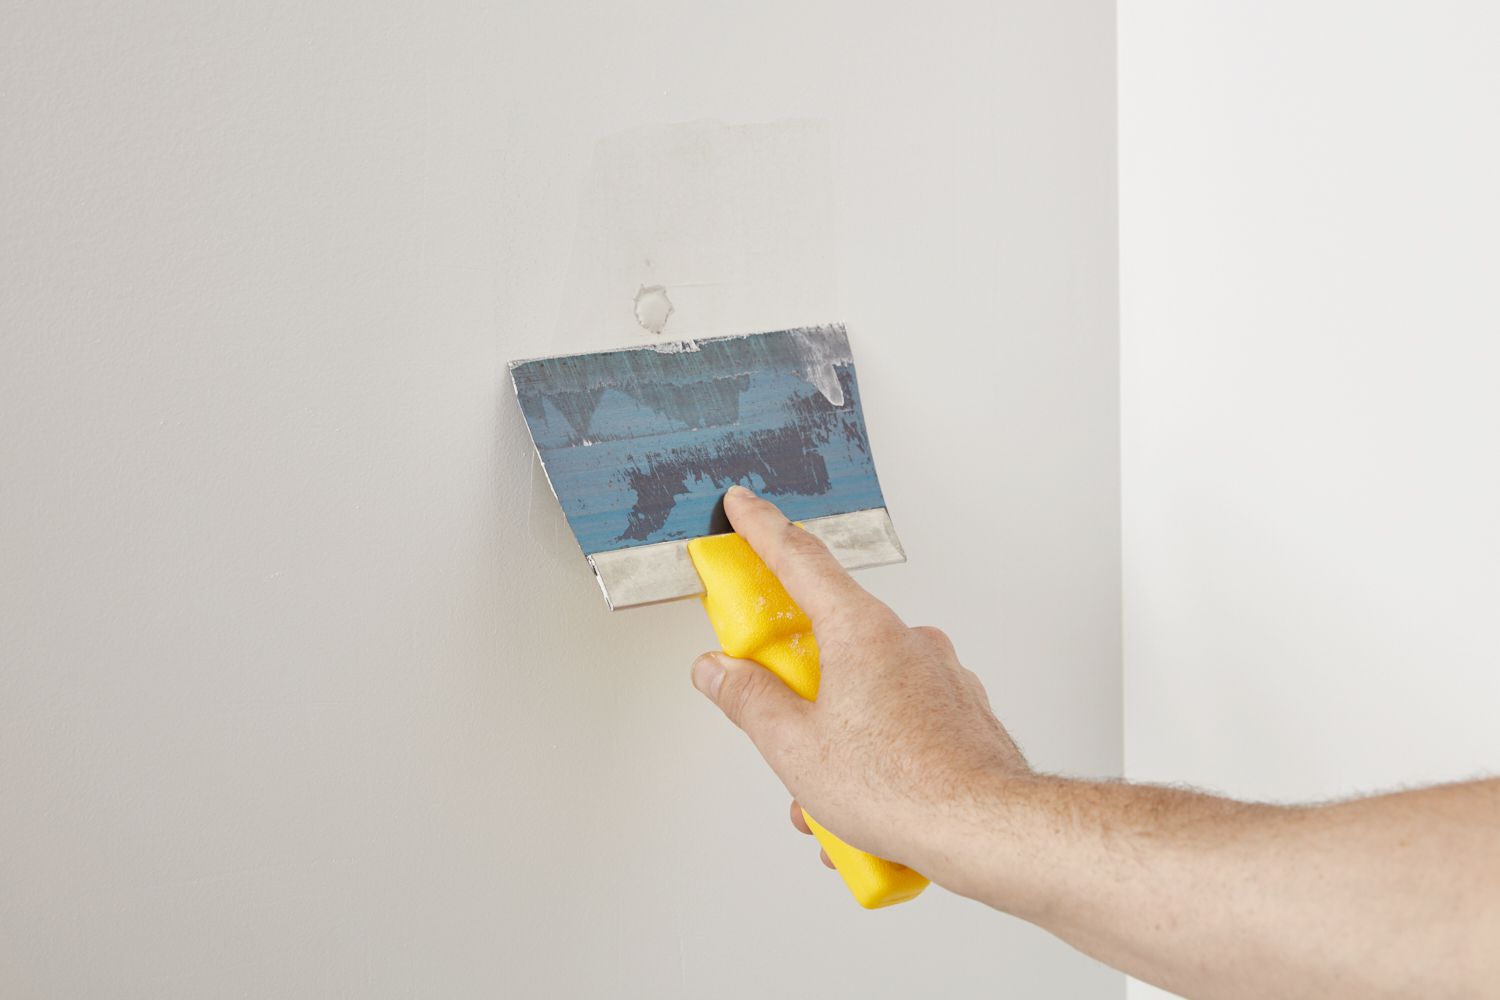
- Load the Putty Knife: Using a putty knife, scoop a small amount of spackle onto the blade. For smaller repairs, a dime-sized amount is usually sufficient, while larger repairs may require more spackle.
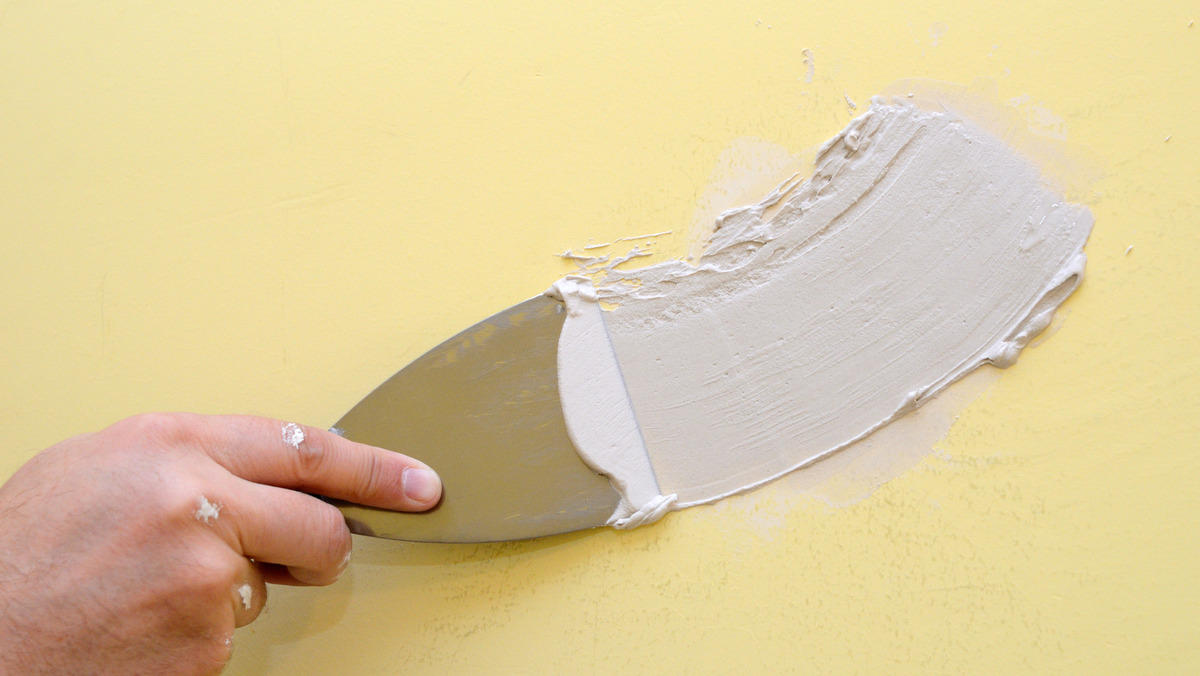
- Apply the Spackle: Holding the putty knife at a slight angle, spread the spackle over the damaged area in a smooth, even layer. Use a light touch to feather the edges of the spackle, blending it into the surrounding wall for a seamless finish.
- Fill Holes and Gaps: For deeper holes or gaps, apply additional layers of spackle as needed, allowing each layer to dry before applying the next. This will build up the repair and create a sturdy, even surface.
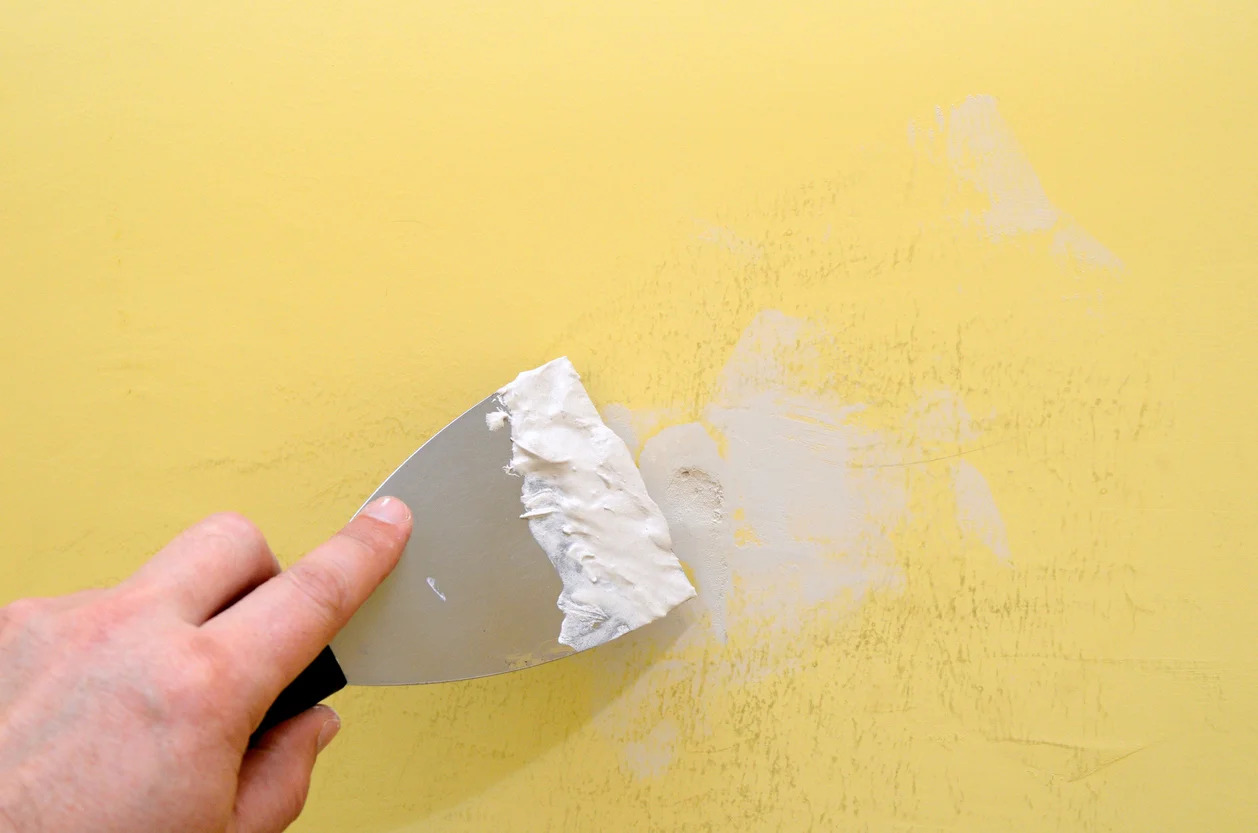
- Smooth and Scrape: Once the spackle is applied, use the putty knife to gently smooth and scrape away any excess material, leaving the repair area flush with the surrounding wall. Take care to create a smooth transition between the spackled area and the rest of the wall.
- Let It Dry: Allow the spackle to dry completely according to the manufacturer’s instructions. This typically takes a few hours, but drying times may vary depending on the spackle formula and the depth of the repair.
By following these steps, you’ll be well on your way to achieving a flawless spackling job. Remember to work patiently and methodically, focusing on creating a smooth, even repair that seamlessly blends with the existing wall surface.
When spackling walls, make sure to clean the area first and use a putty knife to apply the spackle in thin layers. Sand between coats for a smooth finish.
Sanding the Wall
Once the spackled area is fully dry, it’s time to refine the surface and ensure a seamless transition between the repair and the surrounding wall. Sanding is a critical step in the spackling process, and when done correctly, it can yield professional-looking results. Here’s how to sand the wall effectively:
- Select the Right Grit: Begin by choosing the appropriate sandpaper for the job. For initial sanding and smoothing, a medium-grit sandpaper (around 120-grit) is ideal. Once the repair area is nearly smooth, switch to a fine-grit sandpaper (around 220-grit) for a polished finish.
- Sand in a Circular Motion: Using light to moderate pressure, sand the spackled area in a circular motion, blending the edges of the repair into the surrounding wall. Be mindful not to oversand, as this can create an uneven surface and compromise the repair.
- Check for Smoothness: Periodically run your hand over the sanded area to assess its smoothness. Look for any remaining bumps, ridges, or uneven transitions and continue sanding as needed until the repair area is flush with the surrounding wall.
- Clean the Area: Once the sanding is complete, use a clean, dry cloth or a vacuum with a brush attachment to remove any dust and debris from the wall. This will ensure a clean surface for the next steps in the spackling process.
By approaching the sanding process with care and attention to detail, you’ll achieve a seamlessly repaired surface that’s ready for the finishing touches. Remember, patience is key when sanding, so take your time to achieve the desired result.
Read more: How To Spackle Cracks In Wall
Finishing Touches
With the spackled area smoothed and sanded to perfection, it’s time to put the finishing touches on your wall repair. This phase involves priming the repaired area and applying paint to seamlessly blend the repair with the rest of the wall. Follow these steps for flawless finishing touches:
- Apply Primer: Using a high-quality primer, coat the spackled area and the surrounding wall to ensure an even base for the paint. This step is crucial for achieving consistent color and texture across the entire wall surface.
- Select the Right Paint: Choose a paint that matches the existing wall color. If you don’t have the original paint can or color code, consider taking a small sample of the wall to a paint store for color matching. Opt for a paint finish that closely resembles the sheen of the surrounding wall.
- Paint the Repaired Area: Using a paintbrush or roller, carefully apply the paint to the spackled area, feathering the edges to blend seamlessly with the surrounding wall. Multiple thin coats may be necessary to achieve a uniform finish.
- Blend and Feather: To ensure a seamless transition, lightly feather the paint outward from the repair area, blending it with the surrounding wall. This technique helps to disguise the repaired section and create a cohesive look.
- Allow to Dry and Inspect: Once the paint is applied, allow it to dry completely according to the manufacturer’s instructions. Inspect the repaired area from different angles and under various lighting conditions to ensure that the repair seamlessly integrates with the rest of the wall.
By following these steps, you’ll achieve a professional, long-lasting repair that seamlessly blends with the existing wall surface. The finishing touches are crucial for achieving a flawless result and restoring your wall to its former glory.
Conclusion
Congratulations on mastering the art of spackling walls! By following the step-by-step process outlined in this guide, you’ve gained the knowledge and skills to confidently repair and restore your walls with professional-quality results. Whether you’re addressing minor blemishes or tackling larger repairs, spackling is a versatile and effective solution for maintaining the beauty and integrity of your living space.
Remember, proper preparation, meticulous application, and attention to detail are the keys to a successful spackling project. By investing time and care into each step of the process, you can achieve seamless repairs that seamlessly blend with the surrounding wall, leaving no trace of the original damage.
As you embark on your spackling journey, don’t hesitate to experiment with different techniques and materials to find what works best for your specific repair needs. Each project is an opportunity to refine your skills and achieve even better results in the future.
Now that you’re equipped with the know-how to spackle walls like a pro, put your newfound expertise to good use and take pride in maintaining the beauty and durability of your home’s surfaces. With a little patience and a touch of creativity, you’ll be amazed at the transformative power of spackling.
So, roll up your sleeves, gather your materials, and let your walls shine with flawless, expertly spackled repairs!
Frequently Asked Questions about How To Spackle Walls
Was this page helpful?
At Storables.com, we guarantee accurate and reliable information. Our content, validated by Expert Board Contributors, is crafted following stringent Editorial Policies. We're committed to providing you with well-researched, expert-backed insights for all your informational needs.


0 thoughts on “How To Spackle Walls”