Home>Renovation & DIY>Tools & Equipment>How To Color A Spackle
Tools & Equipment
How To Color A Spackle
Modified: March 21, 2024
Learn the best techniques for coloring spackle with our comprehensive guide. Find out the essential tools and equipment you'll need for a flawless finish.
(Many of the links in this article redirect to a specific reviewed product. Your purchase of these products through affiliate links helps to generate commission for Storables.com, at no extra cost. Learn more)
Introduction
So, you've decided to tackle a home improvement project, and you're ready to make those walls look flawless. One essential step in achieving a seamless finish is coloring the spackle. Whether you're a seasoned DIY enthusiast or a newbie to the world of home repairs, this guide will walk you through the process of coloring spackle like a pro.
When it comes to home improvement, the devil is in the details, and colored spackle can be the cherry on top of a well-executed repair job. Not only does it conceal imperfections, but it also adds a touch of finesse to your walls. With the right tools, materials, and a dash of creativity, you can transform your living space into a work of art.
In this comprehensive guide, we'll delve into the nuances of spackle, explore the art of choosing the perfect color, and walk you through the step-by-step process of preparing and applying the colored spackle. By the time you finish reading, you'll be equipped with the knowledge and confidence to revamp your walls with colored spackle, elevating the aesthetic appeal of your home.
So, roll up your sleeves, grab your tools, and let's dive into the world of coloring spackle!
Key Takeaways:
- Achieve flawless walls by coloring spackle to conceal imperfections and add finesse. Match the spackle color to the wall, prepare it properly, and apply with care for a seamless finish.
- Transform your living space into a work of art by coloring spackle with precision and creativity. Choose the right color, prepare, apply, and add finishing touches for flawless walls.
Read more: What Is A Spackle
Understanding Spackle
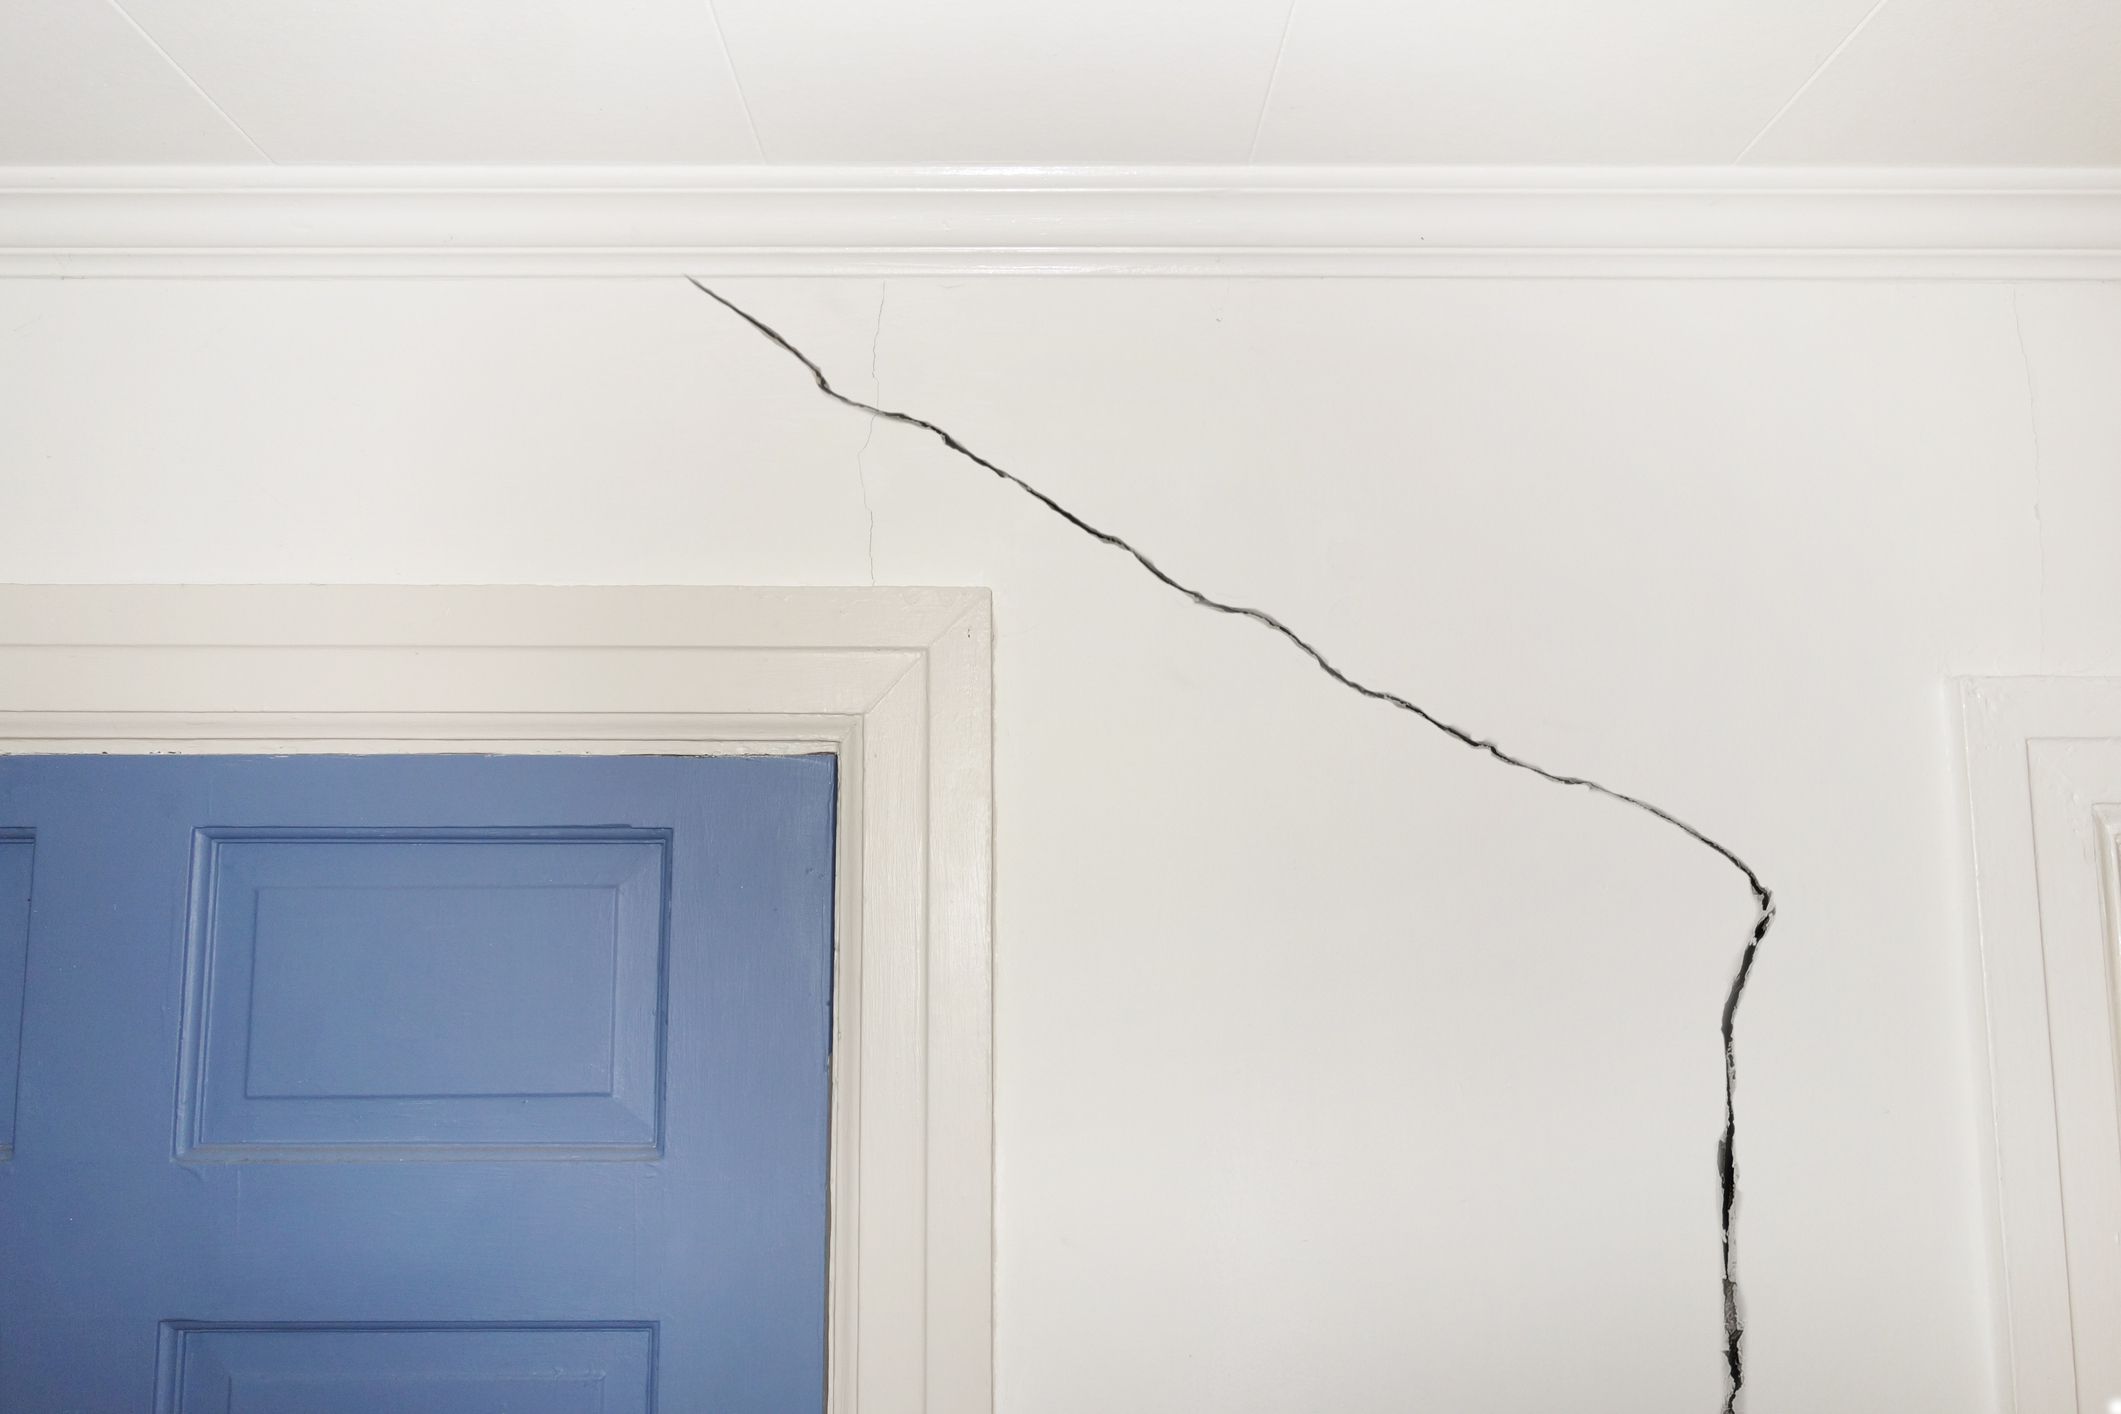
Before we delve into the intricacies of coloring spackle, it's essential to understand what spackle is and its role in home improvement. Spackle, also known as spackling compound, is a versatile paste used to fill and repair holes, cracks, and imperfections in walls, ceilings, and other surfaces. It provides a smooth, seamless base for painting and adds structural integrity to damaged areas.
Spackle is available in various forms, including pre-mixed paste and powder that requires mixing with water. It is formulated to dry quickly, allowing for efficient repairs. This versatile compound adheres well to a wide range of surfaces, including drywall, plaster, wood, and masonry, making it a go-to solution for both minor touch-ups and extensive renovations.
Understanding the properties of spackle is crucial for achieving a flawless finish when coloring it. The texture, drying time, and adhesion of spackle can influence the coloring process, so it's important to select the right type of spackle for your specific project. Additionally, being aware of the composition of spackle can guide you in choosing the appropriate coloring agents and techniques to achieve the desired aesthetic outcome.
Now that we have a solid grasp of what spackle is and its significance in home repairs, let's move on to the next step: choosing the right color to complement your walls and décor.
Choosing the Right Color
When it comes to coloring spackle, selecting the right hue is a crucial decision that can significantly impact the overall visual appeal of your walls. The goal is to seamlessly blend the colored spackle with the existing wall color, creating a cohesive and polished finish. Here are some essential tips for choosing the perfect color:
- Match the Existing Wall Color: To achieve a seamless blend, opt for a spackle color that closely matches the hue of your walls. If you’re unsure about the exact shade, consider bringing a paint swatch or sample of the wall color to the hardware store to facilitate the selection process.
- Consider the Paint Finish: Take into account the finish of the existing wall paint, whether it’s matte, eggshell, satin, or glossy. Matching the spackle’s finish to that of the wall paint helps create a uniform and professional look.
- Custom Color Blending: If you’re unable to find a pre-mixed spackle color that matches your walls, consider custom blending. Many hardware stores offer tinting services, allowing you to create a custom spackle color by mixing tinting agents with neutral spackle.
- Complementing Accent Colors: If you have accent walls or decorative elements in the room, consider selecting a spackle color that complements these features. Harmonizing the colored spackle with the room’s overall color scheme can enhance the visual cohesiveness of the space.
By carefully considering these factors, you can ensure that the colored spackle seamlessly integrates with your walls, concealing imperfections while maintaining a harmonious aesthetic. Once you’ve chosen the ideal color for your spackle, the next step is to prepare the spackle for coloring.
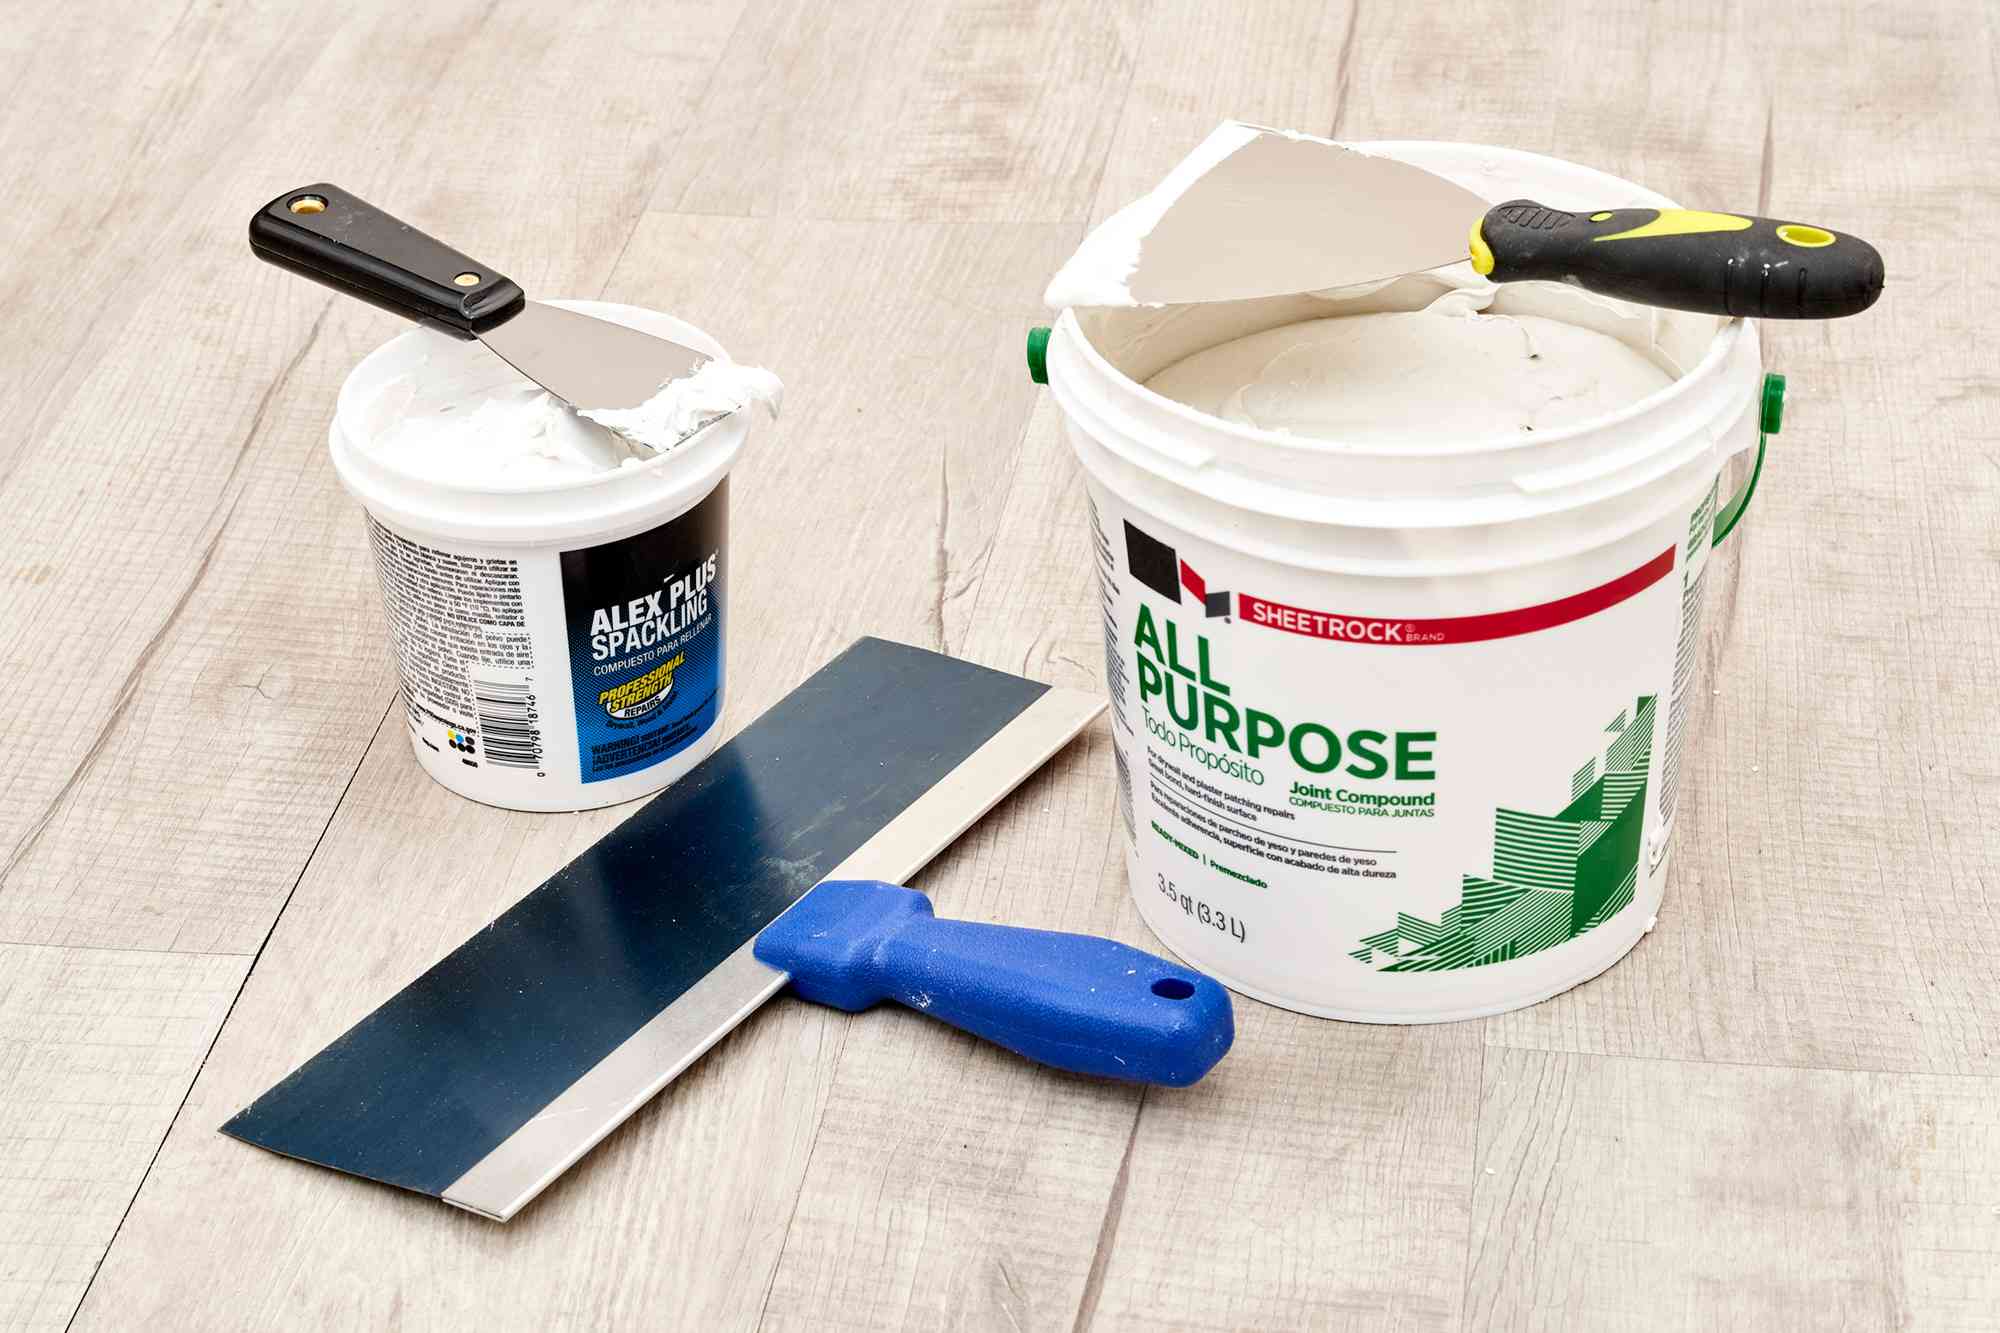
Preparing the Spackle
Before applying color to the spackle, it’s crucial to prepare the spackling compound properly to ensure optimal adhesion and a smooth finish. Here’s a step-by-step guide to preparing the spackle for coloring:
- Clean the Surface: Ensure that the surface to be repaired is clean and free of dust, debris, and loose particles. Use a damp cloth or sponge to gently clean the area and allow it to dry completely before applying the spackle.
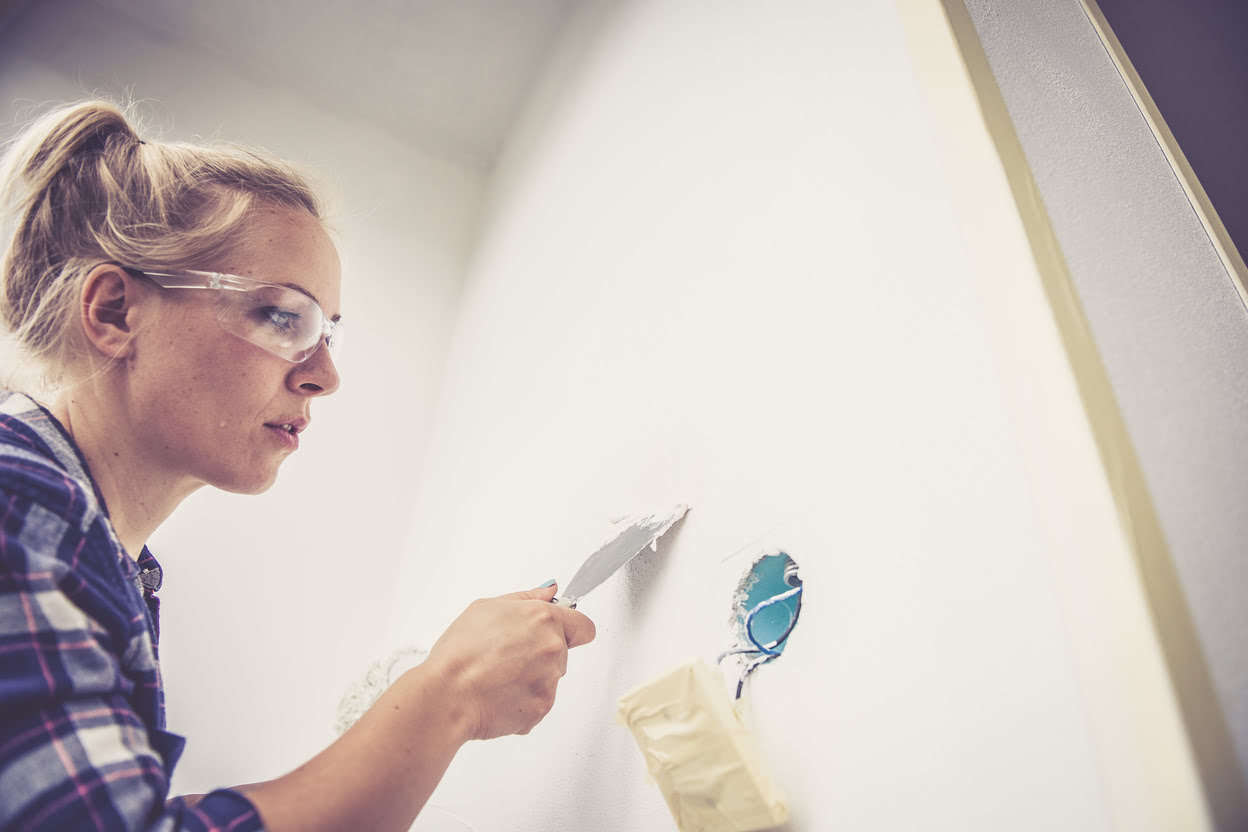
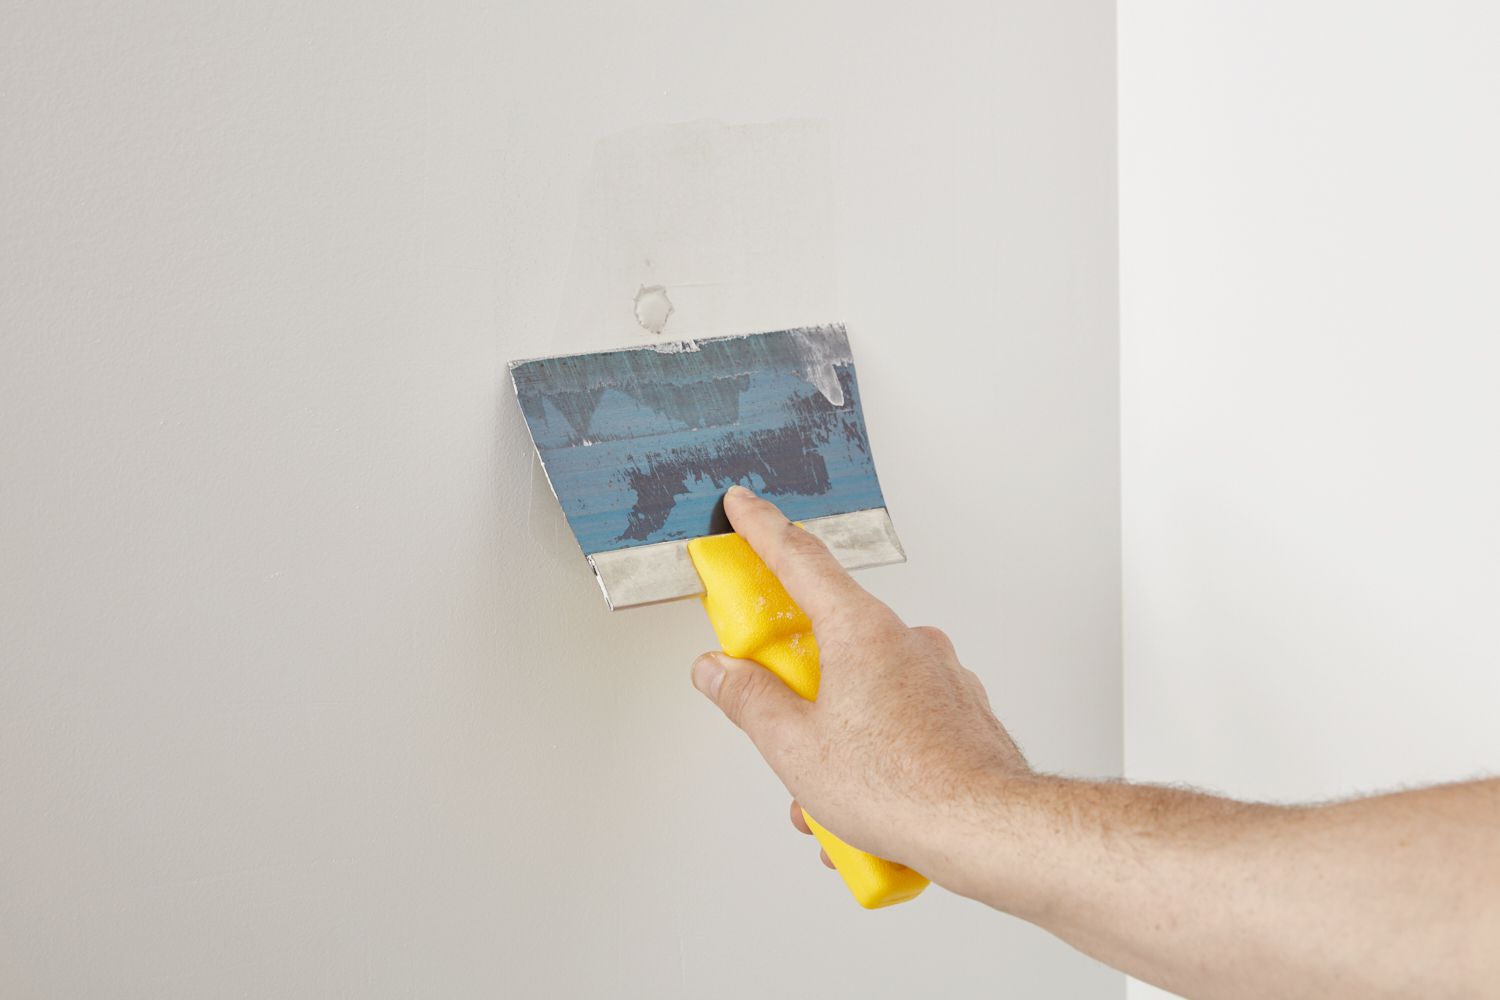
- Fill the Imperfections: Using a putty knife, apply the spackle to fill in the holes, cracks, or blemishes in the wall. Smooth the spackle evenly across the surface, ensuring that it is slightly raised above the surrounding area to account for shrinkage during drying.
- Let the Spackle Dry: Allow the spackle to dry completely according to the manufacturer’s instructions. The drying time may vary depending on the type and thickness of the spackle, so be patient and ensure that it is fully cured before proceeding to the next step.
- Sand the Spackle: Once the spackle is dry, gently sand the repaired area using fine-grit sandpaper. This step is crucial for achieving a smooth and level surface, ensuring that the colored spackle blends seamlessly with the wall.
- Prime the Surface (Optional): Depending on the type of spackle and the condition of the wall, you may consider applying a primer to the repaired area before coloring the spackle. Primer enhances adhesion and promotes an even color application.
Properly preparing the spackle sets the stage for successful color application, ensuring that the colored spackle adheres well to the surface and creates a flawless, professional-looking finish. With the spackle primed and ready, it’s time to add the perfect hue to elevate the aesthetic appeal of your walls.
Mix a small amount of paint with the spackle until you reach the desired color. Test on a small area first to ensure the color matches before applying to the entire surface.
Applying the Color
Now that the spackle is prepped and the surface is ready, it’s time to infuse the spackle with the perfect hue to seamlessly blend with your walls. Follow these steps to expertly apply color to the spackle:
- Choose the Right Coloring Agent: Select a high-quality paint or tint specifically designed for mixing with spackle. These products are formulated to blend seamlessly and maintain their color integrity when mixed with the spackling compound.
- Mix the Color: In a clean container, mix the chosen coloring agent with the spackle according to the manufacturer’s instructions. Ensure that the color is evenly distributed throughout the spackle to avoid streaks or inconsistencies in the final application.
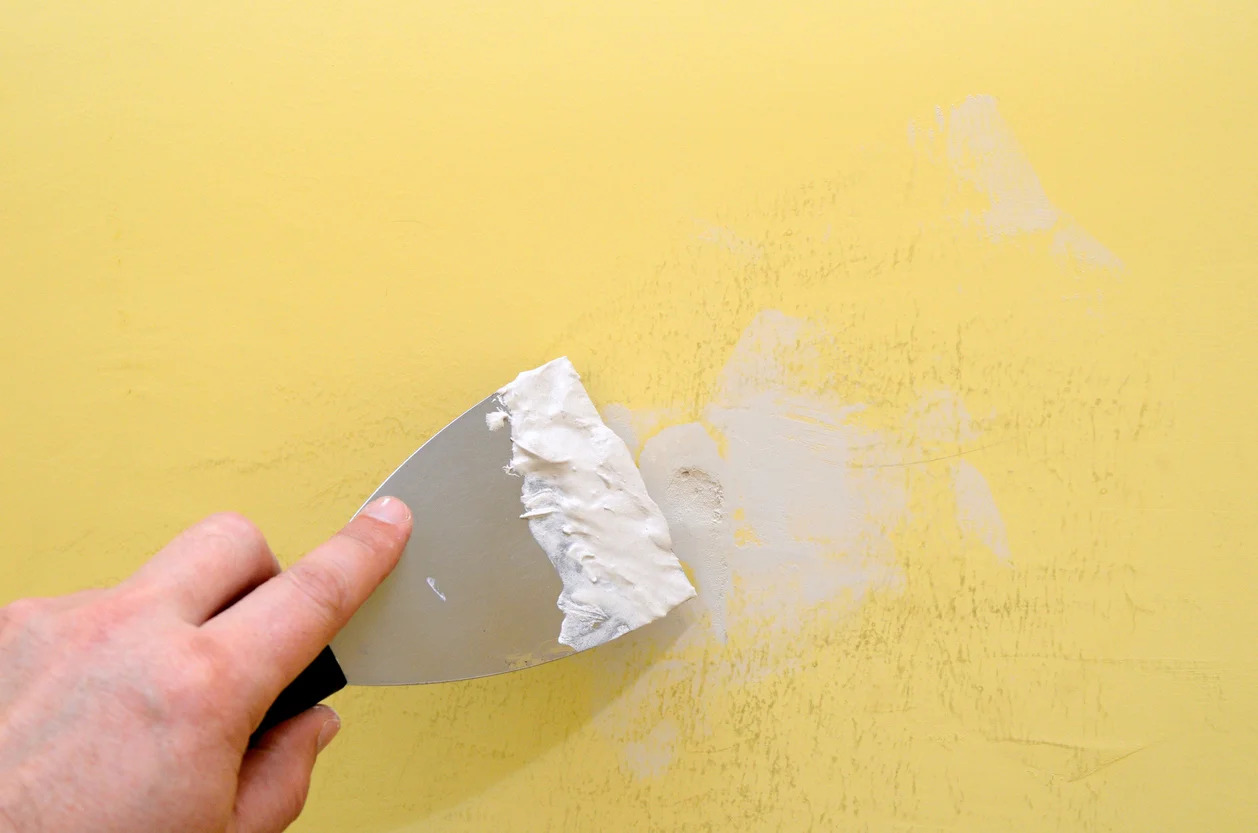
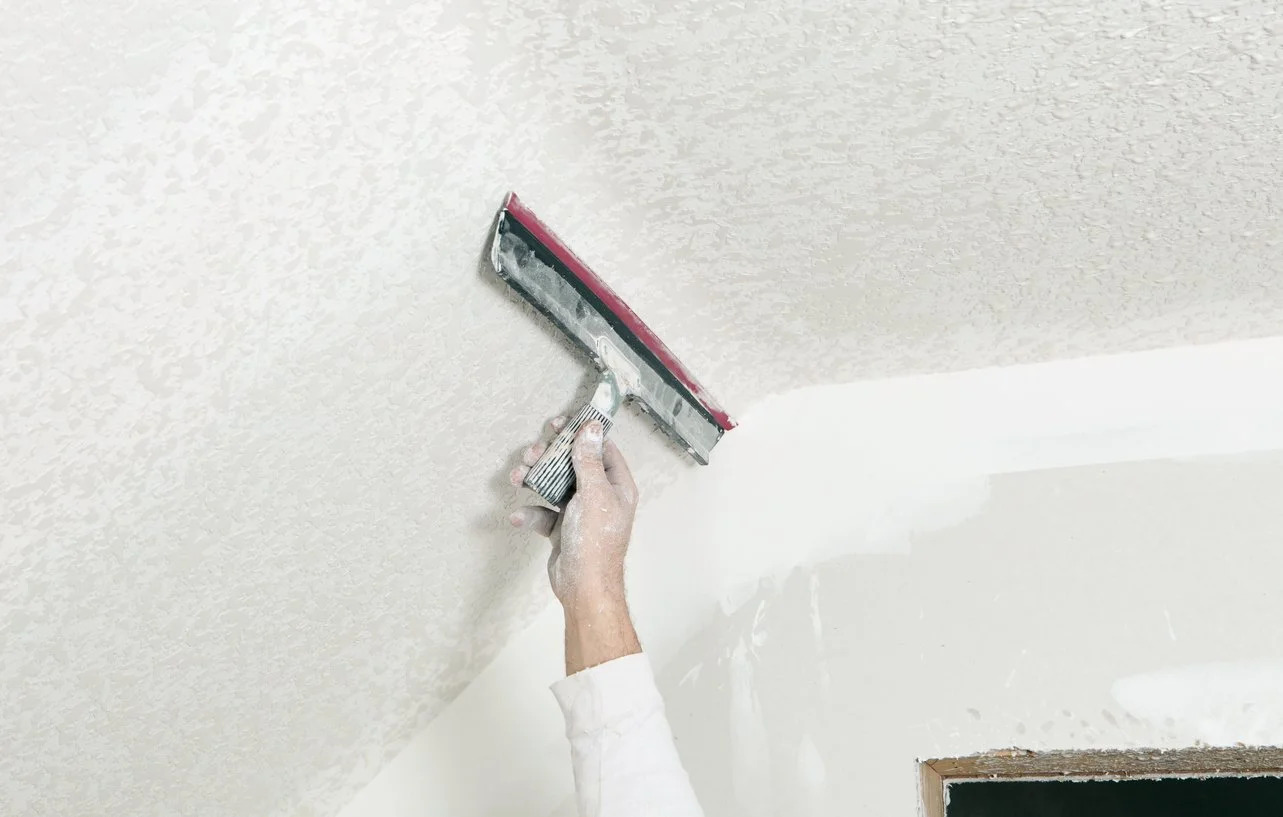
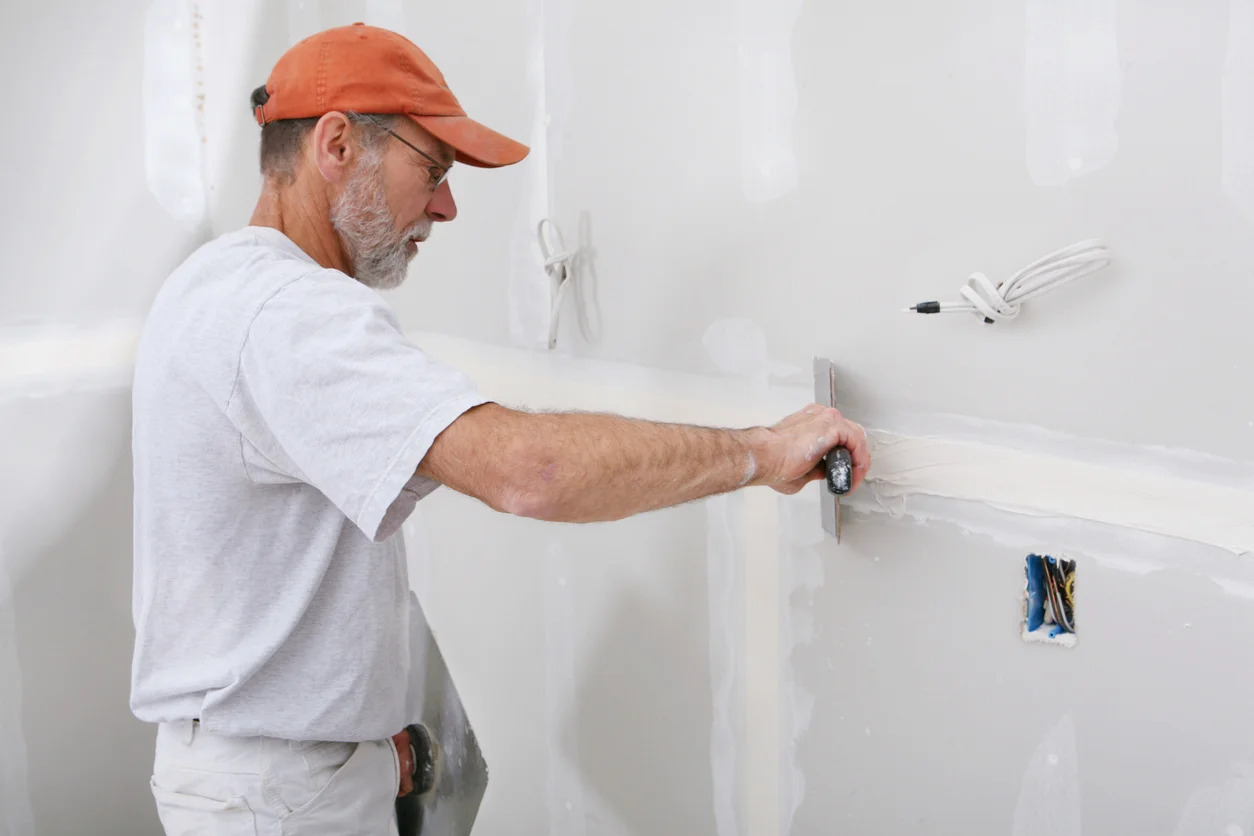
- Apply the Colored Spackle: Using a putty knife or a spackling blade, carefully apply the colored spackle to the repaired areas. Spread the colored spackle evenly, feathering the edges to seamlessly blend with the surrounding wall surface.
- Blend and Smooth: After applying the colored spackle, use the putty knife or a damp sponge to blend and smooth the edges, ensuring a seamless transition between the spackled area and the wall. This step is crucial for achieving a flawless, natural-looking finish.
- Allow the Colored Spackle to Dry: Let the colored spackle dry completely according to the manufacturer’s recommendations. Avoid touching or disturbing the freshly applied spackle to prevent smudges or imperfections in the color application.
By following these steps meticulously, you can ensure that the colored spackle seamlessly integrates with the surrounding wall, concealing imperfections and creating a polished, uniform finish. Once the colored spackle is dry, it’s time for the finishing touches to complete the transformation of your walls.
Read more: How To Spackle Corners
Finishing Touches
With the colored spackle applied and dried, it’s time to add the finishing touches to perfect the look of your walls. These final steps will ensure that your spackling project achieves a professional, seamless finish:
- Inspect and Touch Up: Carefully inspect the repaired areas to ensure that the colored spackle has dried evenly and matches the surrounding wall color. If any imperfections or color inconsistencies are present, gently sand the affected areas and apply a touch-up layer of colored spackle as needed.
- Blend with Wall Paint: If necessary, gently feather the edges of the colored spackle with a small amount of matching wall paint to seamlessly integrate the repaired areas with the rest of the wall. This step helps create a cohesive and uniform appearance.
- Protect and Seal: Once satisfied with the color application and blending, consider applying a clear sealant or topcoat over the colored spackle to protect it from wear and tear and to ensure long-lasting durability.
- Clean Up: Properly clean your tools and work area, removing any residual spackle or paint to maintain a tidy and organized space. This step also prevents dried spackle or paint from marring future projects or surfaces.
- Admire Your Handiwork: Step back and admire the flawless finish you’ve achieved with colored spackle. Take pride in the transformation of your walls and revel in the satisfaction of a job well done.
By meticulously attending to these finishing touches, you can elevate the overall aesthetic of your walls and ensure that the colored spackle seamlessly integrates with the existing paint, creating a professional and visually appealing result. With the finishing touches complete, stand back and admire the seamless, flawless finish that colored spackle has brought to your walls.
Conclusion
Congratulations! You’ve successfully navigated the art of coloring spackle, transforming your walls with a touch of finesse and creativity. By understanding the properties of spackle, choosing the perfect color, preparing the spackle, applying the color, and adding the finishing touches, you’ve elevated the aesthetic appeal of your living space with a seamless, flawless finish.
Coloring spackle is more than just a practical repair; it’s an opportunity to infuse your walls with personality and charm. Whether you’ve concealed minor imperfections or embarked on a larger renovation project, the colored spackle serves as a testament to your attention to detail and commitment to creating a visually stunning environment.
As you admire the polished walls, take pride in the craftsmanship and artistry that went into coloring the spackle. Your dedication to achieving a professional finish has not only enhanced the visual appeal of your home but has also imbued the space with a sense of character and refinement.
With the knowledge and skills you’ve gained, you’re now equipped to tackle future spackling projects with confidence and finesse. The art of coloring spackle has become a valuable addition to your repertoire of home improvement skills, allowing you to elevate the aesthetic appeal of your living space with precision and creativity.
So, as you bask in the beauty of your flawlessly finished walls, remember that the art of coloring spackle is a testament to your dedication to creating a home that is not only structurally sound but also visually captivating. Embrace the transformative power of colored spackle, and let your walls reflect the artistry and care you’ve poured into them.
Now, armed with the knowledge and expertise to color spackle like a pro, you’re ready to embark on your next home improvement adventure, infusing every project with creativity, precision, and a touch of artistry.
Frequently Asked Questions about How To Color A Spackle
Was this page helpful?
At Storables.com, we guarantee accurate and reliable information. Our content, validated by Expert Board Contributors, is crafted following stringent Editorial Policies. We're committed to providing you with well-researched, expert-backed insights for all your informational needs.


0 thoughts on “How To Color A Spackle”