Home>Storage Ideas>Bathroom Storage>How To Clean A Bathroom Sink And Keep It Looking Pristine
Bathroom Storage
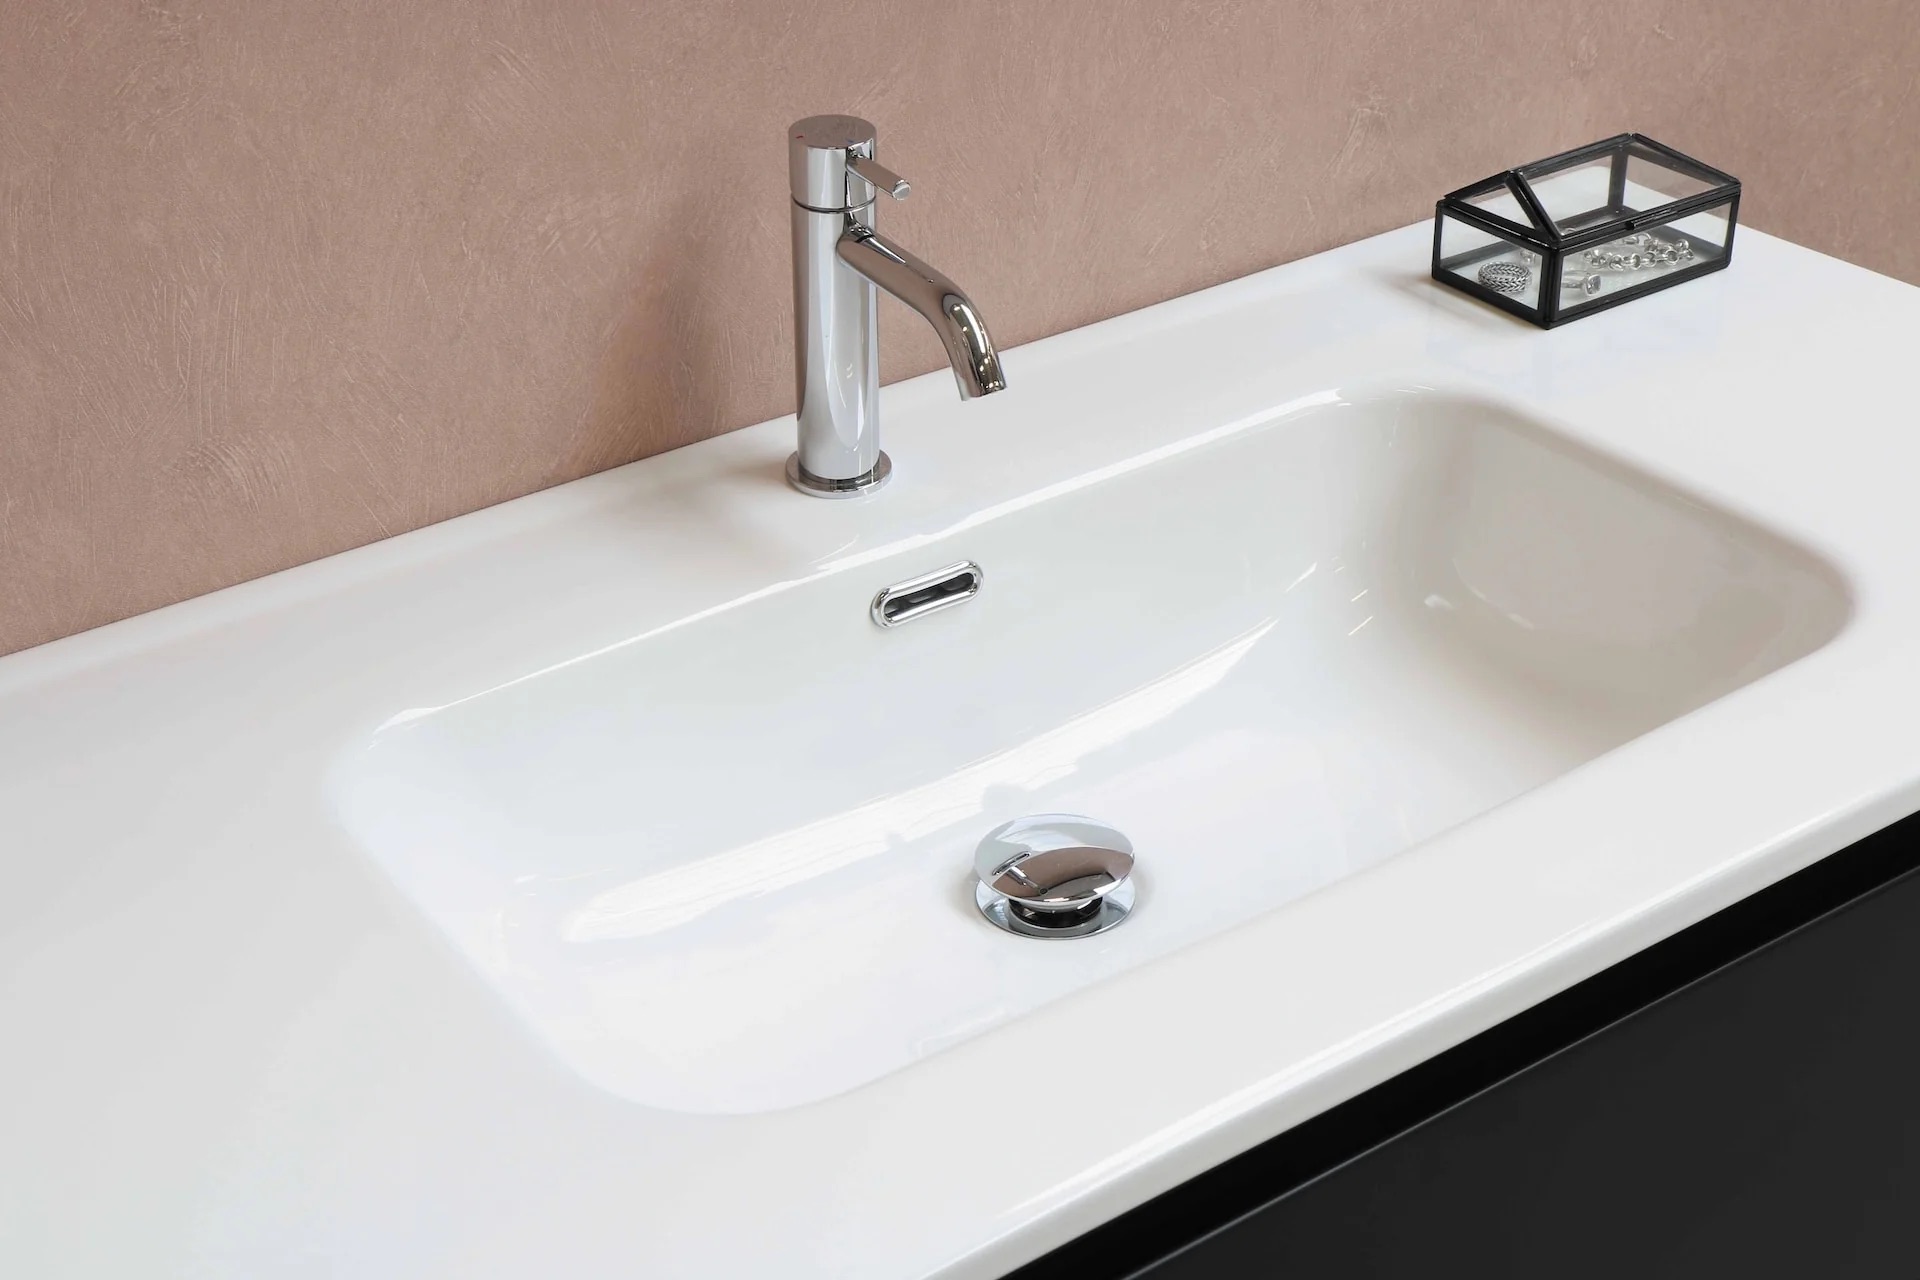
How To Clean A Bathroom Sink And Keep It Looking Pristine
Modified: March 1, 2024
Learn the best techniques to clean and maintain your bathroom sink for a pristine look. Discover smart storage ideas to keep your bathroom organized
(Many of the links in this article redirect to a specific reviewed product. Your purchase of these products through affiliate links helps to generate commission for Storables.com, at no extra cost. Learn more)
Introduction
Welcome to the world of bathroom storage! Bathrooms are often one of the smallest spaces in a home, yet they often hold a multitude of items that need to be stored efficiently. From toiletries and towels to cleaning supplies and medications, finding a place for everything can be a challenge. But fear not – with the right knowledge and some clever strategies, you can maximize your bathroom storage and keep your space organized and functional.
In this article, we will explore various bathroom storage ideas and solutions that can help you optimize your space. We will delve into creative storage options for different areas of the bathroom, from the vanity to the shower and even the walls. Whether you have a small powder room or a spacious master bathroom, there will be something for everyone.
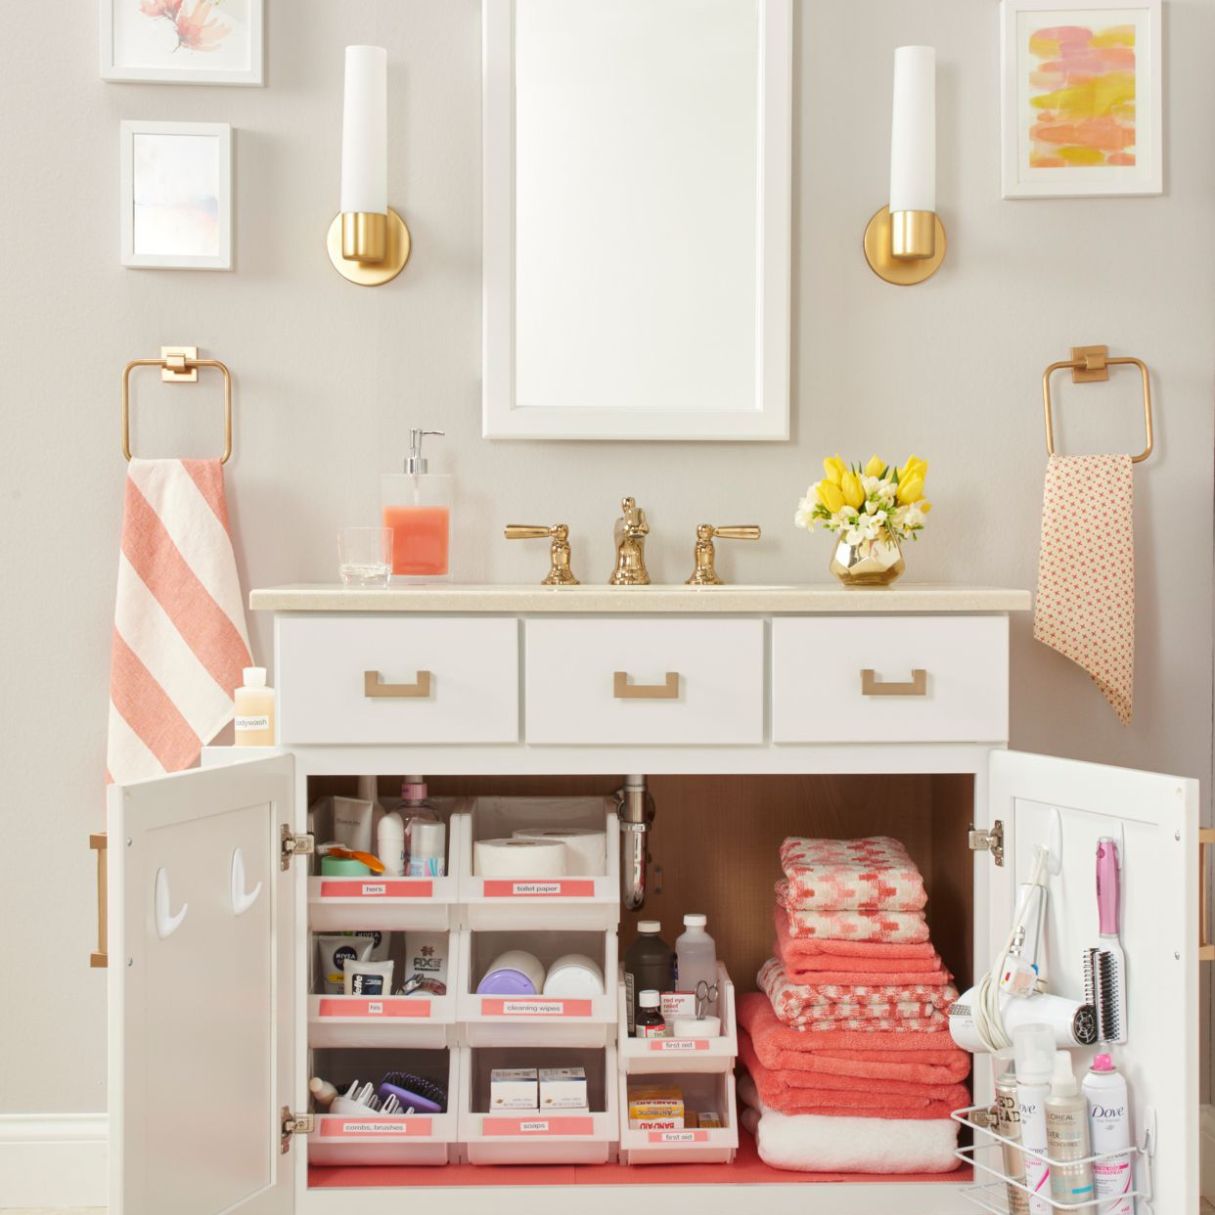
We will also discuss different types of bathroom storage accessories, such as bins, baskets, shelving units, and vanity organizers, that can help you keep your items neatly organized and easily accessible. Additionally, we will provide tips on how to declutter and downsize your bathroom belongings, making it easier to keep your space tidy and streamlined.
Furthermore, we will touch on the importance of proper labeling and categorization to help you quickly locate items when needed. By implementing these practical strategies, not only will you create a more efficient bathroom storage system, but you will also save time and reduce stress in your daily routine.
Lastly, we will discuss the aesthetic aspect of bathroom storage. Storage solutions can be both functional and visually pleasing. We will explore how to incorporate decorative elements into your bathroom storage, such as stylish bins, colorful towels, and ornamental shelving units, to enhance the overall look and feel of your space.
So, whether you’re a bathroom storage novice or looking to refresh your existing system, this article is your ultimate guide to optimizing your bathroom storage. Let’s dive in and transform your bathroom into a clutter-free sanctuary!
Key Takeaways:
- Transform your bathroom into a clutter-free sanctuary by maximizing storage with bins, baskets, and shelving units. Declutter, organize, and enjoy a well-arranged and functional space.
- Keep your bathroom sink pristine by following a thorough cleaning process, including clearing the area, applying a cleaning solution, and implementing preventive maintenance tips. Enjoy a sparkling and sanitary sink for years to come.
Supplies Needed
- All-purpose cleaner
- Mild dish soap
- Baking soda
- Vinegar
- Toothbrush or small scrub brush
- Microfiber or soft cloth
- Gloves
- Bucket or basin
- Old toothbrush or pipe cleaner
- Lint-free cloth or paper towel
- Q-tips or cotton swabs
- Optional: scrubbing pad or sponge
Before you begin cleaning your bathroom sink, it’s important to gather all the necessary supplies. Having everything prepared in advance will ensure a smooth and efficient cleaning process. Here are the supplies you’ll need:
All-purpose cleaner: Choose a cleaning solution that is suitable for your sink material. Avoid abrasive cleaners if you have a delicate or porous surface, such as marble or granite.
Mild dish soap: Dish soap is effective at cutting through grease and grime on your sink surface. Look for a gentle, non-abrasive formula.
Baking soda: This household staple is excellent for tackling tough stains and odors. It’s a natural cleaning agent that is safe to use on most sink materials.
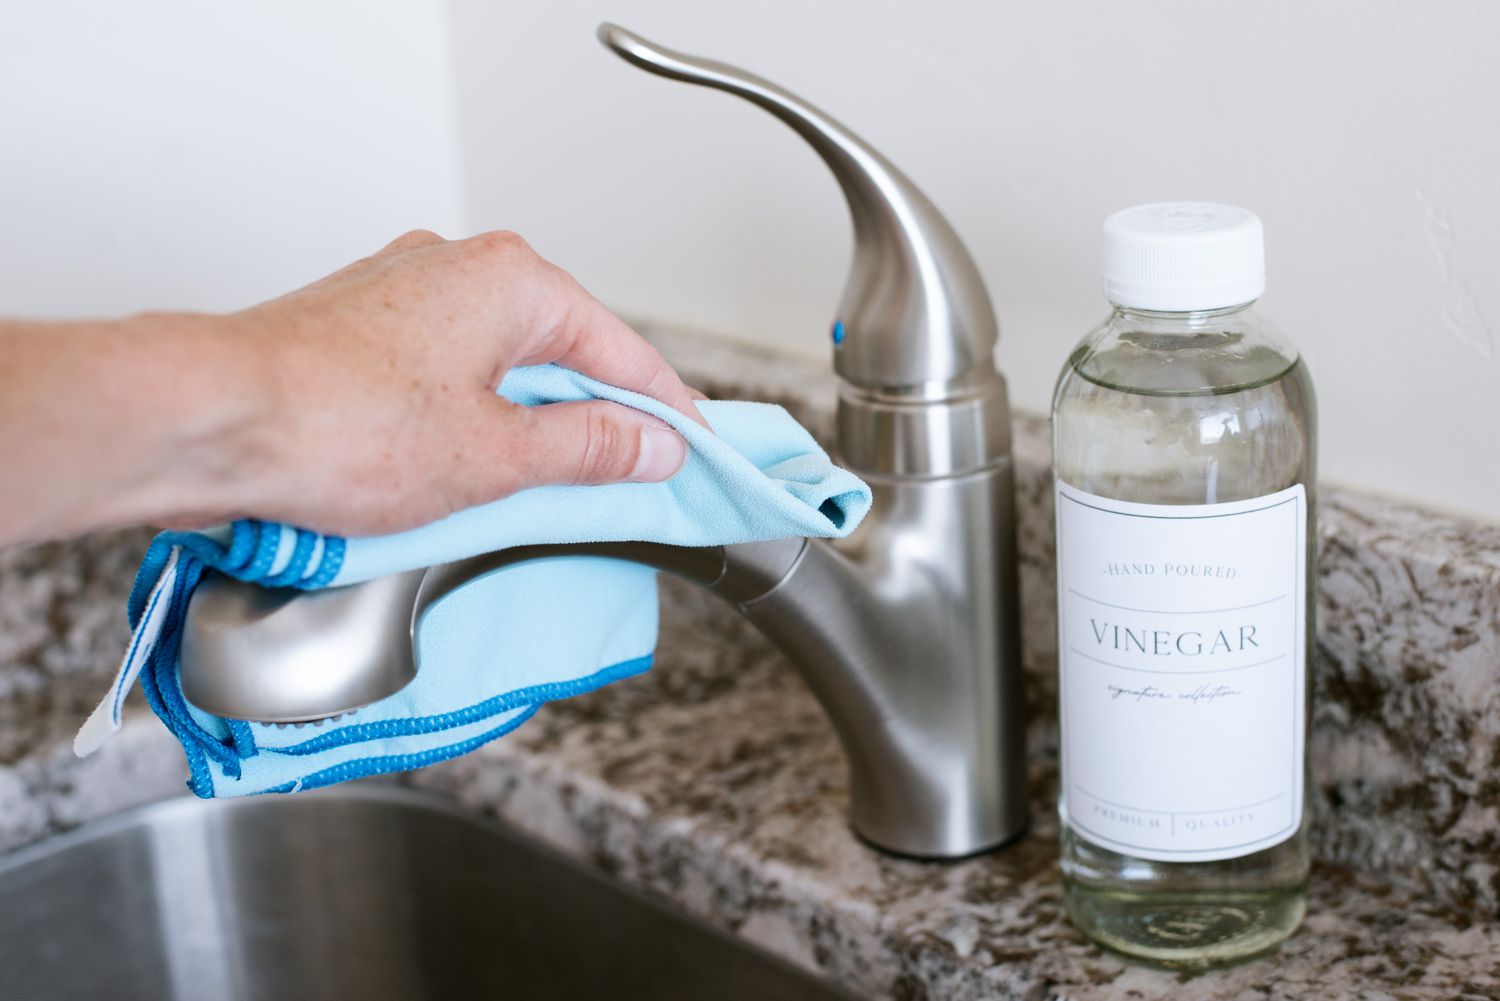
Vinegar: Vinegar is a powerful natural cleaner that can dissolve mineral deposits and sanitize surfaces. It’s especially useful for removing hard water stains from faucets and handles.
Toothbrush or small scrub brush: These tools are perfect for reaching small crevices and scrubbing away stubborn dirt and grime.
Microfiber or soft cloth: A soft cloth or microfiber cloth is ideal for wiping down your sink and leaving a streak-free finish.
Gloves: It’s always a good idea to wear gloves to protect your hands from chemicals and bacteria.
Bucket or basin: Use a bucket or basin to hold warm water for rinsing your cleaning tools.
Old toothbrush or pipe cleaner: An old toothbrush or pipe cleaner can be used to clean hard-to-reach areas, such as the overflow drain.
Lint-free cloth or paper towel: Use a lint-free cloth or paper towel to dry your sink, ensuring a shiny and clean finish.
Q-tips or cotton swabs: These small tools are excellent for getting into tight corners and detailing hard-to-reach areas.
Optional: scrubbing pad or sponge: If your sink has stubborn stains or grime, you may need a scrubbing pad or sponge for extra scrubbing power.
By gathering these supplies before you start cleaning, you’ll be well-prepared to tackle any dirt or grime that may be lurking in your bathroom sink. So, let’s roll up our sleeves and get started!
Step 1: Clearing the Area
Before you begin cleaning your bathroom sink, it’s important to clear the area and remove any items that may be in your way. This will give you ample space to work and ensure that you can clean every nook and cranny of your sink.
Start by removing any personal items like toothbrushes, toothpaste, soap dispensers, and other bathroom essentials from the sink area. Place them in a safe spot away from the cleaning zone.
If you have any decorative items or accessories on or around your sink, such as candles, decorative trays, or flower vases, take them off as well. Set them aside in a separate area to prevent them from getting wet or damaged during the cleaning process.
Next, clear any clutter or debris from the sink surface. Dispose of any trash or empty bottles that may be cluttering up your sink area. If there are any hair strands or loose dirt, use a tissue or paper towel to quickly wipe them away.
Moving on, remove any items from the vanity cabinet or shelves that may be blocking your access to the sink. This includes cleaning supplies, spare toiletries, or any other items that are stored beneath or around the sink.
Once you have cleared the area around your sink, take a moment to assess the condition of your sink and identify any specific areas that may require extra attention during the cleaning process. Look for stains, mineral deposits, or any hard-to-reach corners that may need some extra scrubbing.
Clearing the area is an essential first step to ensure a thorough cleaning of your bathroom sink. By removing all items, you’ll have a clean canvas to work with and be able to give attention to every inch of your sink surface.
Now that you’ve cleared the area, it’s time to move on to the next step: removing debris and excess water from the sink. Get ready to reveal a sparkling clean sink that will brighten up your bathroom!
Step 2: Removing Debris and Excess Water
Now that you have cleared the area around your bathroom sink, it’s time to remove any debris and excess water to prepare for the deep cleaning process. This step ensures that your sink surface is ready for a thorough scrubbing.
First, use a tissue, paper towel, or a small brush to remove any loose debris or dirt from the sink surface. This includes hair strands, soap scum, or any other small particles that may have accumulated.
If there is any water sitting in the sink, use a small cup or a sponge to carefully drain it out. Be cautious not to splash water onto yourself or the surrounding surfaces. Wipe up any remaining moisture with a dry cloth or paper towel.
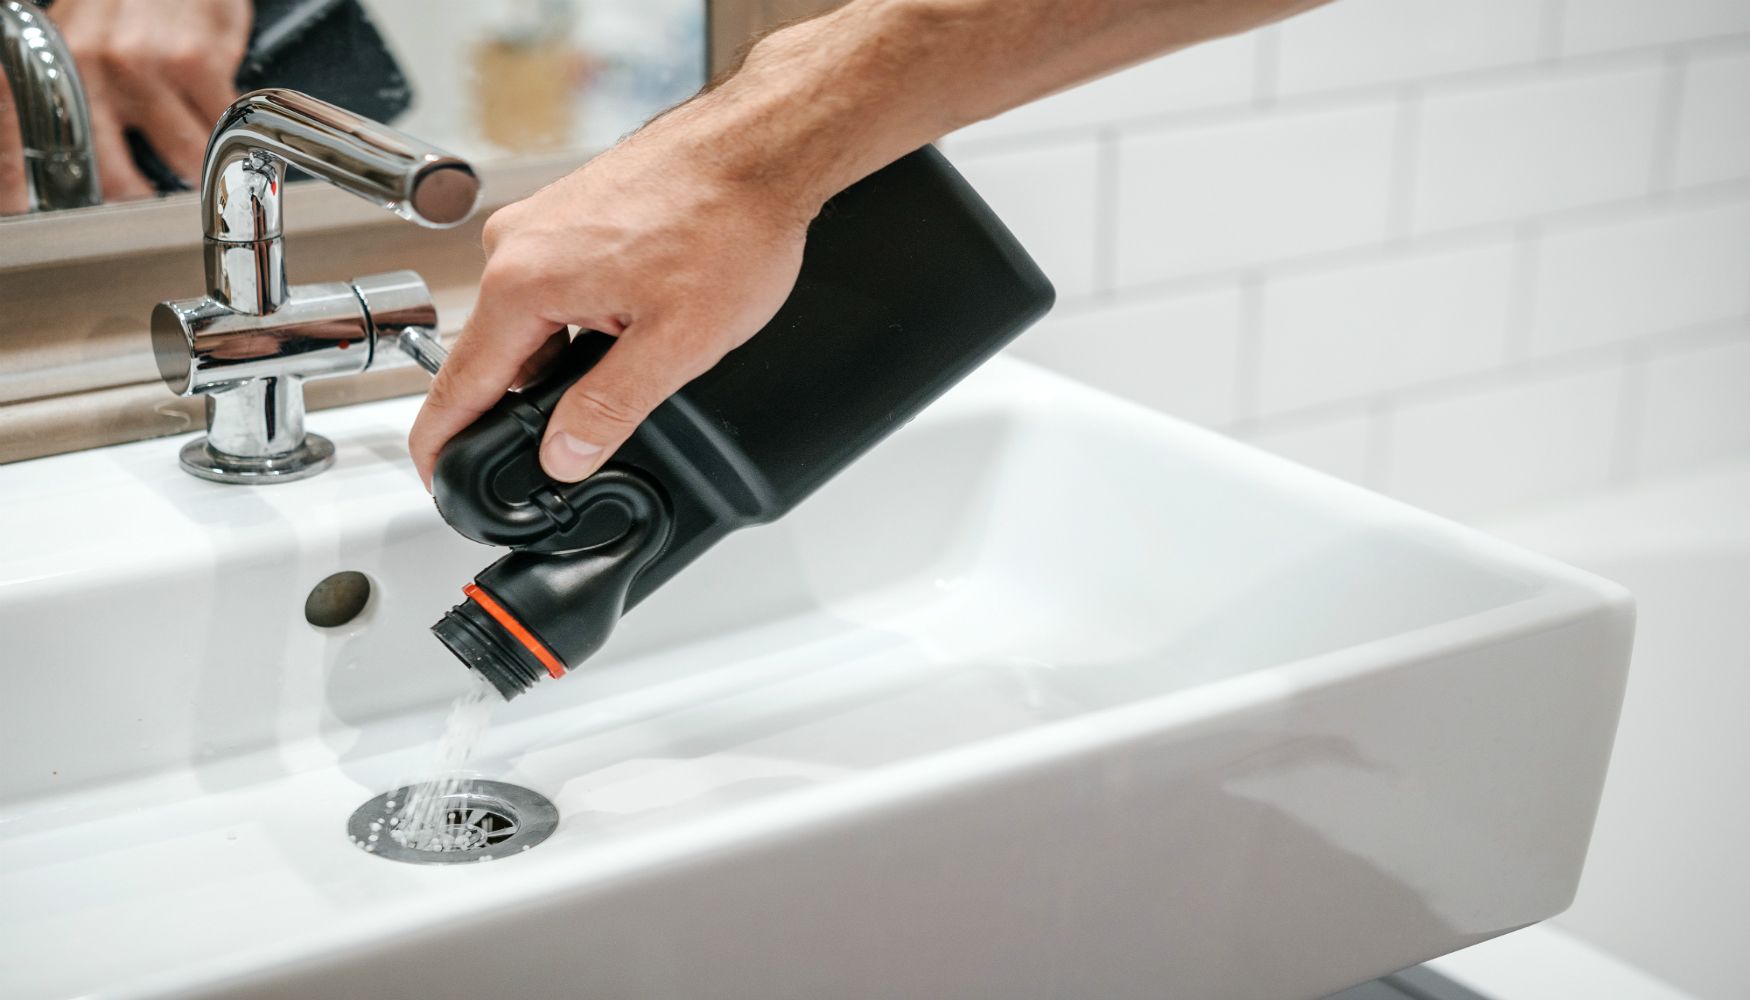
Next, check the overflow drain, which is the small hole located near the top of the sink. This drain helps prevent water from overflowing if the sink gets clogged. Use an old toothbrush or a pipe cleaner to remove any debris or buildup from the overflow drain. This ensures proper drainage and prevents any foul odors from lingering.
For faucets and handles, turn them on briefly to flush out any remaining water or debris trapped in the aerator. This will help ensure clean water flows through and prevent any blockage during use.
If your sink has a pop-up drain stopper, remove it by unscrewing or pulling it out, depending on the type. Clean the stopper separately by scrubbing it with mild dish soap and a toothbrush to remove any accumulated grime or hair. Rinse it thoroughly before reattaching it.
By removing debris and excess water, you’re setting the stage for a more effective cleaning process. This step helps ensure that your sink surface is free from obstacles and ready for a deep scrub.
With the area cleared and debris removed, it’s time to move on to the next step: applying a cleaning solution to tackle dirt and grime. Get ready to give your bathroom sink a refreshing makeover!
Step 3: Applying Cleaning Solution
With the debris removed, it’s time to apply a cleaning solution to your bathroom sink to tackle any dirt, grime, or stains that may have accumulated over time. The choice of cleaning solution will depend on the material of your sink and any specific issues you want to address.
If you have an enamel, porcelain, or ceramic sink, an all-purpose cleaner or mild dish soap diluted in warm water can be a safe and effective option. Mix the cleaner or soap with water in a bucket or basin according to the instructions on the product label. Dip a soft cloth or sponge into the solution, ensuring it is damp but not dripping.
For stainless steel or copper sinks, you need to be more cautious with the choice of cleaner to avoid scratching the surface. A mixture of mild dish soap and warm water is generally safe to use. Alternatively, you can use a specialized stainless steel cleaner or a paste made from baking soda and water to gently scrub away stains and restore shine.
If your sink has stubborn stains or mineral deposits, consider using a solution of equal parts vinegar and water. Vinegar works wonders in removing hard water stains and mineral buildup. Be careful when using vinegar on natural stone sinks, such as marble or granite, as it can damage the surface. In such cases, consult the manufacturer’s recommendations or use a specialized stone cleaner.
Whichever cleaning solution you choose, apply it to the sink surface, focusing on areas with visible stains or grime. Allow the cleaning solution to sit for a few minutes to loosen dirt and make it easier to scrub away.
For hard-to-reach areas, such as around the faucet base or in the corners of the sink, use a toothbrush or small scrub brush dipped in the cleaning solution. Gently scrub these areas to remove any dirt or buildup that may have accumulated.
Remember to follow the manufacturer’s instructions for any cleaning solutions you use and test them in a small, inconspicuous area of your sink before applying them to the entire surface.
Once you have applied the cleaning solution and given it a few minutes to work its magic, it’s time to move on to the next step: scrubbing the sink to remove dirt and stains. Get ready to give your bathroom sink a thorough cleaning!
To keep your bathroom sink looking pristine, regularly clean it with a mild cleaner and a soft cloth. Avoid abrasive cleaners that can scratch the surface. Wipe down the sink after each use to prevent water spots and soap scum buildup.
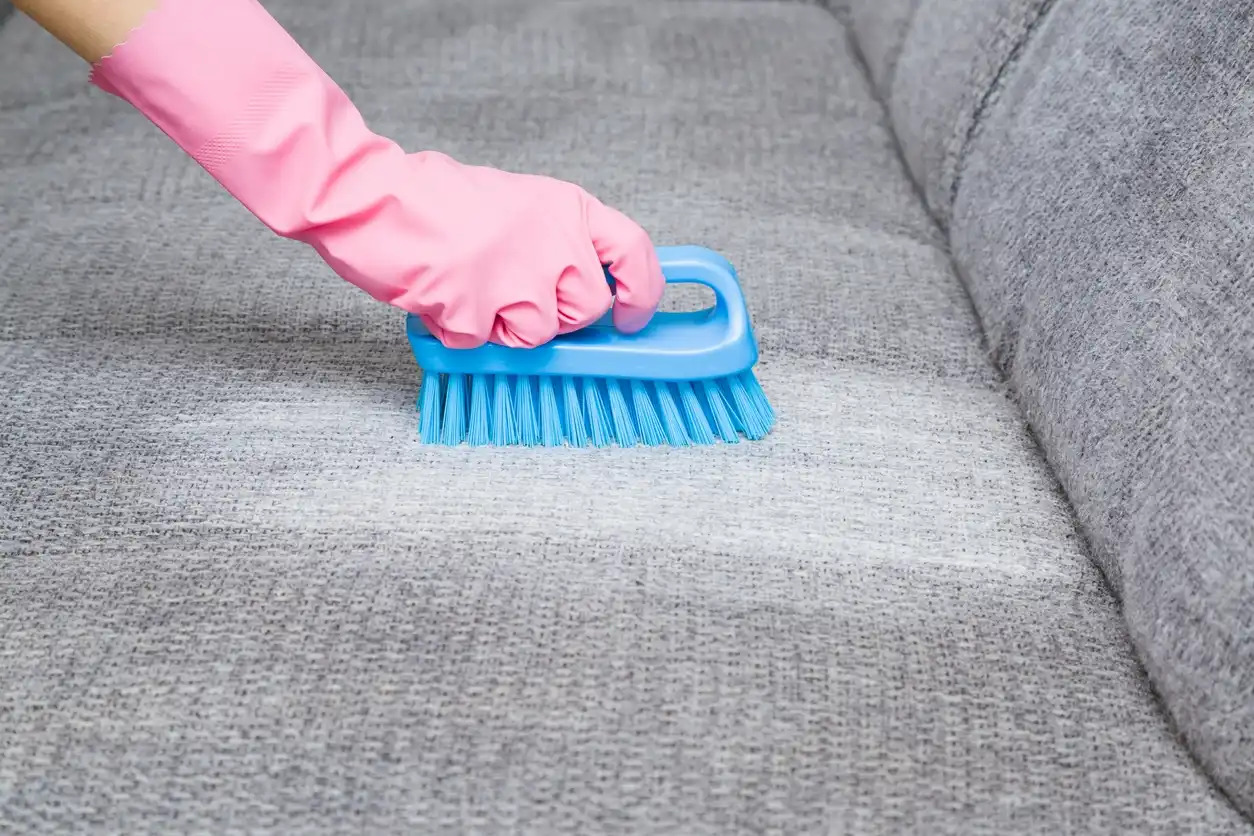
Step 4: Scrubbing the Sink
Now that you have applied the cleaning solution, it’s time to roll up your sleeves and give your bathroom sink a good scrubbing. This step is crucial for removing dirt, grime, and stains, leaving your sink looking fresh and pristine.
Start by using a soft cloth or sponge to scrub the sink surface. Use gentle circular motions to work the cleaning solution into the sink material and remove any dirt or grime. Pay attention to areas where stains or buildup may be more prominent, such as around the drain or near the faucet.
For tougher stains or mineral deposits, you may need to apply a bit more pressure and use a scrubbing pad or sponge. Be careful not to use anything too abrasive that could scratch the surface of your sink. If unsure, refer to the manufacturer’s instructions or consult a professional.
Don’t forget to scrub the underside of the faucet and handles, as these areas can accumulate dirt and water spots. Use a toothbrush or a small scrub brush to reach these tight spots and remove any buildup.
If your sink has a stainless steel or copper finish, scrub in the direction of the grain for a polished and streak-free result. This helps maintain the integrity of the finish and prevents scratching.
For extra cleaning power, you can make a paste using baking soda and water. Apply the paste to stains or tough spots on the sink surface and let it sit for a few minutes. Then, use a soft cloth or sponge to scrub the area gently. Baking soda is a natural abrasive that can help lift stubborn stains without damaging the sink material.
Once you have scrubbed the entire sink surface, rinse it thoroughly with warm water to remove any remaining cleaning solution or residue. Pay attention to ensure all cleaning solution is removed, especially around the edges of the sink where it can accumulate.
As you scrub, take a moment to appreciate the transformation happening in your bathroom sink. By removing dirt, grime, and stains, you’re restoring its original beauty and enhancing the overall cleanliness of your bathroom.
Now that you have scrubbed the sink, it’s time to move on to the next step: cleaning the faucet and handles. Get ready to make every inch of your bathroom sink shine!
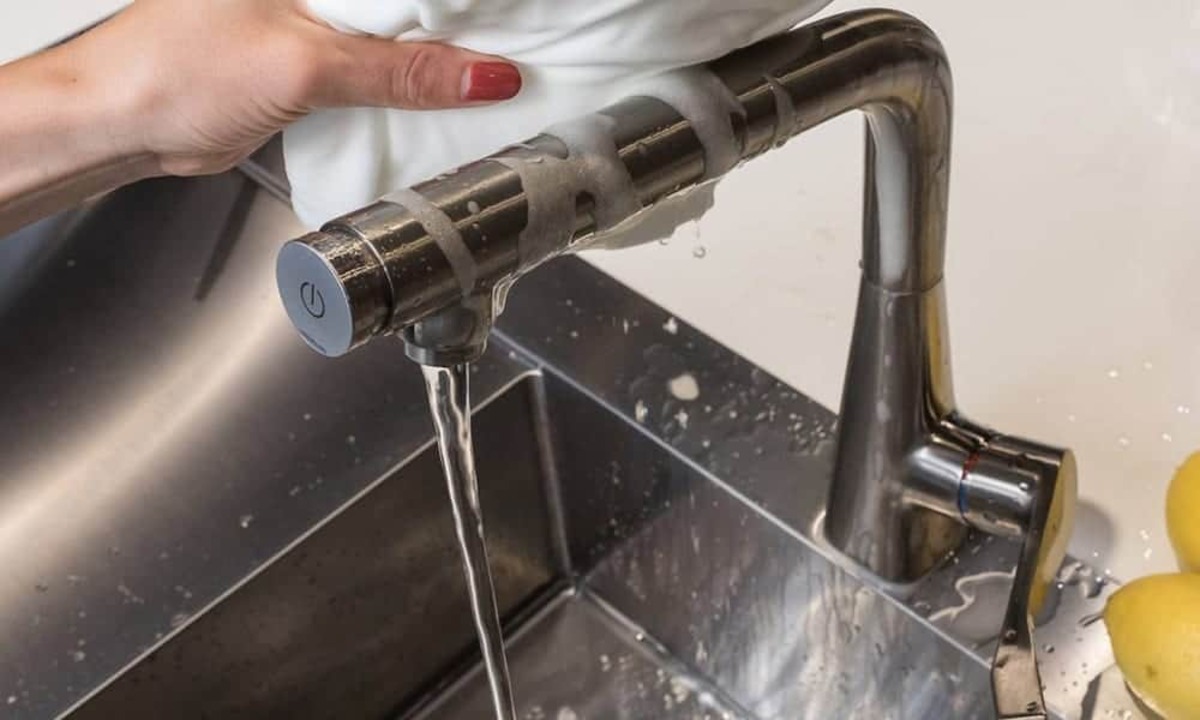
Step 5: Cleaning the Faucet and Handles
Now that you have thoroughly scrubbed the sink, it’s time to shift your focus to cleaning the faucet and handles. These areas are prone to water spots, fingerprints, and buildup, so giving them some extra attention will help achieve a truly pristine bathroom sink.
To start, dampen a soft cloth or sponge with your chosen cleaning solution. Gently wipe down the faucet and handles, paying close attention to remove any dirt, grime, or water spots. If you’re using a specialized cleaner, follow the instructions on the product label for best results.
For hard-to-reach areas around the base of the faucet or in between handles, use a toothbrush or a small scrub brush. Dip it in the cleaning solution and gently scrub these areas to remove any buildup or residue.
If your faucet has aerators, which are the small mesh screens that screw onto the faucet spout, remove them carefully. These can collect debris and eventually affect water flow. Soak the aerators in a solution of equal parts vinegar and water to dissolve any mineral deposits. Rinse them thoroughly and reattach them once they’re clean.
For chrome or stainless steel faucets and handles, you can enhance their shine by polishing them with a soft cloth or microfiber cloth. Apply a small amount of baby oil or a specialized metal polish to the cloth and gently buff the faucet and handles to restore their luster.
Once you’ve cleaned and polished the faucet and handles, use a lint-free cloth or paper towel to wipe away any excess cleaner or moisture. This will give your faucet and handles a streak-free finish.
Remember, the cleanliness of your faucet and handles can make a big difference in the overall appearance of your bathroom sink. By giving them some extra attention, you’ll ensure that every aspect of your sink is gleaming and inviting.
With the faucet and handles cleaned, it’s time to move on to the next step: rinsing and drying the sink. Get ready to reveal the final sparkling result!
Step 6: Rinsing and Drying the Sink
After scrubbing the sink, faucet, and handles, it’s essential to rinse away any remaining cleaning solution and ensure the sink is completely dry. This step will help prevent water spots and streaks, leaving your bathroom sink looking pristine and ready for use.
Start by using warm water to thoroughly rinse the entire sink surface. Run the water over the sink, paying attention to remove any residue or cleaning solution that may be lingering. Use your hands or a clean cloth to wipe away any excess water and ensure a thorough rinse.
Next, use a lint-free cloth or paper towel to dry the sink. Wipe the sink surface, faucet, and handles, ensuring that no moisture remains. This step is crucial to prevent water spots and maintain the shine of your sink.
For hard-to-reach areas or around the faucet base, use a Q-tip or cotton swab to absorb any lingering moisture. This will help ensure that every inch of your bathroom sink is completely dry.
If you have a stainless steel or copper sink, consider using a microfiber cloth to buff the surface gently. This will help restore the shine and remove any residual streaks or water spots.
Properly drying your sink is important not only for aesthetics but also for preventing the growth of bacteria or mold. A dry sink is less likely to collect moisture and become a breeding ground for unwanted germs.
With the sink rinsed and dried, you can appreciate the result of your hard work and the sparkling cleanliness of your bathroom sink. But don’t stop here – let’s move on to the next step: preventive maintenance tips to keep your sink looking pristine for longer.
Step 7: Preventive Maintenance Tips
Now that you have successfully deep cleaned and restored the cleanliness of your bathroom sink, it’s important to implement preventive maintenance strategies to keep it looking pristine for longer. These tips will help you maintain a clean and organized sink while preventing the buildup of dirt, grime, and stains.
1. Wipe the sink regularly: After each use, take a moment to quickly wipe down your sink with a soft cloth or sponge. This simple habit will prevent the accumulation of toothpaste, soap scum, and water spots, keeping your sink looking clean and shiny.
2. Avoid abrasive cleaners: Stick to mild cleaning solutions and avoid harsh or abrasive cleaners that can damage your sink’s surface. Always check the manufacturer’s recommendations for the best cleaning products to use on your specific sink material.
3. Use coasters or trays: To avoid water rings or stains from toiletries, consider using coasters or trays to keep your sink area organized and protected. This will help prevent the direct contact of products with the sink surface, reducing the chance of discoloration or damage.
4. Address clogs promptly: If you notice slow drainage, address it promptly to prevent standing water or potential damage to your sink. Use a plunger or a drain snake to clear any clogs and maintain proper functionality.
5. Periodically disinfect: About once a week, disinfect your sink and faucet using a diluted bleach solution or an antibacterial cleaner. This will help eliminate harmful bacteria and keep your sink sanitary.
6. Maintain caulk and grout: If your sink is surrounded by caulk or grout, regularly inspect and maintain these areas. Cracked or moldy caulk can allow water to seep underneath, leading to water damage and stains. Replace or repair damaged caulk as needed.
7. Keep the sink dry: After each use, make sure to wipe down the sink and dry it thoroughly. This will prevent the accumulation of moisture and reduce the chances of mold or mildew growth.
8. Inspect for leaks: Periodically check your sink and plumbing for any signs of leaks. Addressing leaks promptly not only saves water but also prevents damage to your sink and surrounding areas.
By implementing these preventive maintenance tips, you’ll ensure that your bathroom sink remains clean, fresh, and functional for years to come. Remember, a little effort goes a long way in maintaining the beauty and cleanliness of your sink.
With these tips in mind, you’ve now mastered the art of cleaning and maintaining a pristine bathroom sink. Remember, a clean and well-organized sink not only adds functionality to your bathroom but also enhances the overall aesthetics of your space. Happy cleaning!
Conclusion
Congratulations! You’ve reached the end of our comprehensive guide to optimizing your bathroom storage. We have explored various bathroom storage ideas, from clever solutions for small spaces to innovative storage options for larger bathrooms. By implementing these ideas, you can transform your bathroom into a well-organized and functional space.
We’ve discussed the importance of decluttering and downsizing your bathroom belongings, as well as the benefits of using bins, baskets, shelving units, and vanity organizers to keep your items neatly arranged. By maximizing vertical space and utilizing underutilized areas, you can make the most of every inch of your bathroom.
We’ve also highlighted the significance of proper labeling and categorization to make it easier to find items when you need them. With clear organization, you can streamline your daily routine and save time searching for your essentials.
Furthermore, we’ve emphasized the aesthetic aspect of bathroom storage. Your storage solutions can be both functional and visually pleasing. By incorporating decorative elements such as stylish bins, colorful towels, and ornamental shelving units, you can enhance the overall look and feel of your bathroom.
Throughout this guide, we’ve also emphasized the importance of regular maintenance and cleaning to keep your bathroom storage in top shape. By following proper cleaning techniques and implementing preventive maintenance strategies, you can ensure that your bathroom storage remains clean, organized, and hassle-free.
Remember, the key to successful bathroom storage is finding solutions that work for your specific needs and preferences. Take the time to assess your space, consider your storage requirements, and explore different options to find the perfect fit.
Thank you for joining us on this journey to optimize your bathroom storage. We hope you’ve gained valuable insights, tips, and inspiration to transform your bathroom into a clutter-free sanctuary. Now go forth, declutter, organize, and enjoy your perfectly arranged bathroom storage!
Frequently Asked Questions about How To Clean A Bathroom Sink And Keep It Looking Pristine
Was this page helpful?
At Storables.com, we guarantee accurate and reliable information. Our content, validated by Expert Board Contributors, is crafted following stringent Editorial Policies. We're committed to providing you with well-researched, expert-backed insights for all your informational needs.


0 thoughts on “How To Clean A Bathroom Sink And Keep It Looking Pristine”