Home>Storage Ideas>Storage Shelves>11 Best Storage Baskets For Shelves For 2025
Storage Shelves
11 Best Storage Baskets For Shelves For 2025
Modified: June 9, 2025
Organize your shelves in 2025 with the 11 best storage baskets for shelves. Keep your home clutter-free with these stylish and versatile storage solutions.
(Many of the links in this article redirect to a specific reviewed product. Your purchase of these products through affiliate links helps to generate commission for Storables.com, at no extra cost. Learn more)
Introduction: If you're looking for some smart and attractive storage solutions for your shelves by 2025, then you're in the right place. Baskets are a great way to keep your shelves organized and tidy. But with so many options out there, it can be hard to choose the right one. That's why we've put together a list of the 11 best storage baskets for shelves that you can try out by 2025. From wicker baskets to wire baskets, we've got your storage needs covered. So, let's dive into the list and find the perfect basket for your shelves!

Overall Score: 9/10
DECOMOMO Storage Bins are fabric storage baskets that keep your space organized. It comes with a reinforced metal frame and MDF fiberboard bottom that provide support even when they're empty. The thick fabric is durable, easy to clean, and gives your space a modern and elegant feel. It's a versatile storage solution that can be used in the bedroom, closets, office, and more. You can purchase these storage bins in a set of 3 for better value and convenience. With a dimension of 15" (L) x 11" (W) x 9.5" (H), it's easy to store or keep your things tidy. You can also label and decorate the bins using the complementary craft paper tags and jute string. The dual color design fits in all kinds of interior designs as statement pieces.
Key Features
- Reinforced metal frame and MDF fiberboard bottom
- Durable faux leather handles
- Comes with craft paper tags and jute string
- Can be used as storage baskets for shelves, closet storage bins, closet organizers, and more
- Set of 3 for better value and convenience
- Easy to clean EVA fabric
- Dimensions (each): 15" (L) x 11" (W) x 9.5" (H)
Specifications
- Color: Grey and White
- Dimension: 14.96Lx11.02Wx9.45H
- Size: Large/3P – 15"x11"x9.5"
Pros
- Reinforced construction for sturdy support
- Easy to customize and label
- Has a dual color design that fits all kinds of interiors
- Can be used in different rooms for storage
- Comes in a set of 3 for better value
Cons
- Has a musty odor that takes time to air out
- May have an extreme off-gassing smell
- Some batches may have a cigarette smoke smell
DECOMOMO Storage Bins is a must-have storage solution for anyone looking for an elegant and sturdy storage bin. With its reinforced construction and stylish design, it’s perfect for different rooms in your home or office. You can customize and label it easily using the craft paper tags and jute string. If you’re looking for a versatile and functional storage bin, the DECOMOMO Storage Bins is an excellent choice.

Overall Score: 9/10
The Lifewit Collapsible Storage Cubes 11 Inch Foldable Fabric Bins Multi-color Organizers Decorative Organizing Baskets for Shelves for Closet, Utility Room, Storage Room Set of 6 Grey is designed to match and blend with interior decors of any home effortlessly. It is made of high-quality non-woven fabric and cardboard insert that has been precision stitched are firm and durable for prolonged use. This storage basket can be placed in the living room or bedroom to store sundries, magazines, and more. With its simple foldable design, the storage boxes stand firm and upright when used and can be collapsed and stored away instantly when not in use. The warm neutral color choices will also complement and match with all cabinet colors.
Key Features
- Complementary decor with a choice of neutral hues
- High-quality construction with non-woven fabric and cardboard insert
- 2 size options (pack of 6)
- Multipurpose-use for living room or bedroom storage
- Practical design with simple foldable design
- Warm neutral color choices to complement any cabinet color
Specifications
- Color: Grey
- Dimension: 10.43Lx10.43Wx11.02H
- Size: 6 x Medium
Pros
- Well-made and sturdy
- Stong and attractive
- Matches any decor
- Sturdy and seem to be of good construction
- Unusually strong, attractive and they keep their shape well
- Great value and nice look
Cons
- Initial strong smell
- Cats may use them to scratch
The Lifewit Collapsible Storage Cubes are a great option for anyone looking to organize their home without sacrificing style. With a choice of four neutral hues, high-quality materials, and collapsible design, these storage cubes are a great choice for anyone looking to save space and stay organized. While some people may encounter an initial strong smell, this issue can be easily remedied by airing the cubes out.
")
Overall Score: 8.7/10
Keep your space organized with the StorageWorks Metal Storage Baskets. These rectangle storage bins are perfect for storing towels, clothes, toys, books, office supplies, and more. With a heavy-duty metal frame and bottom board, these baskets can support up to 30 pounds. Assembly is easy and they are collapsible for compact storage. They also feature 2 sewn-in handles and can be used as underbed storage or makeup organizers. The natural color and sleek modern design make them an attractive addition to any room. Customers have been very pleased with the baskets' sturdiness and size, although a few reviewers experienced difficulty with the frames staying in place during assembly. Overall, the StorageWorks Metal Baskets are a great value for the price and very useful for staying organized.
Key Features
- Sleek modern design with 2 sewn-in handles
- Rectangle organizer bins with heavy-duty bottom board and metal frame
- Supports a weight of up to 30 pounds
- Easy assembly; collapsible for compact storage
- Large storage bins for organization of various items
- Open-top storage baskets perfect for underbed storage or makeup organization
Specifications
- Color: Natural Color
- Dimension: 16.50Lx12.00Wx10.25H
- Size: 16 ½" L x 12" W x 10 ¼" H
- Unit count: 2
Pros
- Sturdy and well-made
- Larger than expected
- Easy to "set-up"
- Significantly roomier than other cubes
- Nice linen material and neutral color
Cons
- Frames can be difficult to assemble for some
- Strong smell when first unpackaged
- Not recommended for heavy items
- Seams can be cumbersome during assembly
The StorageWorks Metal Storage Baskets are a great investment for anyone looking to stay organized. They are sturdy, compact, and provide a modern solution for organizing various items from towels to office supplies. The open-top baskets can be used in a variety of ways, such as underbed storage or as makeup organizers. While a few customers have had issues with assembly, the majority have been very pleased with the sturdiness and size of the baskets. Overall, the StorageWorks Metal Storage Baskets are a great value for the price and a must-have for anyone looking to declutter their space.

Overall Score: 8/10
The StorageWorks Large Foldable Storage Baskets are perfect for anyone looking to save space while keeping their home organized. They feature soft rope handles for easy carrying and can hold up to 30 pounds, making them suitable for storing a wide variety of household items. These versatile baskets can fit in various spaces like linen closets, shelves, and even nurseries. They are also collapsible, ensuring easy storage when not in use. Although they are not suitable for long-term heavy use, they are good quality for the price and easy to assemble.
Key Features
- Polyester blend fabric and heavy-duty board support up to 30 lbs
- Soft rope handles for easy carrying
- Space-saving and versatile for organizing clothes, supplies, etc.
- Collapsible for compact storage
Specifications
- Color: Beige, White & Ivory
- Dimension: 14.75Lx10.25Wx8.00H
- Size: 14 ¾" L x 10 ¼" W x 8" H
Pros
- Spacious and sturdy
- Easy to assemble
- Good quality for the price
Cons
- Not suitable for long-term heavy use
- May not fit in smaller closets
- Missing pieces in some orders
Overall, the StorageWorks Large Foldable Storage Baskets are a great option for those who want a stylish and practical solution to organize their home. They may have some minor drawbacks such as missing parts and not being suitable for long-term heavy use, but they make up for it with their spaciousness, sturdy construction, and ease of use.

Overall Score: 9.5/10
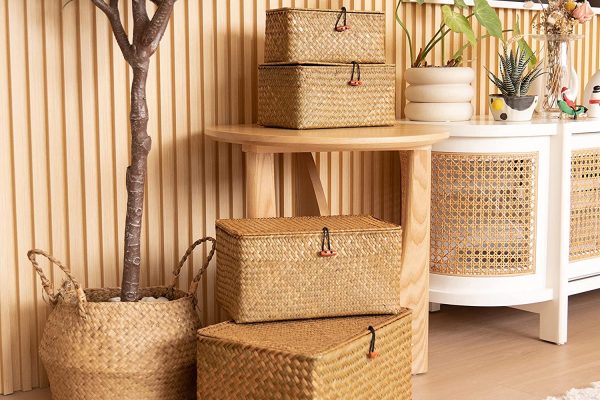
The MINTWOOD Design 3-Pack Storage Baskets are woven storage baskets that offer an elegant solution to your organization needs. These baskets are great for home decor as well as organizing small household essentials such as books, classroom supplies, stationery, arts and crafts supplies, and gadgets. Handcrafted and free of sharp edges, they fit well in any room and location without scratching the furniture. Measuring 15" (L) x 10" (W) x 10" (H), these are perfect for home organization that is both stylish and practical. Looking for a gift? These woven baskets are an excellent choice for birthdays, weddings, housewarmings, baby showers, or any other gift-giving occasion. Note, the baskets arrive folded and collapsible for easy storage when not in use. If you want to use them, simply restore them to their original shape by following the instructions included.
Key Features
- Multi-Purpose Cube Storage Baskets
- Decorative Cute Woven Baskets
- Handcrafted & Free of Sharp Edges
- Well-Sized Bins with Elegant Slit Handles
- Perfect Gift Idea
Specifications
- Color: Oatmeal Brown
- Dimension: 15.00Lx10.00Wx10.00H
- Unit count: 3
Pros
- Stylish and practical solution for home organization
- Handcrafted and free of sharp edges
- Flexible material ensures easy storage
- Perfect as gift
- Beautiful and functional.
Cons
- The dimensions might not match the description.
If you are looking for a woven basket that can organize household items, this set of three baskets from MINTWOOD Design is a great option. It is practical, stylish and will not scratch your furniture. These baskets are a perfect gift idea for any occasion, and they are flexible enough to fold and store when you do not need them. However, you must check the dimensions before ordering as they might not match the description. Overall, these baskets are indeed effective in resolving clutter and home decoration issues. Get one today, and you will see what we mean!

Overall Score: 9/10
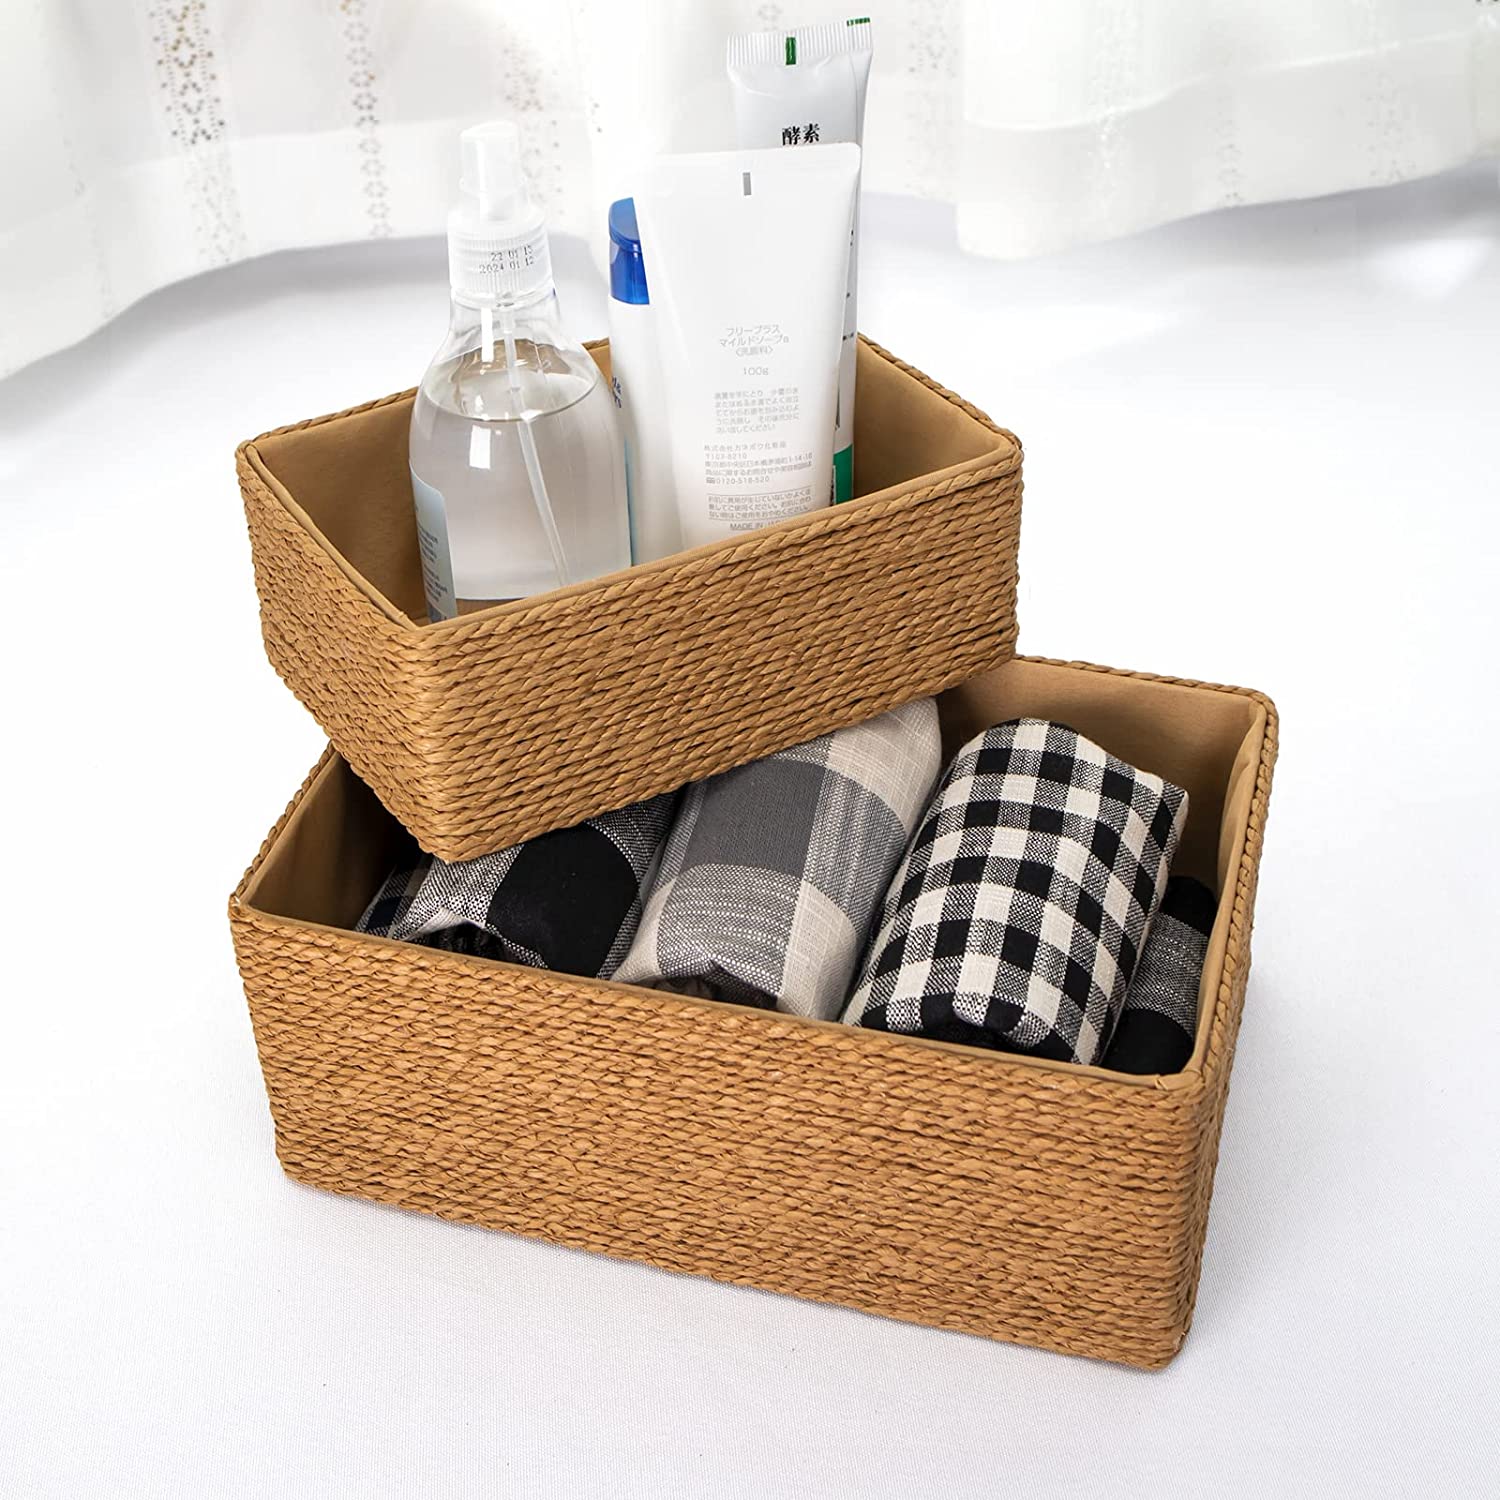
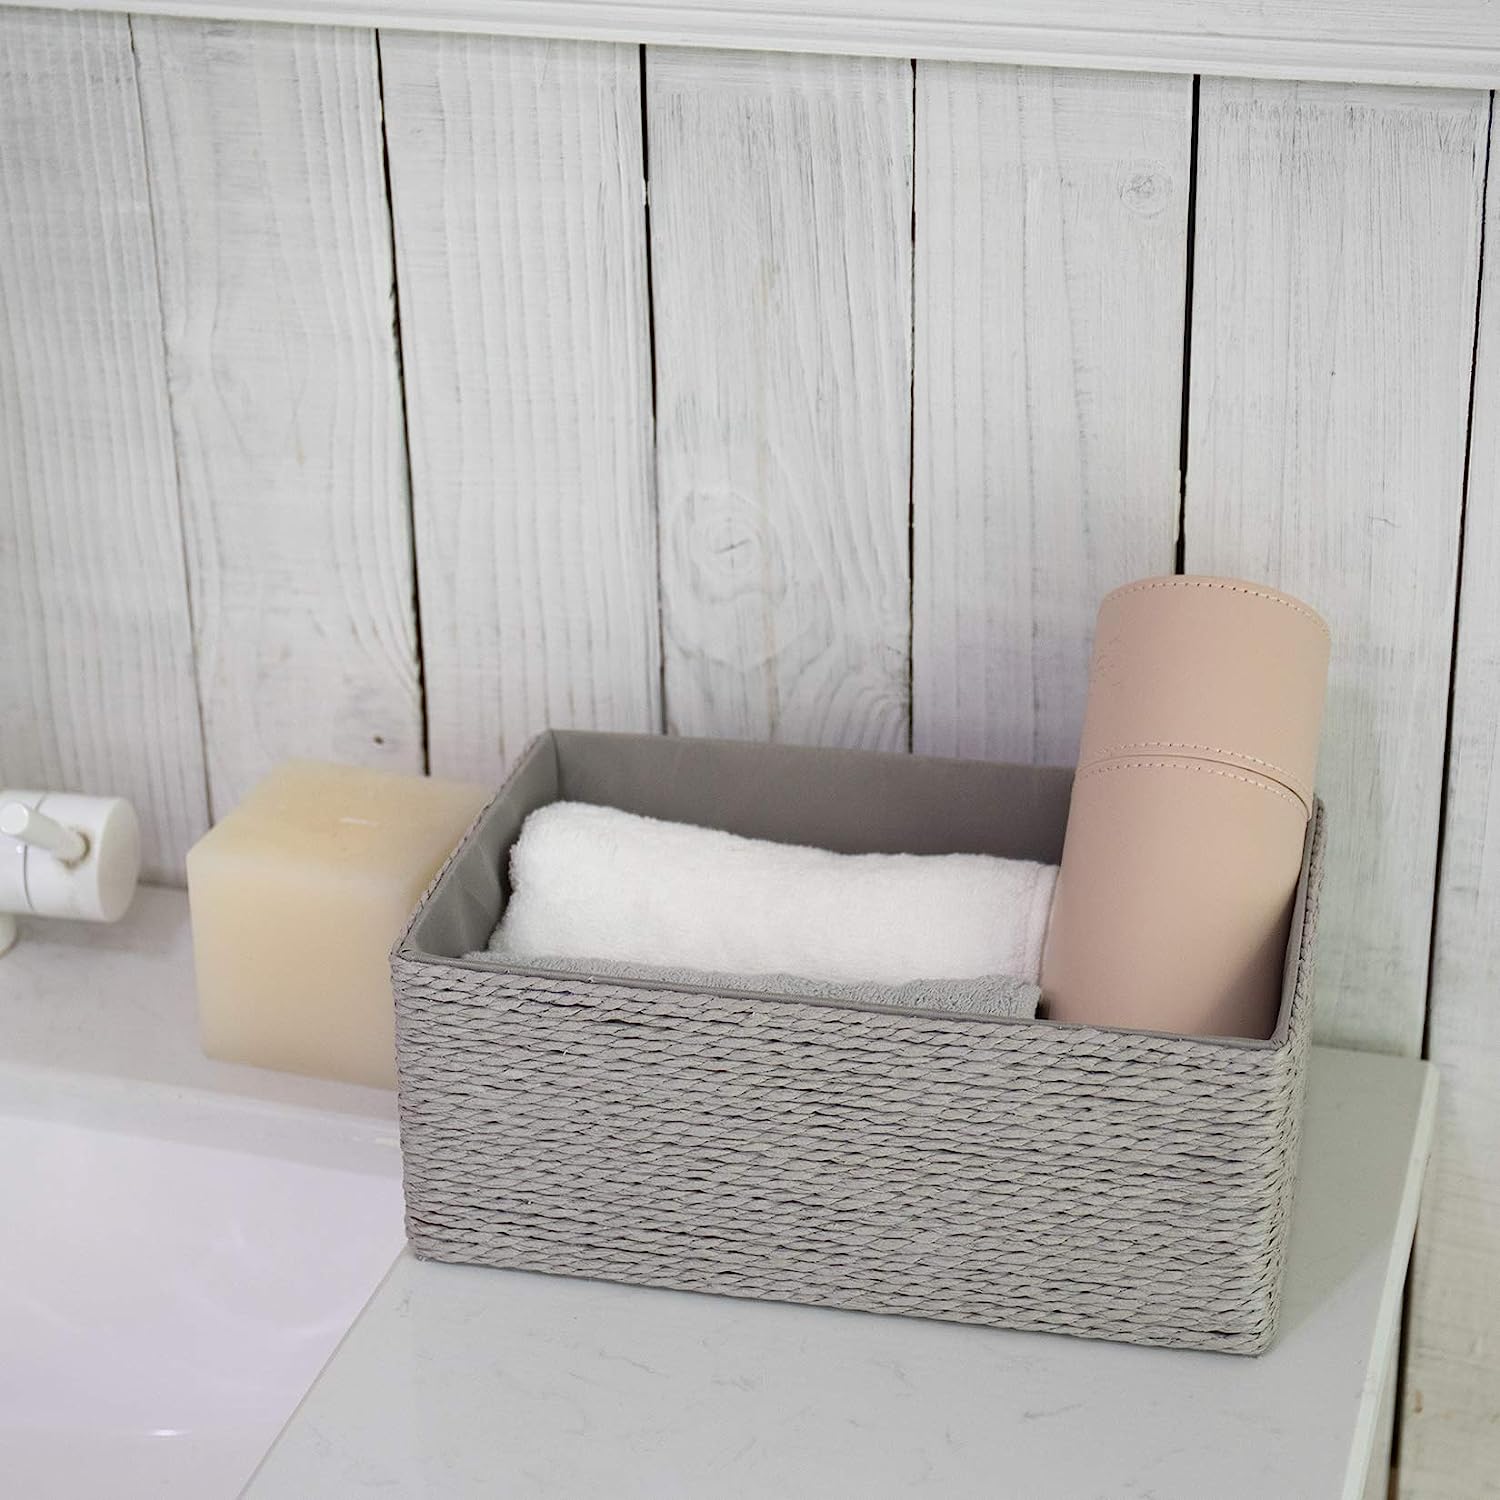
Chat Blank Cotton Rope Basket for Storage is a set of three baskets that are large enough to accommodate blankets and laundry. It is made with an all-natural and recyclable Woven Storage Basket that is knitted similar to Large Wicker Baskets for Blankets Storage. It has a thick cloth base, reinforced handles that do not tear your tall storage basket under heavy load and can be folded and stored away. The neutral colors and minimalistic style these brown and white cotton rope storage baskets for organizing match any interior. It can be used as a soft basket for storage, towel basket, pillow basket, book basket or large toy basket.
Key Features
- Made to Last with thick cloth base and reinforced handles
- Minimalistic style with brown and white neutral colors
- Versatile usage as storage baskets for shelves, dog toy basket, blanket basket storage for living room
- Fold-able design for easy storage and crease-free look
Specifications
- Color: Brown & Creamy White
- Dimension: 15.00Lx10.00Wx9.00H
- Size: Medium 15"x10"x9"
- Unit count: 3
Pros
- Sturdy and durable
- Versatile usage
- Easy to store
Cons
- Shape may need to be fixed
- Color may be slightly different from advertised
Chat Blank Cotton Rope Basket for Storage is a great investment for people who need large storage boxes with an aesthetic look. The neutral colors and diverse usage make it a perfect fit for any room. The baskets are sturdy, durable, and easy to store, making them a great choice for anyone who appreciates top-quality storage products. Although the shape may need to be fixed on occasion, it won’t take long for them to regain their proper shape. Overall, it is an excellent product that is worth the money.

Overall Score: 9/10
The OrganiHaus Extra Large Fabric Storage Baskets are perfect for organizing your everyday life. Made of high-quality fabric and fitted with leather handles, they are stylish and versatile and come in a variety of different colors. The baskets are collapsible and portable, making them easy to store and carry. The metal frame maintains rigidity, and the baskets can be used for clothes, toys, nursery room items, laundry, towels, sheets and more.
Key Features
- Multipurpose Closet Storage Bins
- Decorative Fabric and Vegan Leather
- Stylish, Versatile, and Convenient Closet Baskets
- Minimize the Everyday Mess
- Portable and Durable Design
Specifications
- Color: Gray / Off-White
- Dimension: 16.54Lx12.60Wx9.84H
- Size: Extra Large – 3pc
Pros
- Stylish and high-quality fabric and leather handles
- Collapsible and portable
- Metal frame maintains rigidity
- Multipurpose and versatile
- Available in different sizes and colors
Cons
- Strong smell out of the package
The OrganiHaus Extra Large Fabric Storage Baskets are a great choice for those who want to organize their home in style. The baskets are collapsible, portable, and feature a metal frame for durability. They come in different sizes and colors and are suitable for a range of different items. The only downside is that they have a strong smell out of the package, but this can be easily aired out. Overall, a great purchase that is both stylish and functional.

Overall Score: 8/10
The OrganiHaus Large Fabric Storage Baskets for Shelves 3 Pack are multipurpose closet storage bins used for clothes, kid’s toys, extra linens, laundry, towels, sheets, and more. The storage bins are made of high-quality fabric and fitted with leather handles to add a stylish touch to a living room, bedroom, office, or personal space. They are available in a variety of colors and sizes to match any space and bundle option to provide the right amount of storage. The storage bins for shelves and closet spaces feature a metal frame to maintain rigidity, are collapsible to save space and have handles for easy carrying.
Key Features
- Multipurpose Closet Storage Bins
- Decorative Fabric and Vegan Leather
- Stylish, Versatile, and Convenient Closet Baskets
- Minimize the Everyday Mess
- Portable and Durable Design
Specifications
- Color: Gray / Off-White
- Dimension: 14.96Lx11.02Wx9.84H
- Size: Large – 3pc
Pros
- Versatile and stylish
- High-quality fabric and design
- Available in different sizes and colors
- Metal frame to maintain rigidity
- Collapsible and portable design
Cons
- Can crumple easily
- May collapse when moved around too much or left empty
The OrganiHaus Fabric Storage Baskets are a must-have for anyone who wants to organize their space in style. The high-quality fabric and vegan leather design make them versatile and stylish, and the metal frame ensures rigidity. Although they can crumple easily, they are collapsible and have handles for easy carrying. They come in different sizes and colors to match your space and can minimize the everyday mess. The storage bins are available at a reasonable price, making them a great value for the money.

Overall Score: 9/10
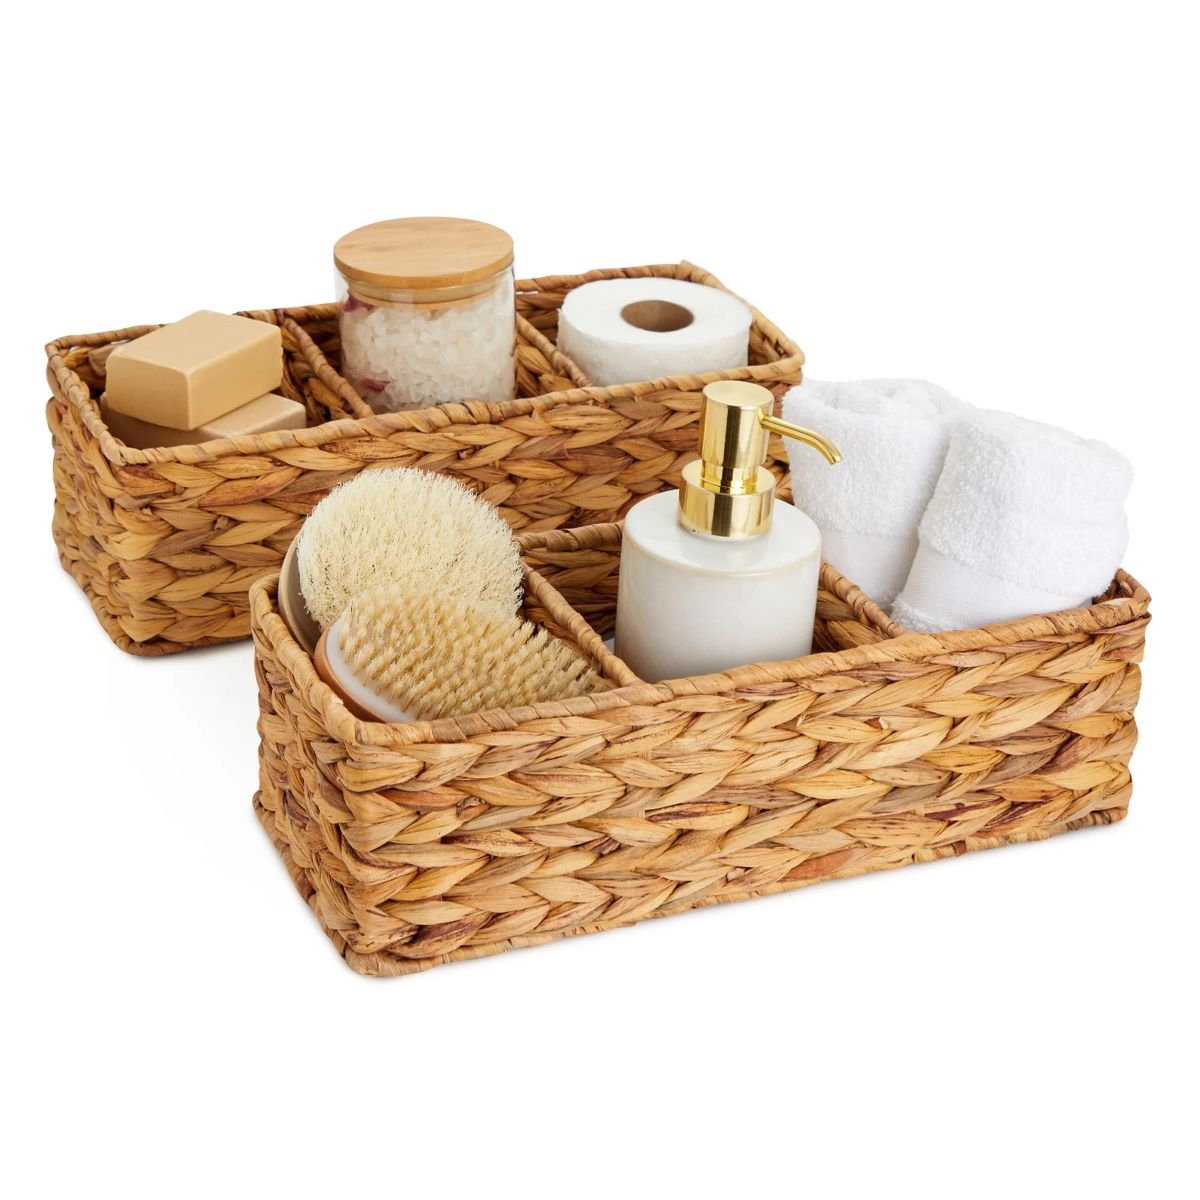
Stylish and eco-friendly storage solution for household essentials. Handcrafted from natural water hyacinth, StorageWorks baskets are perfect for organizing hand towels, toiletries, magazines, pet toys and much more. With built-in handles, these 100% natural baskets are easy to transport and store. They are hand woven over an iron frame for sturdy storage. The dimensions are 13"L x 8 ¼"W x 7"H. Note that the size may vary within 1/4 inch due to the handwoven design.
Key Features
- Handcrafted from natural water hyacinth
- Versatile woven basket for storing various household items
- Hand woven over an iron frame for sturdy storage
- Thickened built-in handles for convenient transportation
- Cozy design and 100% natural
- Dimensions: 13"L x 8 ¼"W x 7"H
Specifications
- Color: Natural (Water Hyacinth)
- Dimension: 13.00Lx8.25Wx7.00H
- Size: Medium 2-Pack
- Unit count: 2
Pros
- Handmade and eco-friendly
- Sturdy and well-made
- Versatile use around the house
- Reinforced band along the top for durability
- Convenient built-in handles
Cons
- Smaller than they appear in photos
The StorageWorks Water Hyacinth Storage Baskets are an excellent choice for anyone seeking a stylish and eco-friendly storage solution. These baskets are handmade and crafted from natural materials, making them both sturdy and environmentally friendly. With their versatile design and convenient handles, they can be used for storing a variety of household items. While they may be smaller than expected, their durability and quality more than make up for it. Overall, the StorageWorks Water Hyacinth Storage Baskets are a solid investment for anyone looking to declutter their home in style.

Overall Score: 8/10
The StorageWorks Wicker Storage Cubes with Liners are eco-friendly and functional. Made from renewable water hyacinth, these baskets are collapsible for easy storage and come with removable liners for simple washing. The built-in handles make for easy carry and pull-out. These handwoven baskets have been designed to help reduce our impact on the environment. Measuring 10.25"L x 10.25"W x 10.75"H, they are versatile and useful for shelving or storage. The product has received an overall rating of 4.6 out of 5 from satisfied customers. However, some reviews mentioned that the baskets have a foul smell and could potentially be harmful to cats.
Key Features
- Made from 100% natural, earth-friendly, renewable water hyacinth
- Collapsible design for compact storage
- Removable liners for easy washing
- Built-in handles for easy carry and pull-out
- Dimensions: 10.25"L x 10.25"W x 10.75"H
Specifications
- Color: Natural
- Dimension: 10.25Lx10.25Wx10.75H
- Unit count: 4
Pros
- Earth-friendly and renewable material
- Collapsible and easy to store
- Removable liners for easy cleaning
- Built-in handles for easy carry and pull-out
Cons
- Potential hazard for cats
- Liners may not be the color shown in online photos
- Some units arrived with foul smell
Overall, the StorageWorks Wicker Storage Cubes with Liners appear to be a good choice for those who seek eco-friendly and versatile storage solutions. With a collapsible design, removable liners, and built-in handles, they offer functionality and durability. However, it is important to note that the baskets may have a strong odor and could potentially be toxic to pets. If you are looking for functional and environmentally friendly storage cubes, these may be worth considering.

Overall Score: 9/10
Get organized in style with AivaToba Cotton Rope Baskets! These multi-purpose baskets are sure to bring both functionality and beauty to your home. Each basket is made of 100% natural cotton and is environmentally-friendly and skin-friendly. These baskets are also handmade and contain elegant and sturdy handles that are perfect for daily use.
Key Features
- Multi-purpose shelve baskets, 15”x10”x9.5”
- 100% natural cotton baskets
- Handmade decorative cube basket
- Elegant and sturdy handles
- Large enough to store your clothes, blankets, pillows, towels, books, magazines, beauty tools.
- Neutral color design.
- Soft baskets will not make scratches on your floor, wall or furniture.
Specifications
- Color: Brown
- Dimension: 9.45Lx9.84Wx14.96H
- Size: 15”x10”x9.5”
- Unit count: 3
Pros
- Environmentally-friendly and skin-friendly
- Sturdy for daily use
- Neutral color design matches most home styles
- Large enough to store various items
- Soft baskets won't scratch floor, wall or furniture
- Elegant and sturdy handles
Cons
- Some creases from compact shipping
- Leather may be destroyed if pre-installed
The AivaToba Cotton Rope Baskets are perfect for anyone looking to get organized in style. They’re large enough to store a variety of items and the elegant, neutral design ensures they’ll match any decor. The 100% natural cotton and handmade construction make them both environmentally and skin-friendly, while the sturdy handles make them perfect for daily use. With a high rating from customers, these baskets are a must-have for any home or office!
Buyer's Guide: Storage Baskets for Shelves
Whether you're organizing your pantry, bathroom or closet, storage baskets for shelves offer an efficient and stylish way to keep things tidy. Here are some essential factors to consider when buying storage baskets for shelves:
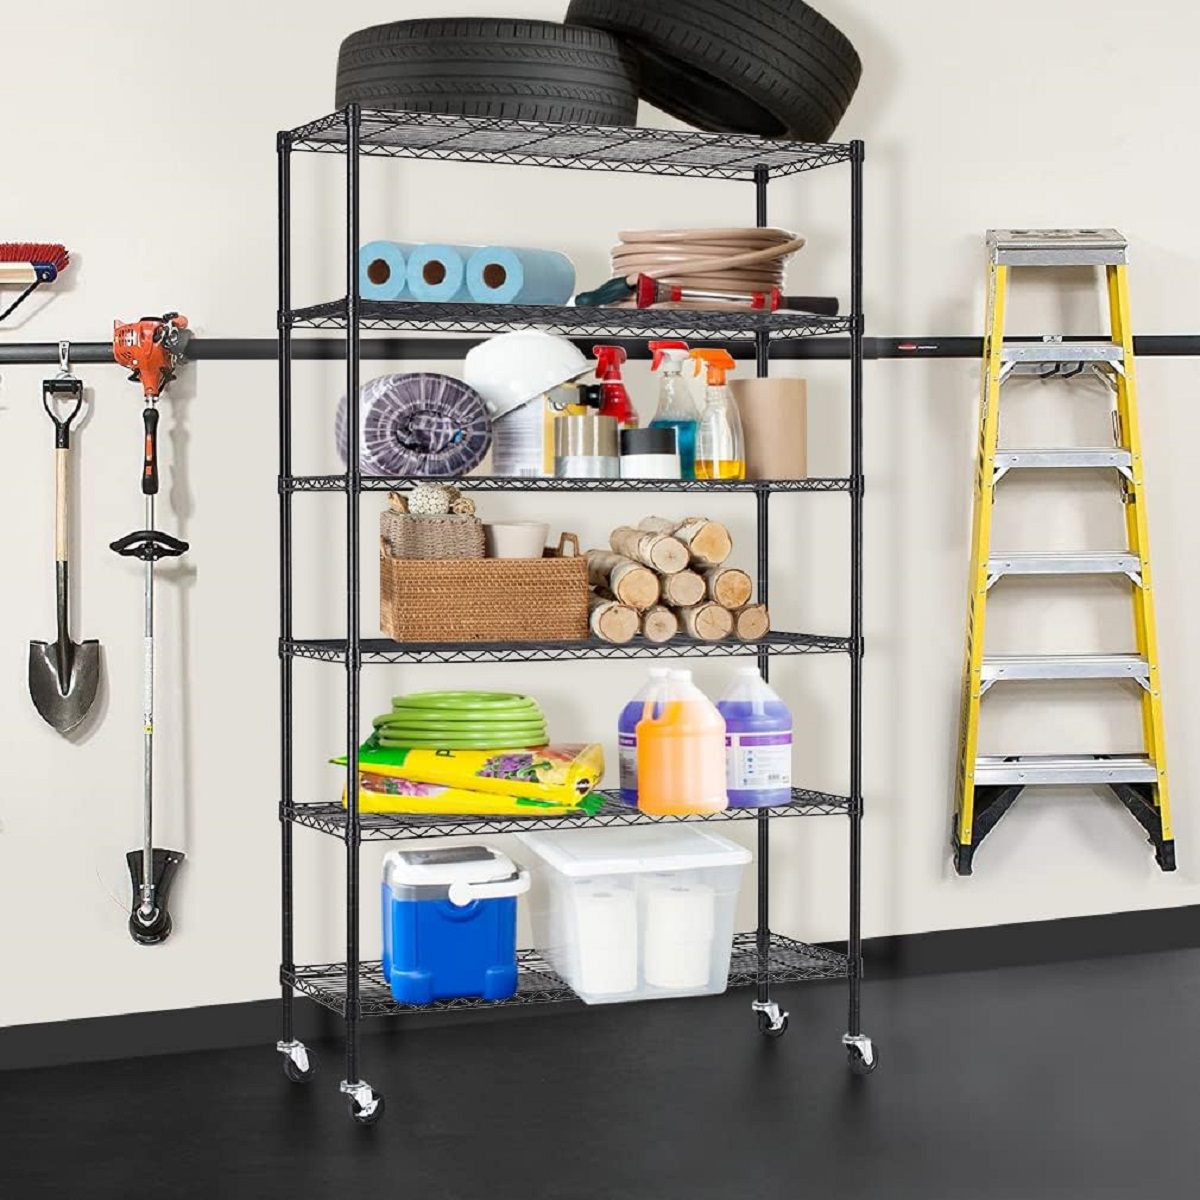
Read also: 11 Best Metal Storage Shelves For 2025
Material
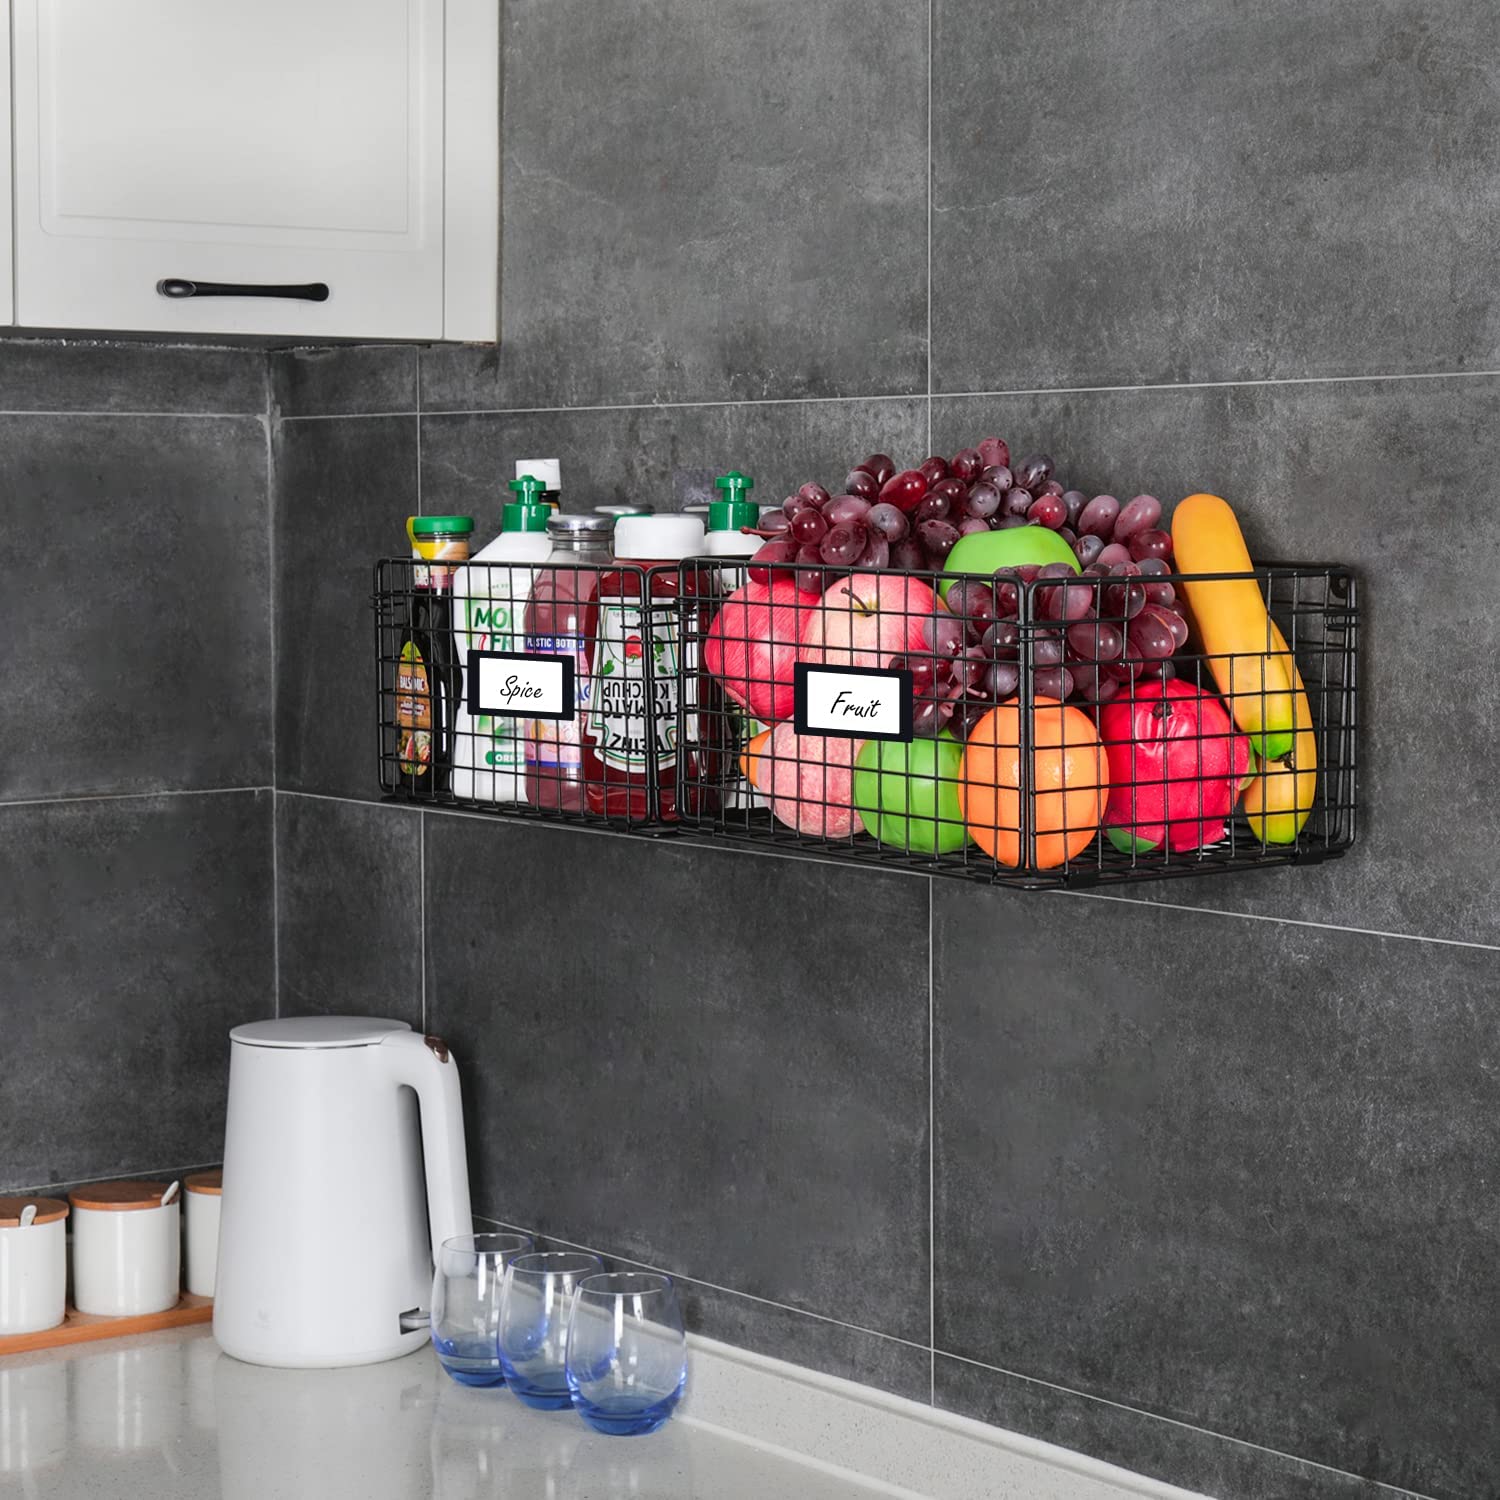
- Wire: lightweight and durable, but may not be suitable for delicate items.
- Plastic: versatile and moisture-resistant, but may not be as durable as other materials.
- Fabric: soft and can protect delicate items, but may not be as sturdy as other materials.
Size
- Depth: make sure to measure the depth of your shelves to ensure that the baskets fit snugly.
- Width and height: consider the height and width of the items you plan to store to ensure they fit properly into the baskets.
Style
- Open: great for easy access and displaying items, but may attract dust and make things look cluttered.
- Closed: perfect for keeping things out of sight and free from dust, but may not be as accessible.
Quantity
- Single: great for unique items that don't require a lot of space.
- Set: ideal for larger items or for grouping similar items together.
Read also: 11 Best Shelving Units And Storage For 2025
Color
- Neutral: perfect for blending in and keeping minimalistic, but may be boring.
- Bright: adds a pop of color and personality to any space, but may clash with existing decor.
Handles
- Rope: adds a rustic touch and is easy to grip, but may not be as durable as other handle materials.
- Metal: sleek and sturdy, but may get too cold or hot to the touch depending on the temperature in the room.
- Cut-out: stylish and functional, but may not be as easy to grip as other handle types.
Compatibility
- Stackable: great for maximizing vertical space, but may not be as stable as non-stackable baskets.
- Non-stackable: perfect for keeping stability and preventing items from collapsing, but may take up more shelf space.
Price
- Affordable: great for those on a budget, but may not be as durable or long-lasting.
- Expensive: made with high-quality material and long-lasting, but may not be budget-friendly.
Read also: 11 Best Storage Shelves For Closet For 2025
Frequently Asked Questions about 11 Best Storage Baskets For Shelves For 2025
Wire, plastic, and fabric are commonly used materials for storage baskets for shelves.
Make sure to measure the depth and consider the width and height of the items you plan to store to ensure they fit properly into the baskets.
Open storage baskets are suitable for displaying items.
Yes, stackable storage baskets are great for maximizing vertical space, but may not be as stable as non-stackable baskets.
Yes, expensive storage baskets are made with high-quality material and long-lasting, but may not be budget-friendly.
Was this page helpful?
Trust Storables.com for unbiased and honest product reviews. Our reviews are rigorously assessed by our Expert Board Contributors and adhere to strict Editorial Standards. We ensure that each review is transparent and trustworthy, helping you make informed purchasing decisions.
0 thoughts on “11 Best Storage Baskets For Shelves For 2025”