Home>Storage Ideas>Storage Shelves>How To Make DIY Wall Storage Shelves?

Storage Shelves
How To Make DIY Wall Storage Shelves?
Modified: December 6, 2023
Try your hands on these splendid DIY wall storage shelves that can transform your space & make heads turn like never before! Try these BRILLIANT ideas out!
(Many of the links in this article redirect to a specific reviewed product. Your purchase of these products through affiliate links helps to generate commission for Storables.com, at no extra cost. Learn more)
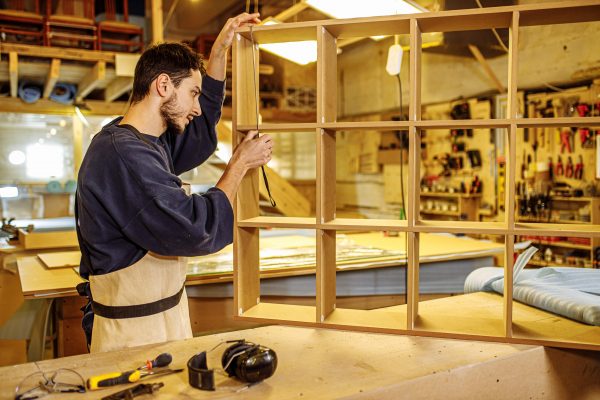
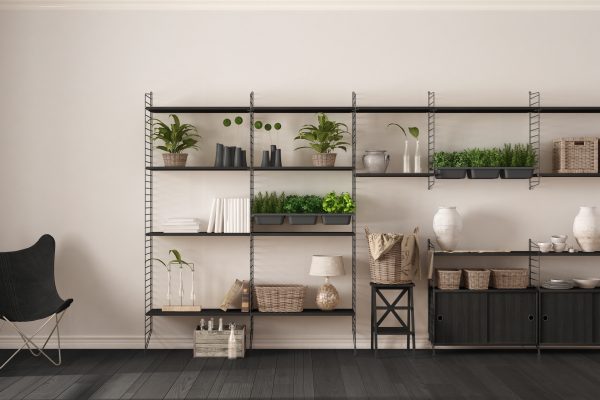
Are you a new homeowner in need of the perfect wall storage shelves for your living room, study, or garage but doesn’t want to break the bank while you’re at it? Try these DIY wall storage shelves that are easy-to-follow with no special skills needed. From seamless floating shelves in the family room to spice racks in the kitchen, this article will be your essential resource for your first experience with carpentry.
While you might think that building a set of shelves should be simple like attaching a board to a wall and nailing it in, the simplest of shelf projects can present numerous hurdles to overcome.
- Are the boards strong enough to withstand the test of time?
- Is the storage shelf straight? Are the boards level?
- How can I give the storage shelves an attractive finish?
Building your own wall storage shelves might seem like a daunting task. But once you have mastered the fundamental techniques of wood-cutting or installing hinges and catches, you will be able to create storage shelves for any space. If you still feel this is a job only for the finest craftsmen, fret not because there are two simple projects involving basic and affordable materials.
Choosing the Lumber
When selecting your choice of lumber for your project, you need to take note of two very important aspects:
- Make sure there are no splits in the wood that you will select because they cannot be repaired and will probably grow over time.
- Whenever possible, choose planks with closely spaced vertical grain compared to flat grain as vertical-grained wood is less likely to warp. This is especially true for bathroom shelves as the humidity can accelerate the warping process.
Expert tips on wood species: Maple, Oak, Birch, Poplar, Pine, Fir, and Cedar have different characteristics and properties. Make sure to research the advantages and disadvantages of the wood species before you start with your project.
Read also: 10 Best Wall Storage Shelves For 2024
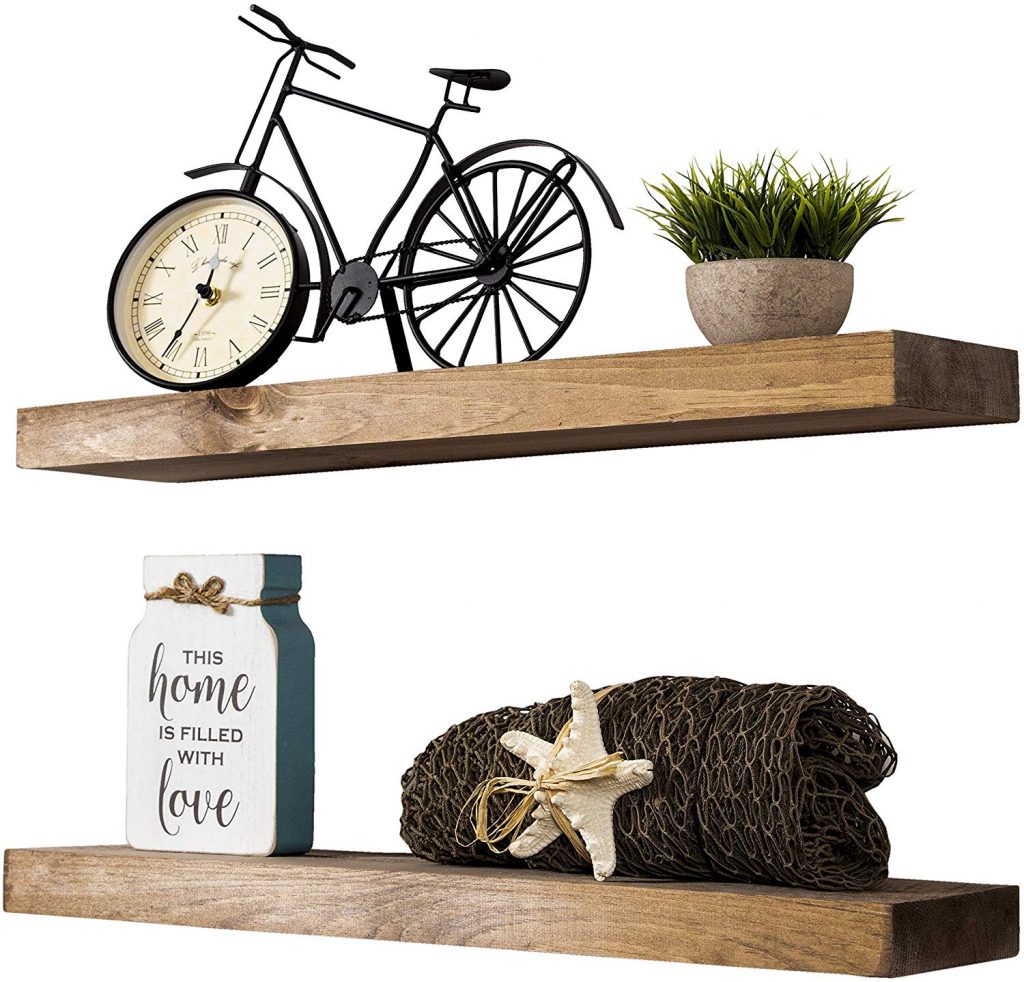
Floating Shelves – Mounting Bracketless Shelves
Materials Needed:
- Solid-wood shelf
- Rebar
- Drill with ⅜” bit
- Carpenter’s level
- Hacksaw
- Pencil
- Stud sensor
- Nails
Shelves with no visible means of support can elevate the interior design of the room. But the common misconception of these shelves is they are not well-supported. This will never be the case with as lengths of steel reinforce the shelf. Rebar is used in adding the necessary support.
Before embarking on this project, determine the location and spacing between the shelves precisely because it would be difficult to adjust the shelves later.
- Using a carpenter’s level, draw horizontal lines on the designated wall. Once the lines are drawn, ensure that they are parallel to the floor.
- Use a stud sensor to mark out possible stud placements; use a pencil to prevent marring the wall. Once the studs are identified, drive a nail at several points to ensure that the studs are correctly identified. When properly identified, remove the nail and mark the hole with an ‘X’ to indicate where the studs are placed.
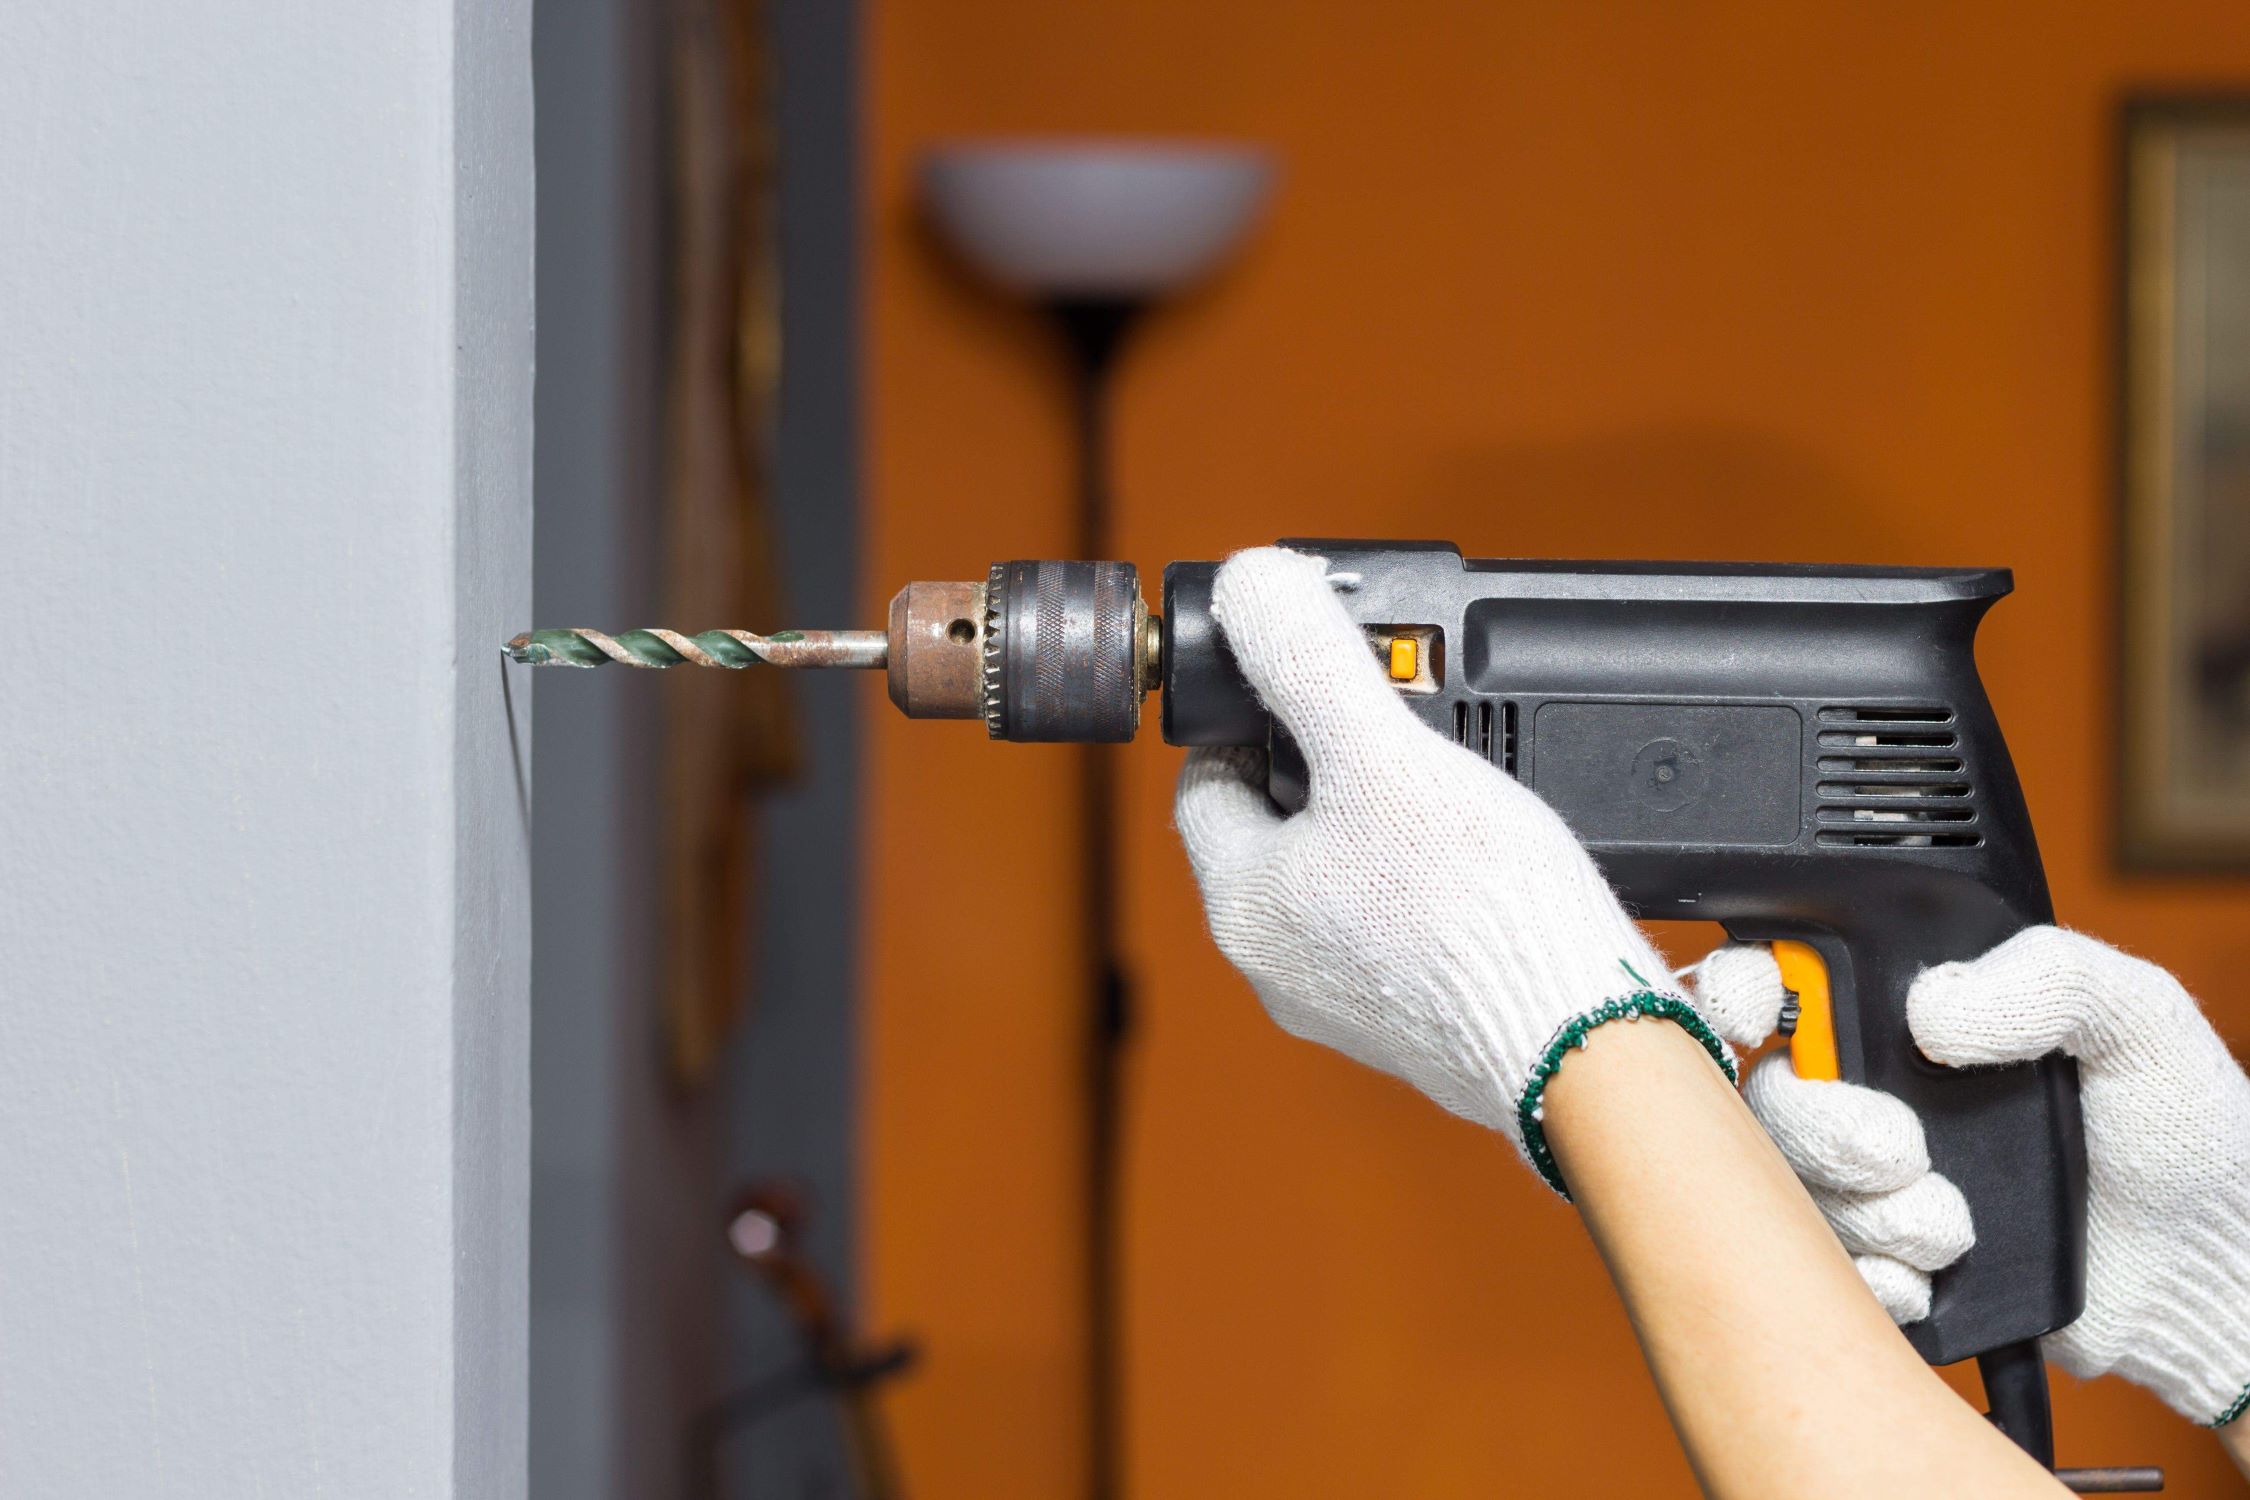
- At each ‘X’, use a ⅜ inch drill bit to drill three inches deep for the length of the rebar. A minimum of two holes are required – have three to be safe.
- Ensure that the rebar you are using has a total length of three inches plus the width of the shelf, less than two inches. Insert the rebar into each hole. With a helper, hold the hardwood against the wall, underneath the rebar pieces. Mark the location of each piece of rebar on the shelf edge.
- Use a drill with the same drill bit as before to create holes for each piece of rebar. Drill carefully and make the holes an inch or so shallower than the shelf width. Fit the rods into the holes, and tap the shelf flush against the wall.
Good job, you’re done. Time to spruce up your room with scented candles and photo frames.
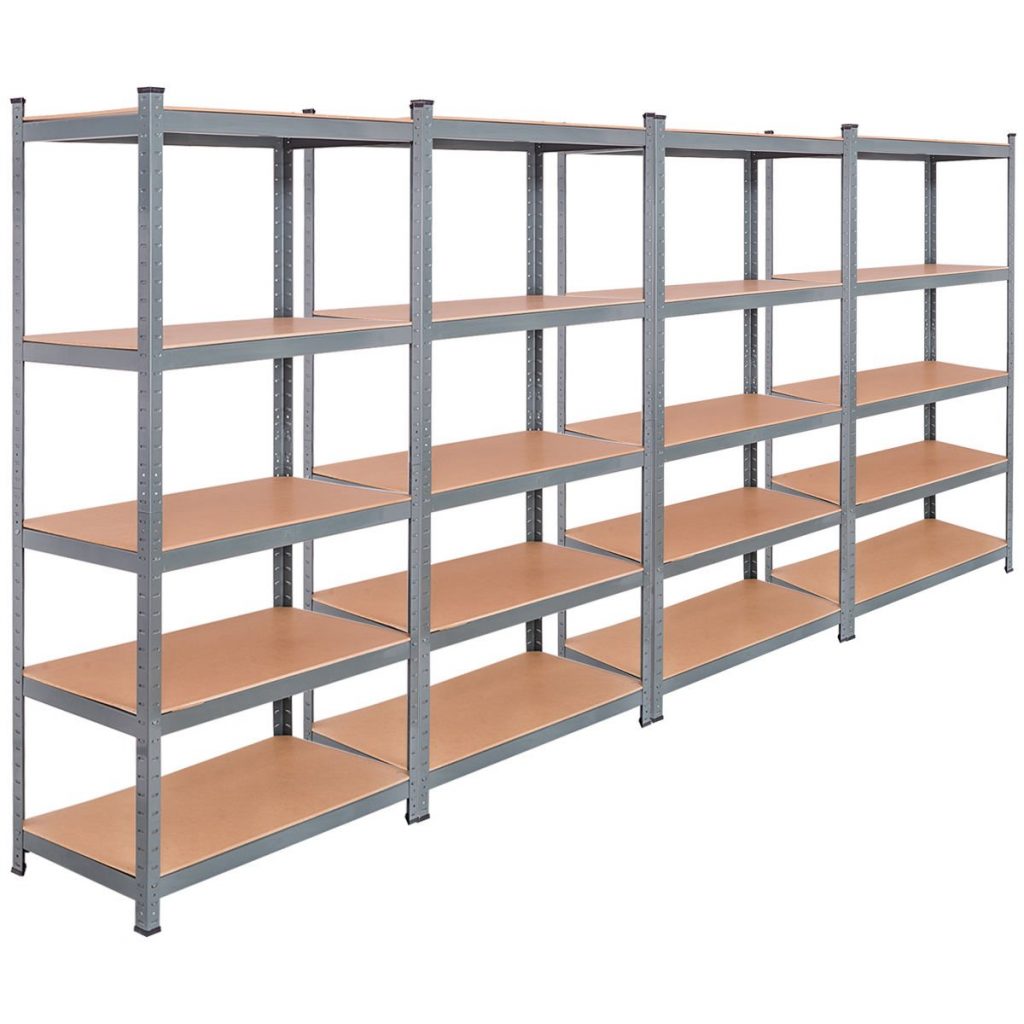
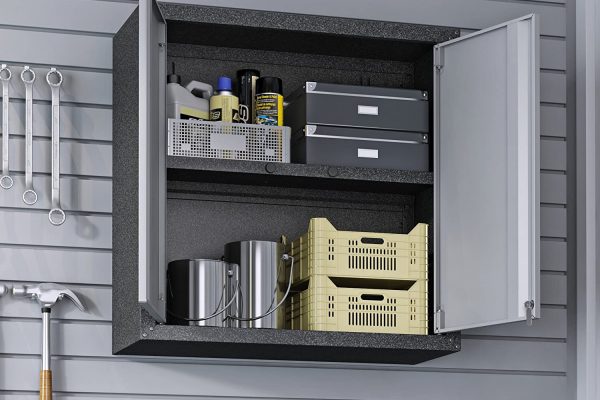
Garage Wall Storage Shelving
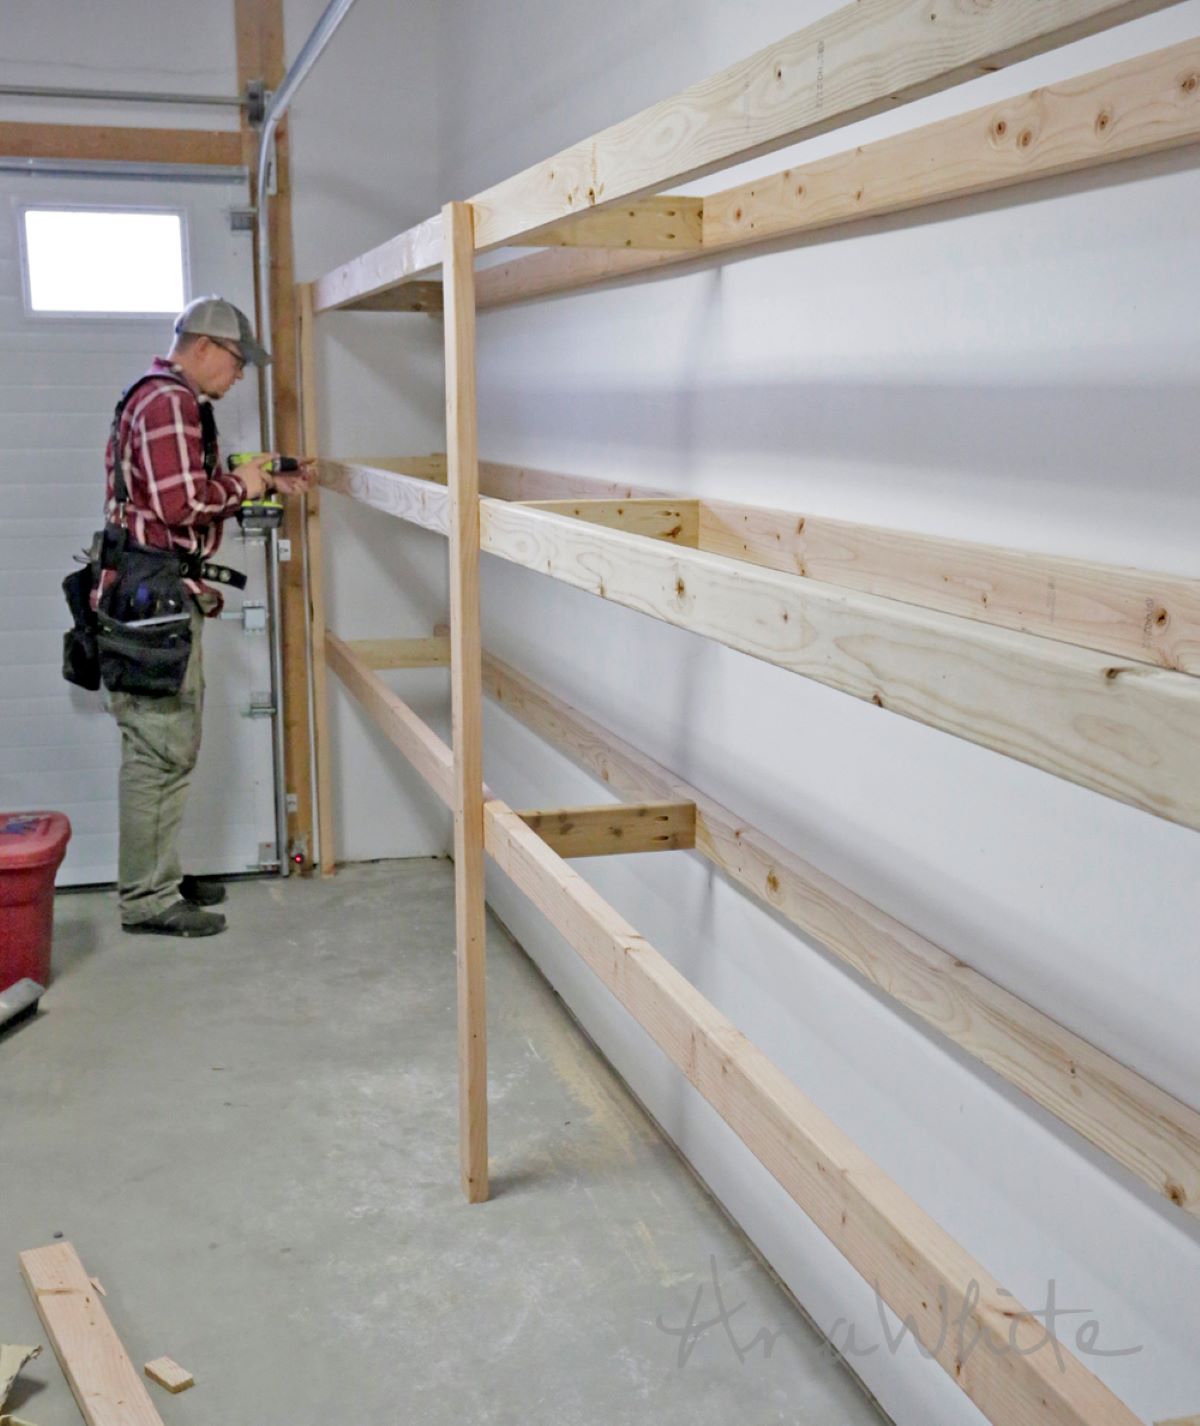
This is a simple and quick solution to your storage problems in the garage or utility room. This versatile shelving can also be used in your pantry and basement.
Materials Needed:
- 10 Solid-wood shelf cleats & ribs – ¾” x 1 ½” x 72”
- 3 Solid-wood shelf supports – ¾” x 1 ½” x 80”
- 5 Solid-wood shelves – ¾” x 12” x 72”
- 1 Solid-wood temporary brace – 1½” x 3½” x 15¼”
- 10 x 3 ½” wood screws
- 10 x 2” screws
- Finishing nails
- 1¼” Drywall screws
Installing the Cleats
- Measure 15 inches up the wall from the floor and mark the first 70-inch-long level line. Make indications fo four more, each at least 16 inches above the previous line.
- Using a stud finder, locate the studs that will support the shelf. Using a pencil, mark the studs with an ‘X’.
- Cut five cleats and five ribs to ¾” x 1 ½” x 72”
- Align each cleat immediately against the marked out 72-inch lines. Attach the cleats with a 3½”-inch wood screw driven into the X identified in step 2.
Installing the Shelves
- Time to prepare the wood used – cut three vertical shelf supports to the dimension of ¾” x 1 ½” x 80” and cut the shelves to the dimensions of ¾” x 12” x 72”. Cut a 15 ¾” temporary brace from a scrap of 2×4.
- Use a saw to create incisions in the center of the front edge of each shelf. The incision should accommodate the shelf supports when inserted. Cut another notch at each front corner. Fasten the ribs flush to the back of the incisions with glue and finishing nails driven through the top of the shelves.
- Lay your first shelf on the bottom cleat and prop it up by placing the temporary brace behind the rib at the center notch. Check that the shelf is level by using a carpenter’s level. Place the vertical support in place, and screw it to the rib with a 1¼” drywall screw. Once the center shelf support is inserted, do the same for the corners. Repeat the process for all the shelves, making sure they are all level.
This simple DIY garage wall storage shelves should only take you an evening to complete. Now say goodbye to your messy and unorganized utility room filled with your garage products.
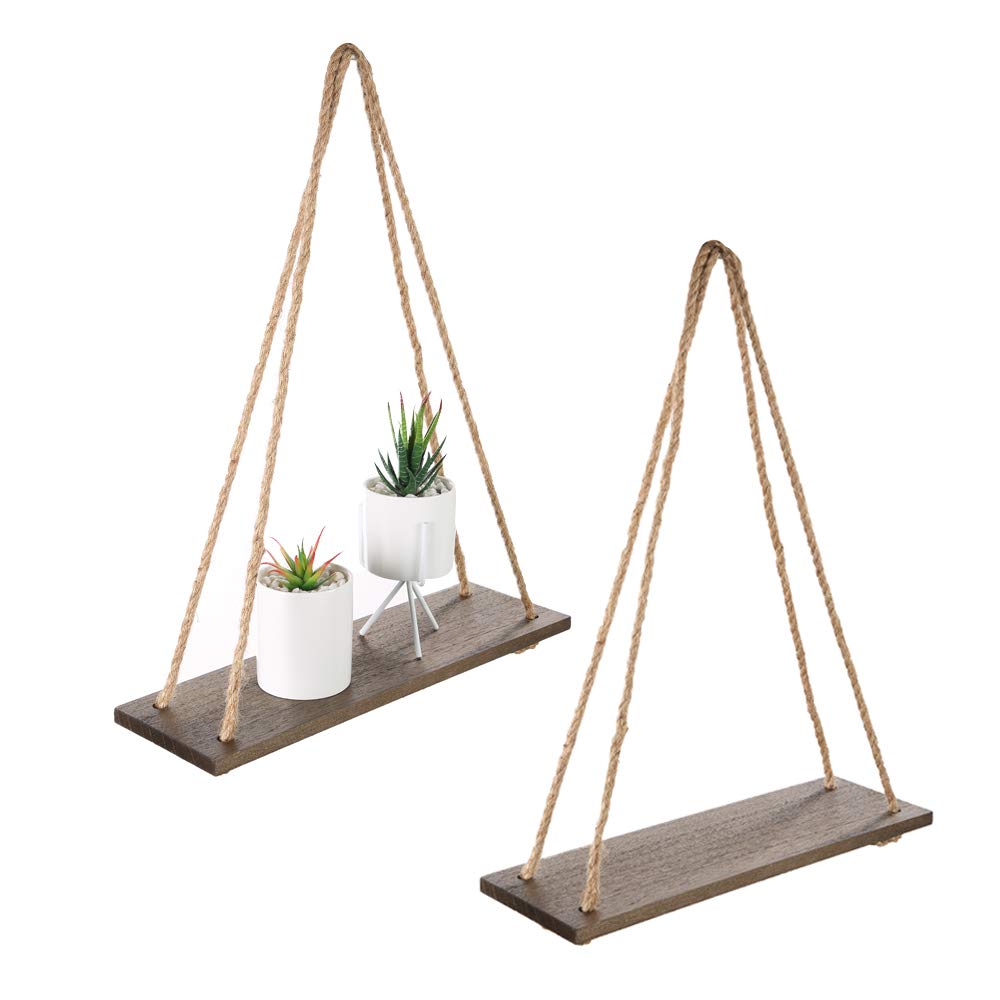
Rope Hanging Shelves
If the previous two shelves are out of your comfort zone, try this simple project that is not only aesthetically pleasing but also functional.
Materials Needed:
- One 1-meter choice of lumber
- Four 1-meter ropes
- Screw hooks
- Drill with 20mm bit
- Drill four 10mm holes one inch away from the corners of your selected lumber.
- Cut four 1 meter ropes and feed each rope through the holes. Tie a knot at the base of the shelf. Ensure that the knot is bigger than the holes so that the shelf will be stable.
- Once all the four ropes are sturdy, tie the ropes at the width with each other. You should have two sets of tied ropes now.
- Drill holes in the wall to insert the screw hooks.
- Hang your newly created shelves.
See, didn’t I say it was simple? You could finish this project while watching a Martha Stewart episode.
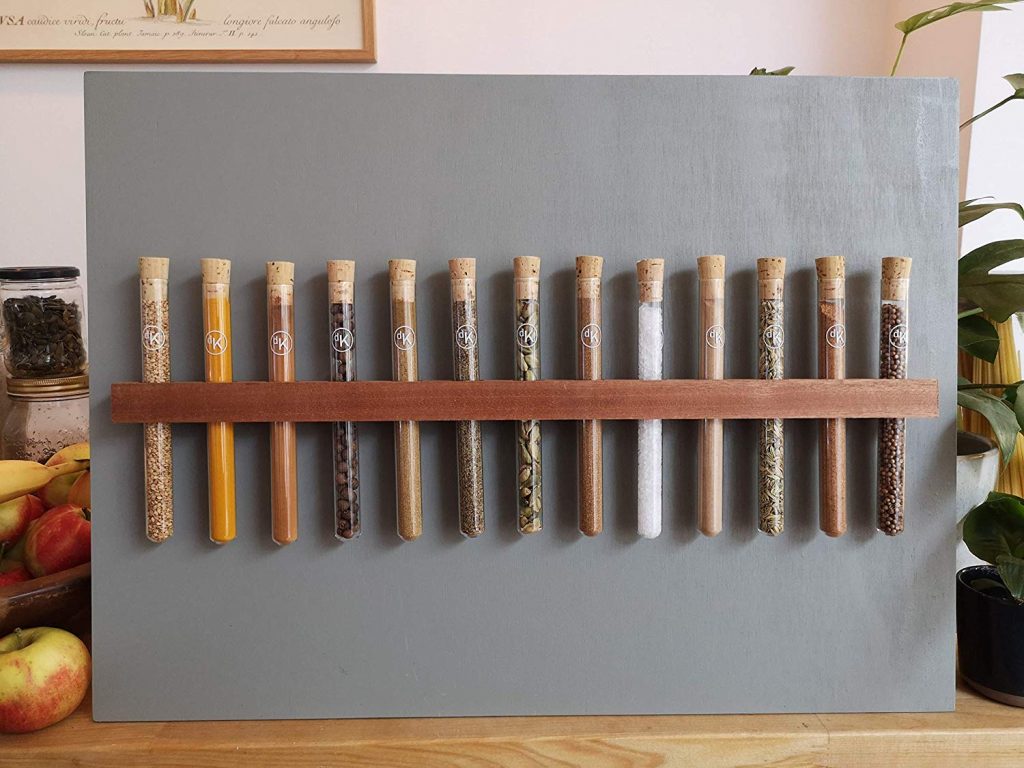
Test Tube Spice Storage
What to do when you’re running low on counter space in the kitchen but you’ve got meals to prepare? Add some test tubes into the mix and you have your very own laboratory in the kitchen.
Materials Needed
- 12 test tubes (preferably with a flat base) and corks
- 1 Solid-wood plank – 20” x 2” x 2”
- Sandpaper
- Drill + 25mm Spade drill bit
- Bonding tape
- Rubber bands
- Optional: Wood stain
- Using a pencil, measure out the placement of the test tubes on your plank. Allow for an inch separation between the holes.
- Drill the 12 markings using the spade drill bit.
- Sand down the holes to have a smooth finish.
- (OPTIONAL) Stain the wood to your desired color.
- Using the bonding tape, attach the plank to the desired area in the kitchen.
- Insert the test tubes. The test tubes should easily slide in and out of the holder. To prevent the tubes from falling through, wrap some rubber bands near the opening of the tubes.
Voila, you have your new spice rack. Maybe it’s time to consider joining Master Chef while you’re ahead with your beautifully sorted spices.
With these wall storage shelves, you will no longer run low on floor space and will increase your usable space in your home.
Was this page helpful?
At Storables.com, we guarantee accurate and reliable information. Our content, validated by Expert Board Contributors, is crafted following stringent Editorial Policies. We're committed to providing you with well-researched, expert-backed insights for all your informational needs.

0 thoughts on “How To Make DIY Wall Storage Shelves?”