Home>Technology>Smart Home Devices>How Do You Scan With A Printer

Smart Home Devices
How Do You Scan With A Printer
Published: January 8, 2024
Learn how to scan with a printer and integrate smart home devices for seamless functionality. Discover the best scanning techniques and tools for your smart home setup.
(Many of the links in this article redirect to a specific reviewed product. Your purchase of these products through affiliate links helps to generate commission for Storables.com, at no extra cost. Learn more)
Introduction
Welcome to the world of scanning! In today’s digital age, the ability to convert physical documents and images into digital format is an essential skill. Whether you’re a student scanning study notes, a professional archiving important documents, or a hobbyist digitizing old photos, knowing how to scan effectively can streamline your tasks and enhance your productivity. This article will guide you through the basics of scanning and provide insights into using different types of scanners, including flatbed scanners, sheetfed scanners, multi-function printers, and mobile scanners. By the end of this journey, you’ll be equipped with the knowledge and tips to make your scanning endeavors a breeze.
Key Takeaways:
- Embrace the world of scanning to easily convert physical documents into digital format, enhancing productivity and organization in both personal and professional tasks.
- Whether using a flatbed scanner, sheetfed scanner, multi-function printer, or mobile scanner, understanding scanning basics and best practices empowers you to produce high-quality digital scans.
Read more: Epson Printer: How To Scan
Understanding the Basics of Scanning
Scanning is the process of converting physical documents, photographs, or other media into digital format. This digital representation can then be stored, edited, shared, or printed. The key components of scanning include the scanner, which captures the image or text, and the software, which processes and saves the digital file.
Resolution plays a crucial role in scanning. It refers to the level of detail captured in the digital file and is measured in dots per inch (DPI). Higher resolution results in sharper and more detailed scans, but it also leads to larger file sizes. Understanding the appropriate resolution for your scanning needs is essential to achieve the desired balance between quality and file size.
Color depth is another important aspect of scanning. It determines the number of colors that can be represented in the digital file. Common color depths include 24-bit (16.7 million colors) and 48-bit (over 280 trillion colors). The choice of color depth depends on the nature of the original document or image and the intended use of the digital file.
File format is the way the digital information is encoded and saved. Popular file formats for scanned documents and images include JPEG, PNG, TIFF, and PDF. Each format has its unique characteristics, such as compression level, support for transparency, and ability to store multiple pages. Understanding the differences between these formats can help you choose the most suitable one for your specific requirements.
As you delve into the world of scanning, mastering these basics will empower you to make informed decisions and optimize the quality of your digital scans.
Scanning Using a Flatbed Scanner
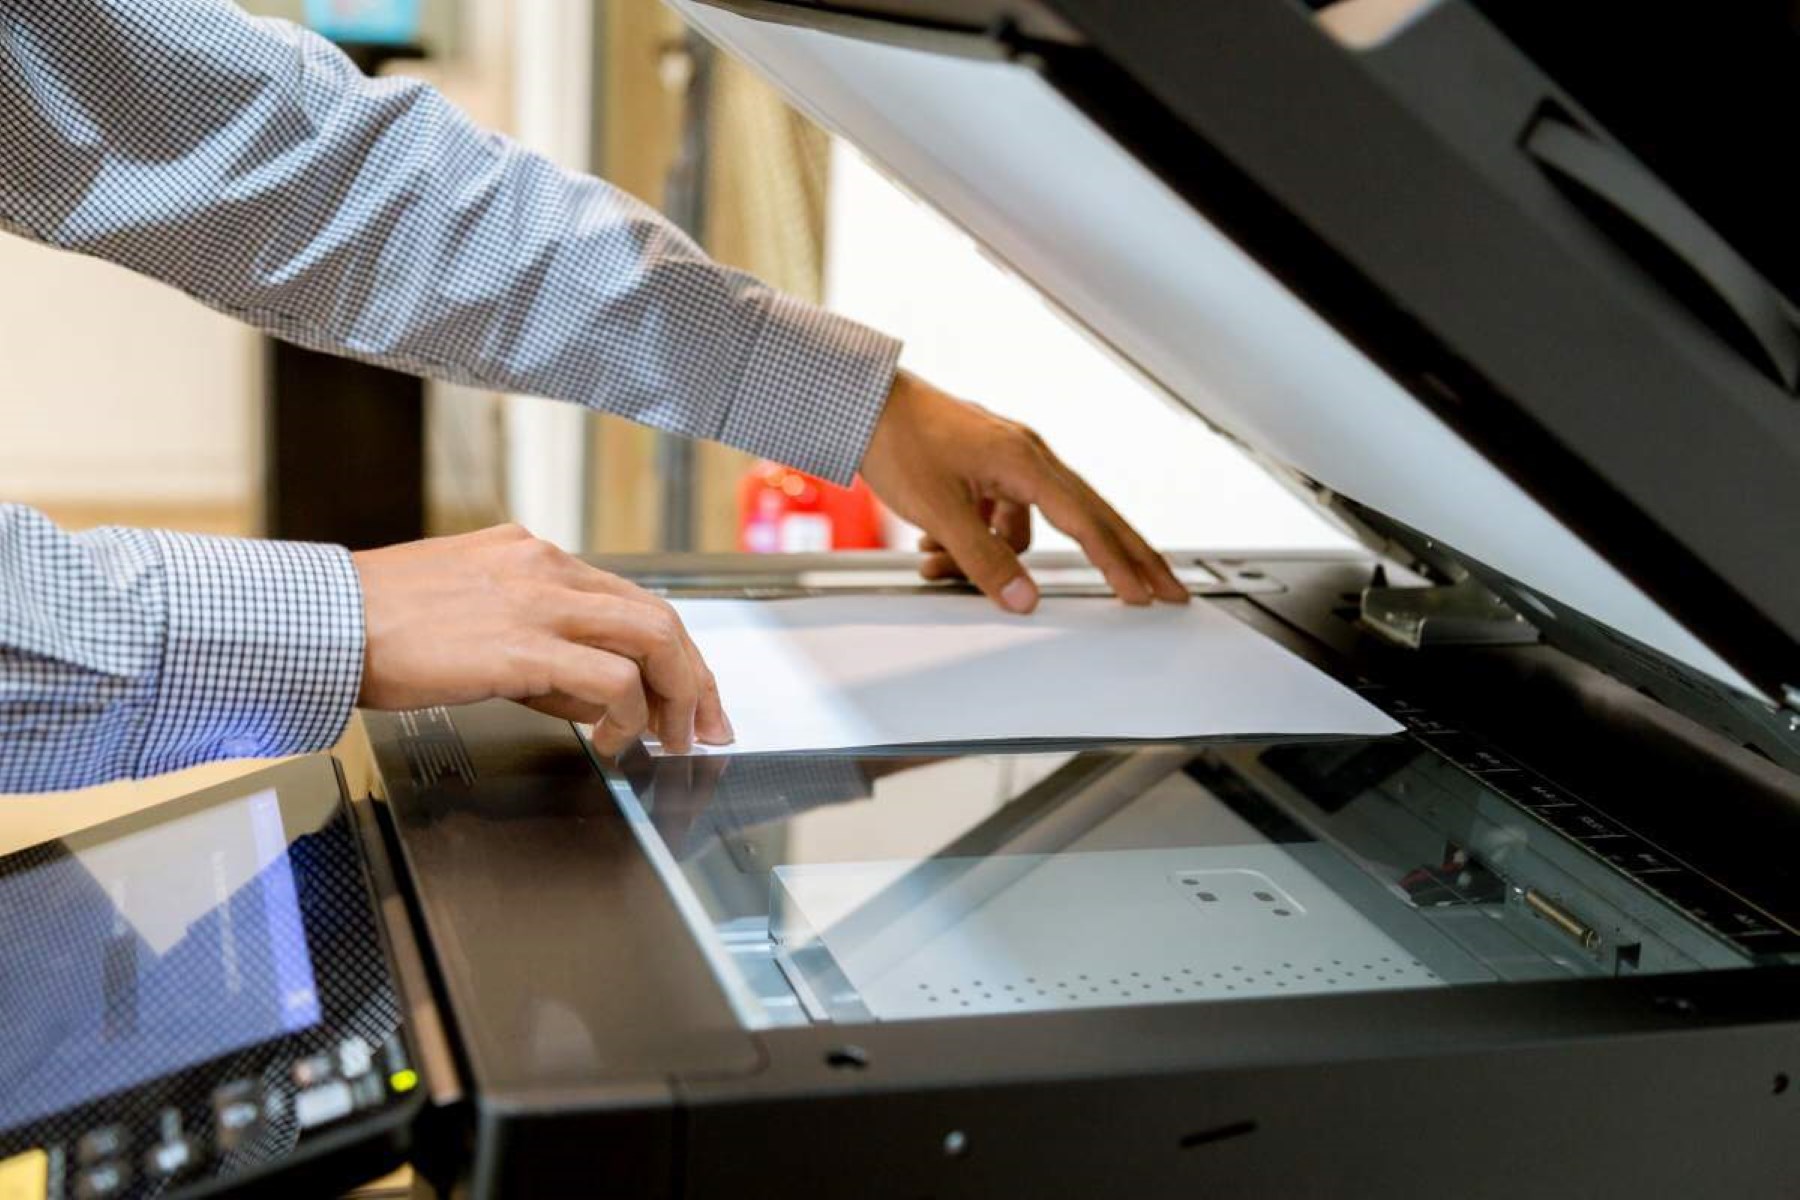
Flatbed scanners are one of the most common and versatile types of scanners. They feature a flat, glass surface on which the document or image is placed for scanning. The lid of the scanner is then closed to ensure consistent lighting and focus during the scanning process.
To scan using a flatbed scanner, start by installing the scanner’s software on your computer. Once the software is installed, open it and place the document or photo face down on the scanner glass. It’s essential to position the item in the corner or along the edges to ensure a proper alignment with the scanning area. Close the scanner lid gently to avoid shifting the document’s position.
Next, launch the scanning software on your computer and select the desired scanning settings, such as resolution, color depth, and file format. These settings can usually be adjusted based on the specific requirements of your scan, such as text documents, photographs, or artwork. Once the settings are configured, initiate the scanning process through the software interface.
After the scan is complete, preview the scanned image on your computer to ensure that it meets your expectations. You may have the option to make adjustments to the scanned image, such as cropping, rotating, or enhancing the colors, before saving the final digital file.
Flatbed scanners are ideal for scanning a wide range of items, including documents, photographs, artwork, and even delicate or irregularly shaped objects. Their versatility and ease of use make them a popular choice for home, office, and creative applications.
Scanning Using a Sheetfed Scanner
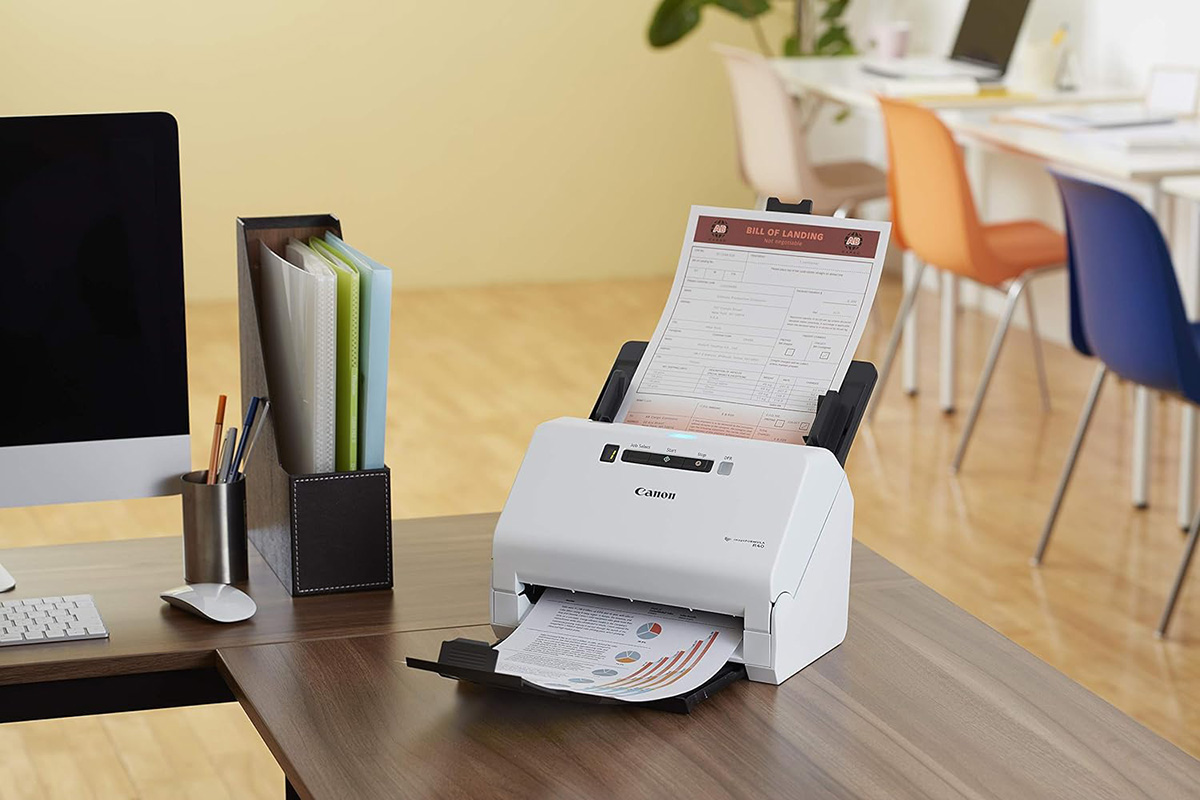
Sheetfed scanners are designed to efficiently scan multiple documents in quick succession. Unlike flatbed scanners, which require the user to place each item individually on the scanning surface, sheetfed scanners can automatically process a stack of documents, making them ideal for high-volume scanning tasks.
To scan using a sheetfed scanner, begin by installing the scanner’s software on your computer. Once the software is installed, open it and adjust the scanner settings according to your preferences. These settings may include resolution, color depth, and file format, allowing you to tailor the scan to the specific requirements of your documents.
Next, load the stack of documents into the sheetfed scanner’s input tray. It’s important to arrange the documents neatly and ensure that the edges are aligned to facilitate smooth feeding into the scanner. Once the documents are loaded, initiate the scanning process through the software interface.
As the documents pass through the scanner, the device captures each page and converts it into a digital file. Depending on the scanner’s capabilities, it may offer features such as duplex scanning, which scans both sides of the document simultaneously, further enhancing efficiency.
After the scanning process is complete, review the digital files on your computer to verify the quality and accuracy of the scans. Sheetfed scanners are particularly useful for digitizing multi-page documents, such as contracts, reports, and forms, as well as streamlining workflows in office environments.
With their ability to handle high-volume scanning tasks and automate the process of digitizing multiple documents, sheetfed scanners are valuable tools for enhancing productivity and organization in various professional and personal settings.
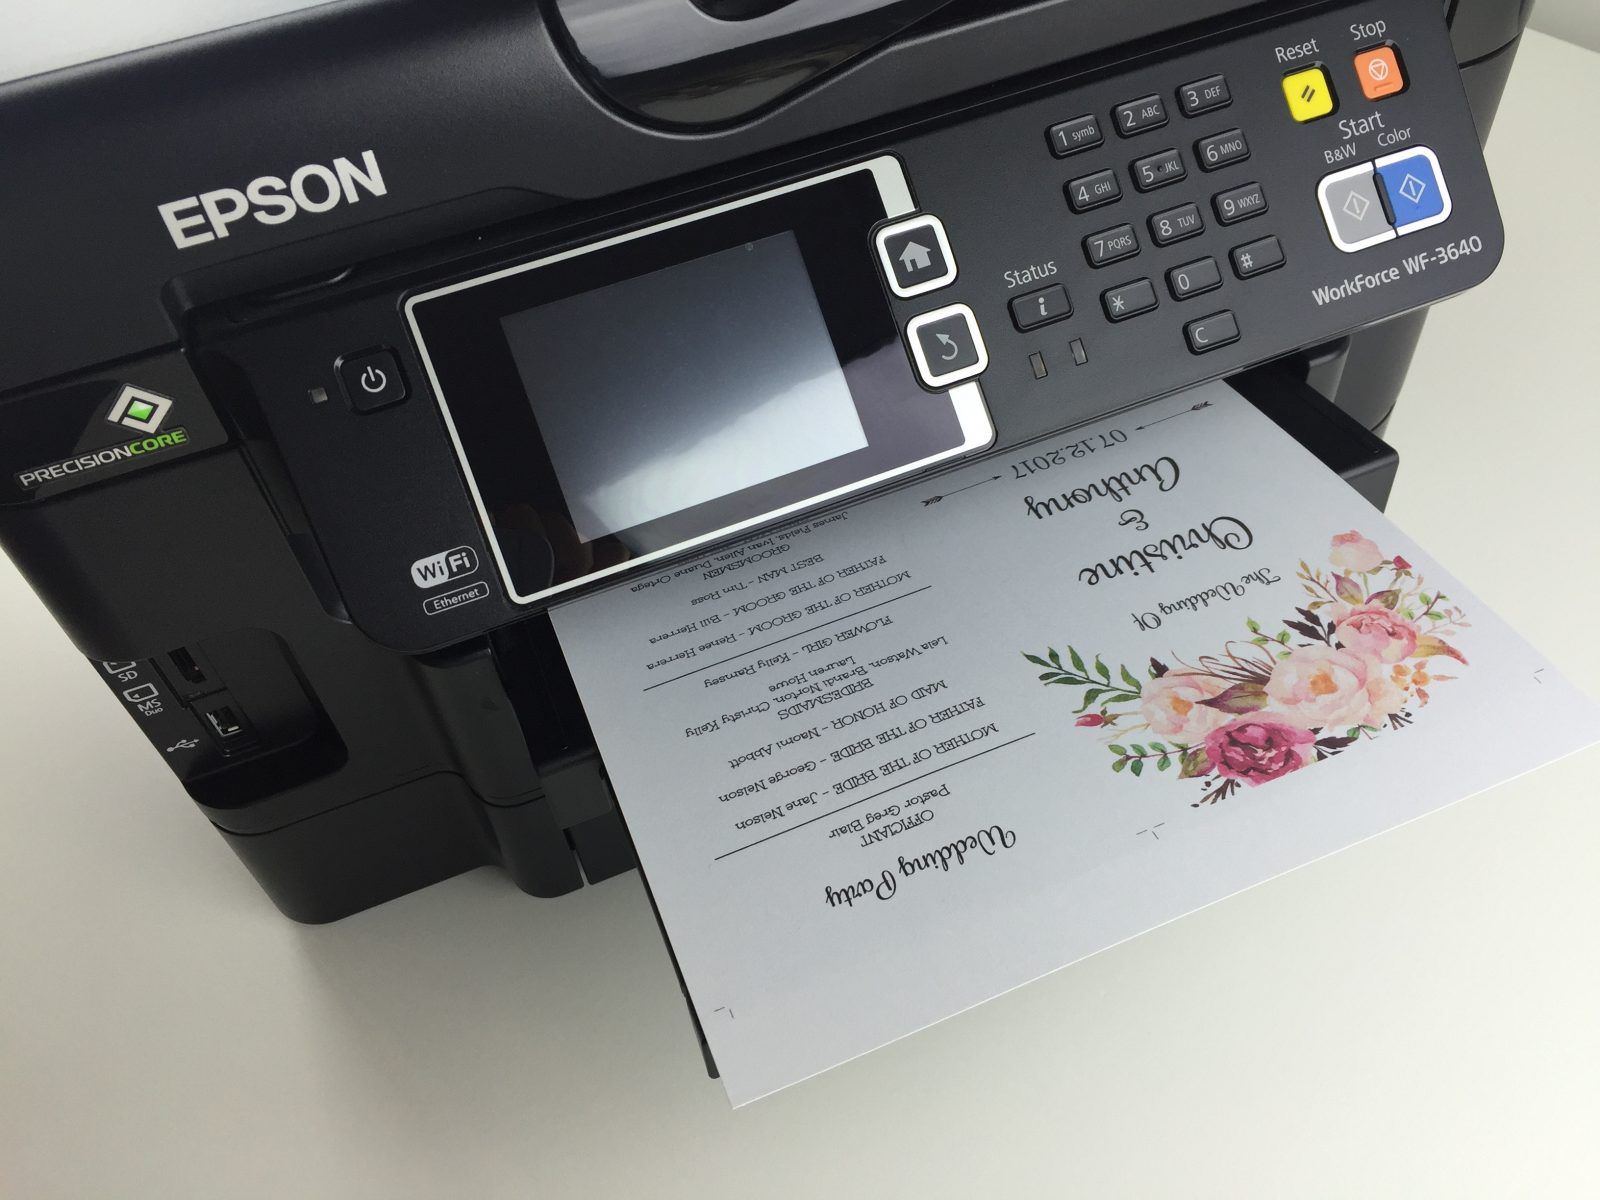
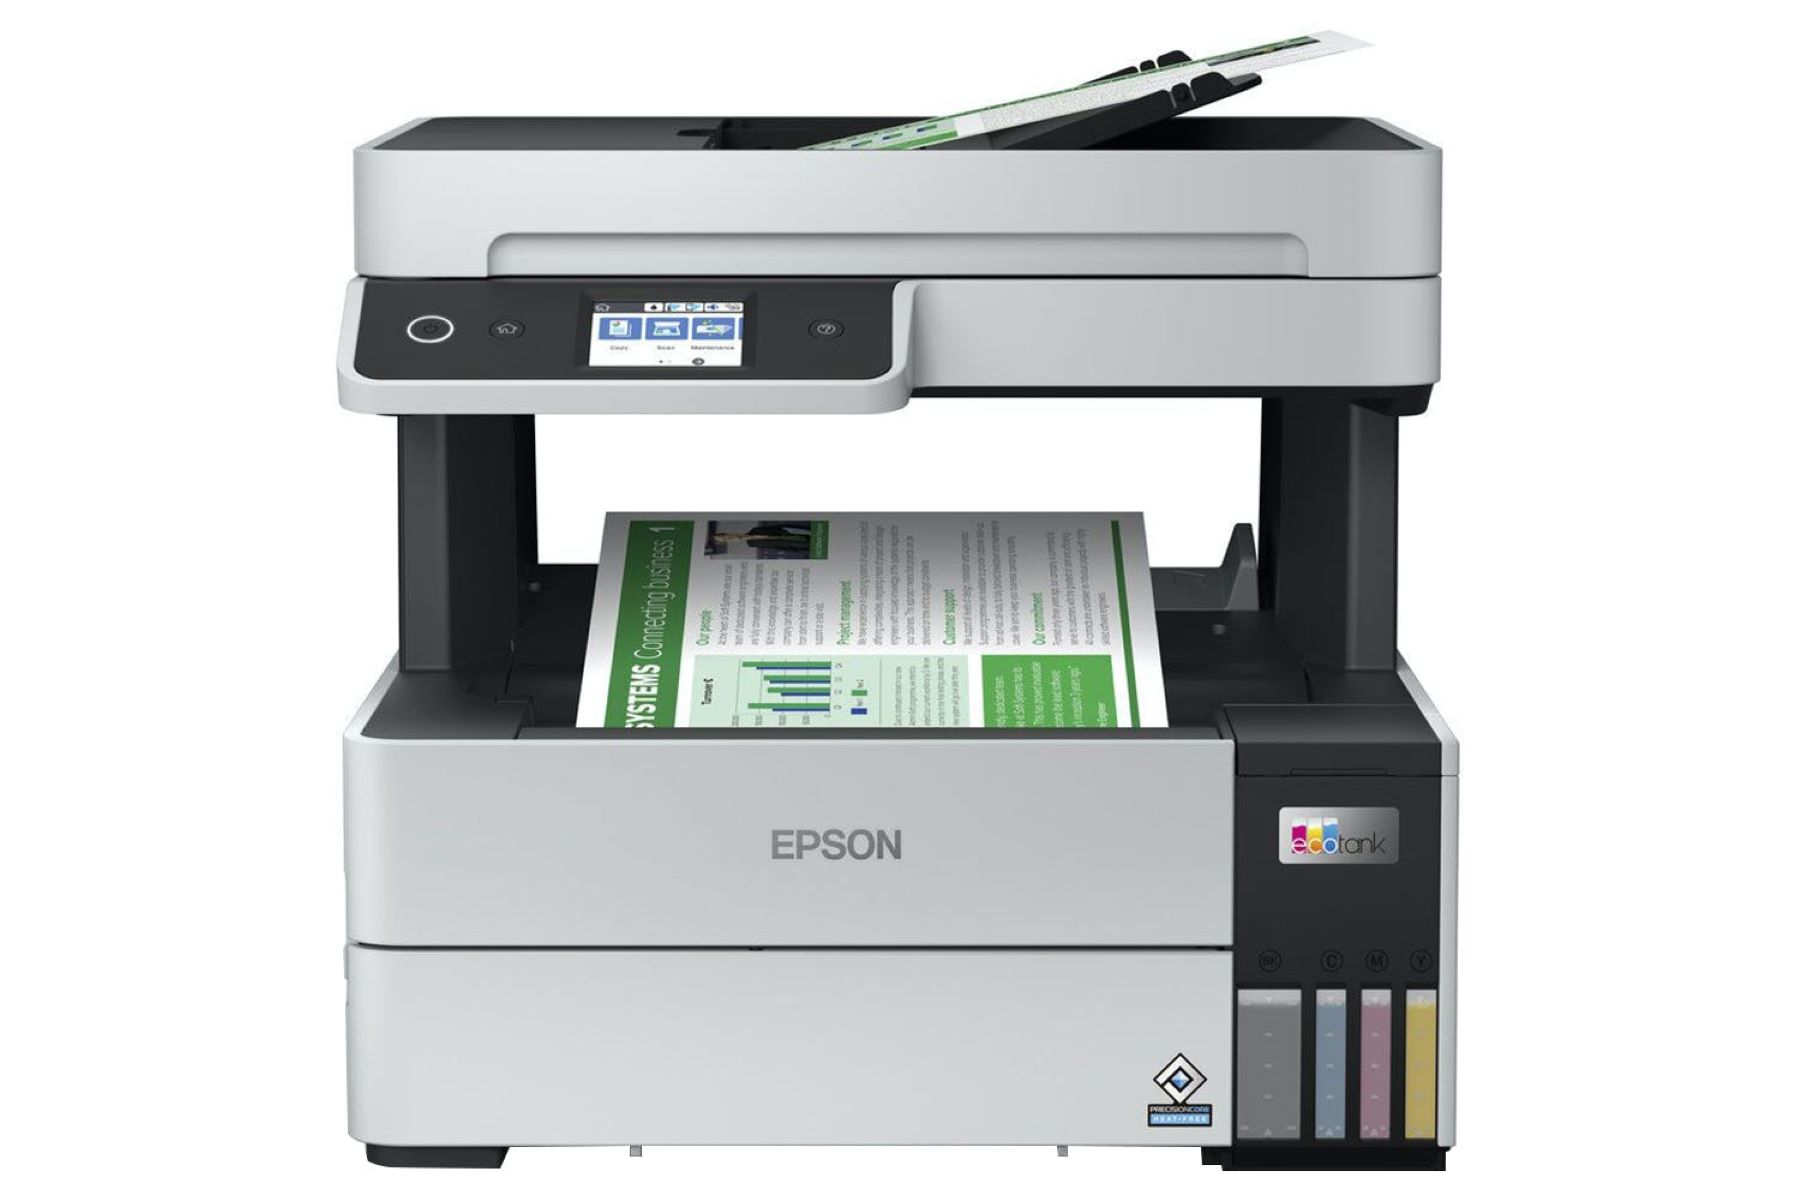
When scanning with a printer, place the document face down on the scanner bed and select the scan option on the printer’s control panel or software on your computer. Choose the desired settings and save the scanned file to your computer.
Scanning Using a Multi-Function Printer
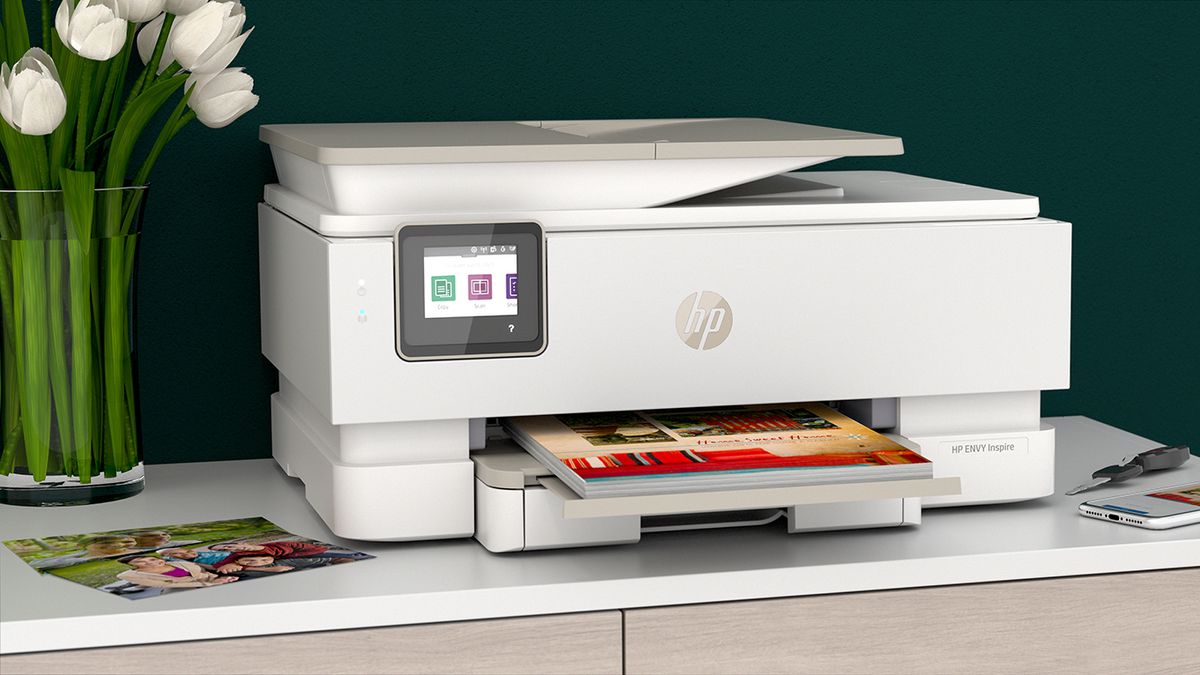
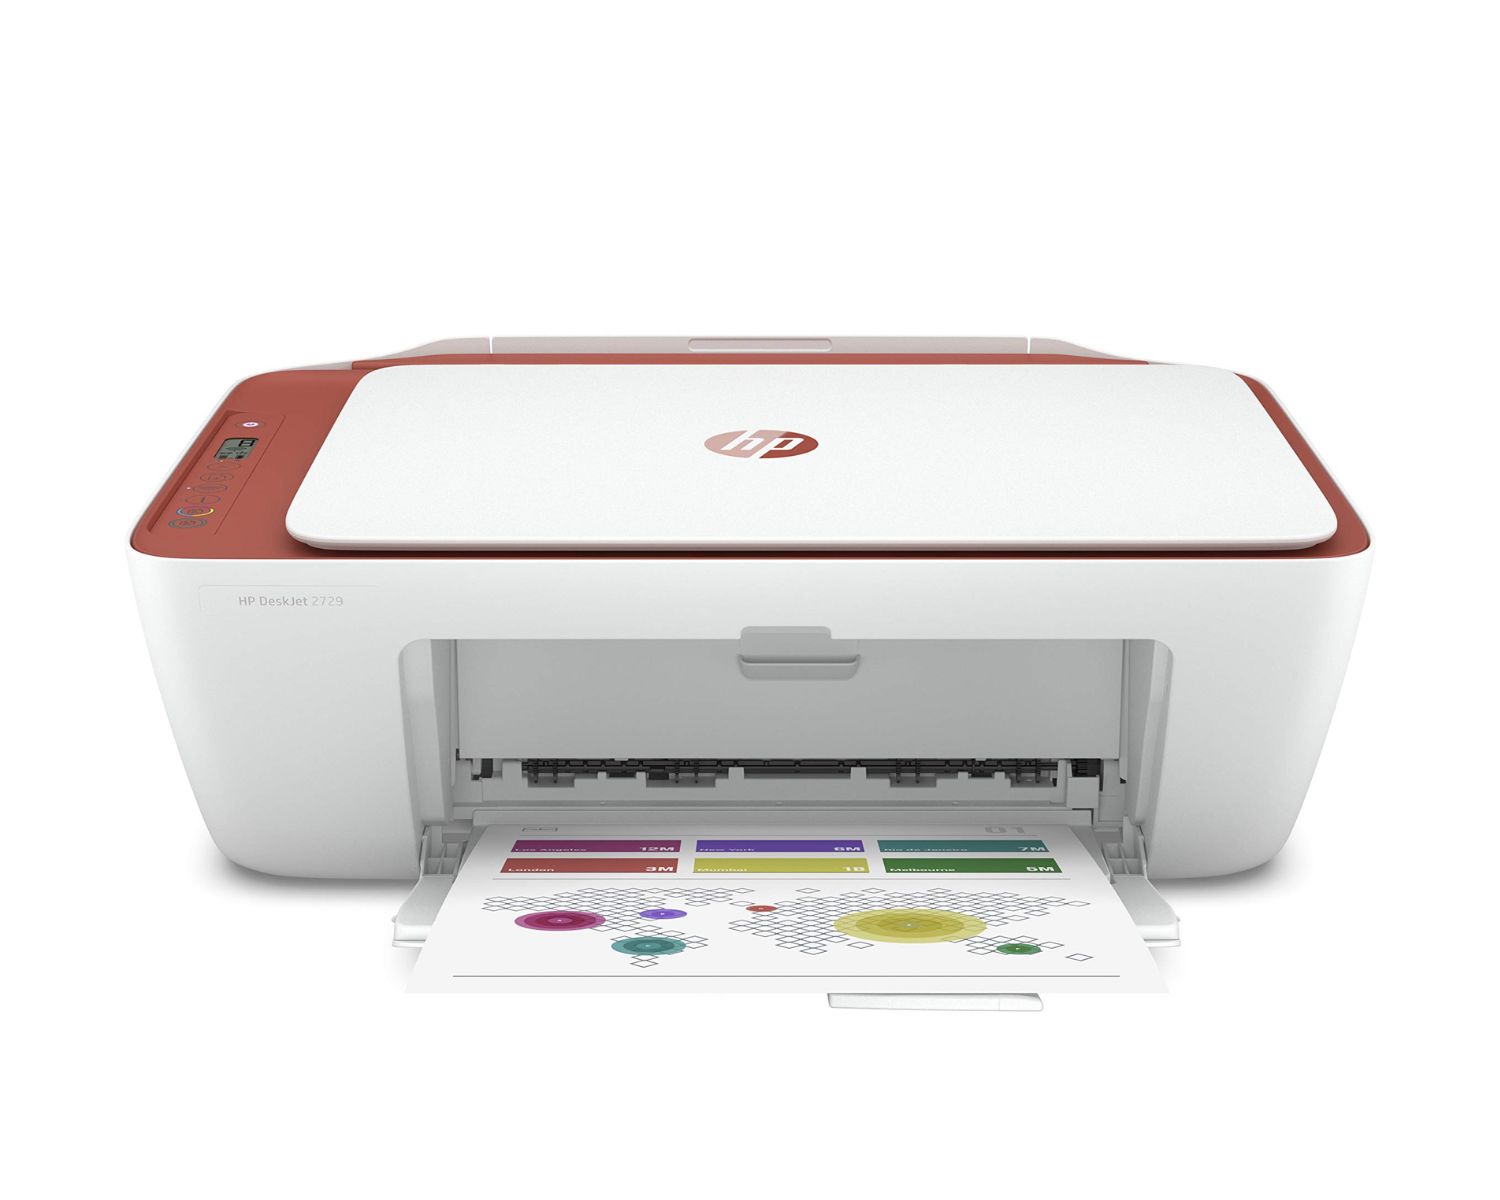
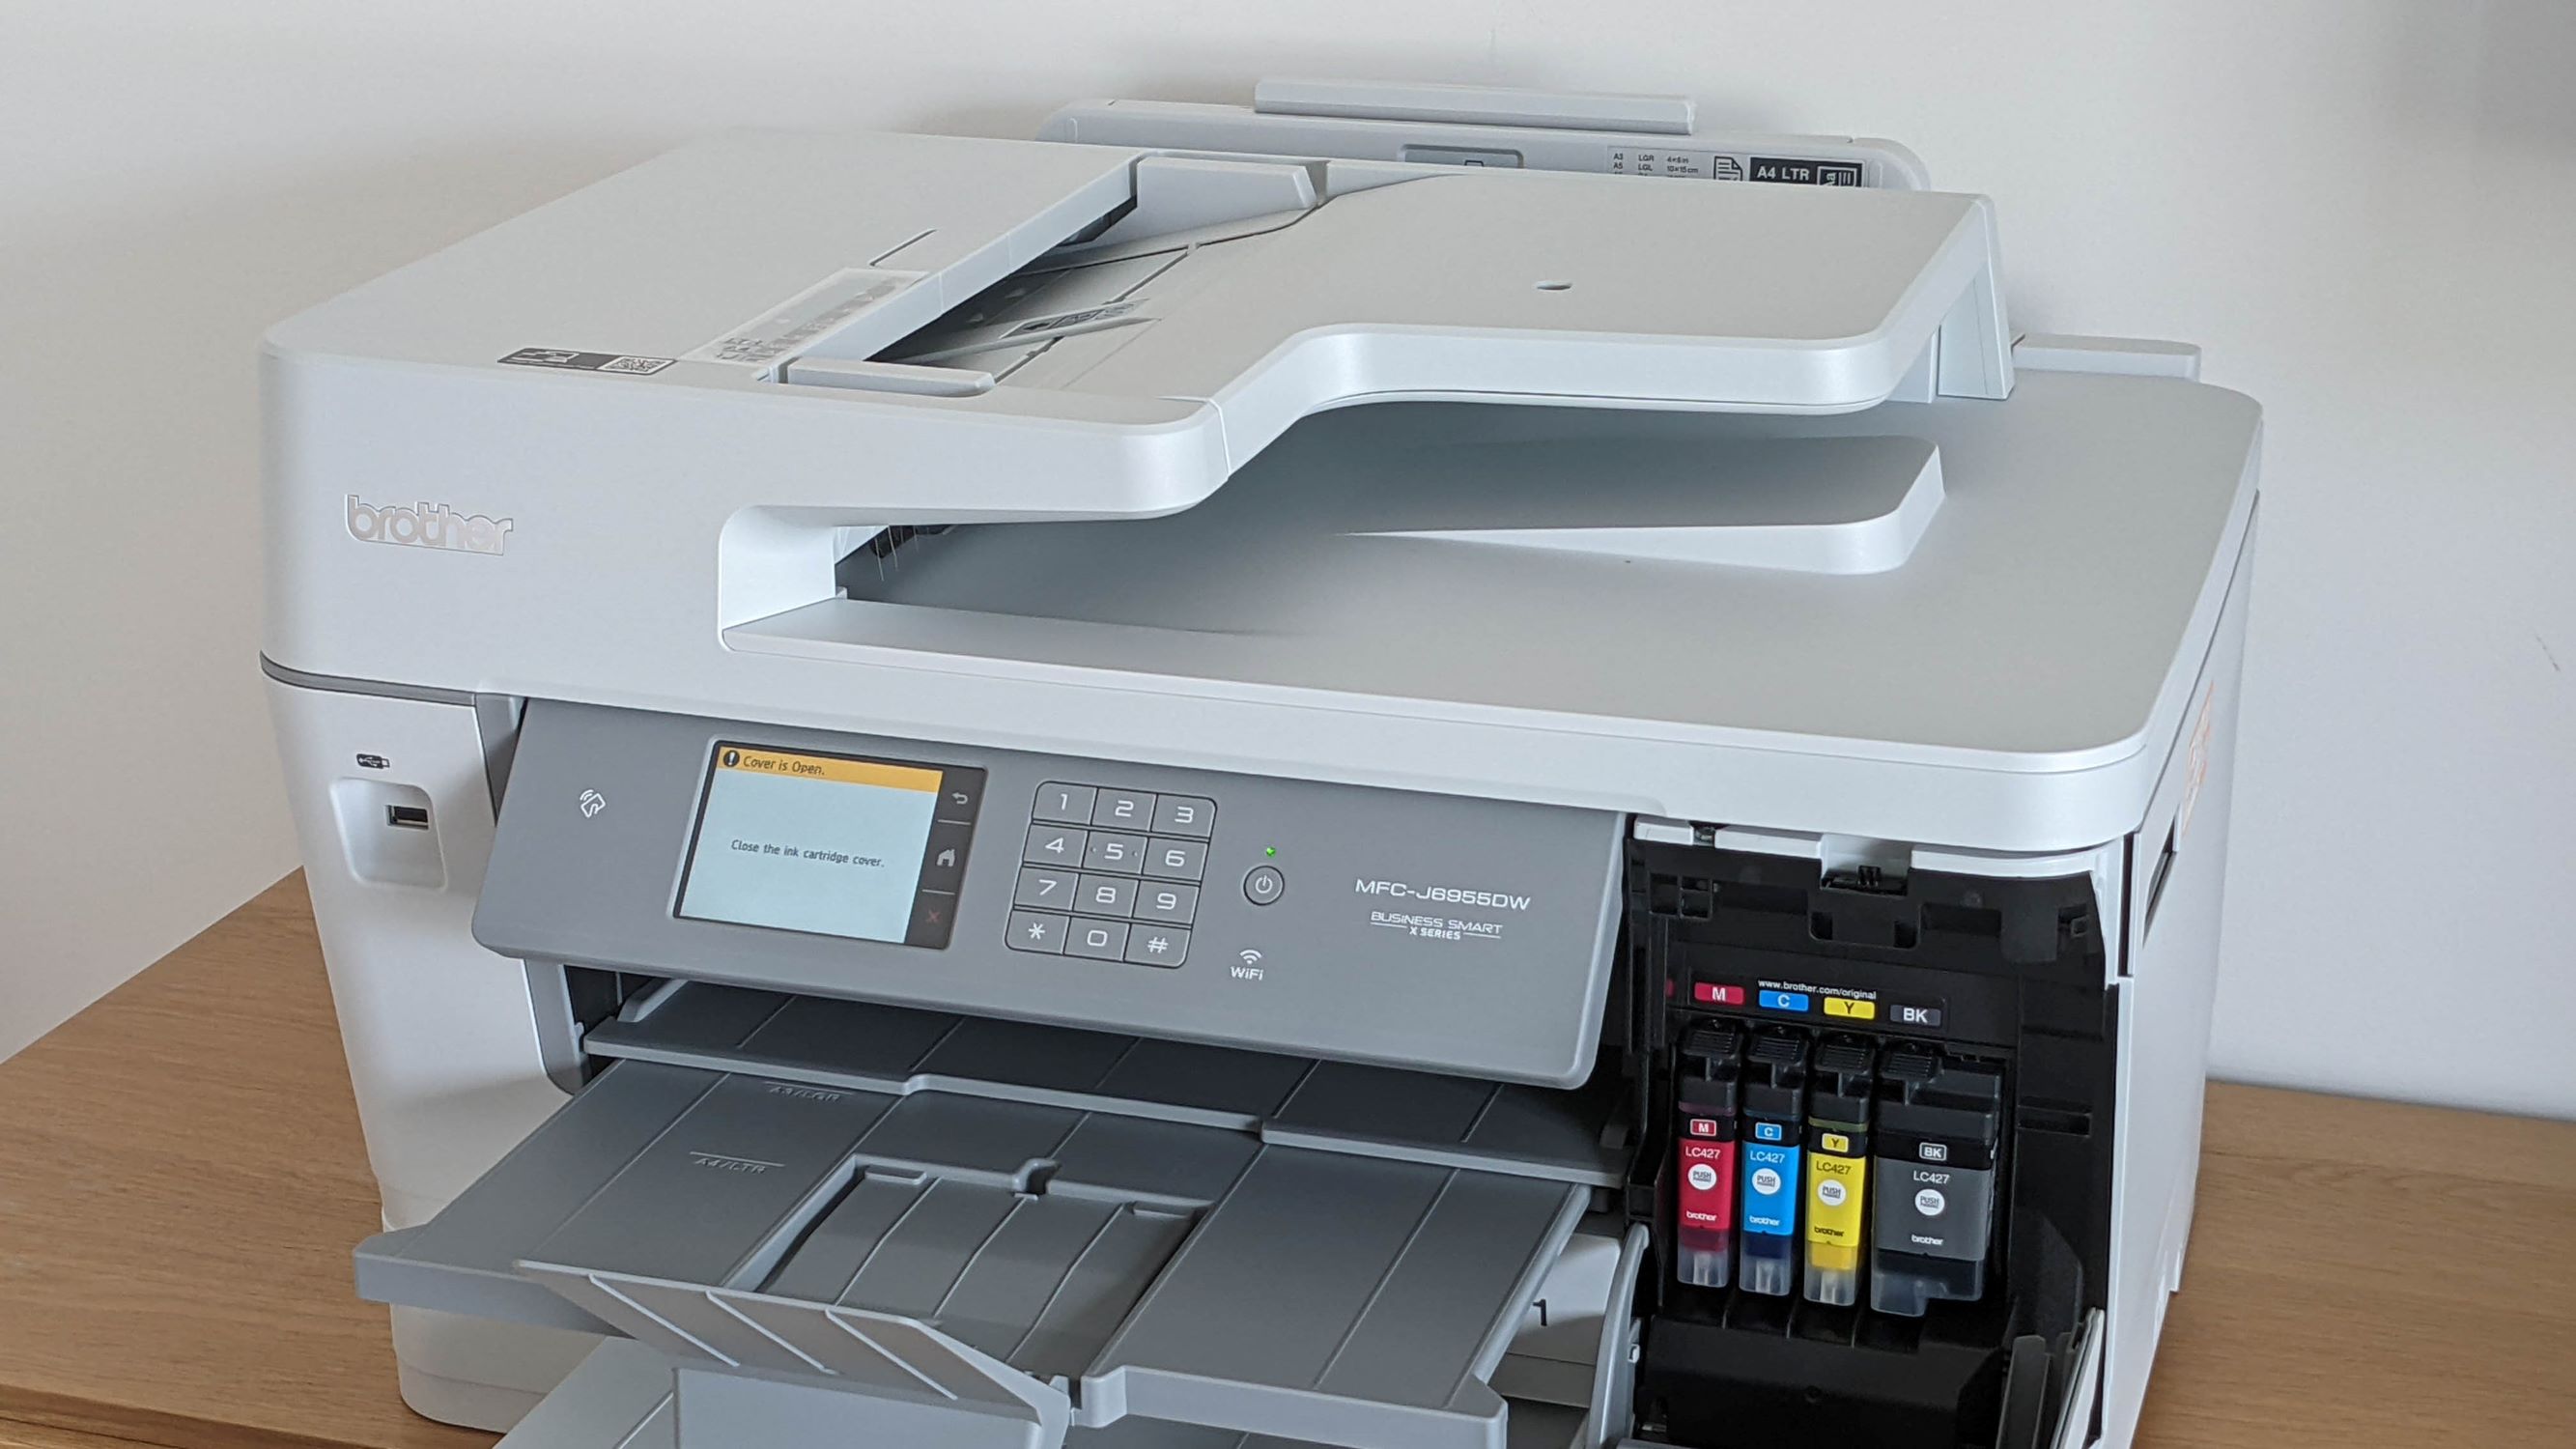
Multi-function printers, often referred to as all-in-one printers, combine the functionalities of a printer, scanner, copier, and sometimes a fax machine into a single device. This versatility makes them a popular choice for home and office environments, offering convenience and space-saving benefits.
To initiate scanning using a multi-function printer, ensure that the device is connected to your computer and the necessary drivers and software are installed. Many multi-function printers support both wired and wireless connectivity, providing flexibility in how you can access and utilize the scanning functionality.
Once the printer is set up and connected, place the document or image you wish to scan on the printer’s scanning bed or into the automatic document feeder (ADF), depending on the model. The ADF allows for the scanning of multiple pages in succession, making it suitable for digitizing multi-page documents without manual intervention.
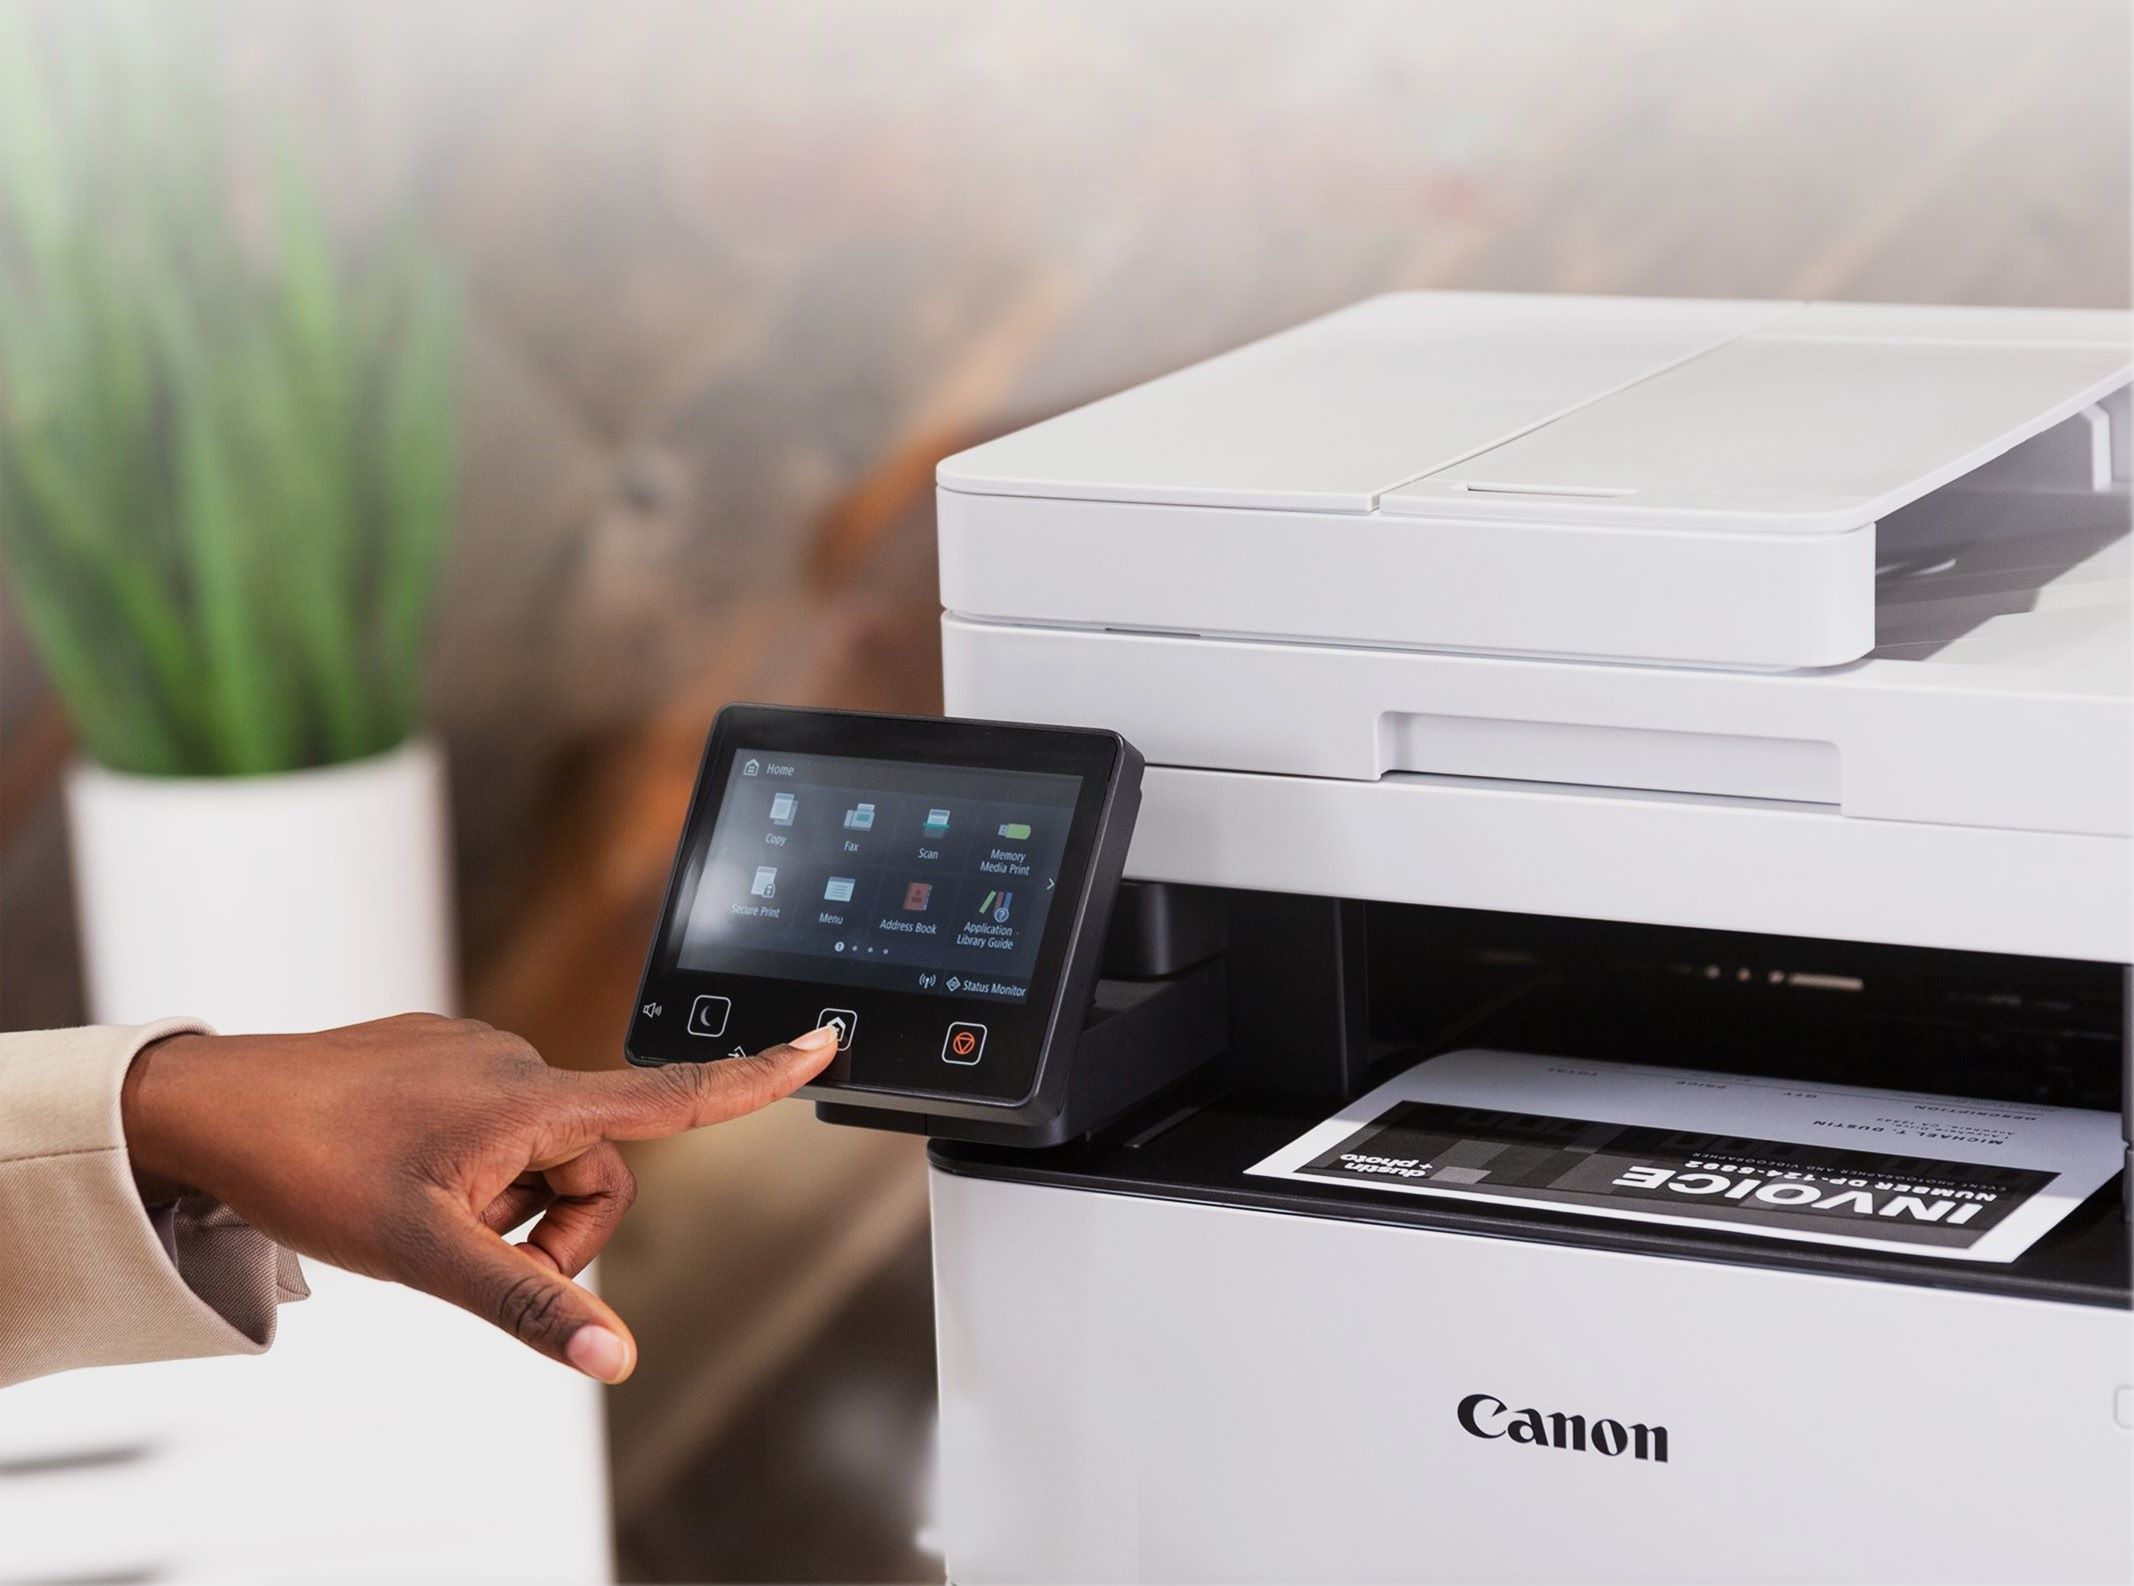
After positioning the document, use the printer’s control panel or the accompanying software on your computer to select the scanning options, such as resolution, color depth, and file format. These settings can be adjusted based on the specific requirements of your scan, ensuring that the digital file meets your desired quality standards.
Once the settings are configured, initiate the scanning process through the printer’s control panel or the software interface on your computer. The multi-function printer will then capture the document or image and convert it into a digital file, which can be saved to your computer or a connected storage device.
Multi-function printers offer the convenience of combining printing, scanning, and copying capabilities in a single device, making them a versatile and efficient solution for various document-related tasks in both home and office settings.
Read more: How To Scan With A Brother Printer
Scanning Using a Mobile Scanner
Mobile scanners, also known as portable scanners, offer the convenience of on-the-go document digitization, allowing users to capture high-quality scans directly from their smartphones or tablets. These compact devices are particularly useful for professionals, students, and individuals who need to digitize documents while away from traditional scanning equipment.
To scan using a mobile scanner, start by downloading and installing the scanner’s dedicated mobile app from the respective app store. Once the app is installed, open it and position the document or image you wish to scan on a flat, well-lit surface. Ensure that the entire document is visible within the camera frame of your mobile device.
Next, use the app’s interface to adjust the scanning settings, such as resolution, color mode, and file format. Many mobile scanning apps offer features for enhancing the scanned images, such as automatic edge detection, perspective correction, and color adjustments, to ensure optimal scan quality.
After configuring the settings, capture the image using your mobile device’s camera. Some mobile scanning apps offer guidance on capturing the image, such as aligning the edges of the document within on-screen markers or maintaining a steady hand during the capture process.
Once the image is captured, the app processes it to create a digital scan, which can be further refined using built-in editing tools. These tools may include cropping, rotating, adjusting brightness and contrast, and even performing optical character recognition (OCR) to convert scanned text into editable and searchable content.
Mobile scanners provide a convenient and portable solution for digitizing documents, receipts, business cards, and other physical media while on the move. The ability to capture, enhance, and organize scans directly from a mobile device makes mobile scanners a valuable tool for individuals seeking flexibility and efficiency in their document management tasks.
Tips for Successful Scanning
1. Clean the Scanner: Ensure that the scanning glass or sheetfed scanner’s rollers are free from dust, smudges, or debris to prevent artifacts or blemishes on the scanned images.
2. Proper Document Handling: When using flatbed or sheetfed scanners, handle documents carefully to avoid tears, creases, or misfeeds, which can impact the quality of the scans.
3. Adjust Settings Appropriately: Tailor the scanning settings, such as resolution and color depth, to match the nature of the document or image being scanned, optimizing the balance between file size and quality.
4. Consider File Formats: Choose the appropriate file format based on the intended use of the scanned document, such as JPEG for photos, PDF for multi-page documents, and TIFF for high-quality archival scans.
5. Lighting and Environment: Ensure that the scanning area is well-lit and free from glare, as reflections and shadows can affect the quality of the scanned images.
6. Calibration: Calibrate the scanner periodically, following the manufacturer’s recommendations, to maintain accurate color reproduction and image quality.
7. Preview Scans: Take advantage of the preview feature in scanning software to assess the scanned image before saving, allowing for adjustments or re-scanning if necessary.
8. Organize Digital Files: Establish a consistent naming and filing system for scanned documents to facilitate easy retrieval and organization.
9. Maintain Scanner Maintenance: Follow the manufacturer’s guidelines for cleaning and maintaining the scanner to ensure consistent performance and longevity.
10. Mobile Scanning Considerations: When using a mobile scanner, ensure a stable and well-lit environment for capturing clear and accurate scans, and utilize the app’s features for enhancing image quality and legibility.
By implementing these tips, you can enhance the quality and efficiency of your scanning endeavors, resulting in clear, accurate, and well-organized digital documents and images.
Conclusion
Scanning has become an integral part of modern-day document management and digitization. Whether you’re preserving cherished memories, digitizing important records, or streamlining your workflow, understanding the various scanning methods and best practices empowers you to achieve optimal results.
From the versatility of flatbed scanners to the efficiency of sheetfed scanners, the convenience of multi-function printers, and the portability of mobile scanners, the options for digitizing documents and images cater to diverse needs and preferences. Each scanning method offers unique advantages, allowing users to select the most suitable approach based on the nature of the materials being scanned and the desired outcomes.
By mastering the basics of scanning, including resolution, color depth, and file formats, individuals can make informed decisions to produce high-quality digital scans that meet their specific requirements. Moreover, implementing best practices such as proper document handling, scanner maintenance, and thoughtful consideration of scanning environment and lighting further enhances the scanning experience.
As technology continues to advance, scanning solutions evolve to offer greater convenience, efficiency, and quality. Whether you’re scanning documents at a desk, digitizing records on the go with a mobile scanner, or utilizing the multifunction capabilities of a printer, the ability to convert physical media into digital format has never been more accessible.
Embracing the knowledge and tips shared in this article empowers you to approach scanning with confidence, efficiency, and creativity, unlocking the potential to preserve, organize, and share your physical documents and images in the digital realm.
With the diverse array of scanning options and the guidance provided, you’re well-equipped to embark on your scanning journey with clarity and capability, harnessing the power of digital transformation in your personal and professional pursuits.
Frequently Asked Questions about How Do You Scan With A Printer
Was this page helpful?
At Storables.com, we guarantee accurate and reliable information. Our content, validated by Expert Board Contributors, is crafted following stringent Editorial Policies. We're committed to providing you with well-researched, expert-backed insights for all your informational needs.



0 thoughts on “How Do You Scan With A Printer”