Home>Technology>Smart Home Devices>How To Add A Printer On Macbook
Smart Home Devices
How To Add A Printer On Macbook
Modified: February 18, 2024
Learn how to easily add a printer to your MacBook and streamline your smart home devices setup. Follow our step-by-step guide for seamless integration.
(Many of the links in this article redirect to a specific reviewed product. Your purchase of these products through affiliate links helps to generate commission for Storables.com, at no extra cost. Learn more)
Introduction
Welcome to the world of smart home devices, where convenience and innovation intersect to simplify our lives. Among the myriad of smart devices available, smart home printers stand out as essential tools for modern-day productivity. With the ability to seamlessly integrate with various platforms, including MacBooks, these printers offer a hassle-free printing experience.
In this comprehensive guide, we will walk you through the process of adding a printer to your MacBook, ensuring that you can effortlessly harness the power of your smart home printer. Whether you are a seasoned tech enthusiast or a newcomer to the realm of smart home devices, this step-by-step tutorial will equip you with the knowledge and confidence to set up your printer with ease.
From checking compatibility to installing printer software and adding the printer to your MacBook, each step is designed to demystify the process and empower you to make the most of your smart home printing capabilities. By the end of this guide, you will be well-versed in the seamless integration of smart home printers with your MacBook, allowing you to unlock a world of efficient and convenient printing possibilities.
So, let's embark on this journey together and delve into the realm of smart home printing, where technology meets simplicity to enhance your everyday printing experience. Whether you are a student, a professional, or a creative enthusiast, mastering the art of adding a printer to your MacBook will undoubtedly elevate your productivity and streamline your printing tasks. Let's get started!
Key Takeaways:
- Adding a smart home printer to your MacBook is easy! Just check compatibility, connect the printer, install the software, and add the printer to your MacBook for seamless printing.
- By following the simple steps in this guide, you can effortlessly integrate your smart home printer with your MacBook, unlocking a world of efficient and convenient printing possibilities.
Read more: How To Add A Printer To Macbook Air
Step 1: Check Compatibility
Before embarking on the process of adding a printer to your MacBook, it is crucial to ensure that the printer is compatible with your device. Compatibility is a key factor in establishing a seamless connection and avoiding potential technical hiccups along the way.
First and foremost, identify the make and model of your smart home printer. This information is typically found on the printer itself or within its accompanying documentation. With the make and model in hand, you can proceed to verify its compatibility with your MacBook. Most modern printers are designed to be compatible with Mac operating systems, but it is always prudent to double-check to avoid any unforeseen compatibility issues.
One effective way to confirm compatibility is to visit the official website of the printer’s manufacturer. Here, you can navigate to the support or product information section and search for details regarding compatibility with Mac operating systems. Manufacturers often provide comprehensive information about compatible devices and detailed instructions for setting up the printer with MacBooks.
Additionally, you can explore online forums and communities dedicated to smart home devices and Mac users. These platforms often feature discussions and user experiences related to printer compatibility, offering valuable insights and potential workarounds for specific printer models.
Furthermore, if you have access to a physical store that specializes in smart home devices, consider seeking assistance from knowledgeable staff. They can provide personalized guidance based on your specific printer model and MacBook configuration, ensuring that you have the necessary information to proceed with confidence.
By diligently verifying the compatibility of your smart home printer with your MacBook, you can lay a solid foundation for a smooth and successful setup process. With this crucial step completed, you are ready to move on to the next phase of connecting the printer to your MacBook and unleashing its full potential.
Step 2: Connect the Printer
With compatibility confirmed, the next step in adding a printer to your MacBook involves establishing a physical connection between the printer and your device. This connection serves as the gateway for seamless communication and enables your MacBook to interact with the smart home printer effectively.
Begin by locating an appropriate location for your smart home printer within the vicinity of your MacBook. Ideally, the printer should be placed within reach of a power outlet and in close proximity to your MacBook to facilitate a direct connection. Once you have identified the optimal placement, proceed to connect the printer to a power source and power it on.
Next, inspect the connectivity options available on your smart home printer. Most modern printers offer a variety of connection methods, including USB, Wi-Fi, and Bluetooth. For MacBook users, the USB and Wi-Fi options are particularly relevant for establishing a reliable and versatile connection.
If you opt for a USB connection, ensure that you have a compatible USB cable available. Connect one end of the USB cable to the designated port on the printer and the other end to an available USB port on your MacBook. This direct physical connection establishes a reliable link between the devices, enabling seamless printing functionality.
Alternatively, if you prefer a wireless setup, explore the Wi-Fi connectivity option provided by your smart home printer. Access the printer’s control panel or interface to initiate the Wi-Fi setup process, following the manufacturer’s instructions for connecting the printer to your home Wi-Fi network. Once the printer is successfully connected to the Wi-Fi network, your MacBook can detect and interact with the printer wirelessly, offering enhanced flexibility and convenience.
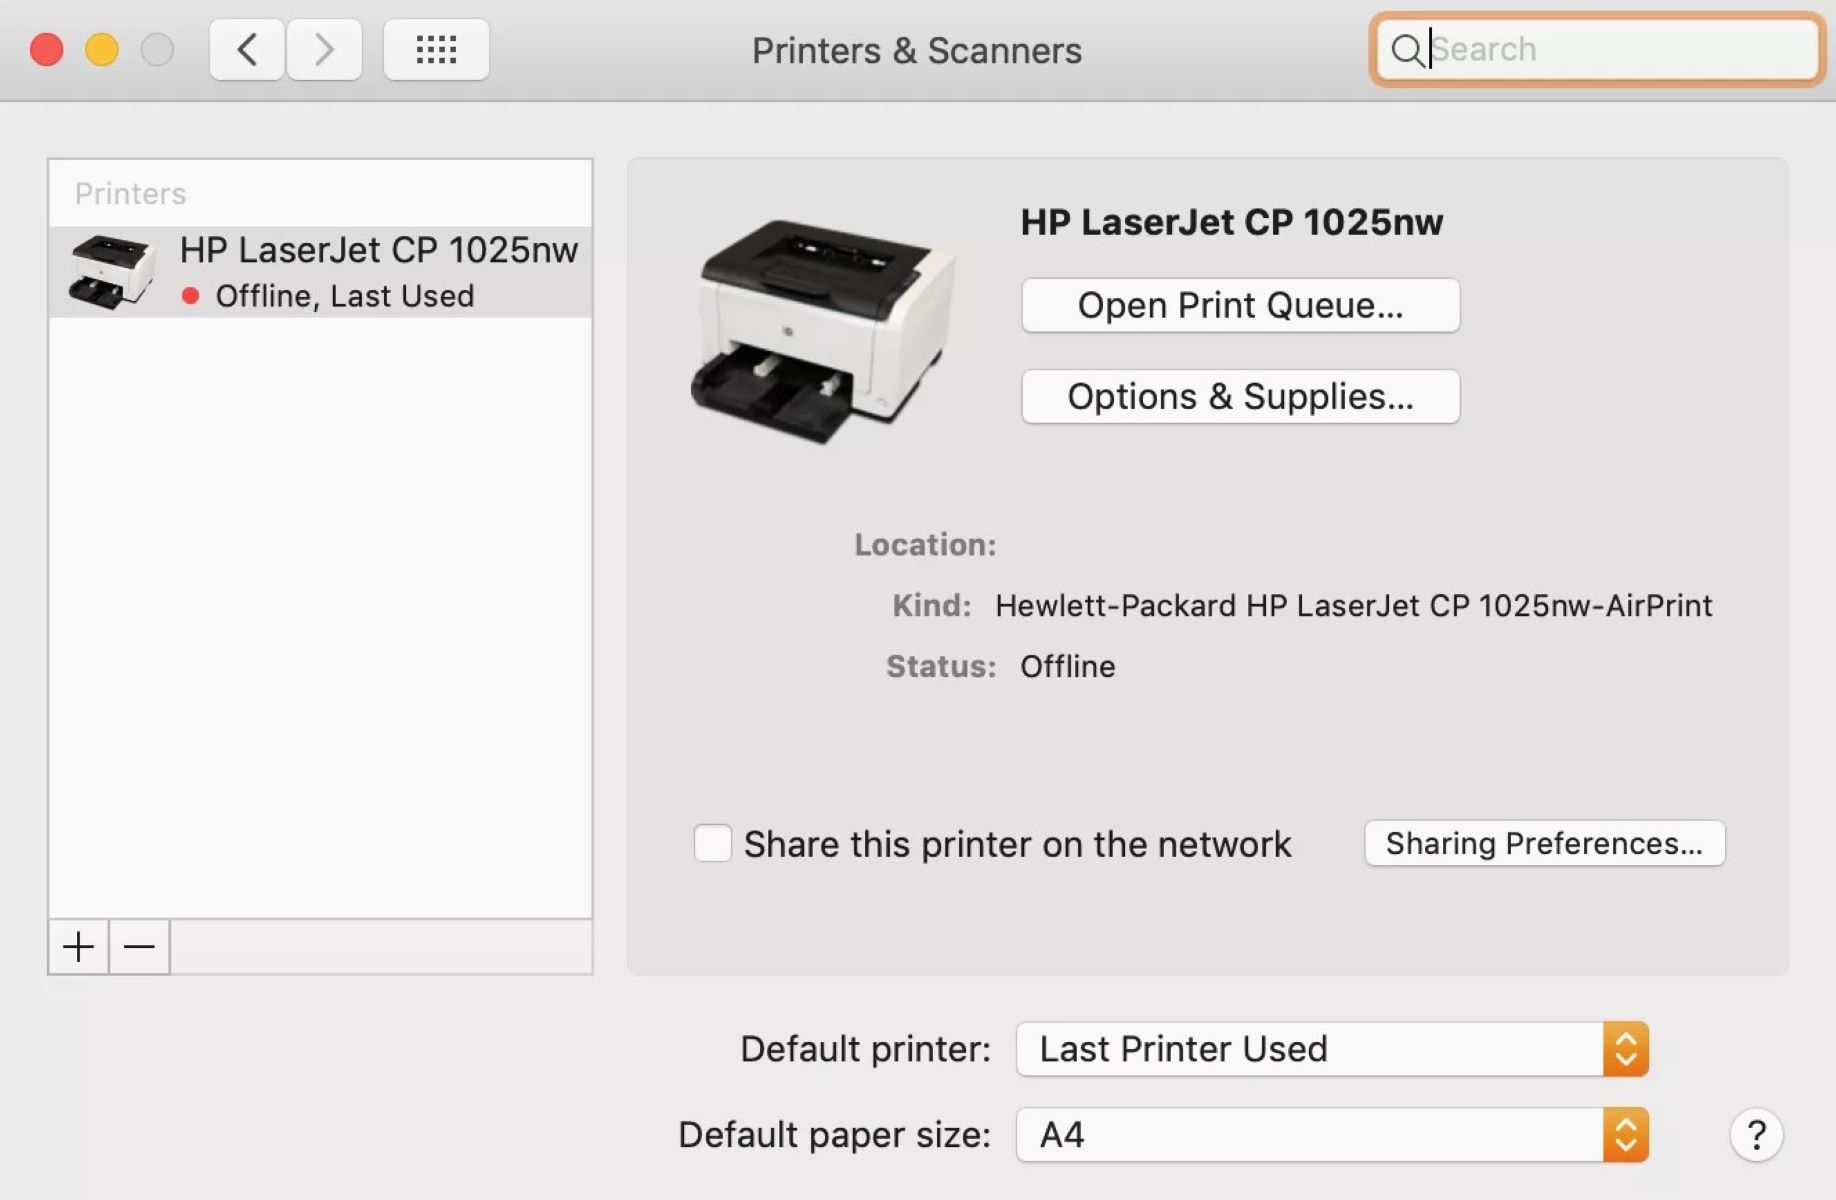
Whichever connectivity method you choose, ensure that the printer is successfully recognized by your MacBook before proceeding to the next step. This can be verified by accessing the “Printers & Scanners” section within your MacBook’s System Preferences and confirming the presence of the newly connected printer.
By establishing a reliable physical or wireless connection between your smart home printer and MacBook, you are one step closer to unlocking the full potential of your printing capabilities. With the printer successfully connected, you are ready to embark on the next phase of installing the necessary software to optimize its functionality on your MacBook.
To add a printer on a MacBook, go to System Preferences, then select Printers & Scanners. Click the “+” button to add a new printer and follow the on-screen instructions to complete the setup.
Step 3: Install Printer Software
With the physical connection established, the next crucial step in adding a printer to your MacBook involves installing the necessary printer software. This software serves as the bridge between your MacBook’s operating system and the smart home printer, enabling seamless communication and unlocking a myriad of printing features and functionalities.
Begin by exploring the official website of the printer’s manufacturer or the accompanying documentation to locate the appropriate printer software for Mac operating systems. Manufacturers often provide dedicated software packages tailored for Mac users, ensuring optimized performance and compatibility.
Once you have identified the correct printer software for your MacBook, proceed to download the installation package from the manufacturer’s website. Ensure that you select the version of the software that corresponds to your printer model and the macOS version running on your MacBook to guarantee a seamless installation process.
After downloading the printer software package, navigate to the designated location on your MacBook and launch the installation process. Follow the on-screen instructions provided by the installer, carefully reviewing each step to ensure a successful installation. During the installation process, the software will configure the necessary drivers and components to enable seamless communication between your MacBook and the smart home printer.
Once the installation is complete, restart your MacBook to finalize the software setup and ensure that all components are properly integrated into the operating system. This step is crucial for activating the full range of printing features and functionalities offered by your smart home printer.
Upon restarting your MacBook, navigate to the “Printers & Scanners” section within System Preferences to verify that the installed printer software has successfully recognized and integrated the smart home printer. The printer should be listed and identified with the correct model and connectivity details, indicating a successful software installation.
By installing the dedicated printer software on your MacBook, you have effectively paved the way for seamless and optimized printing capabilities. The installed software ensures that your MacBook can effectively communicate with the smart home printer, enabling you to harness its full potential and unlock a diverse range of printing options and settings.
With the printer software successfully installed, you are now prepared to proceed to the final step of adding the printer to your MacBook and initiating your printing journey with confidence and convenience.
Step 4: Add Printer to MacBook
With the printer software installed and the physical or wireless connection established, the final step in adding a printer to your MacBook involves integrating the smart home printer into your device’s printing ecosystem. This pivotal step ensures that your MacBook recognizes and seamlessly interacts with the printer, enabling a seamless printing experience across various applications and scenarios.
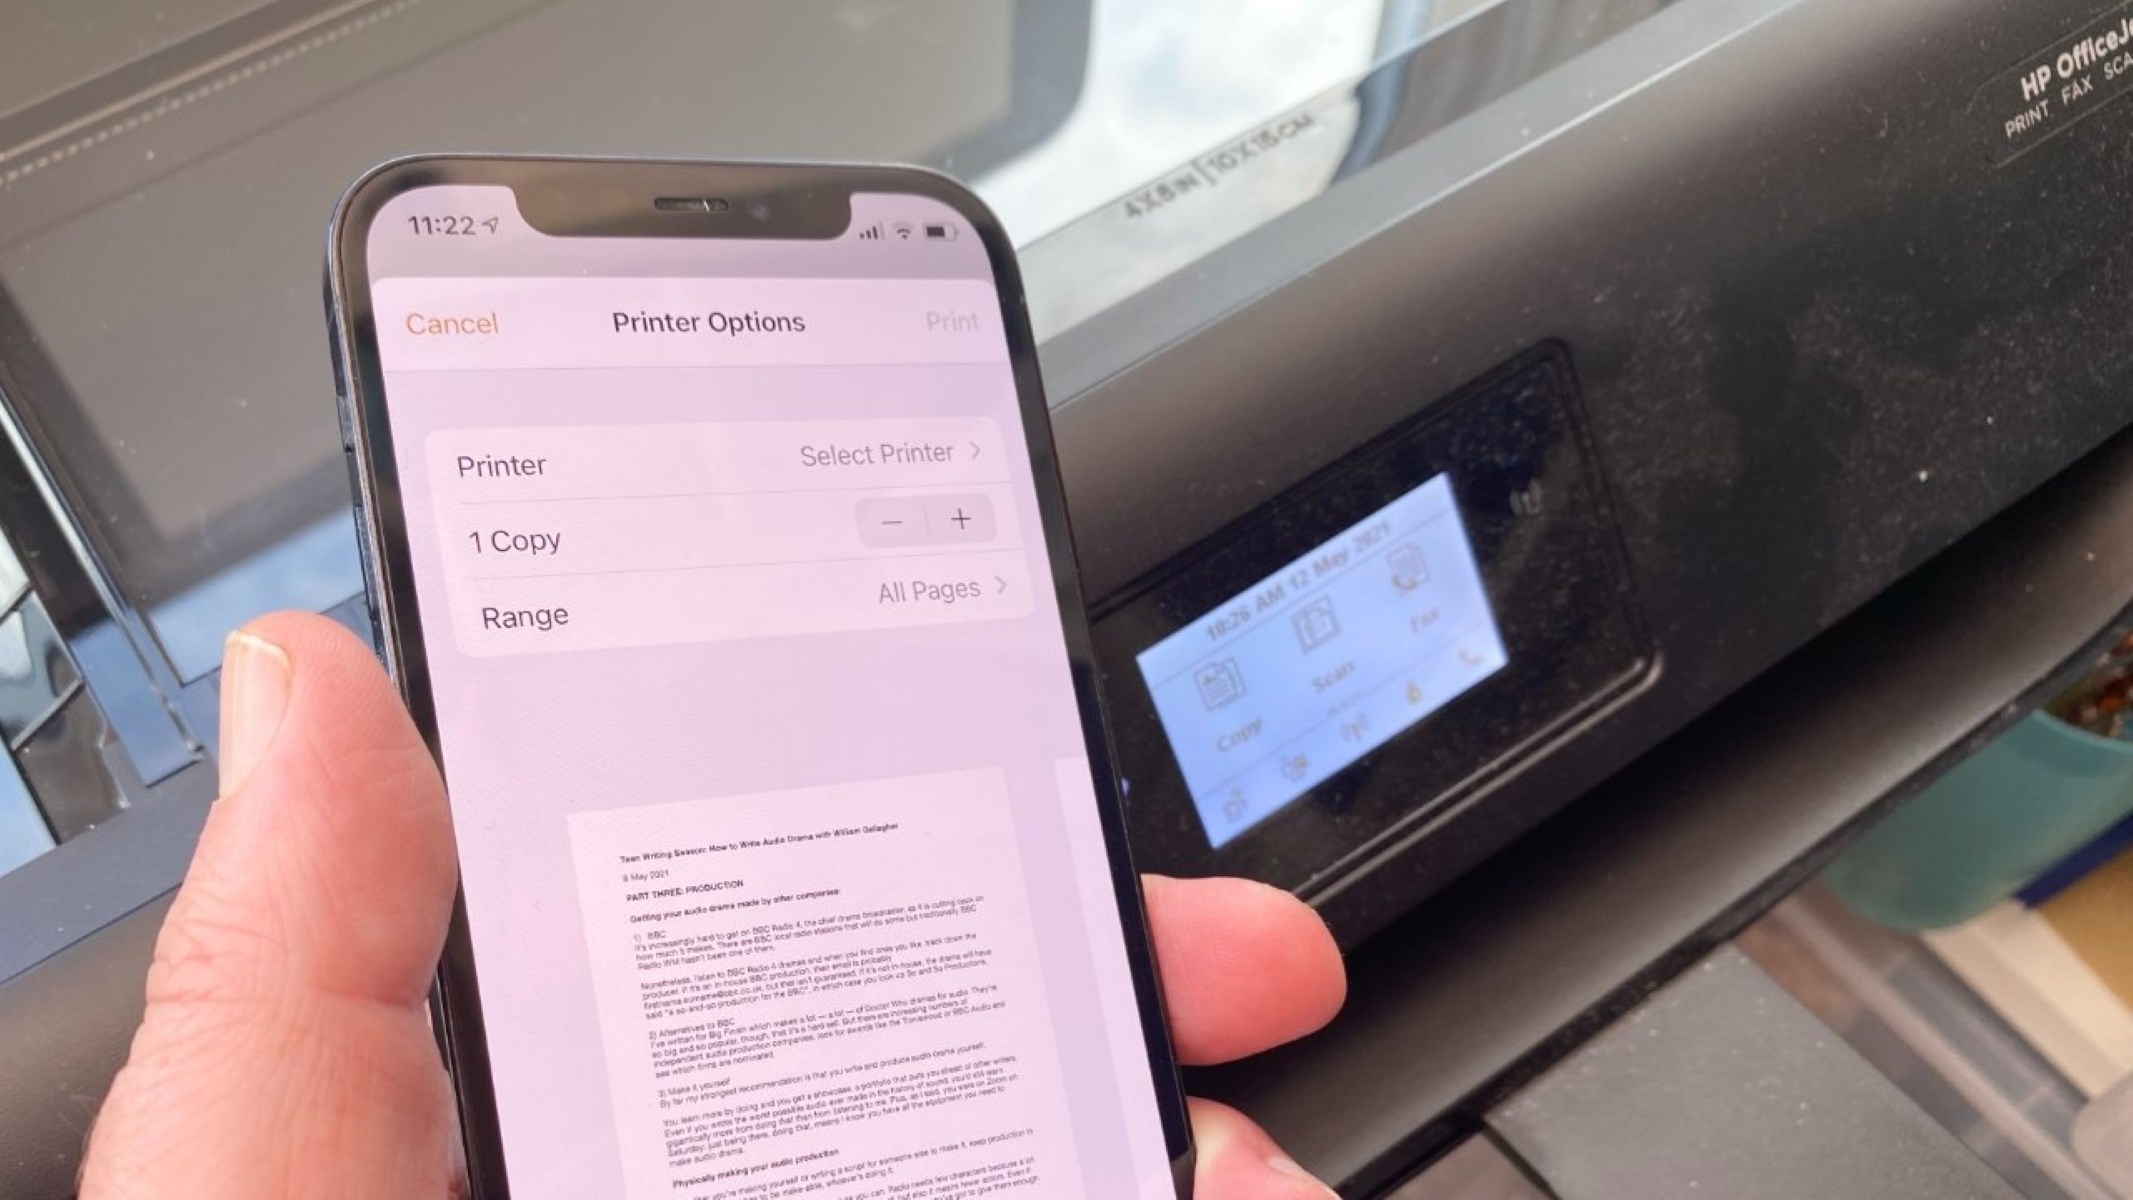
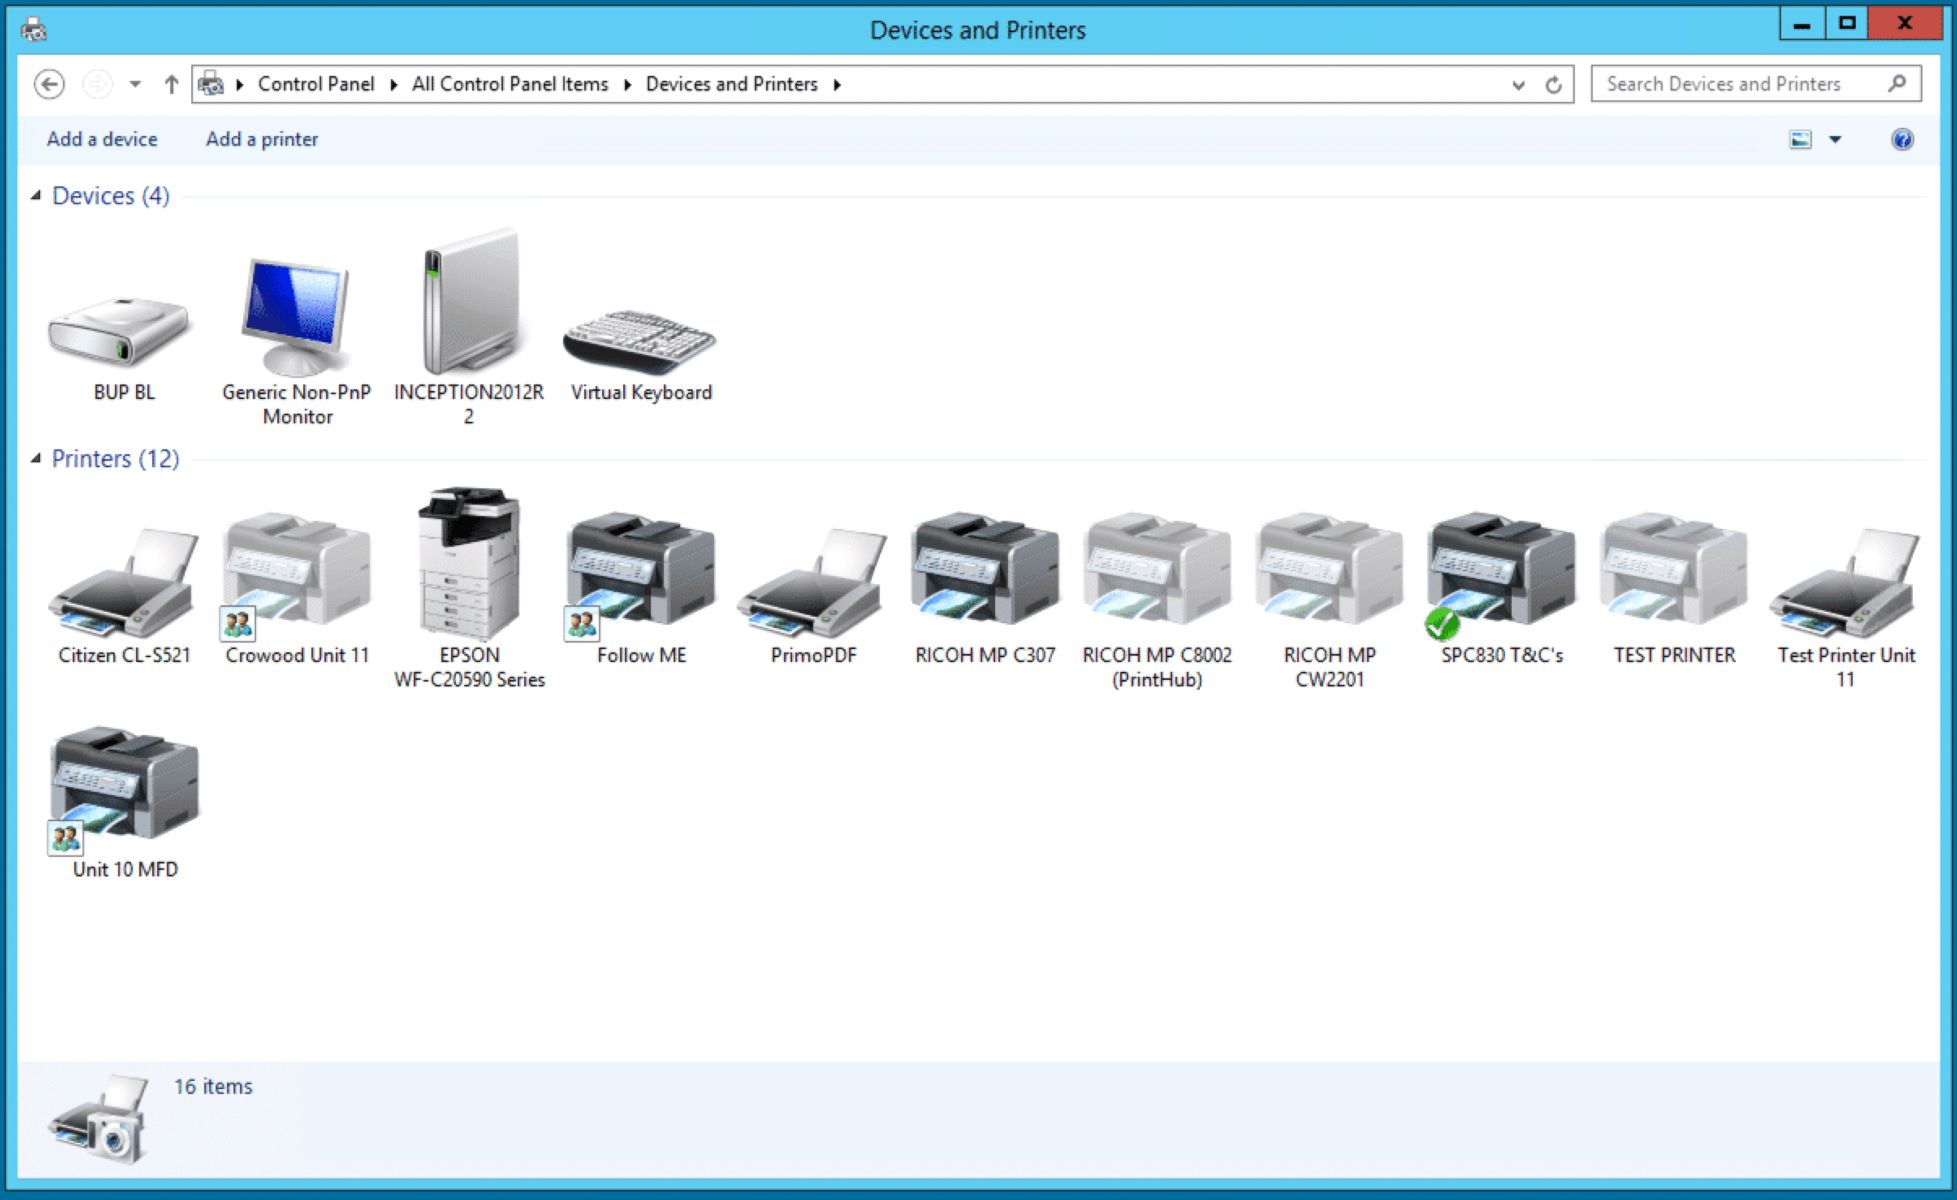
To begin, navigate to the “Printers & Scanners” section within System Preferences on your MacBook. Here, you will find a comprehensive overview of available printers and printing-related settings, providing a centralized hub for managing your printing devices.
Within the “Printers & Scanners” section, click on the “+” (Add) button to initiate the process of adding a new printer to your MacBook. This action will prompt your MacBook to search for available printers within its vicinity, including the smart home printer that you have successfully connected and installed.
Upon detecting the smart home printer, your MacBook will display it as an available device for addition. Select the printer from the list of available devices, ensuring that the correct model and connectivity details are accurately represented to avoid any potential confusion with multiple printers.
Once you have selected the smart home printer, proceed to add it to your MacBook by following the on-screen instructions. This typically involves confirming the addition of the printer and specifying any additional printing preferences or settings that you wish to configure at this stage.
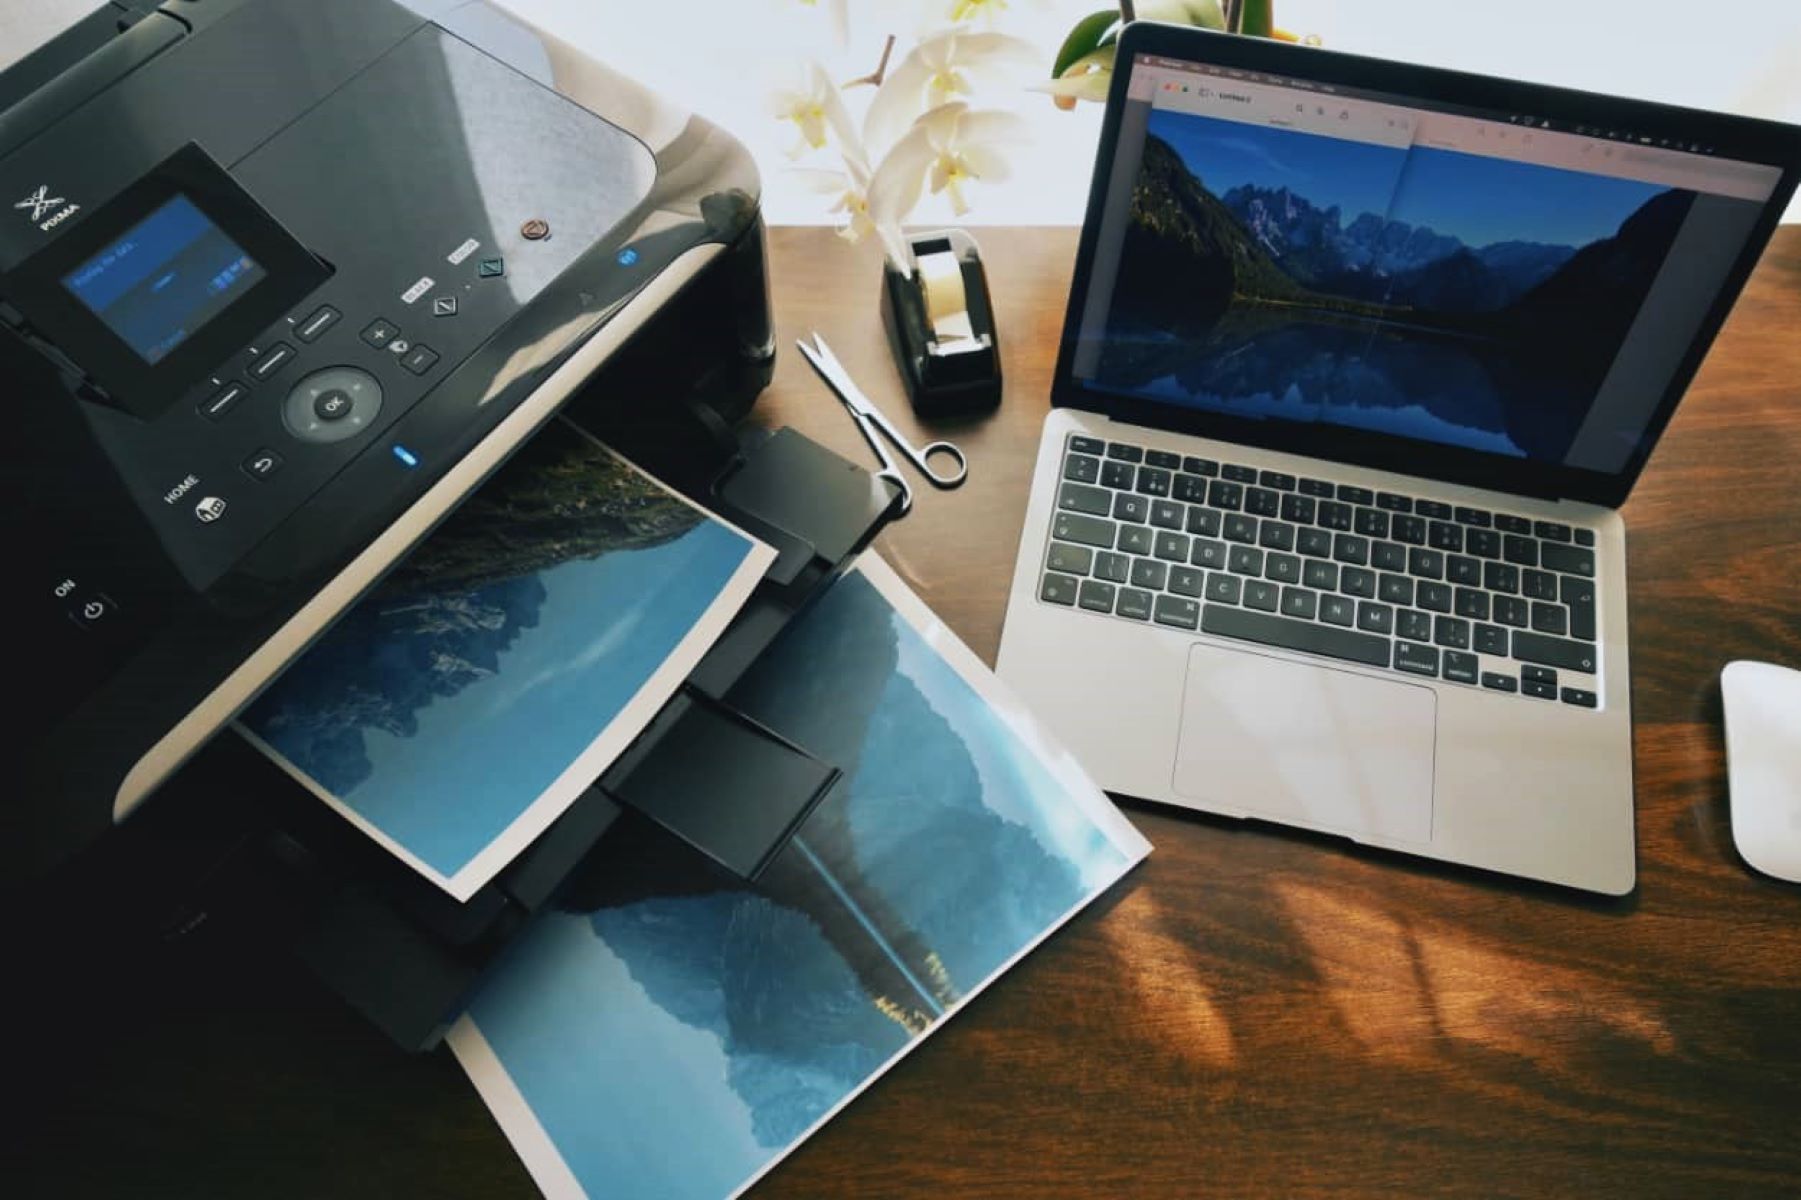
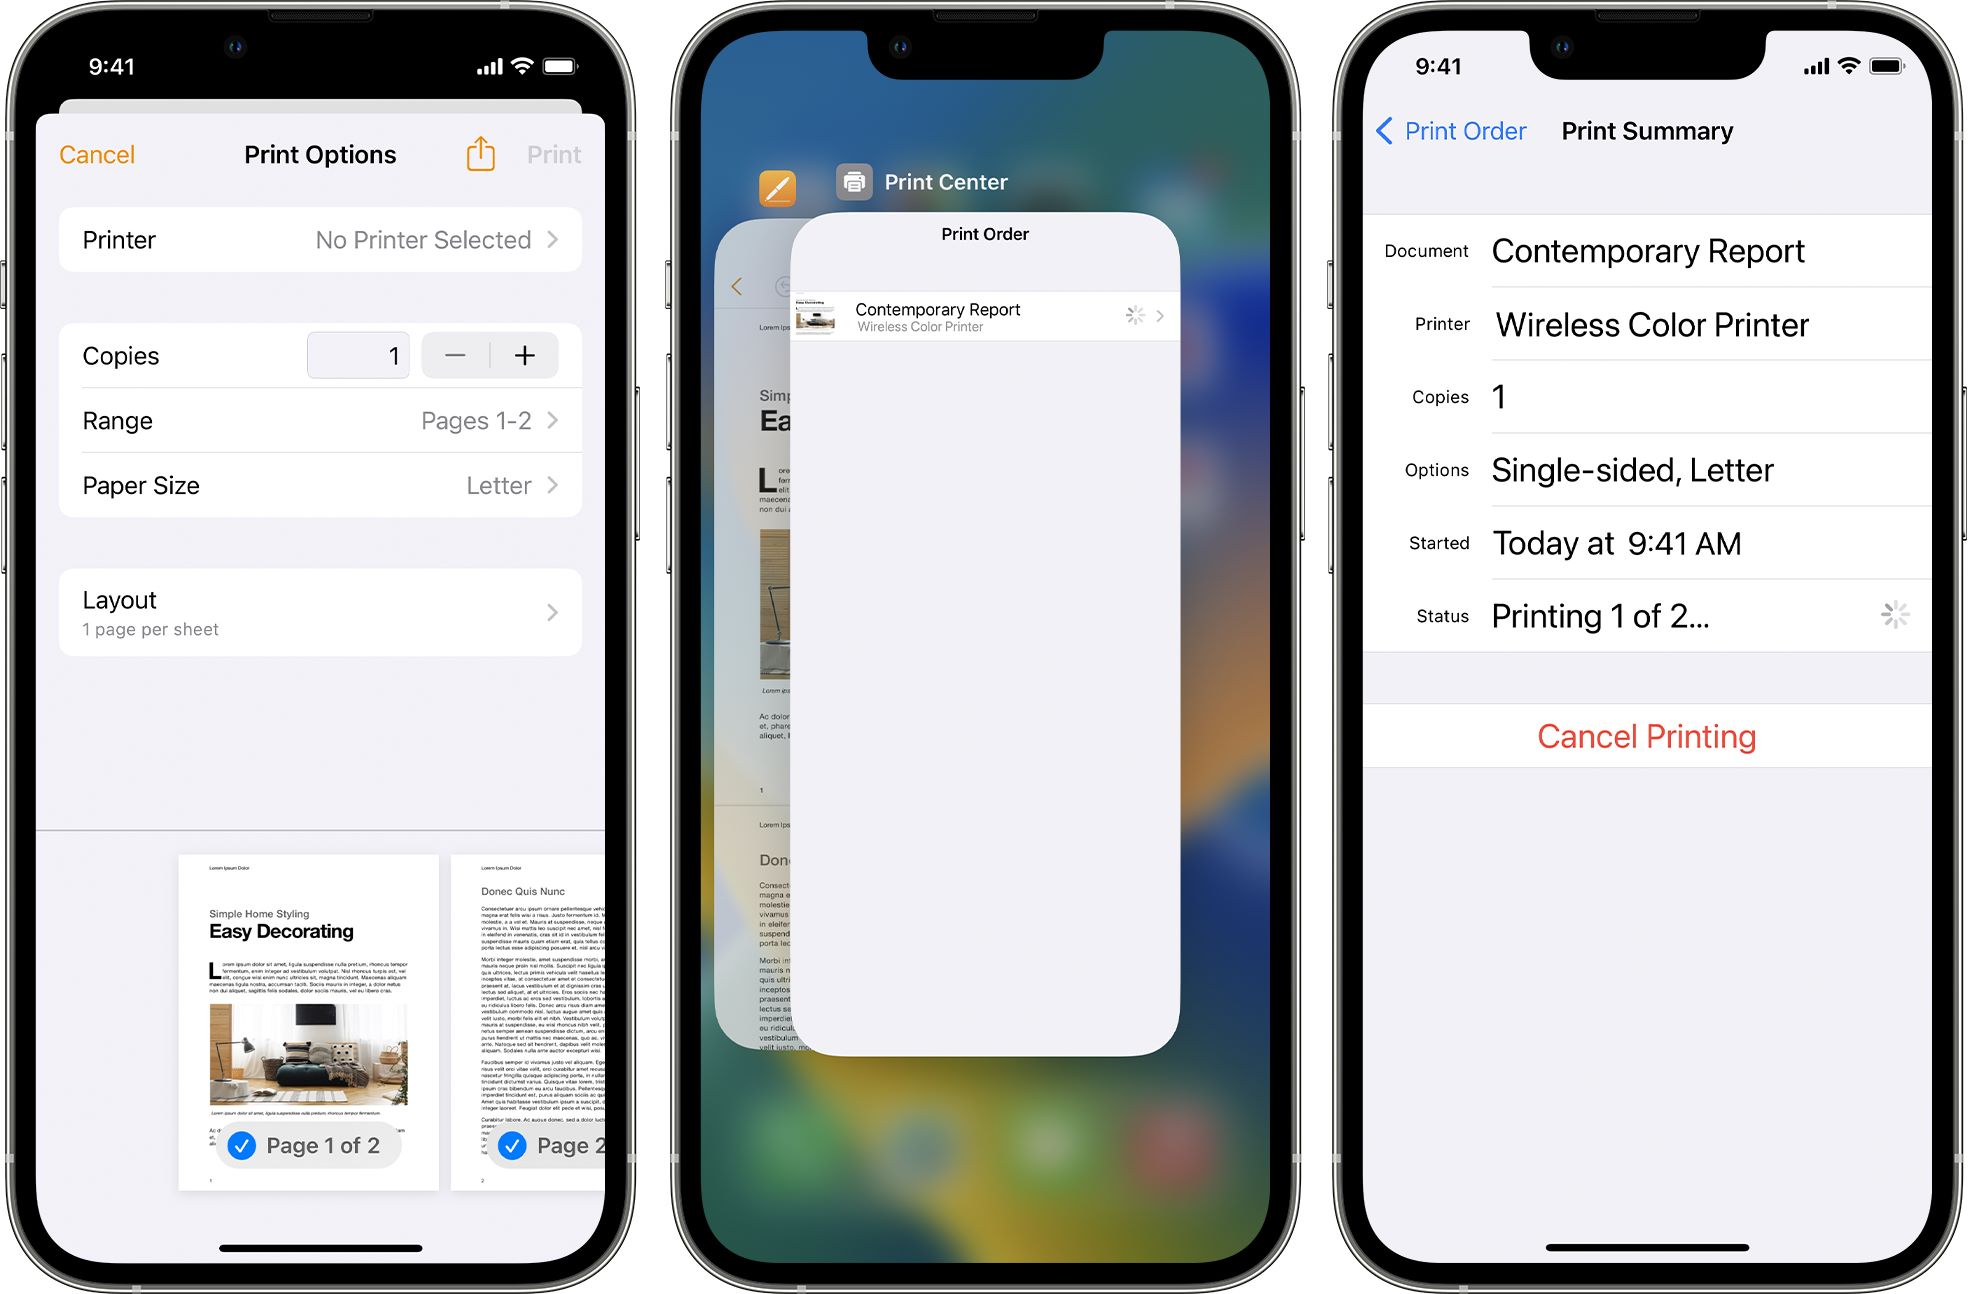
After successfully adding the printer to your MacBook, it is advisable to conduct a test print to verify the seamless integration and functionality of the printer. Select a document or image and initiate the printing process, ensuring that the smart home printer responds promptly and produces the desired output without any issues.
With the successful completion of the test print, you have officially added the smart home printer to your MacBook, unlocking a world of printing possibilities and convenience. Your MacBook is now equipped to seamlessly communicate with the printer, allowing you to effortlessly print documents, images, and other content with ease.
By following these steps, you have navigated the process of adding a printer to your MacBook with confidence and precision, ensuring that you can harness the full potential of your smart home printer for all your printing needs.
Read more: What Printer Is Compatible With Macbook Pro
Conclusion
Congratulations! You have successfully embarked on a journey to seamlessly integrate a smart home printer with your MacBook, unlocking a world of efficient and convenient printing capabilities. By following the comprehensive steps outlined in this guide, you have gained the knowledge and confidence to navigate the process with ease and precision.
From checking compatibility and establishing a physical or wireless connection to installing dedicated printer software and seamlessly adding the printer to your MacBook, each step was designed to demystify the process and empower you to make the most of your smart home printing experience.
As you revel in the seamless integration of your smart home printer with your MacBook, you are now poised to leverage its diverse range of printing features and functionalities. Whether you are printing documents for work, creative projects, or personal use, your MacBook is now equipped to effortlessly communicate with the printer, ensuring a smooth and streamlined printing experience.
As you continue to explore the realm of smart home devices and their integration with your MacBook, remember that the world of technology is constantly evolving. Stay informed about software updates, new printing features, and emerging trends in smart home printing to continually enhance your printing experience and stay at the forefront of innovation.
With your smart home printer seamlessly integrated with your MacBook, you are primed to embrace a new era of productivity and convenience. Whether you are a student, a professional, or a creative enthusiast, the seamless printing capabilities at your fingertips empower you to bring your ideas to life with unparalleled ease and efficiency.
Embrace the seamless integration of smart home devices with your MacBook, and let the power of technology elevate your everyday experiences. With the knowledge and skills acquired from this guide, you are well-equipped to navigate the ever-expanding landscape of smart home printing and make the most of your printing endeavors.
So, go forth and unleash the full potential of your smart home printer with your MacBook, and may your printing journey be filled with efficiency, creativity, and seamless convenience!
Frequently Asked Questions about How To Add A Printer On Macbook
Was this page helpful?
At Storables.com, we guarantee accurate and reliable information. Our content, validated by Expert Board Contributors, is crafted following stringent Editorial Policies. We're committed to providing you with well-researched, expert-backed insights for all your informational needs.


0 thoughts on “How To Add A Printer On Macbook”