Home>Technology>Smart Home Devices>How To Add A Printer To Samsung Tablet

Smart Home Devices
How To Add A Printer To Samsung Tablet
Published: January 6, 2024
Learn how to easily add a printer to your Samsung tablet and connect it to your smart home devices. Follow our simple step-by-step guide for seamless printing.
(Many of the links in this article redirect to a specific reviewed product. Your purchase of these products through affiliate links helps to generate commission for Storables.com, at no extra cost. Learn more)
Introduction
In this digital age, the convergence of technology has made it possible to transform our tablets into versatile tools for various tasks, including printing. Samsung tablets, renowned for their innovative features and user-friendly interface, offer seamless integration with printers, allowing users to effortlessly print documents, photos, and more. Whether it's for business, education, or personal use, the ability to connect a printer to your Samsung tablet opens up a world of convenience and productivity.
In this comprehensive guide, we will explore the step-by-step process of adding a printer to your Samsung tablet. From checking printer compatibility to configuring printing options, you will gain valuable insights into harnessing the full potential of your Samsung tablet as a printing hub. Let's embark on this journey to unlock the power of wireless printing and elevate your tablet experience to new heights.
Key Takeaways:
- Transform your Samsung tablet into a printing powerhouse by following simple steps to connect a compatible printer wirelessly. Say goodbye to cables and hello to convenient, on-the-go printing!
- Personalize your printing experience on your Samsung tablet by adjusting settings and exploring advanced features. From print quality to layout options, unleash your creativity and maximize productivity with ease.
Step 1: Check Printer Compatibility
Before embarking on the printer setup process, it is crucial to ensure that your printer is compatible with your Samsung tablet. The compatibility of the printer can significantly impact the seamless integration and functionality of the printing process. Here are the key factors to consider when checking printer compatibility:
- Wireless Printing Capabilities: Verify whether your printer supports wireless printing, as this is essential for connecting it to your Samsung tablet without the need for physical cables.
- Mobile Printing Support: Look for mobile printing compatibility, which indicates that the printer is designed to work with mobile devices such as tablets and smartphones, including Samsung tablets.
- Printer Brand and Model: Ensure that the printer brand and model are compatible with Samsung tablets. Samsung tablets generally support a wide range of printer brands, but it’s advisable to check for specific compatibility information.
- Printer Connectivity Protocols: Check if the printer utilizes connectivity protocols such as Wi-Fi Direct, Bluetooth, or NFC, which are commonly used for wireless printing with mobile devices.
By thoroughly assessing the compatibility of your printer with your Samsung tablet, you can streamline the setup process and avoid potential compatibility issues that may hinder the seamless printing experience. Once you have confirmed the compatibility, you can proceed with confidence to the next steps of connecting and configuring the printer.
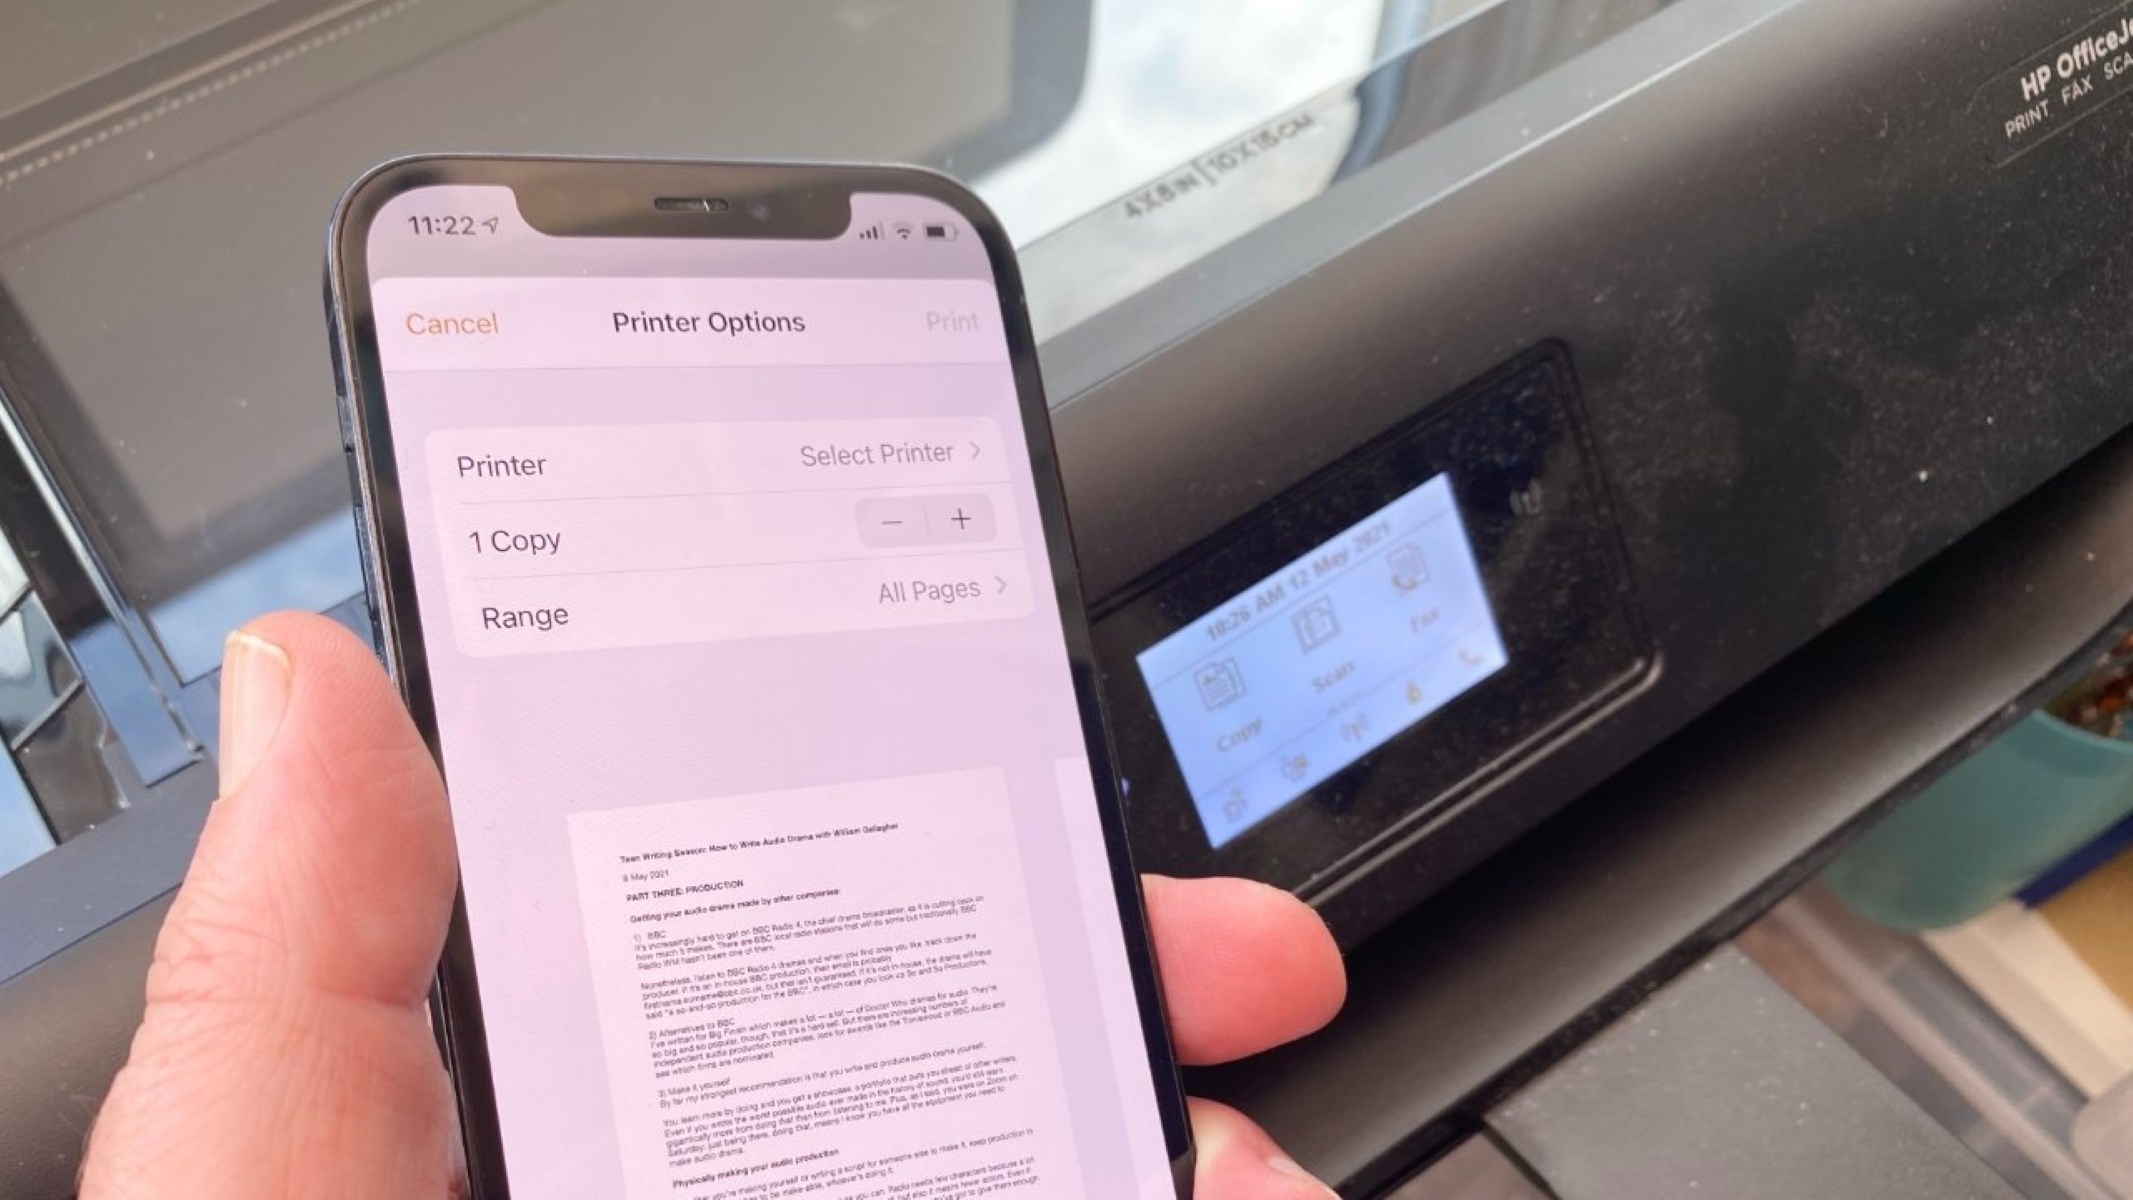
Step 2: Connect the Printer
Connecting your printer to your Samsung tablet is a pivotal step in enabling seamless printing functionality. Samsung tablets offer versatile connectivity options, allowing you to establish a wireless connection with compatible printers. Here’s a comprehensive guide on how to connect your printer to your Samsung tablet:
- Enable Wi-Fi on Your Samsung Tablet: Ensure that the Wi-Fi feature on your Samsung tablet is activated. This is essential for establishing a wireless connection with your printer.
- Turn on the Printer: Power on your printer and ensure that it is within the range of your Wi-Fi network.
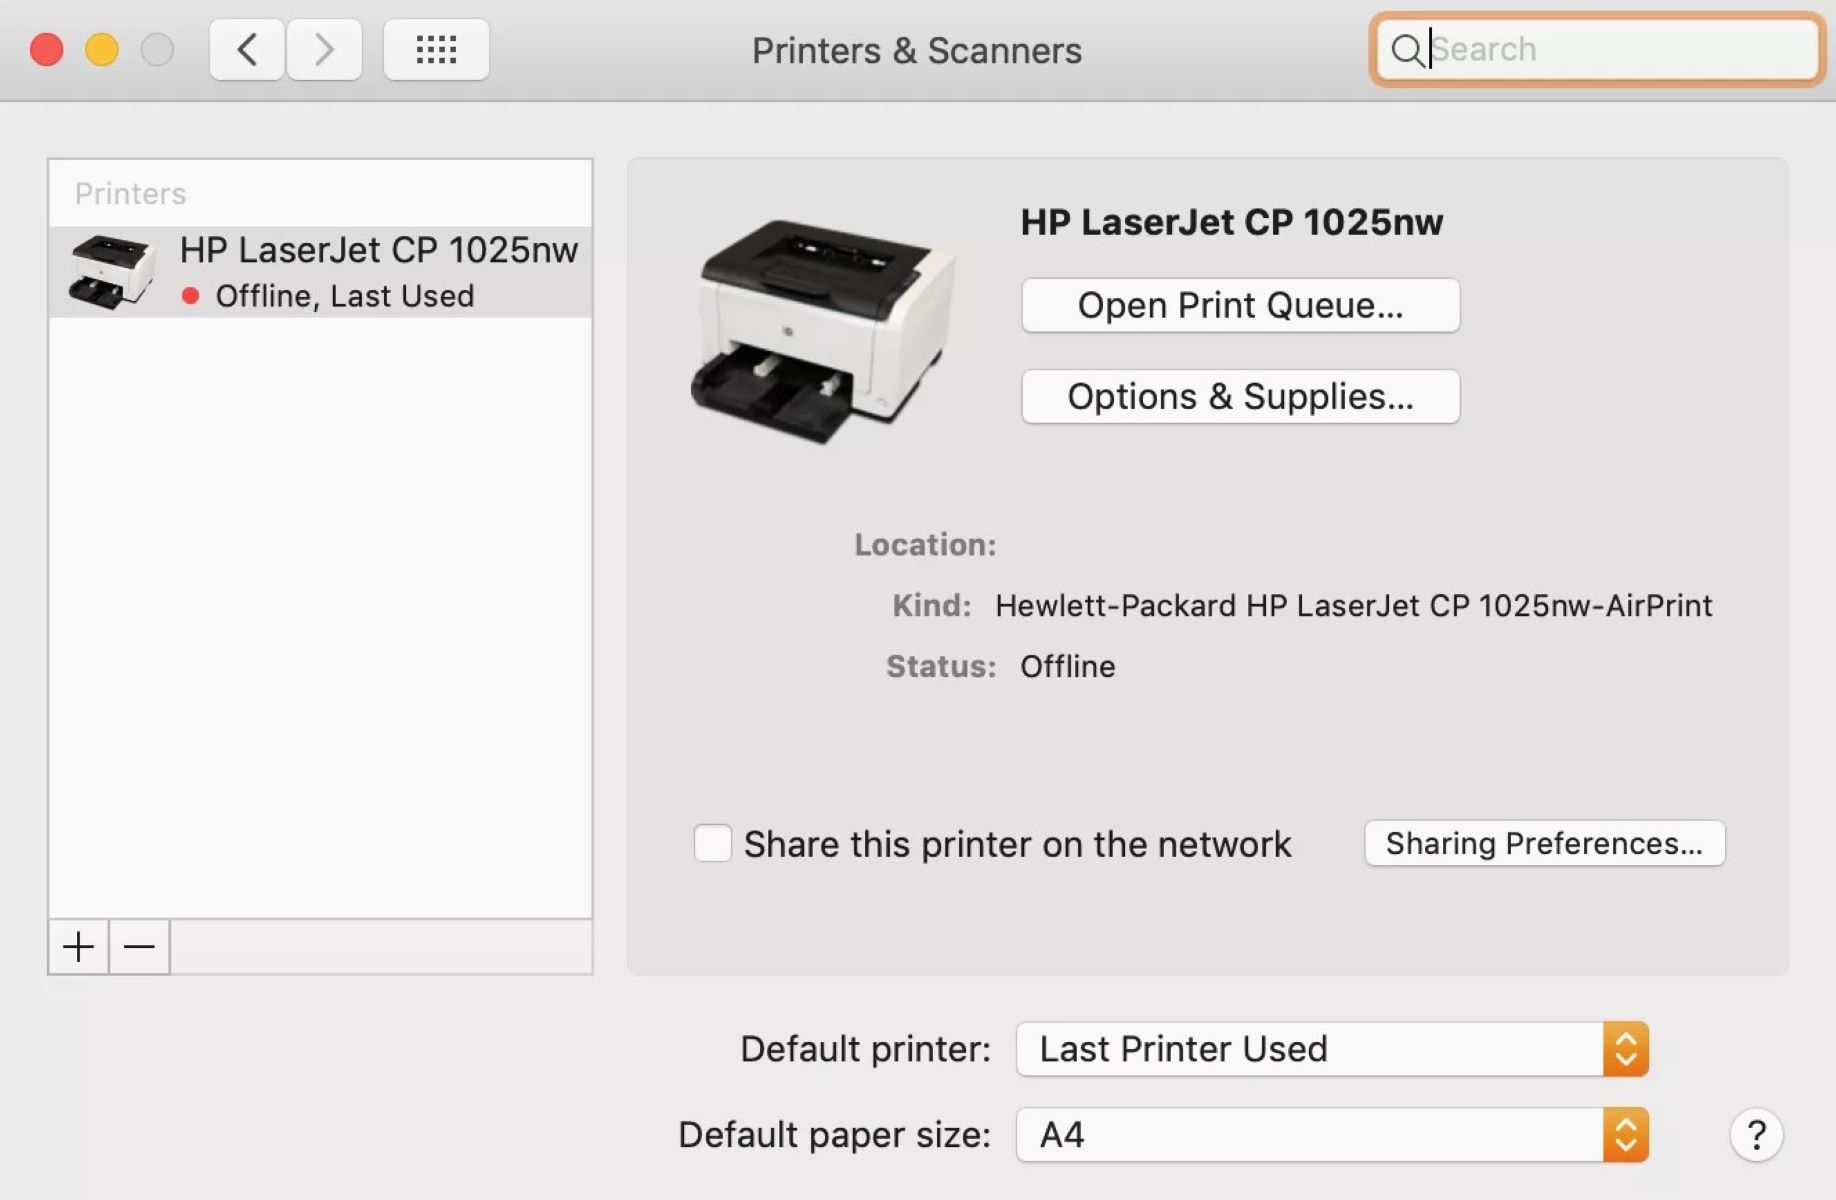
- Access Printer Settings: On your Samsung tablet, navigate to the settings menu and select the “Connections” or “Wi-Fi” option to access the available Wi-Fi networks.
- Connect to the Printer: Look for the name of your printer in the list of available Wi-Fi networks and select it to initiate the connection process. You may need to enter the Wi-Fi password for the printer if prompted.
- Verify the Connection: Once connected, your Samsung tablet will establish a wireless connection with the printer, enabling seamless printing from your tablet to the connected printer.
By following these steps, you can successfully connect your printer to your Samsung tablet, paving the way for effortless printing of documents, photos, and other content directly from your tablet. The wireless connection eliminates the need for cumbersome cables and enhances the overall convenience and accessibility of printing from your Samsung tablet.
To add a printer to a Samsung tablet, go to Settings, then tap on Connections. Select Printing, then Add Service. Choose your printer from the list and follow the on-screen instructions to complete the setup.
Step 3: Install Printer Drivers
Installing the appropriate printer drivers on your Samsung tablet is essential to ensure seamless communication and compatibility between the tablet and the connected printer. Printer drivers act as the bridge that enables your tablet to effectively communicate printing instructions to the connected printer. Here’s a detailed guide on how to install printer drivers on your Samsung tablet:
- Automatic Driver Installation: In many cases, when you connect a compatible printer to your Samsung tablet, the tablet will automatically detect and install the necessary printer drivers. This streamlined process simplifies the installation, allowing you to proceed with printing tasks without manual intervention.
- Manual Driver Installation: If the automatic driver installation does not occur, you can manually install the printer drivers by accessing the settings menu on your Samsung tablet. Navigate to the “Connections” or “Printers” section to locate the connected printer and initiate the manual driver installation process.
- Download from Manufacturer’s Website: Alternatively, you can visit the official website of the printer manufacturer to download the specific printer drivers designed for Samsung tablets. This approach ensures that you have the latest drivers optimized for seamless compatibility and performance.
- Follow Installation Instructions: Once you have the printer drivers, follow the on-screen instructions to install them on your Samsung tablet. This may involve selecting the appropriate driver package and allowing the installation process to complete.
- Verify Driver Installation: After installing the printer drivers, verify that the printer is listed in the available devices for printing on your Samsung tablet. This confirmation indicates that the printer drivers have been successfully installed and the printer is ready for use.
By installing the necessary printer drivers, you ensure that your Samsung tablet is fully equipped to communicate with the connected printer, enabling a seamless printing experience without compatibility issues.
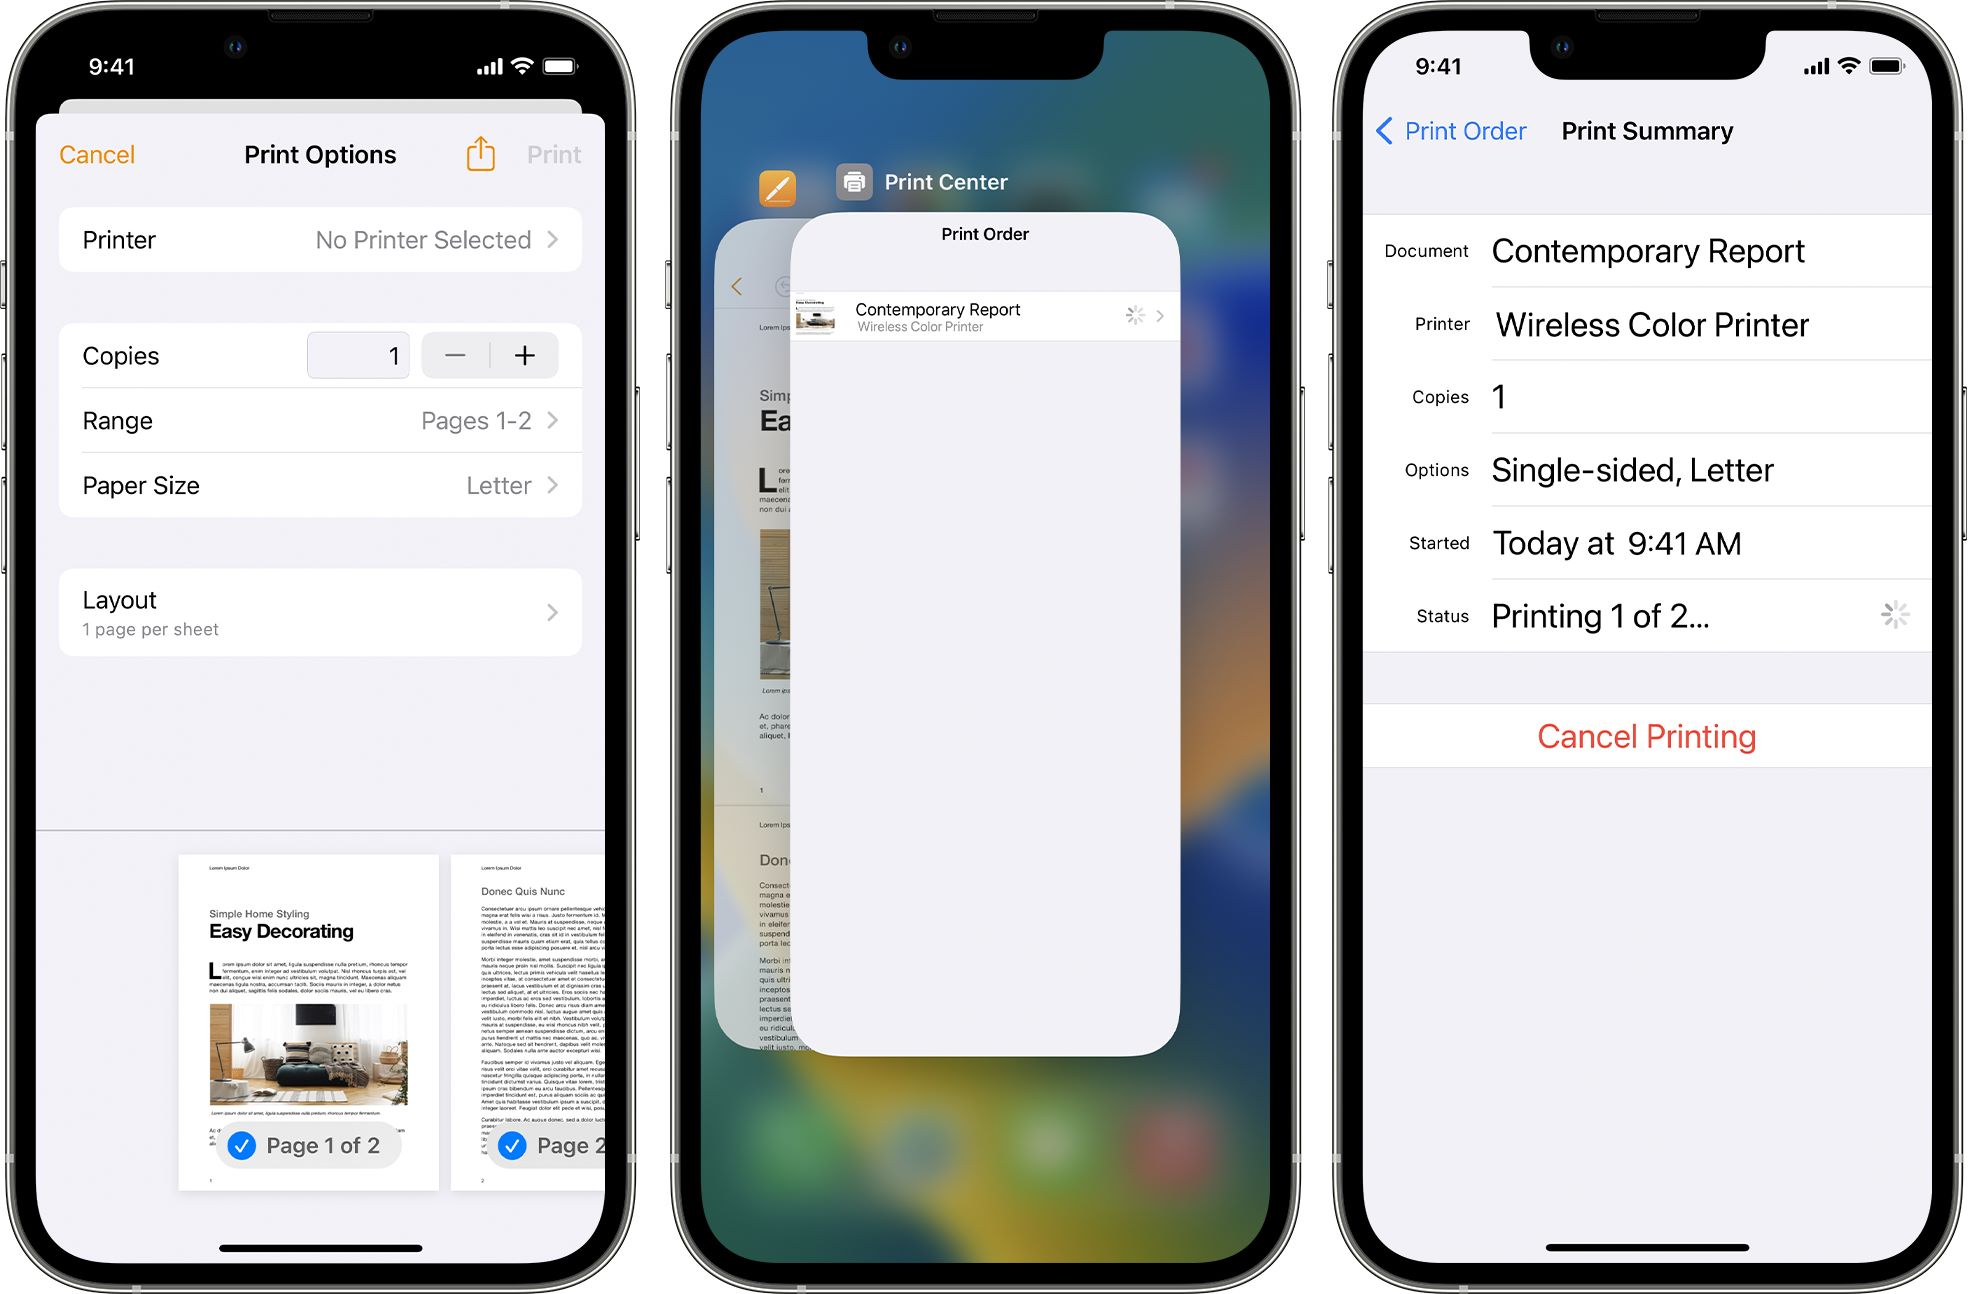
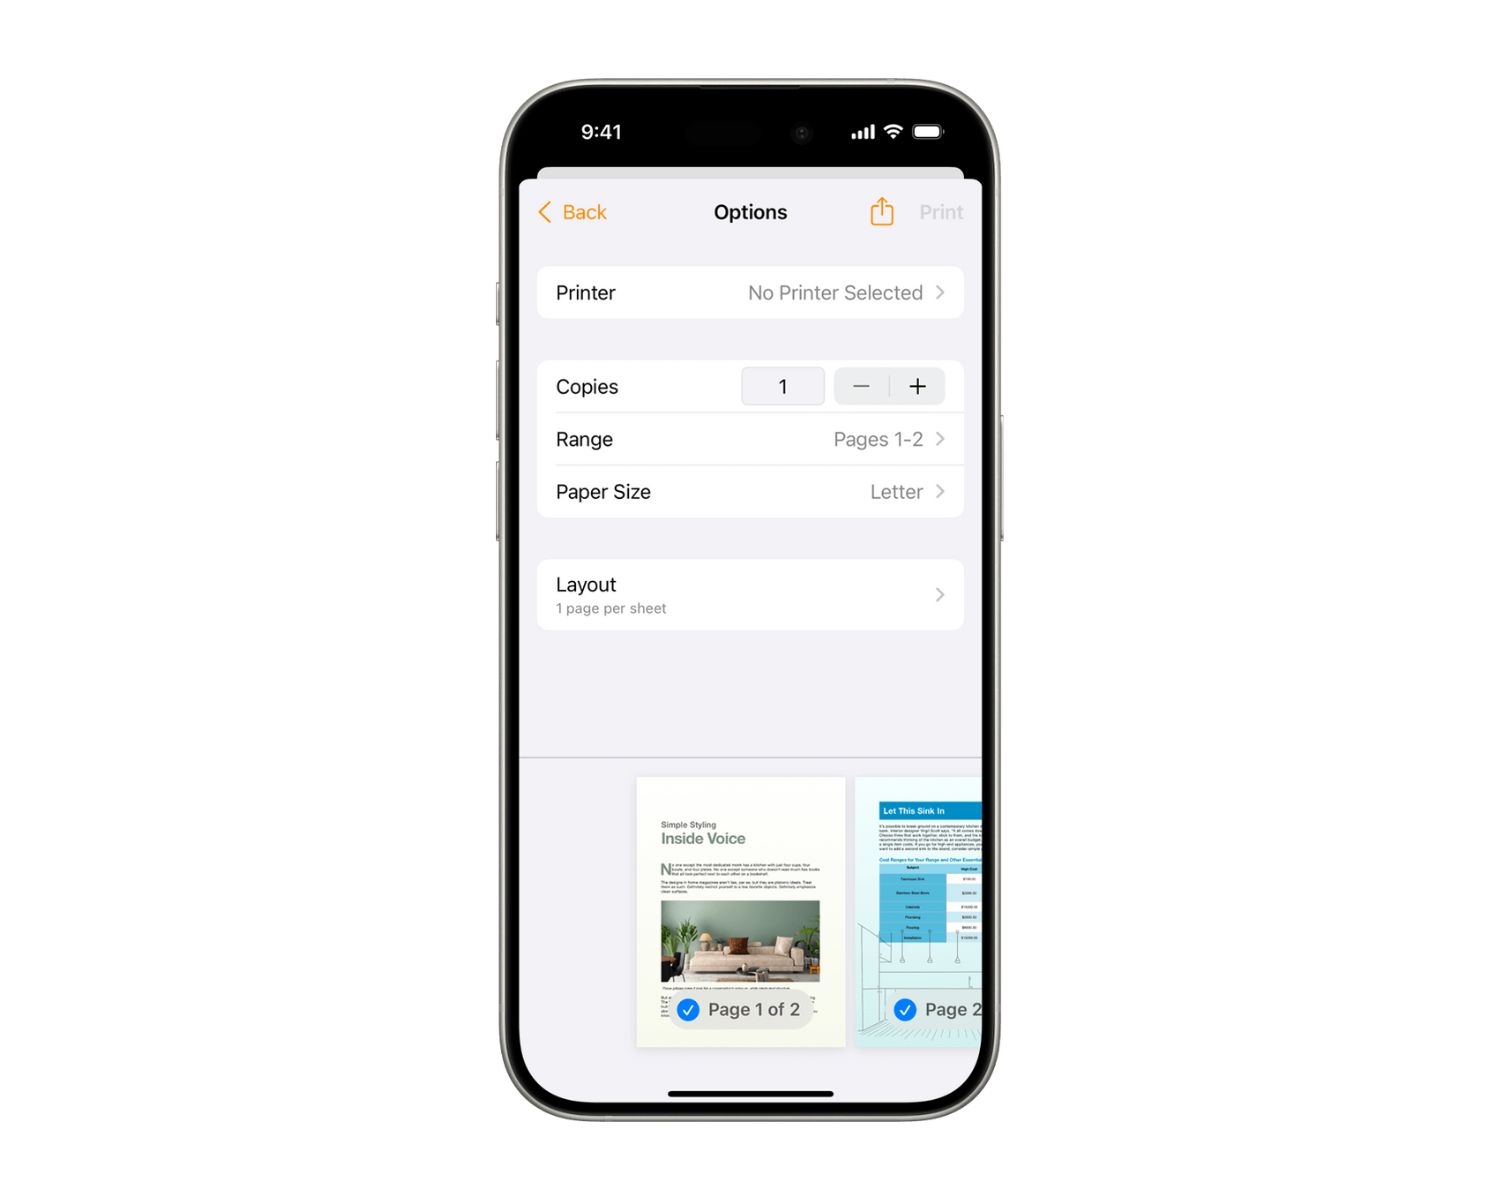
Step 4: Set Up Printing Options
Configuring the printing options on your Samsung tablet allows you to personalize the printing process according to your preferences and requirements. From adjusting print settings to selecting the desired printer, these options empower you to optimize the printing experience. Here’s a comprehensive guide on setting up printing options on your Samsung tablet:
- Select the Printing App: Choose a printing app that is compatible with Samsung tablets, such as Samsung Print Service Plugin or other third-party printing apps available on the Google Play Store. Install the selected app to facilitate printing from your tablet.
- Access Printing Settings: Open the printing app on your Samsung tablet and navigate to the settings or preferences section to access the printing options.
- Printer Selection: Ensure that the connected printer is selected as the default or primary printing device. This step is crucial, as it directs printing tasks to the designated printer.
- Print Quality and Layout: Customize the print quality, paper size, orientation, and layout options based on your specific printing needs. Adjusting these settings allows you to achieve the desired output for your printed documents or images.
- Print Preview and Confirmation: Utilize the print preview feature to review the document or content before sending it to the printer. This ensures accuracy and helps prevent unnecessary reprints due to errors or formatting issues.
- Additional Printing Features: Explore additional features offered by the printing app, such as duplex printing, color management, and print scheduling, to optimize the printing process further.
By setting up the printing options on your Samsung tablet, you can tailor the printing experience to align with your specific preferences, ensuring efficient and customized printouts while maximizing the capabilities of your tablet as a printing hub.
Read more: How To Add A Local Printer
Conclusion
Adding a printer to your Samsung tablet opens up a realm of possibilities, empowering you to seamlessly print documents, photos, and other content with ease and convenience. By following the step-by-step process outlined in this guide, you can harness the full potential of your Samsung tablet as a versatile printing hub. From checking printer compatibility to configuring printing options, each step contributes to a streamlined and efficient printing experience.
As technology continues to evolve, the integration of wireless printing capabilities with Samsung tablets exemplifies the convergence of innovation and practicality. Whether you’re a professional seeking to print essential documents on the go, a student needing to print study materials, or an individual wanting to bring digital memories to life through printed photos, the ability to add a printer to your Samsung tablet enhances productivity and creativity.
Furthermore, the seamless connectivity and intuitive printing options offered by Samsung tablets ensure that the printing process is not only efficient but also customizable to suit individual preferences. From adjusting print quality to exploring advanced printing features, the flexibility provided by Samsung tablets enhances the overall printing experience.
In conclusion, by adding a printer to your Samsung tablet and leveraging the capabilities of wireless printing, you can elevate your productivity, creativity, and convenience. Embrace the power of wireless connectivity and personalized printing options to unlock the full potential of your Samsung tablet as a dynamic printing companion in your daily endeavors.
Frequently Asked Questions about How To Add A Printer To Samsung Tablet
Was this page helpful?
At Storables.com, we guarantee accurate and reliable information. Our content, validated by Expert Board Contributors, is crafted following stringent Editorial Policies. We're committed to providing you with well-researched, expert-backed insights for all your informational needs.


0 thoughts on “How To Add A Printer To Samsung Tablet”