Home>Furniture & Design>Bathroom Accessories>How To Change Bathtub Fixtures
Bathroom Accessories
How To Change Bathtub Fixtures
Modified: October 20, 2024
Learn how to change bathtub fixtures and upgrade your bathroom accessories with our step-by-step guide. Transform your bathroom with new fixtures today!
(Many of the links in this article redirect to a specific reviewed product. Your purchase of these products through affiliate links helps to generate commission for Storables.com, at no extra cost. Learn more)
Introduction
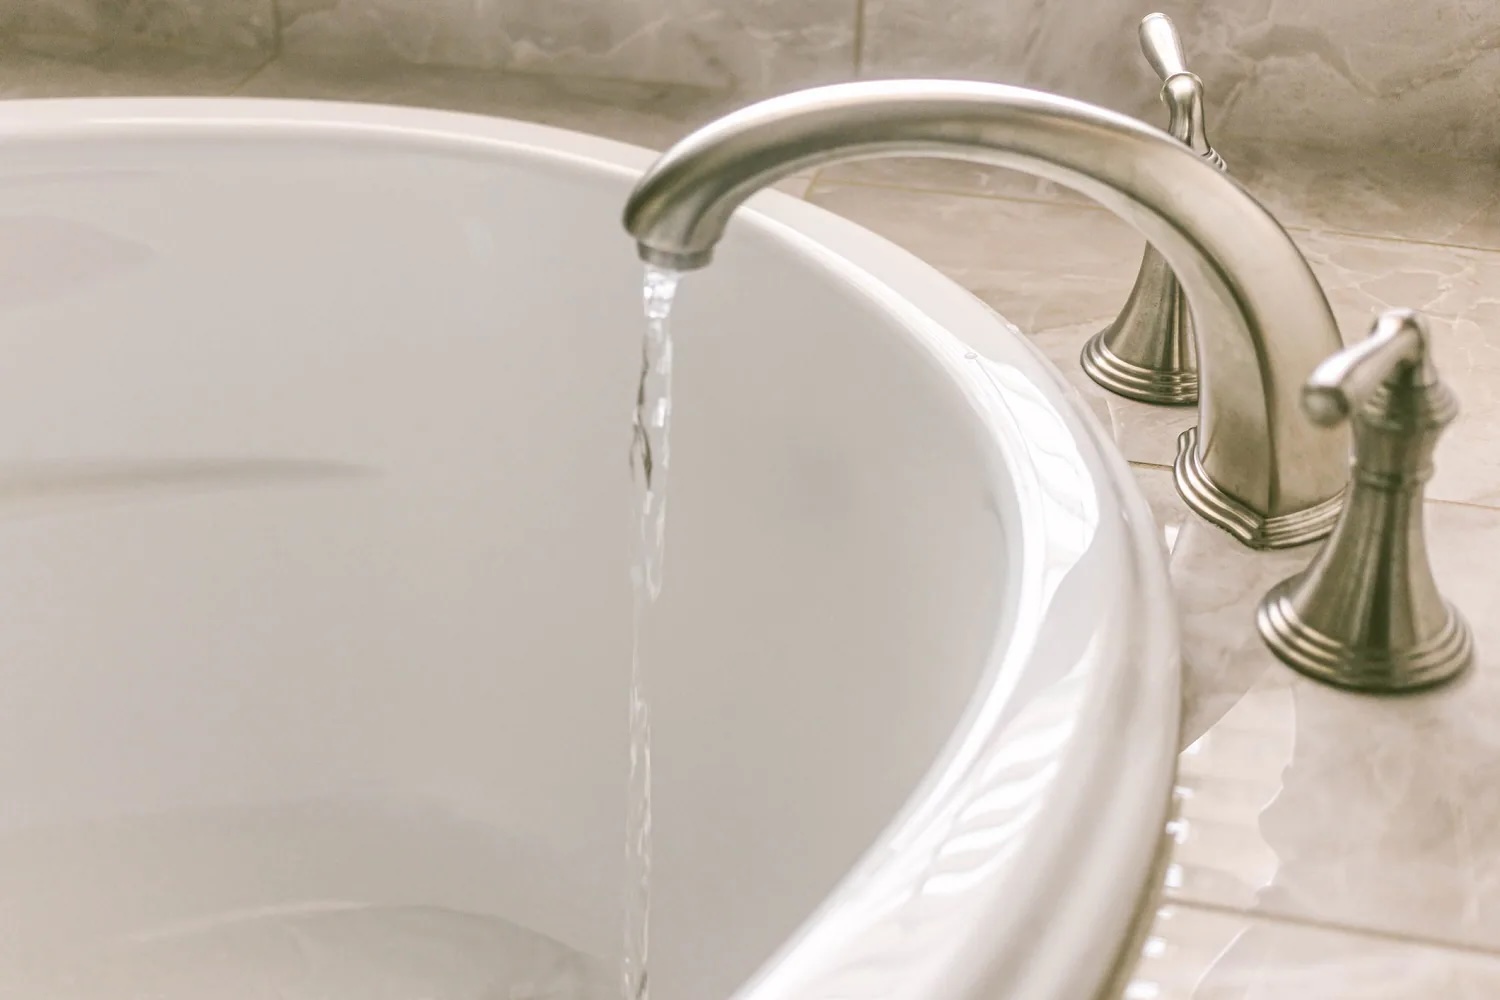
Changing bathtub fixtures can breathe new life into your bathroom, giving it a fresh and updated look. Whether you're replacing worn-out fixtures or simply seeking a change in style, this DIY project can make a significant impact with relatively minimal effort. By following a few simple steps, you can transform the appearance and functionality of your bathtub area.
Updating your bathtub fixtures is an excellent way to enhance the overall aesthetic of your bathroom. From sleek modern designs to timeless classics, the fixtures you choose can reflect your personal style and contribute to the ambiance of the space. Additionally, replacing old fixtures can improve the efficiency and performance of your bathtub, ensuring a more enjoyable and functional bathing experience.
In this comprehensive guide, we will walk you through the process of changing your bathtub fixtures, providing detailed instructions and valuable tips to help you successfully complete this project. From gathering the necessary tools and materials to testing the new fixtures, each step is crucial in achieving a professional and polished result. With a bit of patience and attention to detail, you can elevate the appearance of your bathroom and create a more inviting and comfortable environment for yourself and your guests.
Whether you're a seasoned DIY enthusiast or a novice looking to tackle your first home improvement project, changing bathtub fixtures is a manageable task that can yield impressive results. By taking the time to understand the process and following the steps outlined in this guide, you can confidently embark on this rewarding endeavor. So, roll up your sleeves, gather your tools, and let's begin the journey to transform your bathtub area into a stylish and functional oasis.
Key Takeaways:
- Transform your bathroom with new bathtub fixtures for a fresh and updated look. Follow the step-by-step guide to enhance your bathing space with style and functionality.
- Gain valuable DIY skills and confidence by changing bathtub fixtures. Enjoy a rejuvenated bathing space that reflects your personal style and elevates your home’s aesthetic.
Read more: How To Change A Ceiling Light Fixture
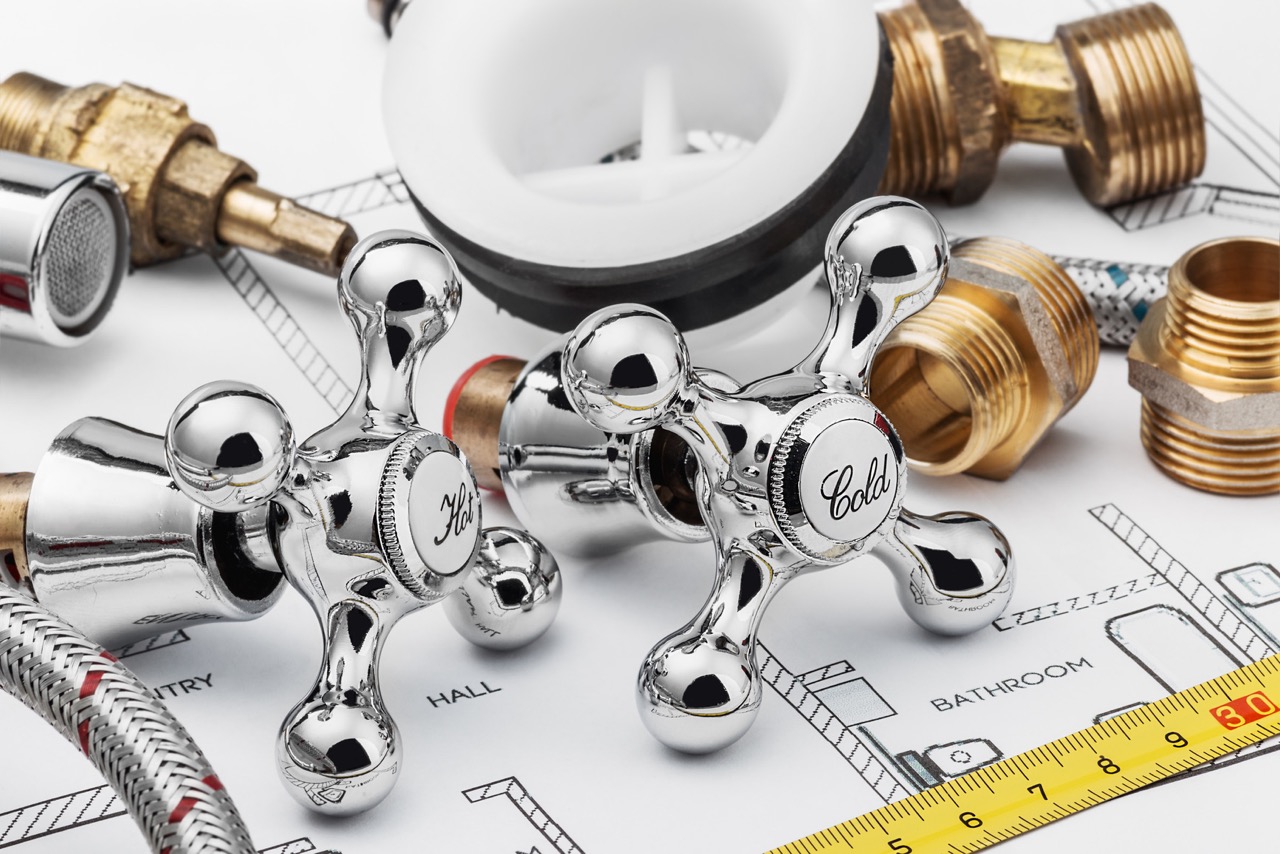
Step 1: Gather the necessary tools and materials
Before embarking on the task of changing your bathtub fixtures, it's essential to gather all the required tools and materials. Having the right equipment at your disposal will streamline the process and ensure that you can complete the project efficiently and effectively. Here's a comprehensive list of the items you'll need:
Tools:
- Adjustable wrench
- Screwdriver set (flathead and Phillips)
- Pipe wrench
- Plumber's tape
- Silicone caulk gun
- Safety goggles
- Gloves
- Bucket
- Towels or rags
Materials:
- New bathtub fixtures (faucet, handles, spout, etc.)
- Plumber's putty or silicone caulk
- Replacement washers or O-rings
- Teflon tape
- Cleaning solution
- Sandpaper or abrasive pad (if needed for surface preparation)
By ensuring that you have all the necessary tools and materials on hand, you can avoid interruptions during the project and maintain a smooth workflow. Additionally, having the right equipment readily available will enable you to address any unexpected challenges that may arise during the fixture replacement process.
Remember, safety should always be a top priority when working on any DIY project. Be sure to wear safety goggles and gloves to protect your eyes and hands from potential hazards. Additionally, having a bucket and towels or rags nearby will help contain any water or debris that may result from the fixture removal and installation.
Once you have gathered all the tools and materials, you'll be well-prepared to move on to the next step in the process: turning off the water supply. With everything you need at your fingertips, you can approach the project with confidence and focus on achieving a successful outcome.
Now that you have all the necessary tools and materials assembled, it's time to proceed to the next step in the process: turning off the water supply.
Step 2: Turn off the water supply
Before beginning the process of changing your bathtub fixtures, it is crucial to turn off the water supply to the bathtub. This step is essential for ensuring a safe and controlled environment while working on the fixtures. Here's a detailed guide on how to turn off the water supply:
-
Locate the Water Shut-Off Valve: The water shut-off valve for the bathtub is typically located near the tub or in the vicinity of the bathroom. It may be situated on the wall behind the tub or in a nearby utility closet. In some cases, the shut-off valve may be found in the basement or crawl space beneath the bathroom. If you have difficulty locating the shut-off valve, consult your home's plumbing layout or seek assistance from a professional.
-
Turn Off the Water: Once you have located the shut-off valve, turn it clockwise (to the right) to shut off the water supply to the bathtub. It's important to ensure that the valve is fully closed to prevent any water from flowing into the fixtures during the replacement process. Turning off the water supply will minimize the risk of leaks and water damage, allowing you to work on the fixtures with peace of mind.
-
Test the Water Supply: After closing the shut-off valve, turn on the bathtub faucet to verify that the water supply has been successfully turned off. If water continues to flow from the faucet, revisit the shut-off valve and ensure that it is tightly closed. It's essential to confirm that the water supply is effectively shut off before proceeding with the fixture replacement.
By following these steps to turn off the water supply, you can create a safe and controlled environment for changing your bathtub fixtures. This precautionary measure will help prevent water-related mishaps and ensure a smooth and efficient replacement process. With the water supply securely turned off, you can proceed to the next step of removing the old fixtures with confidence and peace of mind.
Read more: How To Change Chandelier Light Fixture
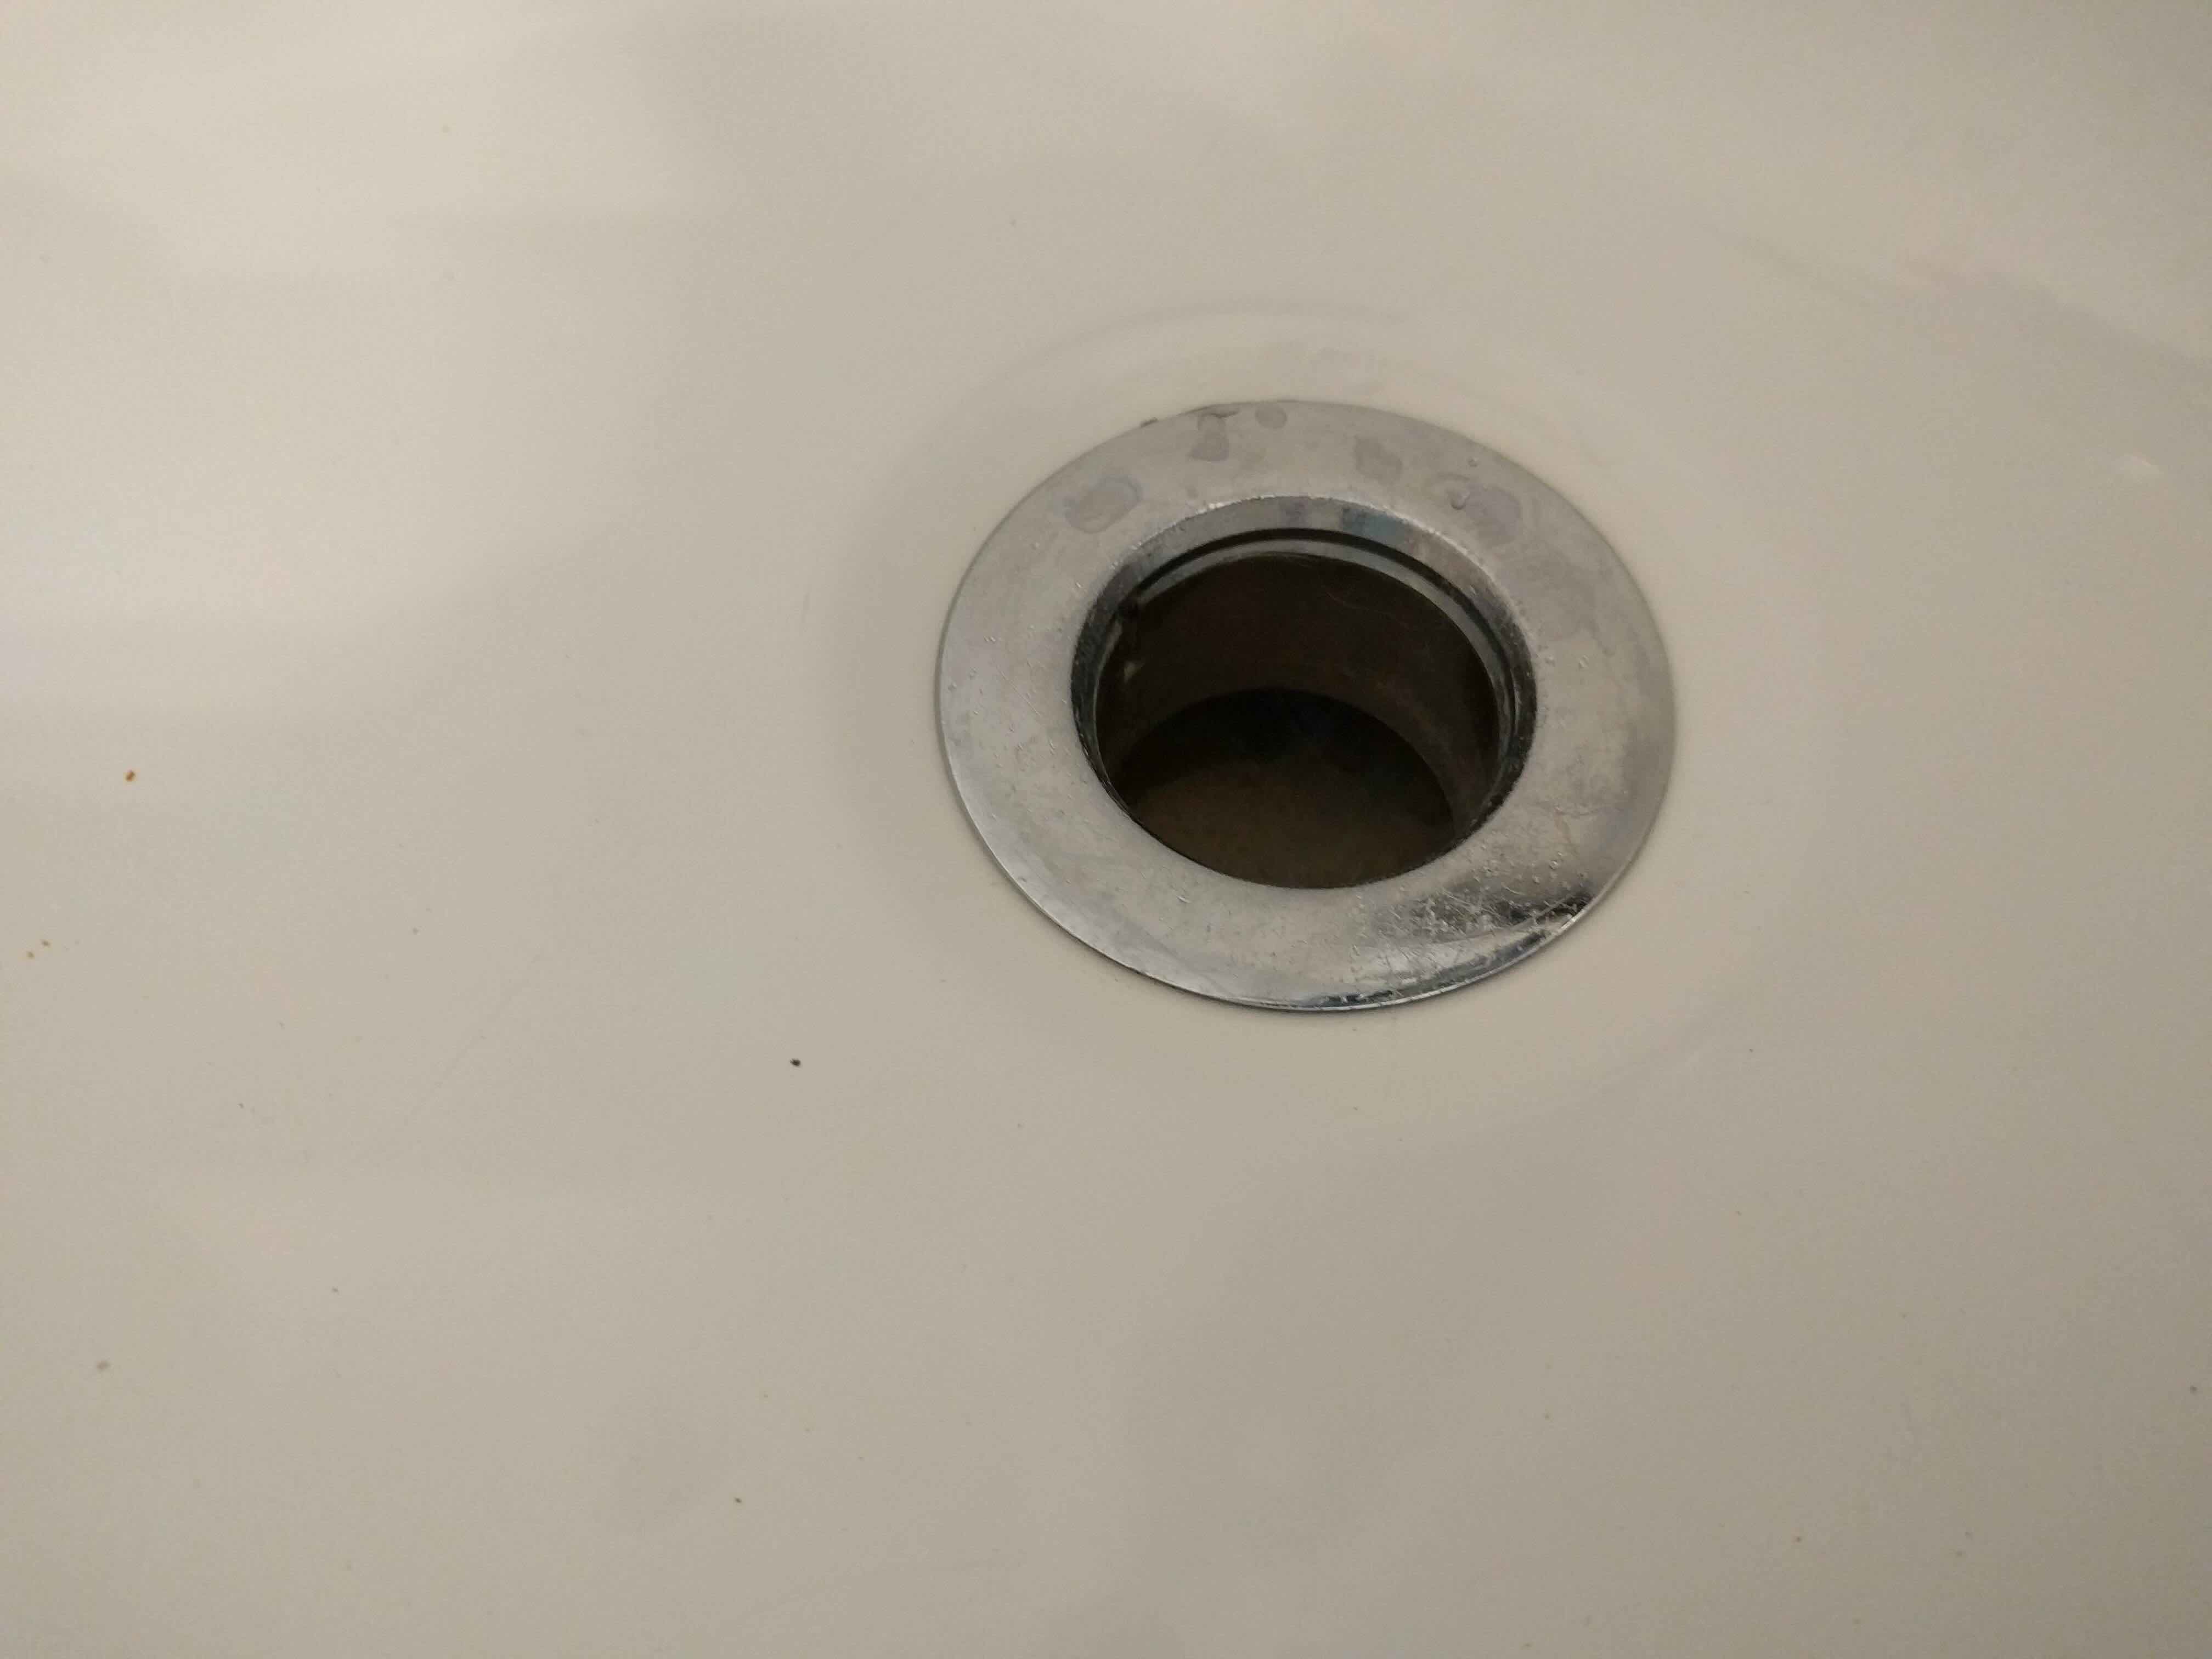
Step 3: Remove the old fixtures
Removing the old fixtures is a crucial step in the process of changing bathtub fixtures. Whether you're replacing a worn-out faucet, handles, or spout, or simply updating the style of your bathtub, proper removal of the existing fixtures is essential to ensure a smooth transition to the new components. Here's a detailed guide on how to remove the old fixtures:
-
Preparation: Before starting the removal process, it's important to prepare the work area. Lay down towels or rags to catch any water that may drain from the fixtures. Additionally, use a cleaning solution to remove any accumulated grime or residue around the fixtures, ensuring a clean and accessible workspace.
-
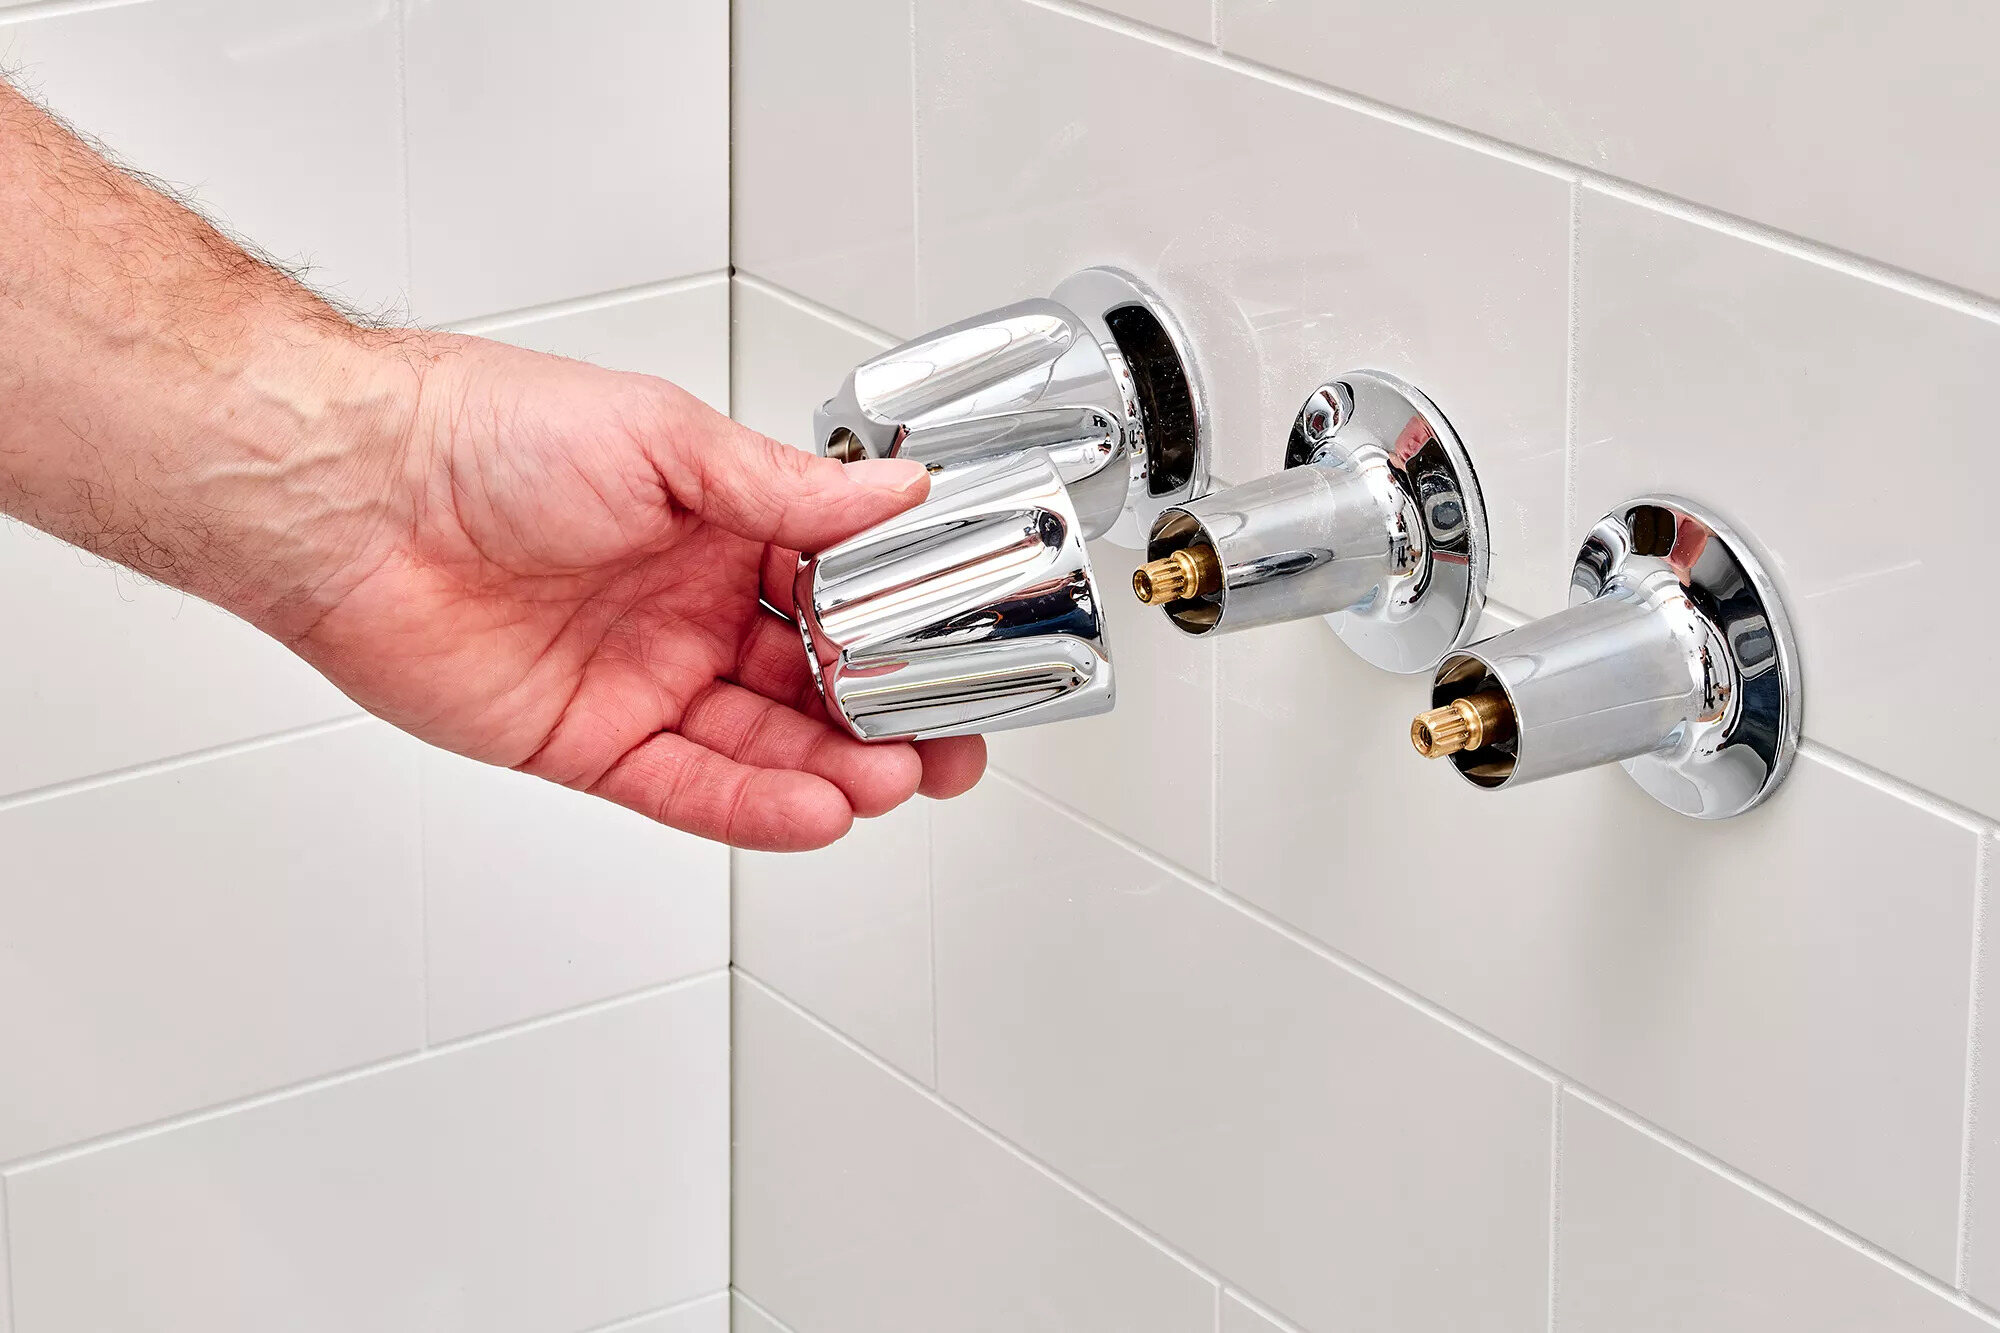
Access the Fixtures: Depending on the type of fixtures you're replacing, access may vary. For a standard bathtub faucet, you may need to remove the handle or knob to access the screws or mounting hardware. In the case of a spout, there may be a set screw securing it in place. Use a screwdriver or Allen wrench to loosen and remove any fasteners holding the fixtures in place.
-
Detach Water Lines: Once you have accessed the fixtures, it's time to detach the water lines. Using an adjustable wrench, carefully loosen and remove the nuts or connectors that secure the water supply lines to the fixtures. Be prepared for some water to drain from the lines, so have a bucket and towels handy to contain any spills.
-
Remove the Fixtures: With the water lines disconnected, you can proceed to remove the old fixtures. Depending on the type of fixture, you may need to twist, pull, or lift to release it from its mounting. Take care to avoid damaging the surrounding surfaces as you extract the fixtures. If the fixtures are stubborn, applying a penetrating lubricant can help loosen them for easier removal.
-
Clean and Inspect: Once the old fixtures are removed, take the opportunity to clean the exposed areas and inspect the plumbing connections. Wipe away any debris or residue, and check for any signs of wear or damage that may require attention before installing the new fixtures.
By following these steps to remove the old fixtures, you can effectively prepare the bathtub for the installation of the new components. With the old fixtures successfully removed, you are now ready to proceed to the next step: installing the new fixtures.
Step 4: Install the new fixtures
Installing the new fixtures is a pivotal phase in the process of changing bathtub fixtures. This step marks the transition from removing the old components to introducing the updated elements that will enhance the functionality and aesthetics of your bathtub. Here's a comprehensive guide on how to install the new fixtures:
-
Prepare the Installation Area: Before installing the new fixtures, ensure that the installation area is clean and free of any debris or residue from the old components. Wipe down the surfaces to create a clean and accessible workspace for the installation process.
-
Apply Plumber's Putty or Silicone Caulk: Depending on the type of fixtures being installed, you may need to apply plumber's putty or silicone caulk to create a watertight seal. For fixtures such as the faucet and spout, a thin, uniform ring of plumber's putty can be applied to the base before securing them in place. Alternatively, silicone caulk can be used to seal around the edges of the fixtures to prevent water leakage.
-
Position and Secure the Fixtures: Carefully position the new fixtures in their designated locations, ensuring a proper fit and alignment. For the faucet and handles, insert them through the mounting holes and secure them in place using the provided hardware. Use an adjustable wrench to tighten the mounting nuts, ensuring a snug and secure fit without over-tightening.
-
Connect Water Supply Lines: Once the fixtures are in place, reconnect the water supply lines to the corresponding components. Use Teflon tape to secure the connections and prevent leaks. Tighten the fittings with an adjustable wrench, taking care not to overtighten, which could damage the connections.
-
Test for Leaks: With the new fixtures installed and the water supply reconnected, it's essential to test for any potential leaks. Turn on the water supply and allow the fixtures to run for a few minutes, checking for any signs of leakage around the connections and seals. Address any leaks immediately by tightening connections or reapplying sealant as needed.
-
Check for Proper Functionality: Once the installation is complete and any leaks have been addressed, test the functionality of the new fixtures. Turn the faucet handles and observe the water flow, ensuring that hot and cold water are dispensed correctly. Additionally, check the operation of the spout to confirm that water flows smoothly and without obstruction.
By following these steps to install the new fixtures, you can effectively complete the transformation of your bathtub area. The installation process plays a crucial role in ensuring that the new components are securely in place and functioning as intended, providing you with a refreshed and functional bathing space. With the new fixtures successfully installed, you are now ready to proceed to the final step: turning on the water supply and testing the new fixtures.
When changing bathtub fixtures, always turn off the water supply before starting. This will prevent any accidental leaks or water damage during the process.
Step 5: Turn on the water supply and test the new fixtures
Turning on the water supply and testing the new fixtures is the final and crucial step in the process of changing bathtub fixtures. This step ensures that the newly installed components are functioning properly and that there are no leaks or issues with the water flow. Here's a detailed guide on how to turn on the water supply and test the new fixtures:
-
Turn on the Water Supply: After the new fixtures have been securely installed, it's time to turn on the water supply to the bathtub. Return to the water shut-off valve and carefully turn it counterclockwise (to the left) to restore the water flow. It's important to open the valve gradually to allow the water to flow back into the fixtures without causing sudden pressure surges.
-
Check for Leaks: As the water supply is restored, closely inspect the newly installed fixtures for any signs of leakage. Pay particular attention to the connections and seals, ensuring that there are no drips or seepage around the faucet, handles, or spout. If any leaks are detected, promptly address them by tightening connections or reapplying sealant as necessary.
-
Test the Functionality: With the water supply turned on, test the functionality of the new fixtures. Turn the faucet handles to verify that both hot and cold water are dispensed smoothly and without any irregularities. Additionally, activate the spout to ensure that water flows consistently and without obstruction. Testing the functionality of the fixtures is essential to confirm that they are operating as intended.
-
Inspect for Proper Operation: After testing the water flow, observe the operation of the new fixtures to ensure that they meet your expectations. Check for any unusual noises, such as rattling or sputtering, which may indicate air in the lines or other issues. Confirm that the water flow is steady and that there are no unexpected fluctuations in pressure.
-
Address Any Issues: If you encounter any issues during the testing process, such as persistent leaks or irregular water flow, take the necessary steps to address them. Tighten connections, reapply sealant, or seek professional assistance if the issues persist. It's essential to resolve any concerns before considering the project complete.
By following these steps to turn on the water supply and test the new fixtures, you can ensure that the installation process has been successful and that the bathtub is ready for use. This final phase of the project allows you to confirm that the new fixtures are functioning optimally, providing you with a rejuvenated and reliable bathing experience. With the water supply restored and the new fixtures tested, you can take pride in the transformation of your bathtub area and enjoy the enhanced comfort and aesthetics it brings.
Conclusion
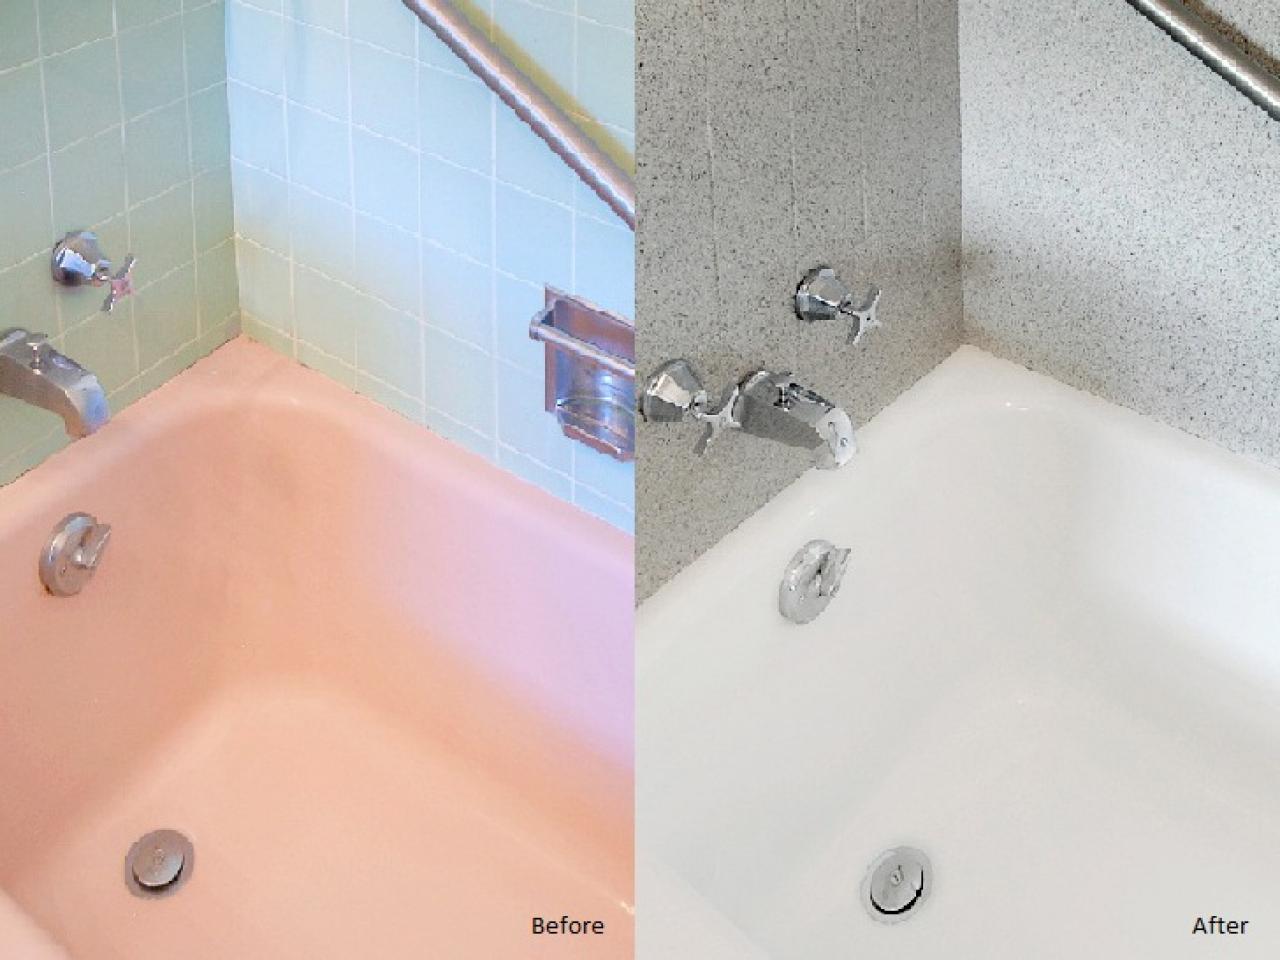
Congratulations on successfully completing the process of changing your bathtub fixtures! By following the step-by-step guide outlined in this comprehensive resource, you have taken a significant stride towards enhancing the functionality and visual appeal of your bathroom. As you reflect on the journey from gathering the necessary tools and materials to testing the new fixtures, it's evident that your dedication and attention to detail have resulted in a remarkable transformation.
Changing bathtub fixtures is not merely a practical endeavor; it's an opportunity to infuse your personal style and preferences into the heart of your home. The fixtures you have chosen reflect your taste and contribute to the ambiance of your bathroom, creating a space that is both inviting and functional. Whether you opted for sleek modern designs, timeless classics, or innovative features, the new fixtures have undoubtedly left a lasting impression on your bathing environment.
As you turn on the water supply and test the new fixtures, the sense of accomplishment and satisfaction is palpable. The assurance that the components are securely in place and operating seamlessly brings a renewed sense of comfort and convenience to your daily routine. The diligence you have demonstrated in ensuring proper installation and functionality has resulted in a bathing space that not only meets but exceeds your expectations.
Beyond the tangible outcomes, the process of changing bathtub fixtures has empowered you with valuable DIY skills and a deeper understanding of your home's plumbing system. The knowledge and experience gained from this project will undoubtedly serve you well in future home improvement endeavors, instilling a sense of confidence and capability in tackling similar tasks.
As you admire the newly transformed bathtub area, take a moment to appreciate the impact of your efforts. The subtle yet significant changes have revitalized the space, creating an environment that resonates with your personal style and elevates the overall aesthetic of your home. The investment of time and energy in this project has yielded a tangible return in the form of a rejuvenated and functional bathing space.
In conclusion, the journey of changing bathtub fixtures has not only enhanced the visual appeal and functionality of your bathroom but has also empowered you with valuable skills and a sense of accomplishment. As you revel in the revitalized ambiance of your bathing space, take pride in the transformative impact of your efforts. Your commitment to this project has resulted in a space that reflects your individuality and offers an enhanced bathing experience for you and your household.
Frequently Asked Questions about How To Change Bathtub Fixtures
Was this page helpful?
At Storables.com, we guarantee accurate and reliable information. Our content, validated by Expert Board Contributors, is crafted following stringent Editorial Policies. We're committed to providing you with well-researched, expert-backed insights for all your informational needs.


0 thoughts on “How To Change Bathtub Fixtures”