Furniture
How To Repair A Dresser Drawer
Modified: December 7, 2023
Learn the step-by-step process of repairing a dresser drawer with our comprehensive guide. Find out how to fix furniture issues and restore functionality to your favorite piece.
(Many of the links in this article redirect to a specific reviewed product. Your purchase of these products through affiliate links helps to generate commission for Storables.com, at no extra cost. Learn more)
Introduction
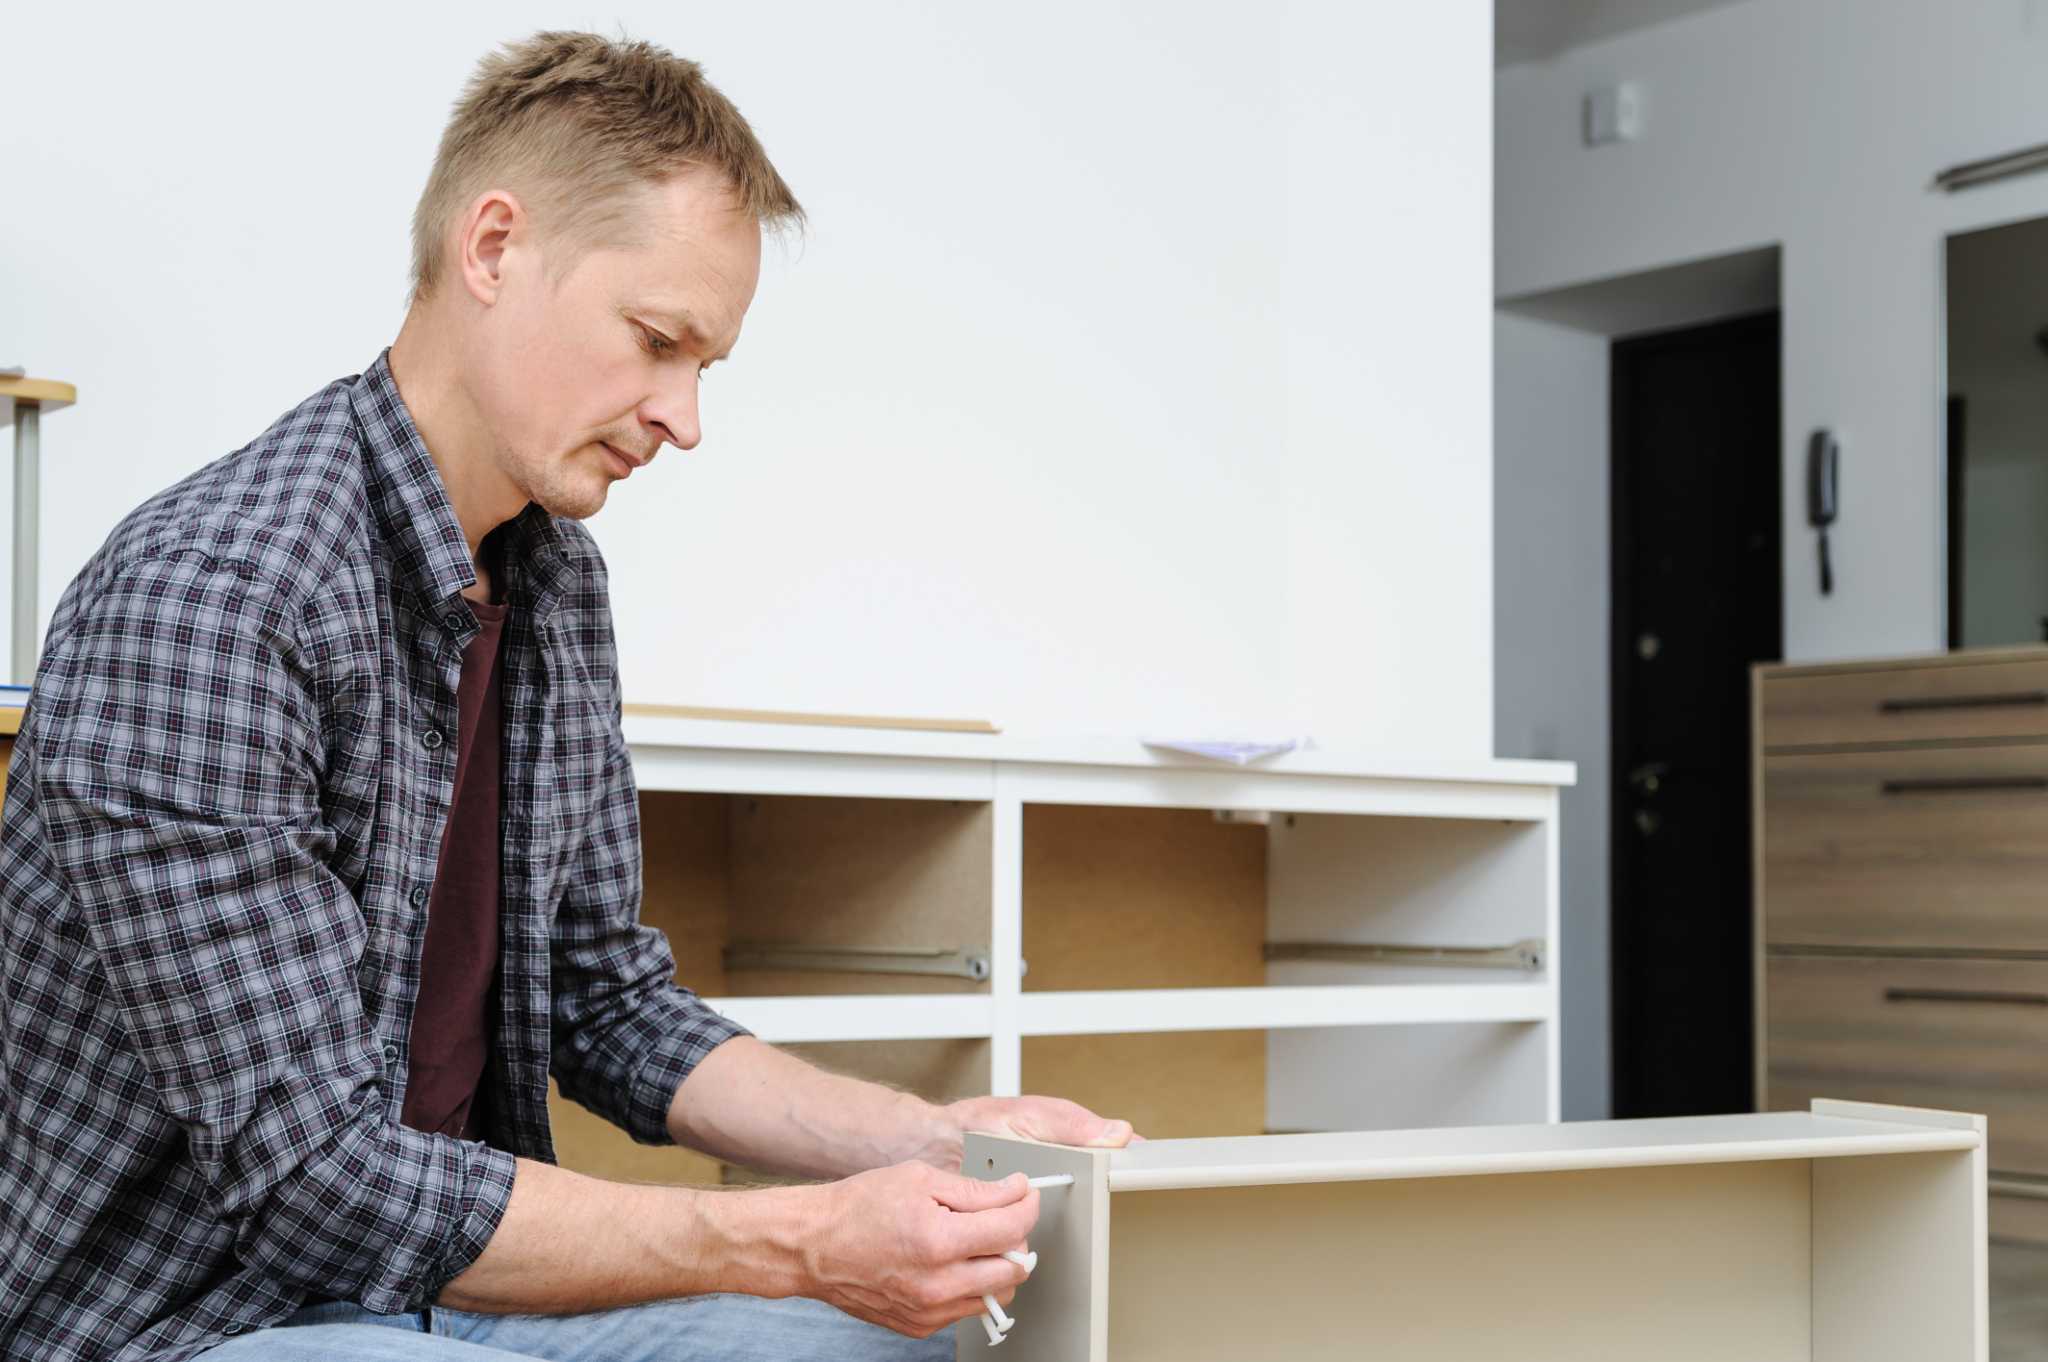
Welcome to this comprehensive guide on how to repair a dresser drawer. Dressers are essential pieces of furniture that provide valuable storage space in our homes. Over time, however, the wear and tear of daily use may take a toll on the drawers, causing damage such as loose joints, split wood, or broken hardware. Instead of replacing the entire dresser or living with a dysfunctional drawer, you can save time and money by learning how to fix it yourself.
In this article, we will walk you through the process of assessing the damage, gathering the necessary tools and materials, removing the drawer, and repairing it step by step. We will cover common issues like loose joints, split wood, and broken hardware, and provide you with practical solutions to restore your dresser drawer to its former glory.
Before we begin, it is important to note that the level of repair required will depend on the extent of the damage. Some minor issues can be easily fixed with simple tools, while others may require more advanced techniques. Additionally, it’s crucial to prioritize safety and take necessary precautions such as using protective gear and working in a well-ventilated area.
Now, let’s dive into the process of assessing the damage and getting started on repairing your dresser drawer.
Key Takeaways:
- Repairing a dresser drawer is a cost-effective and sustainable way to extend its lifespan and maintain the aesthetic appeal of your furniture. With the right tools and techniques, you can easily address common issues such as loose joints, split wood, and broken hardware.
- By following a step-by-step process that includes assessing the damage, gathering tools and materials, removing the drawer, and addressing specific issues like loose joints, split wood, and broken hardware, you can successfully repair and restore your dresser drawer to its former glory.
Read more: How To Install Dresser Drawers
Assessing the Damage
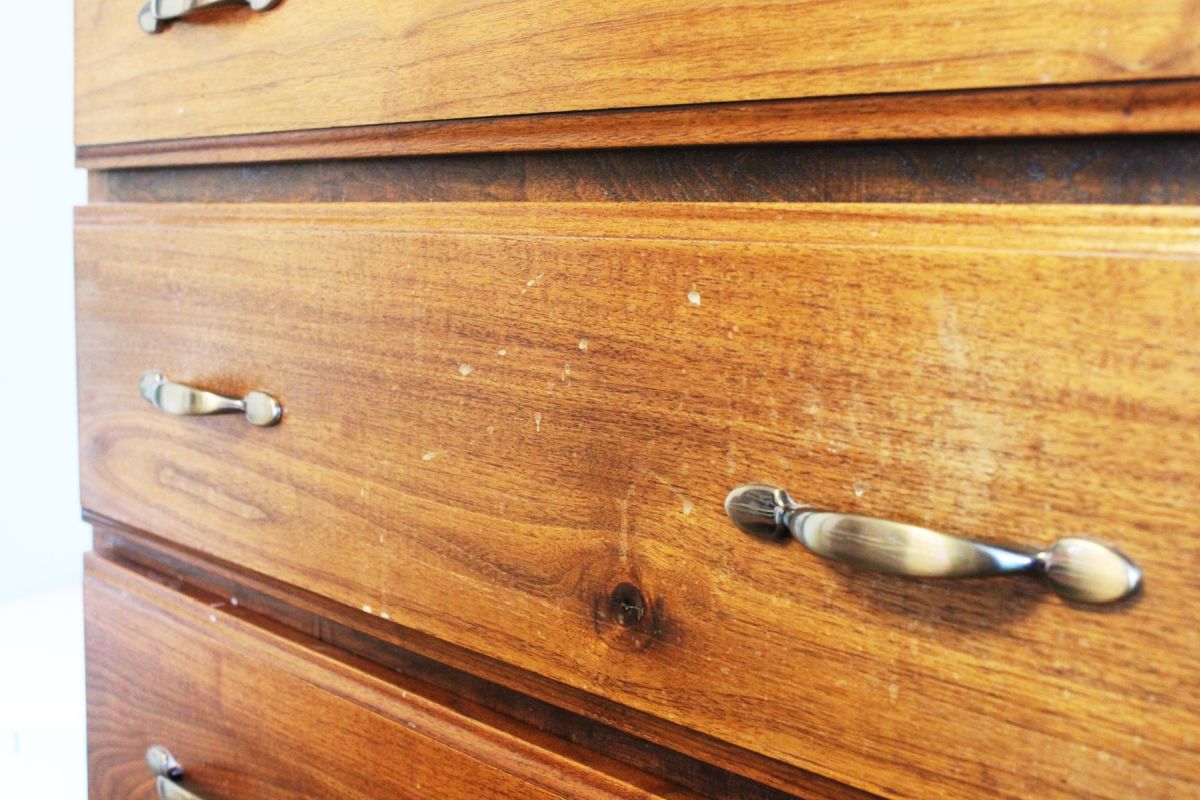
Before you can effectively repair a dresser drawer, it’s important to assess the extent of the damage and identify the specific issues that need to be addressed. By carefully inspecting the drawer, you can determine the type of repairs needed and gather the appropriate tools and materials.
Start by examining the drawer joints. Are they loose or wobbly? Look for any visible signs of damage, such as cracked or split wood. Additionally, check the drawer slides to see if they are functioning properly. Do the slides glide smoothly or do they feel stiff? Take note of any hardware that may be broken or missing, such as drawer pulls or knobs.
Next, inspect the drawer interior for any structural issues. Are the bottom panel or back of the drawer secure, or do they show signs of damage? Consider the overall stability and alignment of the drawer. Does it sit evenly when inserted into the dresser?
Make a detailed list of the damage and take measurements if needed. This will help you create a plan of action and ensure that you have the necessary tools and materials for the repairs. Remember, addressing issues as early as possible will help prevent further damage and prolong the lifespan of your dresser drawer.
Now that you have assessed the damage, it’s time to gather the tools and materials required for the repair process.
Gathering the Tools and Materials
Before you can begin repairing your dresser drawer, it’s important to gather all the necessary tools and materials. Having everything on hand will save you time and frustration during the repair process. Here’s a list of items you’ll likely need:
- Screwdriver set: A variety of screwdrivers will be useful for removing hardware and disassembling the drawer.
- Wood glue: This will be essential for repairing loose joints and reattaching split wood.
- Clamps: Clamps will help hold the damaged pieces together while the wood glue sets.
- Wood filler: If the wood is damaged or has holes, wood filler can be used to fill in the gaps and provide a smooth surface for refinishing.
- Sandpaper: Various grits of sandpaper will be needed for sanding down rough edges, smoothing the surface, and preparing it for refinishing.
- Paint or stain: If you plan on refinishing the drawer, make sure to have the appropriate paint or stain and brushes available.
- Replacement hardware: If any drawer pulls, knobs, or slides are broken or missing, you may need to purchase replacements that match the existing style.
- Safety equipment: Gloves, safety glasses, and a dust mask are essential for protecting yourself during the repair process.
While this list is comprehensive, keep in mind that the specific tools and materials needed may vary depending on the type and severity of the damage. Take the time to assess the repairs required and adjust your tool and material list accordingly.
Once you have gathered all the necessary tools and materials, you are ready to move on to the next step – removing the drawer from the dresser.
Removing the Drawer
Before you can begin repairing your dresser drawer, you’ll need to remove it from the dresser. This will provide you with easier access to the damaged areas and ensure that you can work on it comfortably. Follow these steps to safely remove the drawer:
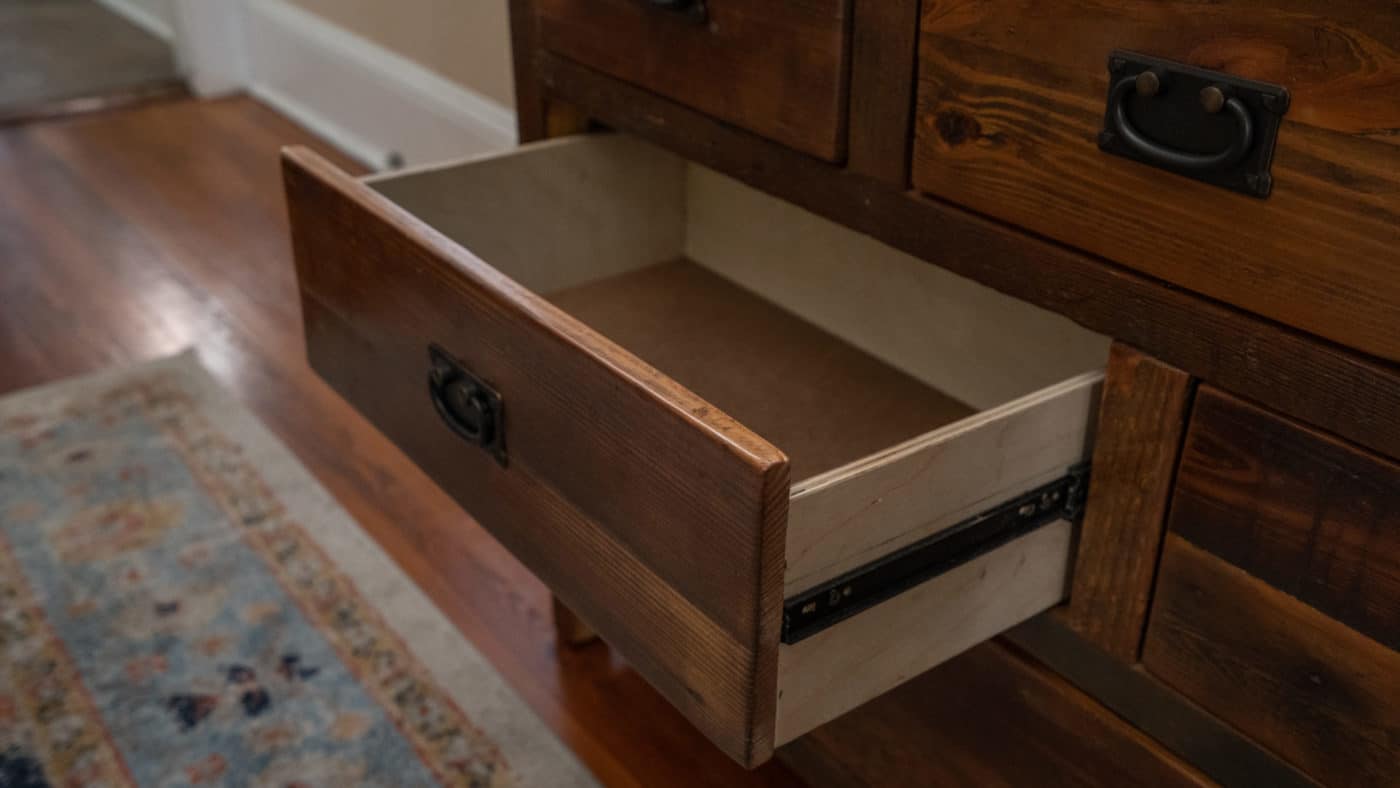
- Empty the drawer: Start by removing all the contents from the drawer. This will prevent any items from getting in the way and ensure a smooth removal process.
- Open the drawer fully: Pull the drawer out as far as it can go. This will allow you to access the drawer slides and make it easier to detach the drawer from the dresser.
- Locate the drawer stops: In some dressers, there may be drawer stops that prevent the drawer from being completely removed. These stops are usually small levers or tabs located on the sides or back of the drawer slides. Look for these stops and disengage them to allow the drawer to be fully removed.
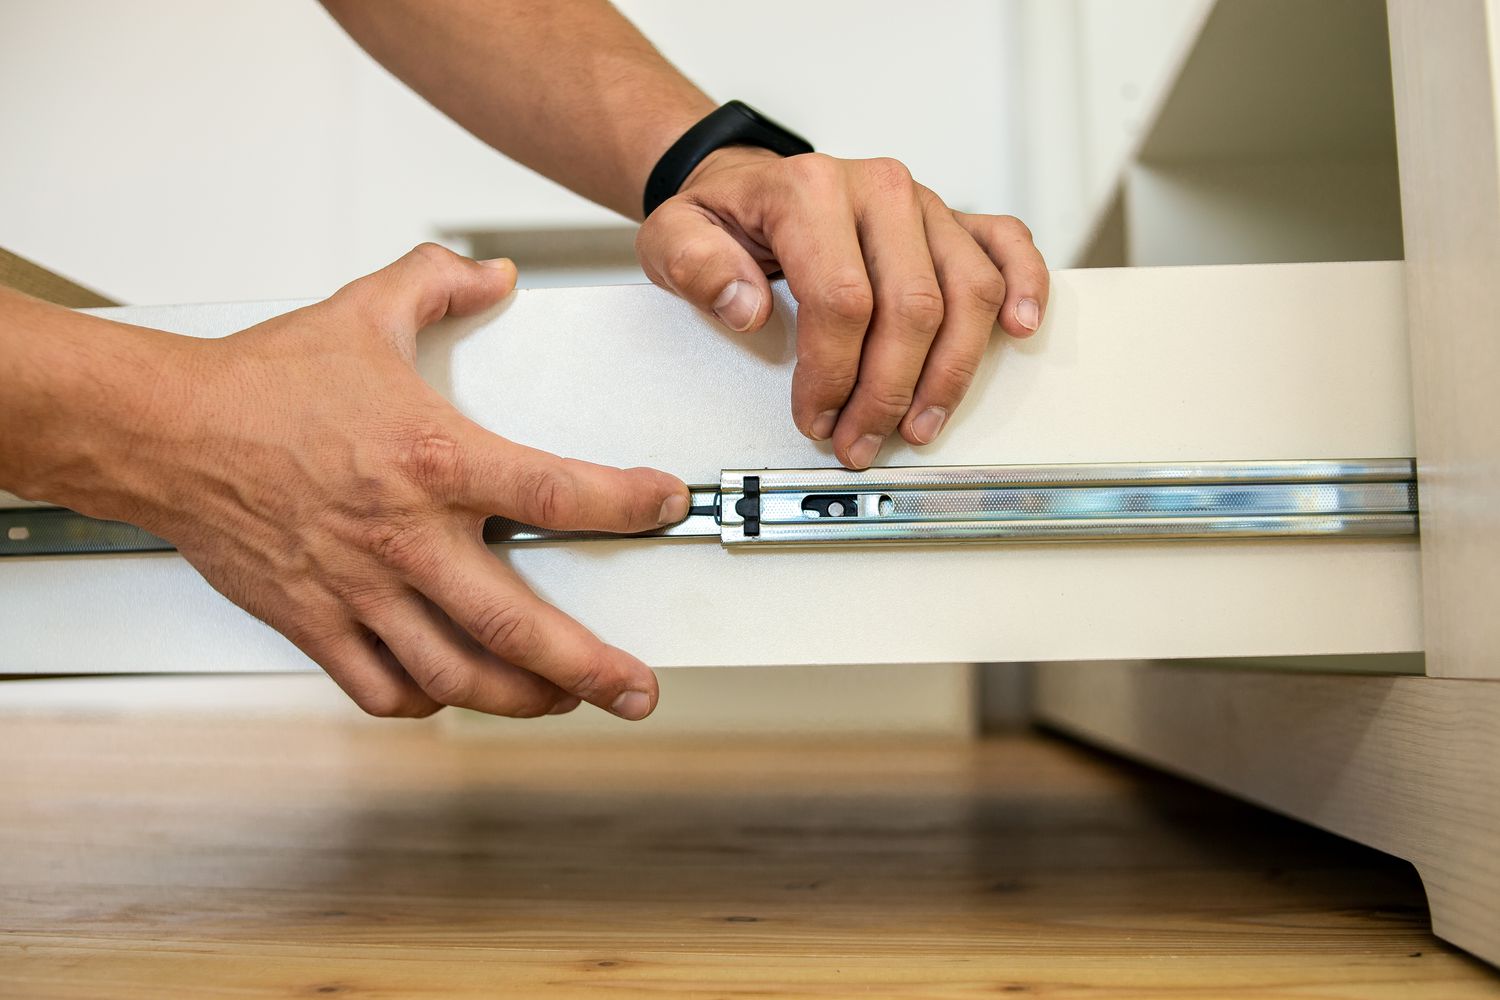
- Release the drawer slides: Once the drawer stops are disengaged, you can release the drawer slides. Depending on the type of slides used, this may involve unhinging the slides from the drawer or lifting a lever to disengage them. Refer to the manufacturer’s instructions or examine the slides closely to determine the release mechanism.
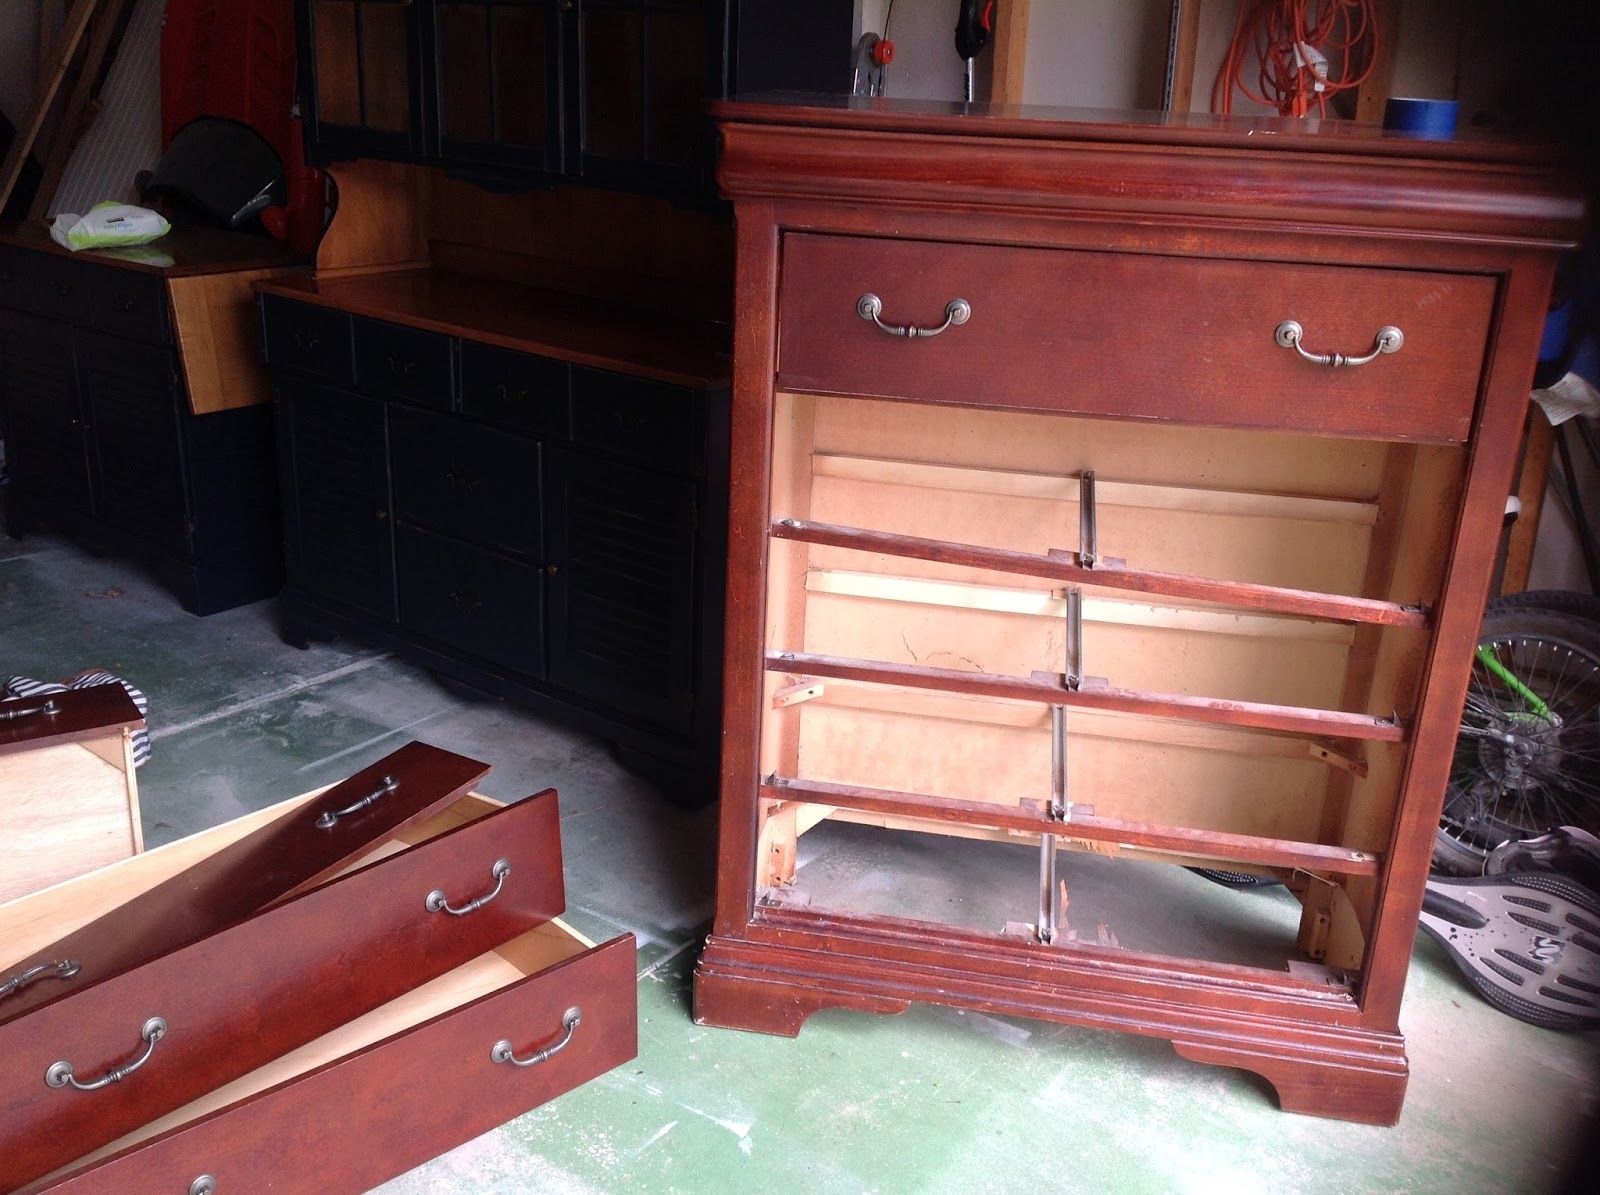
- Remove the drawer: With the slides released, gently lift the drawer upwards to detach it from the dresser. Pay attention to any wires or cords that may be connected to the drawer, especially if it has a built-in light or electronic components.
- Set the drawer aside: Once the drawer is removed, find a safe place to set it aside. This could be a flat surface such as a workbench or a clean area on the floor. Make sure the drawer is stable and won’t be in the way as you perform the repairs.
By following these steps, you will be able to remove the drawer from the dresser and begin the repair process. Remember to handle the drawer with care and avoid any sudden movements that could cause further damage. Now that the drawer is ready to be repaired, we can move on to fixing the specific issues such as loose joints and split wood.
Repairing Loose Joints
Loose joints are a common issue that can cause a drawer to become wobbly or unstable. Fortunately, it’s relatively straightforward to fix this problem. Here’s a step-by-step guide on how to repair loose joints in your dresser drawer:
- Disassemble the joint: Start by removing any screws or nails that are holding the loose joint together. Use a screwdriver or hammer to carefully extract the fasteners.
- Clean the joint: Once disassembled, clean the joint of any debris or old glue. Use a brush or cloth to remove dust, dirt, or any remnants of the previous adhesive.
- Apply wood glue: Apply a generous amount of wood glue to both surfaces of the joint. Use a small brush or a spatula to spread the glue evenly, ensuring that all the areas are covered.
- Reassemble the joint: Press the joint back together and secure it with clamps. Make sure the joint is in its correct position and aligns properly. Use enough clamps to apply even pressure across the joint to ensure a solid bond.
- Remove excess glue: Wipe away any excess wood glue that squeezes out from the joint. You can use a damp cloth or sponge to clean up the glue immediately before it dries.
- Allow the glue to dry: Follow the manufacturer’s instructions for the recommended drying time. It typically takes a few hours to fully dry, but for a stronger bond, it’s best to let it cure overnight.
- Reinforce the joint: If desired, you can reinforce the repaired joint with additional screws, nails, or dowels. This will provide extra strength and stability to the joint.
After completing these steps, your dresser drawer should have a solid and stable joint. Test the joint by gently moving the drawer back and forth to ensure it is secure. If needed, repeat the process for any other loose joints in the drawer.
Now that you have repaired the loose joints, it’s time to address another common issue – split wood.
If the dresser drawer is sticking, try rubbing a bar of soap along the tracks to help it glide more smoothly.
Read more: How To Line Dresser Drawers
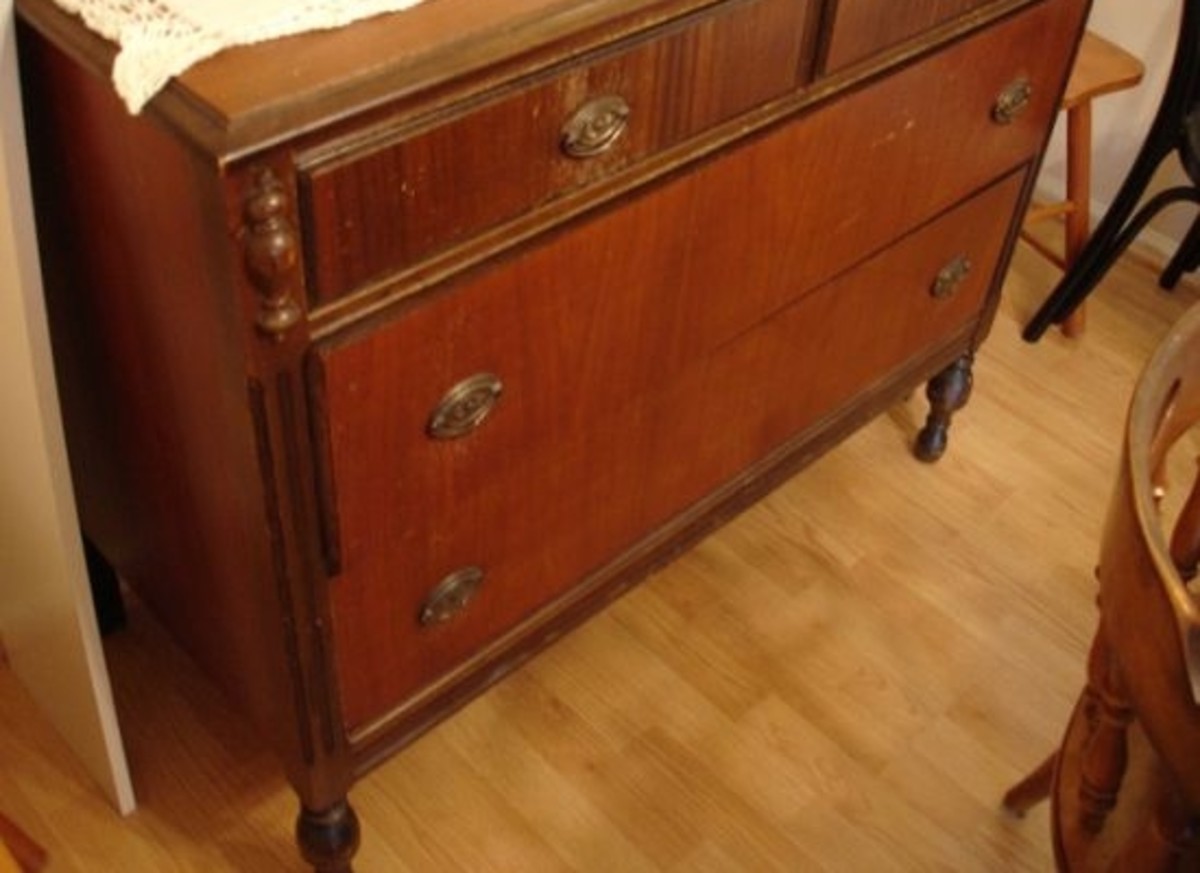
Fixing Split Wood
Split wood is a common issue that can occur in dresser drawers, especially in older or heavily used ones. If left unaddressed, split wood can compromise the structural integrity of the drawer. Fortunately, with some simple steps, you can repair split wood and restore the drawer’s functionality. Here’s how to fix split wood in your dresser drawer:
- Clean the area: Start by cleaning the split area with a cloth or brush to remove any dirt or debris. This will ensure a clean surface for the repair.
- Apply wood glue: Squeeze a small amount of wood glue into the split, ensuring that it reaches all the way to the bottom of the crack. Use a small brush or the tip of a toothpick to spread the glue evenly along the split.
- Press the split together: Gently press the split wood together, aligning the edges as closely as possible. Apply light pressure to hold the wood in place.
- Secure with clamps: If the split is large or the wood does not stay together on its own, use clamps to hold the wood in place. Place the clamps across the split, applying even pressure on both sides.
- Remove excess glue: Wipe away any excess glue with a damp cloth or sponge, taking care not to disturb the alignment of the split.
- Let the glue dry: Allow the glue to dry completely, following the manufacturer’s instructions. Drying times may vary depending on the type of glue used.
- Sand the repaired area: Once the glue is dry, use sandpaper to smooth out the repaired area. Start with a coarse grit sandpaper and gradually move to finer grits, feathering the edges of the split to blend it with the surrounding wood.
- Refinish the drawer: If necessary, refinish the drawer to match the original finish. Apply stain or paint as needed, following the instructions on the product.
After following these steps, the split wood should be securely repaired, restoring the strength and appearance of your dresser drawer. Take care to avoid applying excessive force to the repaired area, as it may weaken the repair.
Now that you’ve fixed the split wood, let’s move on to addressing another common issue – replacing broken hardware.
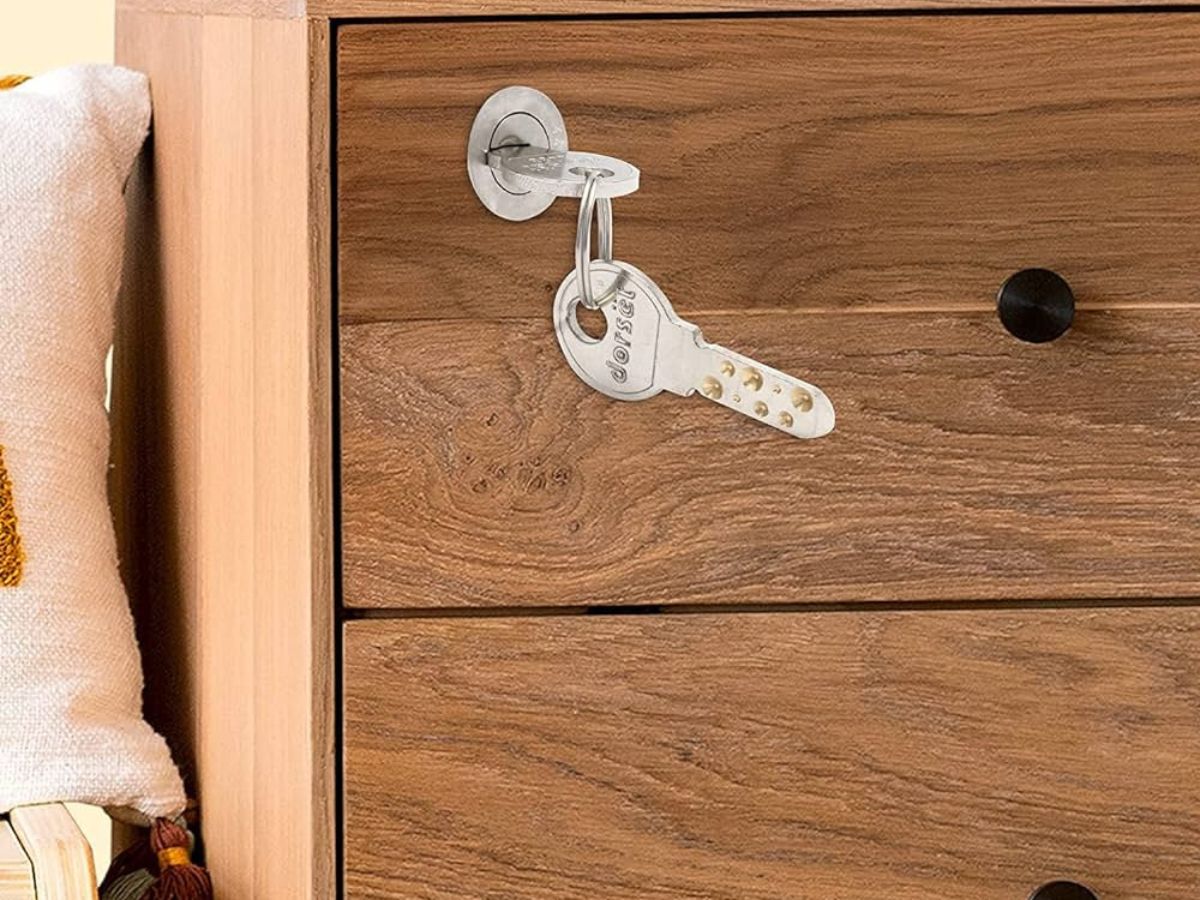
Replacing Broken Hardware
Broken hardware, such as drawer pulls, knobs, or slides, can significantly impact the functionality and aesthetics of your dresser drawer. Luckily, replacing broken hardware is a relatively simple process that can instantly revive your drawer’s appearance and usability. Here’s how to replace broken hardware in your dresser drawer:
- Remove the old hardware: Start by unscrewing or removing any old or broken hardware from the drawer. Use a screwdriver or the appropriate tool to safely detach the hardware.
- Measure and note the size: Take measurements of the existing hardware, including the distance between screw holes and the overall dimensions. This will help ensure that the new hardware you purchase is the correct size and will fit properly.
- Choose replacement hardware: Visit your local hardware store or search online for replacement hardware that matches the style and size of your old hardware. Consider factors such as material, finish, and design to find a suitable replacement.
- Attach the new hardware: Once you have the replacement hardware, align it with the existing screw holes on the drawer. Insert the screws and tighten them securely using a screwdriver or the appropriate tool.
- Test the hardware: After attaching the new hardware, test it by opening and closing the drawer. Ensure that it functions smoothly and securely.
Replacing broken hardware can not only improve the functionality of your dresser drawer but also enhance its overall appearance. It’s an excellent opportunity to update the look of your furniture and add a personal touch to your decor.
Now that you’ve replaced the broken hardware, it’s time to reassemble the drawer and move on to the final steps in the repair process.
Reassembling the Drawer
With the necessary repairs completed, it’s time to reassemble the dresser drawer. Proper reassembly is crucial to ensure that the drawer functions smoothly and securely. Follow these steps to reassemble your dresser drawer:
- Inspect the interior: Before placing the drawer back into the dresser, inspect the interior for any debris or leftover glue. Use a cloth or brush to clean out any dirt or excess adhesive.
- Align the drawer slides: Align the drawer slides on the sides of the drawer with the corresponding tracks inside the dresser. Make sure they are properly aligned, ensuring a smooth opening and closing motion.
- Insert the drawer into the dresser: Insert the drawer into the dresser, ensuring that it sits level and the slides glide smoothly. Push the drawer all the way in until it is fully engaged with the slides.
- Test the drawer: Give the drawer a gentle push and pull to test its movement. It should open and close smoothly without any wobbling or sticking.
- Attach hardware (if necessary): If you have replaced any hardware, such as drawer pulls or knobs, attach them to the appropriate areas on the drawer. Secure them tightly with screws or fasteners.
Once you have reassembled the drawer and tested its functionality, you’re one step closer to restoring your dresser to its former glory. However, before considering the repair process complete, it’s important to address one final step – sanding and refinishing.
Continue to the next section to learn how sanding and refinishing can bring new life to your repaired dresser drawer.
Sanding and Refinishing
After completing the necessary repairs, sanding and refinishing your dresser drawer can help restore its beauty and protect the wood from further damage. Sanding will smooth out any rough areas and prepare the surface for refinishing. Here’s how to sand and refinish your dresser drawer:
- Prepare the workspace: Set up a well-ventilated area with a clean workbench or table. Lay down a drop cloth or newspaper to protect the surface from dust and debris.
- Sand the drawer: Start by using coarse-grit sandpaper (around 80-120 grit) to sand the entire drawer, focusing on areas with repaired joints or split wood. Apply even pressure and sand with the grain, moving in smooth, long strokes. This will help remove any roughness and bring back the natural beauty of the wood.
- Switch to finer grit sandpaper: Once you have sanded the entire drawer with the coarse-grit sandpaper, switch to a finer-grit sandpaper (around 220-400 grit) to further smooth the surface. Continue to sand with the grain until the wood feels smooth to the touch.
- Remove sanding residue: After sanding, use a clean cloth or a soft brush to remove any sanding residue from the surface of the drawer. This will ensure a clean surface for the refinishing process.
- Choose your finish: Decide on the type of finish you want for your dresser drawer. Options include staining, painting, or applying a clear coat. Consider the existing decor and the look you want to achieve.
- Apply the finish: Follow the instructions on your chosen finish product. Use a brush, roller, or cloth to apply the finish evenly, working with the grain. Apply multiple coats if needed, allowing each coat to dry fully before applying the next.
- Allow the finish to cure: Once you have applied the finish, allow it to fully cure based on the manufacturer’s recommendations. This may take a few days, so be patient and avoid using the drawer until it is completely dry.
Sanding and refinishing your dresser drawer not only enhances its appearance but also protects it from scratches, moisture, and everyday wear and tear. It’s a final touch that brings out the natural beauty of the wood, giving your furniture a refreshed and polished look.
With the sanding and refinishing process complete, your repaired dresser drawer is ready to be reinstalled and enjoyed for years to come. Congratulations on successfully repairing and restoring your drawer!
Now, as a final note, it’s important to remember that each repair project may have unique requirements and considerations. Adapt the steps and techniques to suit the specific needs of your dresser and the extent of the damage. If you encounter any challenges or feel unsure about the repair process, it’s always a good idea to consult a professional for assistance.
Best of luck with repairing your dresser drawers, and enjoy the satisfaction of giving new life to your furniture!
Read more: How To Make A Dresser Drawers
Conclusion
Repairing a dresser drawer doesn’t have to be a daunting task. With the right knowledge, tools, and materials, you can restore functionality and beauty to your furniture. By following the steps outlined in this comprehensive guide, you can effectively assess the damage, gather the necessary tools and materials, remove the drawer, repair loose joints and split wood, replace broken hardware, reassemble the drawer, and finish it with sanding and refinishing.
By taking the time to address these common issues, you can extend the lifespan of your dresser drawer, save money on replacements, and maintain the overall aesthetic appeal of your furniture. Repairing rather than replacing also promotes sustainability by reducing waste.
Remember, each repair project may have its own unique challenges and considerations. Adapting the techniques and steps to suit your specific situation will ensure the best possible outcome. If you’re unsure or faced with extensive damage, it’s always wise to seek professional advice or assistance.
Now that you have the knowledge and confidence to tackle dresser drawer repairs, gather your tools and get started on breathing new life into your furniture. Enjoy the process of transforming your dresser drawer from a damaged piece to a functional and beautiful part of your home.
Happy repairing!
Frequently Asked Questions about How To Repair A Dresser Drawer
Was this page helpful?
At Storables.com, we guarantee accurate and reliable information. Our content, validated by Expert Board Contributors, is crafted following stringent Editorial Policies. We're committed to providing you with well-researched, expert-backed insights for all your informational needs.


0 thoughts on “How To Repair A Dresser Drawer”