
Articles
How To Bind A Wedding Ring Quilt
Modified: August 22, 2024
Discover articles on how to bind a wedding ring quilt and create a beautiful keepsake for your special day. Get step-by-step instructions and expert tips.
(Many of the links in this article redirect to a specific reviewed product. Your purchase of these products through affiliate links helps to generate commission for Storables.com, at no extra cost. Learn more)
Introduction
Welcome to the world of quilting! If you’re a quilting enthusiast or someone who is new to this craft and looking for a new project, you’ve come to the right place. In this article, we will guide you through the process of binding a wedding ring quilt. The wedding ring quilt is a classic design that symbolizes love, unity, and commitment. It’s a beautiful and meaningful quilt to make for a wedding gift or to commemorate your own special day.
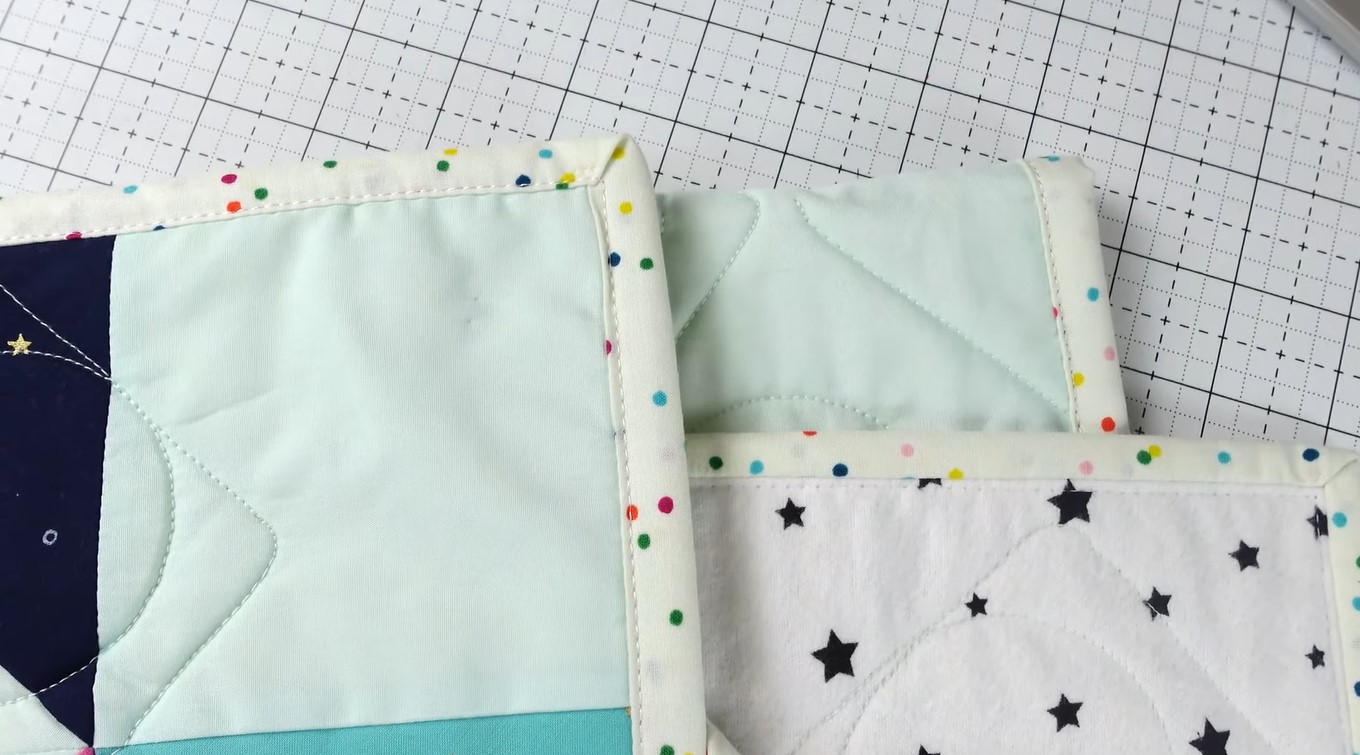
Binding is the finishing touch that completes the quilt, providing a neat and polished edge. It not only adds durability but also enhances the overall appearance of the quilt. Binding a wedding ring quilt requires some special attention due to the curved edges of the rings. But don’t worry, we’ll break down the process into simple steps to make it easy for you to follow.
Before we dive into the specific steps, let’s take a moment to gather the necessary materials. It’s important to have everything ready before you begin to ensure a smooth and enjoyable quilting experience. So, let’s move on to the first step and gather our materials!
Key Takeaways:
- Binding a wedding ring quilt involves gathering materials, cutting fabric, sewing rings, assembling the quilt top, adding batting and backing, quilting the layers, and finally, binding the edges for a polished finish.
- The wedding ring quilt symbolizes love and unity, making it a cherished heirloom. Through the process, you’ve honed valuable quilting skills and created a timeless piece of art with sentimental value.
Read more: How To Make A Wedding Ring Quilt
Step 1: Gather Your Materials
Before you start binding your wedding ring quilt, it’s essential to gather all the materials you’ll need. Having everything organized and readily available will make the process much easier and more efficient. Here’s a list of what you’ll need:
- Fabric for binding: Choose a fabric that complements the colors and design of your quilt. You’ll need enough fabric to create strips for binding the entire perimeter of the quilt.
- Quilting ruler: A quilting ruler is a must-have tool for precise measurements and cutting. Make sure you have one that is long enough to handle the size of your quilt.
- Cutting mat: A self-healing cutting mat provides a smooth surface for cutting fabric without damaging your table or work surface.
- Rotary cutter: A rotary cutter is a handy tool for cutting fabric accurately and quickly. Make sure you have a sharp blade for clean cuts.
- Quilting pins: Straight pins with flat heads are ideal for holding fabric layers together during the binding process.
- Iron and ironing board: Pressing your fabric before and during the binding process ensures smooth, wrinkle-free seams.
- Sewing machine: A sewing machine with a straight stitch and zigzag stitch capability is essential for sewing the binding onto the quilt.
- Thread: Choose a thread color that matches or complements your fabric. For secure binding, use a sturdy thread specifically designed for quilting.
- Scissors: Sharp scissors are necessary for cutting thread and trimming excess fabric.
- Sewing needles: Hand sewing needles will come in handy for finishing touches and securing loose ends.
Having these materials within reach will ensure a smooth and enjoyable binding process. Once you have everything ready, it’s time to move on to the next step: cutting the fabric for your binding.
Step 2: Cut the Fabric
Now that you have all your materials gathered, it’s time to cut the fabric for your binding. The binding strips will encase the edges of your quilt, giving it a finished look. Here’s how to do it:
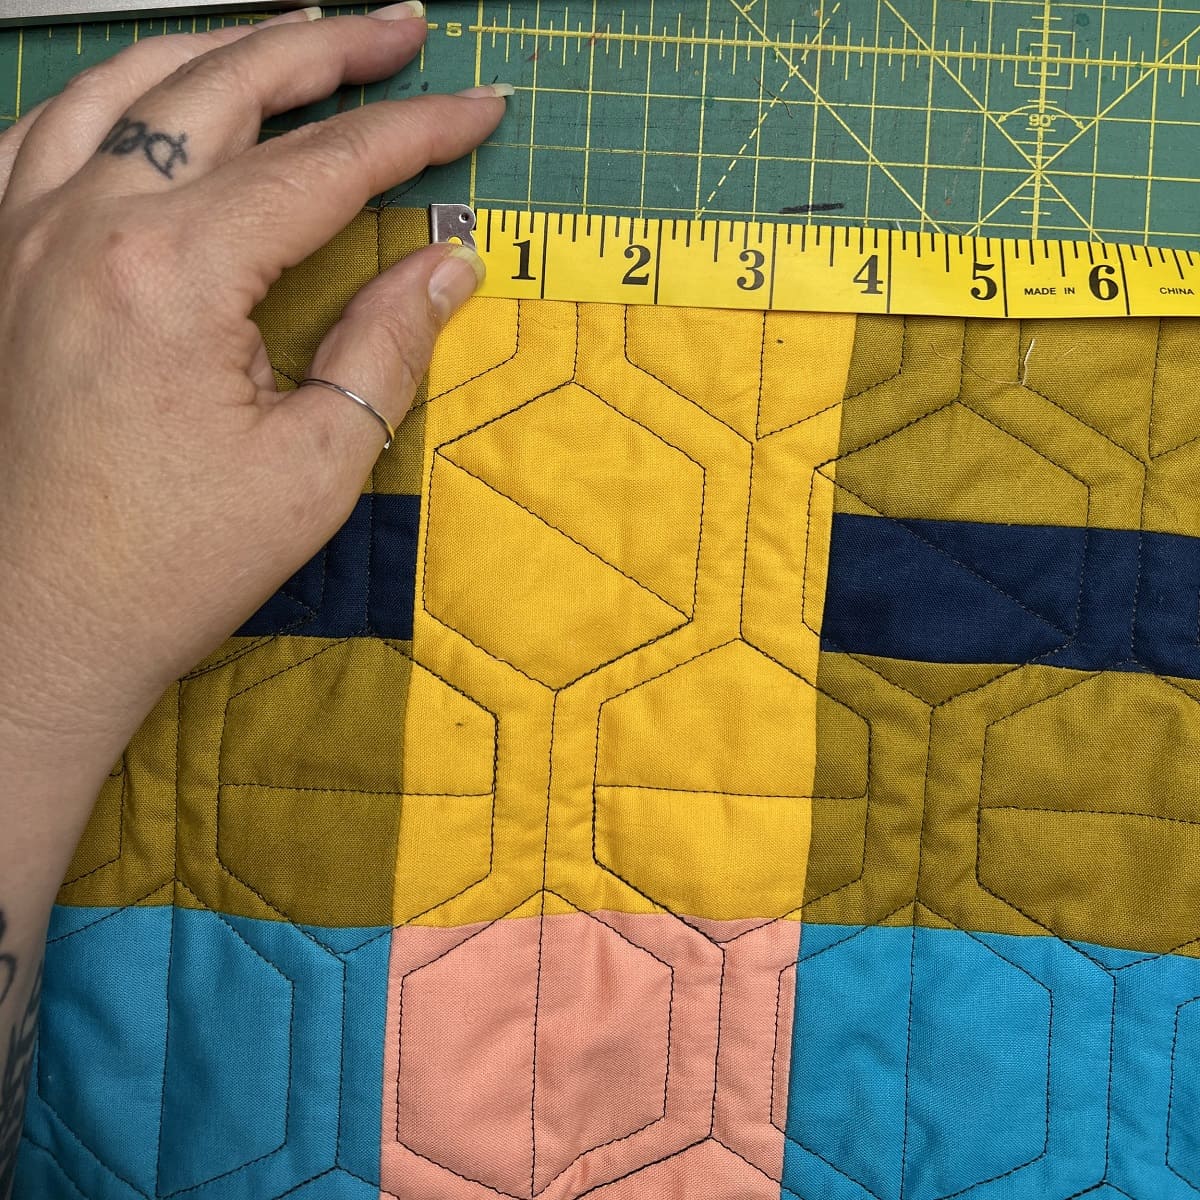
- Measure the Perimeter: Start by measuring the perimeter of your quilt. This will determine the length of your binding strips. Add a few extra inches to allow for overlapping and joining the strips.
- Cut the Strips: Using your quilting ruler and rotary cutter, cut strips of fabric that are 2.5 inches wide. The length of each strip should be the measurement you obtained in the previous step. For a wedding ring quilt, consider using a solid color fabric or a fabric that complements the colors in your quilt.
- Join the Strips: If your quilt is larger than the length of a single strip, you’ll need to join the strips together to create one long continuous piece. To do this, place two strips right sides together at a 90-degree angle, forming an “L” shape. Sew diagonally from the top left corner to the bottom right corner. Trim the excess fabric and press the seam open. Continue joining the strips until you have one long piece.
- Trim and Iron: Trim any excess fabric from the ends of the binding strip. Then, fold the strip in half lengthwise and press it with an iron to create a crease down the center. This will make it easier to attach the binding to the quilt.
Now that you have your binding strips cut and ready, you can move on to the next step: sewing the rings onto the quilt top. Stay tuned!
Step 3: Sew the Rings
As you progress in binding your wedding ring quilt, the next step is to sew the rings onto the quilt top. This is where the unique design of the wedding ring quilt comes to life. Follow these steps to sew the rings:
- Prepare the Rings: Lay out your quilt top and ensure it is flat and wrinkle-free. Take your pre-cut fabric rings and place them on top of the quilt, aligning them with the marked ring patterns. Pin the rings in place to secure them.
- Machine Sewing: Using your sewing machine, set it to a straight stitch or a zigzag stitch. Carefully sew around each fabric ring, following the curved line of the pattern. Take your time to maintain a steady and consistent stitch. Secure the ends of the stitching by backstitching or making a small knot.
- Trim Excess Fabric: Once you have sewn all the rings onto the quilt top, carefully trim away any excess fabric outside the stitched lines. This will ensure that the rings lay flat and do not interfere with the binding process. Be cautious not to cut through the quilt top or any underlying layers.
By this step, you have successfully sewn the rings onto your quilt top. You are one step closer to completing your wedding ring quilt. Next, we will move on to assembling the quilt top by joining the block pieces together. Stay tuned for the next step!
Step 4: Assemble the Quilt Top
Now that you have sewn the rings onto your quilt top, it’s time to assemble the quilt top by joining the block pieces together. This step will bring your wedding ring quilt closer to completion. Follow these steps to assemble the quilt top:
- Lay Out the Blocks: Lay out the quilt blocks according to your desired pattern. Ensure that the rings align correctly and the overall design looks balanced and visually appealing.
- Join the Blocks: Starting from the top row, take the first two blocks and place them right sides together. Align the edges carefully and pin them in place. Sew a ¼-inch seam along the edge, joining the blocks. Repeat this process for the remaining blocks, row by row, until all the blocks are connected.
- Press the Seams: After sewing each row, press the seam allowances open or to one side. This will help the quilt lay flat and create a clean finished look. Use an iron to press the seams, being careful not to stretch or distort the fabric.
- Trim the Excess: Once you have joined all the blocks together, trim away any excess fabric along the edges to ensure a neat and uniform quilt top. Take your time and use a rotary cutter and quilting ruler to achieve straight lines and precise edges.
By completing this step, you have successfully assembled your quilt top. It’s starting to take shape and look more like a quilt! The next step will involve adding the batting and backing to create the layers of the quilt. Stay tuned as we move forward in the process!
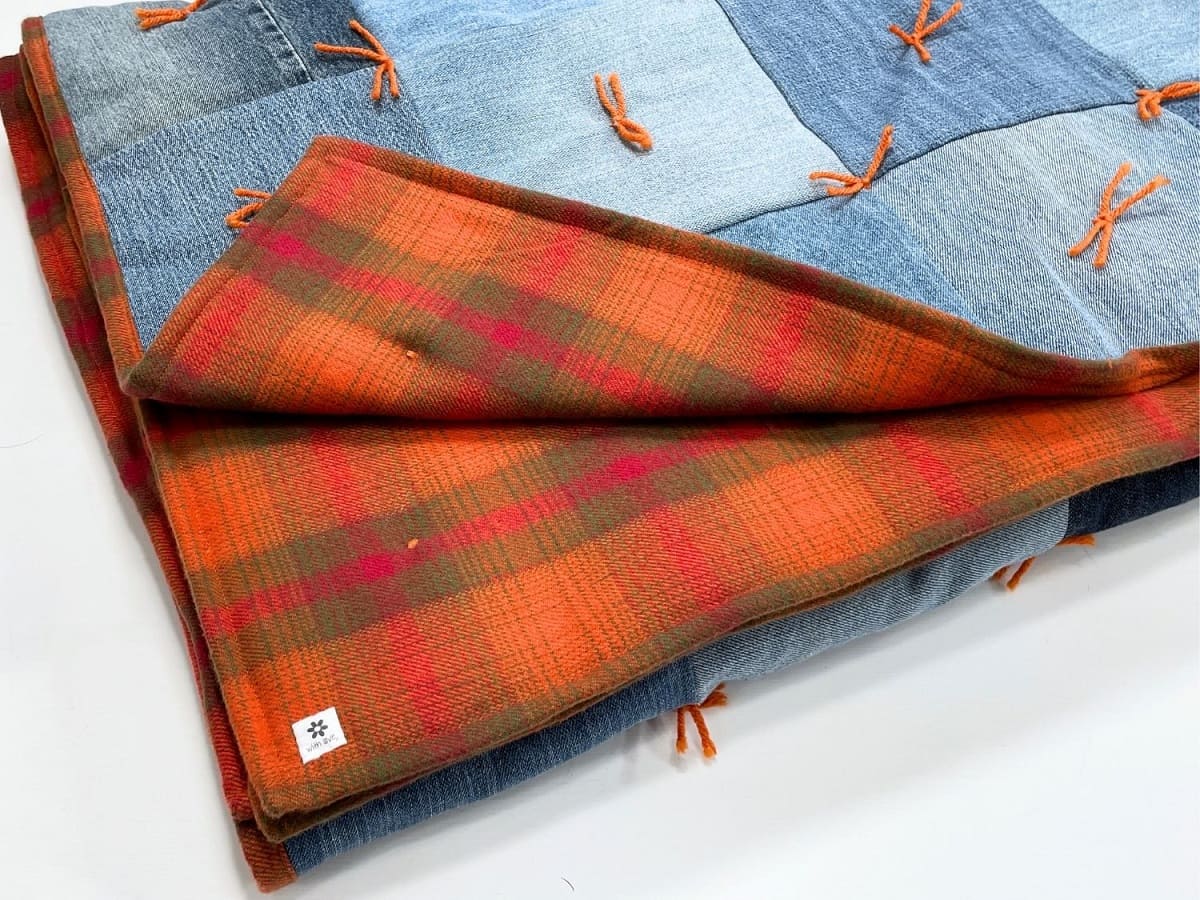
When binding a wedding ring quilt, use a thin and flexible binding to ensure smooth curves. Pin the binding in place before sewing to keep the edges neat and even.
Read more: How To Join Ends Of Quilt Binding
Step 5: Add the Batting and Backing
Now that you have your quilt top assembled, it’s time to add the batting and backing to create the layers of your wedding ring quilt. These layers will provide warmth, structure, and durability to your finished quilt. Follow these steps to add the batting and backing:
- Choose the Batting: Select a batting material that suits your desired level of warmth and loft. There are various options available, such as cotton, polyester, or a blend of both. Make sure the batting is slightly larger than your quilt top to allow for any shrinkage during the quilting process.
- Prepare the Backing: Lay out your chosen fabric for the backing, ensuring it is larger than the quilt top. If necessary, piece together multiple fabric pieces to achieve the desired size. Press the fabric, making sure it is free from wrinkles and folds.
- Layer the Quilt: Place the backing fabric right side down on a clean and flat surface. Smooth out any wrinkles or creases. Next, place the batting on top of the backing fabric, ensuring it is centered and aligned with the edges. Finally, place the quilt top on top, right side up. Adjust and smooth out all layers.
- Baste the Layers: To secure the layers together temporarily, you can baste them. This can be done by hand or with long, straight stitches using a sewing machine. Start from the center and work your way outwards, ensuring the layers are smooth and taut. Alternatively, you can also use basting spray to adhere the layers together.
By adding the batting and backing, your quilt is now starting to look complete. In the next step, we’ll move on to quilting the layers together to provide texture and stability. Keep following along as we progress in binding your wedding ring quilt!
Step 6: Quilt the Layers Together
Now that you have the layers of your wedding ring quilt securely basted, it’s time to quilt them together. Quilting not only adds decorative patterns and textures but also helps to stabilize the layers and ensure the longevity of the quilt. Follow these steps to quilt your wedding ring quilt:
- Select a Quilting Design: Decide on a quilting pattern or design that complements the overall look of your quilt. You can choose between free-motion quilting, where you move the quilt sandwich freely under the needle, or using a quilting guide or ruler for more precise lines and shapes.
- Prepare your Machine: Install a quilting or walking foot on your sewing machine for even feed and to prevent fabric shifting. Thread your machine with a coordinating thread color and wind a bobbin with the same thread.
- Start Quilting: Begin quilting by securing the layers together at the center of the quilt top. You can start with a simple outline around the rings or opt for more intricate quilting designs within the rings and the background fabric. Take your time and move slowly and steadily. If you’re a beginner, you may want to practice on scrap fabric before quilting on your actual quilt.
- Continue Quilting: Once you’ve quilted the center area, gradually work your way outwards, quilting in sections. Smooth and adjust the fabric as you go, being careful not to create wrinkles or puckers. Take breaks if needed to avoid fatigue or frustration.
- Finishing Quilting: When you have quilted the entire quilt top, double-check for any missed areas or loose threads. Trim any excess batting and backing fabric, leaving a margin of a few inches around the quilt top.
By quilting the layers together, your wedding ring quilt is starting to take its final form. In the next step, we’ll move on to binding the quilt edges, giving it a neat and finished appearance. Stay tuned as we approach the final stage of binding your wedding ring quilt!
Step 7: Bind the Quilt
Congratulations! You’ve reached the final step of binding your wedding ring quilt. Binding is the finishing touch that not only secures the edges but also adds a polished and professional look to your quilt. Follow these steps to bind your quilt:
- Prepare the Binding Strips: Take out the fabric strips you cut earlier for the binding. If you joined multiple strips together, press the seams open for a flat finish. Fold the strip in half lengthwise and press it again to reinforce the crease.
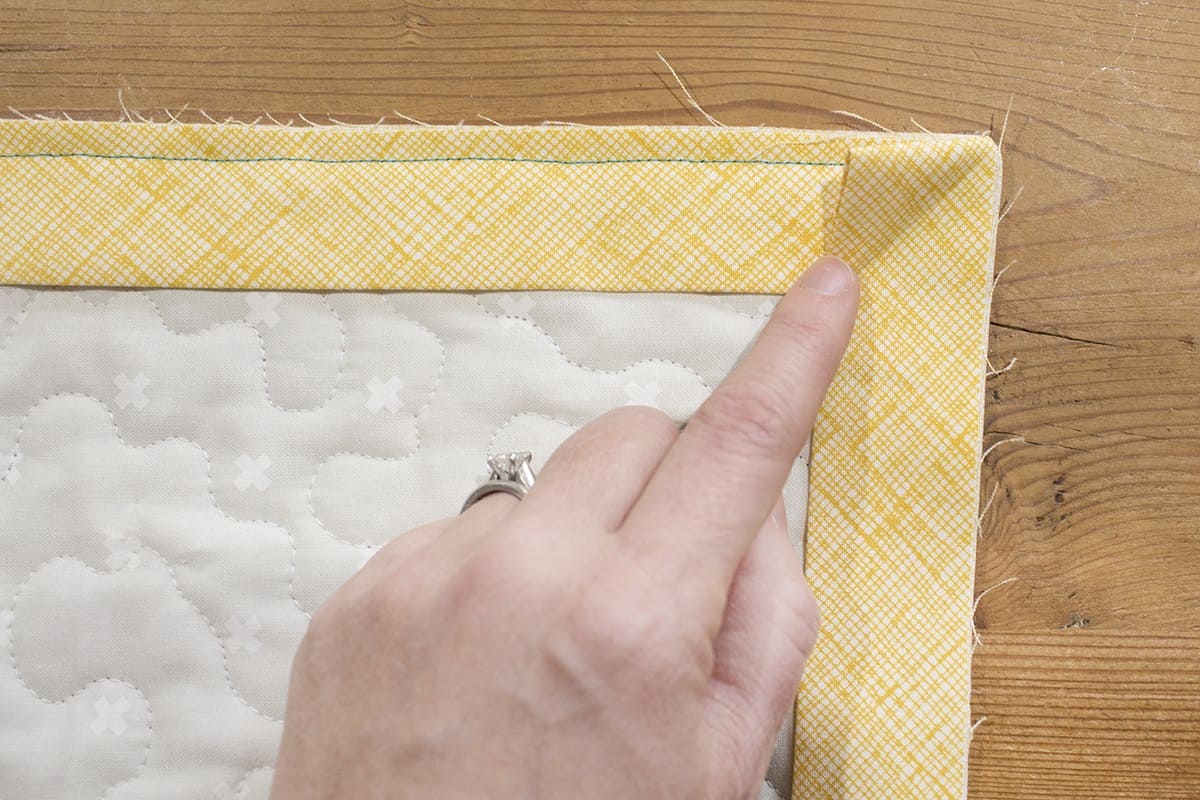
- Attach the Binding: Starting from one side of the quilt, align the raw edges of the binding strip with the raw edges of the quilt top. Leave a tail of a few inches before starting to sew. Use quilting pins to hold the binding in place, if necessary.
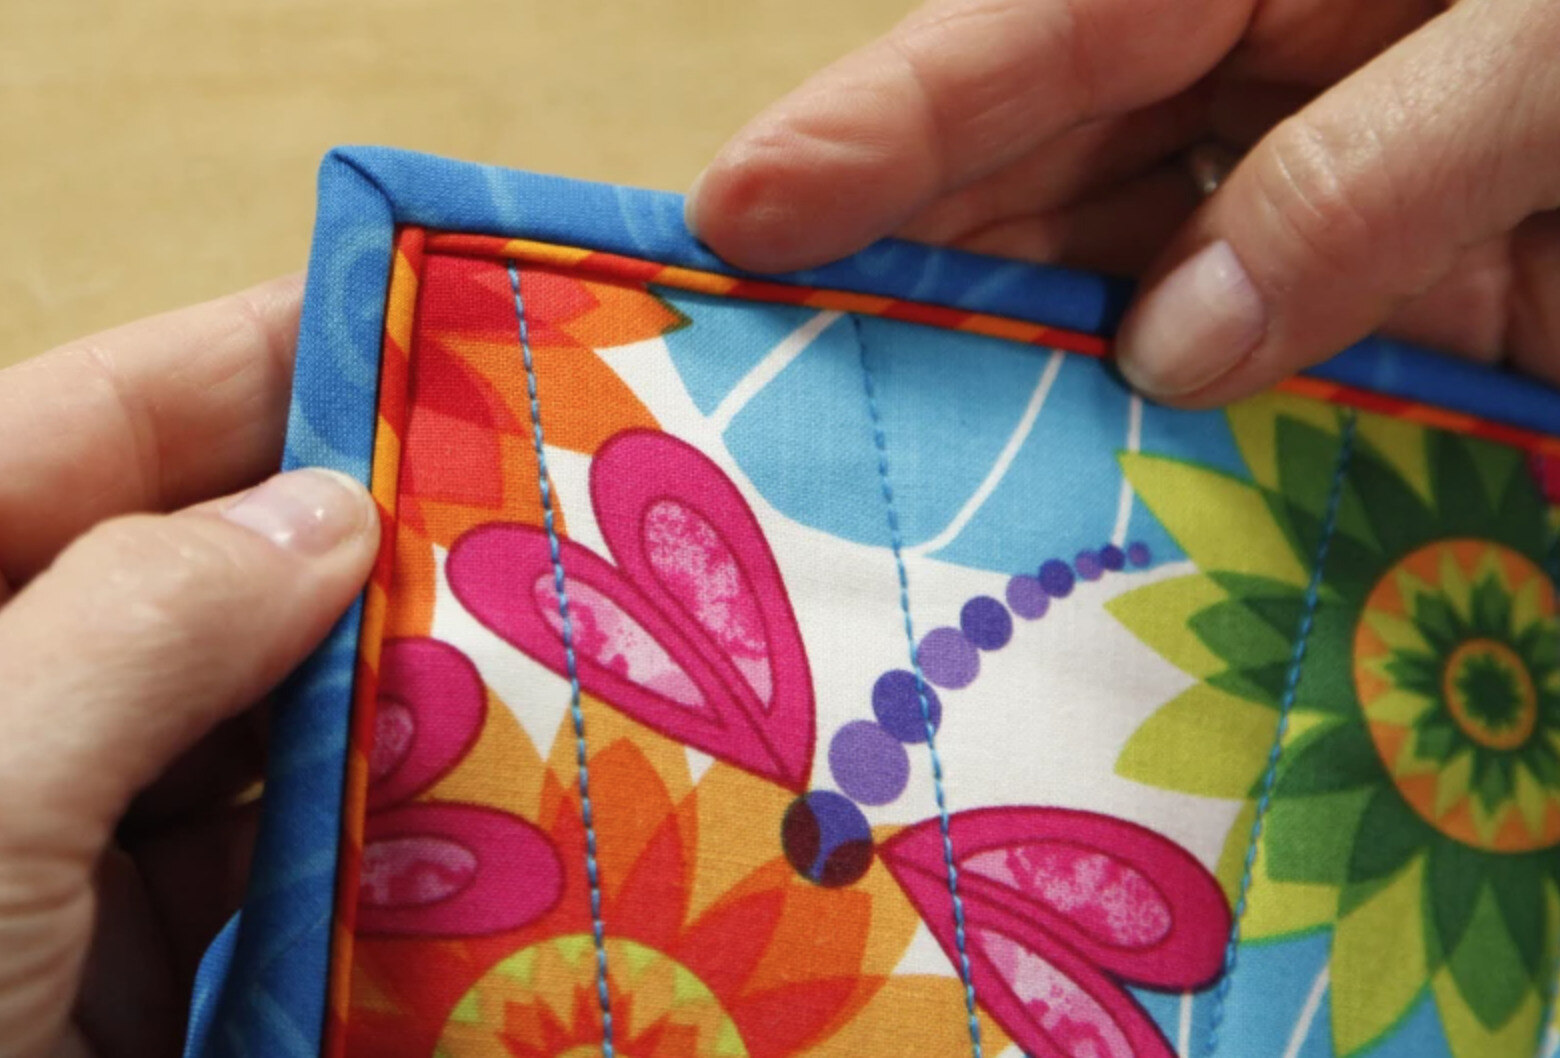
- Sew the Binding: Using a ¼-inch seam allowance, sew along the raw edges of the quilt, securing the binding strip. Sew all the way around the quilt, pivoting at each corner. When you reach the starting point, stop stitching a few inches away and backstitch to secure the stitches.
- Join the Binding Ends: Once you’ve stitched around the entire quilt, trim the excess binding, leaving a few inches overlapping the starting point. With right sides together, open up the ends of the binding and sew them together using a diagonal seam. Trim the excess fabric and press the seam open.
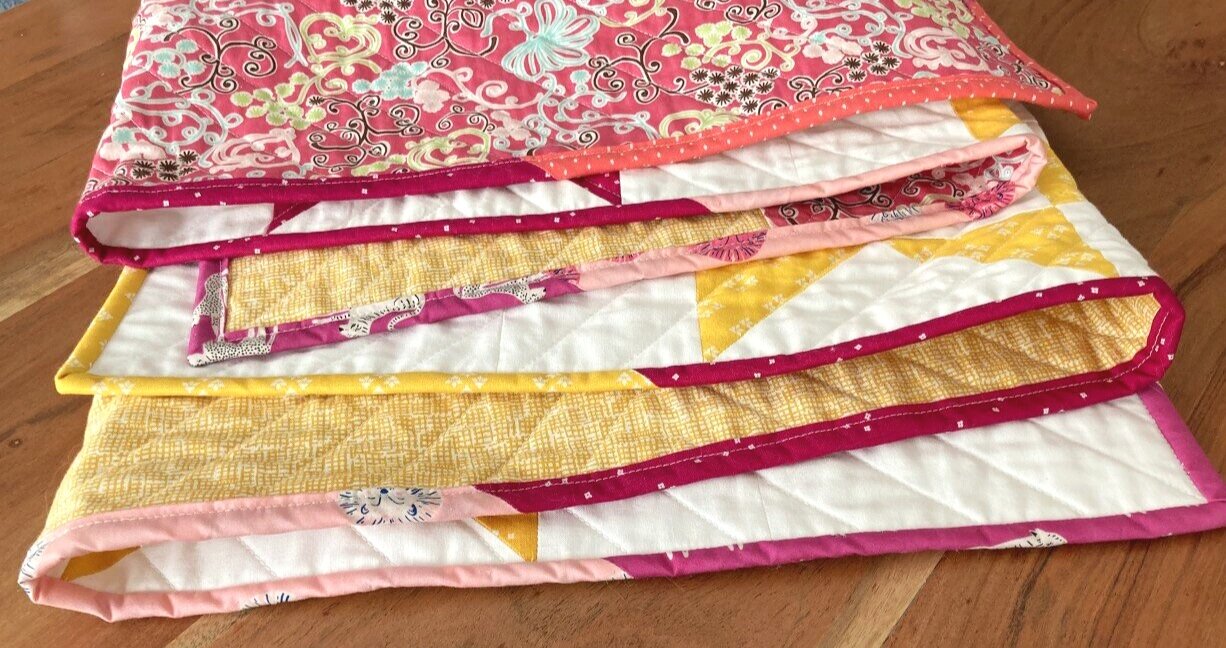
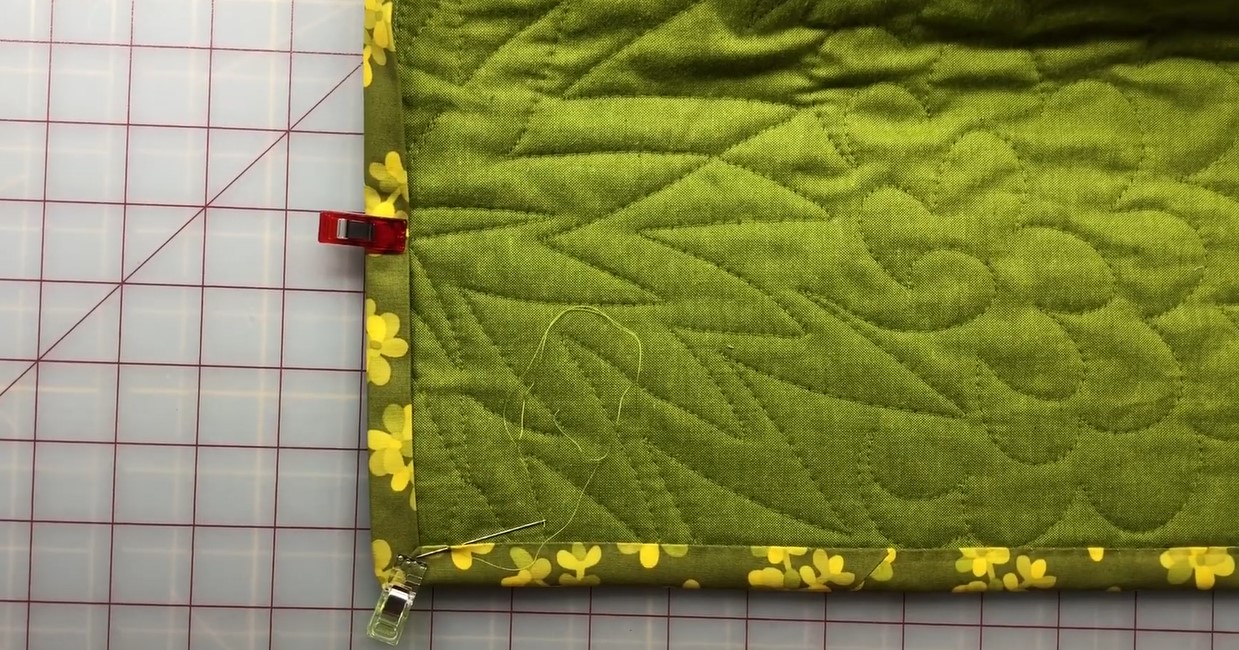
- Secure the Binding: Flip the binding over to the back of the quilt and fold it neatly along the edge, covering the raw seam. Use quilting pins or binding clips to hold it in place. Hand-stitch the binding to the back of the quilt using a blind stitch or ladder stitch, making sure your stitches are invisible from the front.
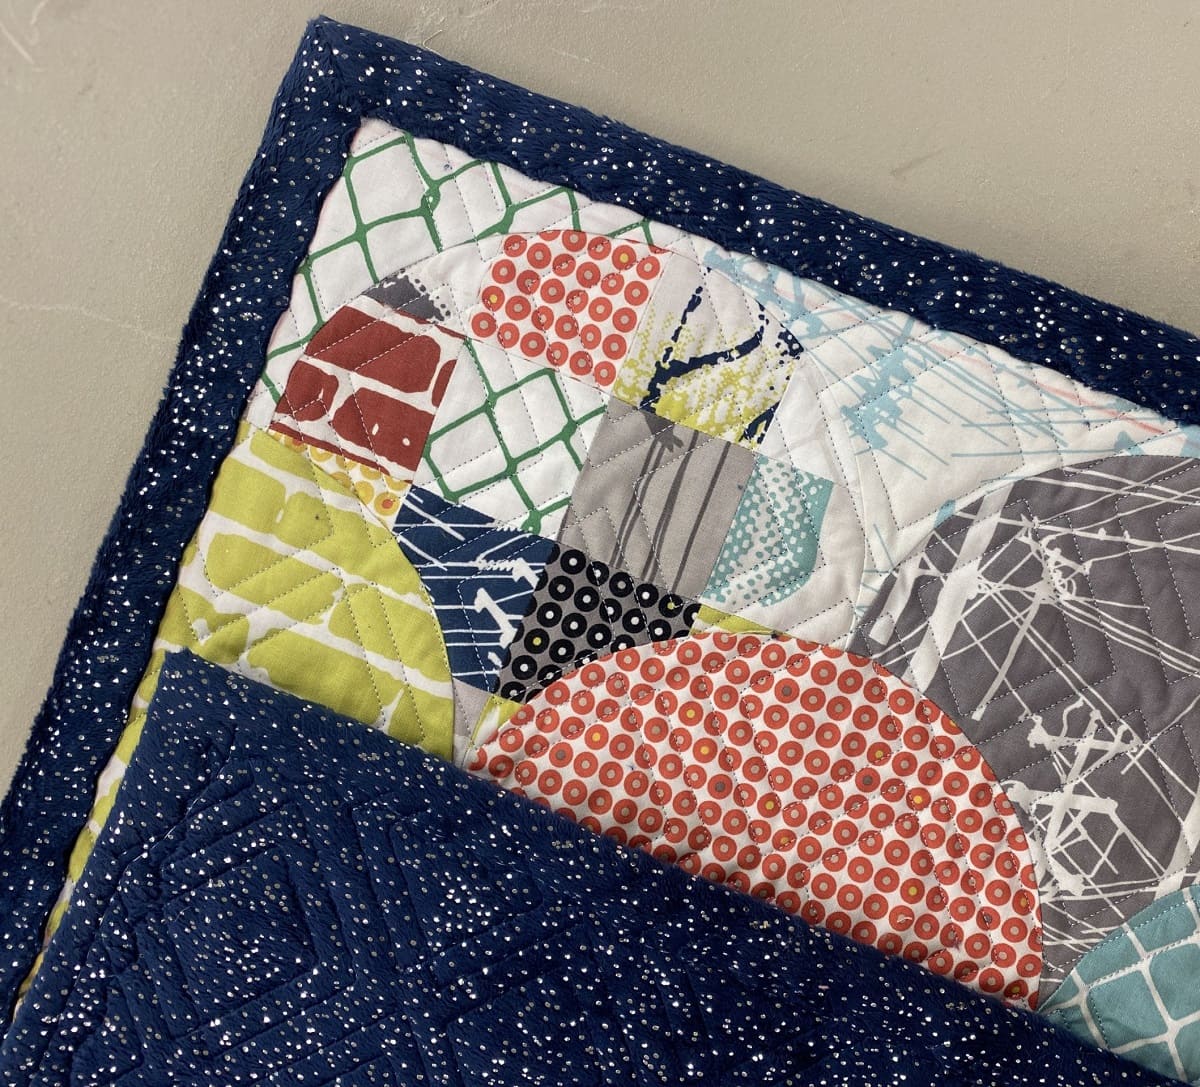
- Finishing Touches: Once you’ve stitched the binding all the way around, give the quilt a final press to ensure smooth edges and a professional finish. Trim any loose threads, and your wedding ring quilt is complete!
With the binding in place, your wedding ring quilt is ready to be cherished and admired. Take a step back and admire your hard work and the beautiful symbolism that the wedding ring quilt represents. Your creation is now a precious heirloom that can be treasured for generations to come.
Congratulations once again on completing your wedding ring quilt! May it bring warmth, love, and joy to its recipients. Happy quilting!
Conclusion
Congratulations on successfully binding your wedding ring quilt! You’ve embarked on a creative journey, starting from gathering materials to sewing the rings, assembling the quilt top, adding the batting and backing, quilting the layers together, and finally, binding the edges. The result is a stunning and meaningful piece of art that represents love, commitment, and dedication.
Throughout the process, you’ve learned valuable skills, such as cutting fabric, sewing curves, joining quilt blocks, basting layers, quilting designs, and binding techniques. The attention to detail and the care you put into every step have contributed to the overall beauty and quality of your wedding ring quilt.
Whether you created this quilt as a wedding gift or to commemorate your own special day, it holds immense sentimental value. The wedding ring design is timeless and symbolic, representing the endless love and unity of a couple. Your quilt will serve as a cherished keepsake and a reminder of cherished memories for years to come.
Remember, quilting is an art that allows you to express your creativity, showcase your skills, and bring joy to others. Each quilt you make is unique and tells a story. Embrace the opportunity to experiment with different patterns, fabric combinations, and techniques to create your own signature style.
As you continue to explore the world of quilting, don’t be afraid to take on new challenges and push your boundaries. Quilting is a journey of continuous learning and growth. Build upon the knowledge and experience you’ve gained from this project and apply them to your future quilting endeavors.
Thank you for joining us on this quilting adventure. We hope you enjoyed the process of binding a wedding ring quilt and found this guide helpful. Now, go forth and create more masterpieces that will be treasured for generations to come. Happy quilting!
Frequently Asked Questions about How To Bind A Wedding Ring Quilt
Was this page helpful?
At Storables.com, we guarantee accurate and reliable information. Our content, validated by Expert Board Contributors, is crafted following stringent Editorial Policies. We're committed to providing you with well-researched, expert-backed insights for all your informational needs.


0 thoughts on “How To Bind A Wedding Ring Quilt”