Articles
How To Join Ends Of Quilt Binding
Modified: August 22, 2024
Learn how to join ends of quilt binding with this informative article. Discover helpful tips and techniques for a seamless finish.
(Many of the links in this article redirect to a specific reviewed product. Your purchase of these products through affiliate links helps to generate commission for Storables.com, at no extra cost. Learn more)
Introduction
Welcome to the wonderful world of quilting! Quilting is an art form that allows us to showcase our creativity and express our love for textiles. There’s something incredibly satisfying about stitching together pieces of fabric to create a beautiful and functional quilt. One essential step in the quilt-making process is adding binding to the edges to give the quilt a polished finish and ensure its durability.
Binding is a strip of fabric that is sewn onto the edges of a quilt to encase the raw edges and provide a finished look. It not only adds a decorative element but also helps to protect the quilt from fraying and wear over time. When it comes to joining the ends of quilt binding, there are a few techniques you can use to achieve a seamless and professional result. In this article, we will guide you through the process of joining the ends of quilt binding and provide valuable tips along the way.
Before we dive into the steps, let’s gather all the supplies you’ll need for this project.
Key Takeaways:
- Achieve a polished and durable quilt finish by carefully joining the ends of quilt binding, ensuring precise alignment and seamless stitching for a professional look.
- With the right supplies and techniques, you can master the art of joining quilt binding ends, creating beautifully bound quilts that showcase your creativity and love for textiles.
Read more: How To Make Binding On Quilt
Gathering the Supplies
Before you begin joining the ends of your quilt binding, it’s important to have all the necessary supplies at hand. Here’s a list of items you’ll need for this project:
- Quilt binding: Choose a fabric that complements your quilt and measure the length required to go around all the edges of your quilt.
- Sewing machine: A sewing machine with a straight stitch setting is essential for stitching the binding to the quilt.
- Thread: Select a thread color that matches your binding fabric or choose a neutral color that blends well.
- Scissors: Sharp fabric scissors are indispensable for cutting the binding and trimming excess fabric.
- Pins: Use straight pins or binding clips to secure the binding in place before sewing.
- Iron: A hot iron and ironing board will help in folding and pressing the binding for a neat finish.
- Seam ripper (optional): If you make any mistakes while joining the ends of the binding, a seam ripper will come in handy for undoing stitches.
Once you have all these supplies ready, you’re well-prepared to proceed with joining the ends of your quilt binding. Let’s move on to the next step: squaring up the ends of the binding.
Squaring Up the Ends of the Binding
When joining the ends of your quilt binding, it’s important to start with squared-off ends. This ensures a clean and seamless join. Follow these steps to square up the ends of your binding:
- Trim the ends: Using your fabric scissors, trim the two ends of the binding fabric to create straight edges. Make sure the ends are even and parallel to each other.
- Overlap the ends: Lay the binding strips on top of each other, overlapping them by approximately 1/4 to 1/2 inch. The overlapped portion should be centered on the quilt’s edge where the join will be made.
- Mark the join point: Mark a small dot or make a pencil line on both ends of the binding where they overlap. This will serve as a guide for stitching.
By squaring up the ends of the binding, you create a precise joining point that will result in a seamless finish. Let’s move on to the next step: folding and pressing the binding.
Folding and Pressing the Binding
Once you’ve squared up the ends of your quilt binding, it’s time to fold and press the binding to prepare it for joining. Follow these steps to fold and press the binding:
- Lay the binding flat: Lay the binding flat with the wrong side facing up. Ensure that the binding strip is evenly spread out and not twisted.
- Fold the binding in half: Fold the binding in half lengthwise, bringing the raw edges together. Make sure the folded edge aligns with the edge of the quilt.
- Press the fold: With a hot iron, press the fold of the binding firmly to create a crisp, defined crease.
- Open up the binding: Unfold the binding, revealing the pressed fold line. The binding should now have a clear center crease running along its length.
- Fold the binding edges towards the center: Take each raw edge of the binding and fold it towards the center crease. The folded edges should meet at the center, creating a neat and even fold.
- Press the folded edges: Use the hot iron to press the folded edges of the binding firmly. This will help set the folds in place.
Folding and pressing the binding not only creates a clean and polished appearance, but it also makes it easier to align and stitch the binding to the quilt. With the binding prepared, it’s time to move on to joining the ends.
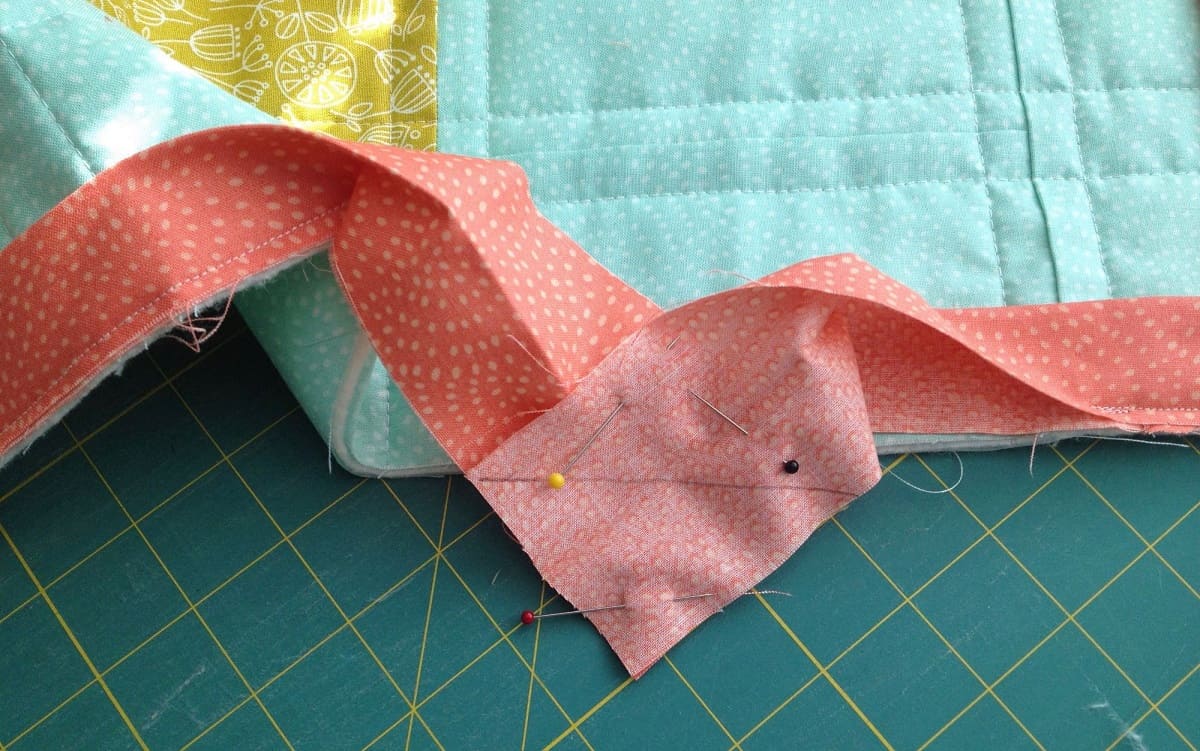
When joining the ends of quilt binding, leave a 6-8 inch tail at the beginning and end. Overlap the ends at a 90-degree angle, mark the overlap, trim the excess, and sew the ends together with a diagonal seam. Trim the seam allowance and finish sewing the binding to the quilt.
Joining the Ends of the Binding
Joining the ends of the quilt binding requires careful alignment and stitching to create a seamless join. Follow these steps to join the ends of your binding:
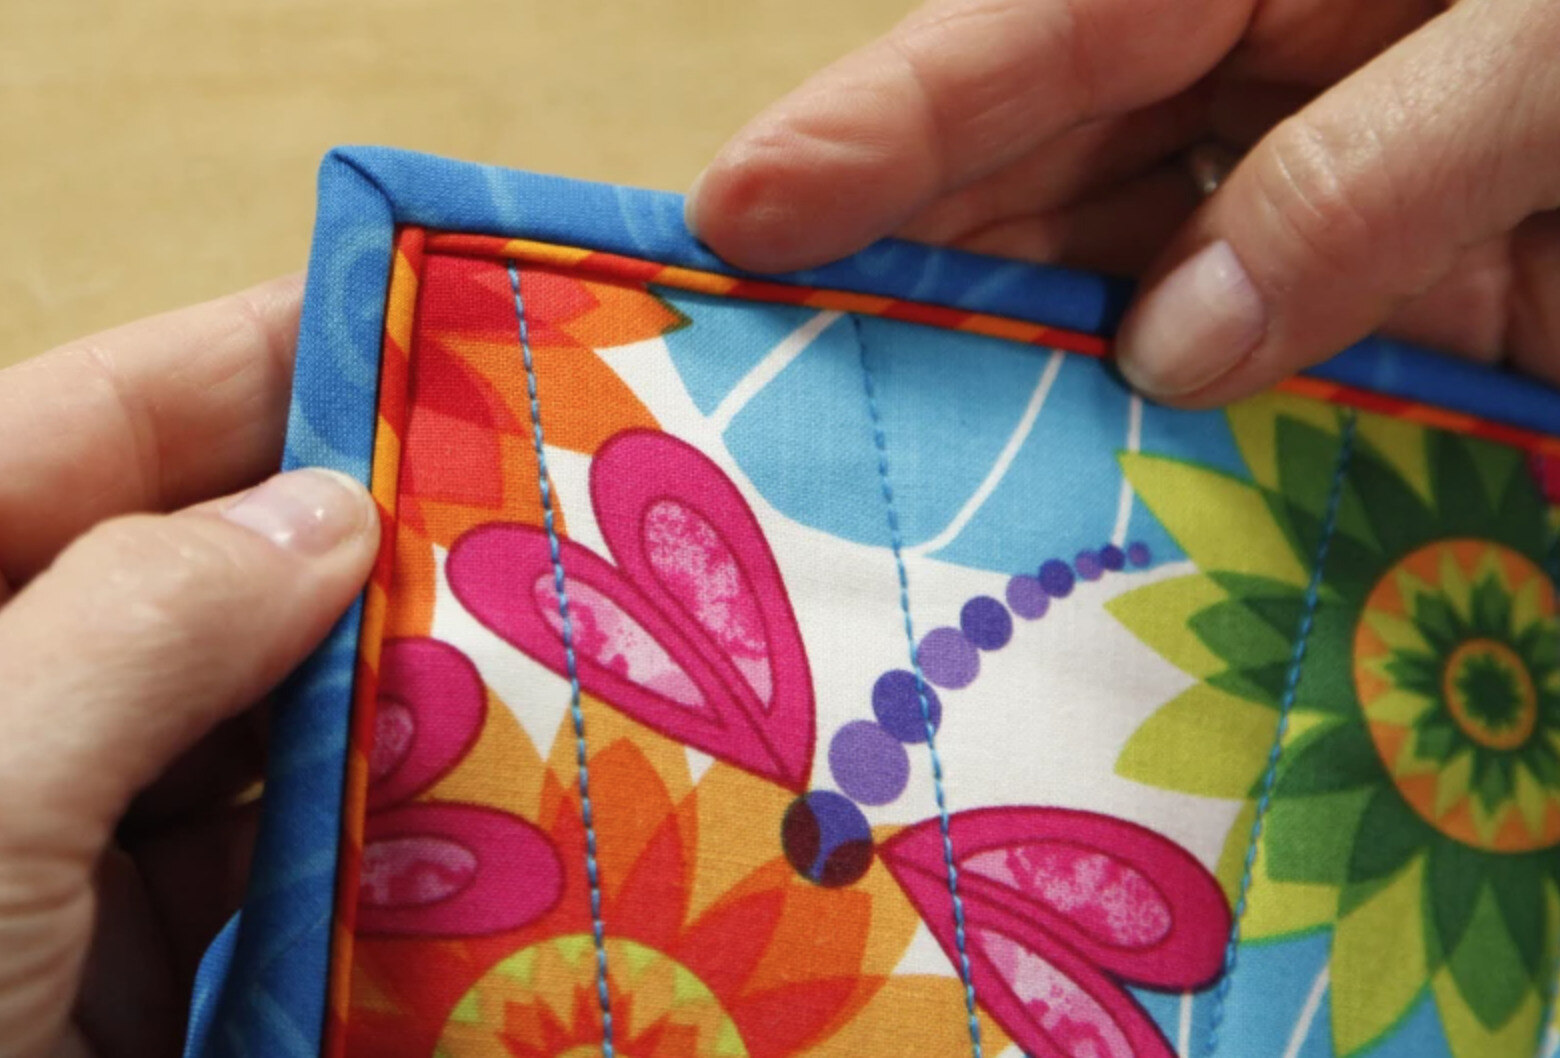
- Align the ends: Take the two ends of the binding that you previously marked and align them with right sides facing each other. Make sure the diagonal edges of the binding align perfectly. The overlapped portion should be sandwiched between the two ends.
- Pin or clip the ends: Use straight pins or binding clips to secure the ends of the binding together. Make sure the pins or clips are placed perpendicular to the seam line to avoid interference with the sewing machine needle.
- Stitch the join: Using a straight stitch on your sewing machine, start stitching about 1/4 inch away from the beginning of the binding. Stitch along the marked line, staying as close to the edge of the binding as possible. Continue stitching until you reach 1/4 inch from the end of the binding.
- Secure the stitching: Stitch a few backstitches or make a small knot at the end of the stitching line to secure the join and prevent unraveling.
- Trim the excess: Trim the excess fabric from the join, leaving a 1/4 inch seam allowance. Be careful not to cut into the stitching.
By carefully aligning and stitching the ends of the binding, you create a seamless join that is both sturdy and visually appealing. With the ends of the binding joined, it’s time to stitch it to the quilt.
Read more: How Wide To Cut Binding For A Quilt
Stitching the Binding to the Quilt
Now that you have successfully joined the ends of the quilt binding, it’s time to attach it to the quilt itself. Follow these steps to stitch the binding to the quilt:
- Prepare the quilt: Lay your quilt flat with the quilt top facing up. Make sure the edges are smooth and the corners are squared.
- Starting point: Choose a starting point along one side of the quilt. Leave a tail of binding about 6-8 inches long before you start stitching.
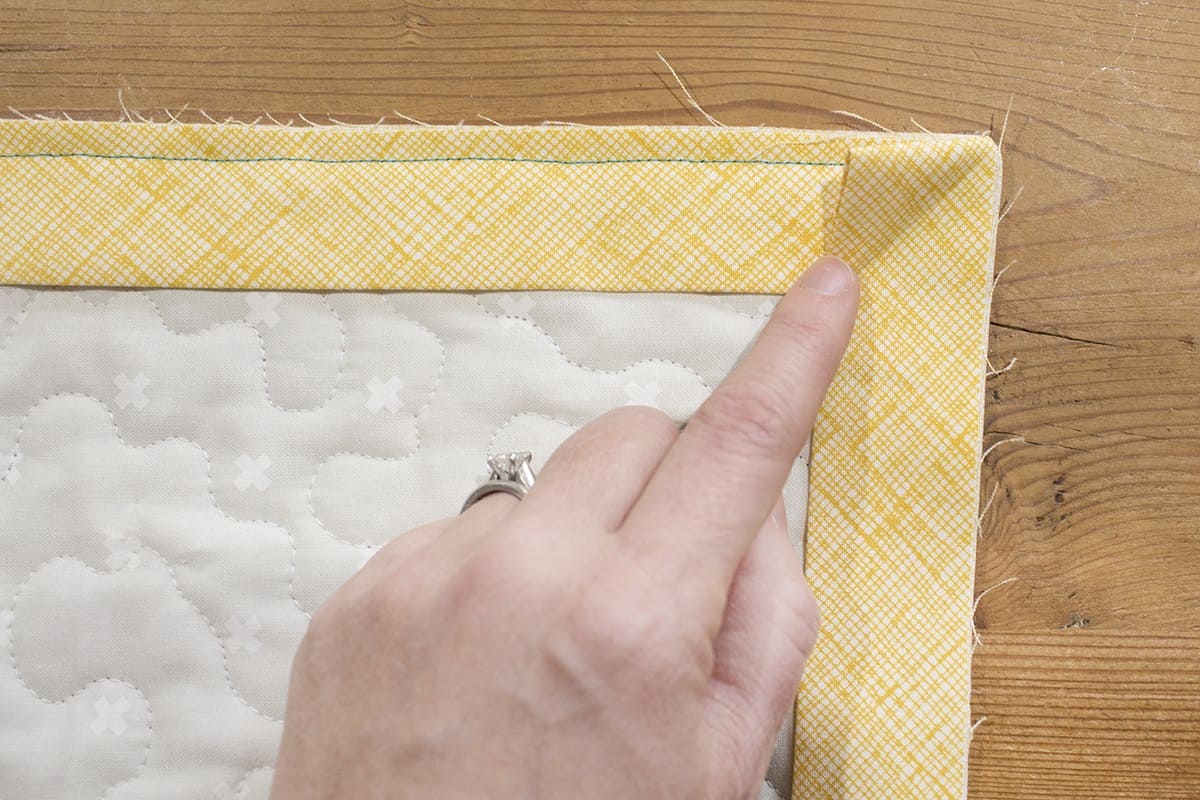
- Align the raw edge of the binding: Take the raw edge of the binding and align it with the raw edge of the quilt. The folded edge of the binding should be facing towards the quilt center.
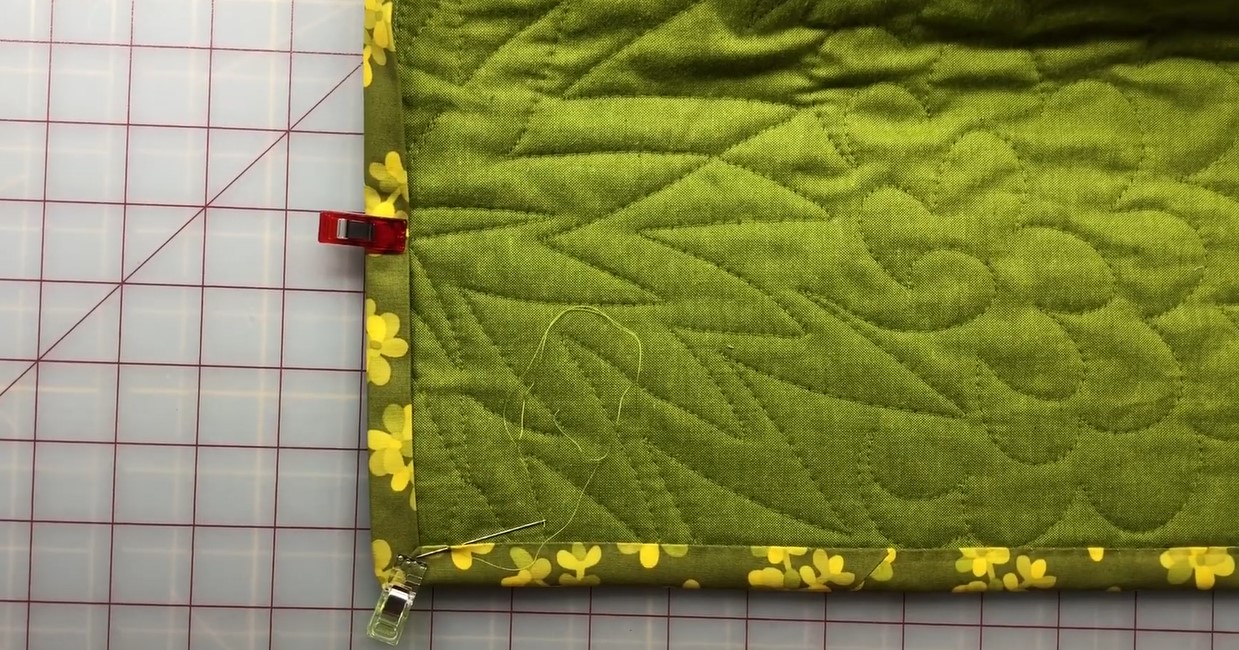
- Pin or clip the binding: Pin or use binding clips to secure the binding to the quilt. Make sure the binding lies flat and aligns evenly with the quilt edge. Continue pinning or clipping the binding around the perimeter of the quilt.
- Stitch the binding: Using a straight stitch on your sewing machine, begin stitching along the fold line of the binding. Start stitching approximately 6-8 inches from the tail you left earlier. Backstitch at the beginning to secure the stitching.
- Continue stitching: Continue stitching the binding to the quilt, removing the pins or clips as you go. Keep the folded edge of the binding aligned with the quilt edge and maintain a consistent seam allowance. Take your time to ensure accurate stitching and neat corners.
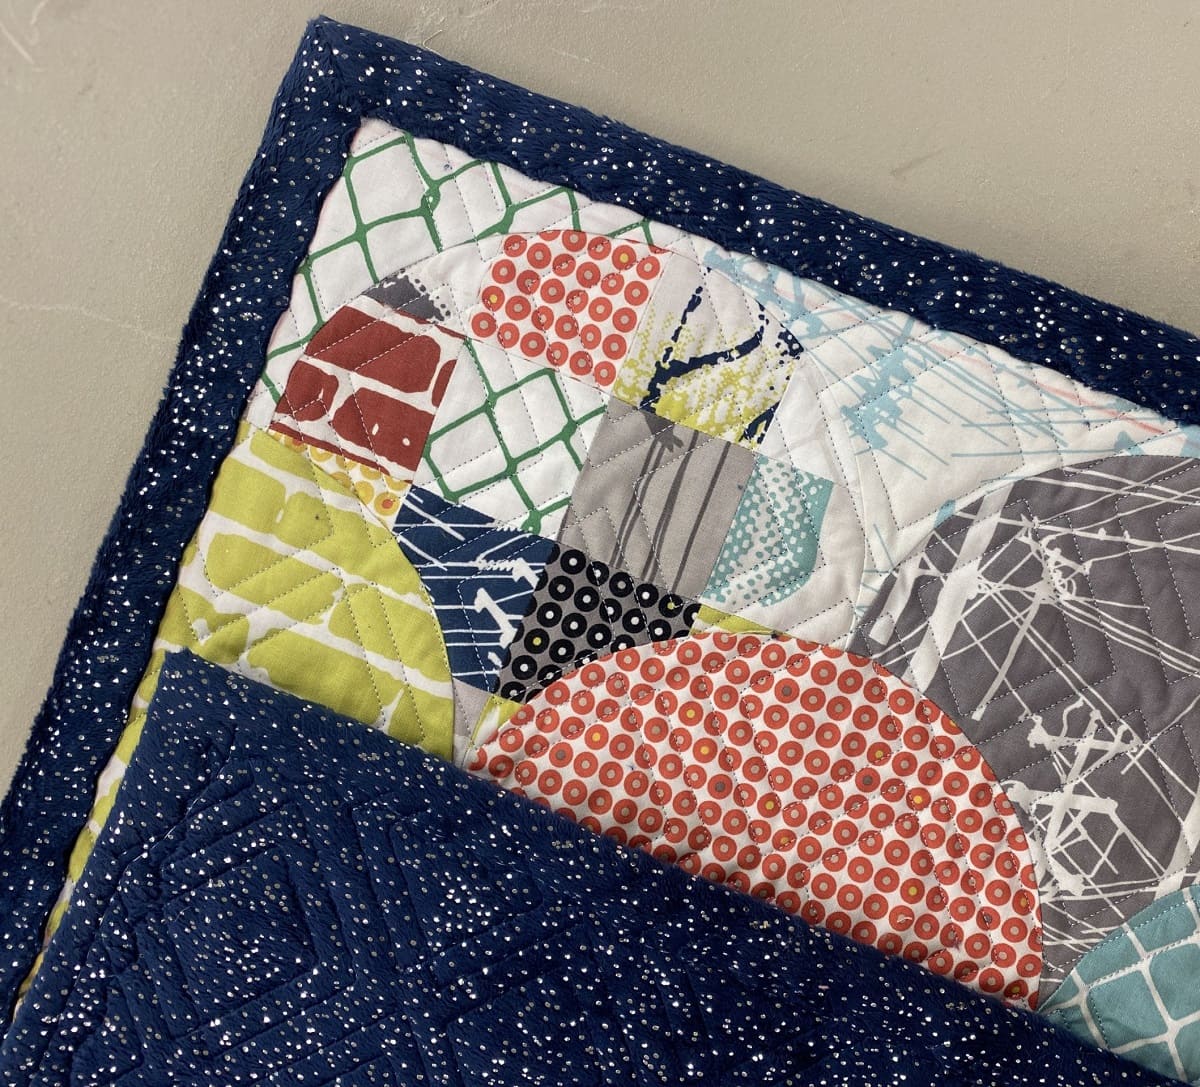
- Handling corners: When you reach a corner, stop stitching approximately 1/4 inch away from the quilt edge. Lift the sewing machine foot and pivot the quilt to turn the corner. Fold the binding neatly around the corner and continue stitching.
- Completing the stitching: Stitch all the way around the quilt until you reach the point where you started. Overlap the binding slightly with the tail and trim the excess. Secure the end of the stitching with backstitches or a knot.
Stitching the binding to the quilt is the final step in achieving a finished and professional look for your quilt. With the binding secured, all that’s left are a few finishing touches and final steps.
Finishing Touches and Final Steps
With the binding stitched to the quilt, it’s time to add some finishing touches to complete the look and ensure the longevity of your quilt. Follow these final steps:
- Press the binding: Use a hot iron to press the binding away from the quilt, taking care to keep the corners crisp and neat. This will give the binding a professional finish and help it lay flat.
- Secure the binding: To ensure that the binding stays in place and doesn’t shift, you can hand-stitch it down on the back of the quilt. Using a needle and thread, whip stitch or ladder stitch the folded edge of the binding to the back of the quilt. This will provide extra durability and a clean finish.
- Trim any excess: If there are any bits of excess binding fabric that extend beyond the stitched edge, carefully trim them with fabric scissors. Be cautious not to cut into the quilt or binding stitching.
- Give it a final press: Once all the finishing touches are complete, give the quilt a final press with an iron to smooth out any wrinkles or creases.
Congratulations, you’ve successfully joined the ends of your quilt binding and completed the final steps in finishing your quilt! Admire your handiwork and enjoy the satisfaction of creating a beautiful and functional quilt.
Remember, practice makes perfect when it comes to quilt binding. Don’t be discouraged if your first attempt isn’t flawless. With time and experience, you’ll master this skill and be able to create stunning bindings that enhance the beauty of your quilts.
Happy quilting!
Conclusion
Joining the ends of quilt binding is an important step in completing a quilt and giving it a professional finish. By following the steps outlined in this guide and with a bit of practice, you can achieve seamless joins and create beautifully bound quilts.
Remember to gather all the necessary supplies before starting, ensuring you have the right fabric, sewing machine, thread, and tools. Take the time to square up the ends of the binding and fold and press it neatly for a polished appearance.
When joining the ends of the binding, align them carefully and secure them before stitching. Trim any excess fabric to maintain a clean finish. When stitching the binding to the quilt, take care with corners and maintain a consistent seam allowance.
Once the binding is securely attached, add those finishing touches to enhance the durability and aesthetics of your quilt. Hand-stitching the binding to the back of the quilt, trimming any excess, and giving it a final press will give your quilt a professional and timeless charm.
Quilting is a labor of love, and the attention to detail you put into joining the ends of the binding will be evident in the final product. With each quilt you create, you’ll gain more confidence and skill in binding, enhancing your quilting journey.
So, gather your supplies, follow the steps outlined in this guide, and enjoy the process of joining the ends of quilt binding. The end result will be a beautiful quilt that can be cherished for years to come.
Happy quilting!
Frequently Asked Questions about How To Join Ends Of Quilt Binding
Was this page helpful?
At Storables.com, we guarantee accurate and reliable information. Our content, validated by Expert Board Contributors, is crafted following stringent Editorial Policies. We're committed to providing you with well-researched, expert-backed insights for all your informational needs.


0 thoughts on “How To Join Ends Of Quilt Binding”