Articles
How To Make Binding On Quilt
Modified: January 5, 2024
Learn how to create beautiful quilt bindings with our informative articles. Discover tips, techniques, and step-by-step instructions to enhance your quilting projects.
(Many of the links in this article redirect to a specific reviewed product. Your purchase of these products through affiliate links helps to generate commission for Storables.com, at no extra cost. Learn more)
Introduction
Welcome to the world of quilting! Quilting is a beloved sewing craft that allows you to create beautiful and functional works of art. One essential aspect of quilting is binding, which not only provides a polished finish but also secures the layers of the quilt together.
In this article, we will walk you through the process of making binding for your quilt. From gathering the necessary materials and tools to attaching the binding and finishing it off, we will cover all the steps to ensure your quilt looks professional and stunning. So, let’s dive in!
Before we get started, it’s important to note that there are different methods of binding quilts, including hand-sewn binding and machine binding. In this article, we will focus on the machine binding method, which is a quicker and easier technique that still yields fantastic results.
So, grab your fabric, thread, and sewing machine, and let’s learn how to make binding for your quilt!
Key Takeaways:
- Mastering the art of quilt binding involves precision, patience, and attention to detail. From choosing the right fabric to creating mitered corners, each step contributes to a professional and polished finish.
- Embrace the imperfections and enjoy the process of creating a quilt. With practice, patience, and the right tools, you can achieve stunning results and create a cherished piece of art.
Read more: How To Make Continuous Bias Quilt Binding
Gathering Materials and Tools
Before you begin making the binding for your quilt, it’s important to gather all the necessary materials and tools. Here’s a list of what you’ll need:
- Fabric for the binding: You can choose a fabric that complements or contrasts with your quilt top. It should be a color or pattern that enhances the overall design.
- Ruler or quilting square: A ruler or quilting square is essential for measuring and cutting the fabric accurately.
- Cutting mat: A self-healing cutting mat is ideal for protecting your work surface and ensuring precise cuts.
- Rotary cutter: A rotary cutter makes cutting fabric strips quick and precise.
- Scissors: You’ll need scissors for cutting thread and trimming excess fabric.
- Iron and ironing board: A hot iron will be used to press the fabric and create crisp folds.
- Sewing machine: A standard sewing machine in good working condition is necessary for stitching the binding to your quilt.
- Pins or clips: These will help secure the binding in place as you sew.
- Thread: Choose a thread color that matches or blends well with the binding fabric.
Once you have gathered all the necessary materials and tools, you’re ready to move on to the next step: preparing your quilt top and backing.
Preparing Your Quilt Top and Backing
Before you can start attaching the binding to your quilt, it’s essential to ensure that your quilt top and backing are properly prepared. Here’s how to do it:
- Press your quilt top and backing: Start by ironing your quilt top and backing fabric to remove any wrinkles. Pressing them will give you a smooth and even surface to work with.
- Trim excess fabric: If there are any uneven edges or excess fabric on your quilt top or backing, use your ruler and rotary cutter to trim them down. This step will make it easier to align the layers later on.
- Square up your quilt top and backing: Using your ruler or quilting square, check that the edges of your quilt top and backing are straight and square. If necessary, trim them accordingly to ensure that they align properly when you quilt your layers together.
- Baste your layers together: Before you attach the binding, it’s important to baste your quilt layers together to secure them. You can use safety pins or a temporary basting spray to hold the layers in place. This step will prevent shifting and puckering as you work on the binding.
Once you have completed these steps, your quilt top and backing will be ready for the binding process. It’s always a good idea to double-check that everything is smooth and securely basted before moving on to the next steps.
Now that your quilt is prepped, it’s time to choose the fabric and start cutting your binding strips!
Choosing and Cutting the Binding Fabric
When it comes to choosing the fabric for your binding, you have a few options. You could select a fabric that matches or complements the colors of your quilt top, creating a harmonious look. Alternatively, you can choose a contrasting fabric to make the binding stand out and add a pop of color.
Once you’ve decided on the fabric, it’s time to cut the strips for your binding. Here’s how:
- Measure the perimeter of your quilt: Use a measuring tape or ruler to determine the total length around the edges of your quilt. This measurement will help you calculate the number and length of binding strips you need.
- Calculate the strip length and width: Most binding strips are cut on the bias to allow for flexibility and ease of application. To calculate the strip length, multiply the quilt’s perimeter by 1.4. For example, if your quilt’s perimeter is 80 inches, your strip length would be 80 inches x 1.4 = 112 inches. As for the width, it’s generally between 2.25 and 2.5 inches, but you can adjust it to your preference.
- Cut the strips: Using a cutting mat, ruler, and rotary cutter, cut the binding fabric into the calculated strip length and width. If your strip length exceeds the width of your fabric, you may need to sew multiple strips together to achieve the desired length. Make sure the strips are cut straight and accurately.
It may be helpful to mark the wrong side of your binding strips with a washable fabric marker or a pin to avoid confusion later on.
Once you have cut your binding strips, you are ready to sew them together to create one continuous strip. The next section will guide you through the process of sewing the binding strips together.
Sewing the Binding Strips Together
Now that you have cut your binding strips, it’s time to sew them together to create one long continuous strip that will go all the way around your quilt. Here’s how to do it:
- Lay two binding strips right sides together at a 90-degree angle, with one strip overlapping the other.
- Mark a diagonal line from one corner to the other on the top strip.
- Pin the strips together along the marked line to secure them.
- Sew along the marked line, creating a diagonal seam.
- Trim the excess fabric, leaving a 1/4-inch seam allowance.
- Press the seam open to reduce bulk.
- Repeat this process to sew all your binding strips together until you have one long continuous strip.
Once you have sewn the binding strips together, trim any excess fabric from the ends and press the entire strip to create crisp folds.
With your continuous binding strip ready, it’s time to start attaching it to your quilt. In the next section, we will guide you through the process of attaching the binding to the quilt.
When making binding for a quilt, cut your fabric strips on the bias for added flexibility and durability. This will help the binding to lay flat and smoothly around the edges of the quilt.
Read more: How To Join Ends Of Quilt Binding
Attaching the Binding to the Quilt
Now that you have your continuous binding strip, it’s time to attach it to your quilt. Follow these steps to secure the binding to the quilt:
- Starting in the middle of one edge of your quilt, leave a 6-8 inch tail of binding strip and align the raw edges of the binding strip with the raw edges of the quilt.
- Using your sewing machine, stitch a 1/4-inch seam along the edge, securing the binding to the quilt. Start sewing a few inches from the beginning of the binding strip.
- Stop stitching approximately 1/4-inch away from the corner, making sure to backstitch to secure the stitches.
- Remove the quilt from the machine, and fold the binding strip up at a 45-degree angle, creating a neat mitered corner.
- Hold the fold in place and then fold the binding strip back down, aligning the raw edges with the next side of the quilt.
- Continue stitching along the next side, repeating the mitered corner process at each corner.
- When you reach the corner where you started, stop stitching a few inches away from the beginning stitches.
- Trim the end of the binding strip, leaving a tail that is long enough to overlap with the starting tail.
- Overlap the two tails and mark the point where they meet.
- Open up the tails and trim one of the strips at a 45-degree angle.
- Place the trimmed edge over the other tail, aligning the marked point.
- Stitch the two tails together, securing the binding.
Once you have attached the binding to all sides of the quilt, fold it over the raw edges to the backside of the quilt and secure it in place with pins or clips. In the next section, we will guide you through the process of creating mitered corners for a professional-looking finish.
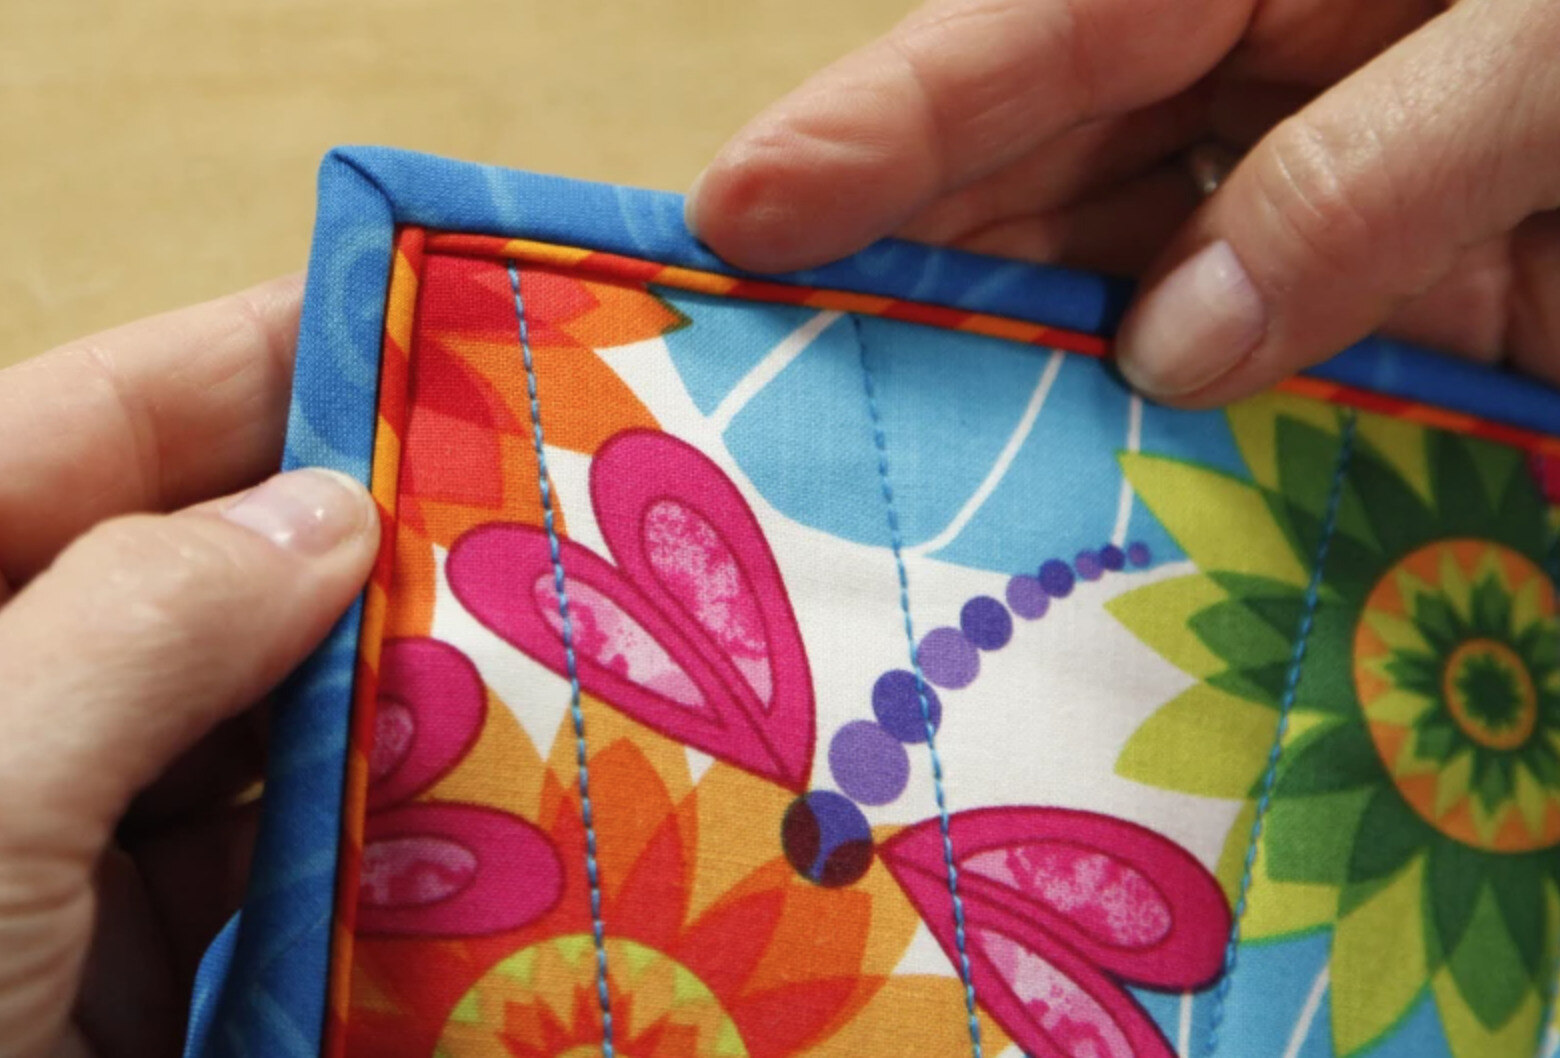
Mitered Corners
To give your quilt a polished and professional look, it’s important to create mitered corners on your binding. Mitered corners are folded diagonally to create a neat and seamless finish. Here’s how to create mitered corners:
- Starting from one corner of your quilt, fold the binding strip up at a 45-degree angle, creating a neat diagonal fold.
- Hold the fold in place and then fold the binding strip back down, aligning the raw edges with the next side of the quilt.
- Continue stitching along the next side, repeating the mitered corner process at each corner.
- When you reach the corner where you started, stop stitching a few inches away from the beginning stitches.
- Repeat the folding and stitching process for the remaining corners of the quilt.
Creating mitered corners may require a bit of practice, but with time and patience, you can achieve crisp and professional-looking corners. Remember to press the folds as you go, ensuring that the corners lie flat and the binding looks tidy.
With the mitered corners in place, it’s time to join the ends of the binding together to complete the binding process. The next section will guide you through joining the binding ends seamlessly.
Joining the Binding Ends
Joining the ends of the binding strip is the final step in creating a continuous and seamless binding around your quilt. Here’s how to join the binding ends:
- Trim the end of the binding strip, leaving a tail that is long enough to overlap with the starting tail.
- Open up the tails and mark the point where they meet.
- Trim one of the strips at a 45-degree angle, starting from the marked point.
- Place the trimmed edge over the other tail, aligning the marked point.
- Pin the ends together to secure them in place.
- Stitch the two tails together, ensuring that the stitches are hidden within the folded binding.
- Trim any excess fabric from the joined ends.
By joining the ends of the binding strip in this manner, you create a seamless and secure finish, giving your quilt a professional and polished appearance.
With the binding ends joined, it’s time to finish off the binding. The next section will guide you through the final steps to complete the binding process for your quilt.
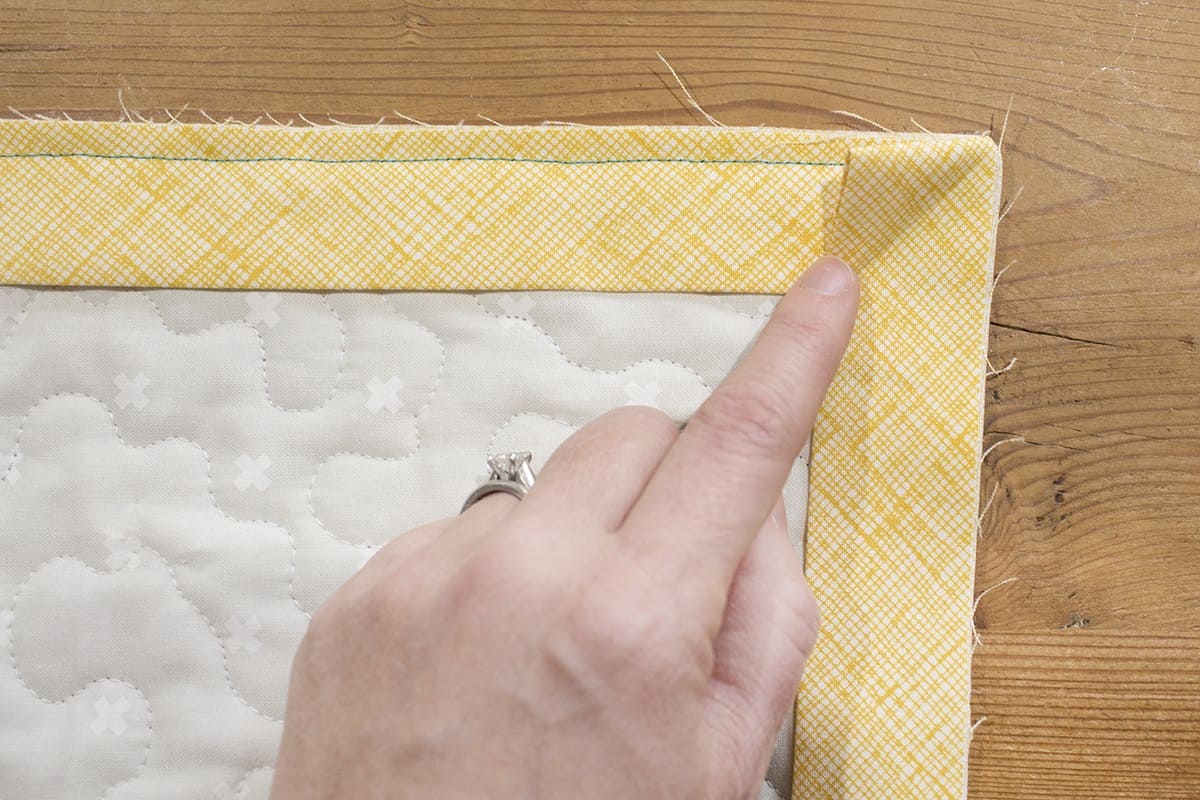
Finishing the Binding
Now that the binding is attached to your quilt and the ends are joined, it’s time to finish off the binding for a clean and professional look. Follow these steps to complete the binding process:
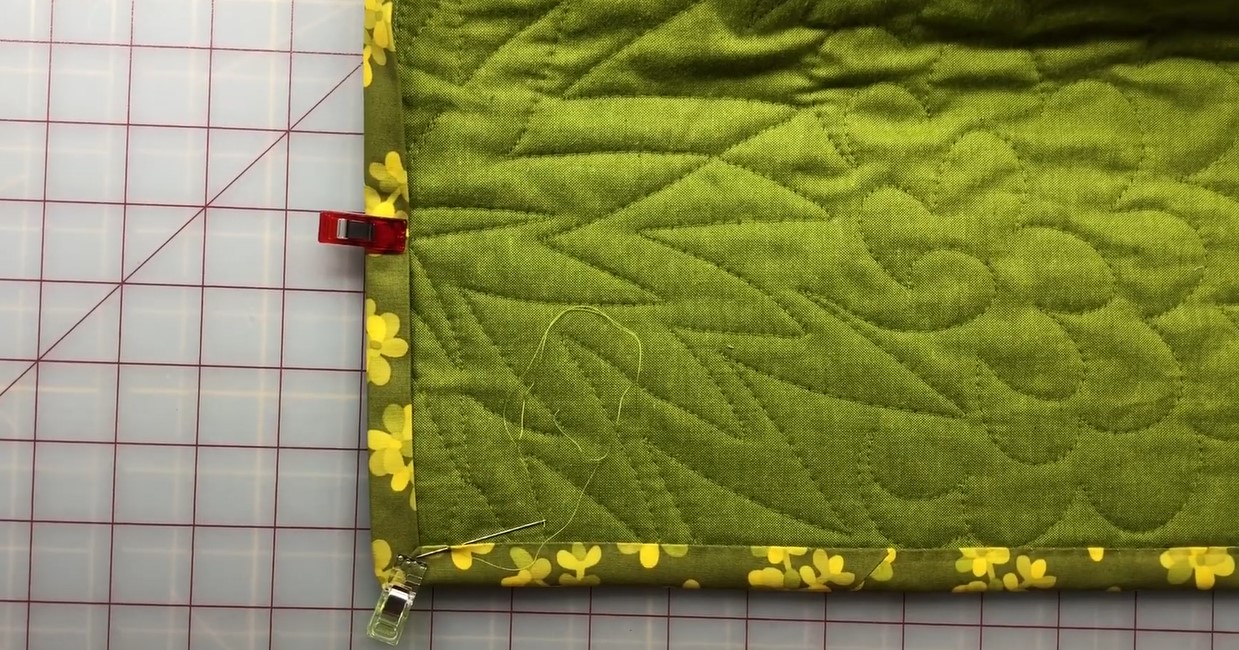
- Fold the binding over the raw edges to the backside of the quilt.
- Secure the folded binding in place with pins or clips.
- Using a thread color that matches or blends well with the binding fabric, hand stitch the folded binding to the backside of the quilt. You can use a slip stitch or a blind hem stitch for a nearly invisible finish.
- As you stitch, ensure that your stitches are small and even, and that the needle goes through the folded binding and a small portion of the quilt backing.
- Continue stitching along the entire length of the binding, removing the pins or clips as you go.
- When you reach a corner, fold the binding at a 45-degree angle to create a neat mitered corner, and continue stitching along the next side.
- Once you have stitched all the way around the quilt, secure the last stitch and tie off the thread.
- Give your quilt a final press to ensure all the folds and seams are crisp and even.
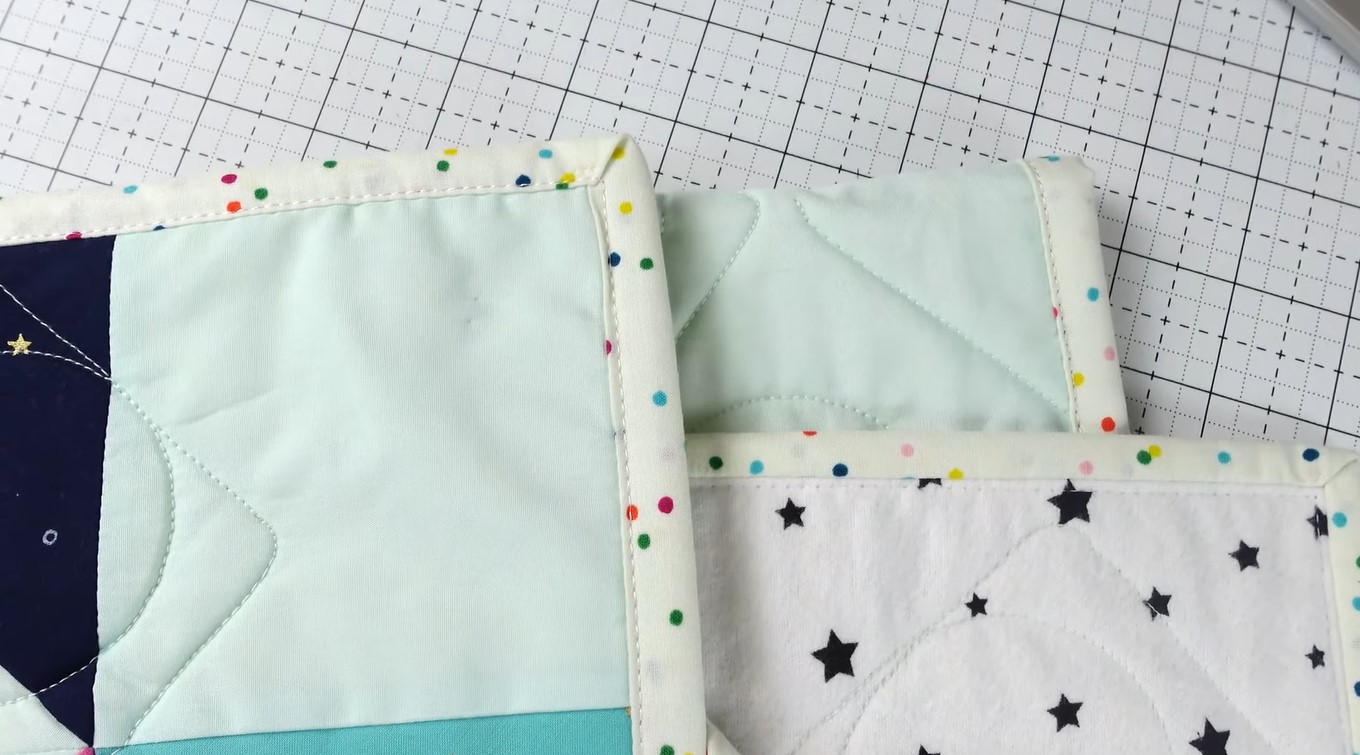
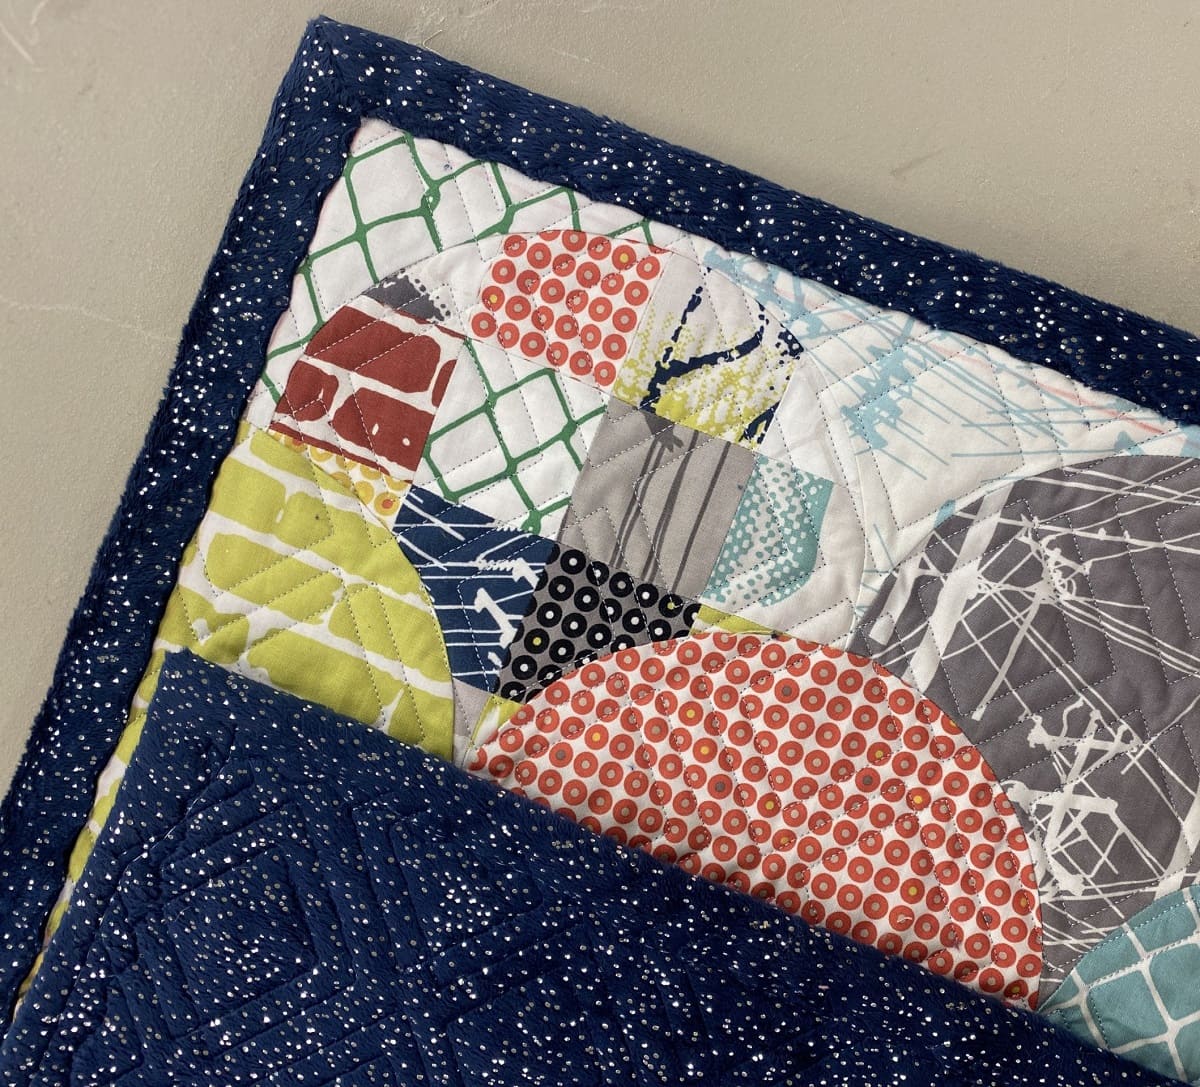
With the binding finished, step back and admire your beautiful quilt! The binding not only adds a decorative touch but also serves to protect the edges of the quilt and keep the layers securely together.
Remember, practice makes perfect when it comes to binding a quilt. Don’t be discouraged if your first attempt is not perfect – with time and experience, your binding skills will improve. Enjoy the process and take pride in creating a quilt that will be cherished for years to come.
We hope this guide has been helpful in teaching you how to make binding for your quilt. Happy quilting!
Read more: How Wide To Cut Binding For A Quilt
Final Thoughts and Tips
Congratulations on completing the binding process for your quilt! Here are some final thoughts and tips to keep in mind:
- Practice makes perfect: Binding can be a bit challenging, especially when it comes to mitered corners and joining the ends. Don’t worry if your first few attempts aren’t perfect. With practice, your skills will improve.
- Take your time: Binding requires attention to detail and precision. Take your time to ensure that your stitches are neat, your corners are crisp, and your binding is secure.
- Press as you go: Pressing your quilt top, backing, and binding throughout the process will help create professional-looking results. Use a hot iron and press the fabric to create crisp folds and remove any wrinkles.
- Choose the right thread: Select a thread color that matches or blends well with your binding fabric. This will help hide your stitches and give your quilt a cohesive look.
- Consider using a walking foot: If you have access to a walking foot attachment for your sewing machine, it can be helpful in ensuring smooth and even stitches as you attach the binding.
- Embrace imperfections: Quilting, including binding, is a handmade craft, and it’s natural for there to be some slight imperfections. Embrace these imperfections as part of the unique character and charm of your quilt.
Remember, the most important thing is to enjoy the process of creating your quilt. It’s a labor of love that will result in a cherished and cherished piece that can be passed down for generations. So, relax, have fun, and happy quilting!
Frequently Asked Questions about How To Make Binding On Quilt
Was this page helpful?
At Storables.com, we guarantee accurate and reliable information. Our content, validated by Expert Board Contributors, is crafted following stringent Editorial Policies. We're committed to providing you with well-researched, expert-backed insights for all your informational needs.


0 thoughts on “How To Make Binding On Quilt”