
Articles
How To Build A Vertical Pull-out Cabinet
Modified: September 1, 2024
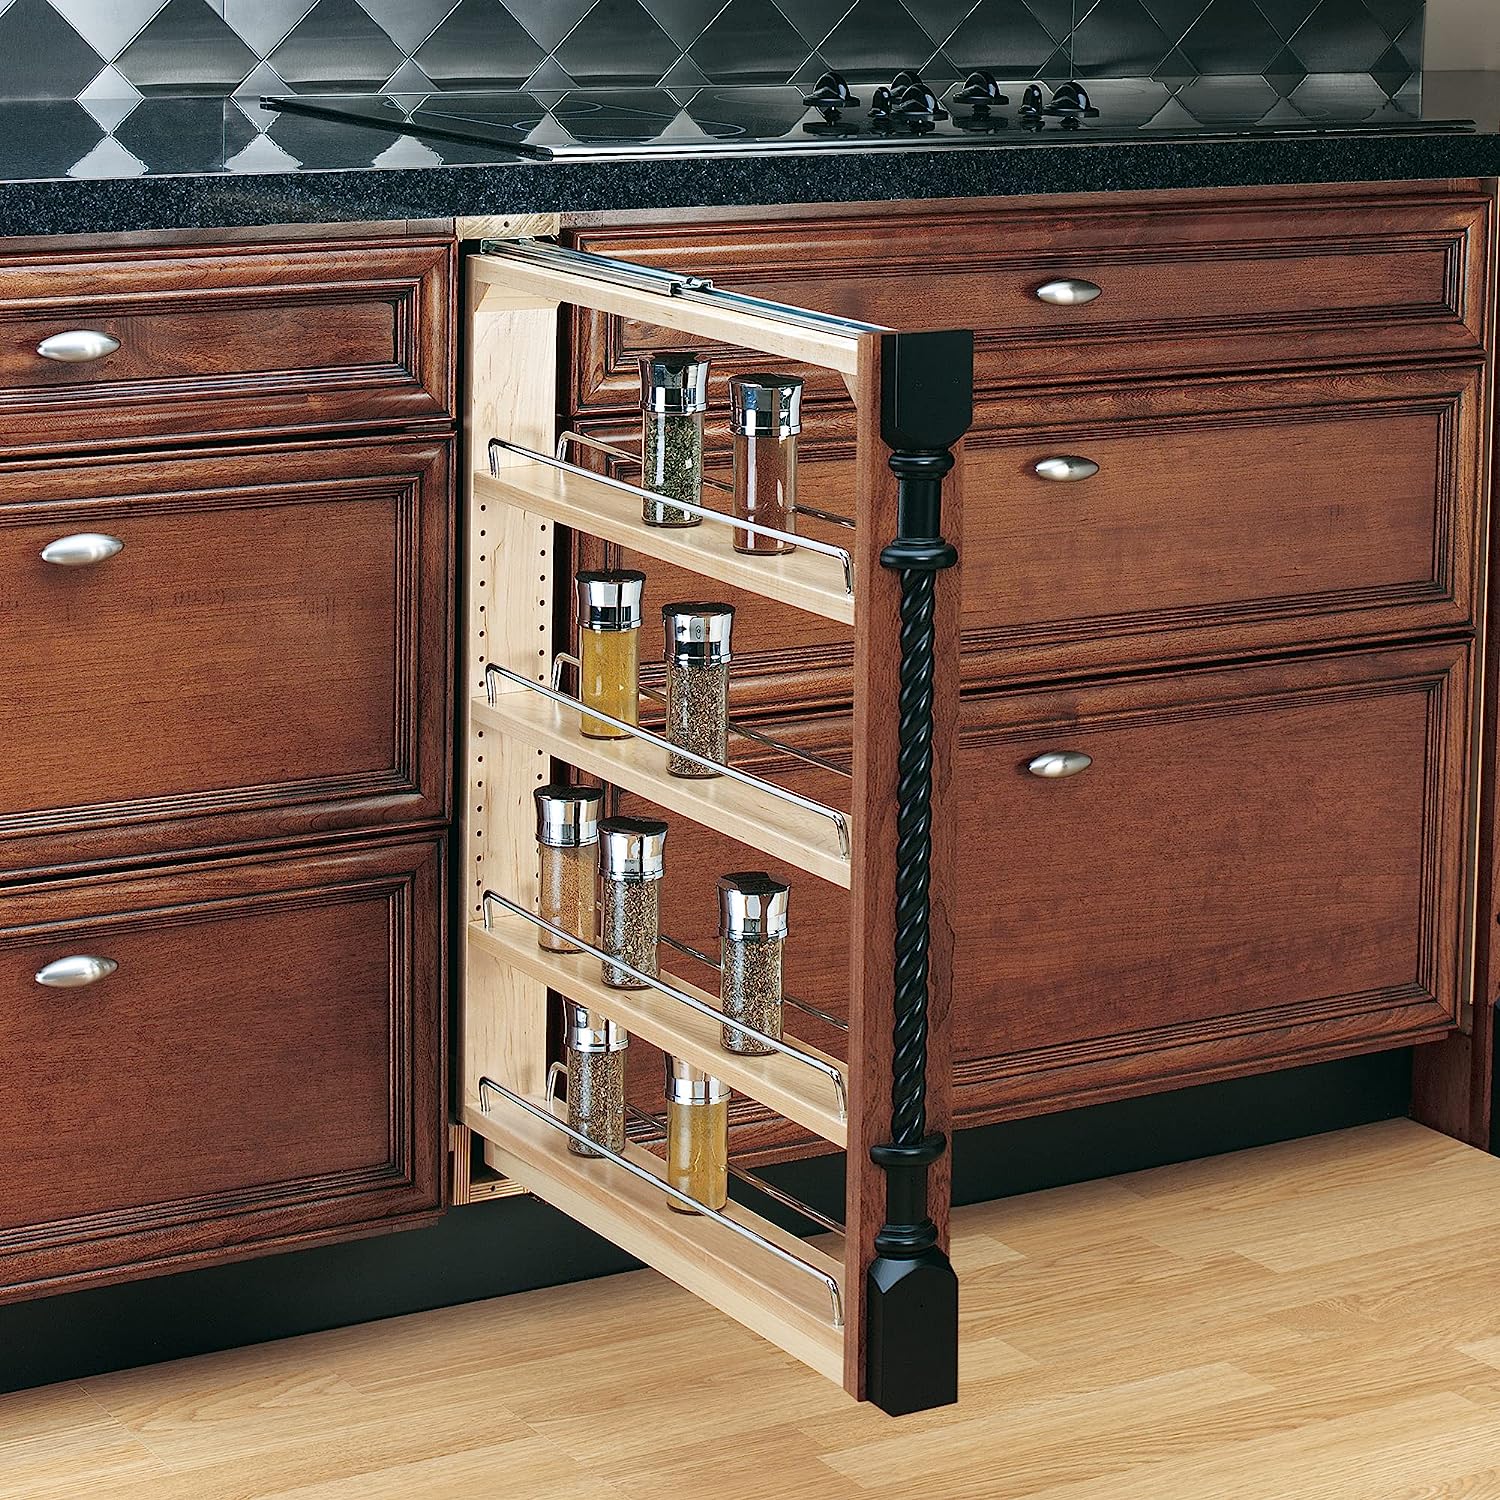
Learn how to build a stylish vertical pull-out cabinet for your bedroom furniture. Maximize space and convenience with this DIY project.
(Many of the links in this article redirect to a specific reviewed product. Your purchase of these products through affiliate links helps to generate commission for Storables.com, at no extra cost. Learn more)
Introduction
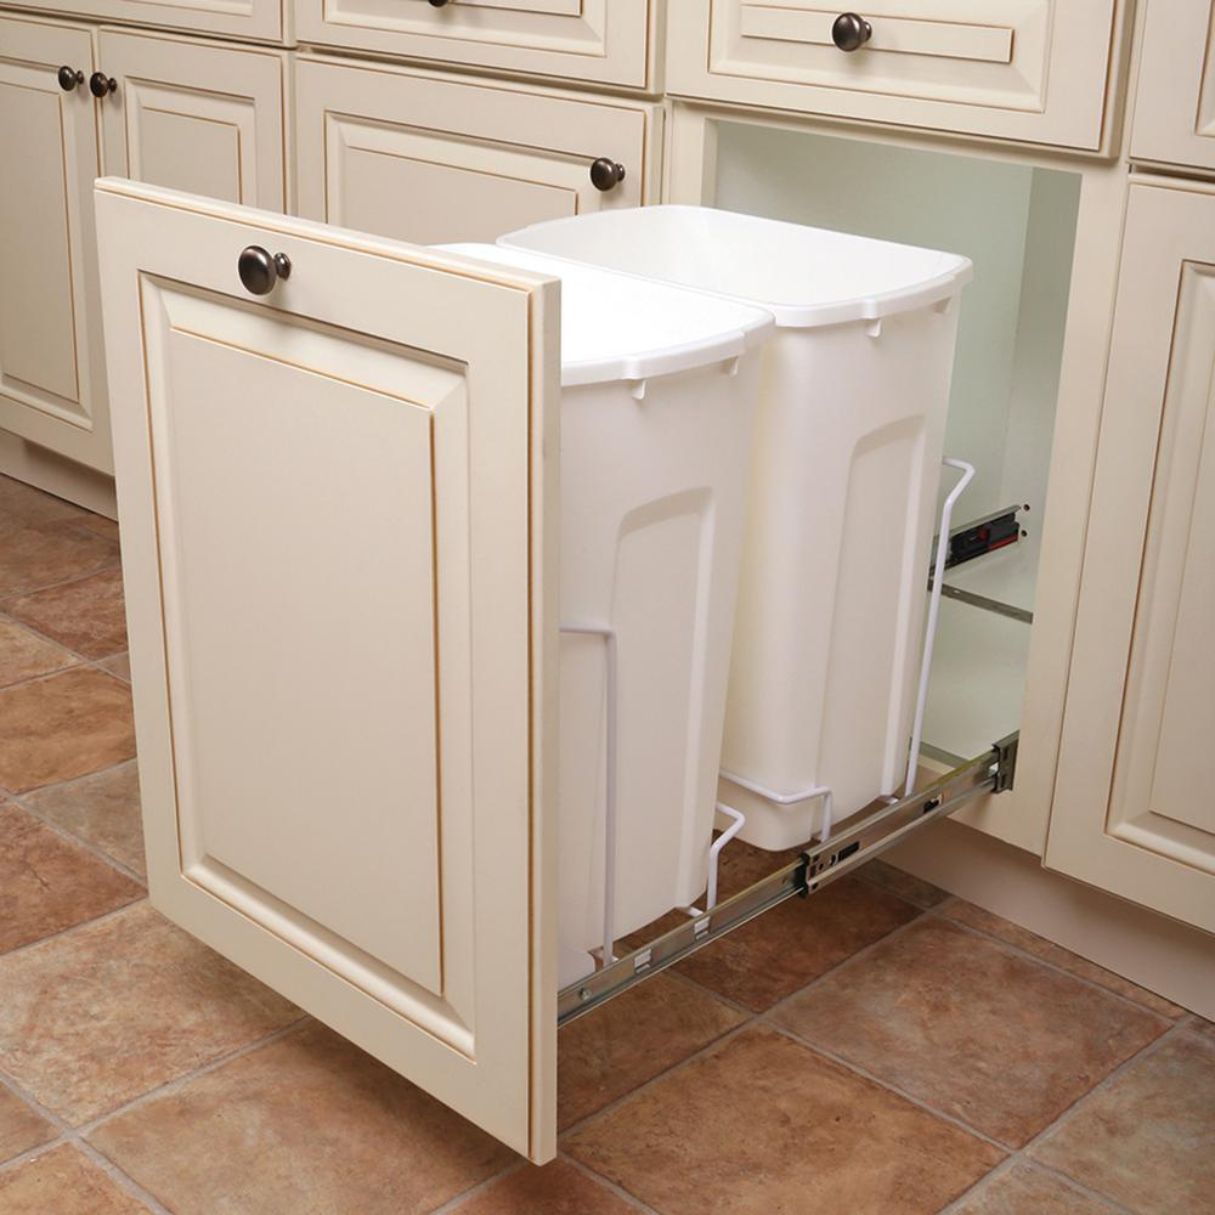
Welcome to our guide on how to build a vertical pull-out cabinet. If you’re looking for an efficient storage solution that maximizes the use of space in your kitchen or any other area of your home, a vertical pull-out cabinet is the perfect option. It offers easy access to your items and allows you to make the most of every inch of available storage.
Whether you want to store spices, pans, cleaning supplies, or any other frequently used items, a vertical pull-out cabinet will keep everything organized and within reach. In this guide, we will walk you through the process of planning, building, and installing your own vertical pull-out cabinet.
Before we dive into the details, it is important to note that building a vertical pull-out cabinet requires some basic woodworking skills and tools. If you are a beginner, it is recommended to seek assistance or guidance from a more experienced individual.
With that being said, let’s get started on our journey to building a functional and space-efficient vertical pull-out cabinet!
Key Takeaways:
- Building a vertical pull-out cabinet requires careful planning, precise measurements, and the right materials and tools. It’s a DIY project that can maximize storage space and organization in any area of your home.
- From constructing the cabinet frame to adding finishing touches, building a vertical pull-out cabinet is a rewarding DIY journey. With proper maintenance, it offers efficient and convenient storage for years to come.
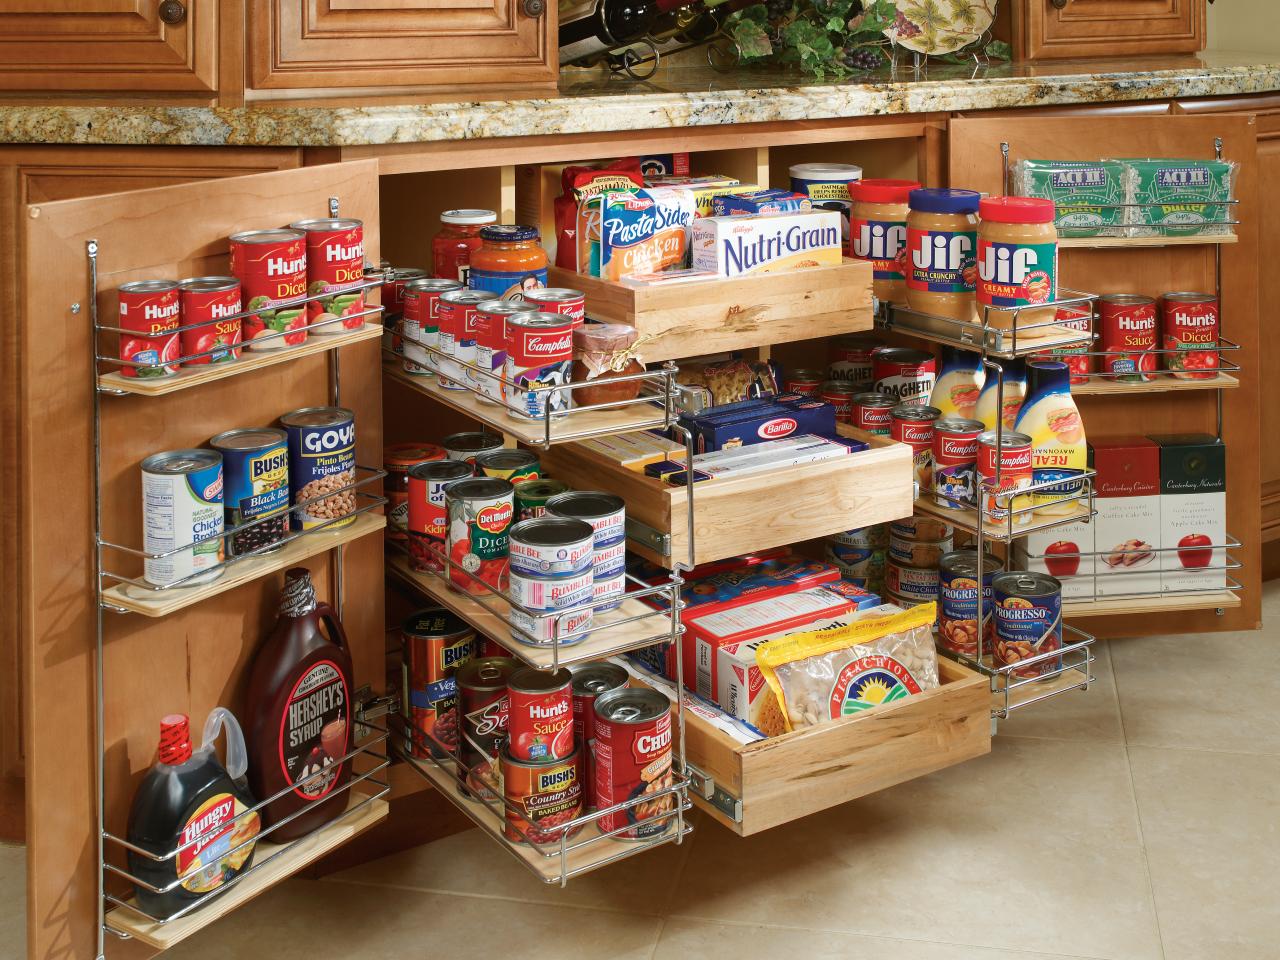
Read more: How To Make A Pull Out Pantry Cabinet
Planning and Measurements
Before diving into the construction process, it’s essential to plan out your vertical pull-out cabinet and take accurate measurements. Proper planning will ensure that your cabinet fits seamlessly into the designated space and meets your storage needs. Follow these steps to get started:
- Identify the Location: Determine where you want to install the vertical pull-out cabinet. Consider factors such as accessibility, available space, and the items you plan to store. Common locations include next to the refrigerator, between existing cabinets, or in a pantry.
- Measure the Space: Measure the height, width, and depth of the area where you intend to install the cabinet. Take multiple measurements to ensure accuracy. It’s important to consider any obstacles such as electrical outlets, plumbing pipes, or vents when determining the dimensions.
- Create a Design: Sketch out a rough design of your vertical pull-out cabinet. Consider the number of shelves you want, the size of the shelves, and any additional features you may need, such as dividers or adjustable racks. This will serve as a visual guide during the construction process.
- Research Materials: Determine the materials you will need for your cabinet, such as plywood, screws, hinges, and drawer slides. Consider the weight capacity of the materials to ensure they can withstand the items you plan to store.
- Estimate Costs: Calculate the estimated cost of the materials needed for your project. This will help you stay within budget and ensure you have all the necessary supplies before starting the construction.
By taking the time to plan and measure accurately, you will avoid unnecessary mistakes and ensure a smooth construction process for your vertical pull-out cabinet. Once you have completed these steps, you’re ready to move on to gathering the materials and tools necessary for building your cabinet.
Gathering Materials and Tools
Now that you have a plan in place for your vertical pull-out cabinet, it’s time to gather the necessary materials and tools. Having everything you need before you begin will make the construction process much smoother. Here’s a list of the essential items:
Materials:
- Plywood sheets: Choose a high-quality plywood that is sturdy enough to support the weight of your items.
- Wood screws: Select screws of the appropriate length and thickness for securing the cabinet frame.
- Hinges: Opt for durable hinges that allow the cabinet door to open and close smoothly.
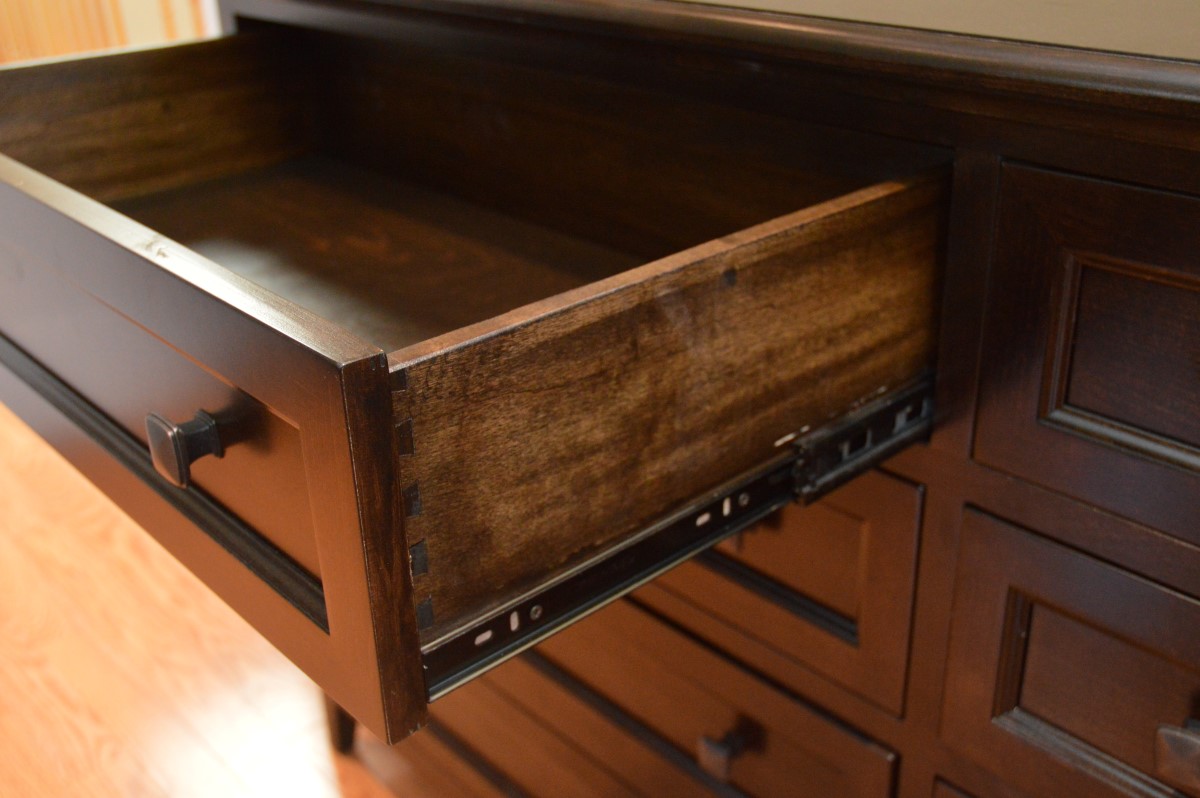
- Drawer slides: Invest in high-quality drawer slides that can handle the weight of the pull-out shelves.
- Shelving material: Decide on the material for your cabinet shelves, such as plywood, melamine, or wire racks.
- Cabinet door: If desired, choose a cabinet door that complements the style of your kitchen or space.
- Finishing materials: Get sandpaper, wood filler, paint, or stain to give your cabinet a polished look.
Tools:
- Tape measure: Ensure accurate measurements during construction.
- Saw: Use a circular saw, table saw, or jigsaw to cut the plywood to the required dimensions.
- Screwdriver: For driving in screws during assembly.
- Drill: Pre-drill holes for screws and attach hardware.
- Clamps: Hold pieces together while you work.
- Sandpaper: Smooth rough edges and surfaces.
- Level: Ensure the cabinet is properly aligned.
These are the basic materials and tools you’ll need to construct your vertical pull-out cabinet. Depending on your design and preferences, you may require additional items. Make sure to gather all the necessary materials and tools before starting the construction process to avoid delays and interruptions.
Next, we will move on to the actual construction of the cabinet frame. Stay tuned!
Read more: How To Measure For Cabinet Pulls
Building the Cabinet Frame
With your materials and tools gathered, it’s time to start building the cabinet frame for your vertical pull-out cabinet. This frame will provide the structure and support for the shelves and ensure stability. Follow these steps to construct the cabinet frame:
- Cut the Plywood: Using the measurements from your design plan, cut the plywood sheets into the appropriate sizes for the sides, top, bottom, and back of the cabinet. A circular saw or table saw can be used for this task.
- Assemble the Box: Begin by attaching the sides of the cabinet to the top and bottom pieces. Use wood screws and a drill to secure them together. Ensure that the corners are square and aligned properly. Repeat this process with the back piece as well.
- Install the Shelves: Measure the height that you want your shelves to be and mark the cabinet’s side panels accordingly. Slide the shelves into place and secure them with screws from the sides of the cabinet. You may opt for adjustable shelf pins to allow for flexibility in shelf positioning.
- Reinforce the Frame: Strengthen the cabinet frame by adding additional support pieces. Measure and cut strips of plywood to fit along the top and bottom edges of the cabinet frame. Secure them with screws to increase stability.
- Test the Cabinet: Once the frame is assembled, double-check that it is square and level. Make any necessary adjustments to ensure the cabinet is stable and balanced.
By following these steps, you will construct a sturdy and reliable cabinet frame for your vertical pull-out cabinet. Take your time during this process to ensure accuracy and precision. Now that the cabinet frame is complete, we can move on to the next step: installing the pull-out mechanism.
Installing the Pull-Out Mechanism
Now that you have built the cabinet frame for your vertical pull-out cabinet, it’s time to install the pull-out mechanism that will allow the shelves to slide smoothly in and out. Here’s how you can proceed:
- Choose the Drawer Slides: Select high-quality drawer slides that can support the weight of your shelves. Measure the desired distance between the slides and ensure they are aligned properly.
- Attach the Drawer Slides: Begin by attaching the drawer slides to the sides of the cabinet frame. Use screws to secure them in place, making sure they are level and parallel.
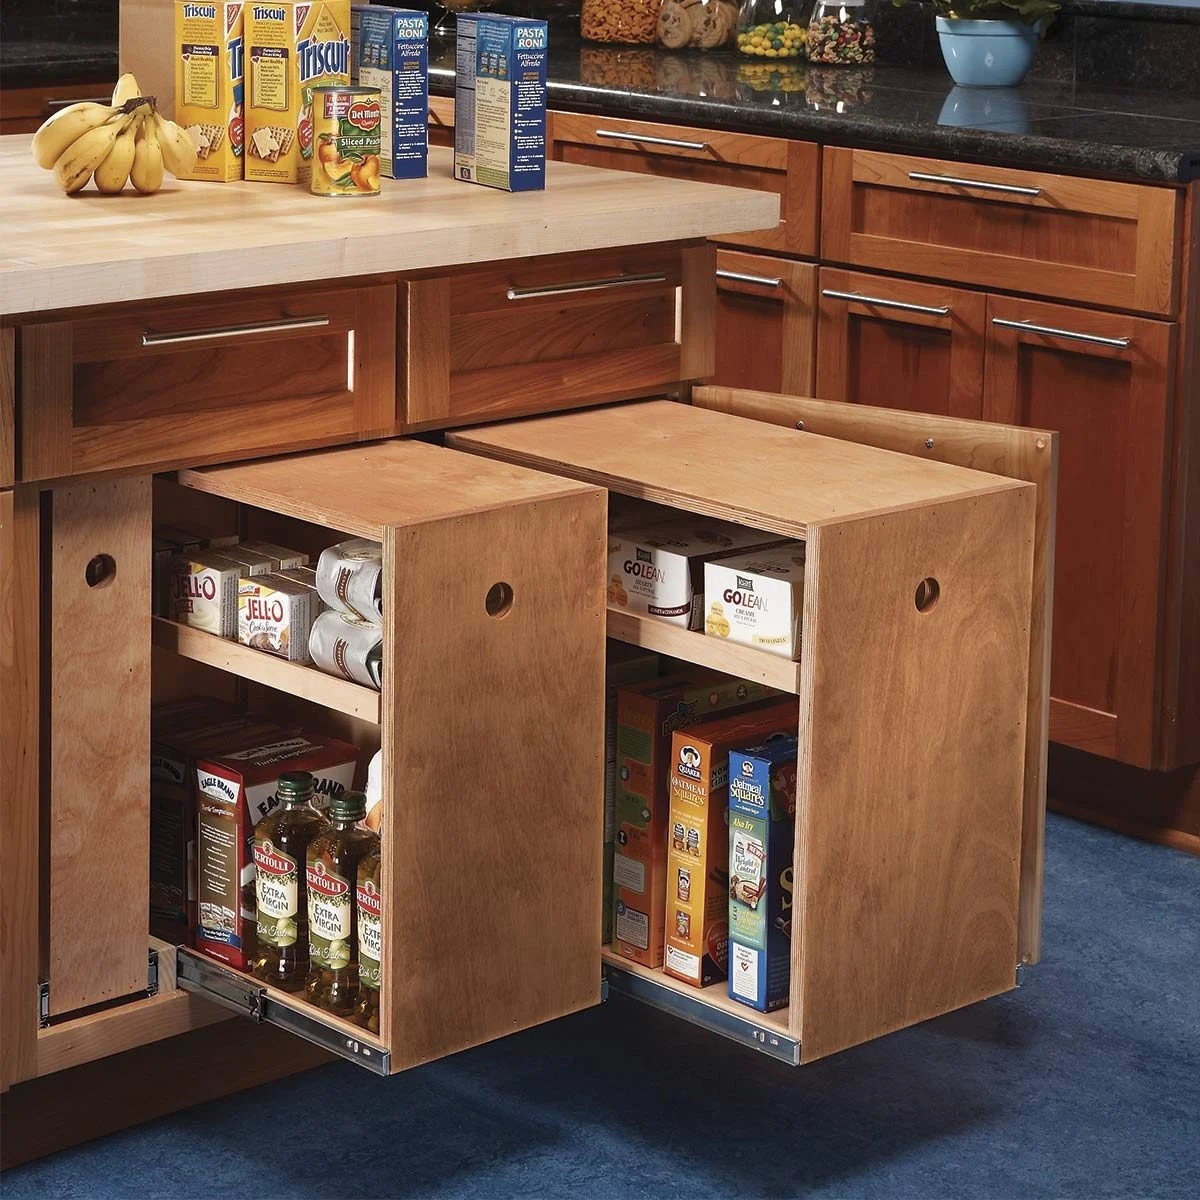
- Mount the Pull-Out Shelves: Slide the pull-out shelves onto the drawer slides, ensuring they are aligned with the cabinet frame. Test the movement of the shelves to ensure they slide smoothly.
- Secure the Shelves: Once the pull-out shelves are in place, secure them to the drawer slides using screws. This will prevent them from accidentally coming off the slides when fully extended.
- Adjust the Alignment: Check that the pull-out shelves are level and aligned properly with the cabinet frame. Make any necessary adjustments to ensure they slide smoothly and are stable.
By following these steps, you will successfully install the pull-out mechanism in your vertical pull-out cabinet. Remember to test the movement of the shelves several times to ensure they operate smoothly without any obstructions or misalignment.
Now that the pull-out mechanism is in place, the next step is to attach the cabinet door. This will give your cabinet a finished look and make it blend seamlessly with the rest of your kitchen or space. Keep reading to find out how!
When building a vertical pull-out cabinet, make sure to use heavy-duty drawer slides to support the weight of the cabinet and its contents. This will ensure smooth operation and prevent sagging over time.
Attaching the Cabinet Door
With the pull-out mechanism installed in your vertical pull-out cabinet, it’s time to attach the cabinet door. This step will give your cabinet a polished and finished look. Here’s how you can proceed:
- Select the Cabinet Door: Choose a cabinet door that matches the style and design of your kitchen or space. Measure the dimensions of the opening where the door will be attached to ensure a proper fit.
- Attach Hinges: Start by attaching the hinges to the cabinet frame. Position them at the desired location, ensuring they are level and aligned properly. Use screws to secure the hinges to the frame.
- Mount the Door: With the hinges attached to the cabinet frame, align the cabinet door with the hinges. Ensure that the door is level and centered within the opening. Slowly close the door to test its movement and ensure it opens and closes smoothly.
- Secure the Door: Once the door is properly aligned, use screws to secure the hinges to the door. Make sure all screws are tightened properly to ensure a secure attachment.
- Test the Door: Open and close the cabinet door multiple times to ensure it operates smoothly and without any obstructions. Make any necessary adjustments, such as tightening screws or adjusting the position of the hinges.
By following these steps, you will successfully attach the cabinet door to your vertical pull-out cabinet. Take your time during this process to ensure the door is aligned properly and operates smoothly.
Now that the cabinet door is attached, we can move on to adding the finishing touches to your vertical pull-out cabinet. Keep reading to learn how to complete your project!
Adding Finishing Touches
With the cabinet frame, pull-out mechanism, and door all in place, it’s time to add those final touches to your vertical pull-out cabinet. These finishing touches will not only enhance the appearance of your cabinet but also improve its functionality. Here are some steps you can follow:
- Sand and Finish: Use sandpaper to smooth out any rough edges or surfaces of the cabinet. This will ensure a polished look and prevent any splinters. Once the sanding is complete, you can apply a finish to the cabinet, such as paint or stain, to protect the wood and add a desired aesthetic touch.
- Add Handles or Knobs: Install handles or knobs on the cabinet door to make it easier to open and close. Choose a style that complements your kitchen or space and ensures a comfortable grip.
- Organize and Arrange: Determine the best way to organize and arrange the items you plan to store in your vertical pull-out cabinet. Consider using dividers or storage bins to maximize space and keep everything in its place.
- Clean and Maintain: Once your cabinet is complete, give it a thorough cleaning to remove any dust or debris. Regularly maintain your cabinet by wiping it down with a damp cloth and periodically inspecting the hinges and drawer slides for any adjustments or maintenance needed.
By following these steps, you can add those final touches to your vertical pull-out cabinet, ensuring it looks clean, organized, and functions smoothly. Take the time to customize and arrange your cabinet to suit your storage needs and personal preferences.
Congratulations! You have successfully built and completed your vertical pull-out cabinet. It’s now ready to be enjoyed and utilized in your kitchen or any other area of your home. Remember to keep it well-maintained and organized to maximize its functionality and lifespan.
We hope this guide has been helpful and that you have enjoyed the process of building your own vertical pull-out cabinet. Happy organizing!
Conclusion
Congratulations on completing your journey to build a vertical pull-out cabinet! With careful planning, precise measurements, and the right materials and tools, you have succeeded in creating a functional and space-saving storage solution for your kitchen or any other area of your home.
Throughout the process, you have learned how to plan and measure the space, gather the necessary materials and tools, build the cabinet frame, install the pull-out mechanism, attach the cabinet door, and add the finishing touches. Each step has contributed to the creation of a well-designed and efficient cabinet that will make your daily life more organized and convenient.
Remember, maintaining your vertical pull-out cabinet is essential for its longevity and continued functionality. Regular cleaning, inspection of hinges and drawer slides, and proper organization will ensure you get the most out of your cabinet for years to come.
We hope that this guide has been helpful in your journey and that you feel confident in your ability to build a vertical pull-out cabinet. Enjoy the benefits of having easy access to your stored items and the optimized use of your storage space.
Thank you for joining us on this DIY adventure and happy storage organizing!
If you’ve just mastered your vertical pull-out cabinet, don't stop there! Next up, learn how to declutter and maximize efficiency with top tips on kitchen organization. Your culinary space will transform into a model of convenience and style. Additionally, if you're hunting for ways to tackle outdoor clutter, don’t miss our rundown on the best vertical storage solutions available. These ideas are perfect for anyone looking to streamline and organize their space efficiently.
Frequently Asked Questions about How To Build A Vertical Pull-out Cabinet
Was this page helpful?
At Storables.com, we guarantee accurate and reliable information. Our content, validated by Expert Board Contributors, is crafted following stringent Editorial Policies. We're committed to providing you with well-researched, expert-backed insights for all your informational needs.



0 thoughts on “How To Build A Vertical Pull-out Cabinet”