Home>Furniture>Outdoor Furniture>How To Build A Patio Wall
Outdoor Furniture
How To Build A Patio Wall
Modified: August 25, 2024
Learn how to build a stunning patio wall to enhance your outdoor space. Get expert tips on choosing the right outdoor furniture for your project.
(Many of the links in this article redirect to a specific reviewed product. Your purchase of these products through affiliate links helps to generate commission for Storables.com, at no extra cost. Learn more)
Introduction
Welcome to our comprehensive guide on how to build a patio wall. Whether you’re looking to create a cozy outdoor living space or add structure and design to your backyard, building a patio wall can be a great project to tackle. A well-designed and constructed patio wall can not only enhance the aesthetic appeal of your outdoor area but also provide functionality and practicality.
Building a patio wall may seem like a daunting task, but with the right planning, materials, and tools, it can be a rewarding DIY project. This guide will take you through the step-by-step process of building a patio wall, from planning and designing to adding the finishing touches.
Before you begin, it’s important to note that building codes and regulations may vary depending on your location. It is advisable to check with your local authorities or consult a professional to ensure compliance with any building requirements specific to your area.
With that said, let’s dive into the exciting world of patio wall construction and get ready to transform your outdoor space into a stunning and functional sanctuary.
Key Takeaways:
- Building a patio wall involves careful planning, gathering materials, laying a strong foundation, and adding finishing touches to create a beautiful and functional outdoor space.
- By following the step-by-step guide, you can transform your backyard into a stunning sanctuary where you can relax and enjoy the outdoors with your loved ones.
Step 1: Planning and Designing
Planning and designing are crucial steps in building a patio wall. Before you start gathering materials and tools, take the time to carefully plan out your project. Here are a few key considerations to keep in mind:
- Purpose and Function: Determine the purpose of your patio wall. Are you looking to create an outdoor seating area, define a boundary, or simply add visual appeal to your backyard? This will help guide your design decisions.
- Location: Choose the location for your patio wall. Consider factors such as sunlight exposure, accessibility, and how it will complement the existing landscape.
- Size and Dimensions: Measure the area where you plan to build the patio wall. Consider the desired height, length, and thickness of the wall. This will help you calculate the amount of materials needed.
- Materials: Research different materials available for building a patio wall, such as concrete blocks, bricks, or natural stone. Consider factors such as durability, cost, and aesthetic appeal.
- Design Elements: Think about any additional design elements you may want to incorporate, such as decorative patterns, integrated seating, or lighting fixtures. Sketch out a rough design to visualize your ideas.
- Budget: Determine your budget early on to ensure you can afford the materials and tools required for your patio wall.
Once you have a clear plan in place, it’s time to move on to the next step: gathering materials and tools.
Step 2: Gathering Materials and Tools
Now that you have a solid plan in place, it’s time to gather the necessary materials and tools to build your patio wall. Here are some of the essential items you’ll need:
- Materials: Depending on the design and style of your patio wall, you’ll need to gather the appropriate materials. This may include concrete blocks, bricks, natural stone, mortar, gravel, sand, and reinforcement materials like rebar or mesh. Consult your plan and local building codes to determine the exact materials required.
- Tools: A successful patio wall project requires the right tools. Some common tools you’ll need include a measuring tape, level, string line, mason’s trowel, wheelbarrow, shovel, rubber mallet, chisel, safety goggles, and gloves. It’s important to have the right tools on hand to ensure accurate measurements and proper construction.
- Safety Gear: Don’t forget about safety! Wear appropriate safety gear such as gloves, safety goggles, and sturdy footwear to protect yourself during the construction process.
- Additional Supplies: Depending on the specific requirements of your patio wall, you may also need additional supplies such as drainage materials, waterproofing membranes, and landscape fabric. These items will help ensure the longevity and functionality of your patio wall.
Before making any purchases, take accurate measurements of your planned patio wall to determine the quantity of materials needed. It’s always a good idea to buy slightly more materials than necessary to account for any mistakes or unforeseen circumstances.
Once you’ve gathered all the necessary materials and tools, you’re ready to move on to the next step: preparing the site for construction.
Step 3: Preparing the Site
Before you begin building your patio wall, it’s essential to properly prepare the site. This step involves clearing the area and taking necessary precautions to ensure a solid foundation. Here’s what you need to do:
- Clear the Area: Remove any existing vegetation, rocks, or debris from the site where the patio wall will be built. This will provide a clean and level surface for construction.
- Mark the Layout: Use stakes and string to mark the layout of the patio wall. Ensure that the lines are straight and parallel to each other, and that the corners are square. This will serve as a guide during construction.
- Excavate the Area: Dig a trench along the marked lines for the foundation of the patio wall. The depth and width of the trench will depend on the specific design and requirements of your wall. Be sure to dig below the frost line if you live in an area with freezing temperatures.
- Level the Trench: Use a level and a straight board to ensure that the trench is level. This will provide a solid and stable foundation for your patio wall.
- Add Gravel and Compact: Fill the trench with a layer of gravel and compact it using a tamper or a plate compactor. This will further stabilize the foundation and promote proper drainage.
- Install Drainage System: If your patio wall will be located in an area prone to water accumulation, consider installing a drainage system. This can include perforated pipes or French drains to redirect water away from the wall.
Taking the time to properly prepare the site will ensure a stable and long-lasting patio wall. It’s important to pay attention to detail during this step, as any errors or shortcuts can impact the overall quality of the construction. Once the site is prepared, you’re ready to move on to step 4: laying the foundation of the wall.
When building a patio wall, make sure to properly prepare the foundation by digging a trench and filling it with compacted gravel. This will provide a stable base for the wall and prevent it from shifting over time.
Step 4: Laying the Foundation
With the site prepared, it’s time to start laying the foundation of your patio wall. This step is crucial, as the foundation serves as the base for the entire structure. Here’s how to proceed:
- Apply a Layer of Mortar: Begin by applying a layer of mortar to the prepared trench. This will create a strong bond between the foundation and the first course of blocks or bricks.
- Start with the Corner Blocks: Place the first corner block in the mortar and tap it gently with a rubber mallet to level it. Use a level to ensure it is plumb and level in all directions. Repeat this process for the other corner blocks.
- Continue with the Foundation Course: Lay the remaining blocks or bricks in the first course, making sure they are level and properly aligned. Use a string line to maintain a straight and even layout. Check the level frequently to ensure accuracy.
- Fill the Joints: As you lay each block or brick, fill the joints with mortar using a mason’s trowel. This will provide additional stability and strength to the foundation.
- Check Alignment and Level: Regularly check the alignment and level of the blocks or bricks as you progress. Make any necessary adjustments to maintain a straight and level foundation.
- Add Reinforcement: Depending on the height and design of your patio wall, you may need to add reinforcement materials such as rebar or mesh. Follow the manufacturer’s instructions for proper placement and installation.
- Cure the Foundation: Allow the mortar to cure for the recommended time, usually 24 to 48 hours, before moving on to the next step. This will ensure the foundation is solid and ready to support the weight of the patio wall.
Remember to work systematically and take your time during this step. A well-laid foundation is essential for the stability and longevity of your patio wall. Once the foundation is set, you’re ready to move on to step 5: building the wall.
Read more: How To Build Patio
Step 5: Building the Wall
Now that the foundation is in place, it’s time to start building the walls of your patio. This step will involve stacking the blocks or bricks on top of the foundation in a secure and structurally sound manner. Here’s what you need to do:
- Apply Mortar: Apply a layer of mortar on top of the foundation to create a strong bond between the blocks or bricks. Use a trowel to spread an even layer of mortar on the surface.
- Stack the Blocks or Bricks: Begin stacking the blocks or bricks on top of the foundation, following your predetermined design and layout. Place them tightly together, ensuring they are level and plumb.
- Check Alignment and Level: Regularly check the alignment and level of the wall as you stack the blocks or bricks. Adjust as needed to maintain a straight and even wall.
- Fill the Joints: As you stack the blocks or bricks, fill the vertical and horizontal joints with mortar. Use a trowel to smooth the mortar and create a consistent and even finish.
- Use Reinforcement: Depending on the height and design of your patio wall, consider using reinforcement materials such as rebar, dowels, or interlocking blocks to provide additional strength and stability.
- Add Drainage Vents: For walls that will retain soil or encounter water pressure, consider adding drainage vents to allow water to escape and prevent damage to the wall.
- Continue Stacking: Continue stacking the blocks or bricks, one course at a time, until you reach the desired height. Use the string line and level to ensure each course is level and aligned with the previous one.
- Clean Excess Mortar: As you build the wall, periodically clean off any excess mortar on the face of the blocks or bricks with a damp sponge or brush. This will result in a clean and professional-looking finish.
Take your time during this step to ensure the strength and stability of the walls. It’s important to follow your design plan and maintain a consistent and level construction. Once the walls are built, you’re ready for the final step: adding the finishing touches.
Step 6: Adding Finishing Touches
Now that the walls of your patio are built, it’s time to add some finishing touches to complete the project. These final details will enhance the aesthetic appeal and functionality of your patio wall. Here are some finishing touches to consider:
- Capping the Wall: Install capstones or coping stones on top of the walls to provide a clean and finished look. Choose a material that matches or complements the blocks or bricks used for the wall.
- Seal the Wall: Consider sealing the patio wall with a waterproofing sealant. This will help protect the wall from moisture damage and extend its lifespan.
- Paint or Stain: If you desire a different color or finish for your patio wall, you can paint or stain it to achieve the desired look. Choose a high-quality exterior paint or stain that is suitable for the material used.
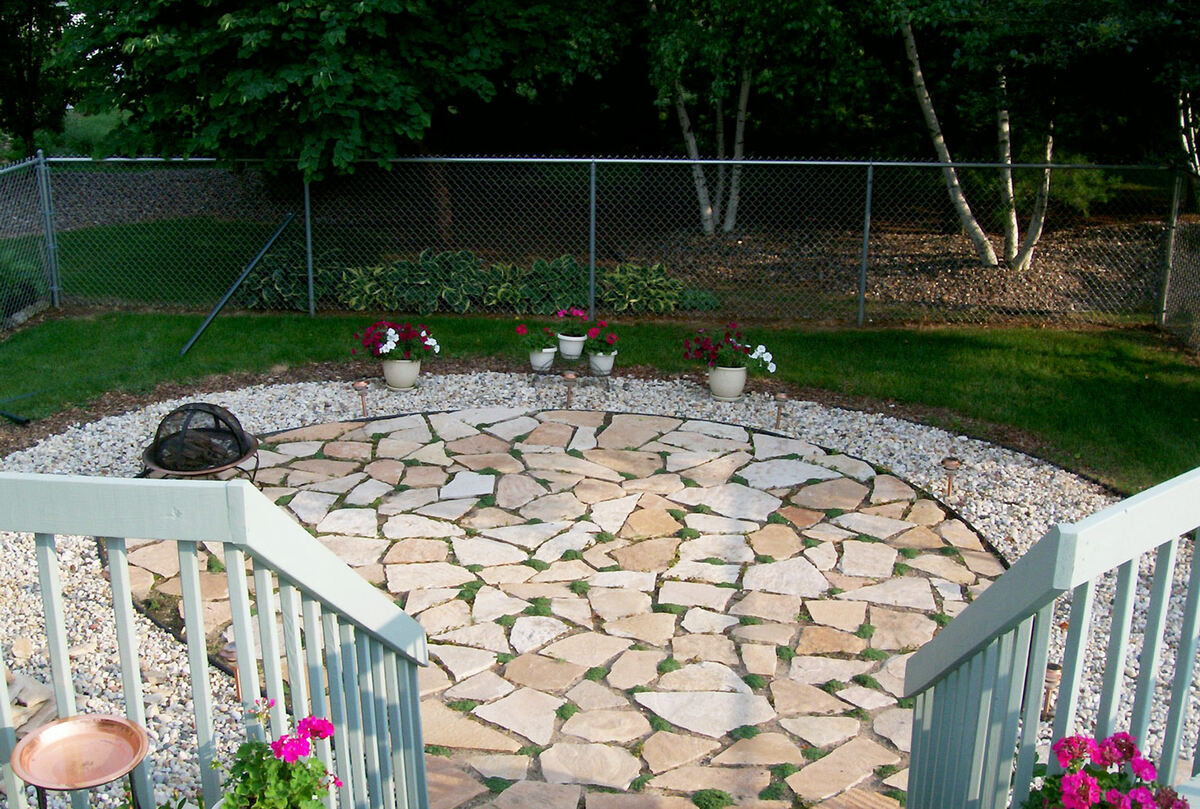
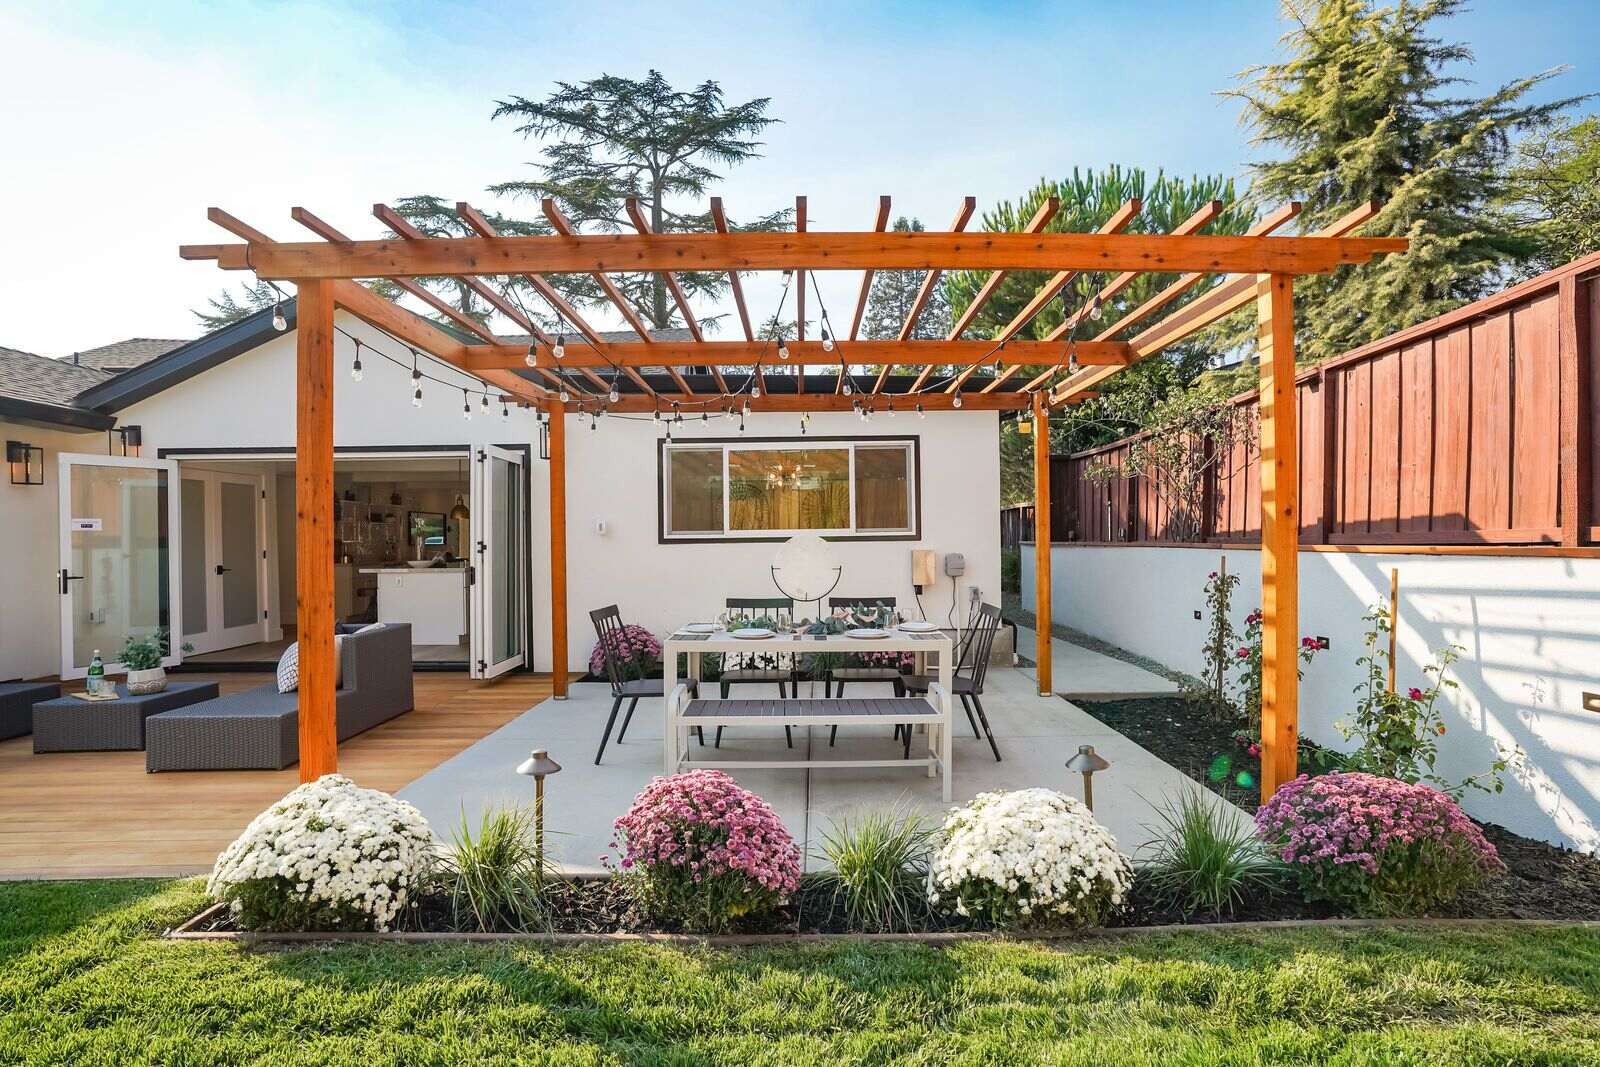
- Landscaping: Enhance the surrounding area by adding landscaping elements around the patio wall. This can include planting shrubs, flowers, or installing outdoor lighting to create a welcoming atmosphere.
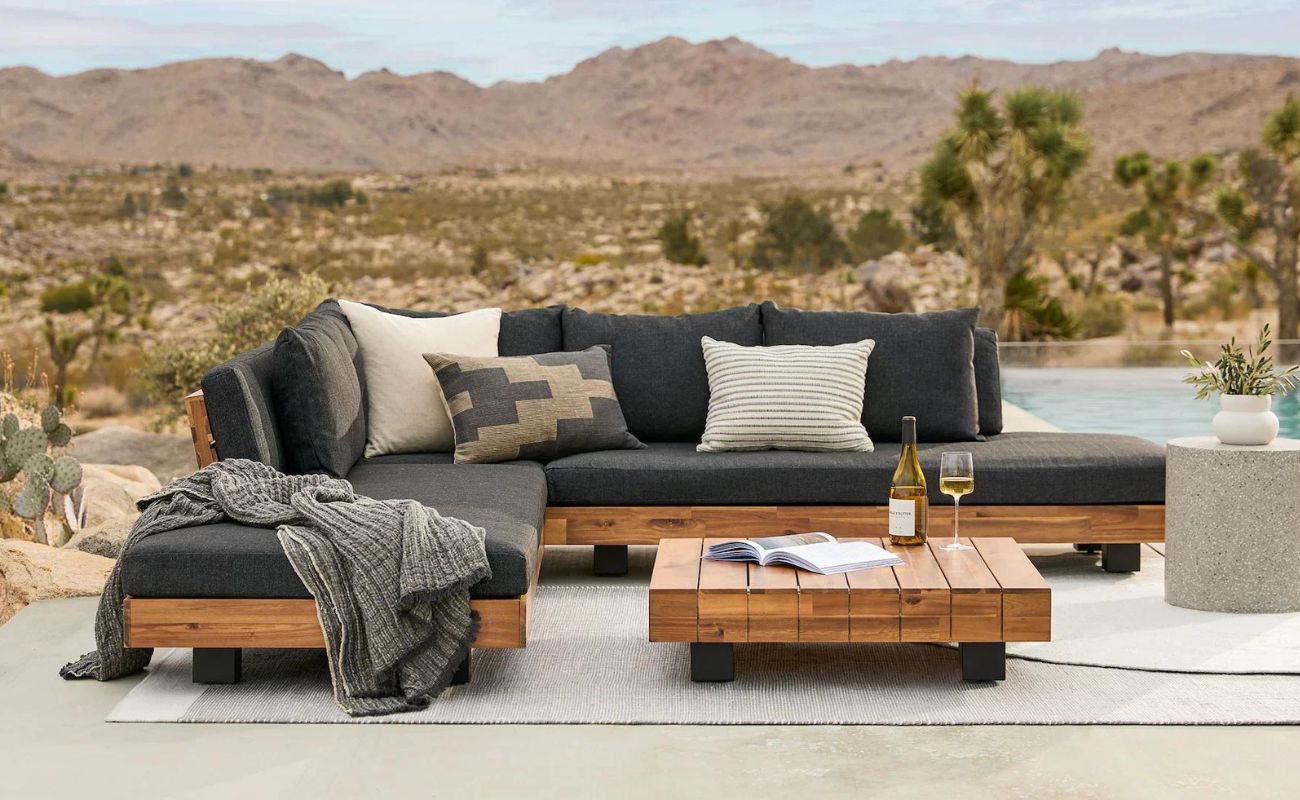
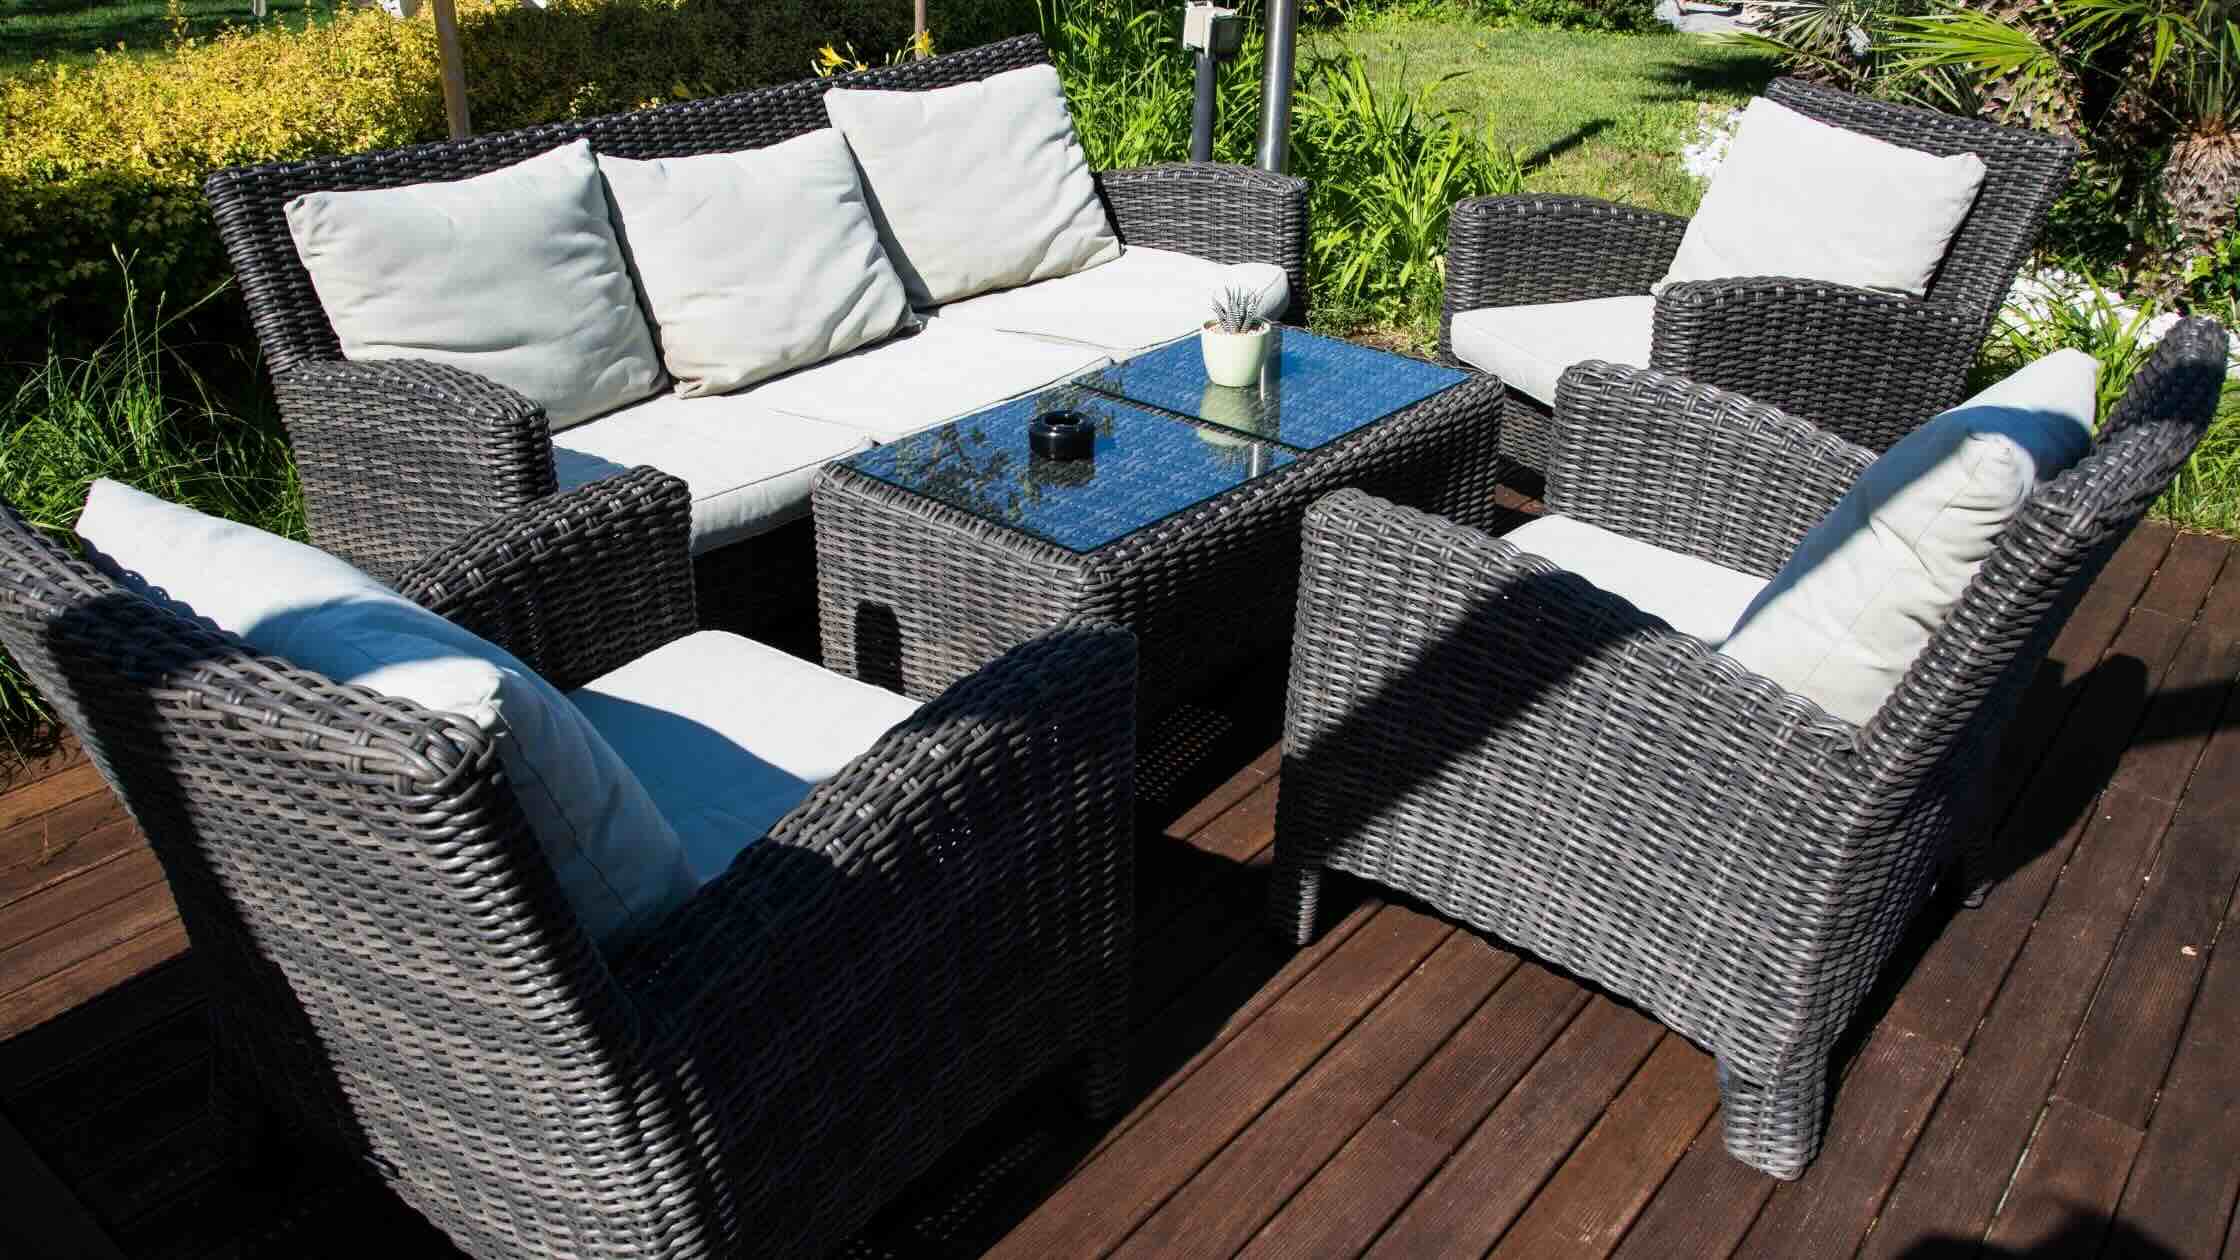
- Seating or Accent Pieces: Consider adding seating or accent pieces near the patio wall to create a functional and inviting space. This can include benches, outdoor furniture, or decorative sculptures.
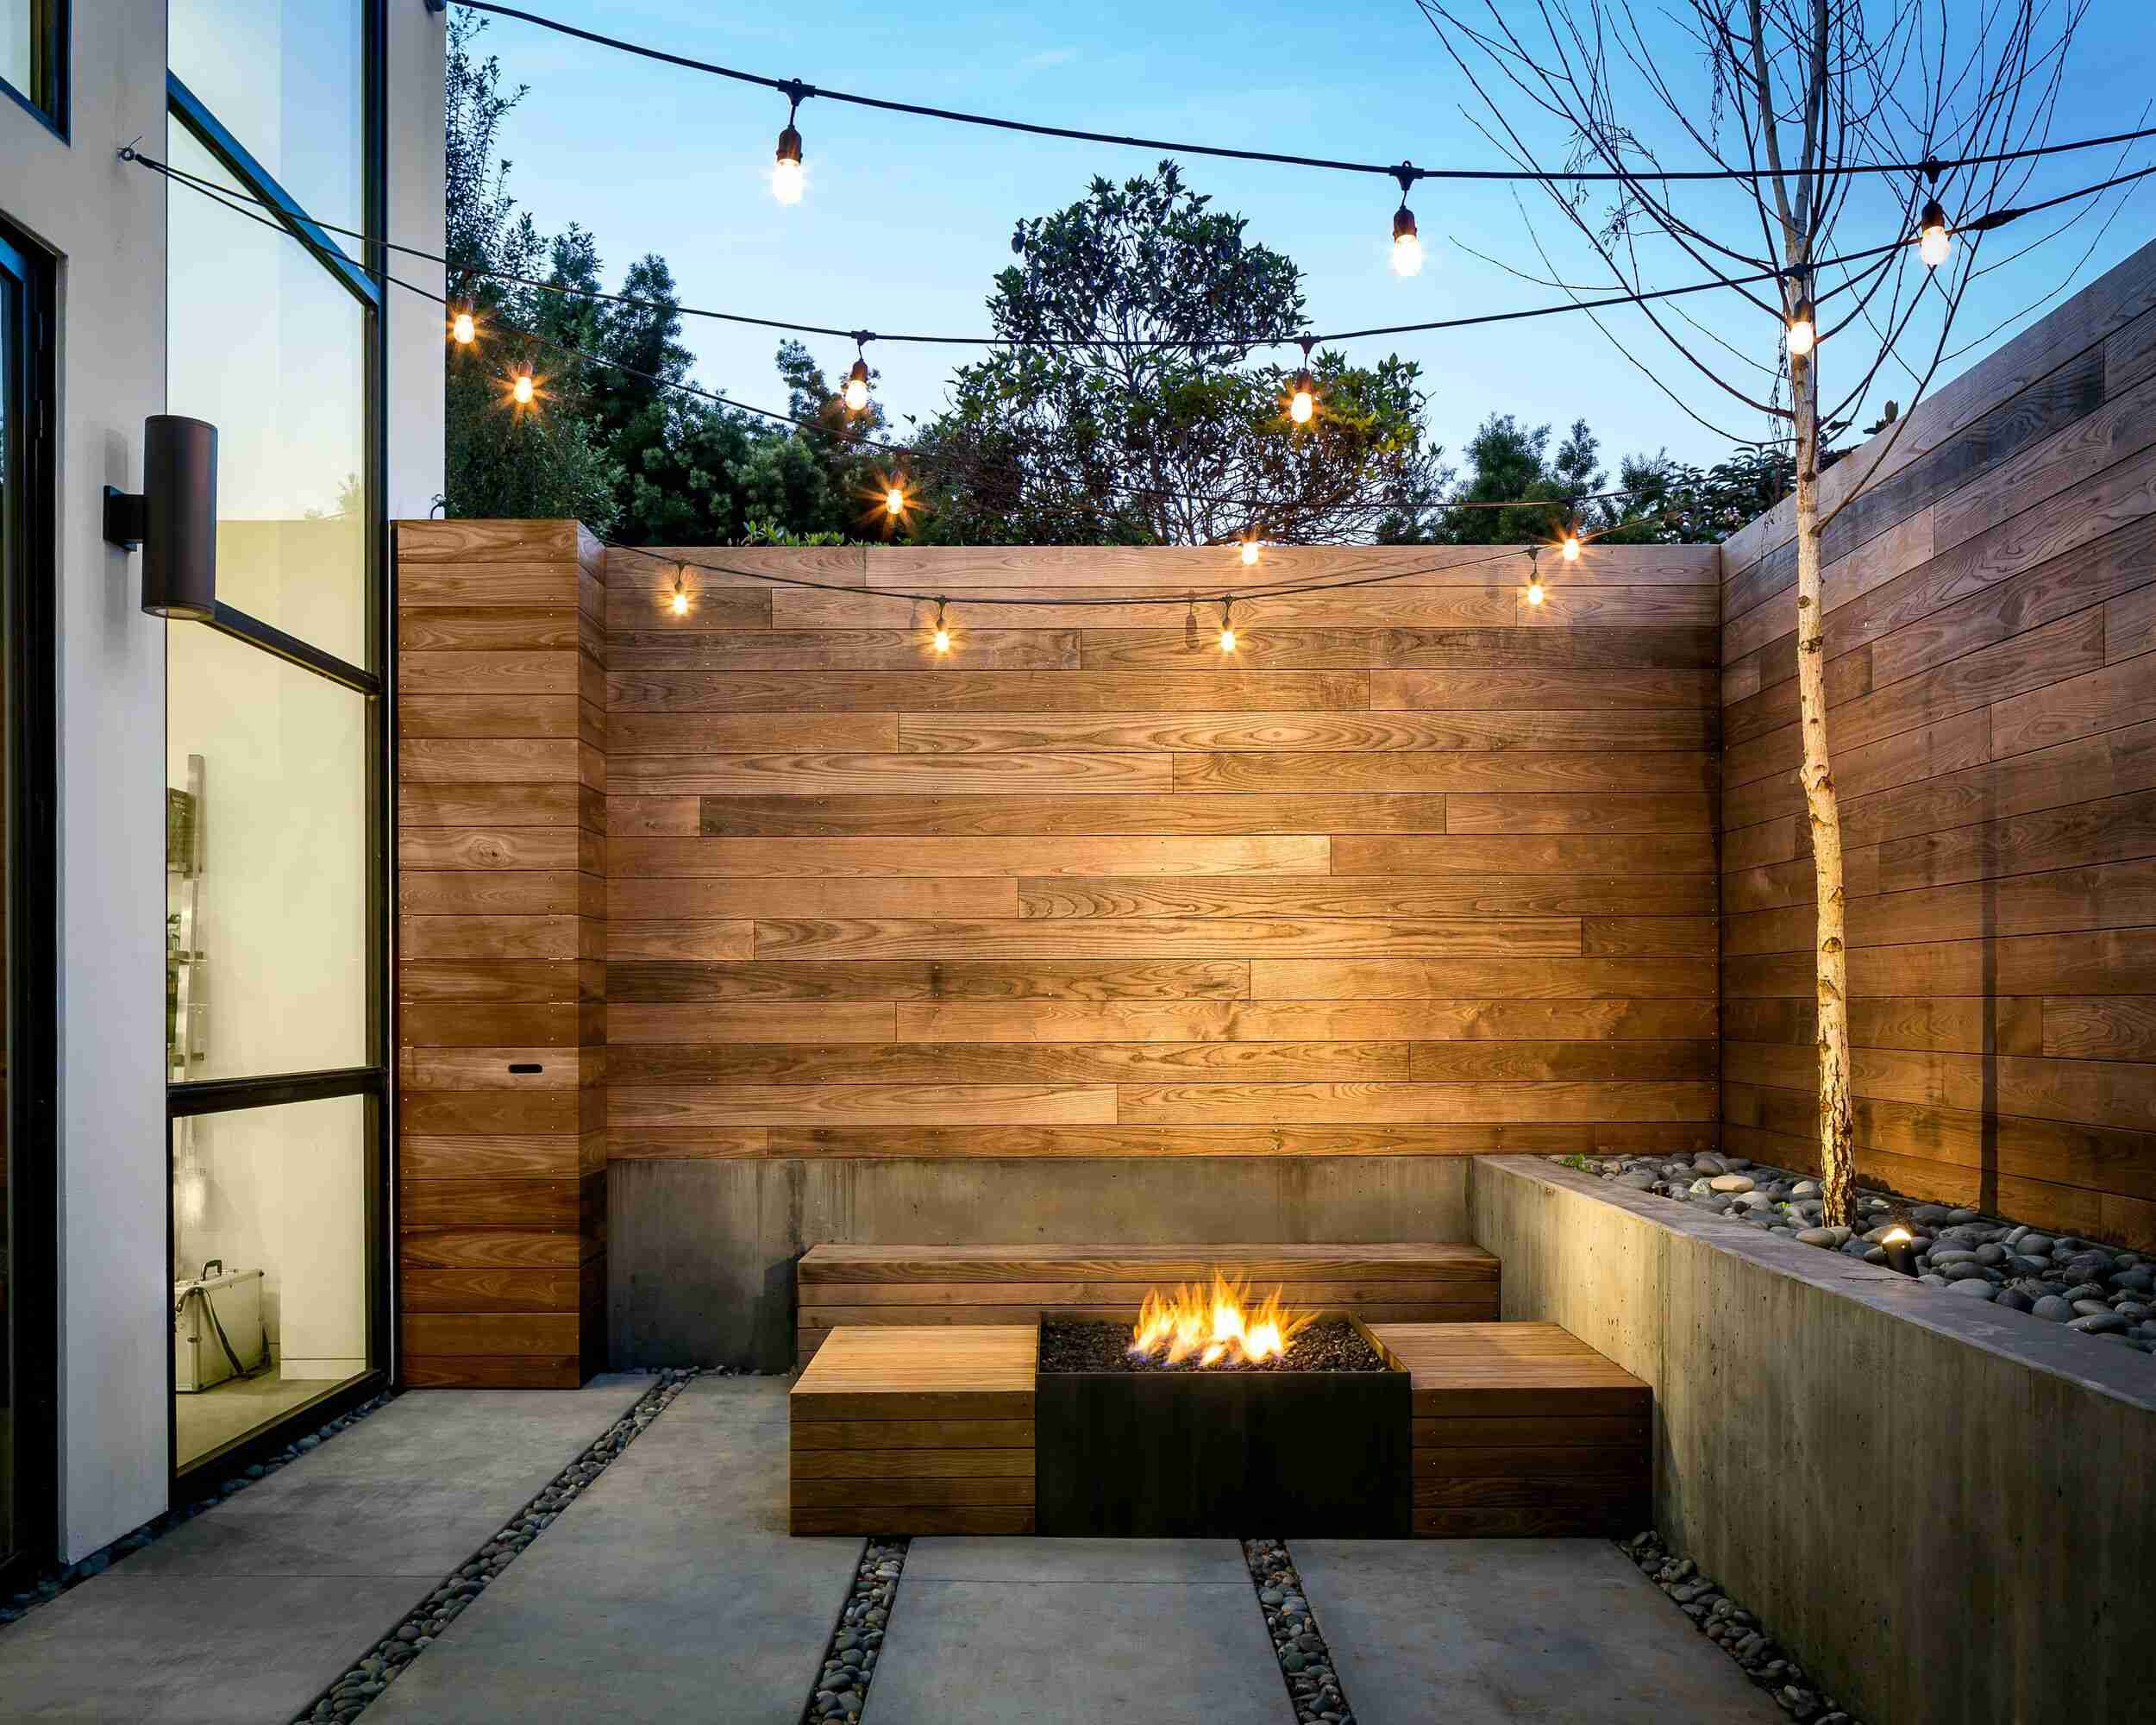
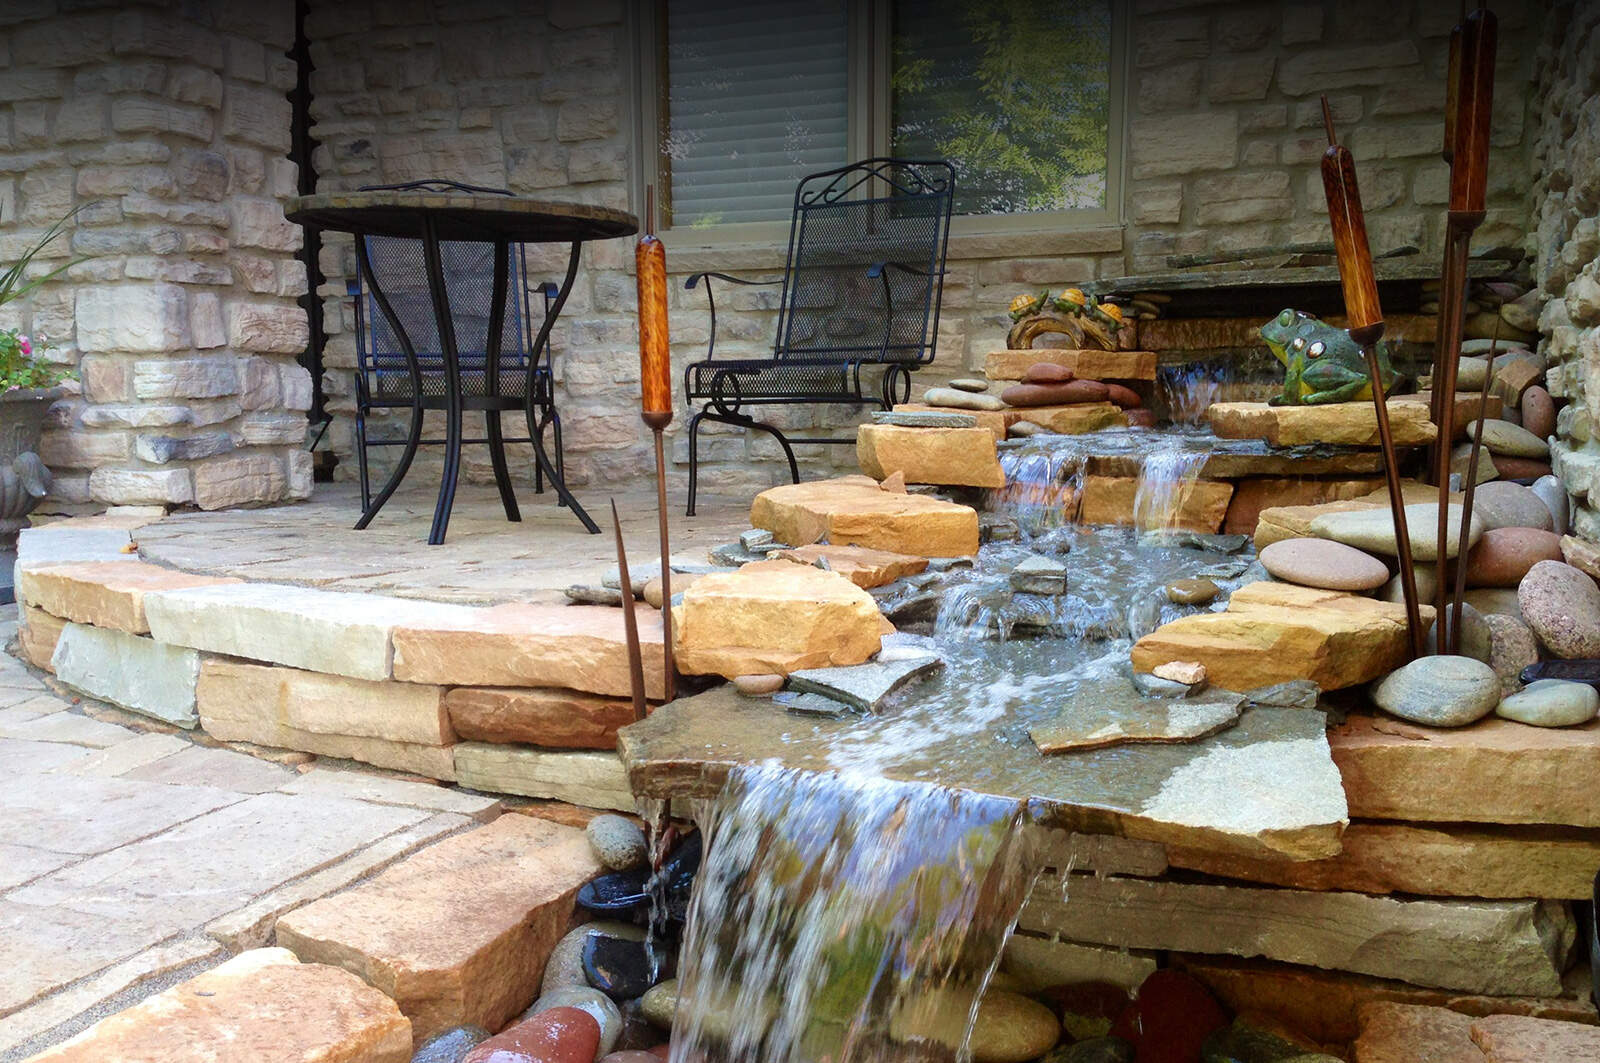
- Water Features or Fire Pits: If you want to elevate the ambiance of your patio area, consider incorporating water features, such as a small fountain or pond, or a fire pit for cozy evenings outdoors.
- Personal Touches: Add personal touches that reflect your style and taste. Hang outdoor artwork, install a wall-mounted planter, or incorporate other decorative elements that make the space uniquely yours.
Remember that the finishing touches will depend on your preferences and the overall design of your patio wall. Have fun with these details and create a space that you will enjoy for years to come.
Congratulations! By following these steps and adding your own personal touch, you have successfully built a beautiful and functional patio wall. Sit back, relax, and enjoy your outdoor oasis.
Conclusion
Building a patio wall can transform your outdoor space into a stunning and functional area that you and your loved ones will enjoy for years to come. By following the step-by-step guide outlined in this article, you will be well-equipped to take on this exciting DIY project.
Starting with careful planning and designing, you can create a patio wall that perfectly fits your needs and desires. Gathering the right materials and tools ensures that you have everything you need to begin construction. Taking the time to prepare the site properly sets a solid foundation for your project.
Laying the foundation and building the walls require precision, attention to detail, and regular checks for alignment and levelness. By following these steps, you’ll create a sturdy and visually appealing patio wall that will stand the test of time.
Adding the finishing touches gives your patio wall that extra touch of style and functionality. Whether it’s capping the walls, sealing them for protection, or adding landscaping and seating, these final details will enhance the overall look and feel of your outdoor space.
Remember to approach this project with creativity and a personal touch. Infuse your own style and preferences into the design, making it a true reflection of your personality and lifestyle.
Now that you have learned how to build a patio wall, it’s time to roll up your sleeves and get started. Take your time, enjoy the process, and don’t hesitate to seek professional assistance if needed.
Good luck with your patio wall construction, and may it bring you many memorable moments in your outdoor sanctuary!
Frequently Asked Questions about How To Build A Patio Wall
Was this page helpful?
At Storables.com, we guarantee accurate and reliable information. Our content, validated by Expert Board Contributors, is crafted following stringent Editorial Policies. We're committed to providing you with well-researched, expert-backed insights for all your informational needs.


0 thoughts on “How To Build A Patio Wall”