
Articles
How To Change Garage Door Frequency
Modified: October 28, 2024
Learn how to change the frequency of your garage door with our informative articles. Ensure optimal security and convenience in just a few simple steps.
(Many of the links in this article redirect to a specific reviewed product. Your purchase of these products through affiliate links helps to generate commission for Storables.com, at no extra cost. Learn more)
Introduction
Changing the garage door frequency is an important step for ensuring the security and functionality of your garage door opener. Garage doors are typically operated through a radio frequency signal, which can be susceptible to interference from nearby devices or even other garage door openers in the neighborhood. To mitigate these issues, it’s necessary to change the garage door frequency, allowing for a smoother and more reliable operation.
In this article, we will guide you through the process of changing the garage door frequency, from understanding the frequency concept to troubleshooting common issues. Whether you are experiencing interference problems or simply want to update the security of your garage door opener, this step-by-step guide will help you accomplish the task with ease.
Understanding Garage Door Frequency
Garage door openers operate using a specific radio frequency to communicate with the handheld remote control. The frequency is measured in megahertz (MHz) and is typically set at a default value by the manufacturer. However, it is possible to change this frequency to avoid interference with other devices or improve the overall security of your garage door.
Reasons for Changing Garage Door Frequency
There are several reasons why you might want to change the garage door frequency. Some of the common reasons include:
- Interference: If you notice that your garage door sometimes opens or closes on its own or experiences inconsistent operation, it may be due to interference from nearby devices operating on the same frequency.
- Security concerns: Changing the garage door frequency can offer an added level of security, as it reduces the risk of unauthorized access or hacking attempts.
- Neighbor’s garage door opener: If your neighbor’s garage door opener operates on the same frequency as yours, it can lead to interference issues. Changing the frequency allows you to avoid such conflicts.
Tools and Materials Needed
Before you begin the process, it’s important to gather the necessary tools and materials:
- Step ladder
- Handheld remote control (if applicable)
- New frequency code or remote (if required)
- Owner’s manual for your garage door opener
Now that you understand the importance of changing the garage door frequency and have the required tools, let’s move on to the step-by-step guide.
Key Takeaways:
- Change your garage door frequency to avoid interference, enhance security, and ensure smooth operation. Follow the step-by-step guide for a more reliable garage door opener.
- Gather the necessary tools and materials, consult your owner’s manual, and follow the specific instructions to successfully change your garage door frequency.
Read more: How To Change A Garage Door Lock
Understanding Garage Door Frequency
Garage door frequency refers to the specific radio signal used by your garage door opener to communicate with the handheld remote control. The frequency is measured in megahertz (MHz) and it determines how the signals are transmitted and received between the two devices.
Most garage door openers operate on either a 315 MHz or 390 MHz frequency. These frequencies are commonly used because they provide a good balance between range and interference resistance. However, some newer models may operate on different frequencies, such as 433 MHz or even wifi-based systems.
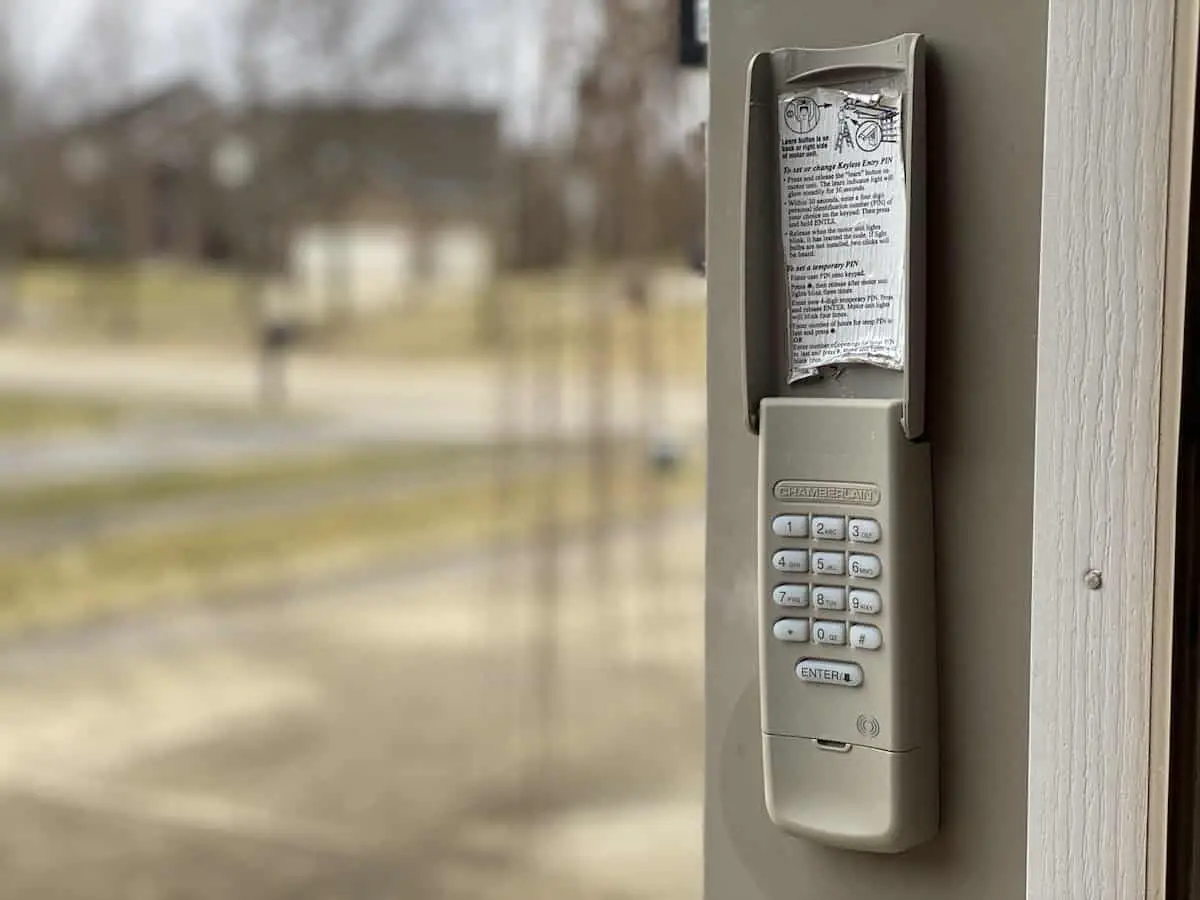
When you press the button on your remote control, it sends a signal at the specific frequency to the garage door opener, instructing it to either open or close the door. The opener receives the signal and activates the motor to perform the desired action. The same process occurs when you use the wall-mounted control panel inside your garage.
It’s important to note that the frequency used by your garage door opener can be susceptible to interference. This interference can come from other electronic devices operating in close proximity to the opener, such as cordless phones, baby monitors, or Wi-Fi routers. In addition, if your neighbor’s garage door opener operates on the same frequency, it can lead to conflicts and result in erratic door operation.
To avoid interference and ensure reliable operation, it’s sometimes necessary to change the garage door frequency. By doing so, you can select a different frequency that is less crowded and offers better immunity to interference. This will help improve the overall security and functionality of your garage door opener.
Changing the garage door frequency typically involves reprogramming the opener and the remote control to communicate on a new frequency. The process can vary depending on the model and manufacturer of your garage door opener, so it’s important to consult the owner’s manual for specific instructions.
Now that you have a better understanding of garage door frequency and why it’s important to change it, let’s move on to the next section to learn how to change the frequency of your garage door opener.
Reasons for Changing Garage Door Frequency
There are several reasons why you might consider changing the garage door frequency for your opener. Let’s take a look at some of the common reasons:
1. Interference: One of the primary reasons to change the garage door frequency is to avoid interference. If you notice that your garage door sometimes opens or closes on its own, operates erratically, or doesn’t respond consistently to your remote control, it could be due to interference from nearby devices. This interference can come from other garage door openers in the neighborhood, as well as other electronic devices such as cordless phones, Wi-Fi routers, or even LED lights. Changing the frequency can help mitigate these interference issues and ensure smooth operation of your garage door opener.
2. Security concerns: Changing the garage door frequency can also enhance the security of your garage. Older garage door openers that operate on fixed or easily accessible frequencies can be vulnerable to hacking attempts or unauthorized access. By changing the frequency, you reduce the risk of someone using a code-grabbing device to gain entry to your garage. Additionally, newer garage door openers often use rolling code technology, wherein the frequency and code change with each operation, making it even more secure and difficult to duplicate.
3. Neighbor’s garage door opener: In some cases, the interference issues you experience may be due to your neighbor’s garage door opener operating on the same frequency as yours. This can create conflicts and lead to inconsistent operation of both garage doors. Changing your garage door frequency allows you to avoid these conflicts and establish a separate and dedicated frequency for your opener.
4. Upgrading your opener: If you’re upgrading your garage door opener to a newer model, it may operate on a different frequency than your old opener. In such cases, you’ll need to change the frequency to ensure compatibility between the new opener and your existing remote control. This ensures that you can continue using your remote without any hiccups, providing a seamless transition to your new garage door opener.
By considering these reasons, you can determine whether changing the garage door frequency is necessary for your specific situation. Whether it’s to avoid interference, enhance security, resolve conflicts with neighboring openers, or accommodate an upgrade, changing the garage door frequency can significantly improve the performance and reliability of your garage door opener.
Tools and Materials Needed
Before you begin the process of changing the garage door frequency, it’s important to gather the necessary tools and materials. Having these items on hand will ensure a smooth and efficient process. Here’s what you’ll need:
- Step ladder: A step ladder will come in handy if you need to access the garage door opener or reach any high-up components during the process. Make sure the ladder is sturdy and secure before climbing up.
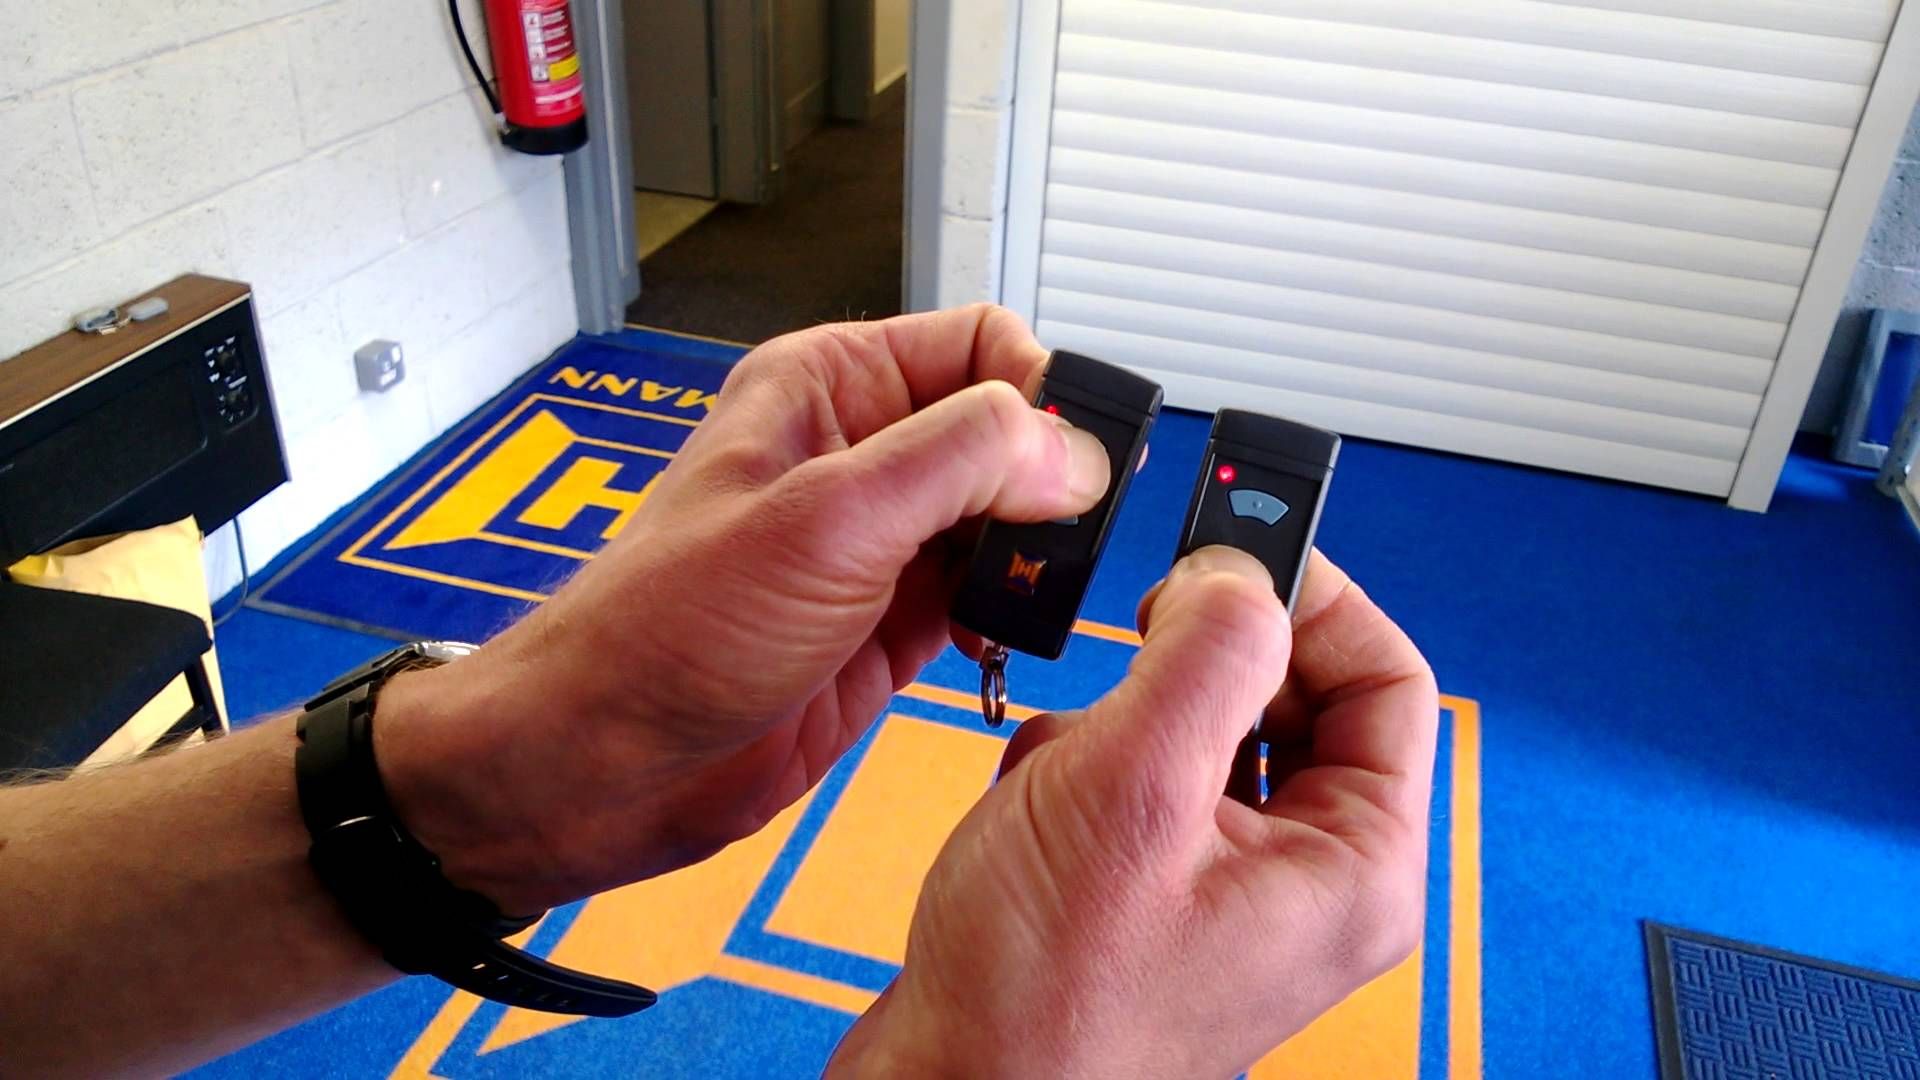
- Handheld remote control: If your garage door opener uses a handheld remote control to operate, you’ll need it during the frequency change process. Make sure the remote is functioning properly and has fresh batteries.
- New frequency code or remote: In some cases, changing the garage door frequency may require updating the frequency code on your existing remote control. Alternatively, you may need to purchase a new remote that operates on the desired frequency. Check with the manufacturer or refer to the owner’s manual of your garage door opener to determine the specific requirements for changing the frequency.
- Owner’s manual: The owner’s manual for your garage door opener is an essential resource. It provides detailed instructions and guidance specific to your model and manufacturer. Make sure you have the manual readily available during the frequency change process.
By having these tools and materials prepared in advance, you can ensure a seamless and efficient process of changing the garage door frequency. Familiarize yourself with the instructions provided by the manufacturer and refer to the owner’s manual for any specific requirements or precautions.
It’s worth noting that while changing the garage door frequency is relatively straightforward for many garage door opener models, some may have more complex procedures or require professional assistance. If you’re unsure about the process or encounter difficulties along the way, it’s always best to consult a professional garage door technician for guidance and support.
Now that you have gathered the necessary tools and materials, you’re ready to proceed with the step-by-step guide to changing the garage door frequency. Keep the owner’s manual handy and follow the instructions carefully to ensure a successful frequency change for your garage door opener.
To change the frequency of your garage door opener, consult the owner’s manual for specific instructions. Typically, you will need to access the opener’s control panel and follow the steps outlined for reprogramming the frequency.
Steps to Change Garage Door Frequency
Changing the garage door frequency may vary depending on the specific model and manufacturer of your garage door opener. It’s important to consult the owner’s manual for detailed instructions pertaining to your particular opener. However, the following general steps will guide you through the process:
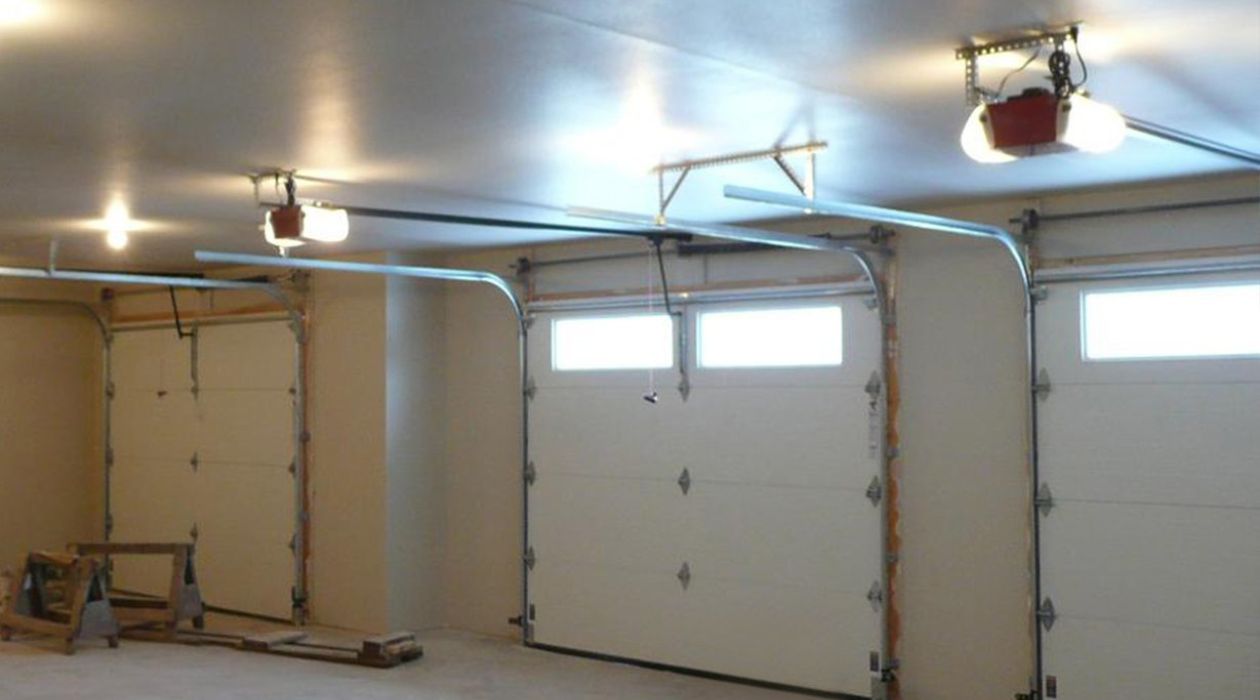
- Step 1: Access the garage door opener: Use a step ladder to safely access the garage door opener. Locate the motor unit or control panel, which is usually mounted on the ceiling of the garage. Ensure that the opener is powered off before proceeding.
- Step 2: Locate the frequency adjustment button: Look for a frequency adjustment button or switch on the motor unit or control panel. The appearance and location of this button may vary depending on the opener model. Consult the owner’s manual if you’re unsure about its location.
- Step 3: Activate the frequency change mode: Press and hold the frequency adjustment button for a specific duration of time, as indicated in the owner’s manual. This will activate the frequency change mode and trigger a visual or audible indication, such as a blinking light or a series of beeps.
- Step 4: Set the new frequency code or remote control: Depending on your garage door opener, you will either need to enter a new frequency code or program a new remote control. Follow the instructions provided by the manufacturer or in the owner’s manual to complete this step. Some openers may require manual adjustments on both the opener and the remote control, while others support wireless programming methods.
- Step 5: Test the new frequency: Once you have set the new frequency code or programmed the new remote control, it’s time to test the garage door opener. Power on the opener and ensure that it responds correctly to the remote control. Open and close the garage door multiple times to verify that the new frequency is functioning properly.
Keep in mind that these are general steps and the actual process may differ based on your garage door opener’s specific instructions. It’s crucial to refer to the owner’s manual for accurate and model-specific guidance.
If you encounter any difficulties during the process or if the garage door opener fails to respond properly after changing the frequency, consult the troubleshooting section in the owner’s manual or seek professional assistance.
By following these steps and the instructions provided by the manufacturer, you can successfully change the garage door frequency and improve the security, reliability, and functionality of your garage door opener.
Read more: How To Change A Garage Door Cable
Testing the New Frequency
After changing the garage door frequency, it’s crucial to test the functionality to ensure that the new frequency is working correctly. Testing allows you to verify that the garage door opener responds accurately to the remote control and operates smoothly. Follow these steps to test the new frequency:
- Step 1: Observe the indicator lights: Check the indicator lights on the garage door opener to ensure they are functioning as expected. These lights can provide valuable information about the status of the opener and any potential issues.
- Step 2: Stand clear of the door: Before testing, ensure that everyone is standing clear of the garage door and any potential hazards in the vicinity.
- Step 3: Activate the remote control: From a safe distance, press the button on your remote control to activate the garage door opener. Observe the response of the opener. The door should open smoothly and without hesitation.
- Step 4: Close the door: Once the door is opened, press the button on the remote control again to close it. The door should close securely and smoothly without any unusual noises or obstructions.
- Step 5: Repeat the test: Perform the open-close cycle multiple times to ensure consistent operation. Pay attention to any signs of hesitation, delays, or inaccuracies in the garage door movement.
- Step 6: Test from different distances: Move to different locations within your property and test the remote control from varying distances. This will help identify any potential range limitations or weak signal areas that may require additional adjustments.
- Step 7: Test other remote controls (if applicable): If you have multiple remote controls for your garage door opener, test each one to ensure they all operate smoothly with the new frequency.
During the testing process, pay attention to any unusual behavior, such as delays, inconsistent response, or erratic door movement. If you encounter any issues, consult the troubleshooting section of the owner’s manual or seek professional assistance if needed.
It’s important to note that testing the new frequency should be done in a controlled and safe manner, ensuring that there are no obstructions or hazards in the garage door’s path. Maintain a clear line of sight to the door and exercise caution during the testing process.
If the garage door opener passes the testing phase and operates smoothly with the new frequency, congratulations! You have successfully changed the garage door frequency, improving the security and functionality of your garage door opener.
Troubleshooting Common Issues
While changing the garage door frequency should result in smooth and reliable operation, there are instances where you may encounter some issues. Here are some common problems that may arise and steps to troubleshoot them:
1. Garage door not responding: If the garage door does not respond to the remote control after changing the frequency, start by checking the batteries of the remote. Replace them if necessary. Ensure that the remote control is properly programmed and synced with the garage door opener. Refer to the owner’s manual for instructions on reprogramming the remote control.
2. Inconsistent door operation: If the garage door operates erratically or inconsistently, there could be interference from other devices or neighboring garage door openers. Try changing the frequency again to a different channel. Make sure that all devices that may cause interference, such as cordless phones or Wi-Fi routers, are located away from the garage door opener.
3. Weak signal or limited range: If you experience a weak signal or limited range with the new frequency, check the positioning of the garage door opener’s antenna. Make sure it is properly extended and oriented towards the remote control. If the problem persists, consider installing a signal booster or contacting a professional to assess and improve the reception of the garage door opener.
4. Door reversing or not fully closing: If the garage door reverses immediately after hitting the floor or does not fully close, there may be an issue with the sensor alignment. Inspect and clean the safety sensors located on each side of the garage door frame. Ensure that they are properly aligned and free from obstructions. Test the door to see if the issue is resolved. If not, consult the owner’s manual or a professional technician for further assistance.
5. Remote control not working: If the remote control does not work at all after changing the frequency, try reprogramming it. Follow the instructions in the owner’s manual to sync the remote control with the garage door opener. If the problem persists, consider replacing the batteries or obtaining a new remote control that is compatible with the new frequency.
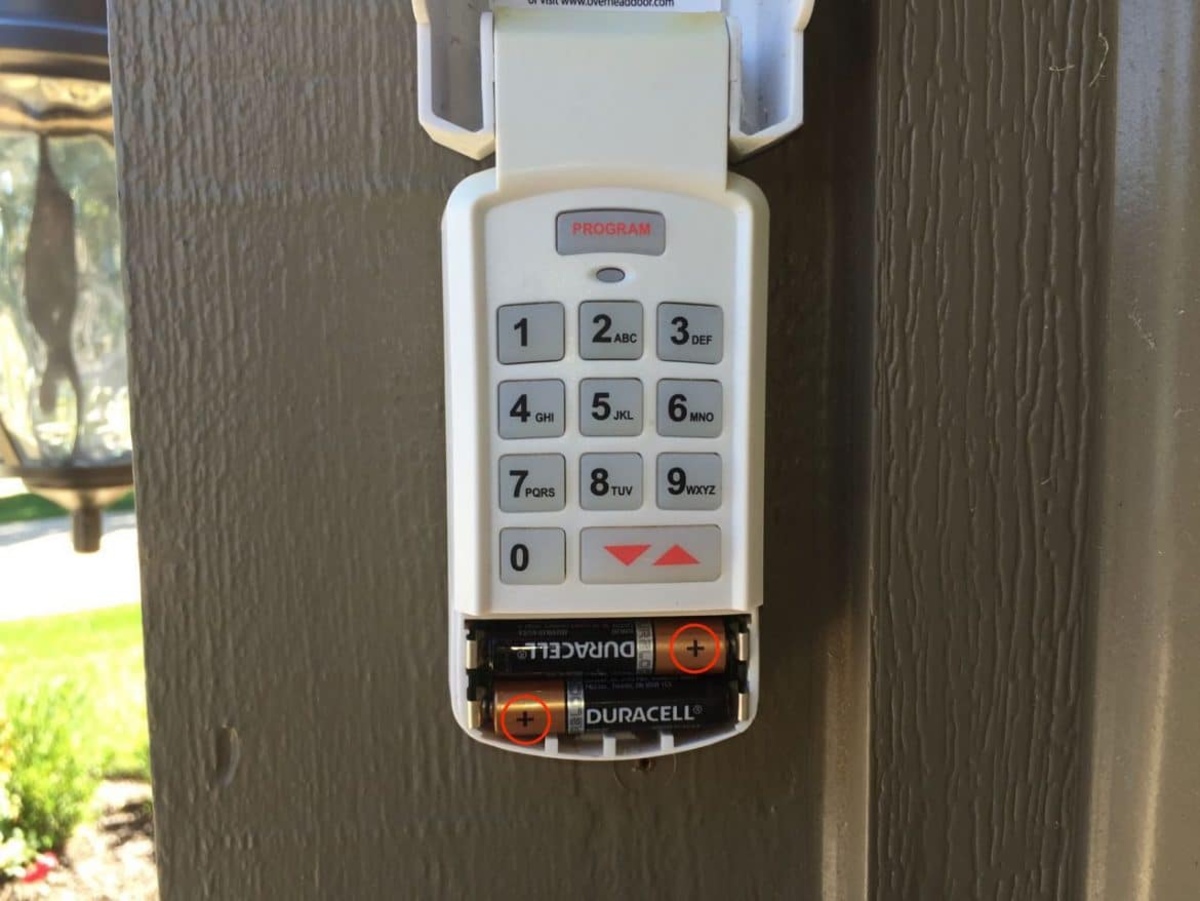
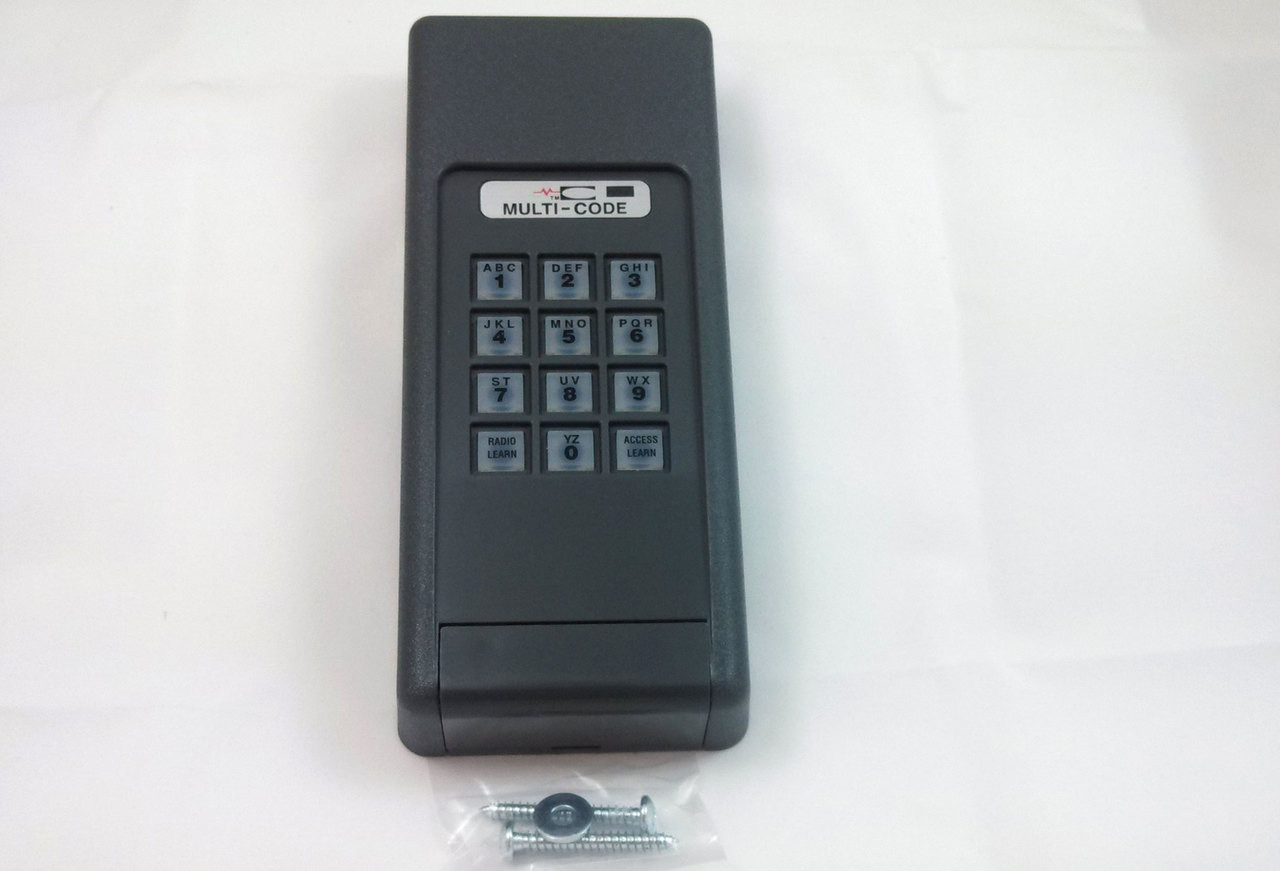
6. Unresponsive control panel: If the wall-mounted control panel inside your garage is unresponsive after changing the frequency, check the wiring connection. Ensure that all wires are securely attached and not damaged. If necessary, consult the owner’s manual for instructions on troubleshooting the control panel or seek professional assistance.
If you encounter any other issues not mentioned here or if the troubleshooting steps do not resolve the problem, it is recommended to consult the owner’s manual or contact a professional garage door technician. They will have the expertise to diagnose and address any specific issues with your garage door opener.
Remember, safety is paramount when troubleshooting garage door issues. Exercise caution and, if necessary, enlist the help of a professional to ensure proper and safe operation of your garage door opener.
Conclusion
Changing the garage door frequency is a crucial step for optimizing the security, functionality, and reliability of your garage door opener. By understanding the concept of frequency and the reasons for changing it, you can take control of your garage door’s operation and avoid interference issues.
In this article, we discussed the importance of understanding garage door frequency and the reasons why you might want to change it. We also provided a step-by-step guide to changing the garage door frequency, along with tips for testing the new frequency and troubleshooting common issues that may arise.
Remember, it’s essential to consult the owner’s manual for your specific garage door opener model to ensure accurate instructions and avoid any potential mistakes. If you encounter difficulties or uncertainties during the process, it’s advisable to seek professional assistance to ensure the safety and functionality of your garage door opener.
By taking the time to change the garage door frequency, you can enhance the security of your garage, avoid interference problems, and enjoy smooth and reliable operation. Regular maintenance and periodic checks of your garage door opener can help identify and resolve any issues before they become more significant problems.
We hope that this article has provided you with valuable insights and guidance on changing the garage door frequency. Taking control of your garage door’s frequency will contribute to a more secure and efficient home environment.
Frequently Asked Questions about How To Change Garage Door Frequency
Was this page helpful?
At Storables.com, we guarantee accurate and reliable information. Our content, validated by Expert Board Contributors, is crafted following stringent Editorial Policies. We're committed to providing you with well-researched, expert-backed insights for all your informational needs.


0 thoughts on “How To Change Garage Door Frequency”