
Articles
How To Change Turn Signal Light Bulb
Modified: December 7, 2023
Learn how to change a turn signal light bulb with our helpful articles. Find step-by-step instructions and tips for replacing your turn signal bulb.
(Many of the links in this article redirect to a specific reviewed product. Your purchase of these products through affiliate links helps to generate commission for Storables.com, at no extra cost. Learn more)
Introduction
In modern vehicles, turn signals play a crucial role in keeping you safe on the road. They allow you to indicate your intentions to other drivers, ensuring smooth and coordinated traffic flow. However, over time, the turn signal light bulbs may wear out or become damaged, diminishing their effectiveness. In such cases, it becomes necessary to replace the turn signal light bulb to maintain proper visibility and compliance with road regulations.
Changing a turn signal light bulb may sound daunting, but with the right tools and a little know-how, it can be a straightforward process. In this article, we will guide you through the step-by-step procedure of changing a turn signal light bulb in a vehicle. Whether you are a seasoned DIY enthusiast or a novice in car maintenance, following these instructions will help you complete the task safely and efficiently.
Before we begin, let’s gather the tools and materials needed for this task:
- Replacement turn signal light bulb
- Screwdriver (flathead or Phillips, depending on your vehicle)
- Work gloves (optional, but recommended for safety)
- Lint-free cloth or gloves to handle the new bulb
With these essentials at hand, you are ready to tackle the process of changing your turn signal light bulb. Let’s get started!
Key Takeaways:
- DIY guide to changing a turn signal light bulb, ensuring proper visibility and road safety. Gather tools, follow steps, and test the new bulb for a successful replacement.
- Save money and gain self-sufficiency by replacing turn signal light bulbs on your own. Follow the step-by-step process, test the lights, and stay safe on the road.
Read more: How To Change A Light Bulb
Tools and Materials Needed
Before diving into the process of changing a turn signal light bulb, it’s essential to gather the necessary tools and materials. Having everything ready will ensure a smooth and efficient replacement process. Here’s a list of what you’ll need:
- Replacement turn signal light bulb: Make sure to purchase the correct bulb for your specific vehicle make and model. Refer to your vehicle’s manual or consult with a reputable auto parts store to ensure you get the right bulb.
- Screwdriver: You may need either a flathead or a Phillips screwdriver, depending on the type of fasteners used to secure the turn signal housing. Check your vehicle’s manual or inspect the housing to determine which screwdriver is required.
- Work gloves (optional): While not mandatory, wearing work gloves can provide added protection to your hands, especially if you need to remove any sharp edges or if the bulb has shattered.
- Lint-free cloth or gloves: When handling the replacement bulb, it’s crucial to keep it clean and free from any contaminants. Using a lint-free cloth or gloves will prevent oils or dirt from transferring onto the new bulb.
Gathering these tools and materials beforehand will save you time and ensure a successful turn signal light bulb replacement. It’s also a good idea to work in a well-lit area, as it will make the process easier and help you see any small components or fasteners more clearly.
Now that you have everything you need, let’s move on to the step-by-step process of accessing and changing the turn signal light bulb in your vehicle.
Step 1: Preparation
Before you begin the process of changing the turn signal light bulb, it’s important to take some preparatory steps to ensure a smooth and safe experience. Follow these instructions to get started:
- Park the vehicle: Find a safe and level area to park your vehicle. Engage the parking brake and turn off the engine. This will prevent any accidental movements while you work on the turn signal light bulb.
- Locate the turn signal housing: Take a moment to familiarize yourself with the location of the turn signal housing. Typically, the front turn signal lights are located either on the front bumper, in the headlight assembly, or in the side mirror. The rear turn signal lights are usually located on the rear bumper or within the taillight assembly. Consult your vehicle’s manual if you are unsure about the exact location.
- Gather your tools and materials: Ensure that you have all the necessary tools and materials mentioned in the previous section. Having them readily available will streamline the process and prevent any delays.
- Put on protective gloves (optional): If you prefer to protect your hands from any sharp edges or debris, put on work gloves at this stage. It’s always better to prioritize safety during any automotive maintenance task.
- Inspect the turn signal housing: Take a moment to inspect the housing. Look for any visible damage, cracks, or signs of moisture inside the assembly. If you notice any issues, it may be an indication of a larger problem that requires professional attention.
By completing these preparatory steps, you are now ready to move on to accessing the turn signal light bulb. It’s essential to take these preliminary measures to ensure a smooth and hassle-free process.
Step 2: Access the Turn Signal Light Bulb
Now that you have prepared the necessary tools and materials, it’s time to access the turn signal light bulb. Follow these steps to gain access to the bulb:
- Identify the access point: Depending on your vehicle’s make and model, there are various ways to access the turn signal light bulb. This may involve removing a cover, bezel, or housing. Consult your vehicle’s manual or do some research to identify the specific access point for your turn signal light bulb.
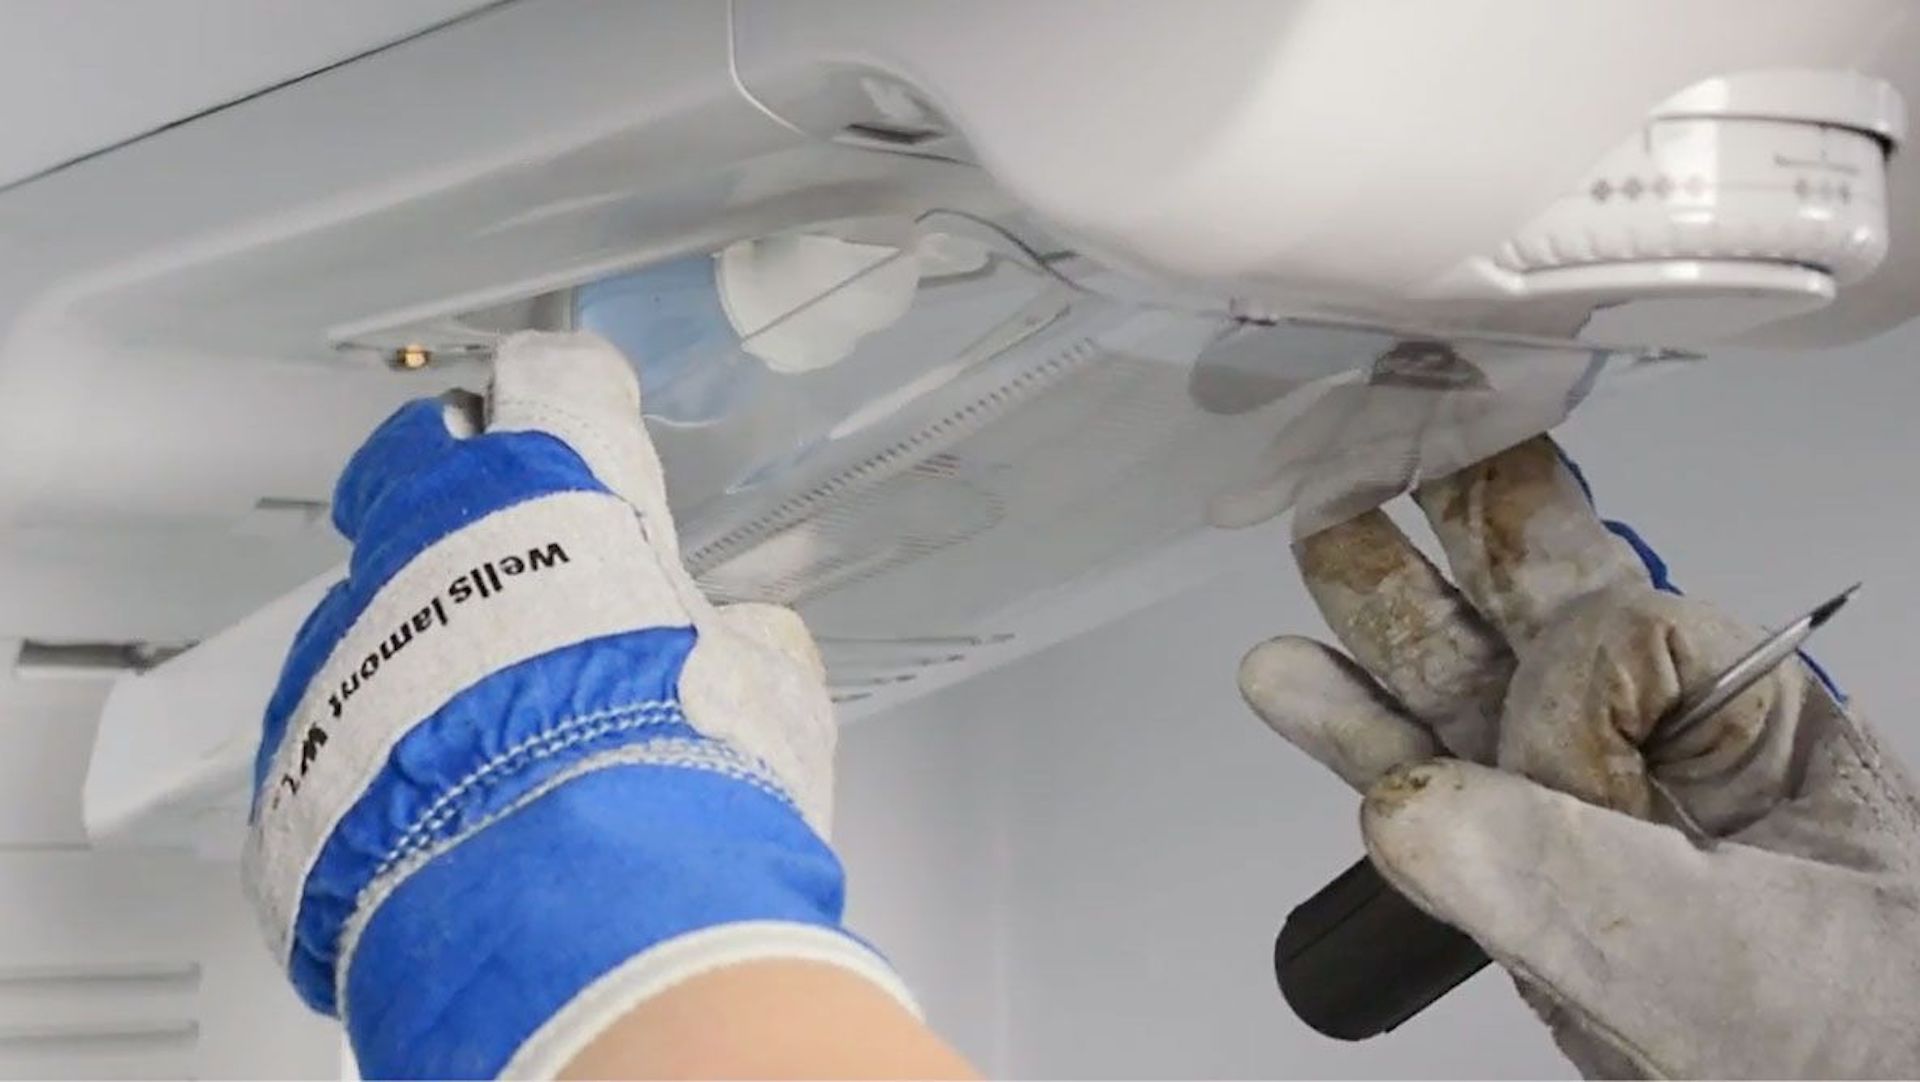
- Remove any covers or fasteners: If there are any covers or fasteners obstructing access to the turn signal housing, carefully remove them using the appropriate screwdriver or other tools. Be sure to keep track of any screws or clips so you can reassemble the housing later without any issues.
- Inspect the wiring: Once you have removed any covers or fasteners, take a moment to inspect the wiring harness connected to the turn signal light bulb. Ensure that the wires are intact and free from any damage.
- Disconnect the wiring harness: With the inspection complete, gently disconnect the wiring harness from the bulb. Depending on the type of connection, you may need to press a tab or release a locking mechanism to separate the two.
- Remove the bulb socket: Next, locate the bulb socket that holds the turn signal light bulb. Rotate the socket counterclockwise until it loosens and can be removed. Be cautious not to apply excessive force, as it may cause damage to the socket or the surrounding components.
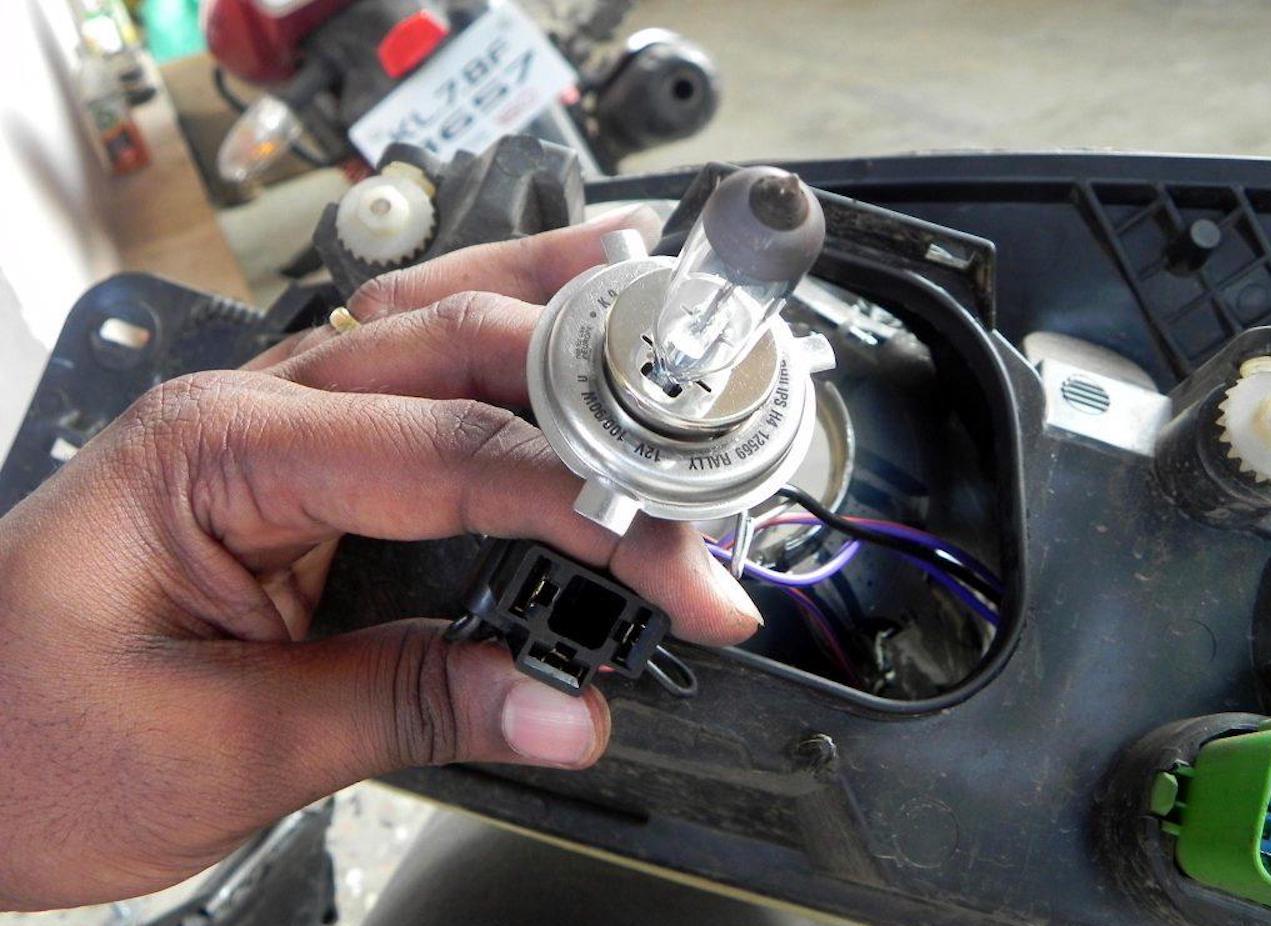
- Retrieve the old bulb: Carefully pull out the old turn signal light bulb from the socket. Take note of its orientation and how it is inserted so that you can correctly install the new bulb later.
By following these steps, you have successfully accessed the turn signal light bulb. Take your time during this process to avoid any potential damage or mishaps. Next, we’ll move on to removing the old bulb.
Step 3: Remove the Old Bulb
Now that you have accessed the turn signal light bulb, it’s time to remove the old bulb. Follow these steps to safely remove the old bulb:
- Inspect the old bulb: Before proceeding, take a moment to inspect the old bulb for any signs of damage or discolouration. This can help diagnose any underlying issues that may have caused the bulb to fail.
- Dispose of the old bulb: Properly dispose of the old bulb in a designated recycling or disposal bin. If the bulb is intact, it can be recycled. However, if it is broken or damaged, handle it with care and dispose of it in accordance with local regulations to prevent any potential harm.
- Prepare the new bulb: Unpack the replacement turn signal light bulb and handle it with clean hands or wear gloves to prevent any dirt or oil from getting on the bulb. Avoid touching the glass part of the bulb, as the oils from your skin can cause it to heat unevenly and reduce its lifespan.
- Insert the new bulb: Align the new bulb with the bulb socket and insert it carefully. Ensure that it sits securely and is fully inserted. Avoid using excessive force, as it can damage the bulb or the socket.
- Rotate the socket and secure it: With the new bulb in place, reinstall the bulb socket by rotating it clockwise until it is securely fastened. Ensure that it is properly aligned and tight.
- Reconnect the wiring harness: Reconnect the wiring harness to the bulb socket by carefully aligning the terminals and pressing them together. Listen for a click or ensure that they are securely connected.
- Test the new bulb: Before reassembling the turn signal housing, test the new bulb to ensure it is functioning correctly. Turn on your vehicle’s hazard lights or activate the turn signal to see if the new bulb illuminates and blinks at the expected rate.
By following these steps, you have successfully removed the old turn signal light bulb and replaced it with a new one. It’s important to handle the bulbs with care and follow proper disposal procedures to ensure safety and environmental responsibility. Now, let’s move on to installing the new bulb in the turn signal housing.
When changing a turn signal light bulb, make sure to consult your vehicle’s manual for the specific instructions and the type of bulb needed. Use gloves to avoid getting oils from your skin on the new bulb, which can cause it to burn out prematurely.
Read more: How To Change A Brake Light Bulb
Step 4: Install the New Bulb
With the old bulb successfully removed, it’s time to install the new turn signal light bulb. Follow these steps to ensure a proper installation:
- Double-check the bulb orientation: Before inserting the new bulb into the turn signal housing, ensure that its orientation matches the position of the old bulb. This will prevent any issues with the bulb’s functionality or fitment.
- Position the new bulb in the socket: Carefully insert the new bulb into the bulb socket. Align the base of the bulb with the socket and gently push it in until it is securely in place. Avoid touching the glass part of the bulb, as the oils from your skin can lead to premature failure.
- Rotate the socket to secure the bulb: Once the new bulb is in place, rotate the socket clockwise to lock it into position. Ensure that it is properly aligned and tightened to prevent any loose connections.
- Reconnect the wiring harness: Reconnect the wiring harness to the bulb socket. Align the terminals and firmly press them together until you hear or feel a click, indicating that they are securely connected.
- Test the new bulb: Before proceeding further, test the new turn signal light bulb to ensure that it is functioning correctly. Activate your vehicle’s turn signal or hazard lights and observe the newly installed bulb. Verify that it illuminates and blinks at the expected rate. Make any necessary adjustments if the new bulb is not functioning properly.
By following these steps, you have successfully installed the new turn signal light bulb into the socket. It’s important to handle the new bulb with care and ensure that it is securely fastened to prevent any issues while driving. In the next step, we will test the turn signal lights to ensure they are working correctly.
Step 5: Test the Turn Signal Lights
After installing the new turn signal light bulb, it’s crucial to test the turn signal lights to ensure they are functioning correctly. Follow these steps to perform a thorough test:
- Start the engine: Turn on your vehicle’s engine to provide power to the turn signal lights.
- Activate the turn signals: Engage the turn signal lever to activate the corresponding turn signal lights. Take note of both the front and rear turn signal lights on both sides of the vehicle.
- Observe the lights: Pay close attention to the turn signal lights to ensure they are illuminating and blinking at the expected rate. Verify that the lights on both sides of the vehicle are working correctly.
- Check for any issues: Look for any abnormalities, such as dim or flickering lights, fast or slow blinking, or any lights that are not functioning at all. If you notice any issues, it may indicate a wiring problem or a faulty bulb installation that requires further investigation.
- Test other lighting functions: While you’re at it, take the opportunity to test other lighting functions, such as the headlights, taillights, and brake lights. Ensure that all lights are working as expected and replace any faulty bulbs if necessary.
Testing the turn signal lights is a crucial step to confirm that the installation was successful and that the new bulb is functioning correctly. If any issues are detected during the test, it’s important to address them promptly to maintain proper visibility and comply with road safety regulations. In the next step, we’ll reassemble the turn signal housing.
Step 6: Reassemble the Turn Signal Housing
With the turn signal light bulb successfully installed and tested, it’s time to reassemble the turn signal housing. Follow these steps to complete the process:
- Retrieve any removed covers or fasteners: If you had to remove any covers or fasteners to access the turn signal housing, locate them and ensure they are within reach.
- Position the housing back in place: Carefully align the turn signal housing with its original position on the vehicle. Take note of any alignment markers or guides to ensure you position it correctly.
- Reattach the covers or fasteners: Using the appropriate screwdriver or other tools, reattach any covers or fasteners that were previously removed. Ensure that they are tightened securely, but be cautious not to overtighten as it may cause damage to the housing or surrounding components.
- Double-check the housing’s stability: Ensure that the turn signal housing is securely attached and does not have any excessive movement or looseness. A properly installed housing should be stable and securely fastened.
- Repeat the process for other turn signal lights: If you had to change bulbs on multiple turn signal lights, repeat the previous steps for each one, ensuring that you follow the proper procedure and handle the bulbs with care.
- Test the turn signal lights once again: After reassembling the turn signal housing, perform a final test of the turn signal lights to confirm that all bulbs are functioning correctly. Activate the turn signals and observe the lights to ensure they are illuminating and blinking as expected.
By following these steps, you have successfully reassembled the turn signal housing and completed the process of changing the turn signal light bulb. It’s important to ensure that the housing is securely attached to prevent any issues while driving. Lastly, don’t forget to dispose of any packaging materials and old bulbs responsibly. Congratulations on successfully completing this DIY maintenance task!
It is worth noting that the process of changing a turn signal light bulb may vary slightly depending on the make and model of your vehicle. Always refer to your vehicle’s manual for specific instructions and seek professional advice if you encounter any difficulties or uncertainties during the process.
Conclusion
Changing a turn signal light bulb may seem like a daunting task, but with the right tools and a little know-how, it can be a straightforward process. By following the step-by-step instructions outlined in this article, you can successfully replace a turn signal light bulb in your vehicle, ensuring proper visibility and compliance with road safety regulations.
Throughout the process, we have highlighted important steps, from preparation and accessing the turn signal housing to removing the old bulb, installing the new bulb, testing the turn signal lights, and reassembling the housing. By carefully following each step and taking your time, you can complete the task safely and efficiently.
Remember to gather the necessary tools and materials before starting, and always handle the new bulb with care to prevent any damage or premature failure. Additionally, don’t forget to test the turn signal lights to ensure that they are functioning correctly, and reassemble the housing securely.
It’s important to note that the specific steps and procedures may vary slightly depending on your vehicle make and model. Always consult your vehicle’s manual for manufacturer-specific instructions and seek professional advice if you have any questions or concerns.
By changing the turn signal light bulb on your own, not only do you save money that otherwise would have been spent on professional help, but you also gain a sense of accomplishment and self-sufficiency. However, if you feel uncomfortable or unsure about performing this task, it’s always best to seek the assistance of a qualified mechanic or technician.
Remember, maintaining proper turn signal lights is essential for your safety and the safety of others on the road. By regularly inspecting and replacing faulty light bulbs, you contribute to a safer driving experience for everyone.
We hope this guide has provided you with the necessary knowledge and confidence to change a turn signal light bulb in your vehicle. Stay safe on the road and happy driving!
Frequently Asked Questions about How To Change Turn Signal Light Bulb
Was this page helpful?
At Storables.com, we guarantee accurate and reliable information. Our content, validated by Expert Board Contributors, is crafted following stringent Editorial Policies. We're committed to providing you with well-researched, expert-backed insights for all your informational needs.





0 thoughts on “How To Change Turn Signal Light Bulb”