Articles
How To Clean A Ceiling
Modified: October 20, 2024
Learn the best techniques and tips for cleaning a ceiling with our informative articles. Say goodbye to dirt and grime with our expert advice.
(Many of the links in this article redirect to a specific reviewed product. Your purchase of these products through affiliate links helps to generate commission for Storables.com, at no extra cost. Learn more)
Introduction
Cleaning the ceiling may not be the most glamorous task, but it is an essential part of maintaining a clean and healthy home. Over time, ceilings can accumulate dust, dirt, stains, and even grease or smoke buildup. Neglecting to clean your ceiling can not only affect the overall appearance of your space but can also lead to health issues, such as allergies or respiratory problems.
Fortunately, with the right tools and techniques, cleaning a ceiling doesn’t have to be a daunting chore. In this article, we will guide you through the step-by-step process of cleaning different types of ceilings, from removing dust and stains to dealing with grease or smoke build-up. So, roll up your sleeves, put on your cleaning gear, and let’s get started!
Key Takeaways:
- Regularly cleaning and maintaining your ceiling is essential for a clean and healthy home environment. Proper preparation, dusting, stain removal, and safety measures are key to achieving sparkling, refreshed ceilings.
- By following the step-by-step process and safety tips, you can effectively remove dust, stains, and build-up from your ceilings, contributing to a healthier indoor environment and enhancing the aesthetic appeal of your space.
Read more: How To Clean Porch Ceiling
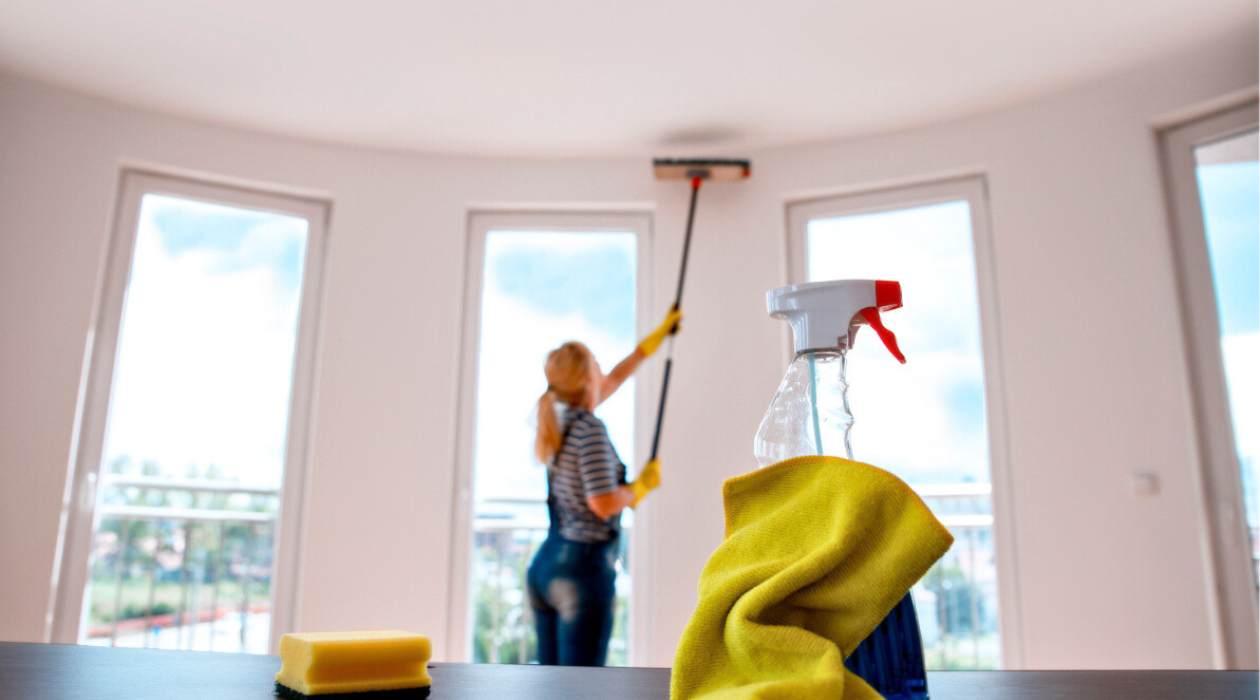
Tools and Supplies Needed
Before you begin cleaning your ceiling, gather the necessary tools and supplies. Here’s a list of what you’ll need:
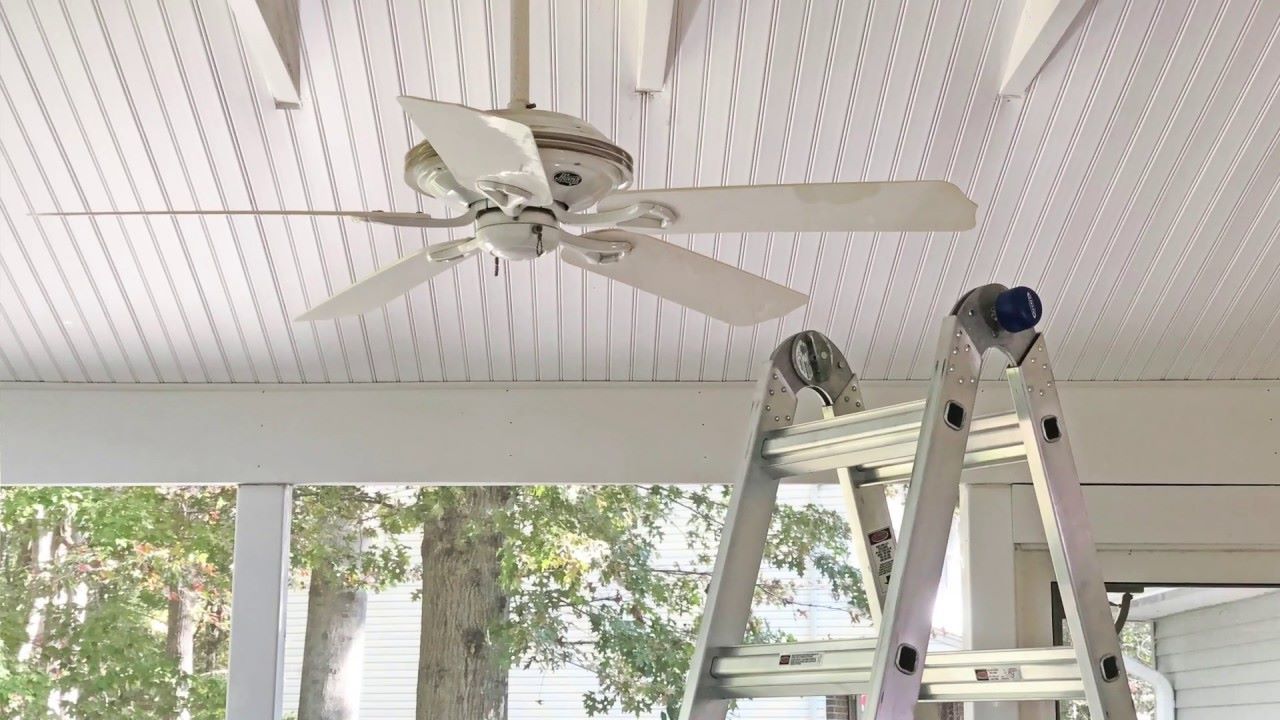
- Ladder or step stool: Depending on the height of your ceiling, you may need a sturdy ladder or step stool to reach it safely. Ensure the ladder is stable and secure before climbing.
- Dust mask: Protect yourself from inhaling dust particles by wearing a dust mask.
- Microfiber cloths: These are ideal for dusting and gently cleaning ceiling surfaces.
- Broom or duster with an extension pole: An extendable broom or duster will make it easier to remove dust from high ceilings or hard-to-reach areas.
- Vacuum cleaner: If your ceiling is heavily dusted, a vacuum cleaner with a brush attachment can help speed up the process.
- Bucket: Fill a bucket with warm water for cleaning solutions.
- Cleaning solution: Choose a gentle cleaning solution suitable for your ceiling material. Avoid harsh chemicals that may damage the surface.
- Sponge or soft cloth: Use a sponge or soft cloth to apply and wipe off the cleaning solution.
- Stain remover: If your ceiling has stubborn stains, have a stain remover on hand that is safe for your ceiling material.
- Protective sheets or plastic drop cloths: Cover your furniture and flooring beneath the ceiling to prevent any potential damage or mess.
- Ceiling repair kit (optional): If your ceiling has minor damage or cracks, consider having a ceiling repair kit available to patch and repair as needed.
Having these tools and supplies ready will ensure a smooth and efficient cleaning process. Now that you have everything you need, let’s move on to the next step: preparation.
Preparation
Before you start cleaning your ceiling, it’s important to properly prepare the area to minimize mess and protect any furniture or flooring underneath. Here are the steps to follow:
- Clear the room: Remove any furniture, decorations, or light fixtures from the area you will be cleaning. If moving large furniture is not possible, cover them with protective sheets or plastic drop cloths to prevent any potential damage.
- Protect the floor: Lay down additional protective sheets or drop cloths on the floor beneath the area you will be cleaning. This will catch any debris or cleaning solution that may fall during the cleaning process.
- Turn off the power: If you plan to clean ceiling fans or any electrical fixtures, turn off the power to avoid any accidents or damage. It is important to ensure your safety before working on any electrical components.
- Open windows or use a fan: Proper ventilation is key when cleaning ceilings. Open windows or use a fan to ensure there is proper airflow in the room, especially if you will be using cleaning solutions.
- Put on protective gear: Before you begin, wear a dust mask, gloves, and protective eyewear to shield yourself from dust, debris, and cleaning chemicals.
By following these preparation steps, you will create a clean and safe environment for your ceiling cleaning project. With the area properly prepped, it’s now time to move on to the actual cleaning process. Let’s get rid of those dust and stains!
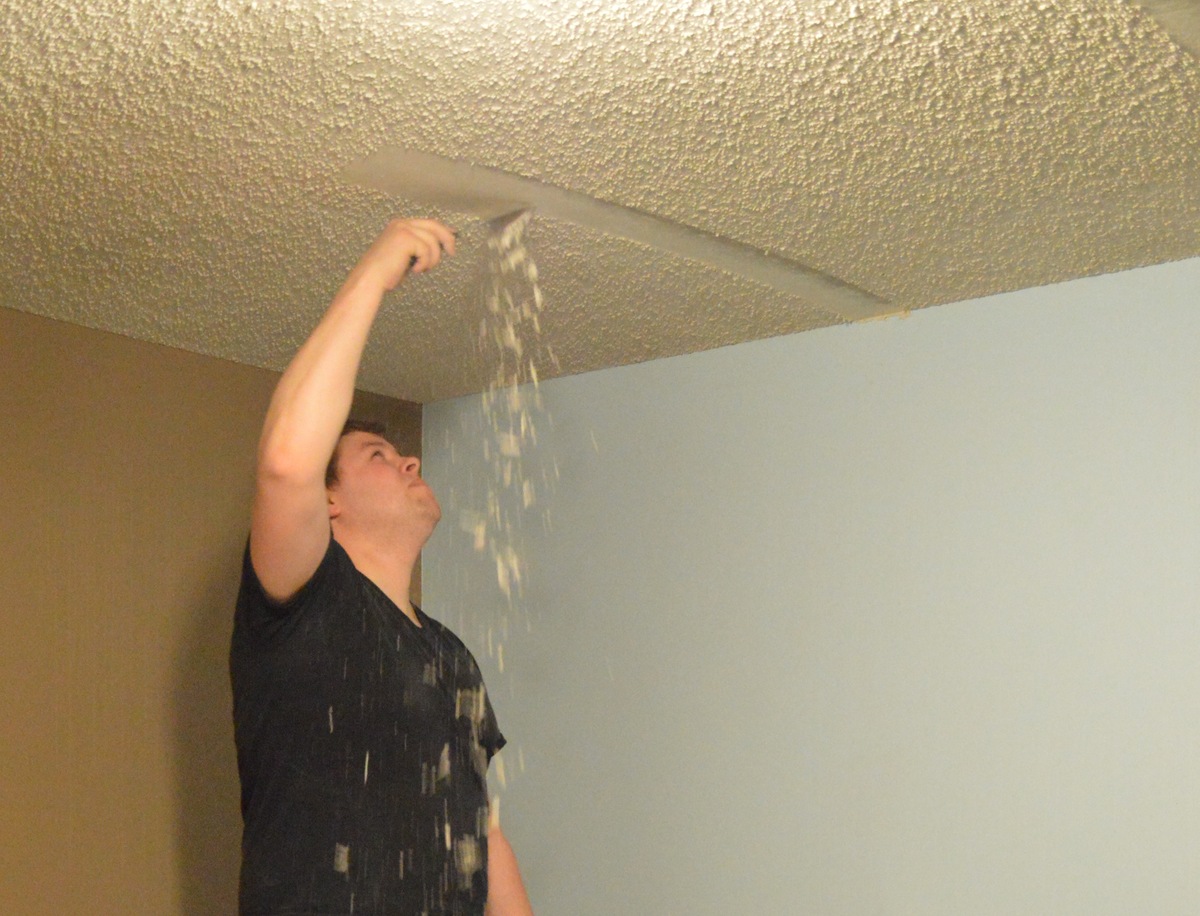
Dusting the Ceiling
Dusting the ceiling is the first step in the cleaning process and is essential to remove any surface-level dirt, dust, or cobwebs. Here’s how to do it:
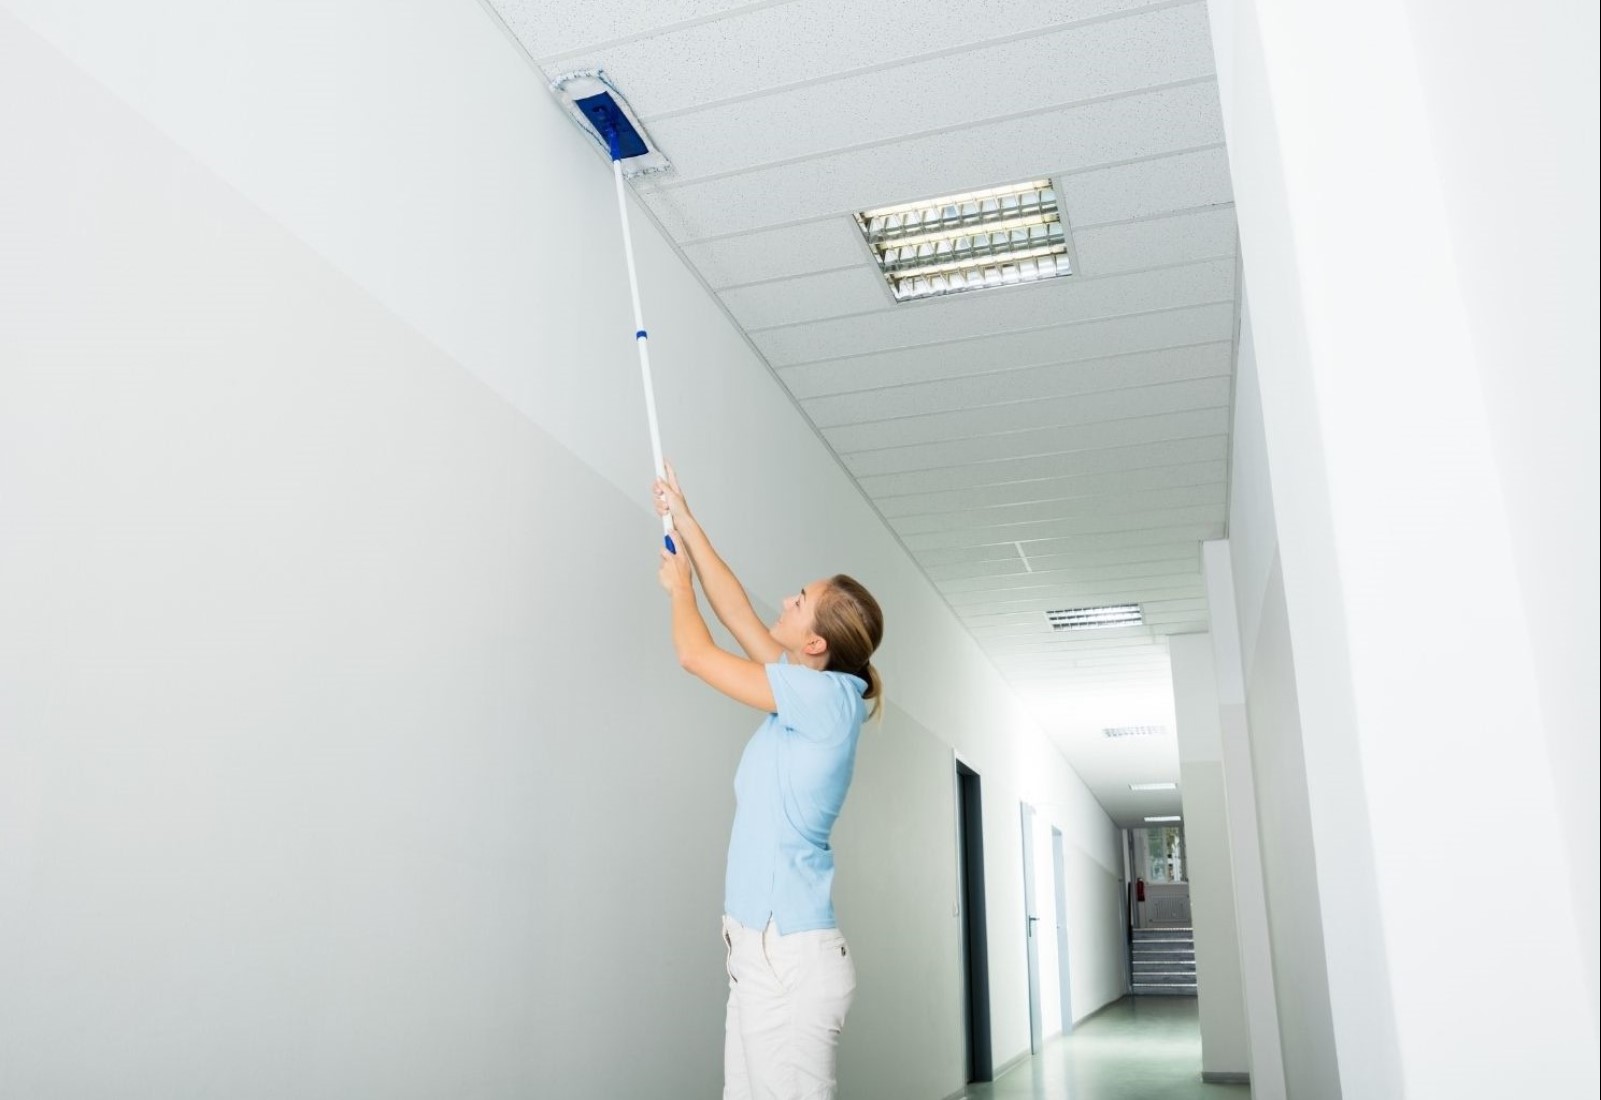
- Start with a clean microfiber cloth: Use a clean microfiber cloth or a duster with an extension pole to reach high ceilings. Ensure the cloth is dry and free from any debris.
- Dust from top to bottom: Work your way across the ceiling, starting from one corner and moving horizontally. Gradually move towards the opposite corner to ensure complete coverage.
- Use gentle, sweeping motions: Gently sweep the cloth or duster across the ceiling, applying slight pressure to remove loose dust. Avoid pressing too hard to prevent any damage to the surface.
- Pay attention to corners and edges: Dust tends to accumulate in corners and along the edges of the ceiling. Take extra care to thoroughly clean these areas.
- Change or clean the cloth as needed: If the cloth becomes too dirty, replace it with a fresh one or give it a quick shake outside to remove the accumulated dust.
Remember to work systematically and cover the entire ceiling surface. Be patient and thorough in your approach to achieve the best results. Once you have completed the dusting process, you can move on to the next step: removing stains, if any.
Removing Stains
If your ceiling has stains, it’s important to address them before proceeding with a general cleaning. Stains on the ceiling can be caused by water damage, smoke, or other factors. Here’s how you can remove different types of stains:
- Water stains: Water stains are common on ceilings, especially if there has been a leak or water damage. To remove water stains, mix equal parts water and white vinegar in a spray bottle. Spray the solution onto the stained area, and gently scrub with a soft cloth or sponge. If the stain persists, you can try using a commercial stain remover specifically designed for ceilings.
- Smoke stains: Smoke stains can occur from cooking or smoking indoors. Combine a tablespoon of dish soap with warm water in a bucket. Dip a sponge or cloth into the solution and gently scrub the smoke-stained area. If the stain remains, you may need to use a stronger cleaning solution or consult a professional.
- Mildew or mold stains: If you notice mold or mildew stains on your ceiling, it’s crucial to address them promptly to prevent further spread. Mix a solution of one part bleach to three parts water in a spray bottle. Spray the solution on the affected area, let it sit for a few minutes, then gently scrub with a sponge or cloth. Rinse the area with water and ensure proper ventilation to prevent mold or mildew from returning.
- Other stains: Depending on the type of stain, you may need to use a specific stain remover or cleaner. Check the instructions on the stain remover and follow them accordingly. Always test the cleaner or stain remover in a small, inconspicuous area before applying it to a larger portion of the ceiling.
Remember to be cautious while working with stain removers and cleaning solutions. Follow the safety instructions provided by the manufacturer and ensure the room is well-ventilated. After successfully removing the stains, you can proceed to the next step: cleaning the ceiling with a suitable solution.
Read more: How To Clean Ceilings And Moldings
Cleaning with a Solution
After dusting and removing stains from your ceiling, it’s time to give it a thorough cleaning using a suitable solution. Here’s how you can clean your ceiling with a solution:
- Choose the right cleaning solution: Select a gentle cleaning solution that is appropriate for the type of ceiling material you have. For most ceilings, a mixture of warm water and mild dish soap should suffice.
- Prepare the cleaning solution: Fill a bucket with warm water and add a few drops of dish soap. Mix the solution gently until it creates a soapy consistency.
- Dampen a sponge or soft cloth: Dip a sponge or soft cloth into the cleaning solution, making sure it is not dripping wet.
- Wring out excess water: Before using the dampened sponge or cloth, gently squeeze out any excess water to prevent excessive moisture on the ceiling.
- Clean the ceiling: Starting from one corner, gently wipe the ceiling using long, even strokes. Work your way across the ceiling, ensuring even coverage.
- Pay attention to stubborn spots: For any spots that require extra attention, gently scrub using circular motions. Be careful not to apply too much pressure to avoid damaging the surface.
- Rinse with clean water: Fill a separate bucket or bowl with clean water and use a clean sponge or cloth to rinse off the soap residue from the ceiling. Avoid saturating the ceiling with water.
- Dry the ceiling: After rinsing, use a clean, dry cloth to gently pat or wipe the ceiling dry. Ensure the ceiling is completely dry to prevent water spots or additional stains.
It’s important to note that some ceiling materials, such as acoustic tiles or textured ceilings, may require special cleaning methods. Always refer to the manufacturer’s instructions or consult a professional if you are unsure about the appropriate cleaning method for your specific ceiling type.
Once you have finished cleaning the ceiling, you can move on to addressing any grease or smoke build-up that may have accumulated over time.
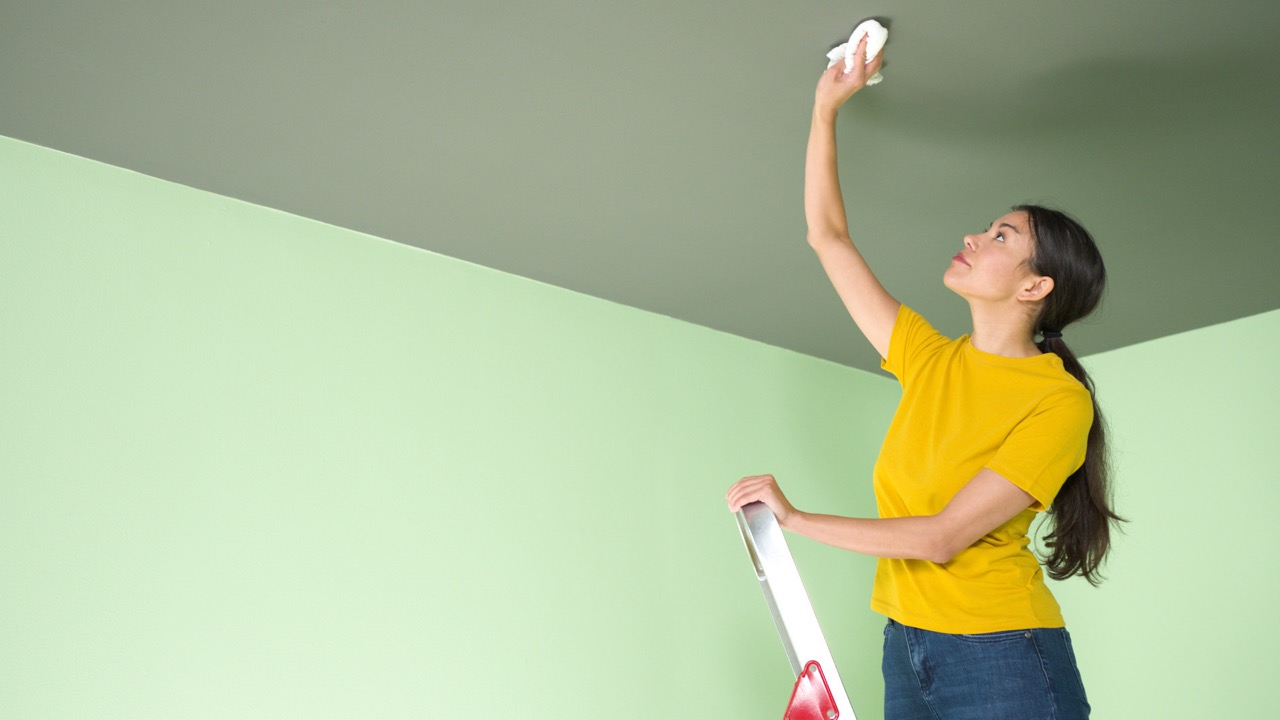
Use a long-handled duster or microfiber cloth to gently wipe the ceiling, starting from one corner and working your way across. For tougher stains, mix warm water with mild dish soap and gently scrub the area with a soft sponge. Always test a small, hidden area first.
Dealing with Grease or Smoke Build-Up
If your ceiling has been exposed to grease or smoke, it may require additional cleaning methods to effectively remove the build-up. Here are some techniques to help you deal with grease or smoke stains on your ceiling:
- Identify the affected areas: Inspect the ceiling for grease or smoke build-up. These areas are often more noticeable near kitchen areas or rooms where smoking frequently occurs.
- Create a cleaning solution: In a bucket, mix a solution of warm water and a mild dish soap. This solution will help break down the grease or smoke residue.
- Dampen a sponge or cloth: Dip a sponge or cloth into the cleaning solution, making sure it is not dripping wet.
- Gently scrub the affected areas: Begin scrubbing the greasy or smoky areas of the ceiling using circular motions. Apply light pressure as needed, being cautious not to damage the ceiling surface.
- Rinse and dry: Once you have scrubbed the affected areas, rinse the sponge or cloth with clean water and gently wipe away the soapy residue. Use a separate clean, dry cloth to pat or wipe the ceiling dry.
- Repeat if necessary: Depending on the severity of the grease or smoke build-up, you may need to repeat the cleaning process multiple times. Be patient and persistent, ensuring that you thoroughly remove the residue.
- Consider using a degreaser: If the grease build-up is particularly stubborn, you may need to use a specialized degreaser. Follow the instructions on the degreaser product and take necessary safety precautions.
It’s important to note that ceilings near cooking areas may require more frequent cleaning to prevent excessive grease build-up. Regularly cleaning your kitchen exhaust fan and using proper ventilation while cooking can also help reduce grease and smoke accumulation on the ceiling.
Now that you’ve addressed any specific issues with grease or smoke build-up, it’s time to move on to cleaning ceiling fans, if you have them.
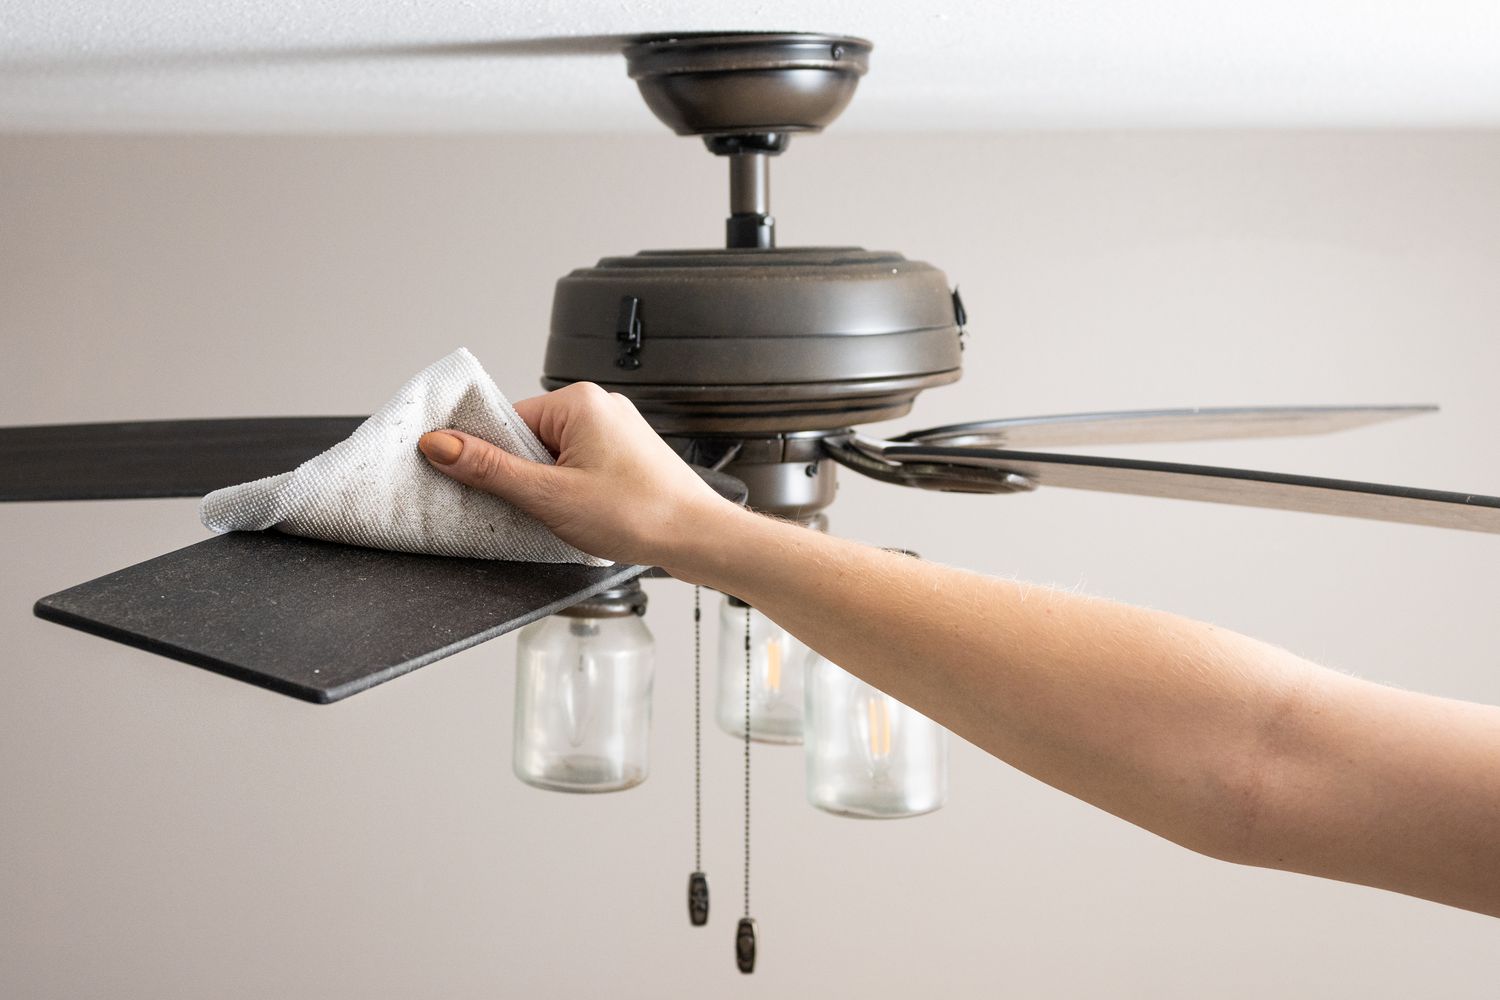
Cleaning Ceiling Fans
Ceiling fans not only help keep the room cool but also tend to accumulate dust and dirt over time. Cleaning them regularly not only improves their performance but also prevents the spread of dust and allergens in the air. Here’s how you can clean your ceiling fans:
- Turn off the power: Before cleaning the ceiling fan, switch off the power to avoid any accidents. Locate the circuit breaker or use the wall switch to turn off the fan.
- Prepare your cleaning tools: Gather a ladder or step stool, a pillowcase or clean cloth, a vacuum cleaner with a brush attachment, and a cleaning solution (mild dish soap and water will suffice).
- Dust the fan blades: Stand on the ladder or the step stool and use a pillowcase or cloth to wipe each fan blade. Start from the fan’s outer edge and move inwards, capturing the dust within the pillowcase or cloth. Alternatively, you can use a vacuum cleaner with a brush attachment to gently remove the dust from the fan blades.
- Clean the fan housing: If the fan housing has accumulated dust, use a cloth dampened with a mild cleaning solution to wipe it down. Be careful not to wet the electrical components or the motor.
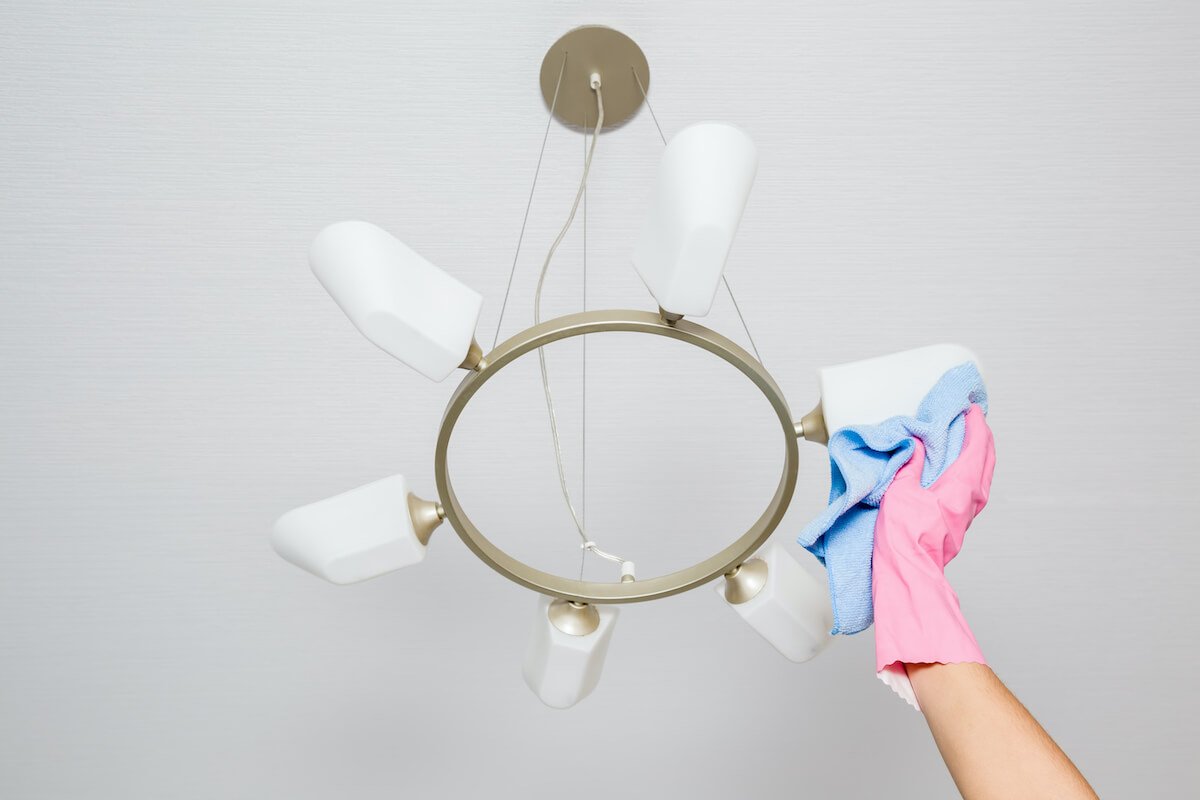
- Check and clean the light fixture (if applicable): If your ceiling fan has a built-in light fixture, detach the light cover and wipe it clean with a cloth dampened with a mild cleaning solution. Ensure the fixture is completely dry before reattaching it.
- Inspect for any loose screws or parts: While cleaning the fan, take the opportunity to check for any loose screws or parts. Tighten them if necessary to ensure the fan is secure and stable.
- Switch on the fan and monitor for any issues: After cleaning, switch on the fan and observe its operation for any unusual noises or wobbling. If you notice any issues, it may be necessary to consult a professional for further examination or maintenance.
By regularly cleaning your ceiling fans, you not only maintain their performance but also contribute to a cleaner and healthier living environment. Now that your ceiling fans are clean, it’s time to address any patching or repairing needs on your ceilings.
Patching and Repairing Damaged Ceilings
Over time, ceilings may develop cracks, holes, or other types of damage. Patching and repairing these issues not only improves the appearance of your ceiling but also prevents further deterioration. Here’s how you can patch and repair damaged ceilings:
- Assess the damage: Carefully inspect the damaged area of the ceiling to determine the extent of the problem. Look for cracks, holes, or any signs of water damage.
- Clean the damaged area: Before proceeding with any repairs, clean the damaged area by removing dust, loose particles, or debris. Use a dry cloth or brush to gently clean the area.
- Small cracks and holes: For small cracks and holes, you can use a premixed joint compound or spackle. Apply the compound with a putty knife, spreading it evenly over the damaged area. Allow it to dry according to the product instructions, then sand and smooth the surface before applying paint to match the surrounding ceiling.
- Large holes or extensive damage: For larger holes or more extensive damage, you may need additional materials such as drywall or ceiling patch kits. Follow the instructions provided with the patching materials to cut out the damaged section and attach the patch. Apply joint compound or spackle over the patch, sand, and smooth the surface before painting.
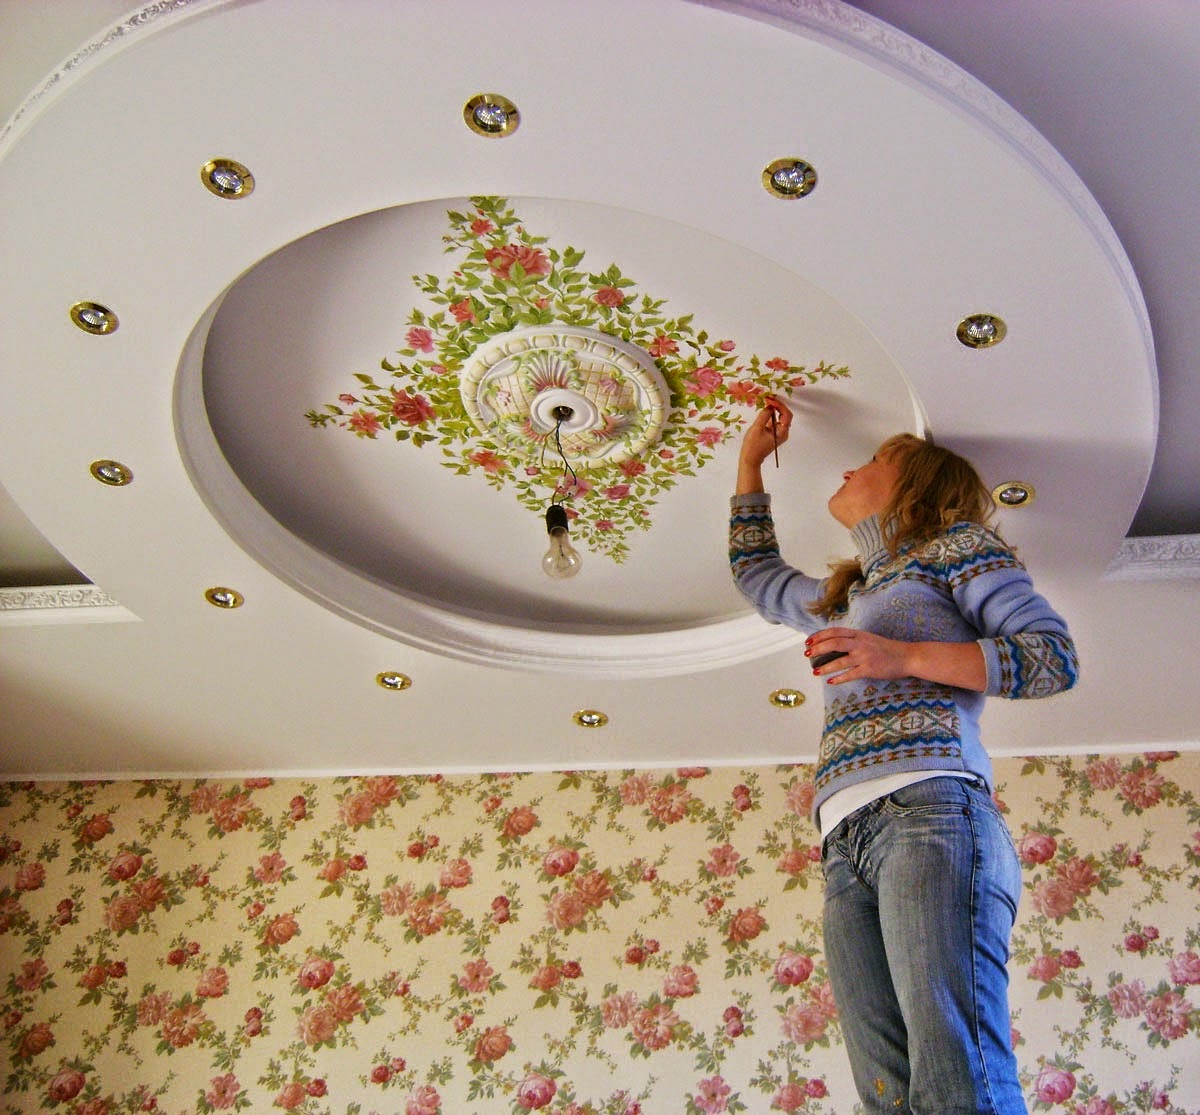
- Painting the repaired area: Once the patched area is completely dry and smooth, you can paint it to match the rest of the ceiling. Use the appropriate type of paint and follow the manufacturer’s instructions for application.
- Consider professional help: If you are unsure about patching and repairing larger or more complex ceiling damages, or if the damage is caused by structural issues, it is best to seek professional help. A qualified contractor or handyman can assess the situation and provide the necessary repairs.
Properly patching and repairing damaged ceilings not only restores their aesthetic appeal but also ensures the structural integrity of your home. By addressing these issues promptly, you can prevent further damage and save yourself from more extensive repairs in the future.
Now that you have learned how to patch and repair damaged ceilings, it’s important to keep in mind some safety tips to ensure your well-being during the cleaning process.
Read more: How To Clean Kitchen Ceiling
Safety Tips
When cleaning a ceiling or performing any maintenance tasks, it’s important to prioritize safety to avoid accidents or injuries. Here are some safety tips to keep in mind:
- Use a sturdy ladder or step stool: When reaching high ceilings, ensure you have a stable and secure ladder or step stool. Follow the manufacturer’s instructions for proper setup and use.
- Wear protective gear: Protect yourself from dust, debris, and cleaning chemicals by wearing appropriate protective gear, such as a dust mask, gloves, and safety goggles.
- Turn off power to electrical fixtures: Before cleaning ceiling fans or any electrical fixtures, turn off the power to avoid any electric shocks or accidents. Double-check that the power is off before proceeding.
- Ensure proper ventilation: When working with cleaning solutions or chemicals, make sure the room is well-ventilated. Open windows or use fans to circulate fresh air and prevent inhaling fumes.
- Test cleaning solutions on a small area: Before applying any cleaning solution to a larger area of the ceiling, test it on a small, inconspicuous spot to ensure it doesn’t cause damage or discoloration.
- Be cautious with ladders: When using a ladder, always maintain three points of contact (two feet and one hand or two hands and one foot) for stability. Keep the ladder on a flat surface and avoid overreaching.
- Take breaks when needed: Ceiling cleaning can be physically demanding. Take regular breaks to avoid overexertion or fatigue, especially if you’re working on a large area.
- Work with a partner if necessary: If your ceiling cleaning project requires working at heights or handling heavy equipment, consider having a partner assist you to ensure your safety.
By following these safety tips, you can minimize the risks associated with cleaning and maintaining your ceiling. Remember, safety should always be your top priority.
With the cleaning process complete and safety measures in place, you can now step back and admire your sparkling clean and refreshed ceiling.
Conclusion
Cleaning the ceiling may not be the most glamorous task, but it is an important part of maintaining a clean and healthy home. By following the right techniques and using the appropriate tools, you can effectively remove dust, stains, grease, and smoke build-up from your ceilings.
In this article, we discussed the step-by-step process of cleaning ceilings. We covered everything from gathering the necessary tools and supplies to preparing the area, dusting the ceiling, removing stains, cleaning with a solution, dealing with grease or smoke build-up, cleaning ceiling fans, patching and repairing damaged ceilings, and observing safety tips along the way.
Remember, regular cleaning and maintenance not only enhance the aesthetic appeal of your ceilings but also contribute to a healthier indoor environment. Dust, dirt, and stains can harbor allergens and affect the air quality in your home.
Whether you’re cleaning a small room or a large commercial space, being thorough and diligent in your approach will ensure a successful cleaning outcome. Take the time to address any specific issues and choose the appropriate cleaning solutions for your ceiling material.
Lastly, always prioritize safety and follow proper precautions to avoid accidents or injuries. Wear protective gear, use stable ladders or step stools, and turn off electrical fixtures before cleaning them.
Now that you have the knowledge and guidance on cleaning your ceilings, it’s time to roll up your sleeves, gather your cleaning supplies, and make your ceilings shine. Your efforts will not only improve the overall appearance of your space but also contribute to a healthier and more comfortable living environment.
Frequently Asked Questions about How To Clean A Ceiling
Was this page helpful?
At Storables.com, we guarantee accurate and reliable information. Our content, validated by Expert Board Contributors, is crafted following stringent Editorial Policies. We're committed to providing you with well-researched, expert-backed insights for all your informational needs.


0 thoughts on “How To Clean A Ceiling”