Articles
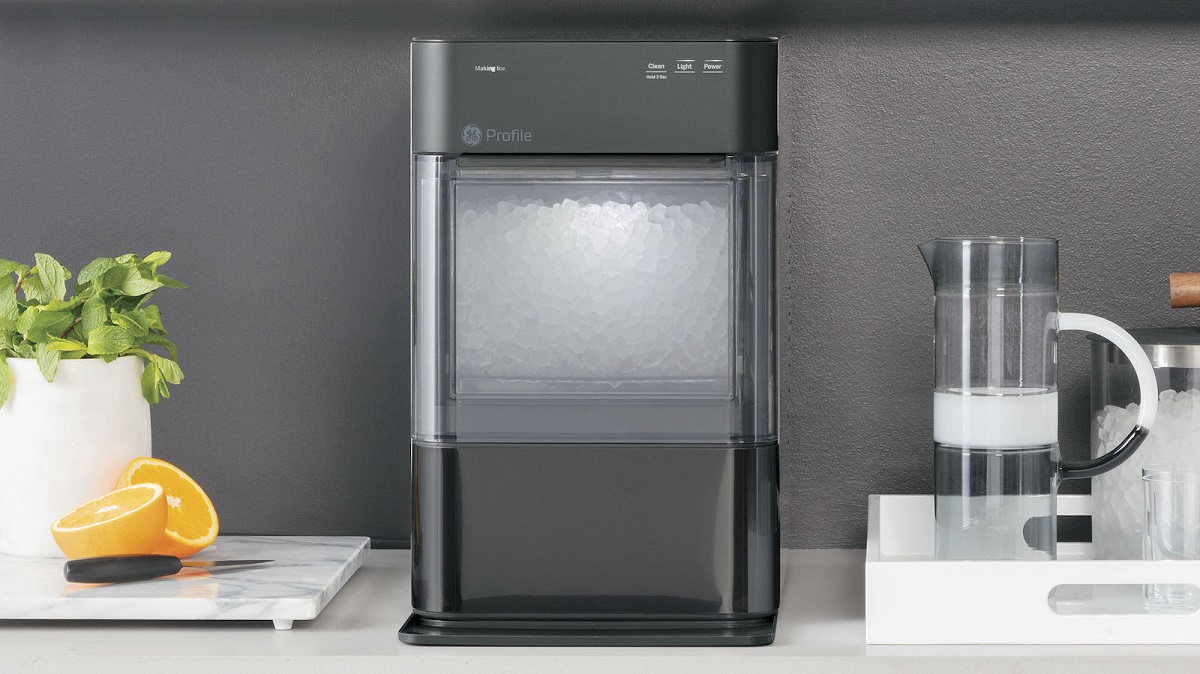
How To Clean A GE Profile Ice Maker
Modified: October 19, 2024
Learn how to clean your GE Profile ice maker with these helpful articles. Keep your ice maker in top shape for refreshing, clean ice whenever you need it.
(Many of the links in this article redirect to a specific reviewed product. Your purchase of these products through affiliate links helps to generate commission for Storables.com, at no extra cost. Learn more)
Introduction
Welcome to our guide on how to clean a GE Profile ice maker! Ice makers are a convenient appliance to have, providing a constant supply of ice for your beverages and cooling needs. However, over time, mineral deposits, bacteria, and other impurities can build up inside the ice maker, affecting the quality and taste of the ice it produces. Regularly cleaning your ice maker is essential to ensure hygienic ice production.
In this article, we will walk you through the step-by-step process of cleaning your GE Profile ice maker. We will also provide safety precautions to follow and a list of materials you will need. By following these instructions, you can maintain a well-functioning ice maker that produces clean and refreshing ice cubes.
Before we dive into the cleaning process, it is important to note that the specific steps may vary slightly depending on the model of your GE Profile ice maker. Refer to the manufacturer’s manual for any additional guidelines or instructions that may apply to your particular model.
Now, let’s get started on making your GE Profile ice maker sparkle and ensuring the ice it produces is as pure as possible.
Key Takeaways:
- Regularly cleaning your GE Profile ice maker with warm soapy water and vinegar solution ensures hygienic ice production and maintains optimal performance.
- Prioritize safety by turning off the power, wearing protective gear, and following manufacturer’s guidelines when cleaning your GE Profile ice maker.
Read more: How To Clean A Igloo Ice Maker
Safety Precautions
Before you begin cleaning your GE Profile ice maker, it is essential to prioritize safety. Follow these precautions to protect yourself and prevent any damage to your ice maker:
- Turn off the power: Before starting any cleaning procedures, make sure to disconnect the power supply to the ice maker. This can be done by unplugging the unit or turning off the circuit breaker that controls it. This precaution eliminates the risk of electric shock while cleaning.
- Wear protective gear: To prevent any accidents or exposure to cleaning solutions, wear protective gloves and safety goggles. Cleaning solutions can be harsh, so it is important to protect your skin, eyes, and respiratory system.
- Follow manufacturer’s guidelines: Refer to the user manual or manufacturer’s instructions for any specific safety guidelines or precautions related to your particular GE Profile ice maker model.
- Keep children and pets away: Ensure that children and pets are kept away from the cleaning area to avoid accidents or exposure to cleaning substances.
- Use appropriate cleaning products: Only use cleaning products that are recommended by the manufacturer. Avoid using abrasive cleaners, bleach, or ammonia as they can damage the ice maker and leave behind harmful residues.
- Allow ample time for the ice maker to defrost: If your ice maker has a considerable ice build-up, it is advisable to allow it to defrost completely before beginning the cleaning process. This will prevent any potential damage to the ice maker and ensure a thorough cleaning.
Following these safety precautions will help protect yourself, your ice maker, and maintain a safe cleaning environment. Now that we’ve covered safety, let’s move on to the materials you will need for the cleaning process.
Gather Materials
Before you start cleaning your GE Profile ice maker, it is important to gather all the necessary materials. Having everything prepared beforehand will make the process smoother and more efficient. Here’s a list of materials you will need:
- Warm soapy water: Prepare a mixture of warm water and a mild dish soap. This will be used to clean the ice bin and other removable parts of the ice maker.
- Vinegar: Vinegar is a natural cleaning agent that helps remove mineral deposits and bacteria. You will need some white vinegar for cleaning the ice maker unit.
- Clean cloth or sponge: Use a soft cloth or sponge for wiping and cleaning the surfaces of the ice maker.
- Soft-bristled brush: A soft-bristled brush will come in handy for scrubbing away any stubborn residue or buildup inside the ice maker.
- Toothbrush: A toothbrush is useful for reaching small and delicate areas of the ice maker, such as the ice chute.
- Clean, lint-free towel: This will be used for drying the ice maker’s components after cleaning.
Make sure to gather these materials and keep them within easy reach before you proceed. It is also a good idea to double-check the manufacturer’s manual for any specific recommendations regarding cleaning materials or tools for your specific GE Profile ice maker model.
Once you have gathered all the necessary materials, you are ready to begin the cleaning process. In the next section, we will guide you through turning off the ice maker and removing the ice bin.
Turn Off the Ice Maker
Before cleaning your GE Profile ice maker, it is crucial to turn off the appliance to ensure your safety and prevent any potential damage. Follow these steps to turn off the ice maker:
- Unplug the ice maker: Locate the power cord of your GE Profile ice maker and unplug it from the electrical outlet. This will cut off the power supply to the ice maker, ensuring there is no risk of electric shock while cleaning.
- Find the control panel or switch: Look for the control panel or switch on your ice maker. This can vary depending on the model, so refer to the manufacturer’s manual for assistance if needed.
- Turn off the ice maker: Once you have located the control panel or switch, simply press the “Power” button or switch it to the “Off” position. This will deactivate the ice maker and prevent it from producing ice while you clean it.
Turning off the ice maker not only ensures your safety but also prevents any water or ice from being produced during the cleaning process, giving you better access to the internal components. With the ice maker turned off, you can now proceed to remove the ice bin for cleaning.
Please note that the process of turning off the ice maker may vary slightly depending on the model of your GE Profile ice maker. Always consult the manufacturer’s manual for specific instructions related to your appliance. Once the ice maker is turned off, you are ready to move on to the next step: removing the ice bin.
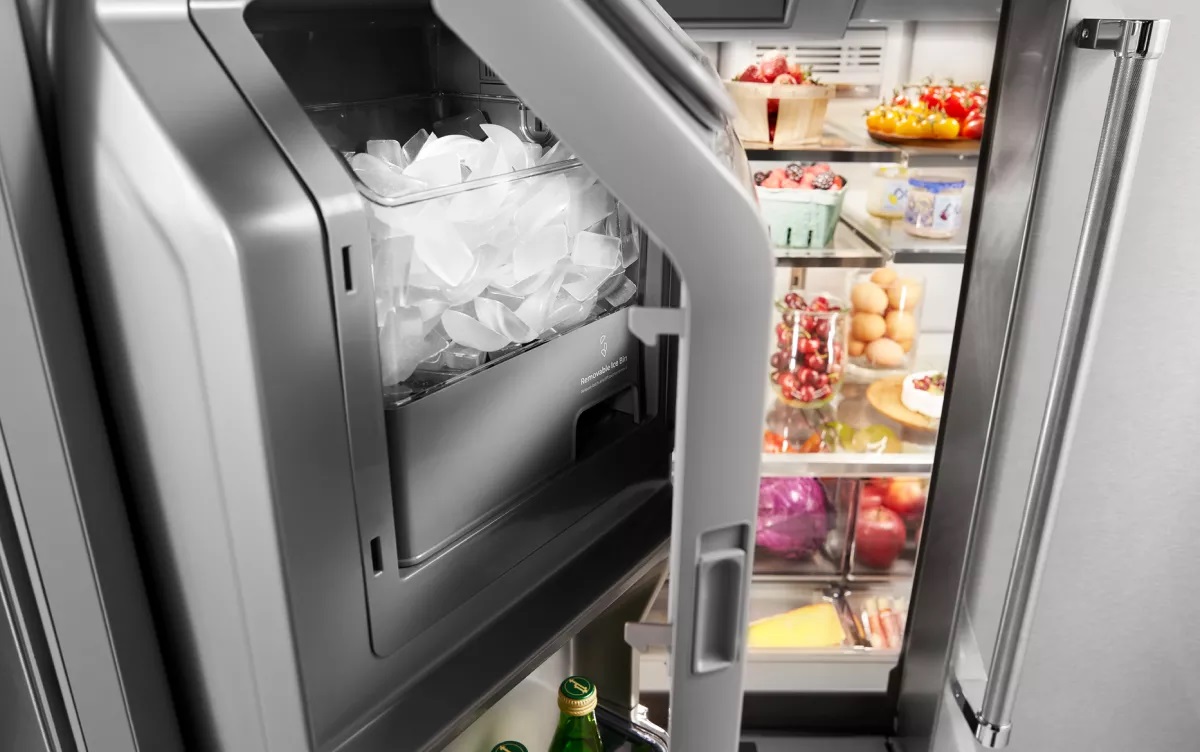
Remove Ice Bin
Now that you have turned off the ice maker, it’s time to remove the ice bin. The ice bin is the removable container that holds the ice cubes produced by the ice maker. Follow these steps to safely remove the ice bin:
- Locate the ice bin: Open the freezer door and locate the ice bin. In most GE Profile ice makers, the ice bin is located in the upper part of the freezer compartment. It is typically a plastic container with a handle.
- Hold the handle: Grasp the handle of the ice bin firmly. The handle is usually located on the front or top of the bin.
- Pull out the ice bin: Gently pull the ice bin towards you, sliding it out of the ice maker compartment. Be careful not to tip or spill any ice cubes while removing the bin.
Once you have successfully removed the ice bin from the ice maker, place it on a stable surface. It is now ready to be cleaned separately. Cleaning the ice bin is crucial because it can accumulate dirt, bacteria, and mineral deposits over time, affecting the quality of the ice it stores.
Now that the ice bin is out of the way, you can focus on cleaning the ice maker unit itself. In the next section, we will guide you through the process of cleaning the ice bin thoroughly.
Read more: How To Clean Out An Ice Maker
Clean the Ice Bin
Now that you have removed the ice bin from your GE Profile ice maker, it’s time to give it a thorough cleaning. The ice bin can accumulate residue, bacteria, and mineral deposits over time, affecting the taste and quality of the ice it holds. Follow these steps to clean the ice bin:
- Empty the ice bin: Start by emptying the ice bin completely. Discard any ice cubes that are present.
- Prepare warm soapy water: Fill a sink or basin with warm water and add a small amount of mild dish soap. Stir the mixture to create a soapy solution.
- Submerge the ice bin: Place the ice bin in the sink or basin, ensuring that it is fully submerged in the warm soapy water. Allow it to soak for a few minutes to loosen any dirt or residue.
- Scrub the ice bin: Using a soft cloth or sponge, scrub the interior and exterior surfaces of the ice bin. Pay attention to any corners, crevices, or hard-to-reach areas. If there are any stubborn stains or residue, gently scrub them with a soft-bristled brush or toothbrush.
- Rinse the ice bin: Once you have thoroughly scrubbed the ice bin, rinse it well with clean water to remove any soap residue.
- Dry the ice bin: Use a clean, lint-free towel to dry the ice bin completely. Make sure there is no moisture left behind, as this can promote the growth of bacteria.
Once the ice bin is clean and dry, you can proceed to clean the ice maker unit itself. Cleaning the ice maker unit regularly helps maintain the performance and quality of the ice produced. In the next section, we will guide you through the process of cleaning the ice maker unit.
To clean a GE Profile ice maker, start by turning off the ice maker and removing any ice. Then, use a mixture of warm water and mild soap to clean the ice maker bin and components. Be sure to rinse thoroughly and dry completely before turning the ice maker back on.
Clean the Ice Maker Unit
Now that you have cleaned the ice bin, it’s time to focus on cleaning the ice maker unit itself. Over time, mineral deposits, bacteria, and mold can accumulate inside the ice maker, affecting its performance and the quality of the ice it produces. Follow these steps to clean the ice maker unit of your GE Profile ice maker:
- Locate the ice maker unit: The ice maker unit is typically located inside the freezer compartment, behind or above the ice bin. Refer to your GE Profile ice maker’s user manual to locate the specific area where the ice maker unit is situated.
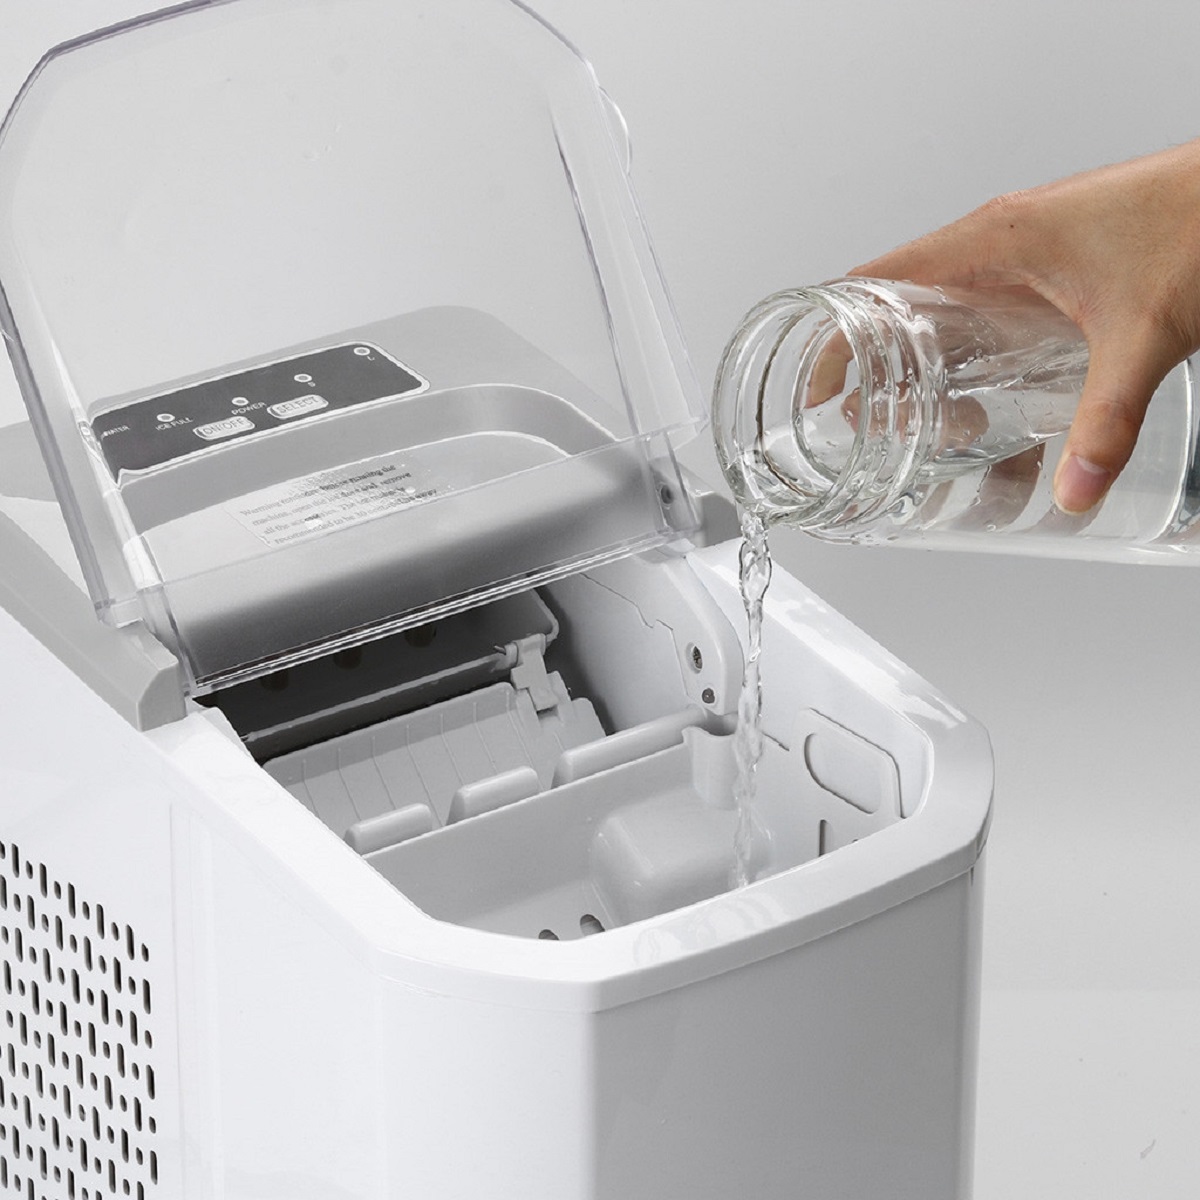
- Mix a solution of vinegar and water: In a small container, mix equal parts of white vinegar and water. This solution will help remove mineral deposits and kill any bacteria.
- Apply the vinegar solution: Use a clean cloth or sponge to apply the vinegar solution to all accessible parts of the ice maker unit. Focus on the areas that come into contact with water, such as the water lines, ice mold, and ice chute.
- Scrub away residue: If there are any stubborn mineral deposits or residue, use a soft-bristled brush or toothbrush to scrub them gently. Be careful not to damage any delicate parts of the ice maker.
- Clean the ice chute: The ice chute can become clogged with ice or debris, inhibiting the flow of ice. Use a toothbrush or a narrow, soft-bristled brush to clean the ice chute thoroughly.
- Rinse the ice maker unit: Once you have scrubbed and cleaned all accessible parts, use a damp cloth or sponge to rinse away the vinegar solution from the ice maker unit.
- Dry the ice maker unit: Finally, use a clean, lint-free towel to dry the ice maker unit completely. Ensure there is no moisture left behind, as it can lead to mold growth or malfunctions.
Once you have completed cleaning the ice maker unit, you can move on to the next step: checking the water supply. Cleaning the water supply and ensuring it is free from impurities is essential for maintaining a clean and functional ice maker.
Check Water Supply
After thoroughly cleaning the ice maker unit, it’s important to check the water supply to ensure that it is clean and free from any impurities. A contaminated water supply can result in poor-quality ice and potential health risks. Follow these steps to check the water supply of your GE Profile ice maker:
- Locate the water supply line: The water supply line is usually located at the back of the refrigerator, where it connects to the ice maker. Refer to your GE Profile ice maker’s user manual to locate the specific area where the water supply line is situated.
- Inspect the water supply line: Visually examine the water supply line for any signs of damage, such as cracks, leaks, or discoloration. If you notice any issues, it is important to replace the water supply line to ensure a clean and reliable water source.
- Purge the water line: To flush out any lingering impurities in the water line, run several cycles of water through the ice maker. This will help remove any residual cleaning solution or debris that might be present.
- Replace the water filter: If your GE Profile ice maker is equipped with a water filter, check the filter’s condition. If it is dirty or past its recommended lifespan, replace it with a new one. A clean and properly functioning water filter is essential for maintaining a clean water supply.
- Monitor water quality: Once you have checked the water supply and purged the water line, monitor the quality of the water being dispensed by the ice maker. Check for any unusual odors, discoloration, or taste. If you notice any abnormalities, it may indicate a need for further investigation or maintenance.
By regularly checking the water supply and ensuring it is clean and free from impurities, you can ensure the production of clean and refreshing ice cubes. With the water supply checked, you can now proceed to reassemble and turn on the GE Profile ice maker.
Reassemble and Turn On the Ice Maker
Now that you have cleaned the ice bin, ice maker unit, and checked the water supply, it’s time to reassemble your GE Profile ice maker and get it up and running again. Follow these steps to reassemble and turn on your ice maker:
- Let components reach room temperature: Ensure that all the cleaned components, including the ice bin and ice maker unit, have reached room temperature before reassembling. This will prevent any condensation from forming during the reassembly process.
- Place the ice bin back into position: Slide the cleaned ice bin back into its designated spot inside the freezer compartment. Ensure that it is securely in place.
- Connect the water supply line (if applicable): If your GE Profile ice maker is connected to a water supply line, carefully reconnect the water line to the corresponding inlet on the ice maker. Make sure the connection is tight and secure.
- Double-check all connections: Before turning on the ice maker, double-check that all components, including the water supply line (if applicable), are properly connected and in their correct positions.
- Plug in the ice maker: Reconnect the power supply by plugging in the ice maker or turning on the circuit breaker that controls it. This will restore power to the ice maker.
- Turn on the ice maker: Locate the control panel or switch of your GE Profile ice maker and turn it on by pressing the “Power” button or switching it to the “On” position. The ice maker should start the ice-making process.
Once you have reassembled and turned on your ice maker, it may take some time for it to start producing ice cubes. This can vary depending on the model and the ambient temperature. Give the ice maker some time to cool down and begin its normal operation.
Now that your GE Profile ice maker is cleaned, reassembled, and turned on, it’s time to perform a test to ensure that it is working correctly.
Read more: How To Clean A Silonn Ice Maker
Test the Ice Maker
After cleaning, reassembling, and turning on your GE Profile ice maker, it’s important to perform a test to ensure that it is functioning properly. Follow these steps to test your ice maker:
- Allow the ice maker to run: Give the ice maker some time to run its cycle and begin producing ice cubes. This can typically take a few hours, so be patient and allow the ice maker to do its work.
- Monitor ice production: Check the ice bin periodically to see if it is filling up with ice cubes. Observe the size, shape, and clarity of the ice cubes to ensure they meet your expectations in terms of quality.
- Check ice dispenser (if applicable): If your GE Profile ice maker has an ice dispenser, test its functionality by pressing the appropriate button or lever to dispense ice. Ensure that the ice dispenses smoothly and without any issues.
- Listen for abnormal sounds: While the ice maker is running, listen for any unusual or loud noises that could indicate a problem. It’s normal to hear some noise during the ice-making process, but loud or grinding sounds may indicate an issue that requires further investigation.
- Verify water quality and taste: Fill a glass with ice cubes produced by the ice maker and let them melt slightly. Check the water for any unusual odors, discoloration, or off-taste. If you notice any abnormalities, it may indicate a need to recheck the water supply or perform additional maintenance.
By testing the ice maker, you can ensure that it is working properly and producing clean, high-quality ice cubes. If you encounter any issues or notice any abnormalities during the testing process, refer to the manufacturer’s manual for troubleshooting instructions or consider contacting a professional for assistance.
Congratulations! You have successfully cleaned and tested your GE Profile ice maker. Regularly maintaining and cleaning your ice maker will help ensure its optimal performance and provide you with refreshing ice cubes whenever you need them.
Conclusion
Cleaning your GE Profile ice maker is an essential task to ensure its optimal performance and provide you with clean and refreshing ice cubes. By following the step-by-step instructions in this guide, you can easily clean your ice maker and maintain its hygiene. Here’s a recap of the key steps:
- Turn off the ice maker: Begin by unplugging the ice maker and turning off its power source for safety.
- Remove the ice bin: Take out the ice bin and set it aside for cleaning.
- Clean the ice bin: Use warm soapy water to clean the ice bin thoroughly, removing any residue or impurities.
- Clean the ice maker unit: Use a vinegar solution to clean the ice maker unit, ensuring all parts are free of mineral deposits and bacteria.
- Check the water supply: Inspect and purge the water supply line to ensure a clean water source.
- Reassemble and turn on the ice maker: Put the ice bin back into place, connect the water supply line (if applicable), and turn on the power.
- Test the ice maker: Monitor ice production, check the ice dispenser (if applicable), listen for abnormal sounds, and verify water quality and taste.
Regularly cleaning your GE Profile ice maker, following safety precautions, and checking the water supply will help maintain a clean and well-functioning appliance. It is recommended to clean the ice maker every 3 to 6 months, or more frequently if you notice a decrease in ice quality or any other issues.
Remember to consult your GE Profile ice maker’s user manual for any specific instructions or guidelines related to your appliance model. If you encounter any difficulties or the ice maker requires professional attention, it is advisable to seek assistance from a certified technician.
Keeping your ice maker clean ensures that you always have a supply of pure and refreshing ice cubes for your drinks and cooling needs. So don’t wait, follow these cleaning steps and enjoy the benefits of a clean and efficient GE Profile ice maker!
Now that you've mastered cleaning your GE Profile ice maker, consider extending those fresh vibes to other appliances and areas in your home. If your ice-making device still seems a bit foggy, our guide on Ice Maker Cleaning will surely clear things up. For those looking to keep every corner of their residence in pristine condition, our Home Maintenance tips are invaluable. And don’t forget about the often overlooked refrigerator ice maker; our detailed steps on Refrigerator Maintenance will help ensure it’s operating smoothly and efficiently.
Frequently Asked Questions about How To Clean A GE Profile Ice Maker
Was this page helpful?
At Storables.com, we guarantee accurate and reliable information. Our content, validated by Expert Board Contributors, is crafted following stringent Editorial Policies. We're committed to providing you with well-researched, expert-backed insights for all your informational needs.
0 thoughts on “How To Clean A GE Profile Ice Maker”