Articles
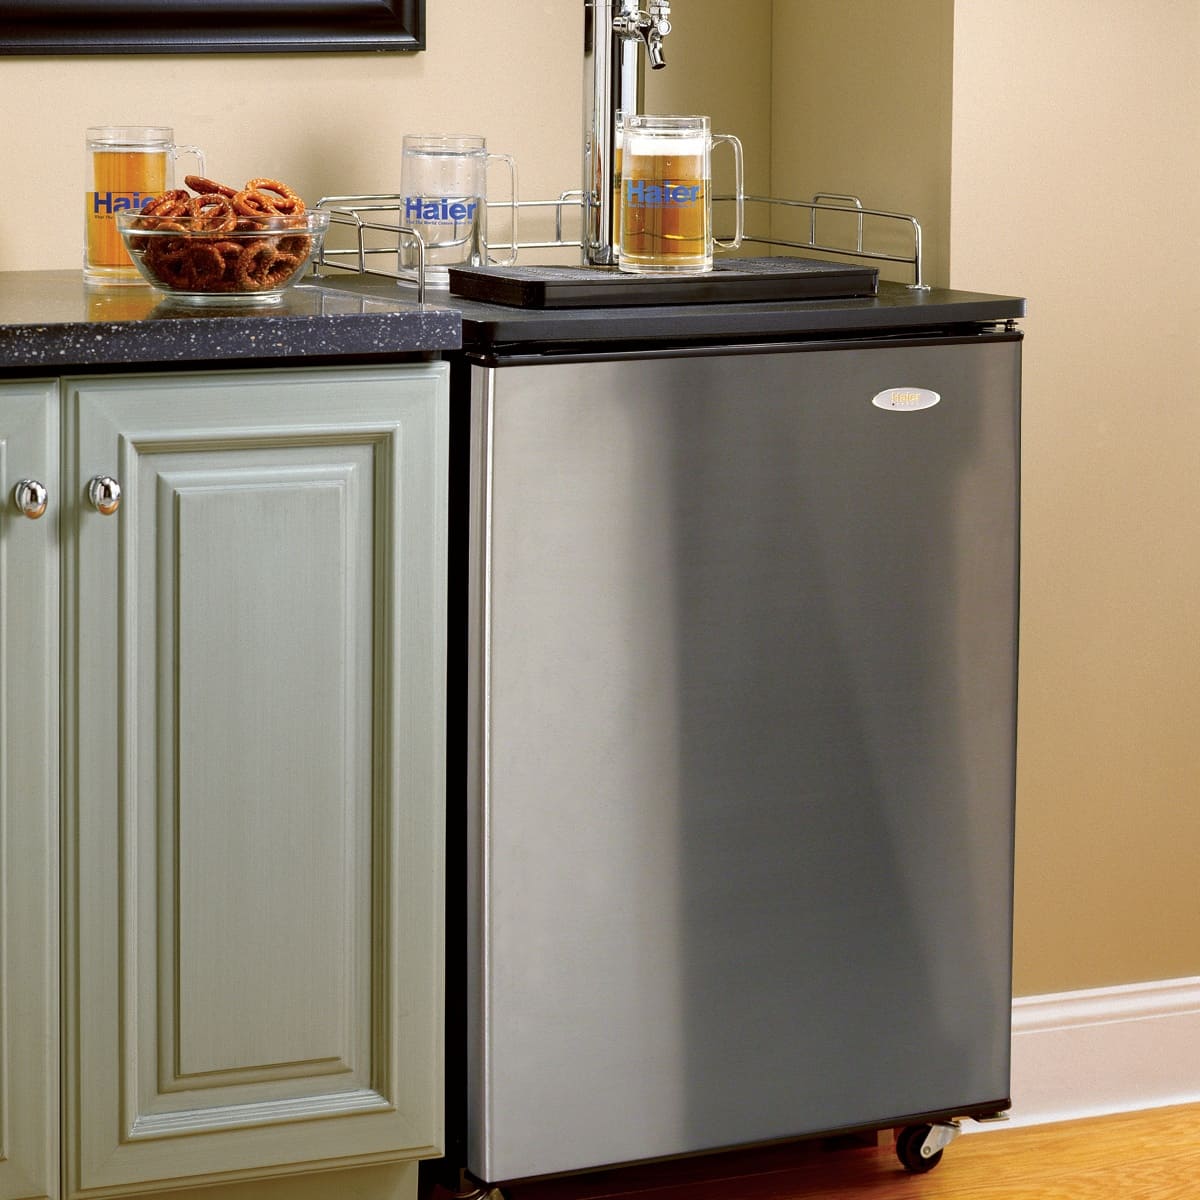
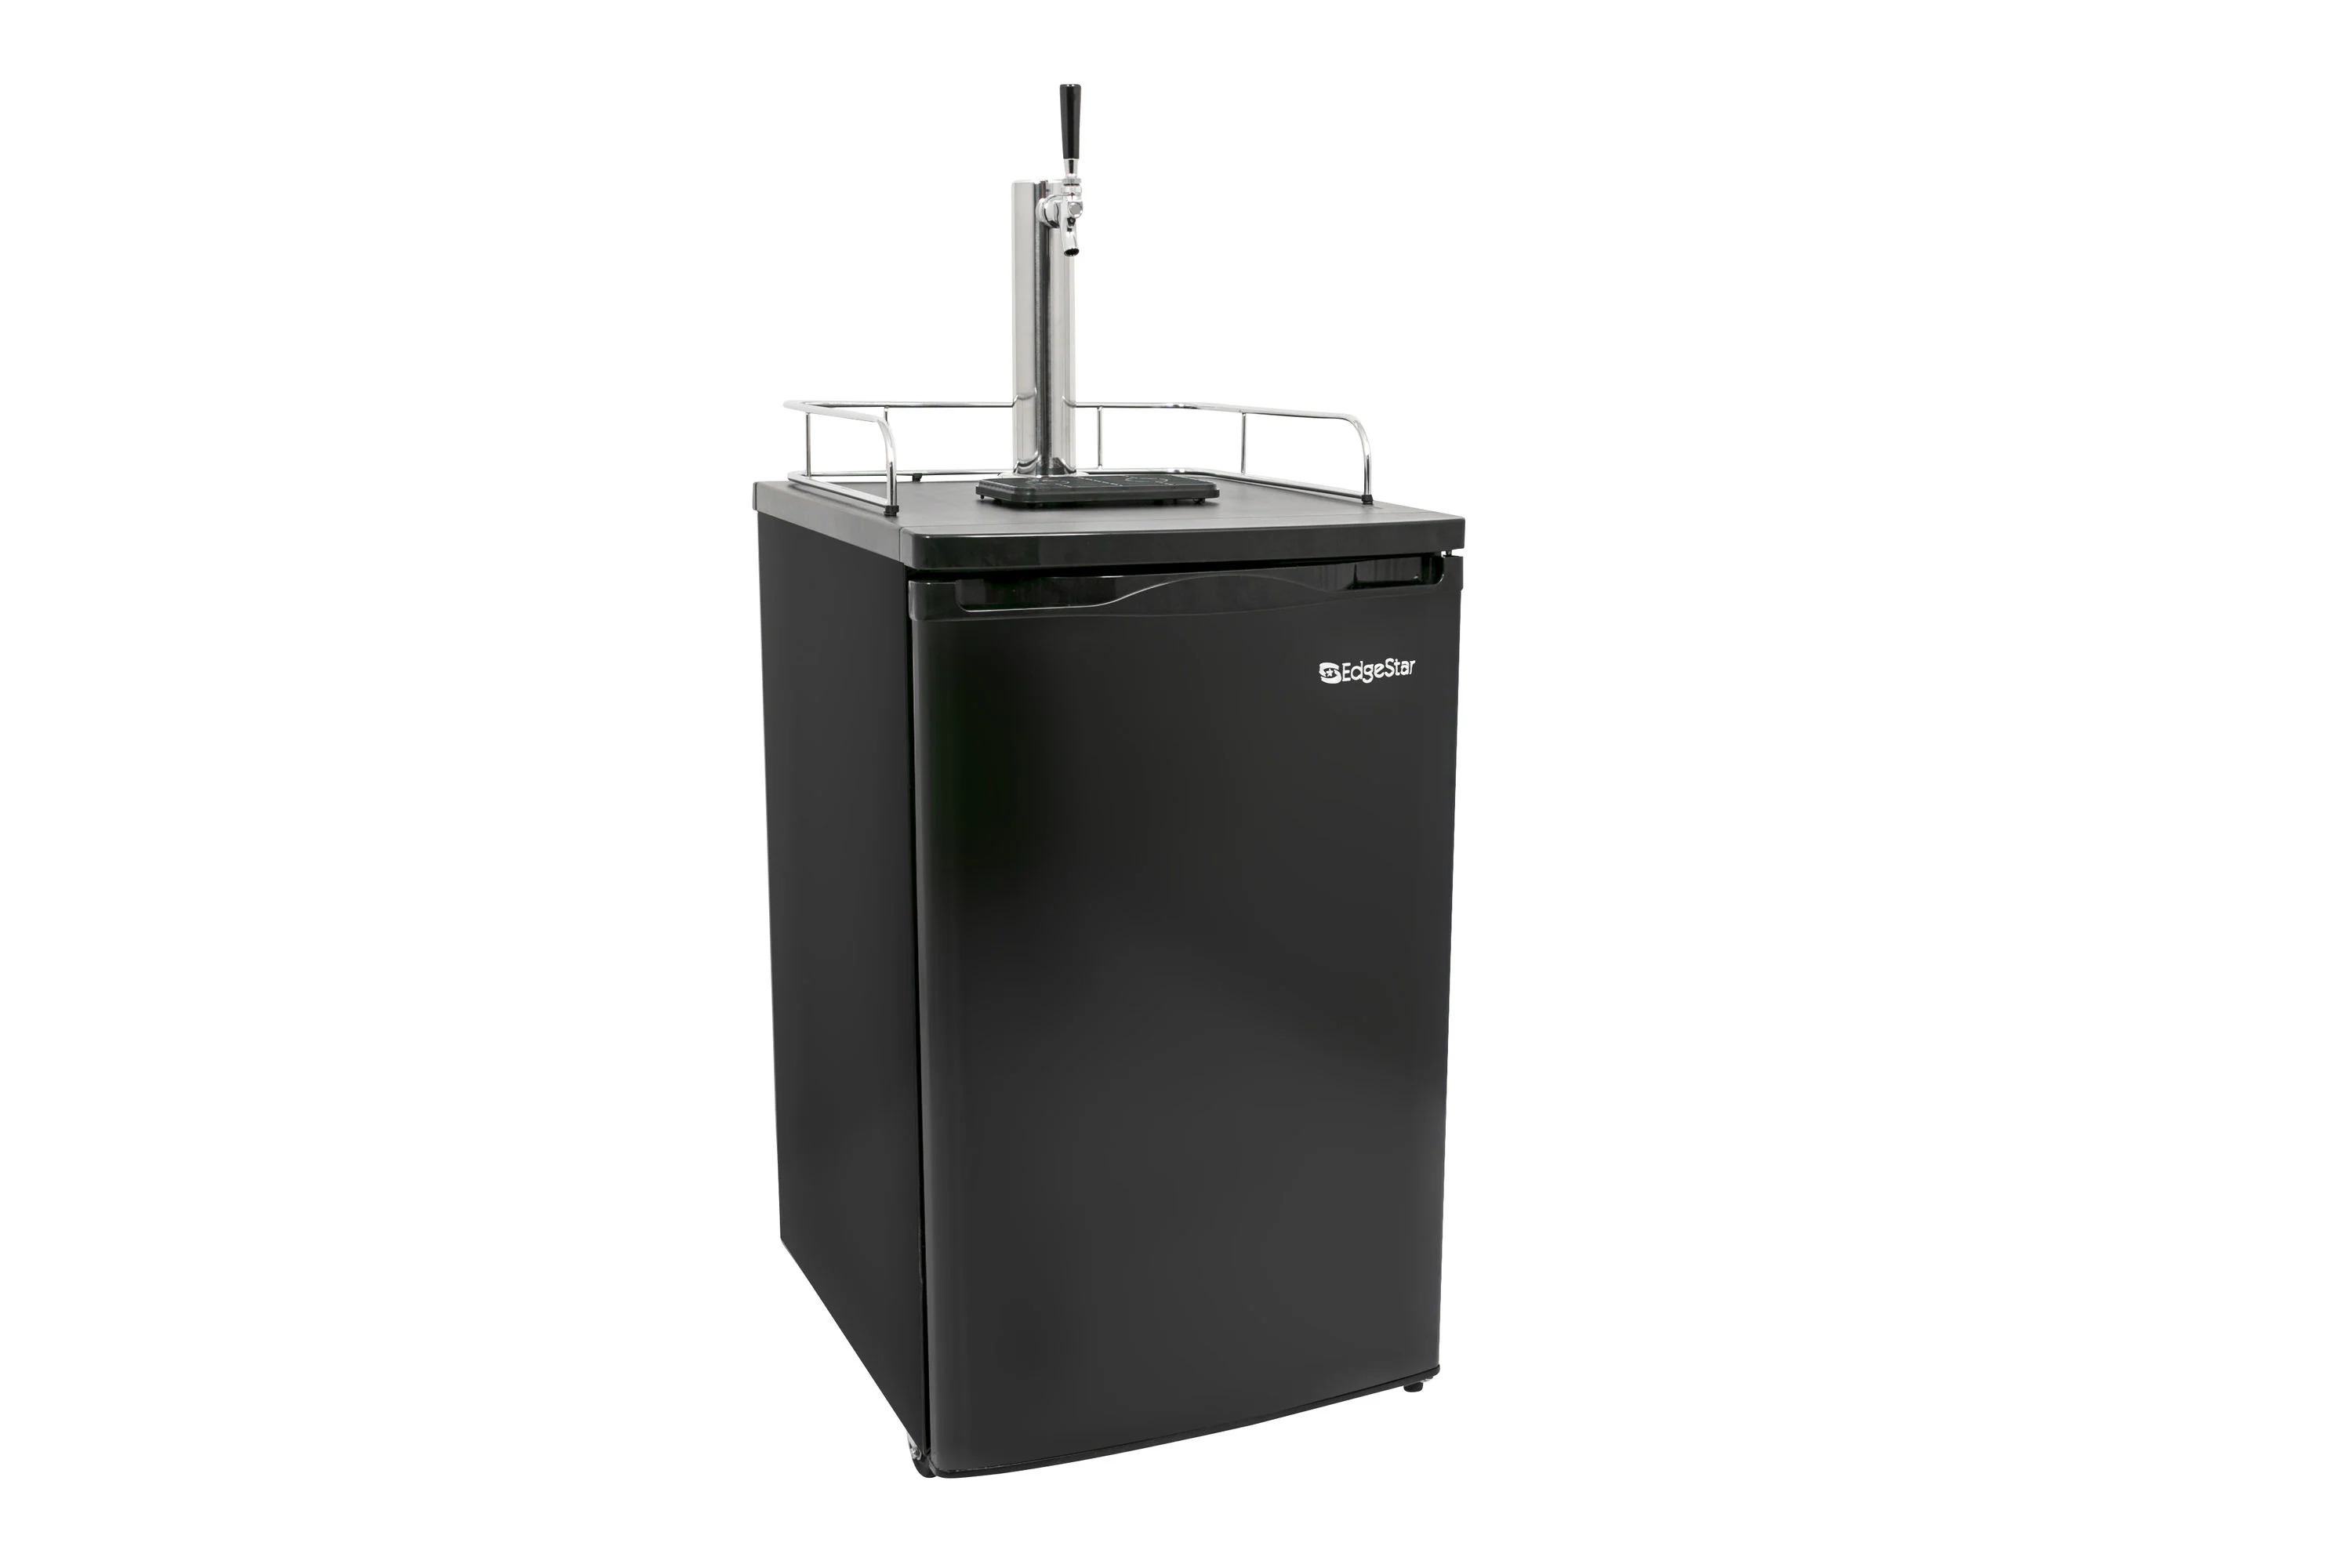
How To Clean A Haier Kegerator
Modified: October 24, 2024
Learn effective tips and techniques to clean your Haier kegerator with our comprehensive articles. Keep your kegerator in top condition for smooth dispensing and maximum enjoyment of your favorite brews.
(Many of the links in this article redirect to a specific reviewed product. Your purchase of these products through affiliate links helps to generate commission for Storables.com, at no extra cost. Learn more)
Introduction
Welcome to our comprehensive guide on how to clean a Haier Kegerator. Whether you are a beer enthusiast or someone who loves hosting parties, maintaining a clean kegerator is essential for ensuring the best possible taste and preventing any unwanted flavors from seeping into your favorite brews.
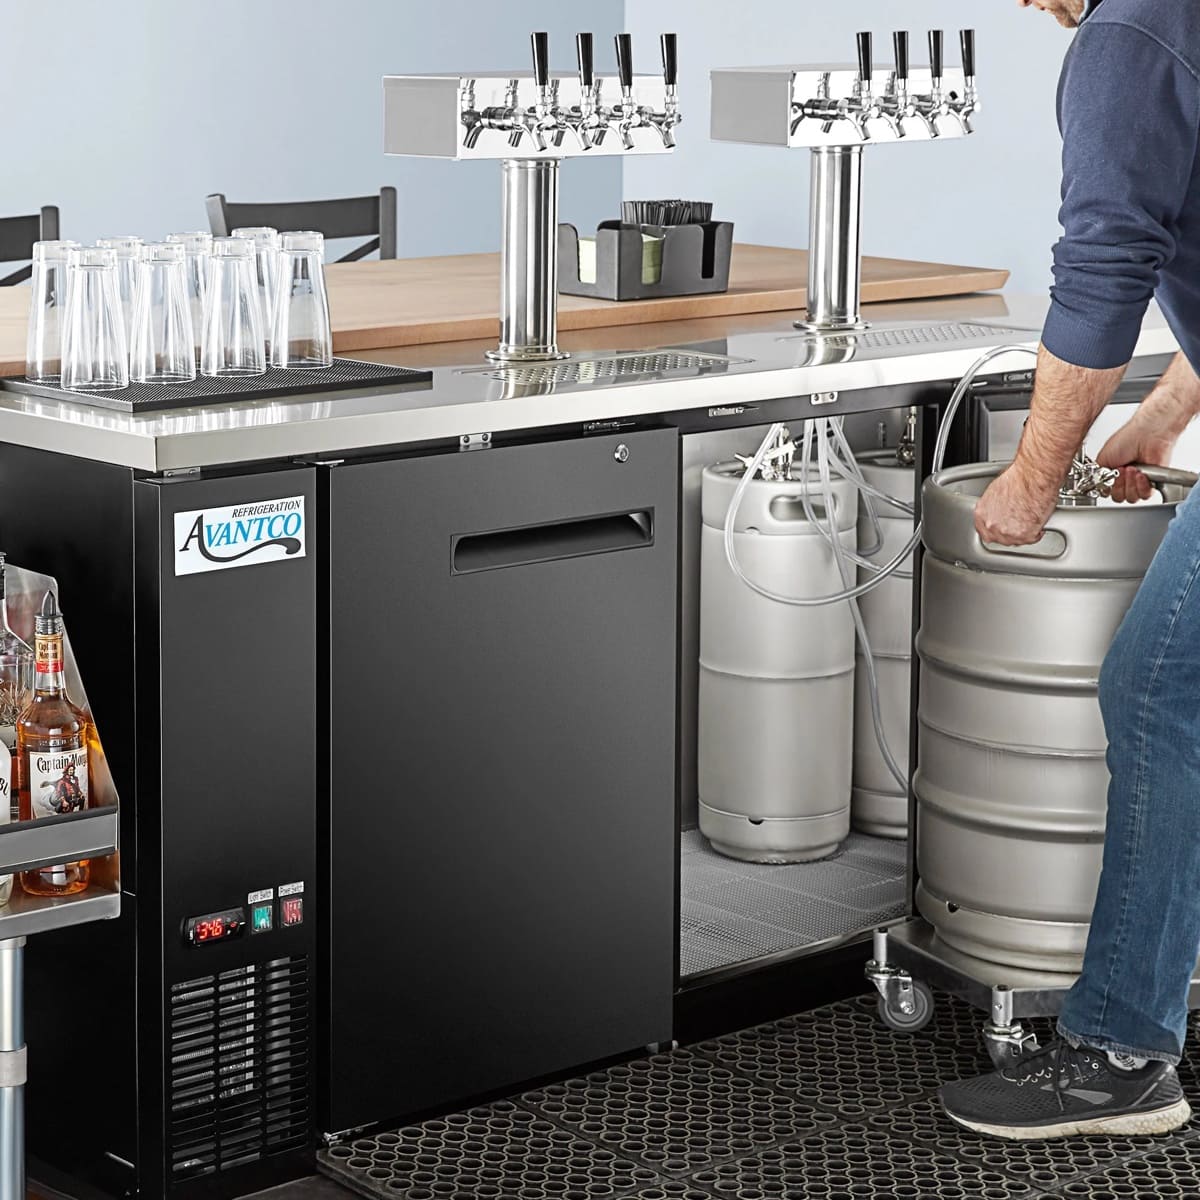
Haier kegerators are popular for their sleek design, durability, and reliable performance. However, like any appliance, kegerators also require regular cleaning to ensure optimum performance and hygiene. In this article, we will walk you through the step-by-step process of cleaning your Haier kegerator, from the exterior to the interior, including beer lines and faucets.
Before we dive into the cleaning process, let’s take a look at the tools and materials you will need to get the job done:
Key Takeaways:
- Regularly cleaning and maintaining your Haier kegerator is crucial for preserving the quality and taste of your beer, ensuring a hygienic environment, and prolonging the lifespan of your kegerator.
- By following a regular cleaning schedule, keeping the kegerator dry, monitoring temperature, checking for leaks, and sanitizing taps and faucets, you can enjoy fresh and great-tasting beer from your Haier kegerator for years to come.
Read also: 12 Amazing Haier Kegerator For 2025
Tools and Materials Needed
Before you begin cleaning your Haier kegerator, gather the following tools and materials:
- Bucket
- Soft sponge or cloth
- Mild dish soap
- Warm water
- White vinegar
- Kegerator cleaning kit
- Sanitizing solution
- Towel or drying rack
These items will help you effectively clean and sanitize your kegerator, ensuring that it remains in top condition for serving refreshing beers.
Now that you have everything you need, let’s move on to preparing the kegerator for cleaning.
Preparing the Kegerator for Cleaning
Before you begin the cleaning process, it is important to prepare your Haier kegerator to ensure a thorough and effective cleaning. Follow these steps:
- Unplug the kegerator: Start by disconnecting the kegerator from the power source to prevent any electrical accidents during the cleaning process.
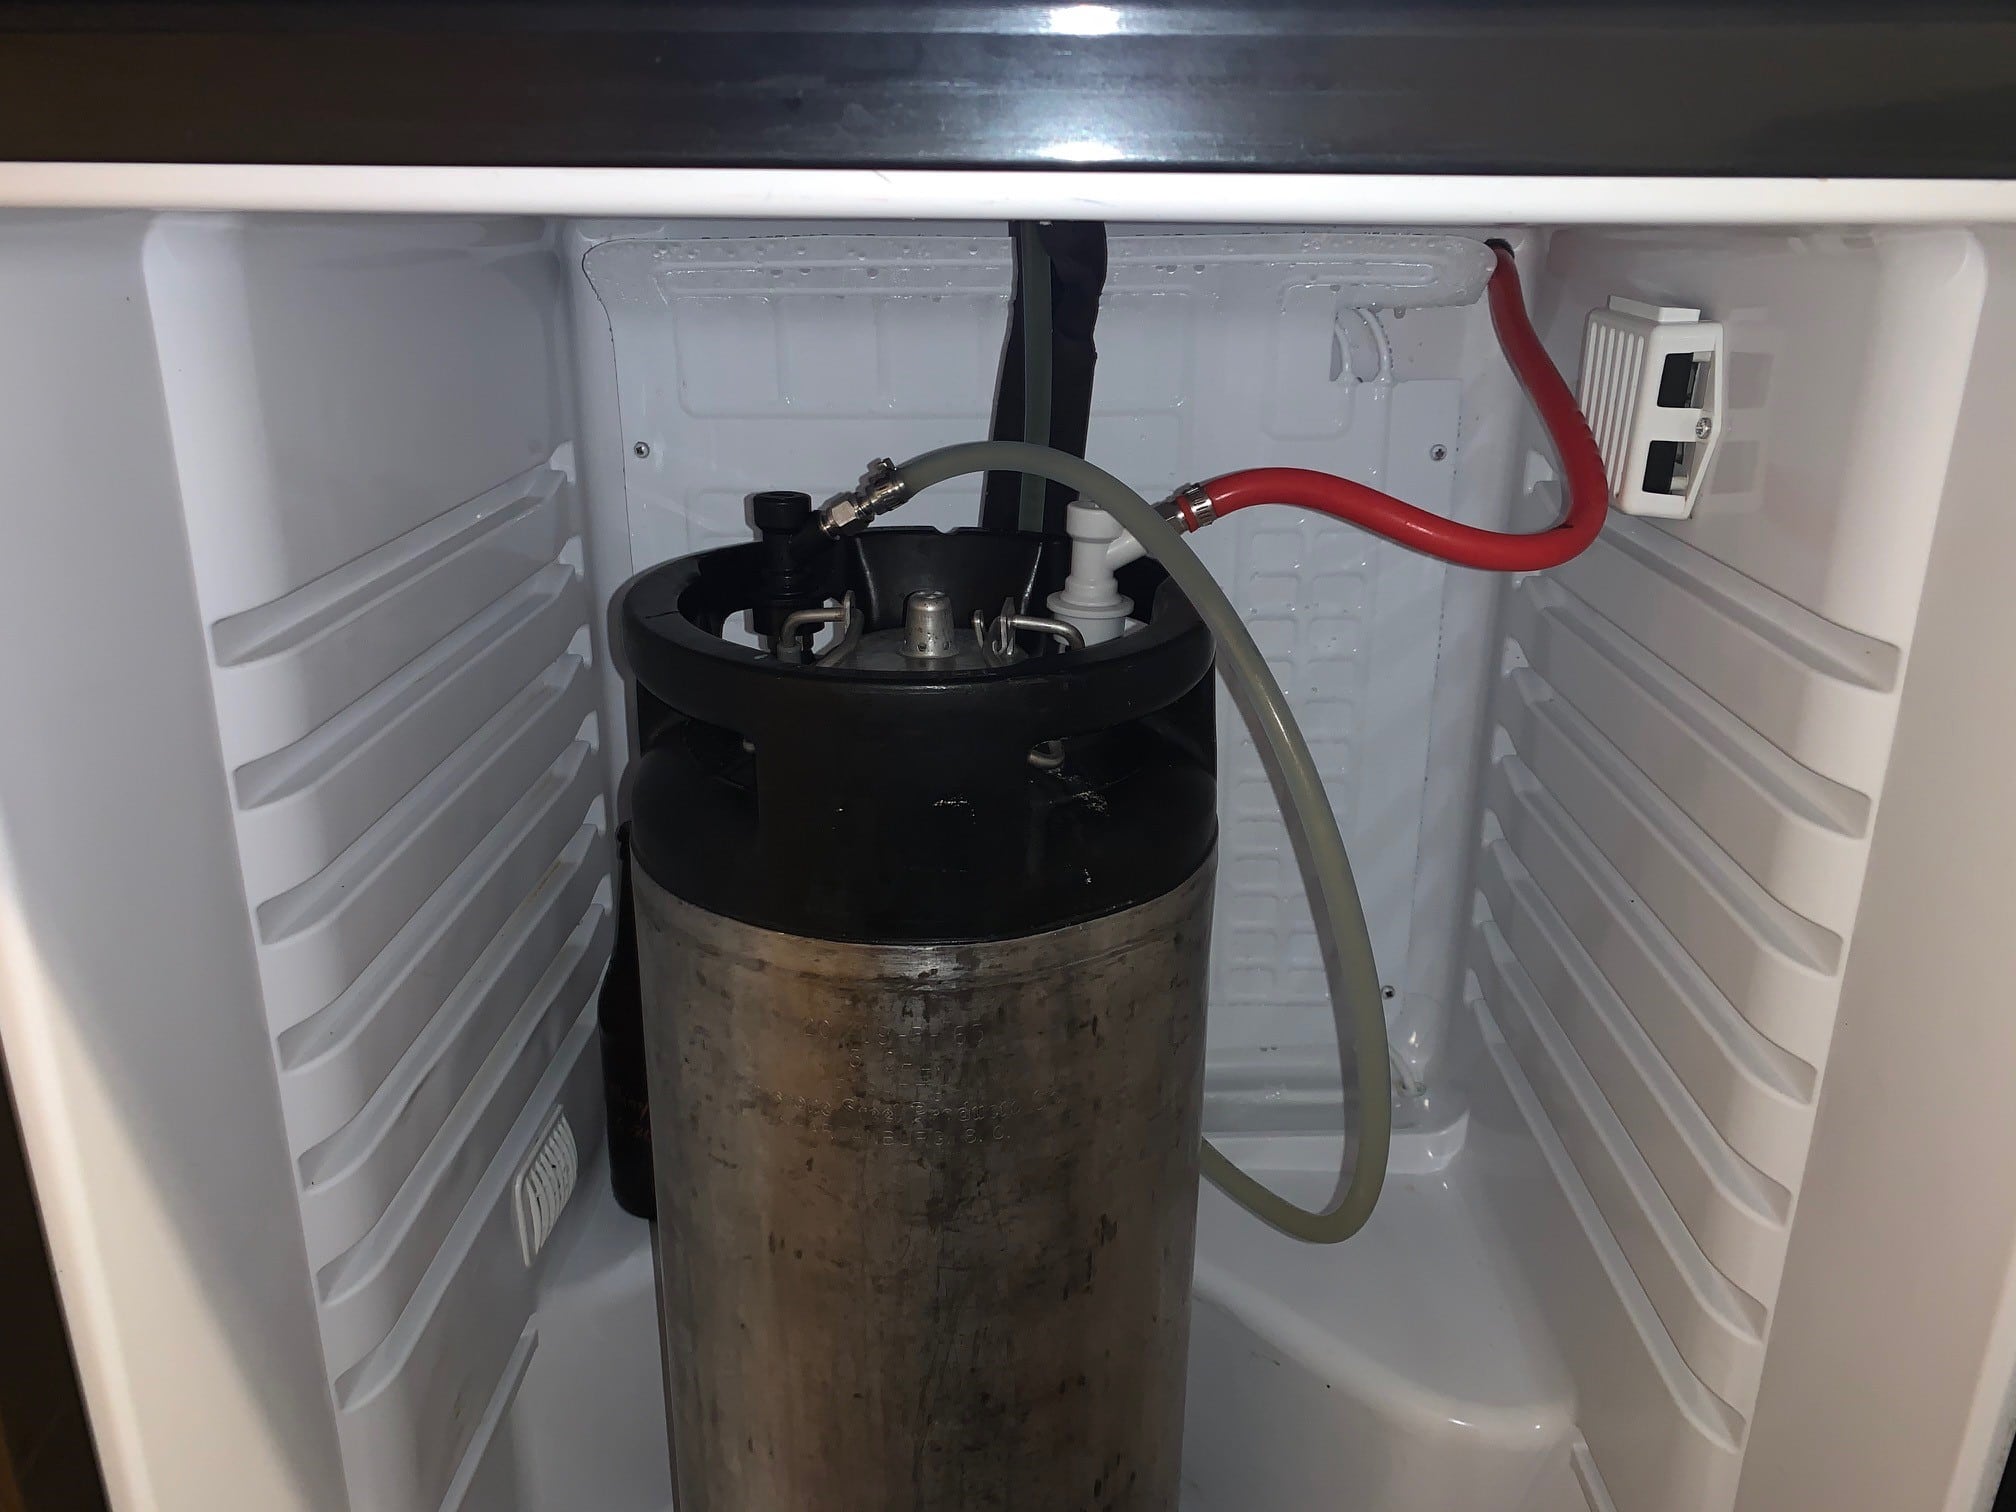
- Empty the kegerator: Remove all the kegs, bottles, and any other liquids or accessories from the kegerator. Dispose of any remaining beer or beverages properly.
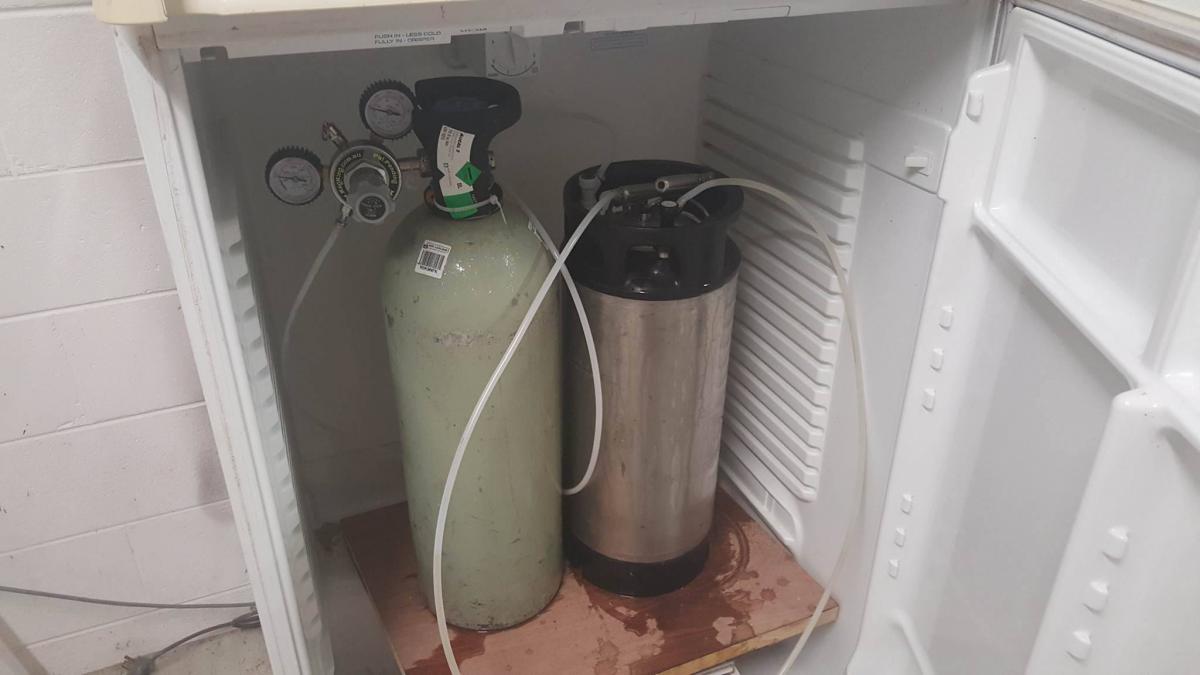
- Disconnect the CO2 tank: If your kegerator is equipped with a CO2 tank, disconnect it from the kegerator. Release any remaining pressure in the lines by pulling the relief valve.
- Remove accessories: Take off any removable parts, such as drip trays, beer towers, faucets, or beer lines. These can be cleaned separately to ensure a thorough cleaning.
- Wipe down the exterior: Use a soft cloth or sponge dampened with mild dish soap and warm water to wipe down the exterior surfaces of the kegerator. This will remove any dust or dirt that may have accumulated.
By properly preparing your kegerator for cleaning, you will ensure that the cleaning process is more effective and that you have easy access to all the necessary components.
Next, let’s move on to cleaning the exterior of your Haier kegerator.
Cleaning the Exterior
Now that you have prepared your Haier kegerator for cleaning, it’s time to focus on cleaning the exterior surfaces. Follow these steps:
- Mix a solution: In a bucket, mix warm water with a small amount of mild dish soap. This gentle solution will help remove any dirt, grime, or sticky residue from the surface of the kegerator.
- Dampen a soft sponge or cloth: Dip a soft sponge or cloth into the soapy water solution. Wring out any excess liquid to ensure it is only lightly dampened, not dripping wet.
- Wipe down the exterior: Gently scrub the exterior surfaces of the kegerator with the damp sponge or cloth. Pay attention to any areas that have accumulated dirt or stains, such as the door handle, and give them a little extra scrubbing.
- Rinse with clean water: After cleaning, rinse the sponge or cloth with clean water and use it to wipe away any remaining soap residue from the kegerator’s exterior.
- Dry the surfaces: Finally, use a dry towel or allow the exterior surfaces of the kegerator to air dry completely before proceeding to the next step.
By following these steps, you will effectively remove any dirt or grime from the exterior of your Haier kegerator, leaving it looking clean and pristine.
Now that the exterior is clean, it’s time to move on to cleaning the interior of your Haier kegerator.
Cleaning the Interior
Now that the exterior of your Haier kegerator is sparkling clean, let’s turn our attention to cleaning the interior. Properly cleaning the interior is crucial to maintain the quality of your beer and ensure a hygienic environment. Follow these steps:
- Remove shelves and drawers: Take out any removable shelves or drawers from the kegerator. These can be washed separately using warm, soapy water.
- Mix a cleaning solution: In a bucket, mix equal parts warm water and white vinegar. This solution will effectively remove any built-up residue or bacteria from the interior surfaces.
- Dampen a sponge or cloth: Dip a sponge or cloth into the cleaning solution. Make sure it is well-saturated but not dripping.
- Clean the interior surfaces: Thoroughly scrub the interior surfaces of the kegerator, including the walls, bottom, and door. Pay extra attention to any areas with visible stains or odor-causing buildup.
- Rinse with clean water: After scrubbing, rinse the sponge or cloth with clean water and go over the interior surfaces again to remove any remaining cleaning solution.
- Dry the interior: Use a clean towel to dry the interior surfaces completely. Ensuring they are dry will prevent any mold or mildew growth.
It’s important to note that you should never use abrasive cleaners or harsh chemicals when cleaning the interior of your kegerator, as they can damage the surfaces and impact the flavor of your beer.
With the interior clean and dry, it’s time to move on to cleaning the beer lines and faucet.
To clean a Haier kegerator, unplug the unit and remove all keg components. Use a mixture of warm water and mild detergent to clean the interior and exterior. Rinse thoroughly and allow to air dry before reassembling.
Read more: How To Clean A Haier Air Conditioner
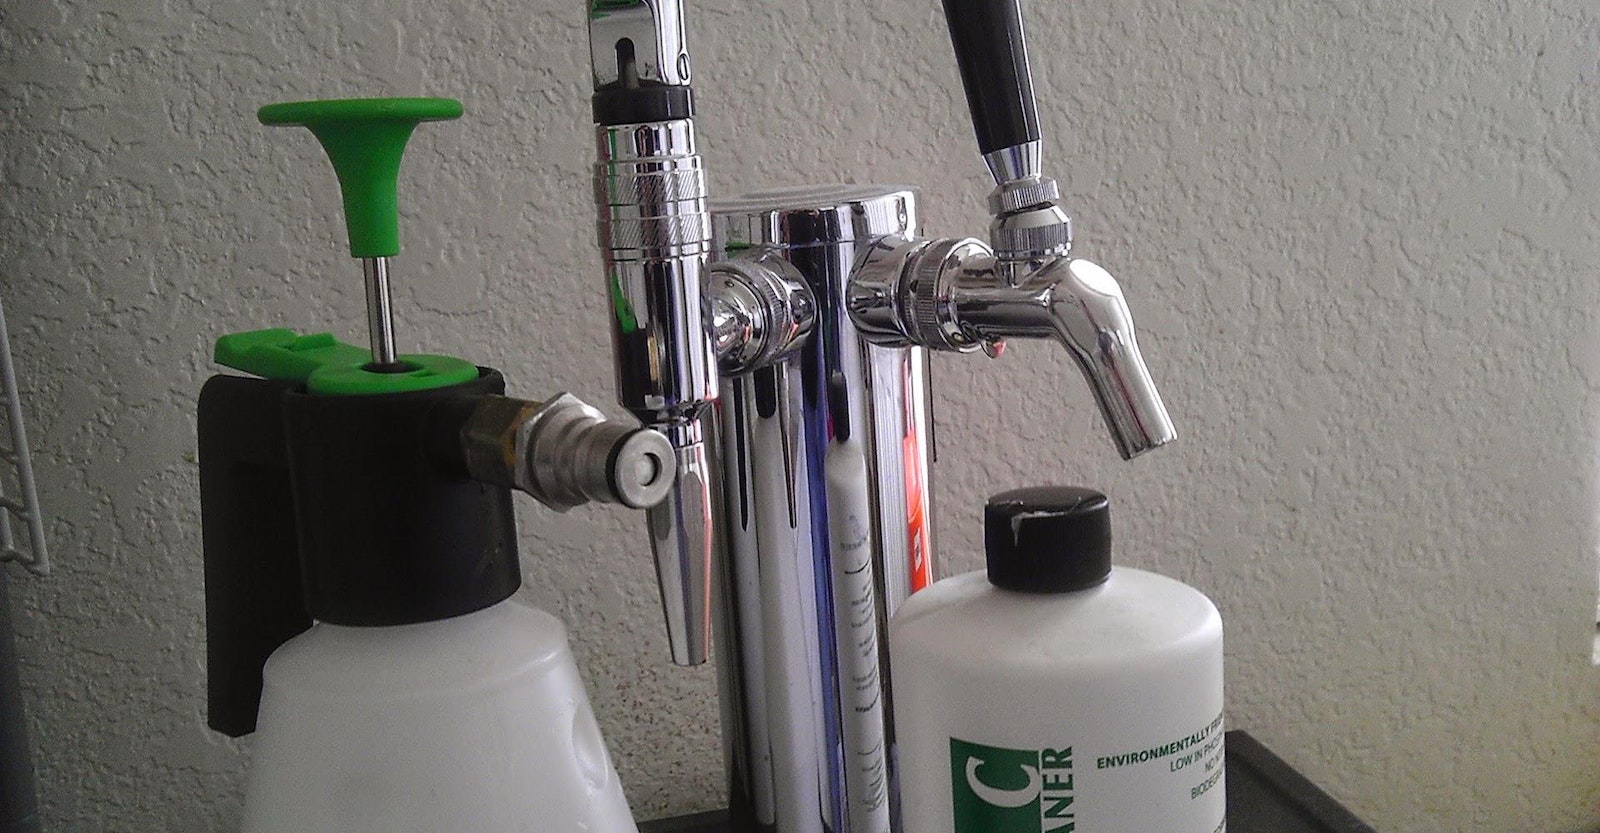
Cleaning the Beer Lines and Faucet
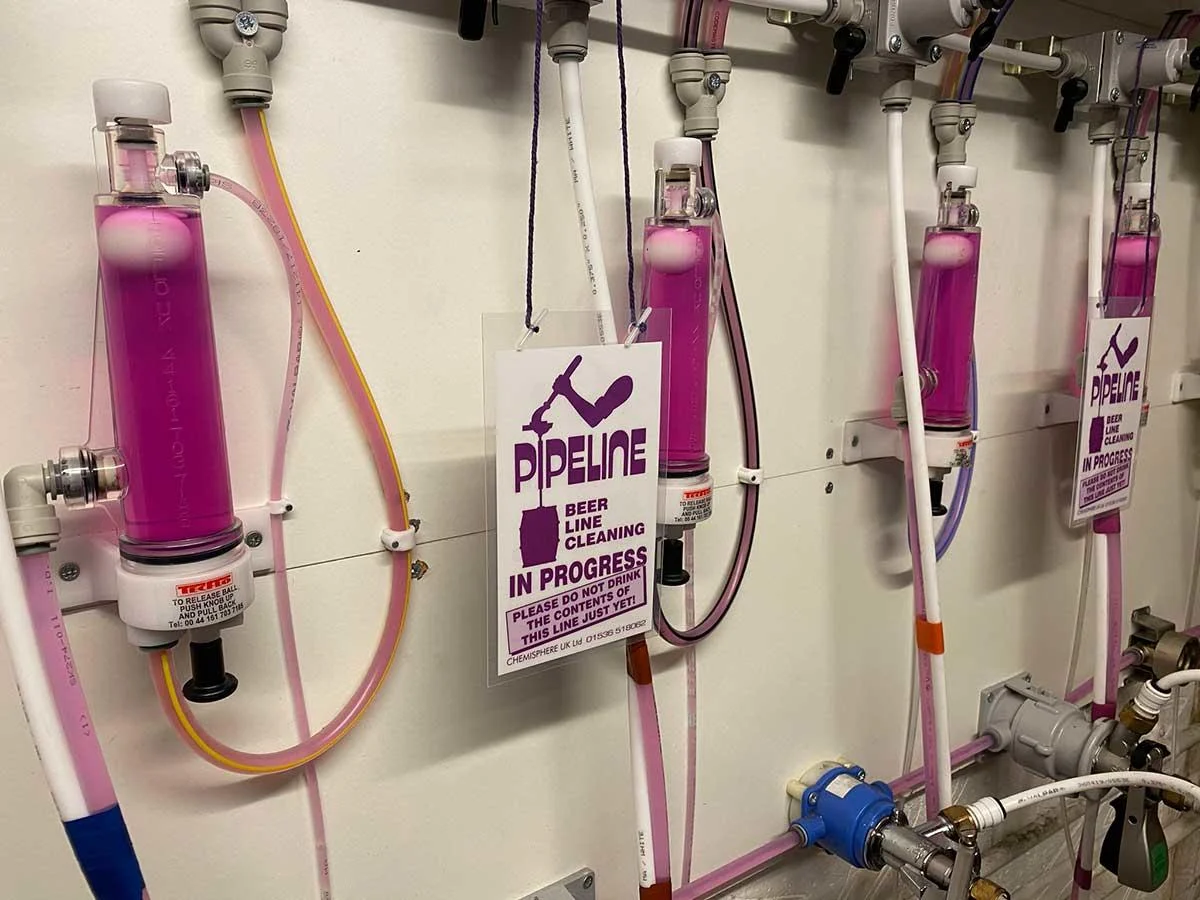
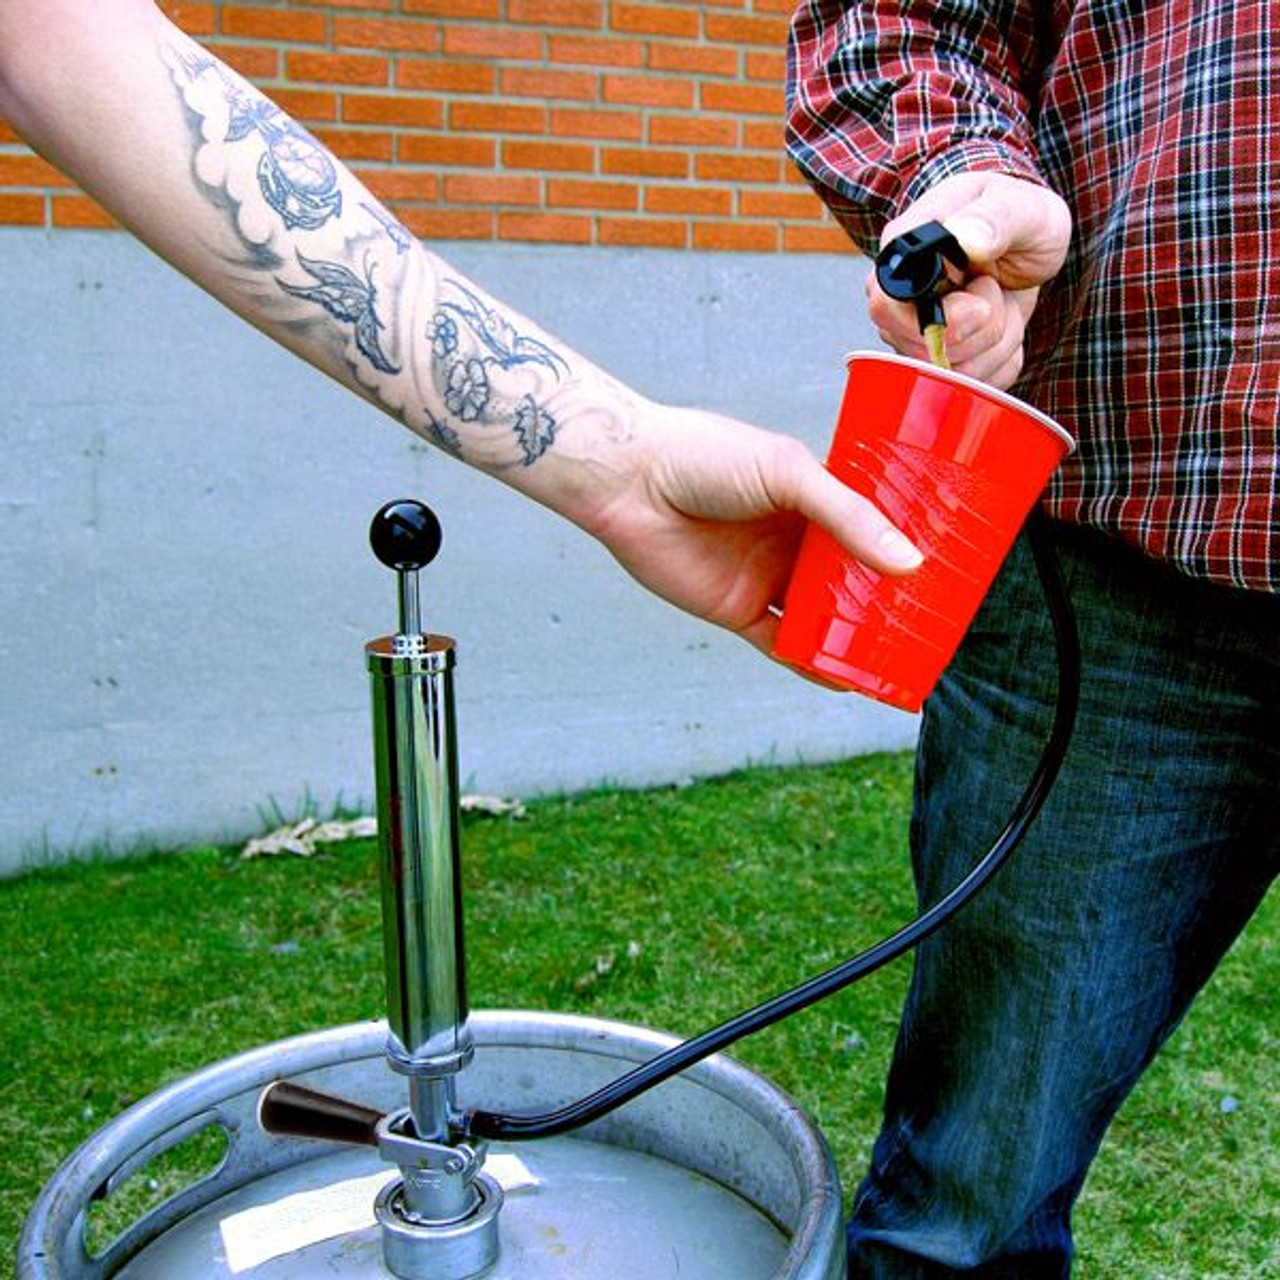
Now that you have cleaned the exterior and interior of your Haier kegerator, it’s essential to give proper attention to cleaning the beer lines and faucet. Over time, these components can accumulate sediment and bacteria, affecting the taste and quality of your beer. Follow these steps to clean the beer lines and faucet:
- Disconnect the beer lines: Carefully detach the beer lines from the kegerator, ensuring you remember their original positions.
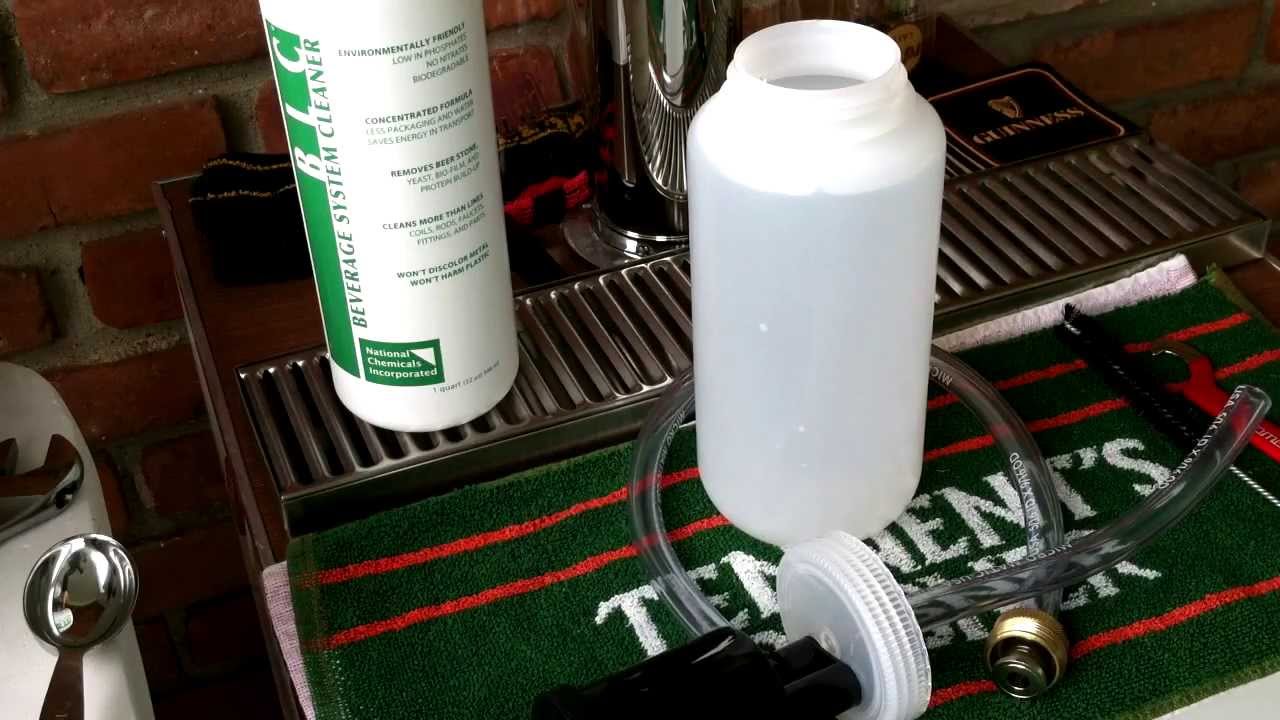
- Prepare a cleaning solution: In a bucket, mix warm water with a kegerator cleaning solution as per the instructions on the package. This solution is specifically designed to eliminate bacteria and residue build-up left behind by beer.
- Flush the lines: Place one end of the beer lines into the bucket of cleaning solution and use a cleaning kit or hand pump to flush the solution through the lines. Repeat this process several times until the lines are thoroughly cleaned.
- Clean the faucet: Remove the faucet from the kegerator and disassemble it, if possible. Soak the parts in the cleaning solution for a few minutes, then use a brush to scrub away any residue. Rinse the faucet parts with clean water and reassemble them.
- Rinse the lines: After cleaning, flush the beer lines with clean water to remove any traces of the cleaning solution. This step is crucial to ensure no residual cleaning solution affects the taste of your beer.
It’s important to clean the beer lines and faucet regularly to maintain the flavor and quality of the beer. Aim to clean them at least every few weeks or whenever you switch to a new keg.
Once you have completed cleaning the beer lines and faucet, you are ready to reassemble and test your Haier kegerator.
Reassembling and Testing the Kegerator
Now that you have thoroughly cleaned the exterior, interior, and beer lines of your Haier kegerator, it’s time to reassemble the components and test everything to ensure proper functionality. Follow these steps:
- Reattach shelves and drawers: Start by placing the shelves or drawers back into their respective positions inside the kegerator. Make sure they are securely attached.
- Reconnect the beer lines: Carefully reconnect the beer lines to their correct locations in the kegerator, ensuring a tight and secure fit. Double-check that all connections are properly sealed.
- Reinstall the faucet: Attach the cleaned faucet back onto the kegerator, making sure it is securely fastened. Be careful not to overtighten, as it may damage the faucet or kegerator.
- Connect the CO2 tank: If you disconnected the CO2 tank earlier, reattach it to the kegerator. Ensure it is properly connected and the CO2 lines are secure.
- Plug in the kegerator: Finally, plug the kegerator back into the power source and switch it on. Allow the kegerator to cool down to the desired temperature before tapping a fresh keg of beer.
- Test the functionality: Once the kegerator has reached the desired temperature, test the functionality of the tap system. Pour a small amount of beer to check for any issues, such as foam or off-flavors. Adjust the CO2 pressure if necessary.
By following these steps, you can ensure that your Haier kegerator is reassembled correctly and ready to serve fresh and delicious beer.
Now that you have successfully reassembled and tested your kegerator, let’s discuss some maintenance tips to help keep your Haier kegerator clean and in optimal condition.
Maintenance Tips for Keeping your Haier Kegerator Clean
To maintain a clean and well-functioning Haier kegerator, it’s important to follow these maintenance tips:
- Regular cleaning schedule: Establish a regular cleaning schedule for your kegerator. Aim to clean the exterior, interior, and beer lines every few weeks or whenever you switch to a new keg.
- Keep it dry: After each use, make sure to dry the interior surfaces of the kegerator to prevent the growth of mold or mildew. This is especially important for the drip tray and any areas prone to liquid accumulation.
- Monitor the temperature: Regularly check and maintain the proper temperature inside the kegerator. Too high or too low temperatures can affect the quality and taste of your beer.
- Check for leaks: Periodically inspect the kegerator for any leaks, both internally and externally. Leaks can cause moisture buildup and potentially lead to mold and mildew growth.
- Sanitize the taps and faucets: In addition to regular cleaning, sanitize the taps and faucets using a food-grade sanitizing solution. This will help eliminate any bacteria or contaminants that may affect the flavor of your beer.
- Clean the beer lines between kegs: When switching to a new keg, take the opportunity to flush the beer lines with clean water to remove any residual beer left behind. This will ensure a fresh and untainted beer experience.
- Regularly replace the beer line and faucet washers: Over time, washers can wear out or become damaged, leading to leaks or off-flavors. Regularly replacing these washers will help maintain the quality of your beer.
- Keep it covered: When not in use, cover your kegerator to protect it from dust, debris, and any potential pests that may be attracted to the scent of leftover beer.
By following these maintenance tips, you can keep your Haier kegerator clean, hygienic, and ready to serve delicious beer for years to come.
Congratulations! You are now equipped with the knowledge of how to clean and maintain your Haier kegerator. By regularly cleaning and following these maintenance practices, you can enjoy fresh and great-tasting beer from your kegerator.
Conclusion
Cleaning and maintaining your Haier kegerator is essential for ensuring the best possible taste and optimal performance. By following the step-by-step guide outlined in this article, you can keep your kegerator clean, hygienic, and ready to serve refreshing beers.
Remember to gather the necessary tools and materials before starting the cleaning process, including a bucket, soft sponge or cloth, mild dish soap, warm water, white vinegar, kegerator cleaning kit, sanitizing solution, and a towel or drying rack.
Start by preparing the kegerator for cleaning, disconnecting the power source, and emptying the kegs and bottles. Clean the exterior surfaces using a gentle soapy water solution, and then move on to cleaning the interior by scrubbing with a mixture of warm water and vinegar. Pay particular attention to the beer lines and faucet, utilizing a kegerator cleaning solution and flushing with water to remove any residue.
Reassemble the kegerator, ensuring a secure fit for shelves, beer lines, and faucet connections. Test the functionality of the tap system before enjoying fresh and delicious beer from your Haier kegerator.
Maintaining your kegerator involves regular cleaning and a few simple guidelines. Establish a cleaning schedule, keep the kegerator dry, monitor the temperature, check for leaks, sanitize taps and faucets, clean beer lines between kegs, regularly replace washers, and cover the kegerator when not in use.
By following these maintenance tips, you can prolong the lifespan of your Haier kegerator, prevent off-flavors or contamination, and ensure an exceptional beer-drinking experience.
Now that you are equipped with the knowledge and steps to clean and maintain your Haier kegerator, it’s time to put it into action. Cheers to enjoying cold and refreshing beers straight from your clean and well-maintained kegerator!
Frequently Asked Questions about How To Clean A Haier Kegerator
Was this page helpful?
At Storables.com, we guarantee accurate and reliable information. Our content, validated by Expert Board Contributors, is crafted following stringent Editorial Policies. We're committed to providing you with well-researched, expert-backed insights for all your informational needs.


0 thoughts on “How To Clean A Haier Kegerator”