Articles
How To Cover Cracks In Ceiling
Modified: September 2, 2024
Learn effective methods and techniques to cover cracks in your ceiling with our informative articles. Improve the appearance of your home easily and affordably.
(Many of the links in this article redirect to a specific reviewed product. Your purchase of these products through affiliate links helps to generate commission for Storables.com, at no extra cost. Learn more)
Introduction
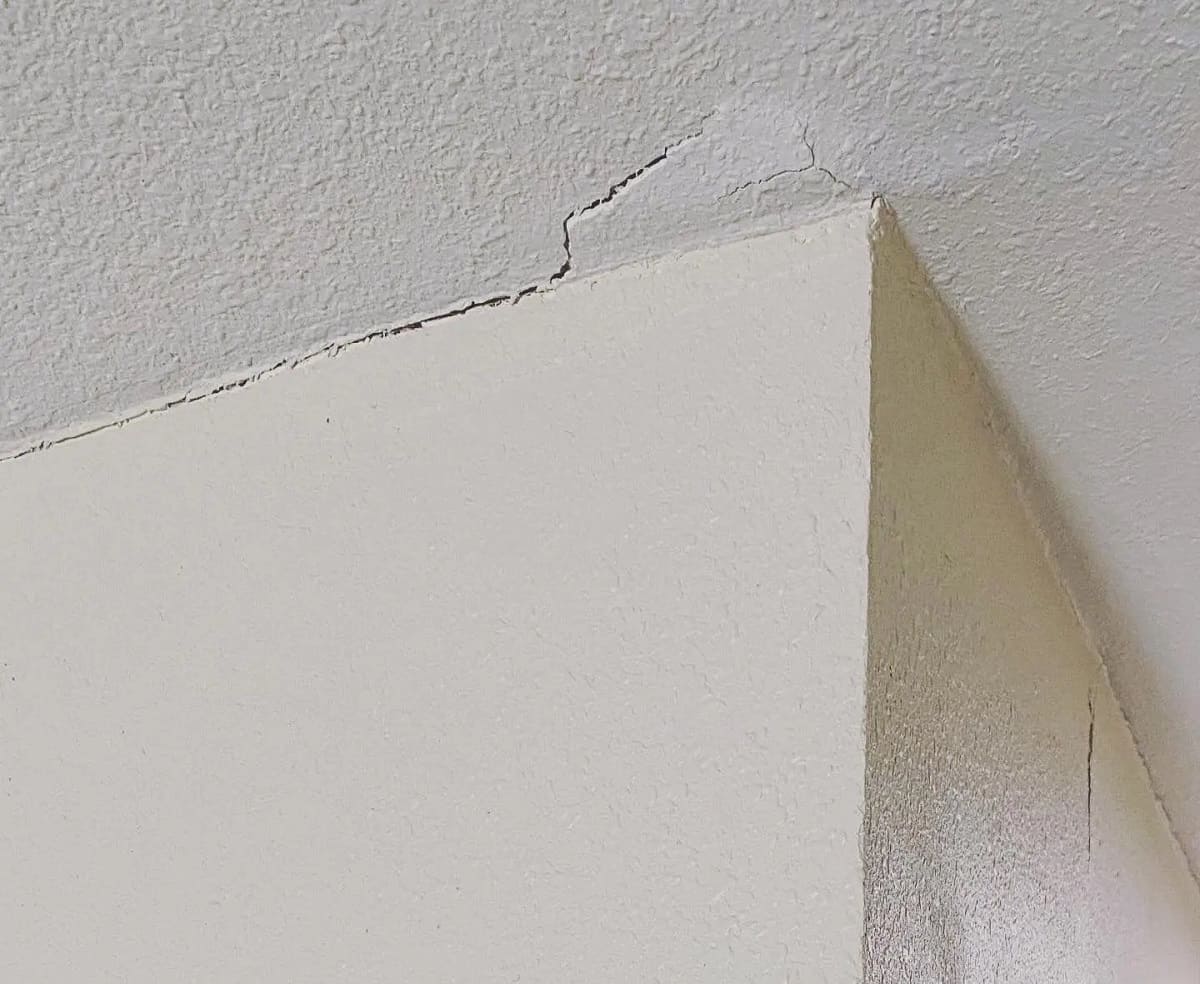
Having cracks in your ceiling can be unsightly and can detract from the overall appearance of your home. Whether it’s due to settling, humidity changes, or structural issues, it’s important to address these cracks and repair them to restore the beauty of your ceiling. In this article, we will guide you on how to cover cracks in your ceiling, providing step-by-step instructions and tips for achieving a seamless finish.
Before you begin, it’s essential to gather the necessary tools and materials. You will need joint compound, mesh tape, a putty knife, sandpaper, a sanding block, primer, and ceiling paint. Additionally, don’t forget to protect the surrounding area with drop cloths or plastic sheets to avoid making a mess.
Whether you’re dealing with small hairline cracks or larger fissures, we have you covered. Let’s dive into the details of preparing the ceiling surface and the step-by-step process for filling and covering the cracks in your ceiling.
Key Takeaways:
- Proper preparation is key to successful ceiling crack repair. Clean the surface, apply primer, and use joint compound or mesh tape for small or large cracks, respectively. Finish with a skim coat for a flawless look.
- After patching and smoothing, prime and paint the ceiling for a fresh, cohesive appearance. Attention to detail and patience are crucial for achieving a professional and long-lasting finish.
Read more: How To Repair Plaster Ceiling Cracks
Preparing the Ceiling Surface
Before you can begin repairing and covering the cracks in your ceiling, it’s important to properly prepare the surface. Here are the steps to follow:
- Clean the area: Start by thoroughly cleaning the ceiling surface. Use a broom or vacuum cleaner to remove any dust, dirt, or loose debris. This will ensure proper adhesion of the repair materials.
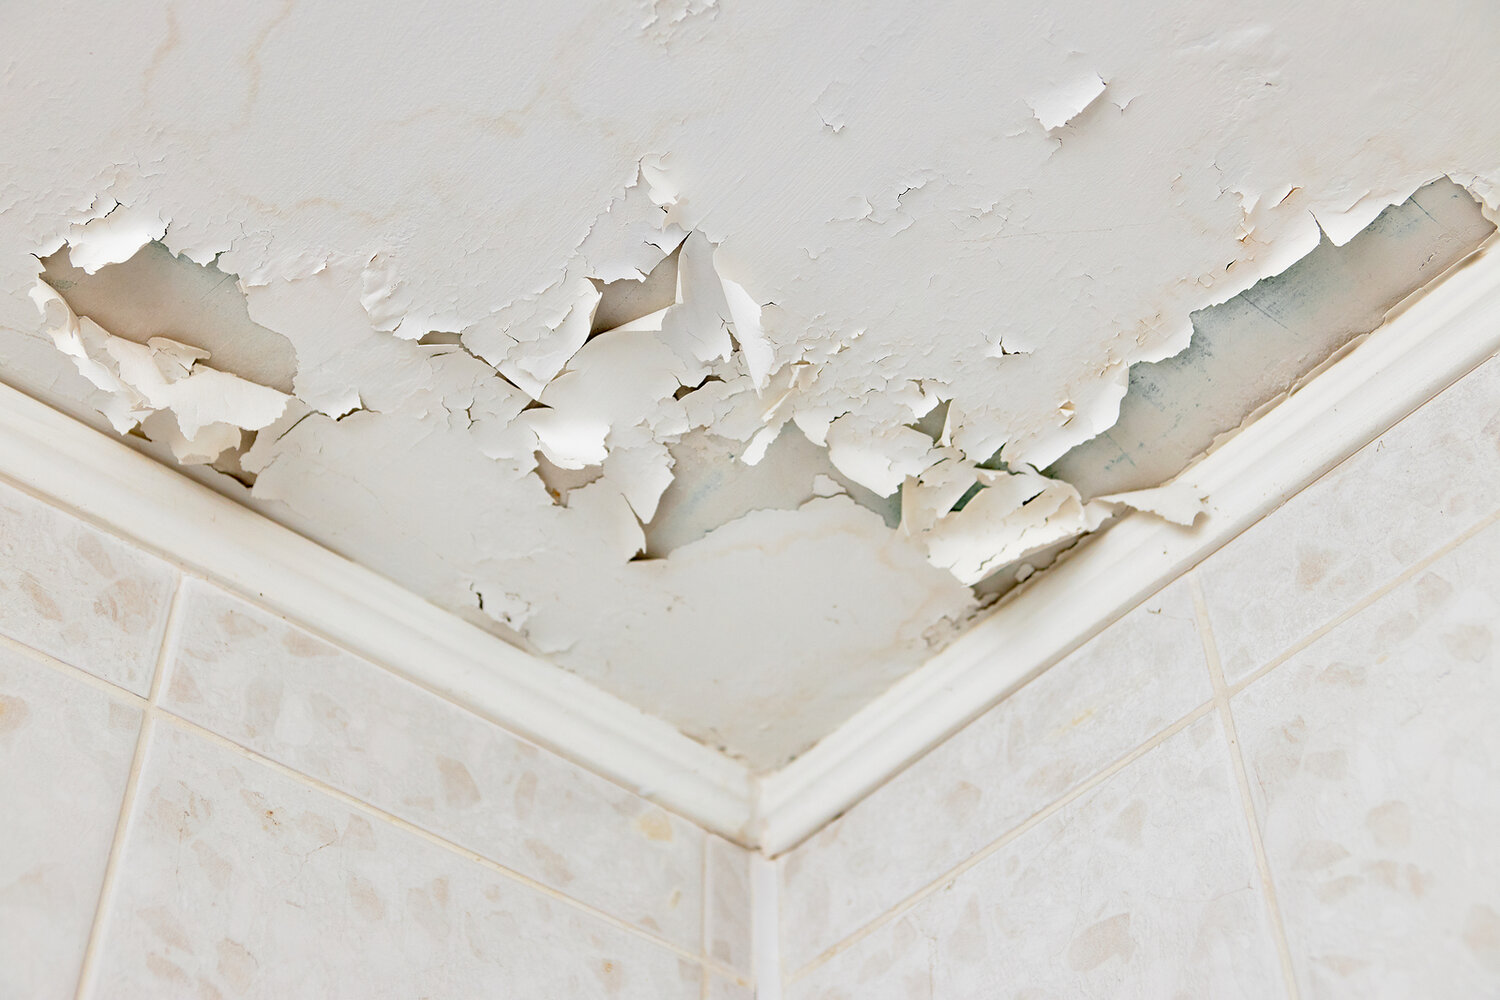
- Inspect for loose paint or texture: Carefully examine the area around the cracks for any peeling paint or loose texture. Use a scraper or putty knife to gently remove any flaking paint or texture.
- Smooth the edges: Use sandpaper or a sanding block to smooth out any rough edges around the cracked areas. This will help the repair materials blend seamlessly into the surrounding surface.
- Apply a primer: If you have scraped off any existing paint or texture, it’s important to apply a primer before proceeding with the repairs. The primer will promote better adhesion and will prevent the repaired areas from standing out.
By following these preparatory steps, you’ll create a clean and smooth surface for the crack repairs. This will ensure a more professional and long-lasting result.
Filling Small Cracks with Joint Compound
If you’re dealing with small hairline cracks in your ceiling, filling them with joint compound is an effective solution. Follow these steps to fill small cracks:
- Prepare the joint compound: Start by opening your container of joint compound and give it a good stir to make sure it’s well mixed. If the compound is too thick, you can add a small amount of water to thin it out slightly, making it easier to work with.
- Apply the joint compound: Using a putty knife, scoop a small amount of joint compound onto the blade. With a smooth motion, apply the compound into the crack. Hold the putty knife at a slight angle and press firmly to ensure the compound fills the entire crack. Smooth and level the compound with the surrounding ceiling surface.
- Remove excess compound: After applying the joint compound, carefully scrape off any excess compound from the surface using the putty knife. The goal is to leave a smooth and even surface without any excess compound bulging out.
- Allow the compound to dry: Follow the drying time recommended by the manufacturer, usually around 24 hours. Keep in mind that drying time may vary depending on the temperature and humidity levels in your home.
- Sand the patched area: Once the joint compound is completely dry, use a fine-grit sandpaper or sanding block to gently sand the patched area. This will help to smooth out any imperfections and create a seamless finish.
After completing these steps, your small cracks should be effectively filled and blended into the surrounding ceiling. If necessary, you can repeat the process with an additional layer of joint compound to ensure a strong and durable repair. It’s important to note that joint compound shrinks slightly as it dries, so multiple layers may be needed to achieve a flush finish.
Repairing Larger Cracks with Mesh Tape
If you have larger cracks in your ceiling, using mesh tape in conjunction with joint compound is the recommended method for achieving a sturdy and long-lasting repair. Follow these steps to repair larger cracks:
- Clean and prepare the crack: Start by cleaning the crack using a broom or vacuum to remove any loose debris. Use a putty knife to widen the crack slightly. This will create space for the mesh tape and joint compound to adhere properly.
- Cut and apply the mesh tape: Measure and cut a piece of mesh tape slightly longer than the length of the crack. Carefully press the tape onto the crack, ensuring it sits flush against the ceiling surface.
- Apply joint compound over the mesh tape: Using a putty knife, apply a thin layer of joint compound over the mesh tape. Smooth it out evenly and feather the edges to blend it into the surrounding ceiling surface. Make sure the tape is completely covered with joint compound.
- Allow the joint compound to dry: Follow the drying time recommended by the manufacturer, usually around 24 hours. Keep in mind that drying time may vary depending on the temperature and humidity levels in your home.
- Apply additional layers of joint compound: Repeat the process of applying thin layers of joint compound over the mesh tape, allowing each layer to dry before applying the next one. This helps build up a smooth and solid finish.
- Sand and smooth the patched area: Once the joint compound is completely dry, use a fine-grit sandpaper or sanding block to gently sand the patched area. This will help to smooth out any imperfections and create a seamless finish.
By following these steps, you can effectively repair larger cracks in your ceiling using mesh tape and joint compound. The mesh tape provides reinforcement and stability, ensuring a durable and long-lasting repair.
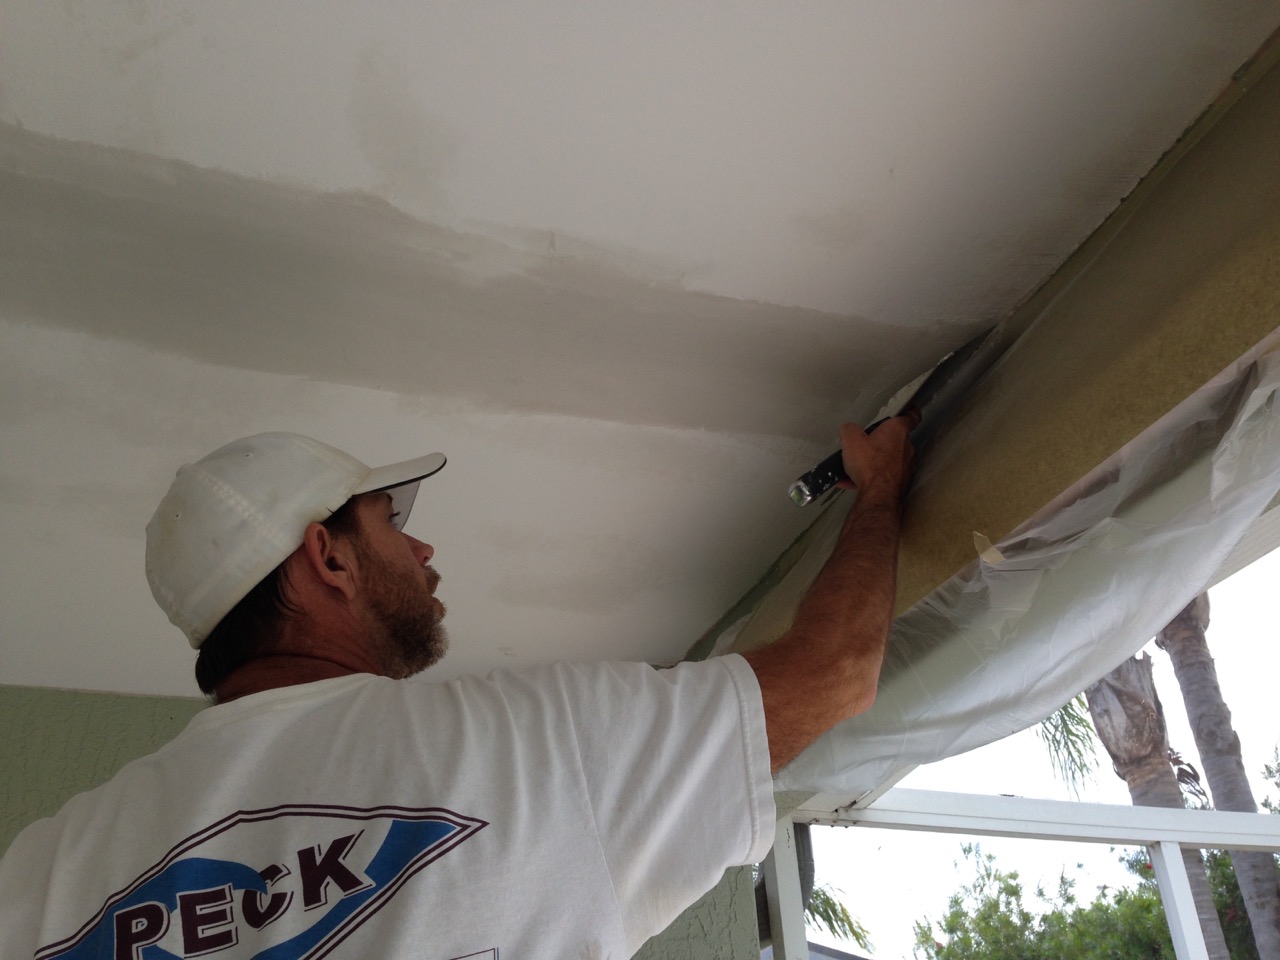
Use a joint compound to fill in the cracks in the ceiling. Apply the compound with a putty knife, smooth it out, and let it dry. Sand the area and then paint over it to blend it in with the rest of the ceiling.
Applying a Skim Coat to Cover Cracks
If you want to achieve a seamless finish and cover multiple cracks or imperfections on your ceiling, applying a skim coat is an excellent technique. A skim coat is a thin layer of joint compound that is spread over the entire surface to create a smooth and uniform finish. Here’s how to apply a skim coat:
- Prepare the joint compound: Open your container of joint compound and mix it well to ensure a smooth consistency. If needed, add a small amount of water to thin it out slightly.
- Apply the first coat: Start by using a taping knife or wide putty knife to spread a thin layer of joint compound over the entire ceiling surface. Work in small sections, applying the compound with smooth, even strokes.
- Smooth out the coat: After applying the first coat, go back over it with a dry taping knife or squeegee. Hold the tool at a slight angle and lightly skim the surface to remove any excess compound and create an even layer.
- Allow the first coat to dry: Follow the drying time recommended by the manufacturer, usually around 24 hours. Make sure the room is well-ventilated to aid in the drying process.
- Apply subsequent coats: Once the first coat is dry, inspect the ceiling for any visible cracks or imperfections. If necessary, apply additional skim coats to achieve a smooth and flawless finish. Each coat should be thin and evenly applied.
- Sand and smooth the surface: After applying the final coat and allowing it to dry, use a fine-grit sandpaper or sanding block to gently sand the entire surface. This will help to remove any minor imperfections and create a perfectly smooth finish.
Applying a skim coat requires patience and attention to detail. Take your time and work with precision to ensure a professional-looking result. Once completed, your ceiling will be free from visible cracks, and the skim coat will provide a seamless and polished appearance.
Read more: Why Is My Ceiling Cracking?
Sanding and Smoothing the Patched Areas
After patching and applying joint compound to cover the cracks in your ceiling, it’s essential to sand and smooth the patched areas to achieve a seamless finish. Sanding helps to blend the repaired sections with the surrounding ceiling surface, creating a uniform appearance. Follow these steps for sanding and smoothing the patched areas:
- Choose the right sandpaper: Select a fine-grit sandpaper, such as 120 or 150 grit. This will allow you to gently sand the patched areas without damaging the surrounding surface.
- Protect the area: Cover nearby furniture and floors with drop cloths or plastic sheets to prevent dust or debris from spreading.
- Sand the patched areas: Use the sandpaper to gently sand the patched areas in a circular or back-and-forth motion. Be sure to sand the edges of the patch to blend them seamlessly with the surrounding surface. Continue sanding until the patched areas feel smooth to the touch.
- Clean the surface: Use a clean, damp cloth to wipe away any dust or residue from the sanding process. This will help you better assess the quality of the repair and ensure a clean surface for priming and painting.
- Inspect for imperfections: After sanding, closely inspect the patched areas for any remaining cracks, rough spots, or inconsistencies. If necessary, apply a thin layer of joint compound to fill any remaining gaps or smooth out any rough patches. Repeat the sanding process once the new layer of joint compound is dry.
Sanding is a crucial step in achieving a professional and flawless finish on your ceiling. Take your time and pay attention to detail to ensure that the patched areas blend seamlessly with the rest of the ceiling. Once you’re satisfied with the smoothness of the patched areas, you’re ready to move on to priming and painting.
Prime and Paint the Ceiling
Priming and painting your ceiling is the final step in covering cracks and achieving a beautifully finished look. Priming ensures proper adhesion of the paint and helps to create a more uniform surface. Painting gives your ceiling a fresh and cohesive appearance. Follow these steps to prime and paint your ceiling:
- Choose the right primer and paint: Select a high-quality primer specifically designed for ceilings, as well as a ceiling paint that matches your desired color and finish.
- Prepare the area: Cover the floors and any furniture with drop cloths or plastic sheets to protect them from paint splatters. Use painter’s tape to mask off any edges or areas that you do not want to be painted.
- Apply the primer: Use a paint roller with a medium nap to apply a thin and even coat of primer to the entire ceiling surface. Work in manageable sections, starting from one corner and moving diagonally across the ceiling. Allow the primer to dry according to the manufacturer’s instructions before proceeding to paint.
- Apply the paint: Once the primer is dry, it’s time to apply the paint. Stir the paint thoroughly before pouring it into a paint tray. Use the same roller used for the primer and apply the paint in smooth, even strokes. Work in the same manner as you did with the primer, starting from one corner and moving diagonally across the ceiling. Apply a second coat if needed, allowing sufficient drying time between coats.
- Clean and inspect: Once the final coat of paint is dry, carefully remove the painter’s tape and clean up any paint splatters or drips. Inspect the ceiling for any touch-ups or areas that may require additional paint application.
Priming and painting your ceiling not only enhances its appearance but also adds a protective layer that helps to prevent future cracks and damage. By following these steps and taking your time with the painting process, you’ll achieve a beautifully finished ceiling that will enhance the overall aesthetic of your space.
Conclusion
Repairing and covering cracks in your ceiling is a task that requires attention to detail and proper technique. By following the steps outlined in this article, you can effectively address cracks of various sizes and achieve a seamless and professional-looking finish.
Start by preparing the ceiling surface, ensuring it is clean and free of any loose debris. Fill small cracks with joint compound, smoothing it out and allowing it to dry before sanding. For larger cracks, use mesh tape and multiple layers of joint compound to reinforce and cover the damaged areas.
To achieve a flawless finish, apply a skim coat over the entire ceiling and sand it down to create a smooth surface. Finally, prime the ceiling to promote adhesion and apply multiple coats of paint to complete the transformation.
Remember, take your time and follow the manufacturer’s instructions for drying times and product usage. Pay attention to detail and ensure that each step is properly executed for the best results.
Repairing and covering cracks in your ceiling not only restores its appearance but also helps to maintain its structural integrity. It’s a worthwhile task that will enhance the overall aesthetic of your space and provide you with a ceiling that looks as good as new.
So don’t let those cracks bring you down. Take action, follow the steps, and enjoy a beautifully repaired and finished ceiling that adds value and charm to your home.
Frequently Asked Questions about How To Cover Cracks In Ceiling
Was this page helpful?
At Storables.com, we guarantee accurate and reliable information. Our content, validated by Expert Board Contributors, is crafted following stringent Editorial Policies. We're committed to providing you with well-researched, expert-backed insights for all your informational needs.


0 thoughts on “How To Cover Cracks In Ceiling”