
Articles
How To Cover A Chimney Hole
Modified: October 20, 2024
Learn how to cover a chimney hole with our informative articles, providing step-by-step instructions and expert tips. Create a safer and more efficient fireplace with our helpful guides.
(Many of the links in this article redirect to a specific reviewed product. Your purchase of these products through affiliate links helps to generate commission for Storables.com, at no extra cost. Learn more)
Introduction
Chimneys play a crucial role in our homes by safely funneling smoke and gases out of the house. However, when a fireplace or heating system is no longer in use, or when the chimney is no longer in service, it is essential to cover the chimney hole to prevent unwanted pests, weather damage, and energy loss. In this article, we will guide you through the process of covering a chimney hole efficiently and effectively.
Before we begin, it is important to gather the necessary materials and tools for this project. Cleaning the chimney hole is crucial to ensure a proper fit for the cover. Measuring the dimensions of the chimney hole accurately will help you choose the right sized cover. Finally, selecting a suitable chimney cover and installation are key to a successful outcome.
In the next steps, we will walk you through each stage of the process, providing you with key tips and insights along the way.
So, let’s get started by gathering the necessary materials and tools for this project!
Key Takeaways:
- Safeguard your home by covering a chimney hole with the right materials, precise measurements, and secure installation. Protect against pests, weather damage, and energy loss for a safer and more efficient chimney system.
- Ensure proper functionality and ventilation of your chimney cover by testing for airflow, monitoring for water leakage, and performing regular maintenance. Enjoy a well-protected home and a cozy fireplace with a professionally covered chimney hole.
Read more: How To Cover A Ceiling Light Hole
Step 1: Gather the necessary materials
To cover a chimney hole effectively, you will need a few essential tools and materials. These items will enable you to complete the project efficiently and ensure a secure and long-lasting cover. Here are the tools and materials you will need:
Tools:
1. Safety goggles – to protect your eyes from any debris or dust while working.
2. Work gloves – to safeguard your hands and provide a firm grip while handling materials and tools.
3. Tape measure – for accurately measuring the dimensions of the chimney hole.
4. Ladder – if the chimney hole is located high up, a ladder will help you safely access it.
5. Screwdriver – if your chosen chimney cover requires screws for installation, a screwdriver will be necessary.
Materials:
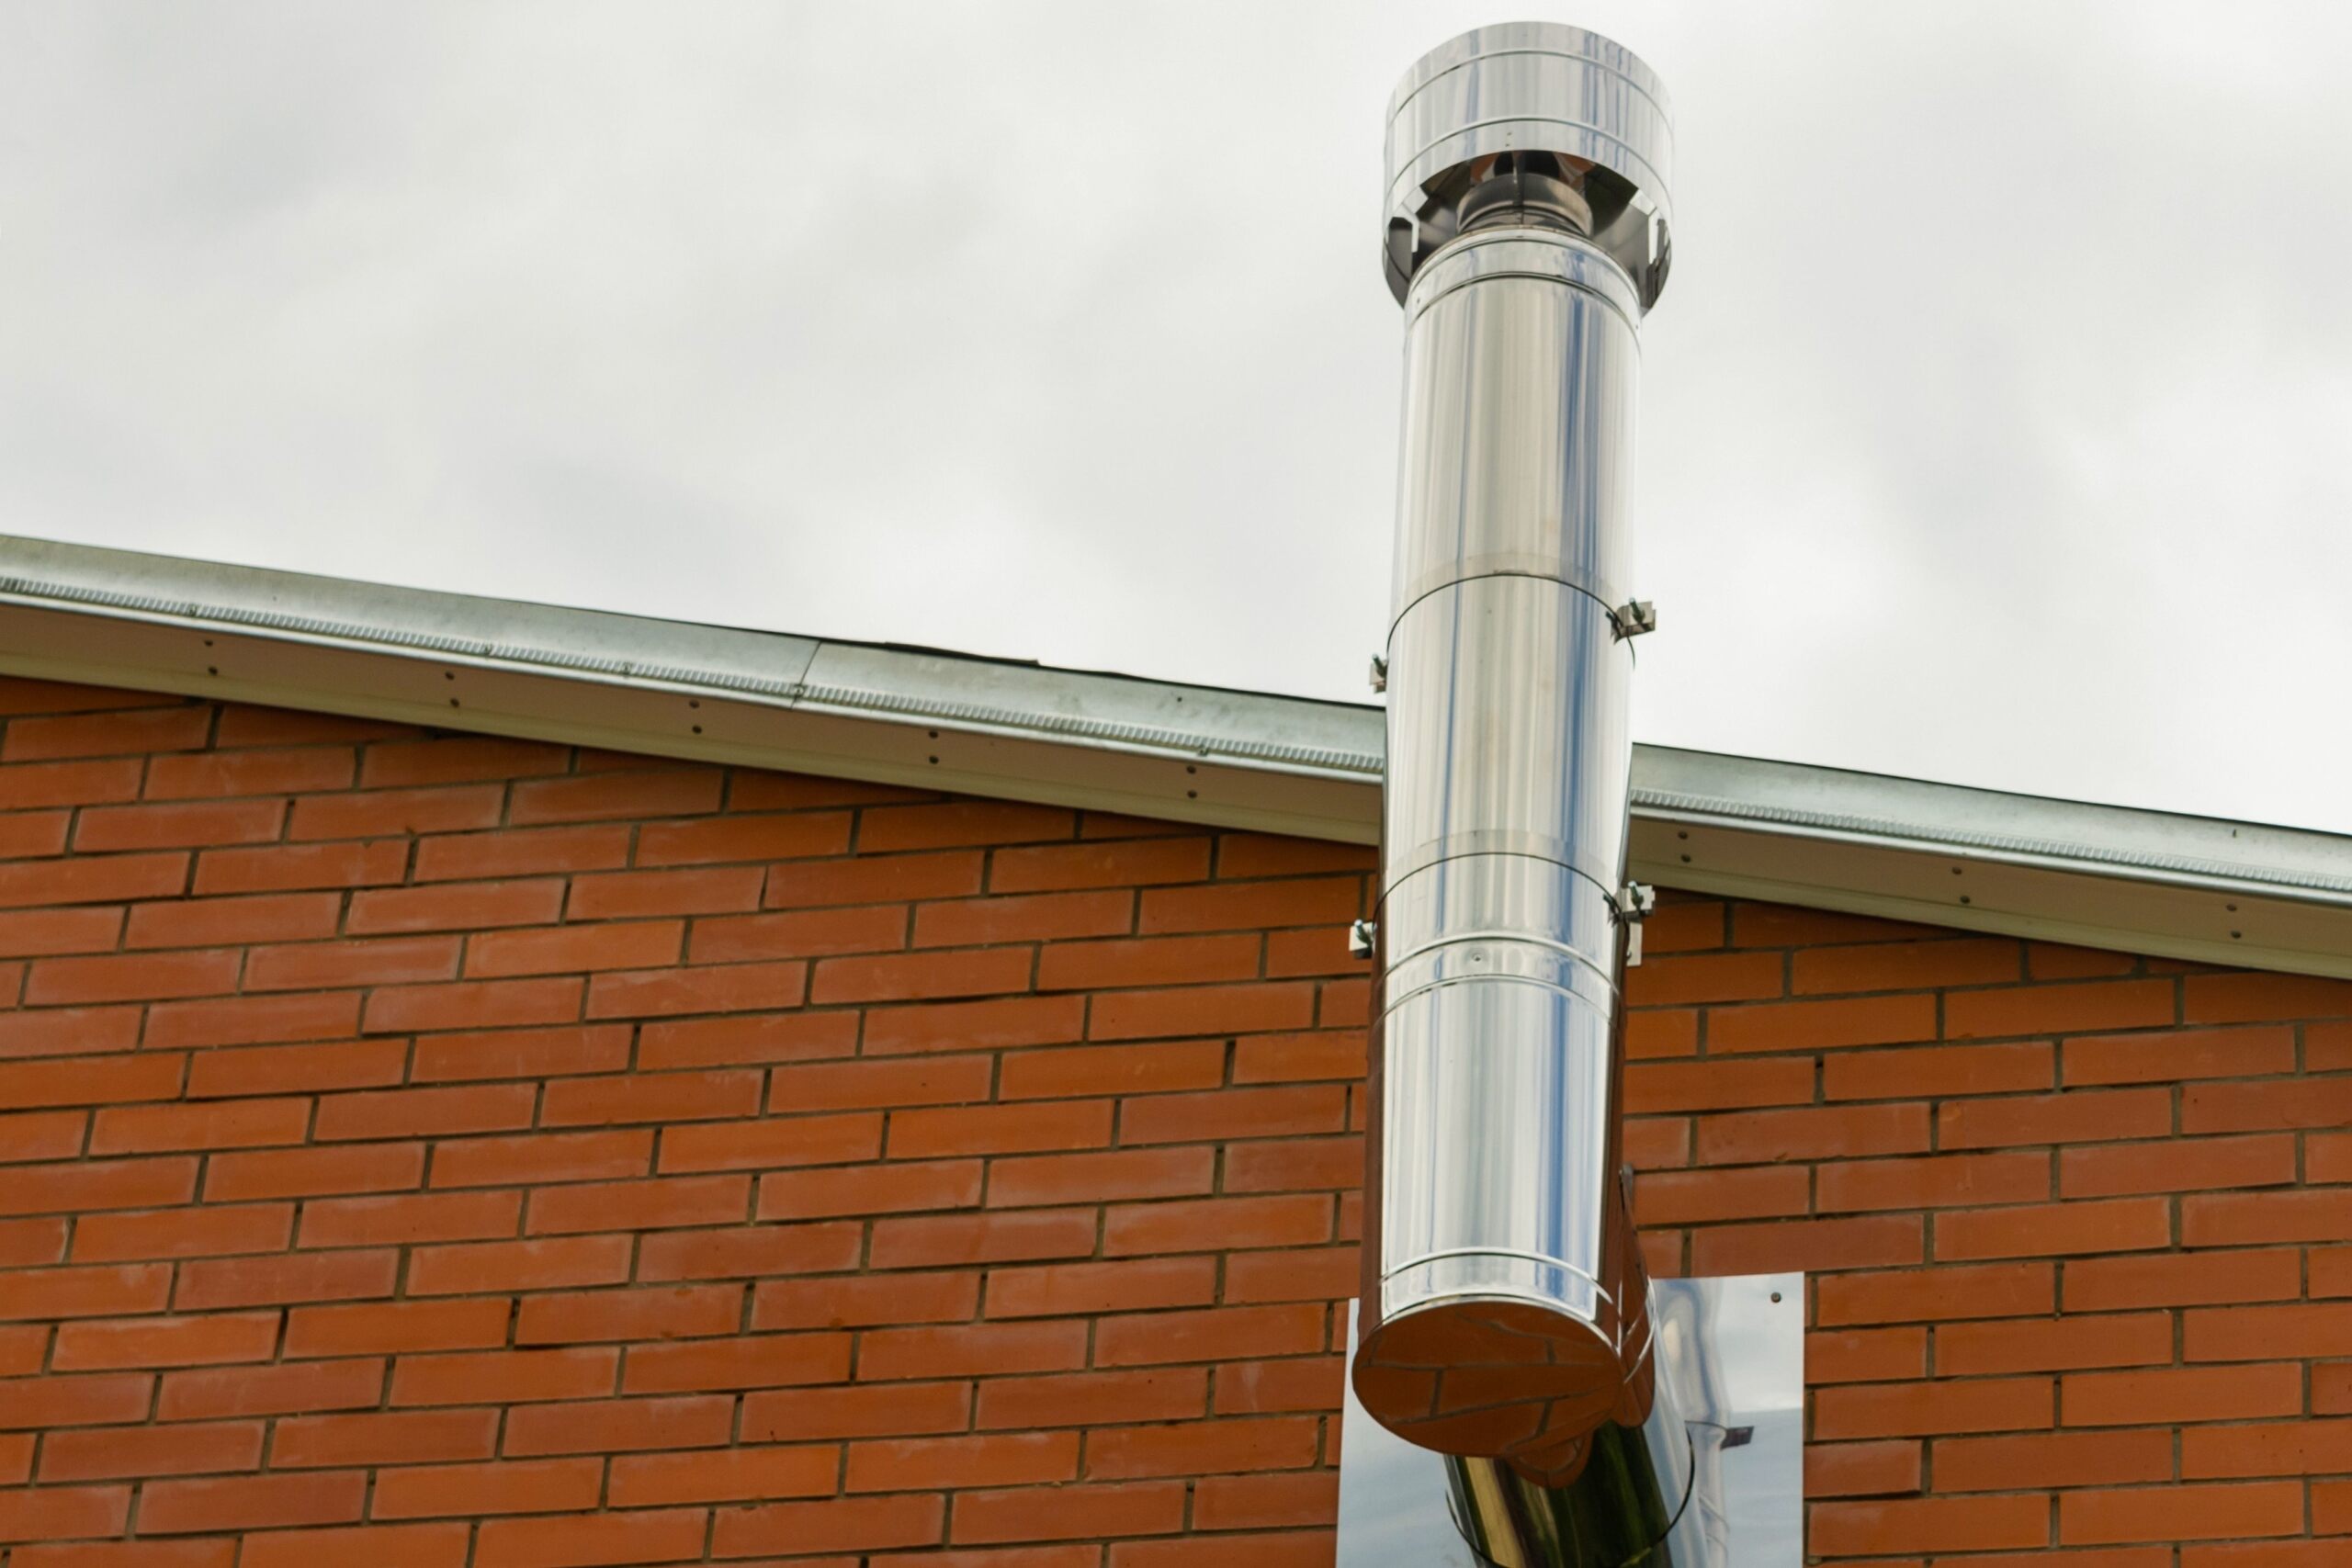
1. Chimney cover – select a cover made from durable and weather-resistant materials, such as stainless steel or galvanized metal. Ensure the cover’s size matches the dimensions of your chimney hole.
2. Silicone sealant – this will help to create a watertight seal between the chimney cover and the chimney structure.
3. Screws – if your chimney cover requires screws for installation, make sure you have the appropriate size and type.
4. Sealant gun – if you are using silicone sealant, a sealant gun will make the application easier and more precise.
5. Cleaning supplies – before installing the chimney cover, it is important to clean the chimney hole thoroughly. Prepare some cleaning supplies such as a brush, a broom, and a vacuum cleaner to remove any debris or obstructions.
Having these tools and materials ready beforehand will save you time and ensure a smooth and hassle-free process when covering your chimney hole. Once you have gathered everything, you can move on to the next step, which involves cleaning the chimney hole to prepare it for the cover installation.
Step 2: Clean the chimney hole
Before proceeding with covering the chimney hole, it is important to ensure that the area is clean and free from any debris, obstructions, or unwanted inhabitants. Cleaning the chimney hole will not only provide a clean surface for the chimney cover installation but also prevent potential issues down the line. Here are the key steps to follow:
1. Removing any debris or obstructions:
Inspect the chimney hole and remove any loose debris, such as leaves, twigs, or small rocks. Use a brush or broom to sweep away the loose debris, and if necessary, use a vacuum cleaner to ensure a thorough cleaning.
2. Clearing out any nests or animals:
Chimney structures often attract small animals or birds who may build nests or make it their home. It is crucial to remove any nests or animals before covering the chimney hole. Approach this step with caution, as some animals may become aggressive or pose health risks. Consider seeking professional assistance if you encounter any challenges or concerns.
If you notice any signs of animals or nests in the chimney, it is recommended to contact a local wildlife control or pest removal service. They have the necessary skills and experience to safely remove any animals and nests without causing harm to the animals or yourself.
By cleaning the chimney hole and ensuring it is free from debris and unwanted inhabitants, you create a clean and safe environment for the chimney cover. This step also helps prevent any potential blockages or damage to the chimney system. Once the chimney hole is clean and clear, you can move on to the next step: measuring the dimensions of the chimney hole.
Step 3: Measure the dimensions of the chimney hole
Before selecting and purchasing a chimney cover, it is crucial to accurately measure the dimensions of the chimney hole. Measuring the width and height of the hole will ensure that you choose a cover that fits securely and effectively. Here’s how you can measure the dimensions of the chimney hole:
1. Determining the width:
Using a tape measure, measure the width of the chimney hole from one side to the other. Take the measurement at the widest point of the opening, ensuring that you account for any irregularities or protrusions. Note down the width measurement to reference when selecting the appropriate cover.
2. Determining the height:
Similarly, measure the height of the chimney hole from the bottom to the top. Ensure you measure from the base of the opening to the top edge. Take into consideration any obstructions or unevenness in the height. Record the height measurement, as it will be crucial for choosing the right-sized cover.
When measuring the chimney hole dimensions, it is important to be precise. Even a small margin of error could result in an ill-fitting chimney cover, which may compromise its effectiveness and security. It is always wise to double-check your measurements to ensure accuracy.
Once you have determined the width and height of the chimney hole, you can proceed to the next step, where you will select and purchase a suitable chimney cover based on the measurements you’ve taken. By accurately measuring the dimensions, you guarantee a proper fit and a successful cover installation process.
Use a chimney cap to cover the hole and prevent debris and animals from entering. Make sure to choose a cap that fits securely and is made of durable material.
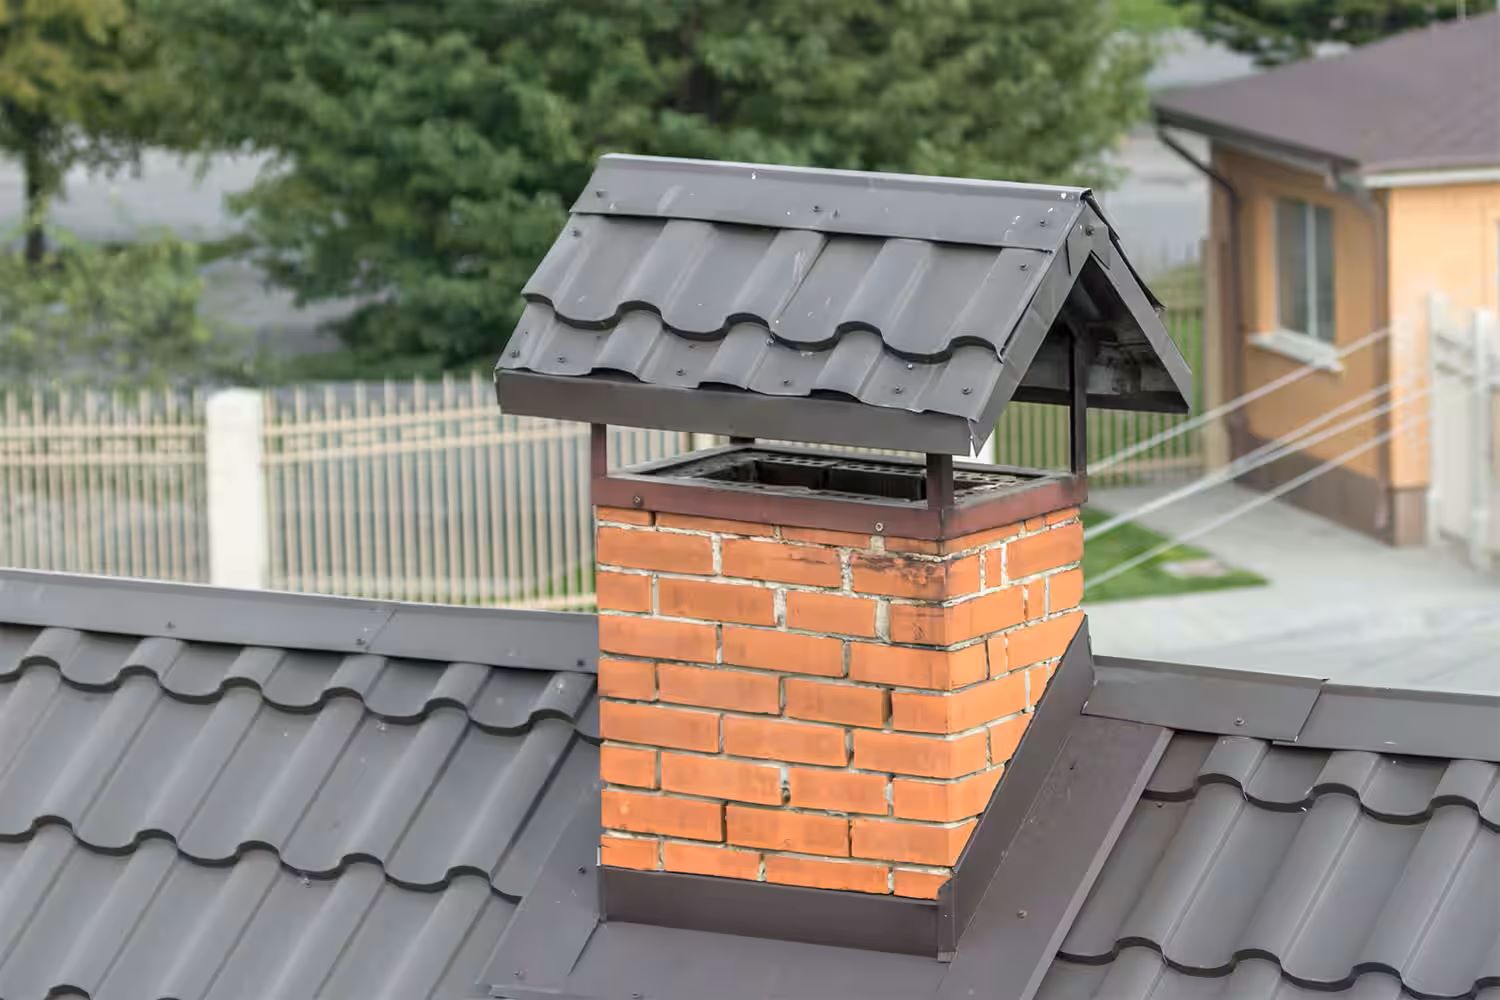
Step 4: Select and purchase a chimney cover
Once you have measured the dimensions of your chimney hole, it’s time to select and purchase a suitable chimney cover. There are various types of chimney covers available in the market, each with its own features and benefits. Additionally, choosing the appropriate size and style is essential to ensure a proper fit and functionality for your specific chimney. Here’s what you need to consider when selecting a chimney cover:
Considering the different types of covers available:
1. Mesh chimney covers: These covers are made of durable mesh material, allowing for optimal airflow while keeping out debris and animals. They are effective in preventing birds and small animals from entering the chimney while allowing smoke and gases to escape freely.
2. Cap-style chimney covers: These covers are typically made of metal and are designed to fit securely over the chimney hole, providing protection against weather elements such as rain and snow. They come in various styles, including single-flue or multi-flue designs, depending on the number of chimneys you have.
3. Top-mount chimney covers: These covers are installed on top of the chimney and provide protection for the entire chimney structure. They are often made of durable metal and feature a hinged lid or mesh sides for enhanced ventilation and debris protection.
Choosing the appropriate size and style:
When selecting a chimney cover, it is crucial to choose the appropriate size and style for your chimney. Consider the measurements you took earlier and select a cover that matches the width and height of your chimney hole. Pay attention to any specific features or requirements you may have, such as additional protection against wildlife or specific weather conditions.
Additionally, consider the overall aesthetic of your home and choose a chimney cover that complements the architectural style. Whether you prefer a sleek and modern design or a more traditional look, there are various styles and finishes available to suit your preferences.
Before making a purchase, it is advisable to read customer reviews and product specifications to ensure that the chimney cover meets your specific needs. Take into account factors such as durability, weather resistance, and ease of installation. Once you have selected and purchased the appropriate chimney cover, you can move on to the next step, which involves installing the cover securely over the chimney hole.
Read more: How To Cover A Medicine Cabinet Hole
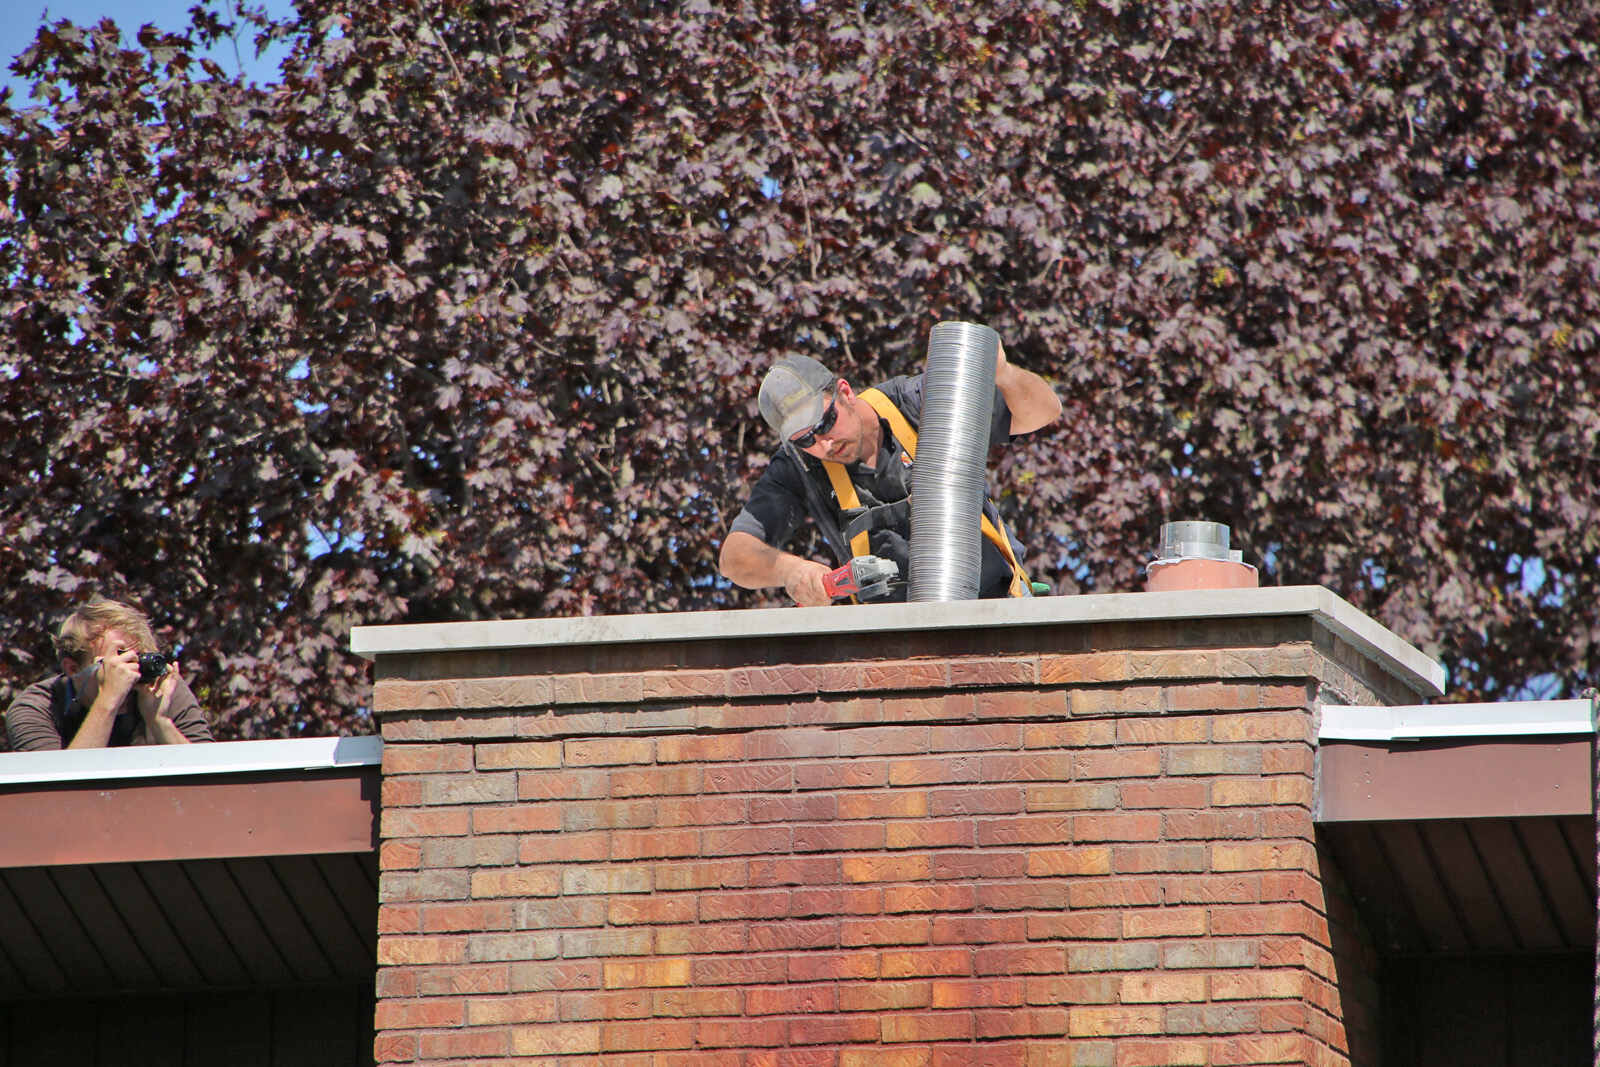
Step 5: Install the chimney cover
With the selected chimney cover in hand, it’s time to proceed with installing it over the chimney hole. Proper installation is crucial to ensure that the cover stays in place and functions effectively. Here are the steps to follow when installing the chimney cover:
1. Positioning the cover over the hole:
Carefully position the chimney cover over the chimney hole, making sure it is centered and level. Take note of any specific instructions provided by the manufacturer regarding the orientation of the chimney cover.
2. Securing it firmly in place:
Depending on the type of chimney cover you have chosen, there may be different methods of securing it in place. Follow the manufacturer’s directions for installation.
– Mesh chimney covers: These covers usually come with brackets or screws that need to be attached to the chimney structure. Use the appropriate tools, such as a screwdriver, to secure the brackets or screws tightly.
– Cap-style chimney covers: These covers typically have adjustable legs or clamps that need to be tightened around the chimney structure. Ensure that the legs or clamps are tightened securely but do not overtighten, as it may damage the chimney structure.
– Top-mount chimney covers: For these covers, refer to the manufacturer’s instructions on how to attach and secure the cover to the top of the chimney. This may involve using screws or other fastening mechanisms.
Note: It is crucial to ensure that the chimney cover is installed securely and tightly. This will prevent any movement or dislodging due to strong winds or other external factors. A loose or unstable chimney cover could compromise its functionality and may lead to potential safety hazards.
Once you have positioned and secured the chimney cover, it is beneficial to double-check its stability and alignment. Stand back and visually inspect the cover to ensure that it is level and fits snugly over the chimney hole.
By correctly installing the chimney cover and securing it firmly in place, you ensure that it will effectively protect your chimney from elements and pests. Now that the chimney cover is installed, let’s move on to the next step: testing the chimney cover to ensure proper functionality and ventilation.
Step 6: Test the chimney cover
After successfully installing the chimney cover, it is crucial to test its functionality and ensure proper ventilation. This step will help you verify that the cover is working effectively and that there are no obstacles or issues that could affect the performance of your chimney. Here’s how you can test the chimney cover:
1. Check for proper airflow:
Light a small piece of newspaper or a match and hold it near the chimney opening. Observe the smoke or flame to determine if there is adequate airflow. If the smoke or flame is drawn upwards towards the chimney and easily flows out, it indicates that there is proper ventilation. However, if the smoke or flame is stagnant or flows back into the house, it may indicate a blockage or improper installation of the cover. In such cases, consult a professional chimney sweep or technician to resolve the issue.
2. Monitor for any signs of water leakage:
During wet weather conditions, keep an eye out for any signs of water leakage around the chimney cover or inside your home. Check for water stains or dampness on the ceiling near the chimney or on the walls surrounding the fireplace. If you notice any signs of water leakage, it could indicate an improper seal or a damaged chimney cover. In such cases, consider applying a layer of silicone sealant around the edges of the chimney cover to ensure a watertight seal. If the issue persists, seek professional assistance.
3. Regularly inspect and maintain:
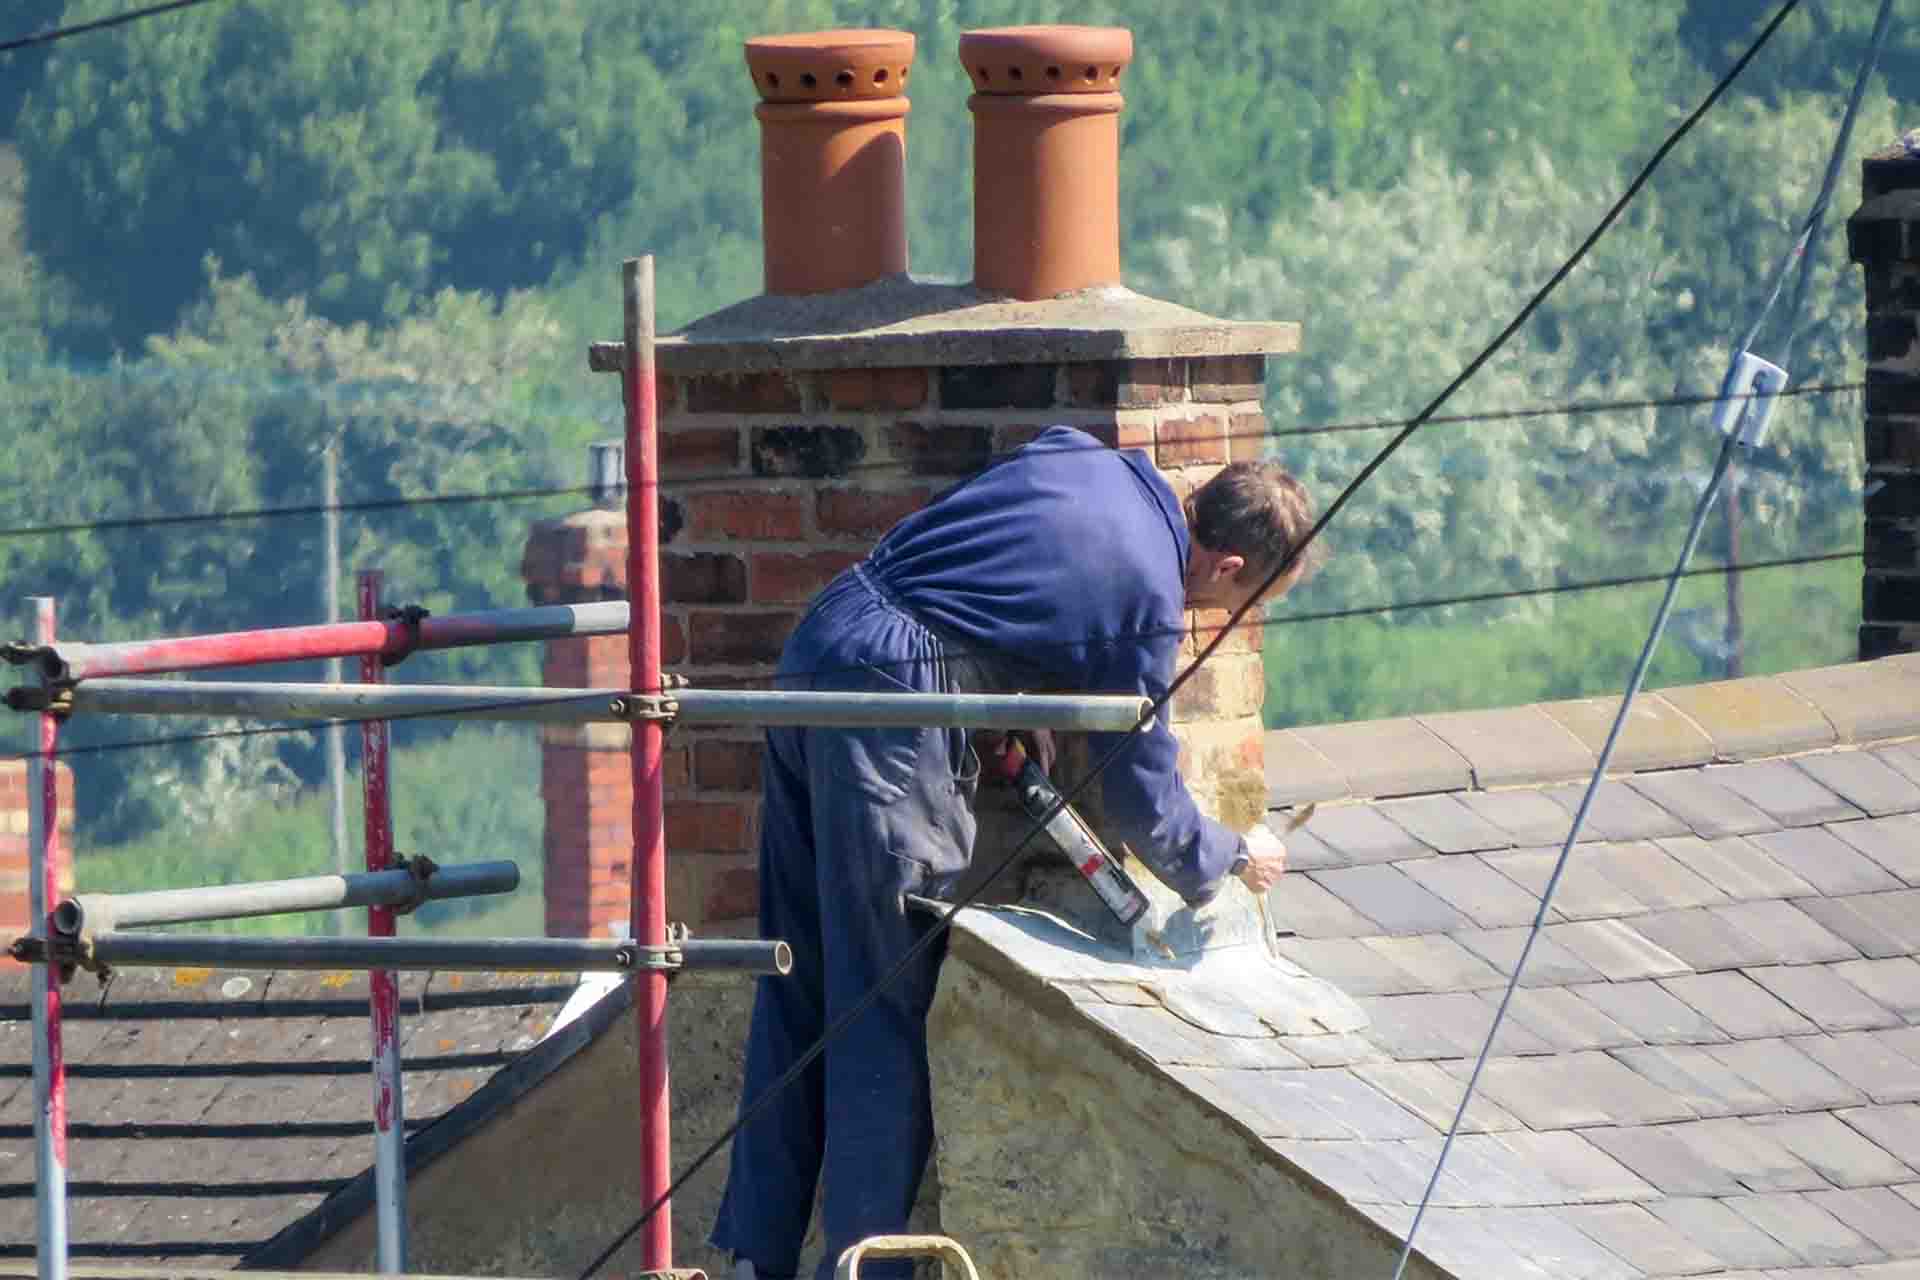
To ensure the long-term functionality of your chimney cover, perform regular inspections and maintenance. Check for any debris accumulation on the cover and remove it to prevent blockages and potential fire hazards. Additionally, inspect the cover for signs of damage or wear and tear. If you notice any issues, address them promptly to avoid further damage or potential safety risks.
Testing the chimney cover is an important step in the process of covering your chimney hole. It ensures that the cover is functioning as intended and protecting your chimney from unwanted elements. By monitoring the airflow, keeping an eye out for water leakage, and performing regular inspections, you can maintain the proper functionality of your chimney cover for years to come.
Now that you have tested the chimney cover and confirmed its functionality, you can step back and admire your chimney with its newly installed cover. Congratulations on successfully covering your chimney hole and protecting your home from potential issues!
Conclusion
Covering a chimney hole is an essential step to protect your home from unwanted pests, weather damage, and energy loss. By following the steps outlined in this article, you can effectively cover the chimney hole and ensure the long-term functionality of your chimney system.
Starting with gathering the necessary materials and tools, cleaning the chimney hole to remove debris and obstructions, and measuring the dimensions accurately, you set the foundation for a successful cover installation. Selecting a suitable chimney cover that matches the size and style of your chimney ensures a proper fit and maximizes its protective capabilities.
Once you have installed the chimney cover securely and tested its functionality, be vigilant in maintaining and inspecting it regularly. Monitor the airflow, watch for signs of water leakage, and address any issues promptly to keep your chimney cover in optimal condition.
Covering a chimney hole not only provides practical benefits but also enhances the overall aesthetic of your home. It adds a finishing touch while ensuring the longevity of your chimney system.
Remember, if you are unsure about any aspect of covering your chimney hole or encounter any difficulties during the process, it is always advisable to consult with professionals. They can offer expert guidance and assistance tailored to your specific chimney needs.
By taking the time to cover your chimney hole properly, you can enjoy a safer, more efficient, and well-protected chimney system. Embrace the satisfaction of knowing that your home is safeguarded while you cozy up to the warmth and comfort of your fireplace.
Excited about mastering your chimney maintenance? Don't miss our detailed guide on chimney cap, where you'll find everything needed to choose the right protection for your chimney. For those looking ahead, our roundup of chimney cover options for 2024 provides insights into top picks that could enhance your home’s safety and efficiency. Additionally, venture beyond the chimney with our expert advice on pest control to tackle pantry moths and keep your kitchen sanctuary safe and clean.
Frequently Asked Questions about How To Cover A Chimney Hole
Was this page helpful?
At Storables.com, we guarantee accurate and reliable information. Our content, validated by Expert Board Contributors, is crafted following stringent Editorial Policies. We're committed to providing you with well-researched, expert-backed insights for all your informational needs.

0 thoughts on “How To Cover A Chimney Hole”