Articles
How To Fix Cracked Wood Furniture
Modified: September 1, 2024
Learn how to fix cracked wood furniture with our step-by-step guide. Restore the beauty and functionality of your beloved furniture. Grab your tools and get started today!
(Many of the links in this article redirect to a specific reviewed product. Your purchase of these products through affiliate links helps to generate commission for Storables.com, at no extra cost. Learn more)
Introduction
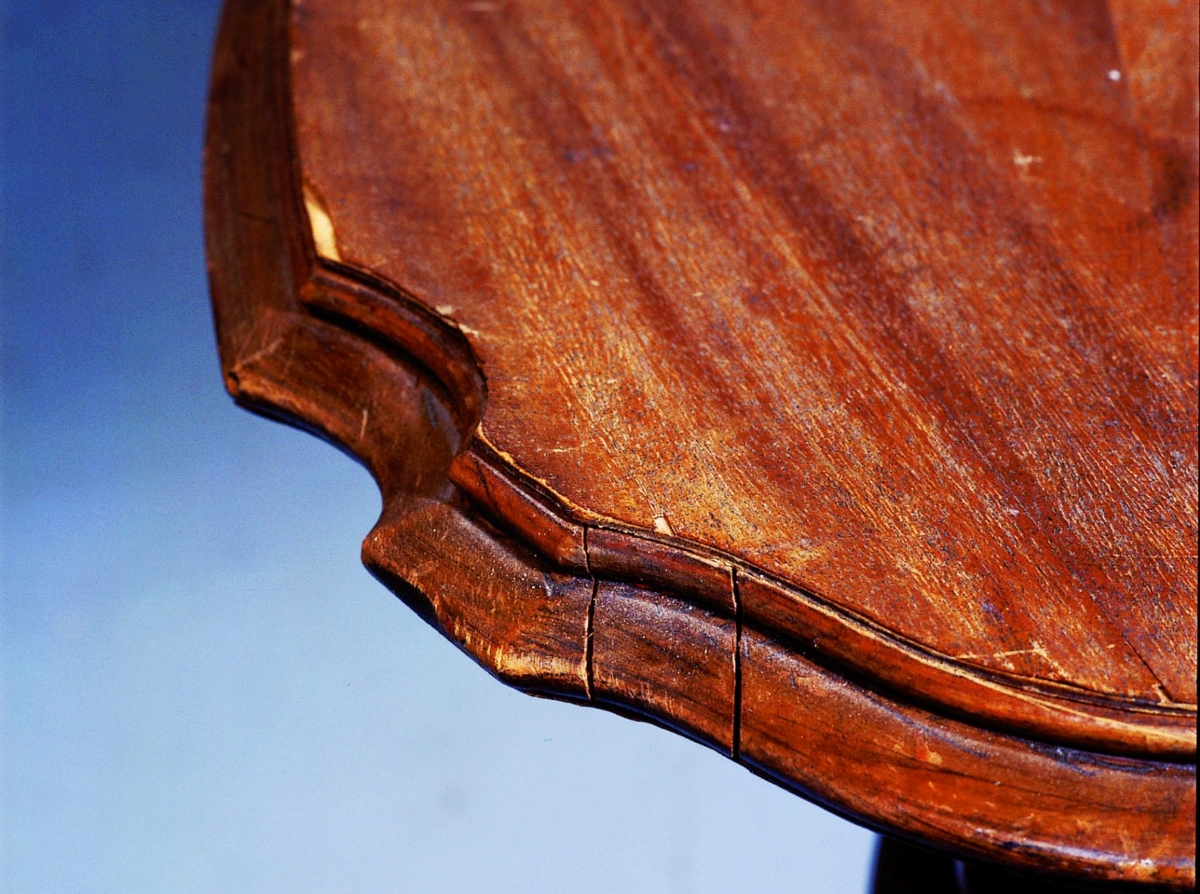
Wood furniture brings warmth and character to any living space. However, over time, it is not uncommon for wooden furniture to develop cracks or splits due to various factors like age, moisture, or even accidental damage. If you’re faced with the dilemma of dealing with cracked wood furniture, don’t worry! With the right tools and techniques, you can easily fix the cracks and restore your beloved furniture to its former glory.
In this article, we will guide you through the steps on how to fix cracked wood furniture. From assessing the damage to applying the necessary repairs and finishes, you’ll learn the proper methods to ensure a seamless and successful restoration. So, grab your tools and let’s get started!
Key Takeaways:
- Easily restore cracked wood furniture by assessing, preparing, and repairing with the right tools and materials. Follow up with staining or painting, applying a protective finish, and implementing preventive measures for long-lasting results.
- Properly assess, prepare, and repair cracked wood furniture using wood glue, filler, and protective finish. Implement preventive measures to maintain the beauty and functionality of your furniture for years to come.
Read more: How To Fix Chipped Wood On Furniture
Tools and Materials Needed
Before you begin repairing your cracked wood furniture, it’s important to gather all the necessary tools and materials. Here’s a list of what you’ll need:
- Wood glue: Look for a high-quality wood glue that dries clear and bonds well.
- Wood filler: Choose a wood filler that matches the color of your furniture.
- Sanding block or sandpaper: Use a medium- to fine-grit sandpaper for smoothing the repaired area.
- Putty knife: A putty knife will help you apply the wood filler and remove any excess.
- Clamps: Clamps are essential for holding the cracked wood together while the glue dries.
- Paintbrush or foam brush: Depending on the finish you desire, you’ll need a brush to apply stain or paint.
- Stain or paint: Choose a stain or paint that matches the color of your furniture.
- Protective finish: To protect the repaired area, you’ll need a clear protective finish such as polyurethane or wax.
- Clean cloth: A soft cloth will come in handy for wiping away excess glue and finish.
Make sure you have all the tools and materials ready before you begin the repair process. This will help you work efficiently and ensure a successful outcome.
Assessing the Damage
Before you can start repairing the cracked wood furniture, it’s essential to assess the extent of the damage. This will help you determine the best approach for fixing the cracks.
Begin by examining the cracks to understand their size, depth, and location. Some cracks may be superficial and only affect the surface layer of the wood, while others may extend deeper into the structure. It’s important to note that if the crack is too severe or if the structural integrity of the furniture is compromised, it may be necessary to seek professional help or consider replacing the piece.
Next, check if the wood is still stable. Gently press or tap on the surrounding areas of the crack to see if there is any movement or shifting. If the wood feels loose or unstable, it may require additional reinforcement or repairs.
Take note of the finish or paint on the furniture as well. If the crack has damaged the finish, you may need to consider refinishing the entire piece to ensure a consistent look.
By carefully assessing the damage, you’ll have a better understanding of the repairs needed and be able to plan your approach accordingly.
Preparing the Cracked Area
Once you have assessed the damage to your cracked wood furniture, it’s time to prepare the area for repair. Proper preparation ensures that the repair materials adhere well and the finished result is seamless.
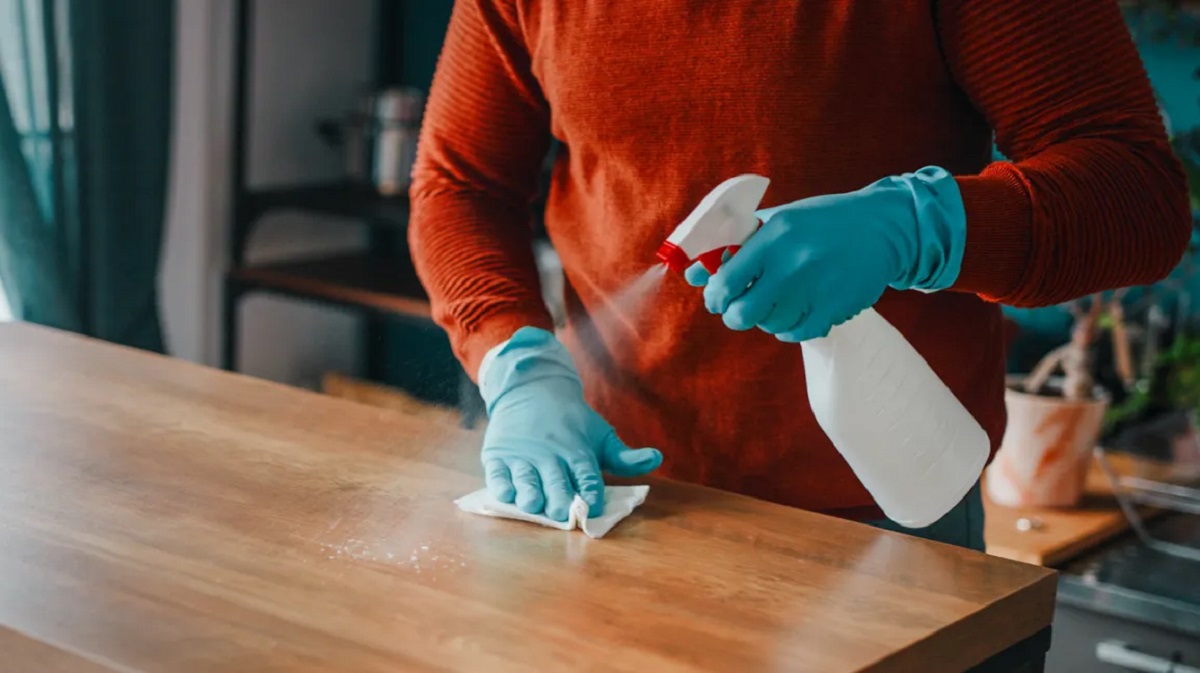
Start by cleaning the cracked area. Use a soft, clean cloth to remove any dirt, dust, or debris. This will provide a clean surface for the repair materials to bond effectively.
If the crack is accompanied by loose or splintered wood fibers, gently sand the edges using a sanding block or sandpaper. This will help create a smooth surface and remove any rough or jagged edges that could interfere with the repair process.
Next, apply a small amount of wood glue to the crack. Use a putty knife to spread the glue evenly along the length of the crack and into any loose fibers. Make sure to apply enough glue to fill the crack completely without overdoing it. Wipe away any excess glue using a clean cloth.
Once the glue is applied, it’s time to secure the cracked wood back together. Use clamps to hold the wood in place while the glue dries. Wrap a cloth around the wood and position the clamps tightly to create even pressure. Leave the clamps in place for the recommended drying time specified by the wood glue manufacturer.
After the glue has dried and the cracked wood is securely held together, remove the clamps and inspect the repaired area. If there are any excess dried glue or uneven surfaces, gently sand them down using a sanding block or sandpaper until smooth.
By properly preparing the cracked area, you ensure a stable and clean surface for applying the wood filler and achieving a seamless repair.
Applying Wood Filler
Now that you have prepared the cracked area of your wood furniture, it’s time to fill in the crack with wood filler. Wood filler is a material that helps to restore the appearance and structural integrity of the cracked wood.
Start by selecting a wood filler that matches the color of your furniture. You can find wood fillers in various shades, so choose one that closely matches the wood tone. This will ensure a more seamless and natural-looking repair.
Using a putty knife, apply the wood filler to the crack, smoothing it out along the surface. Fill the crack completely, ensuring that the wood filler is level with the surrounding wood. It’s important to work quickly because wood filler can dry and harden fast.
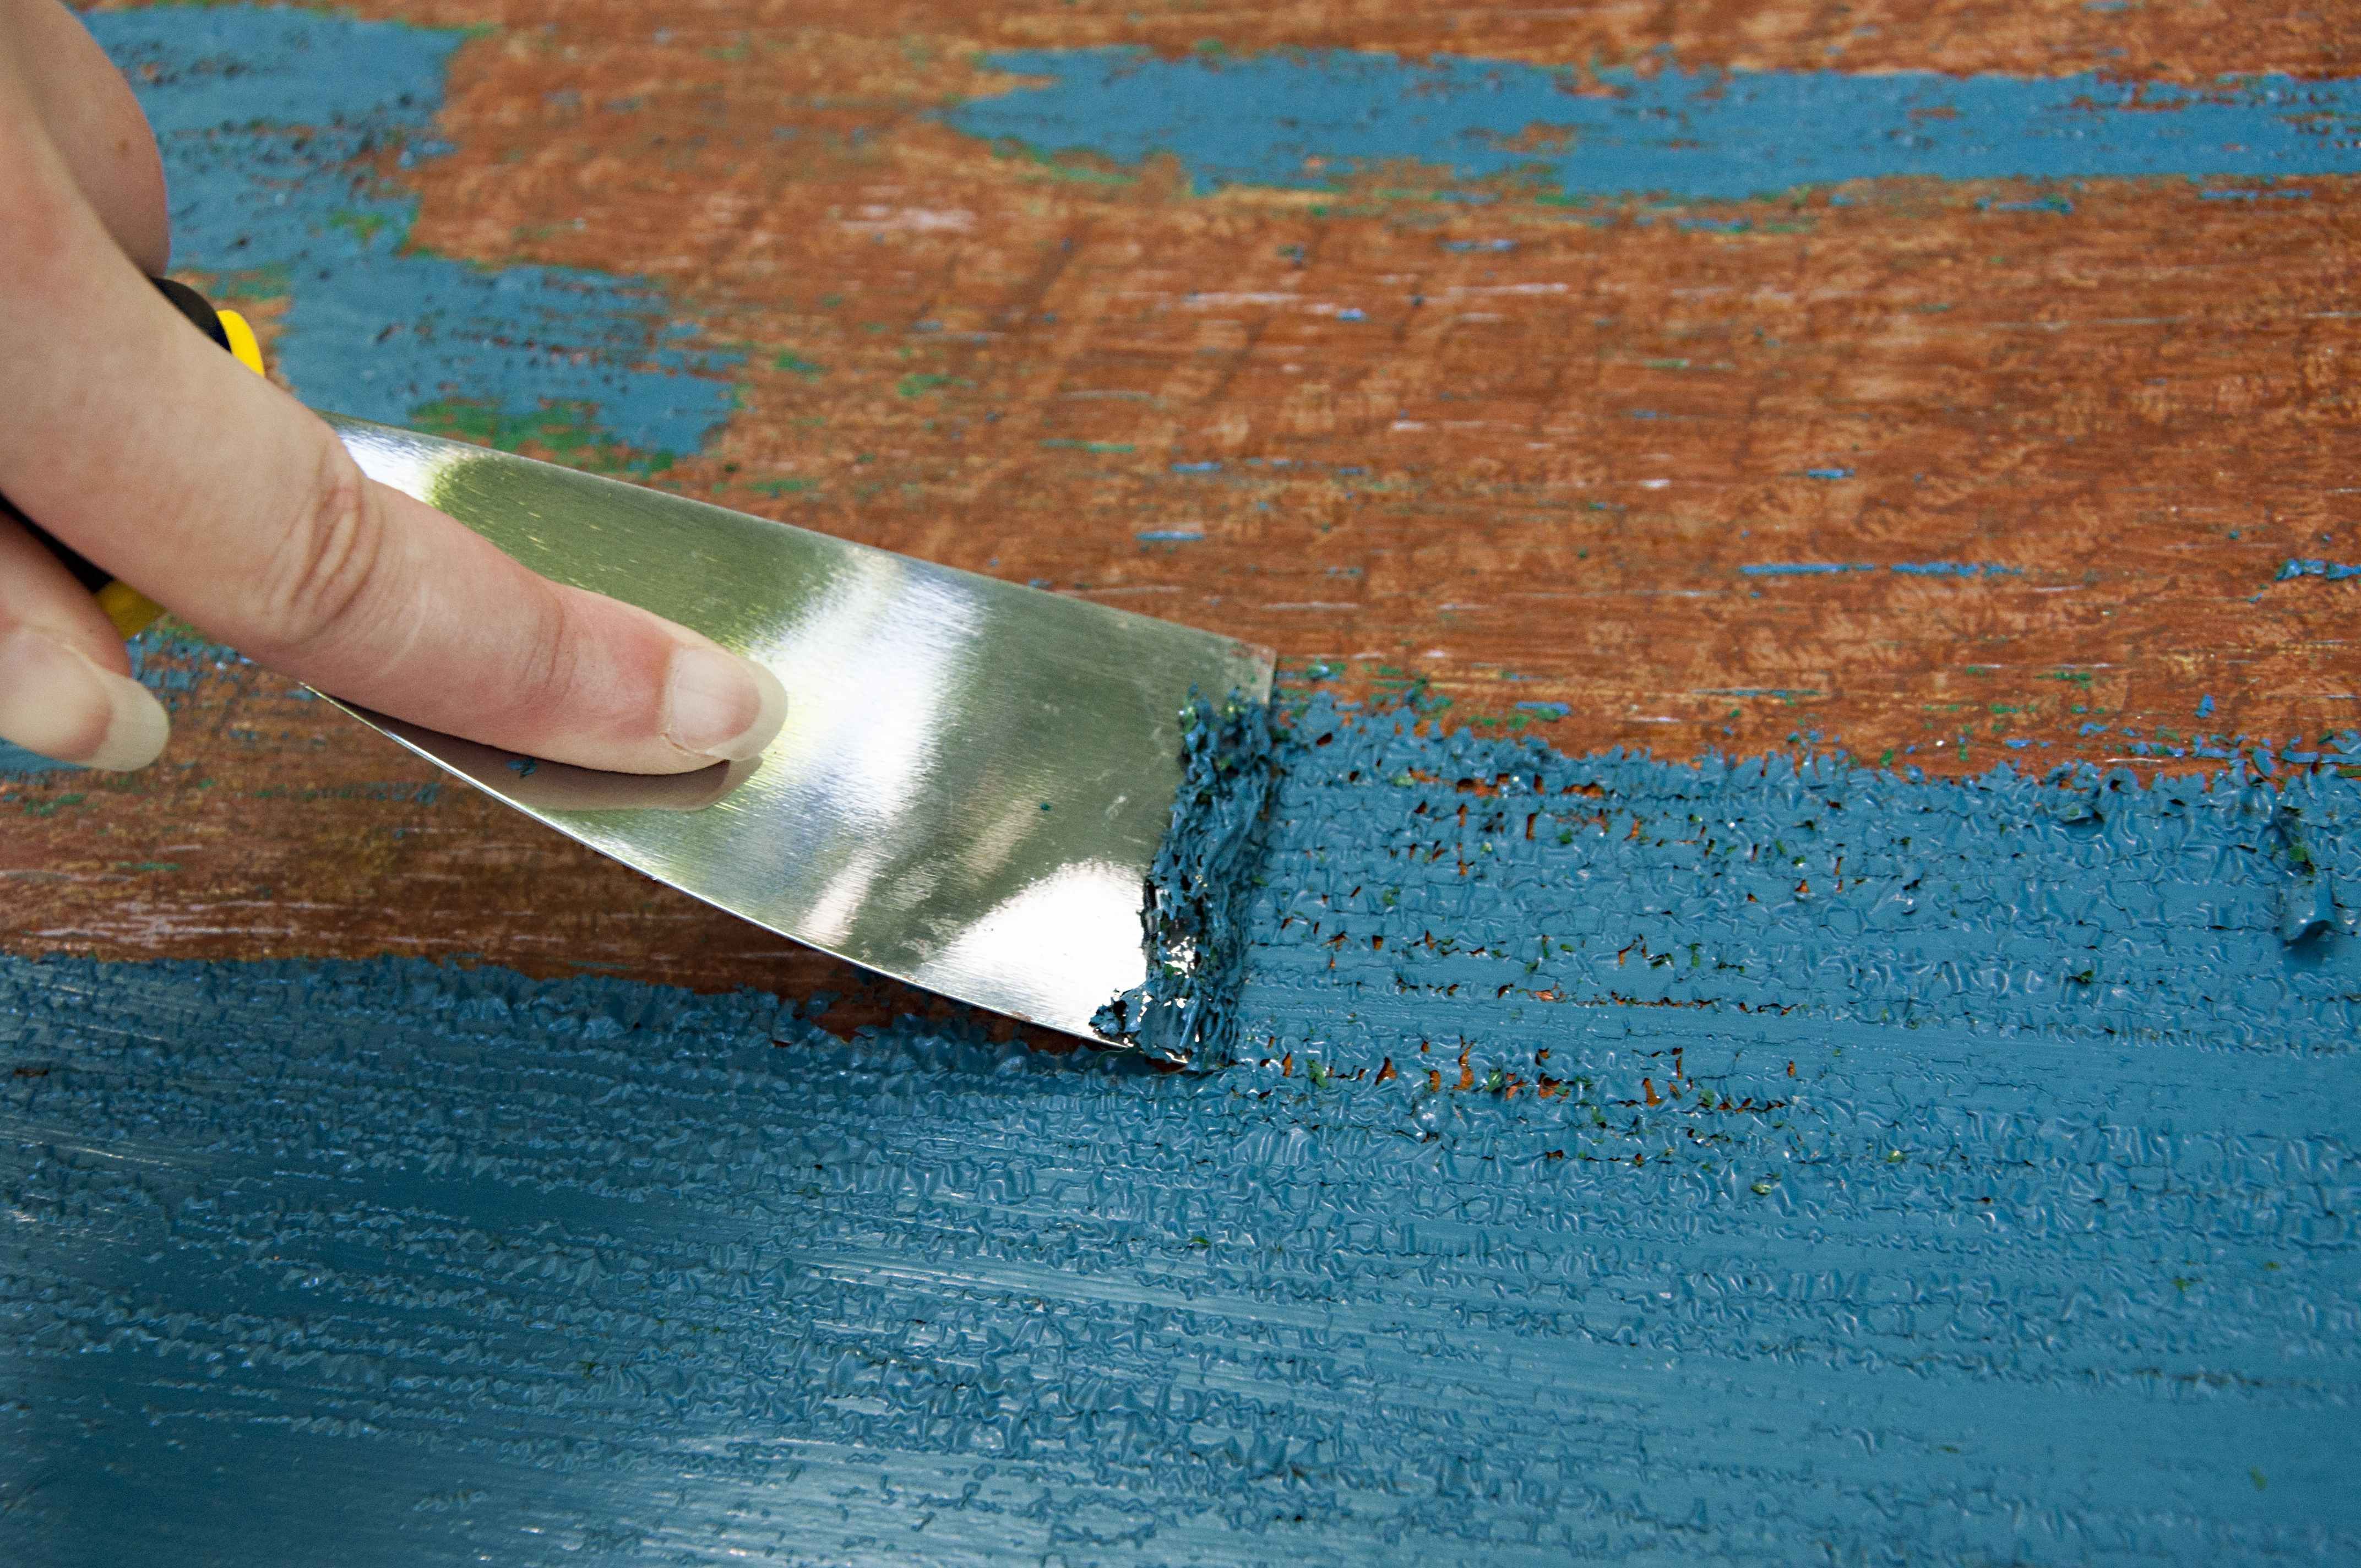
Once the wood filler is applied, use the putty knife to remove any excess filler, scraping it gently along the surface of the furniture. This will help create a smooth and flush finish.
Allow the wood filler to dry according to the manufacturer’s instructions. This drying time may vary depending on the brand and type of wood filler you are using. Be patient and avoid touching or applying pressure to the filled area until it is fully dried.
After the wood filler has dried, give it a gentle sanding using a sanding block or sandpaper. This will help to blend the repaired area with the surrounding wood and create a seamless transition. Sand in a circular motion, gradually smoothing out any rough edges or uneven surfaces. Be careful not to sand too aggressively, as you don’t want to remove too much filler or damage the surrounding wood.
Once you have sanded the repaired area, wipe away any dust or debris with a clean cloth. You are now ready to move on to the next step of the repair process.
Use wood glue to fix cracked wood furniture. Apply the glue to the crack, then clamp the pieces together until the glue dries. Sand and refinish as needed.
Read more: How To Fix Cracked Sink
Sanding the Repaired Area
After applying the wood filler to the cracked area and allowing it to dry, it’s time to sand the repaired area. Sanding helps to blend the filled crack with the surrounding wood, creating a smooth and seamless surface.
Start by using a sanding block or sandpaper with a medium grit. You want to gently sand the repaired area in a circular motion, applying even pressure. This will help gradually smooth out any rough edges, bumps, or uneven surfaces left by the wood filler.
As you sand, periodically check the area to ensure that it is becoming flush with the surrounding wood. This will help you avoid over-sanding and weakening the repaired area. Additionally, be mindful of the direction of the grain when sanding to maintain a consistent appearance.
Once the repaired area feels smooth and even, switch to a finer grit sandpaper or sanding block. This will help to further refine the surface and achieve a polished finish. Sand in the same circular motion, continuing to apply even pressure.
Take breaks and periodically wipe away the dust with a clean cloth to get a better view of the sanded area. This will allow you to identify any rough spots that may need further sanding. Aim for a seamless blend between the repaired area and the surrounding wood, ensuring that there are no visible transitions.
Remember to be patient and take your time during the sanding process. It’s better to sand gradually, making small adjustments when needed, rather than rushing and risking damage to the wood or over-sanding the repaired area.
Once you are satisfied with the smoothness of the repaired area, wipe away any residual dust and debris with a clean cloth. Your furniture is now ready for the next step: staining or painting.
Staining or Painting the Furniture
Now that you have sanded the repaired area of your wood furniture, it’s time to enhance its appearance by applying a stain or paint. Choosing the right finish will not only hide the repaired crack but also add a beautiful touch to your furniture.
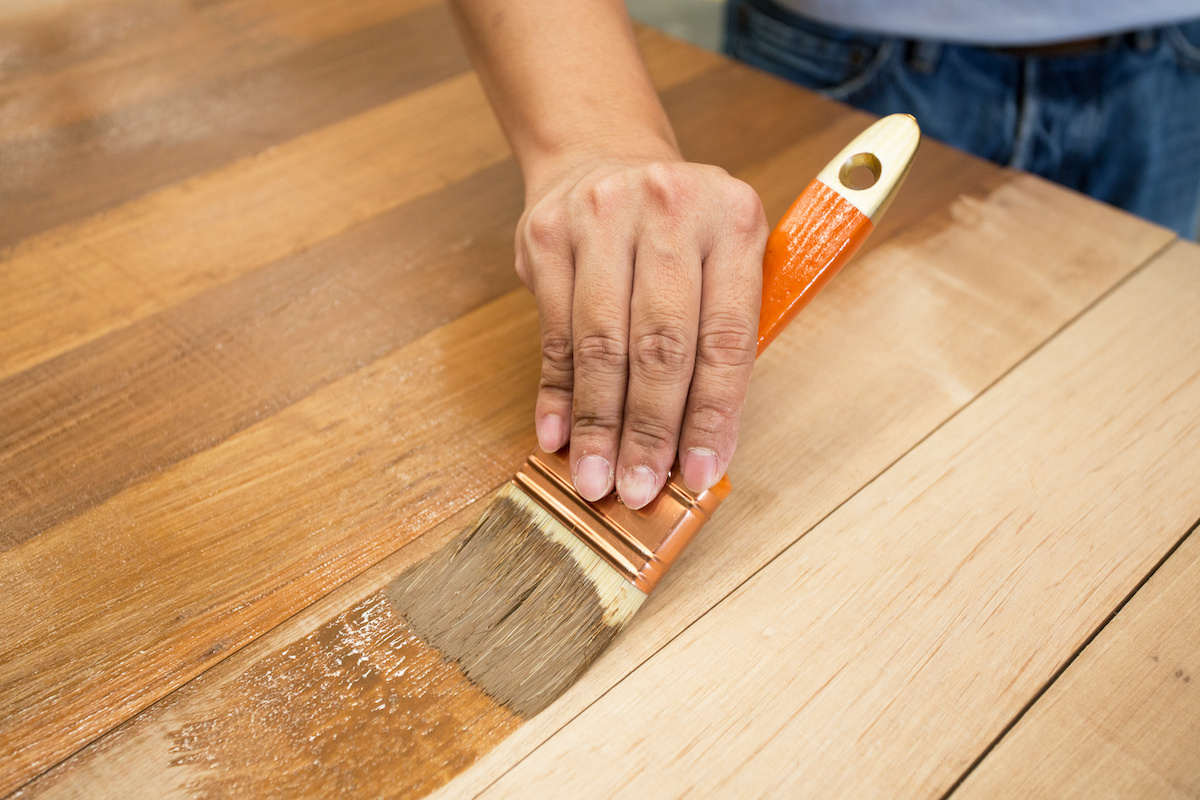
If you want to retain the natural look of the wood, staining is a great option. Start by selecting a wood stain that matches the color of your furniture or provides the desired shade. Before applying the stain, make sure to read and follow the manufacturer’s instructions carefully.
If you choose to stain the repaired area, apply the stain using a paintbrush or foam brush in the direction of the wood grain. Ensure that the stain is evenly distributed and covers the entire repaired area. Allow the stain to penetrate the wood for the recommended amount of time specified by the manufacturer.
After the staining process, use a clean cloth to wipe away any excess stain. Wipe in the direction of the wood grain to create a smooth and consistent finish. Allow the stain to dry completely before moving on to the next step.
If you prefer a different look or want to match the color of the furniture, painting is another option. Choose a paint color that complements your existing furniture or matches your desired aesthetic. Consider using a paint specifically formulated for wood surfaces to achieve the best results.
Apply the paint to the repaired area using a paintbrush or foam brush. Start with thin layers and allow each coat to dry before applying the next one. This will help you achieve a smooth and even finish. Pay attention to the paint’s drying time, as it may vary depending on the type and brand of paint you are using.
Once the paint has dried, inspect the repaired area for any imperfections or unevenness. Lightly sand the painted surface with a fine-grit sandpaper to smooth out any rough spots or brush marks. Remember to wipe away any dust or debris before proceeding.
Whether you choose to stain or paint your furniture, the goal is to create a consistent and seamless finish that blends with the rest of the piece. Take your time, be patient, and enjoy the transformation!
Applying a Protective Finish
After you have stained or painted the repaired area of your wood furniture, it’s crucial to apply a protective finish. A protective finish not only enhances the appearance but also helps to safeguard the repaired area from daily wear and tear, moisture, and other potential damages.
There are various types of protective finishes available, including polyurethane, varnish, and wax. Select a finish that aligns with the overall look and feel you desire for your furniture. Before applying the protective finish, be sure to read the manufacturer’s instructions for proper application and drying times.
If you opt for polyurethane or varnish, start by applying a thin, even coat using a brush or foam brush. Ensure that you cover the entire repaired area and any adjacent surfaces that require protection. Allow the first coat to dry according to the manufacturer’s instructions before proceeding to subsequent coats. Depending on the type of finish, you may need to apply multiple coats for optimal protection.
Between coats, lightly sand the surface with a fine-grit sandpaper to remove any imperfections or brush strokes. This will help create a smoother and more professional finish. Remember to wipe away any dust or debris before applying the next coat.
If you prefer a more natural and rustic look, you can opt for wax as a protective finish. Apply a thin layer of wax using a clean cloth, following the direction of the wood grain. Allow the wax to dry and then buff it gently with another clean cloth to achieve a subtle sheen.
Once the protective finish has dried completely, inspect the repaired area to ensure that it is well coated and adequately protected. Make any necessary touch-ups or additional coats as needed.
By applying a protective finish, you are not only preserving the repaired area but also enhancing the overall durability and longevity of your furniture. Take the time to apply the finish correctly, and your furniture will continue to shine for years to come.
Preventing Future Cracks and Damage
While you have successfully repaired your cracked wood furniture, it’s important to take steps to prevent future damage and cracks. By implementing some preventive measures, you can prolong the life of your furniture and maintain its beauty. Here are some tips to consider:
- Avoid extreme temperature and humidity changes: Wood is prone to expanding and contracting with changes in temperature and humidity. Position your furniture away from direct sunlight and heating or cooling sources to minimize these fluctuations.
- Use coasters and protective pads: Place coasters or felt pads under hot or wet objects to prevent damage to the furniture’s surface. This will help avoid watermarks, heat stains, or scratches.
- Regularly dust and clean: Dust your furniture regularly to remove dirt and debris that can cause scratches or dull the finish. Use a soft cloth or a gentle wood-safe cleaner specifically formulated for your furniture’s finish.
- Avoid excessive weight or pressure: Refrain from placing heavy or excessive weight on your furniture, as this can lead to stress cracks or structural damage. Be mindful when moving or rearranging your furniture to prevent accidents or mishaps.
- Keep pets and sharp objects away: Pets and sharp objects can inadvertently cause scratches, dents, or gashes in your furniture. Establish boundaries to keep your beloved companions and potentially damaging items at a safe distance.
- Apply regular maintenance and touch-ups: Periodically inspect your furniture for any signs of wear or damage. Address minor issues promptly, such as scratches or loose joints, to prevent them from escalating into more significant problems.
- Consider professional restoration: If your furniture has extensive damage or requires specialized repairs, it may be advisable to seek professional help. Experienced craftsmen have the expertise to tackle challenging repairs and ensure the longevity of your furniture.
By following these preventive measures, you can actively protect your wood furniture from future cracks and damage, maintaining its beauty and functionality for years to come.
Read more: How To Fix A Crack In Stucco
Conclusion
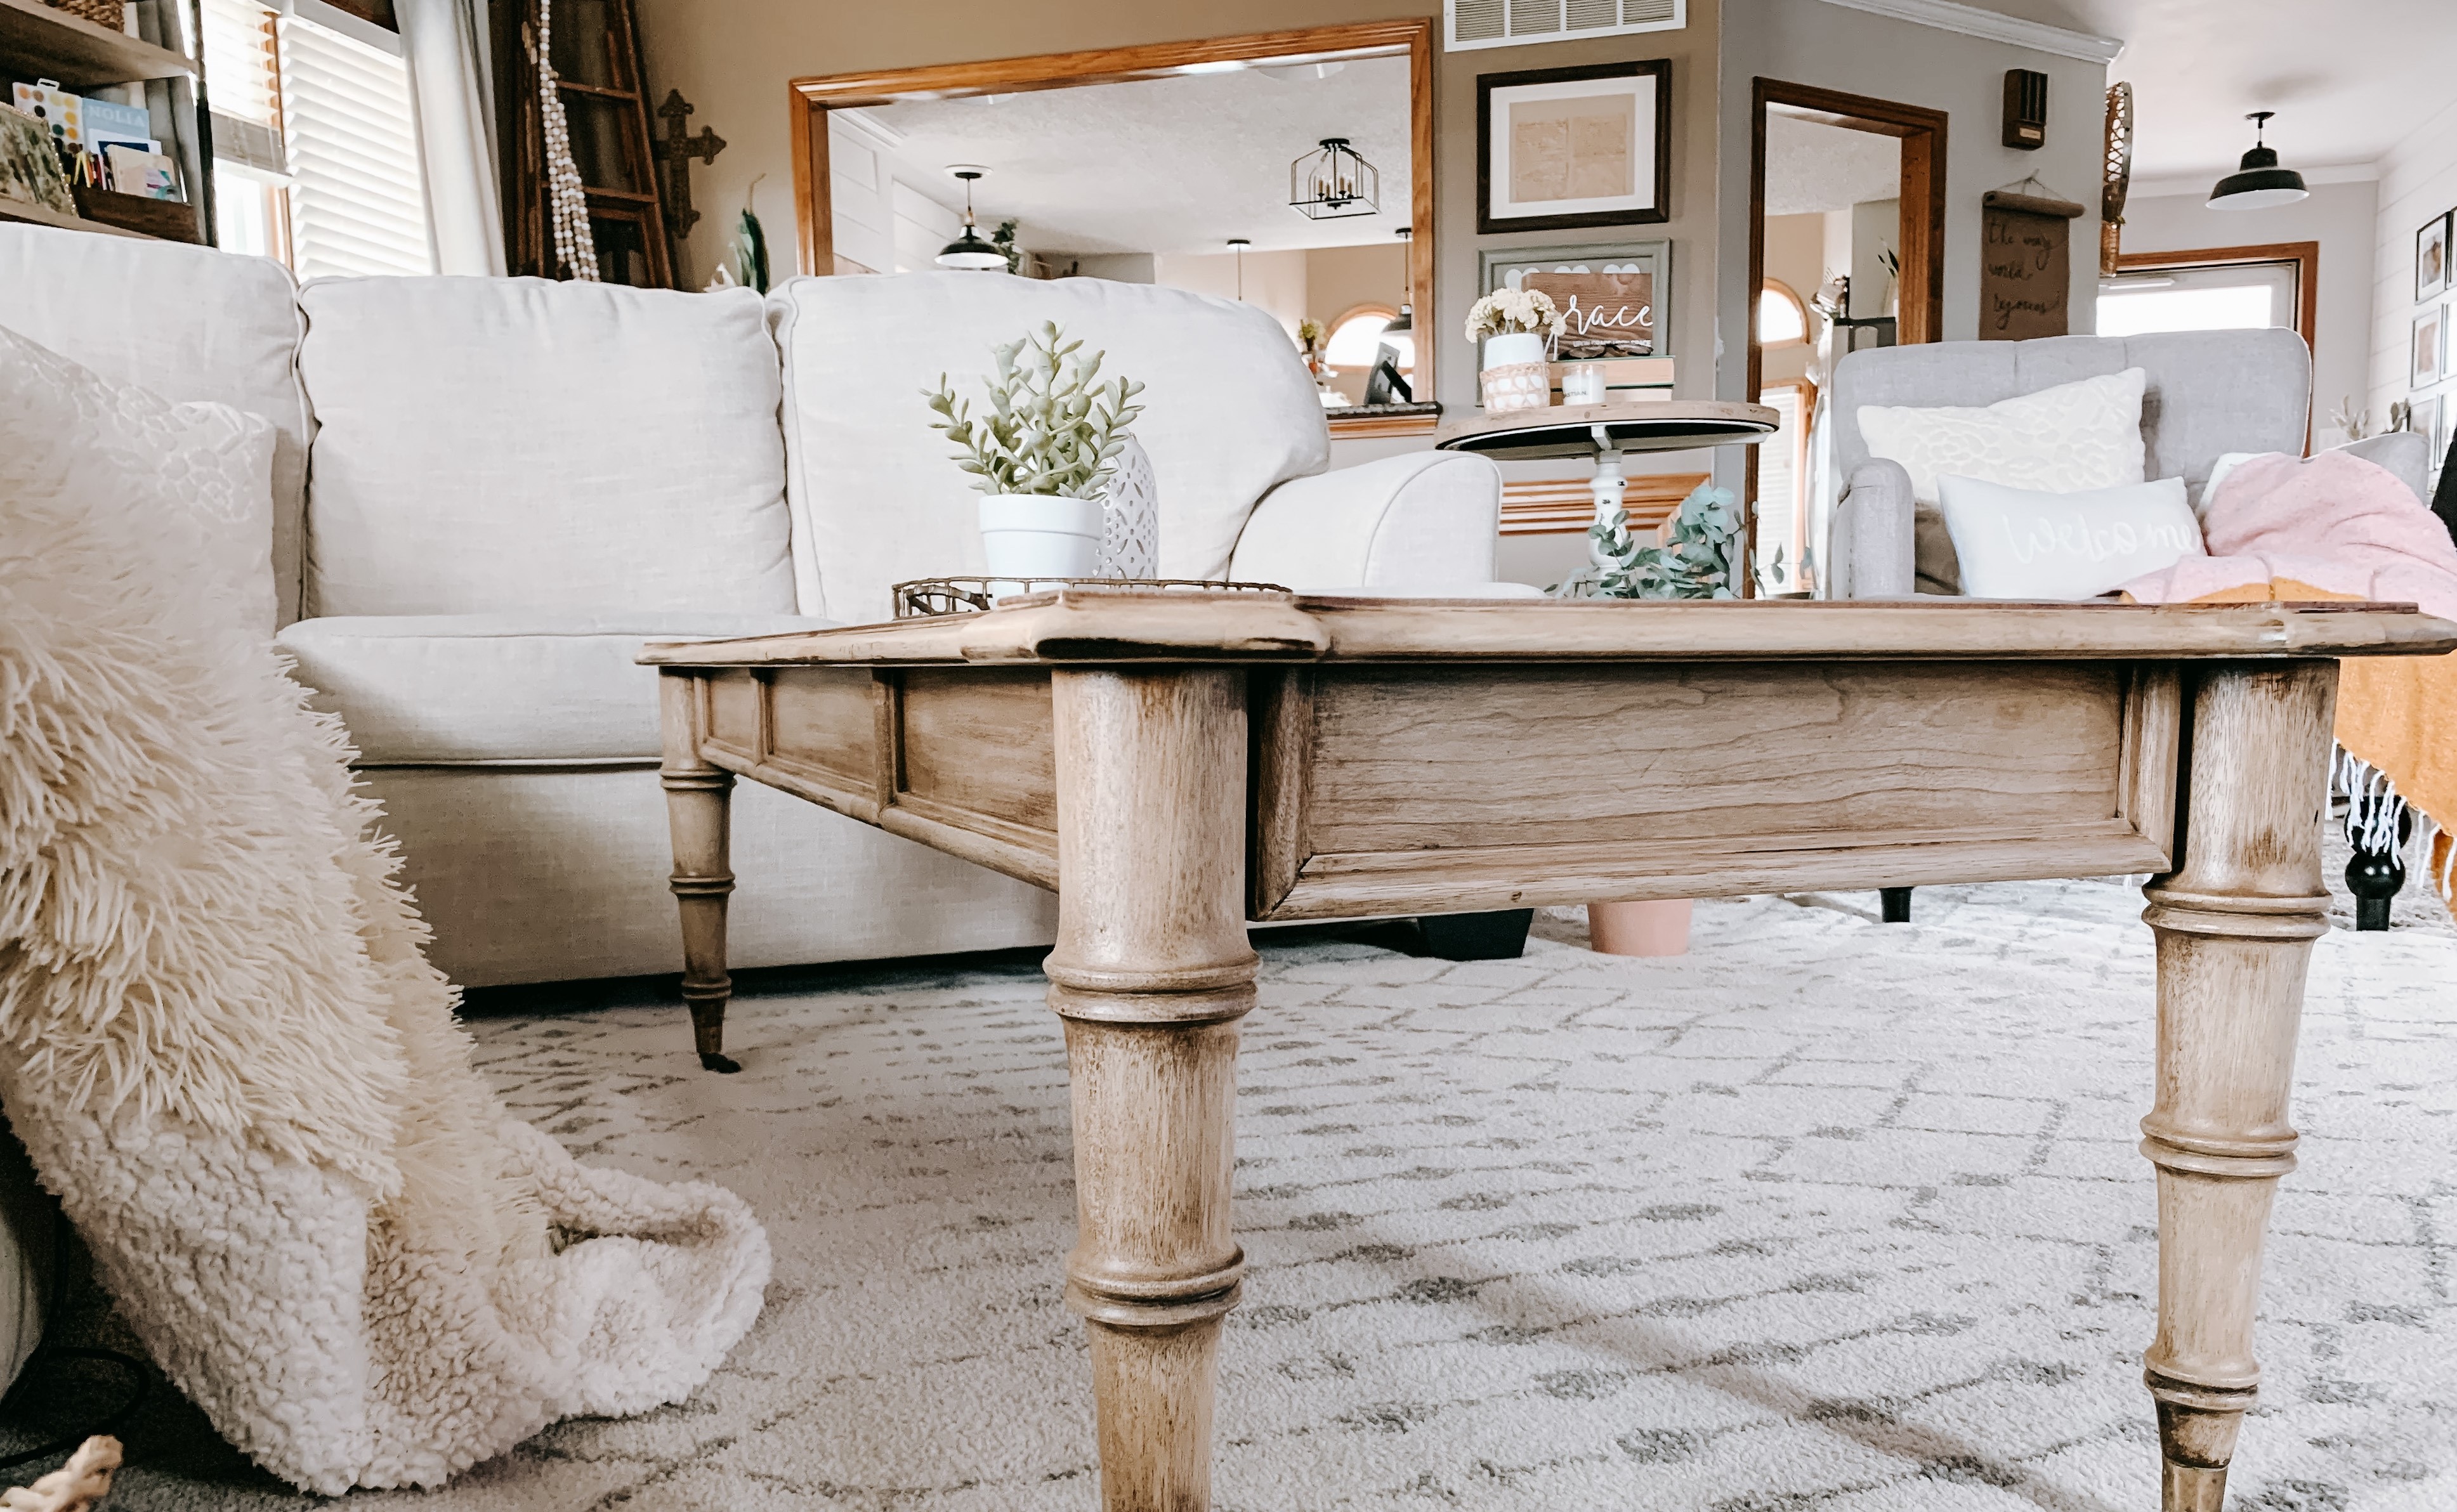
Repairing cracked wood furniture may seem like a daunting task, but with the right tools, materials, and techniques, you can successfully bring your beloved pieces back to life. By following the step-by-step process outlined in this guide, you can restore the appearance and structural integrity of your furniture.
From assessing the damage to preparing the cracked area, applying wood filler, sanding, and finally staining or painting, each step plays a crucial role in achieving a seamless repair. Additionally, applying a protective finish and implementing preventive measures can help prevent future cracks and damage, ensuring the longevity of your furniture.
Remember to take your time, be patient, and pay attention to detail during the repair process. Properly preparing the cracked area, using quality materials, and following the manufacturer’s instructions will contribute to a successful outcome.
Lastly, don’t hesitate to seek professional help if you encounter extensive damage or if you need specialized repairs. Skilled craftsmen can provide expert guidance and ensure the best possible restoration for your wood furniture.
By investing time and effort into repairing your cracked wood furniture, you can breathe new life into cherished pieces and enjoy their beauty and functionality for many more years to come. So, roll up your sleeves, gather your tools, and embark on the journey of restoring your furniture to its former glory!
Frequently Asked Questions about How To Fix Cracked Wood Furniture
Was this page helpful?
At Storables.com, we guarantee accurate and reliable information. Our content, validated by Expert Board Contributors, is crafted following stringent Editorial Policies. We're committed to providing you with well-researched, expert-backed insights for all your informational needs.


0 thoughts on “How To Fix Cracked Wood Furniture”