Articles
How To Drip Faucet
Modified: August 17, 2024
Discover the best articles on how to drip faucet and save water. Get step-by-step guides, expert tips, and troubleshooting advice for efficient water conservation
(Many of the links in this article redirect to a specific reviewed product. Your purchase of these products through affiliate links helps to generate commission for Storables.com, at no extra cost. Learn more)
Introduction
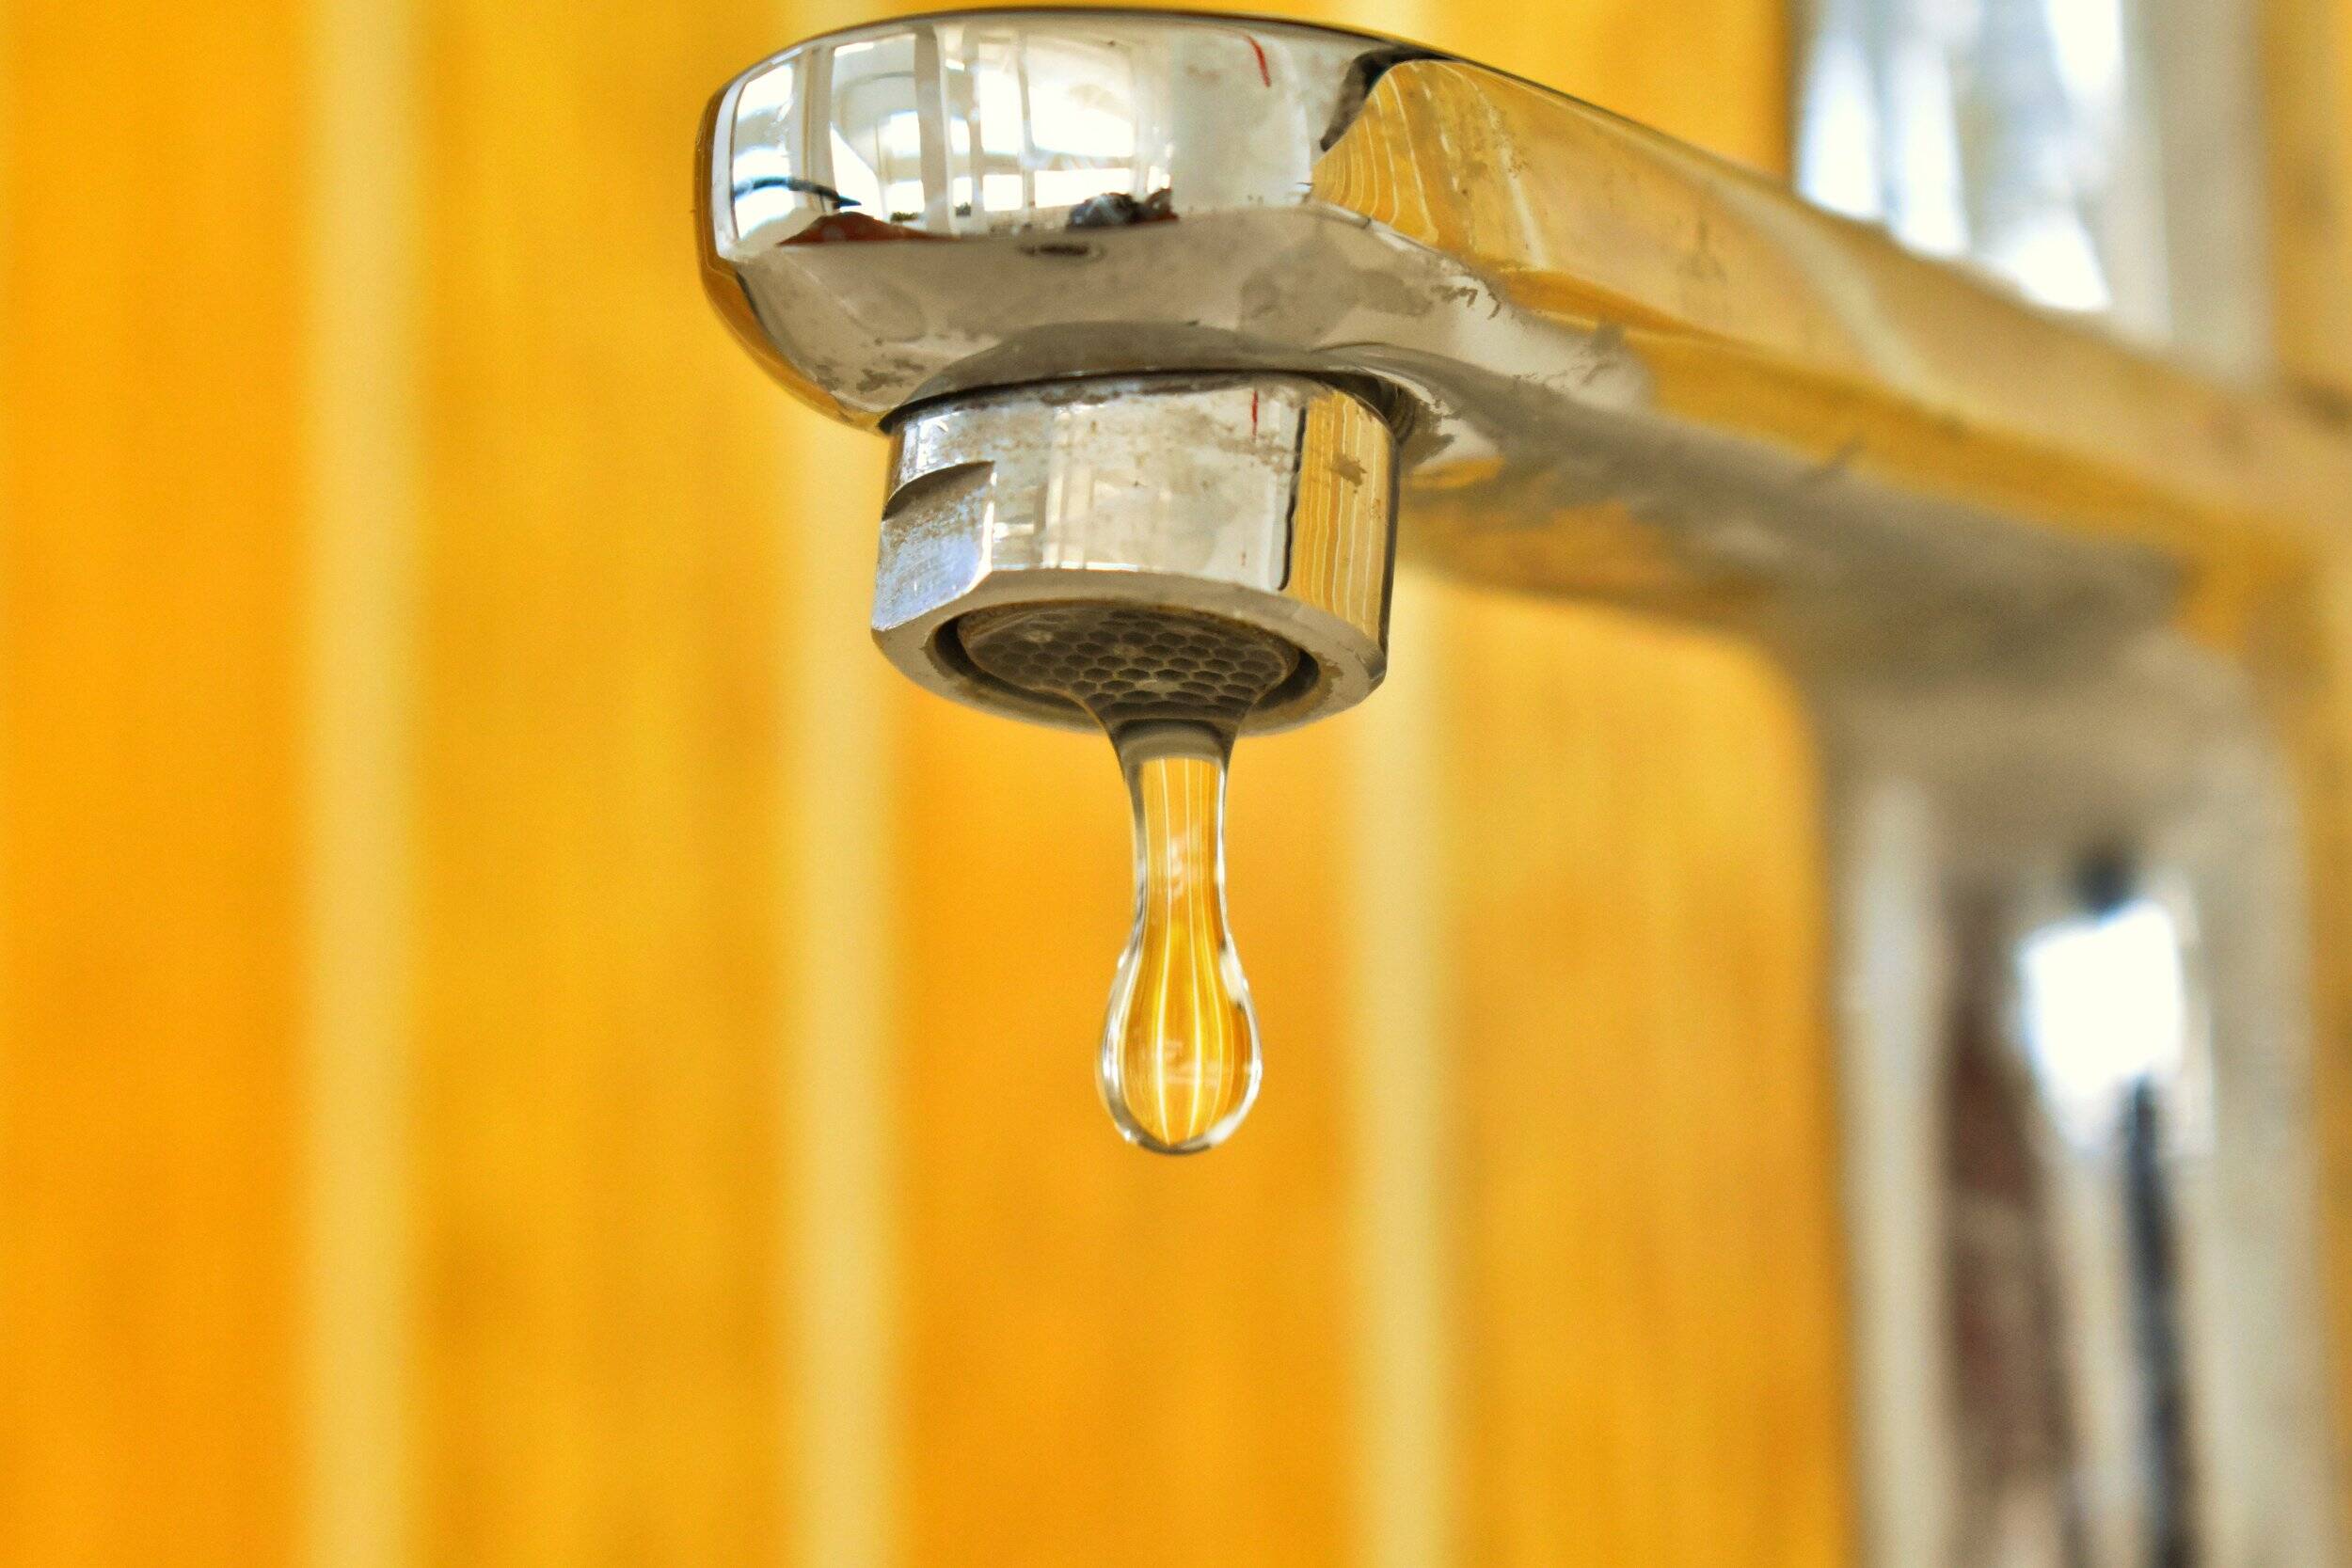
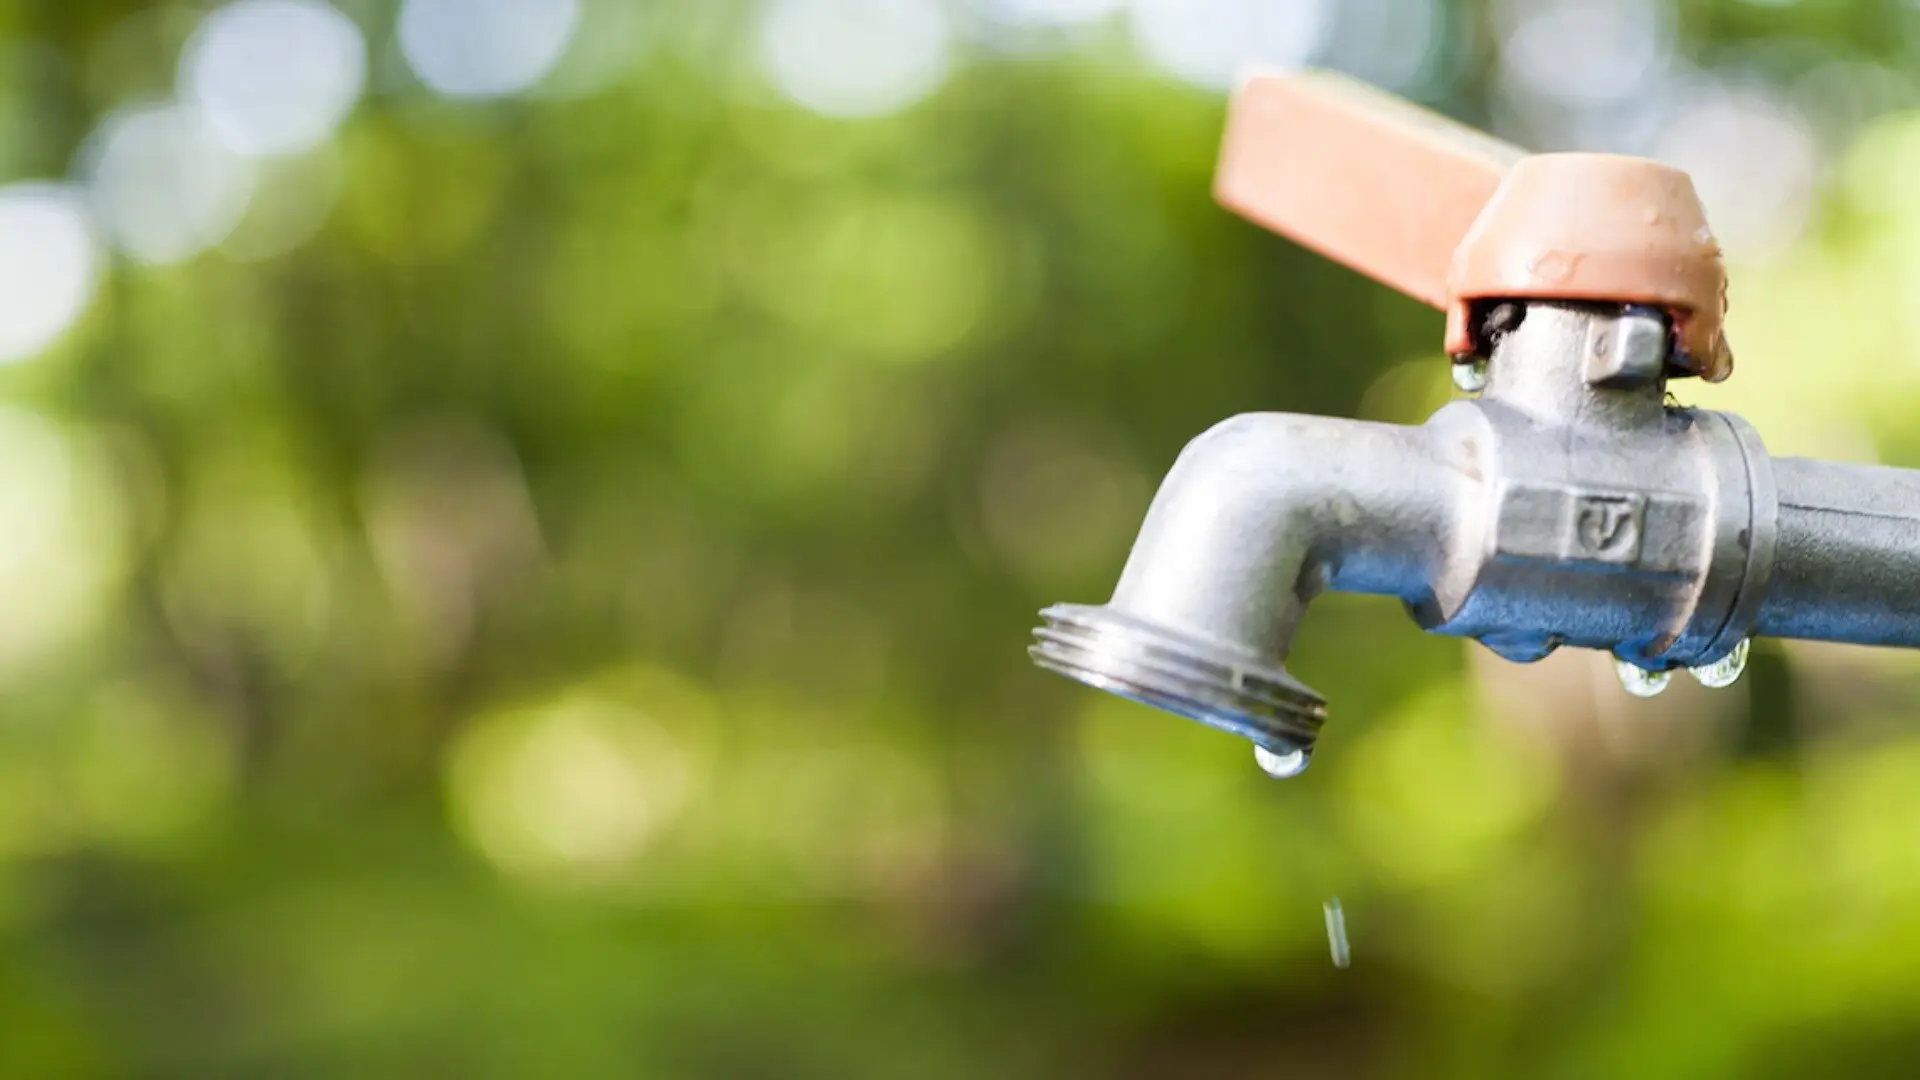
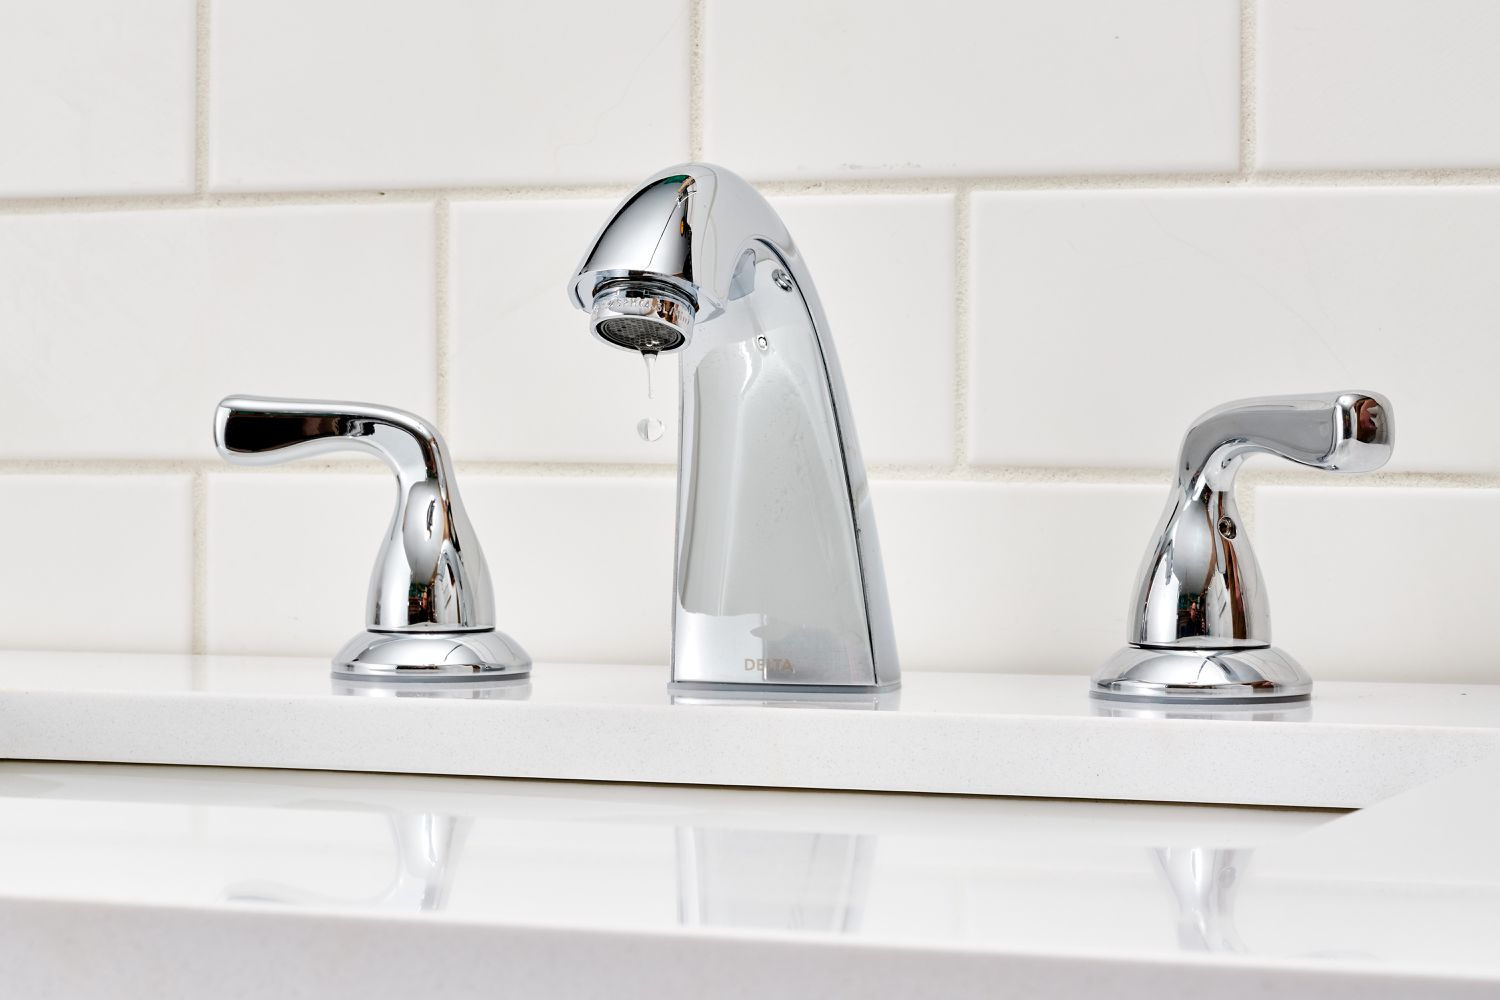
A dripping faucet can be one of the most frustrating and wasteful plumbing issues in your home. Not only does the constant dripping sound drive you crazy, but it can also result in significant water waste and increased water bills. Fortunately, fixing a dripping faucet is a relatively straightforward task that can be done with a few basic tools and some know-how.
In this article, we will guide you through the step-by-step process of fixing a dripping faucet. We will provide you with the necessary information and tips to tackle this common plumbing problem on your own, saving you time and money.
Before we dive into the details, it’s essential to understand why faucets drip in the first place. Typically, dripping faucets occur due to worn-out or faulty internal components like washers, cartridges, or O-rings. Over time, these parts can deteriorate, causing water to leak out of the faucet even when it is shut off.
Now that you have a basic understanding let’s gather the necessary tools and materials before we get started.
Key Takeaways:
- Fixing a dripping faucet is a straightforward DIY task that can save you money and prevent water waste. Identifying the faucet type and using the right tools are crucial for a successful repair.
- Regular maintenance and proper reassembly are essential for preventing future leaks. Testing the faucet after repair ensures a successful fix, contributing to water conservation and a sustainable environment.
Read more: How To Fix Dripping Bathroom Faucet
Understanding Dripping Faucets
Before we begin fixing a dripping faucet, it’s important to understand the different types of faucets and their internal components. This knowledge will help you identify the specific issue and determine the right course of action.
There are three main types of faucets – compression faucets, cartridge faucets, and ceramic disc faucets.
- Compression faucets: These traditional faucets have separate hot and cold water handles. They work by tightening or loosening a washer against a valve seat to control the flow of water. Dripping in compression faucets is commonly caused by a worn-out or deteriorated washer.
- Cartridge faucets: These faucets have a cartridge inside that controls the water flow. They are known for their durability and ease of operation. Dripping in cartridge faucets is usually caused by a faulty or damaged cartridge or O-ring.
- Ceramic disc faucets: These modern faucets have ceramic discs that open and close to control the water flow. They are highly durable and require minimal maintenance. Dripping in ceramic disc faucets is often due to a worn-out or cracked ceramic disc cartridge.
Now that we have a general understanding of the different faucet types let’s move on to the tools and materials you’ll need to fix the dripping faucet.
Tools and Materials Required
Before you begin fixing a dripping faucet, make sure you have the necessary tools and materials handy. Having everything ready beforehand will streamline the process and prevent any unnecessary delays. Here’s a list of tools and materials you’ll need:
- Adjustable wrench
- Screwdriver (both flathead and Phillips)
- Pliers (slip-joint or needle-nose)
- Replacement parts (washers, cartridges, O-rings, ceramic disc cartridge, etc.)
- Bucket or towel to catch any water that may leak during the repair process
- Clean cloth or rag
These tools and materials are readily available at most hardware or home improvement stores. It’s a good idea to have a variety of replacement parts on hand to accommodate different faucet types and models.
Once you have gathered all the necessary tools and materials, you’re ready to start fixing your dripping faucet. In the next few steps, we will guide you through the process of identifying the type of faucet and replacing the faulty components. Make sure to follow the instructions carefully to ensure a successful repair.
Now that we’re prepared let’s move on to the first step – shutting off the water supply.
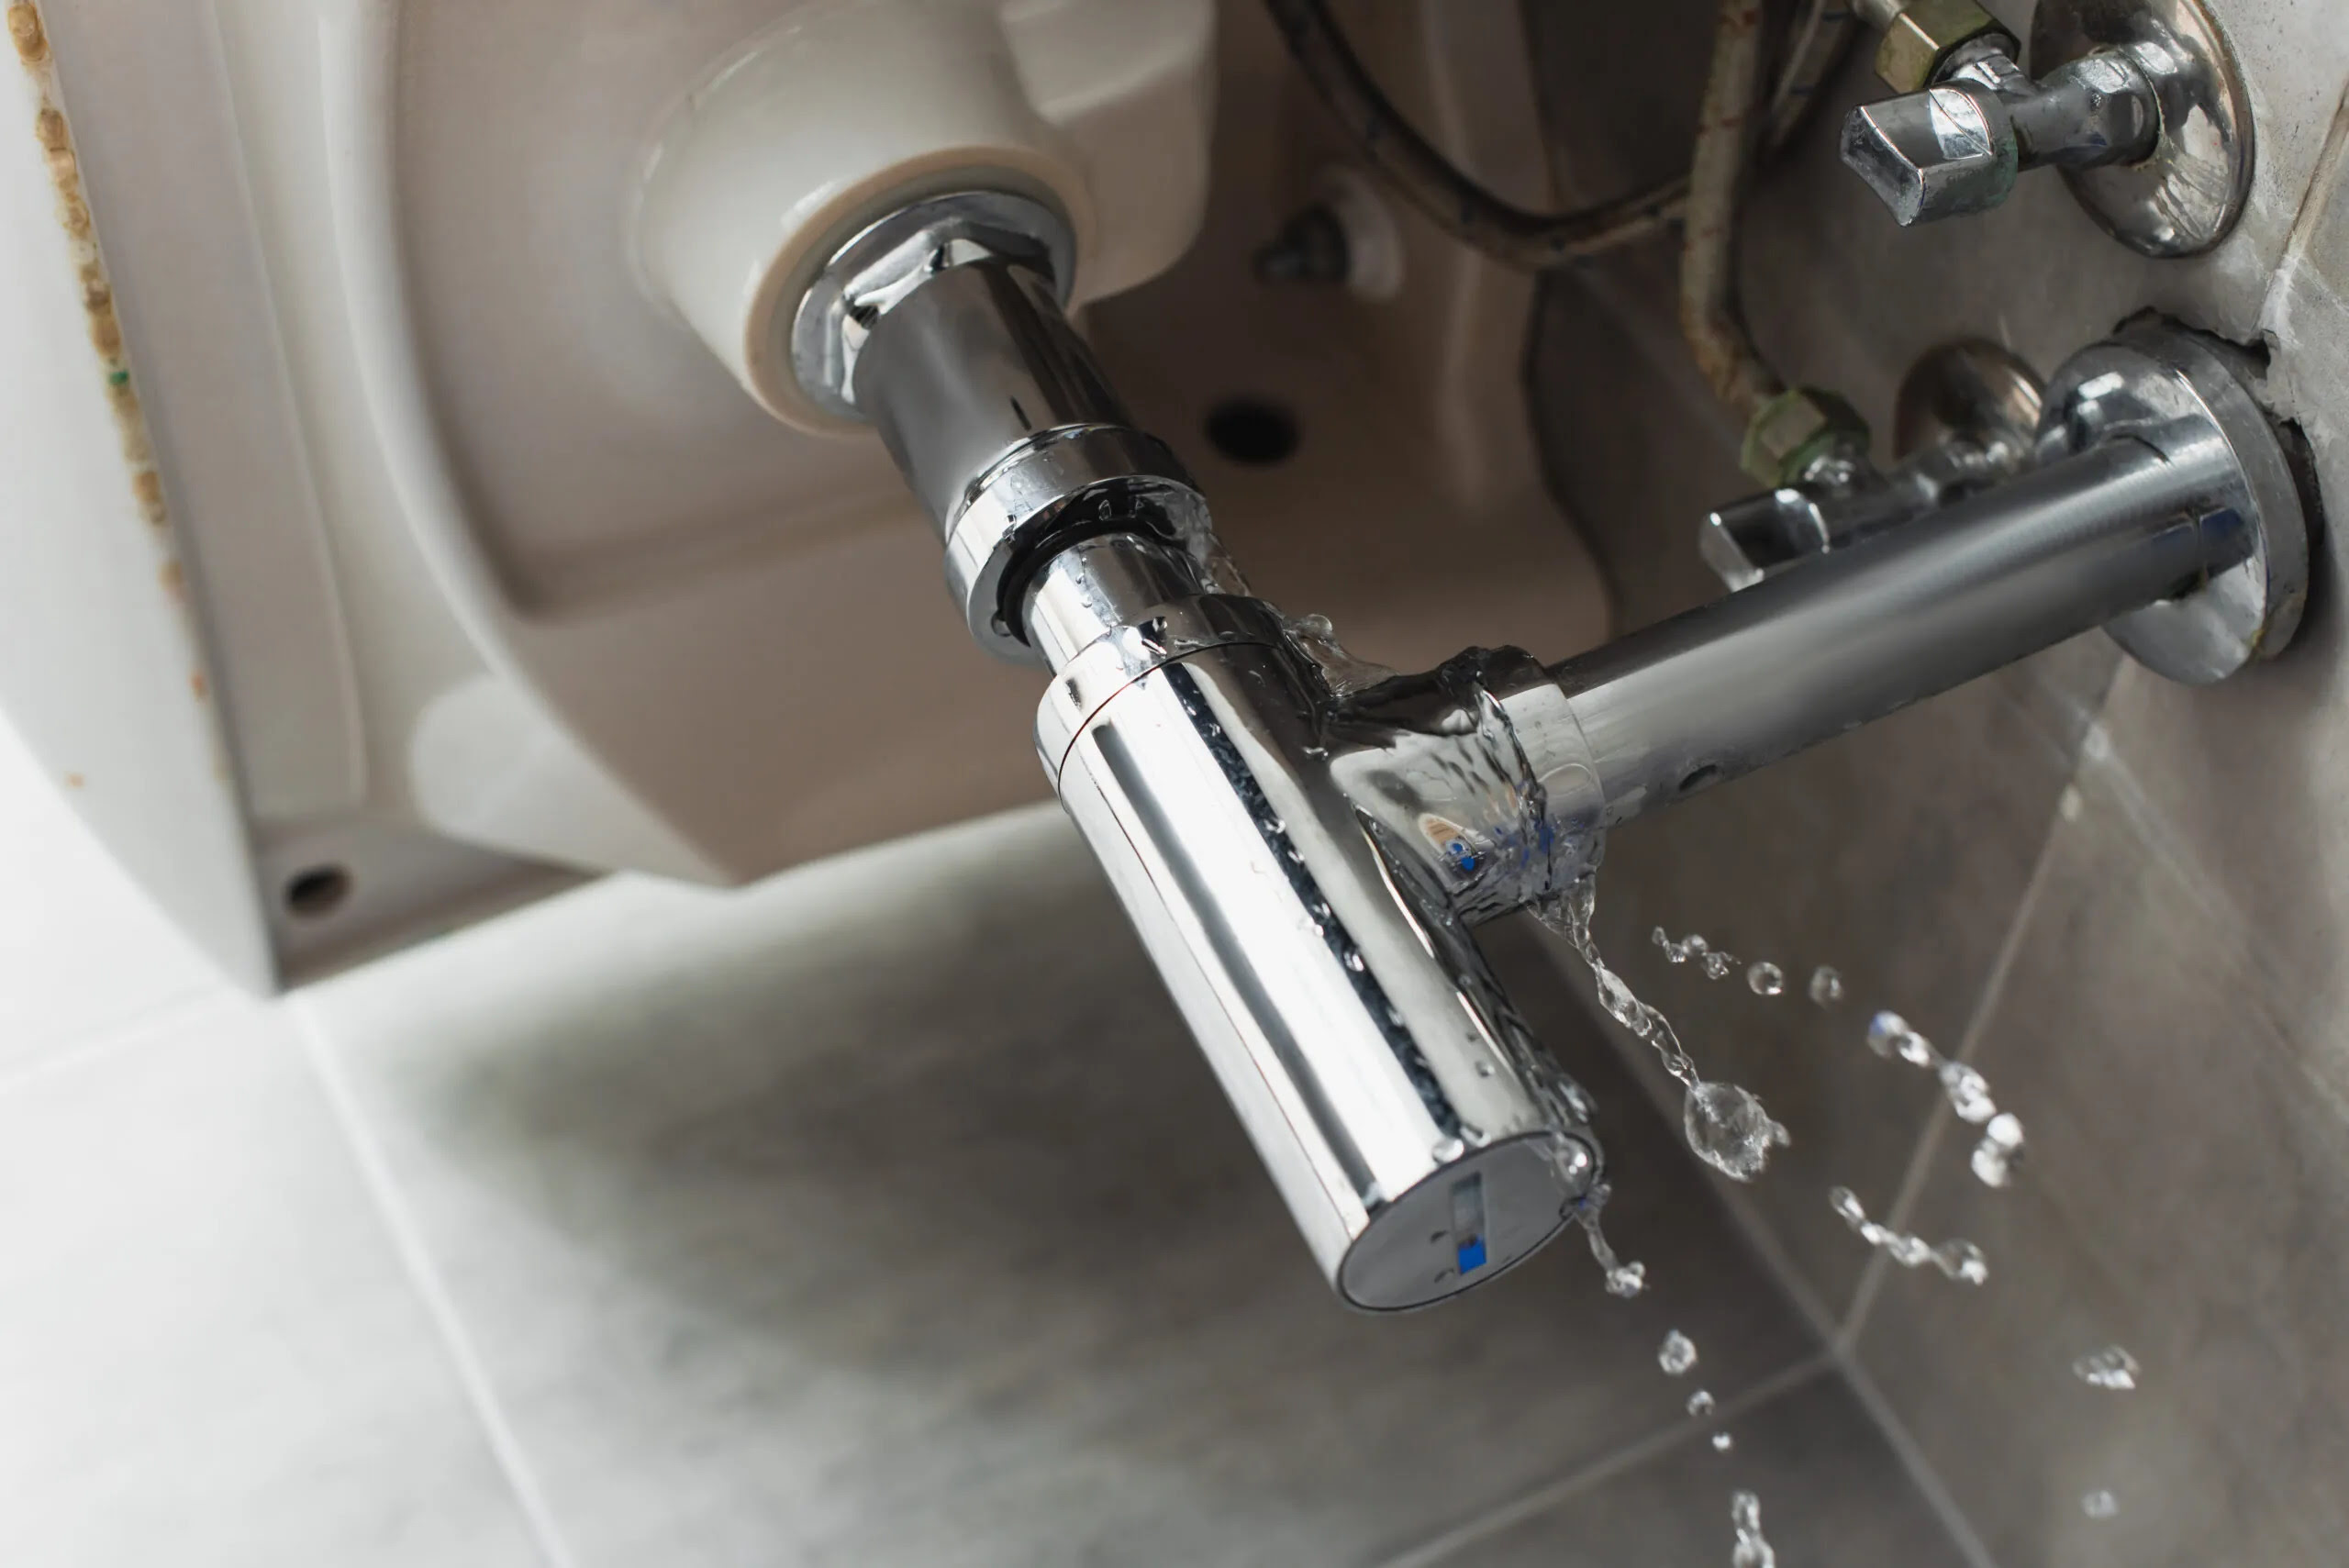
Step 1: Shut off the Water Supply
Before you begin working on a dripping faucet, it’s crucial to shut off the water supply. This will prevent any unexpected flow of water and minimize the risk of water damage during the repair process.
The water supply valves are typically located under the sink or near the main plumbing supply point in your home. Turn off the valve that corresponds to the faucet you’re fixing. If there isn’t a specific valve for the faucet, you may need to shut off the main water supply for the entire house.
Once you’ve located the water supply valve, turn it clockwise to shut off the water flow. To ensure that the water is completely off, open the faucet and let any remaining water drain out.
It’s essential to shut off the water supply before proceeding to the next steps to avoid any accidents or further damage to the faucet or plumbing system.
Now that the water supply is turned off, we can move on to the next step – removing the handle.
Step 2: Remove the Handle
Now that the water supply is shut off, it’s time to remove the handle of the dripping faucet. The handle is typically attached to the stem or cartridge, which houses the internal components that control the water flow.
First, locate the screw that holds the handle in place. This screw is usually located either on top of the handle or underneath a decorative cap. Use a screwdriver (either flathead or Phillips, depending on the screw type) to remove the screw. Set the screw aside in a safe place.
Once the screw is removed, you should be able to lift or pull off the handle. In some cases, the handle may be tightly attached due to mineral deposits or corrosion. If this happens, gently wiggle or twist the handle while pulling it off to loosen it.
With the handle removed, you will have access to the stem or cartridge, depending on the type of faucet you have. This is where the internal components are located, and where we will focus our attention in the following steps.
It’s worth noting that some faucets may have additional parts or components that need to be removed before accessing the stem or cartridge. Consult the manufacturer’s instructions or do some research to determine the specific steps for your faucet model.
Now that the handle is removed, we can move on to the next step – identifying the type of faucet.
Step 3: Identify the Type of Faucet
Identifying the type of faucet you have is crucial for determining the correct repair method and replacement parts. As mentioned earlier, there are three main types of faucets: compression faucets, cartridge faucets, and ceramic disc faucets.
To identify the type of faucet, examine the exposed valve or external components. Look for any distinguishing features or mechanisms that can help you determine the type. Here are some key characteristics to look for:
- Compression faucets: These faucets have separate hot and cold water handles. They typically have a valve stem with a valve seat and a threaded spindle. The handle turns several times to open or close the faucet.
- Cartridge faucets: Cartridge faucets have a cylindrical cartridge that controls the water flow. The handle moves up and down or rotates to adjust the water temperature and volume.
- Ceramic disc faucets: These faucets have two ceramic discs that slide against each other to control the water flow. The handle moves forward and backward or rotates to adjust the temperature and volume.
Once you have identified the type of faucet, you can proceed with the appropriate repair method and replacement parts. The next steps will guide you through the specific repair steps for each faucet type.
Before moving on, it’s a good idea to take note of the faucet’s make and model. This information will come in handy if you need to purchase specific replacement parts or consult the manufacturer’s instructions.
Now that you have identified the type of faucet, we can move on to the next step, which varies depending on the faucet type: replacing the washer for compression faucets, replacing the cartridge or O-ring for cartridge faucets, or replacing the ceramic disc cartridge for ceramic disc faucets.
Step 4: Replace the Washer (Compression Faucets)
If you have identified your faucet as a compression faucet and the dripping is coming from the spout when the faucet is turned off, it’s likely that the washer needs to be replaced.
To replace the washer, follow these steps:
- Using pliers or a wrench, loosen and remove the packing nut located just below the handle.
- Once the packing nut is removed, you should see the stem exposed.
- At the end of the stem, you’ll find a small rubber washer held in place by a screw or a retaining nut.
- Remove the screw or retaining nut and take out the old washer.
- Inspect the washer for any signs of damage, such as cracks, tears, or wear. If it appears worn out, proceed with replacing it.
- Take the old washer to the hardware store to ensure you get the correct size and type of replacement.
- Place the new washer in the same position as the old one and secure it with the screw or retaining nut.
- Tighten the packing nut back into place, making sure not to overtighten.
- Reassemble the handle by aligning it with the stem and securing it with the screw.
Once you have replaced the washer and reassembled the handle, turn on the water supply and test the faucet. The dripping should now be resolved, and water should flow smoothly without any leaks.
If the dripping persists or you encounter any difficulties during the process, it may be best to consult a professional plumber for further assistance.
Now that you have successfully replaced the washer in your compression faucet, let’s move on to the next step if you have a cartridge or ceramic disc faucet.
To drip a faucet, simply turn the handle to the “on” position and allow a slow, steady stream of water to flow. This can prevent pipes from freezing in cold weather.
Step 5: Replace the Cartridge or O-Ring (Cartridge Faucets)
If you’ve identified your faucet as a cartridge faucet, and the dripping is coming from the spout or handle, it’s likely that the cartridge or O-ring needs to be replaced.
To replace the cartridge or O-ring, follow these steps:
- First, remove any decorative cap or cover that may be hiding the cartridge.
- Using a screwdriver, unscrew and remove the retaining screw that holds the cartridge in place.
- Gently pull the cartridge straight out of the faucet body.
- Inspect the cartridge for any signs of damage or wear, such as cracks, excessive wear, or torn O-rings. If it appears faulty, proceed with replacing it.
- Take the old cartridge or O-ring to the hardware store to ensure you get the correct replacement.
- Install the new cartridge or O-ring in the same position as the old one, making sure it fits securely.
- Secure the new cartridge with the retaining screw, tightening it enough to hold the cartridge in place but not overtightening.
- Reassemble any decorative caps or covers that were removed.
Once you have replaced the cartridge or O-ring and reassembled the faucet, turn on the water supply and test the faucet. The dripping should now be resolved, and the faucet should function properly without any leaks.
If the dripping persists or you encounter any difficulties during the process, it may be best to consult a professional plumber for further assistance.
Now that you have successfully replaced the cartridge or O-ring in your cartridge faucet, let’s move on to the next step if you have a ceramic disc faucet.
Step 6: Replace the Ceramic Disc Cartridge (Ceramic Disc Faucets)
If you have identified your faucet as a ceramic disc faucet and the dripping is coming from the spout or handle, it’s likely that the ceramic disc cartridge needs to be replaced.
To replace the ceramic disc cartridge, follow these steps:
- Remove any decorative cap or cover that may be hiding the cartridge.
- Using a screwdriver, unscrew and remove the retaining screw that holds the cartridge in place.
- Gently pull the cartridge straight out of the faucet body.
- Inspect the ceramic discs and seals for any signs of damage or wear, such as cracks, chips, or mineral buildup. If the ceramic discs are worn or damaged, proceed with replacing the cartridge.
- Take the old cartridge to the hardware store to ensure you get the correct replacement.
- Install the new ceramic disc cartridge in the same orientation as the old one, making sure it fits securely.
- Secure the new cartridge with the retaining screw, tightening it enough to hold the cartridge in place but not overtightening.
- Reassemble any decorative caps or covers that were removed.
Once you have replaced the ceramic disc cartridge and reassembled the faucet, turn on the water supply and test the faucet. The dripping should now be resolved, and the faucet should function properly without any leaks.
If the dripping persists or you encounter any difficulties during the process, it may be best to consult a professional plumber for further assistance.
Congratulations! You have successfully replaced the ceramic disc cartridge in your ceramic disc faucet. Now, let’s move on to the next step – reassembling the faucet.
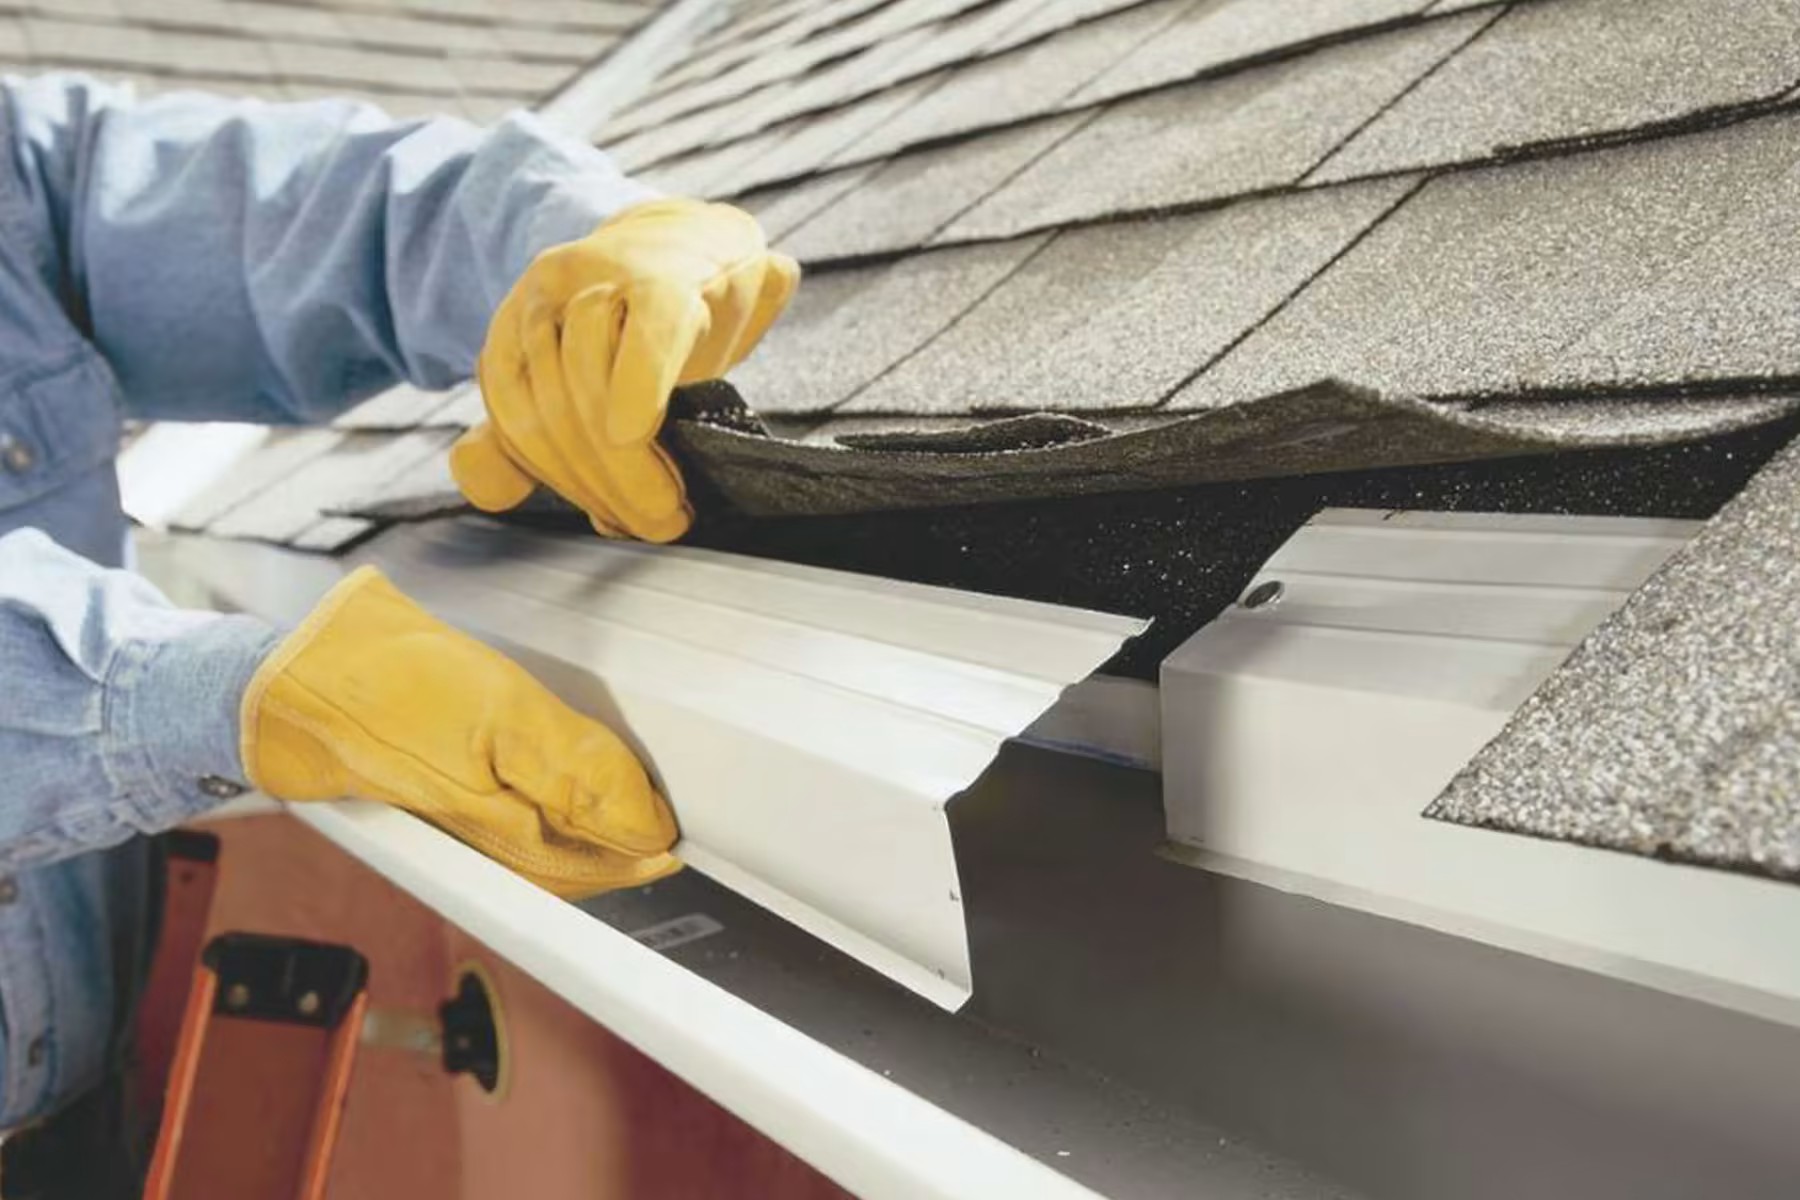
Read more: How To Install Roof Drip Edge
Step 7: Reassemble the Faucet
Now that you have replaced the necessary components in your faucet, it’s time to reassemble all the parts to ensure proper functioning and prevent any leaks. Follow these steps:
- Place the handle back onto the stem or cartridge, ensuring it aligns properly.
- Tighten the retaining screw for the handle, using a screwdriver or the appropriate tool.
- If your faucet has additional decorative caps or covers, reattach them according to the manufacturer’s instructions.
- If you had to remove any packing nuts or other accessories, tighten them back into place, making sure not to overtighten.
- Check that all connections are secure and properly tightened.
- Wipe away any excess water or debris from the faucet with a clean cloth or rag.
By reassembling the faucet correctly, you ensure that all the components are in their proper positions, allowing for smooth operation and preventing any potential leaks.
Now that the faucet is reassembled, it’s time to test it and make sure the dripping has been resolved. Let’s move on to the final step.
Step 8: Test the Faucet
After completing the necessary repairs and reassembling the faucet, it’s crucial to test it to ensure that the dripping has been resolved and the faucet is functioning properly. Follow these steps to test the faucet:
- Turn on the water supply by gradually opening the shut-off valve.
- Slowly turn on the faucet and let the water run for a few moments.
- Check the spout and handles for any signs of leakage. Pay close attention to areas that were previously dripping.
- If you notice any leaks, tighten the connections or make adjustments as necessary. It could be a sign that a component is not properly installed or needs further attention.
- Test both hot and cold water to ensure proper temperature control.
- If the faucet is functioning without any leaks and providing the desired water temperature, congratulations! You have successfully fixed the dripping faucet.
However, if you find that the dripping persists or there are other issues with the faucet, it may be best to consult a professional plumber for further assistance. They can provide expertise and guidance to resolve any more complex faucet problems.
Properly testing the faucet ensures that the repair has been successful and provides peace of mind that you’ve addressed the issue.
Now that you have tested the faucet and confirmed its proper functioning, it’s time to wrap up the repair process with some additional tips and considerations.
Additional Tips and Considerations
As you wrap up the process of fixing a dripping faucet, here are some additional tips and considerations to keep in mind:
- Regular maintenance: To prevent future dripping faucets, it’s essential to conduct regular maintenance. Inspect your faucets for any signs of wear or leaks and address them promptly.
- Proper tools and parts: Make sure you have the right tools and replacement parts for your specific faucet type. Using incorrect tools or parts can lead to further damage or ineffective repairs.
- Water conservat
Conclusion
Fixing a dripping faucet is a common household repair that can save you money on water bills and prevent frustrating sound disturbances. With the right tools, replacement parts, and a little bit of know-how, you can tackle this task on your own.
In this article, we outlined the step-by-step process for fixing a dripping faucet, starting with shutting off the water supply and identifying the type of faucet. We then provided specific instructions for each faucet type, including replacing the washer for compression faucets, replacing the cartridge or O-ring for cartridge faucets, and replacing the ceramic disc cartridge for ceramic disc faucets.
Throughout the repair process, we emphasized the importance of proper reassembly and testing to ensure the fix is successful. We also provided additional tips and considerations, such as regular maintenance and using the correct tools and replacement parts.
If you encounter any difficulties or the dripping persists after attempting the repair, it may be best to seek the assistance of a professional plumber. They can offer expert guidance and address any more complex faucet issues.
By taking the time to fix a dripping faucet, you not only save water and money but also contribute to a more sustainable environment. It’s a small but impactful step towards conserving our precious water resources.
So, roll up your sleeves, gather your tools, and get ready to fix that dripping faucet. You’ll be rewarded with a quiet, leak-free faucet and the satisfaction of a job well done.
Frequently Asked Questions about How To Drip Faucet
What are the benefits of dripping a faucet?Dripping a faucet can prevent pipes from freezing during cold weather, reduce the risk of water pressure buildup, and help to avoid costly plumbing repairs.How can I fix a dripping faucet?You can fix a dripping faucet by replacing the worn-out washer, O-ring, or valve seat. It’s important to turn off the water supply before attempting any repairs.Is it normal for a faucet to drip?Occasional dripping from a faucet is normal, but if it’s constant, it could indicate a problem with the internal components that may need to be addressed.Can dripping faucets waste water?Yes, dripping faucets can waste a significant amount of water over time, leading to higher water bills and unnecessary strain on the environment.What are some tips for preventing faucet drips?Regularly maintaining your faucets, avoiding excessive force when turning them off, and addressing any leaks promptly can help prevent faucet drips and prolong the lifespan of your plumbing fixtures.
Was this page helpful?
At Storables.com, we guarantee accurate and reliable information. Our content, validated by Expert Board Contributors, is crafted following stringent Editorial Policies. We're committed to providing you with well-researched, expert-backed insights for all your informational needs.

0 thoughts on “How To Drip Faucet”